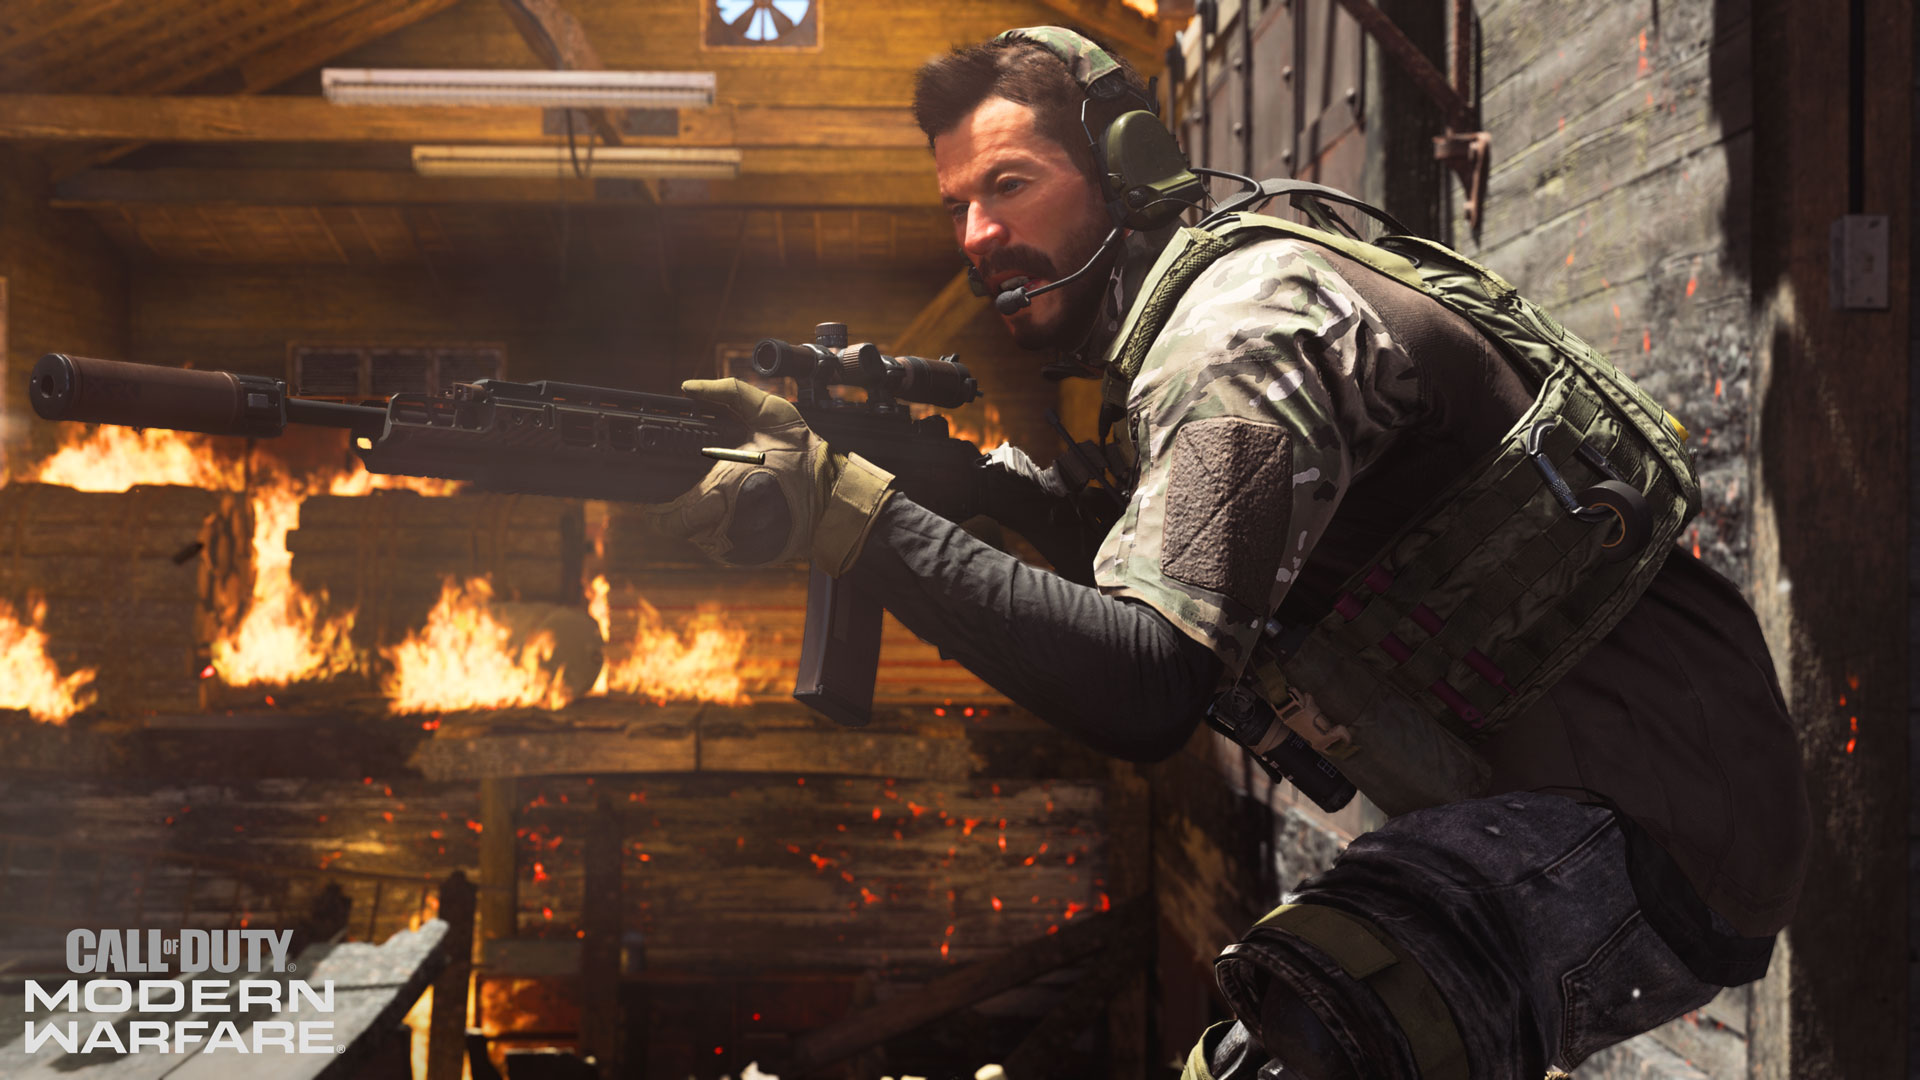
A sleepy farming village is under peril; in this brand-new Multiplayer map for Call of Duty®: Modern Warfare®, both Allegiance and Coalition forces descend upon the Hovec Sawmill to establish order within this scenic locale.
Modern Warfare® Tactical Map Intel: Hovec Sawmill
A sleepy farming village is under peril; in this brand-new Multiplayer map for Call of Duty®: Modern Warfare®, both Allegiance and Coalition forces descend upon the Hovec Sawmill to establish order within this scenic locale.
April 17, 2020
by James Mattone
Within Season Three’s trio of new Multiplayer maps is a never-before-seen locale that is almost picturesque in the middle of Eastern Europe: Hovec Sawmill.
Although this humble town is beautiful, don’t let its appearance fool you: just like the other Season Three Multiplayer maps, the Sawmill is a dangerous 6v6 map with opportunities for all playstyles to shine. Here, you can expect everything from cross-map sightlines to rooftop engagements and interior skirmishes, with objective game modes forcing players into chaotic battles while surrounded by gorgeous scenery.
This is your Tactical Map Intel for Hovec Sawmill:
Lay of the Land:
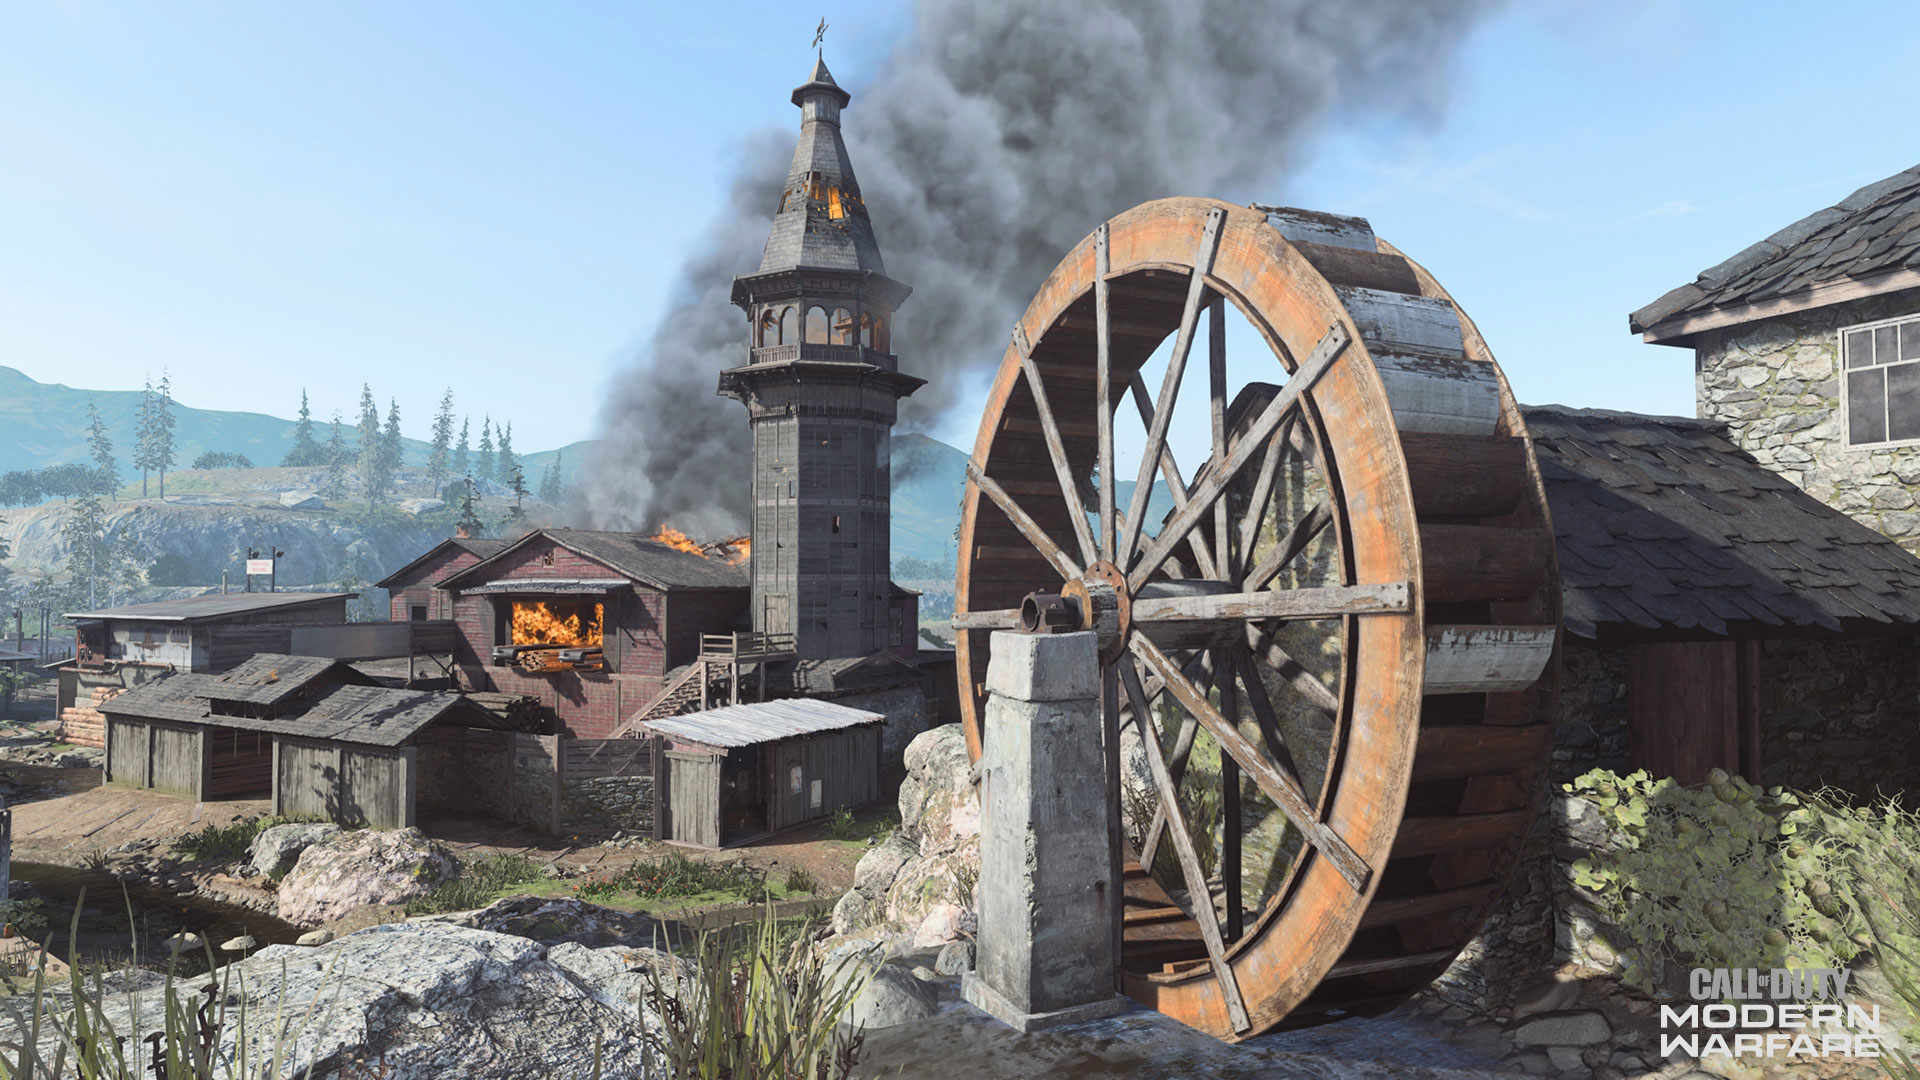
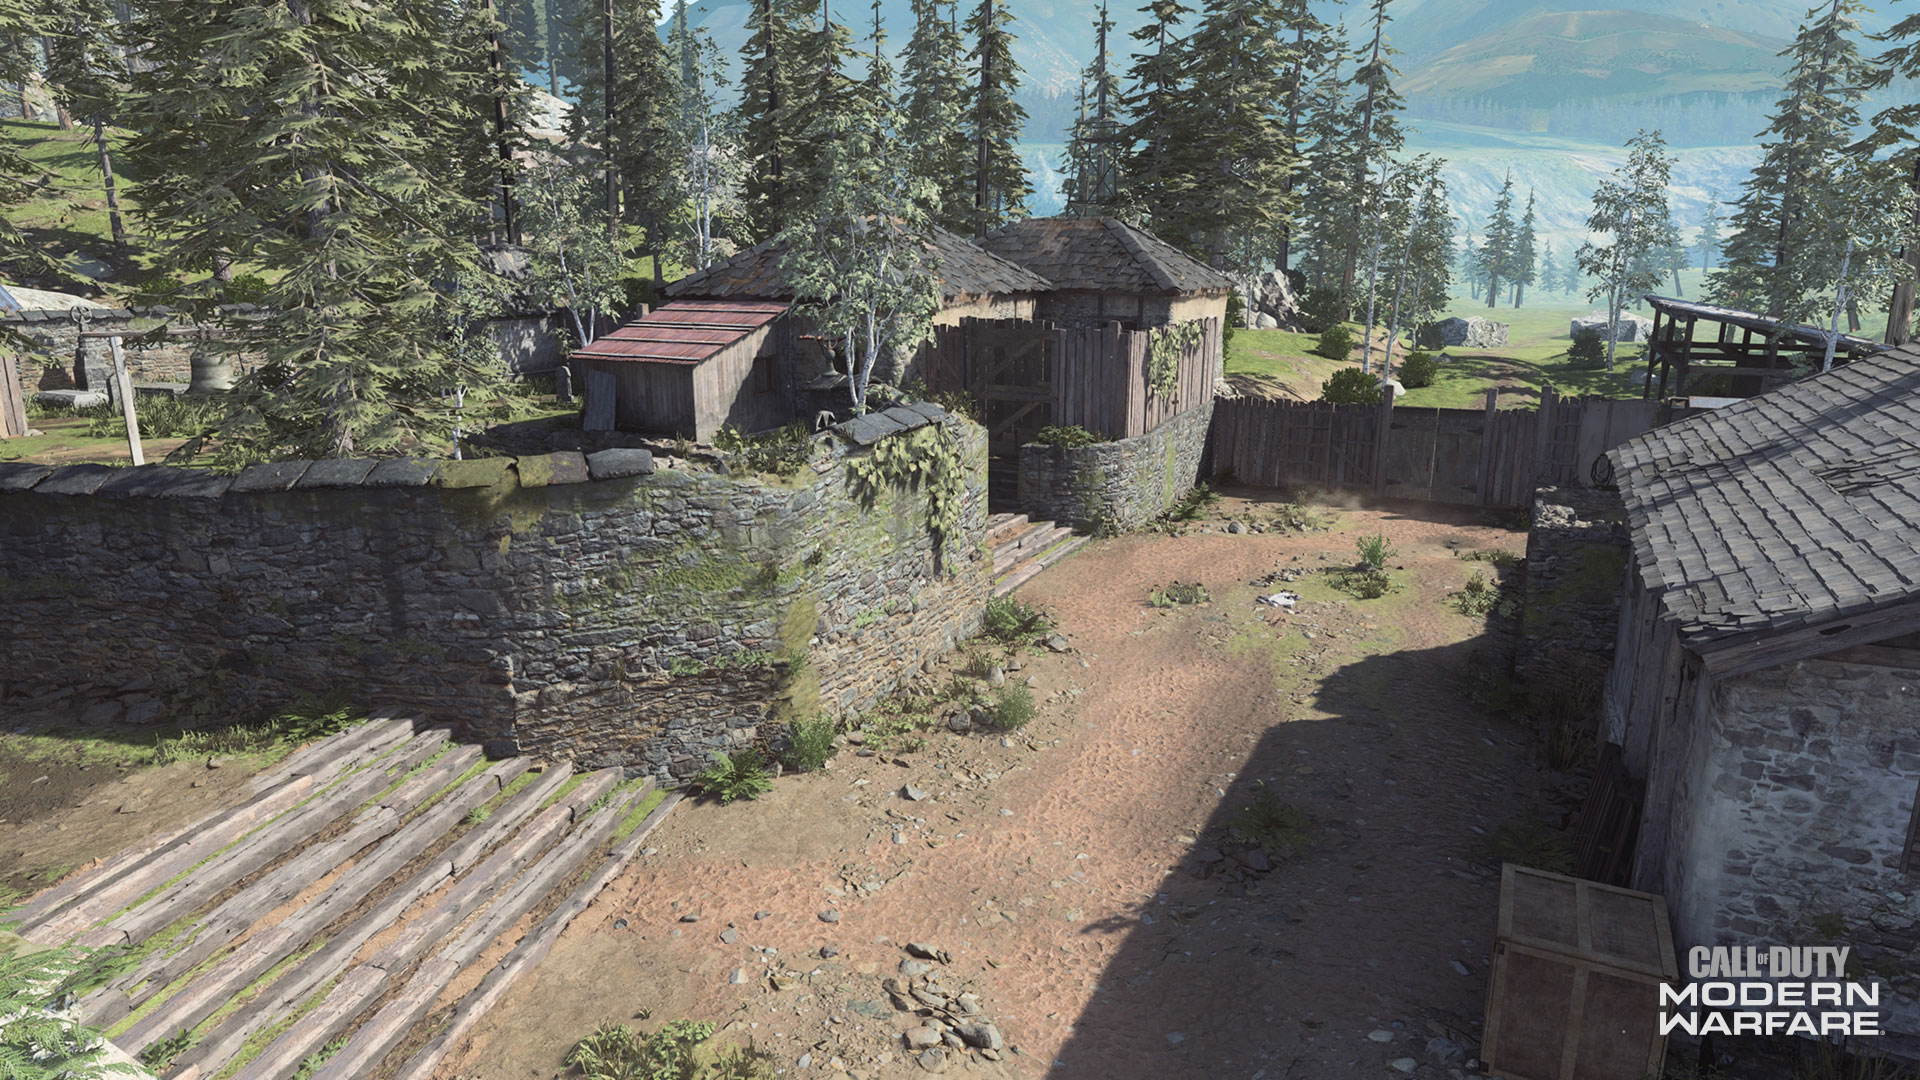
Hovec Sawmill is an oasis within the war-torn territory of Al-Qatala, specifically in Kastovia, 14 klicks outside of Venskaya and in the same country as Verdansk.
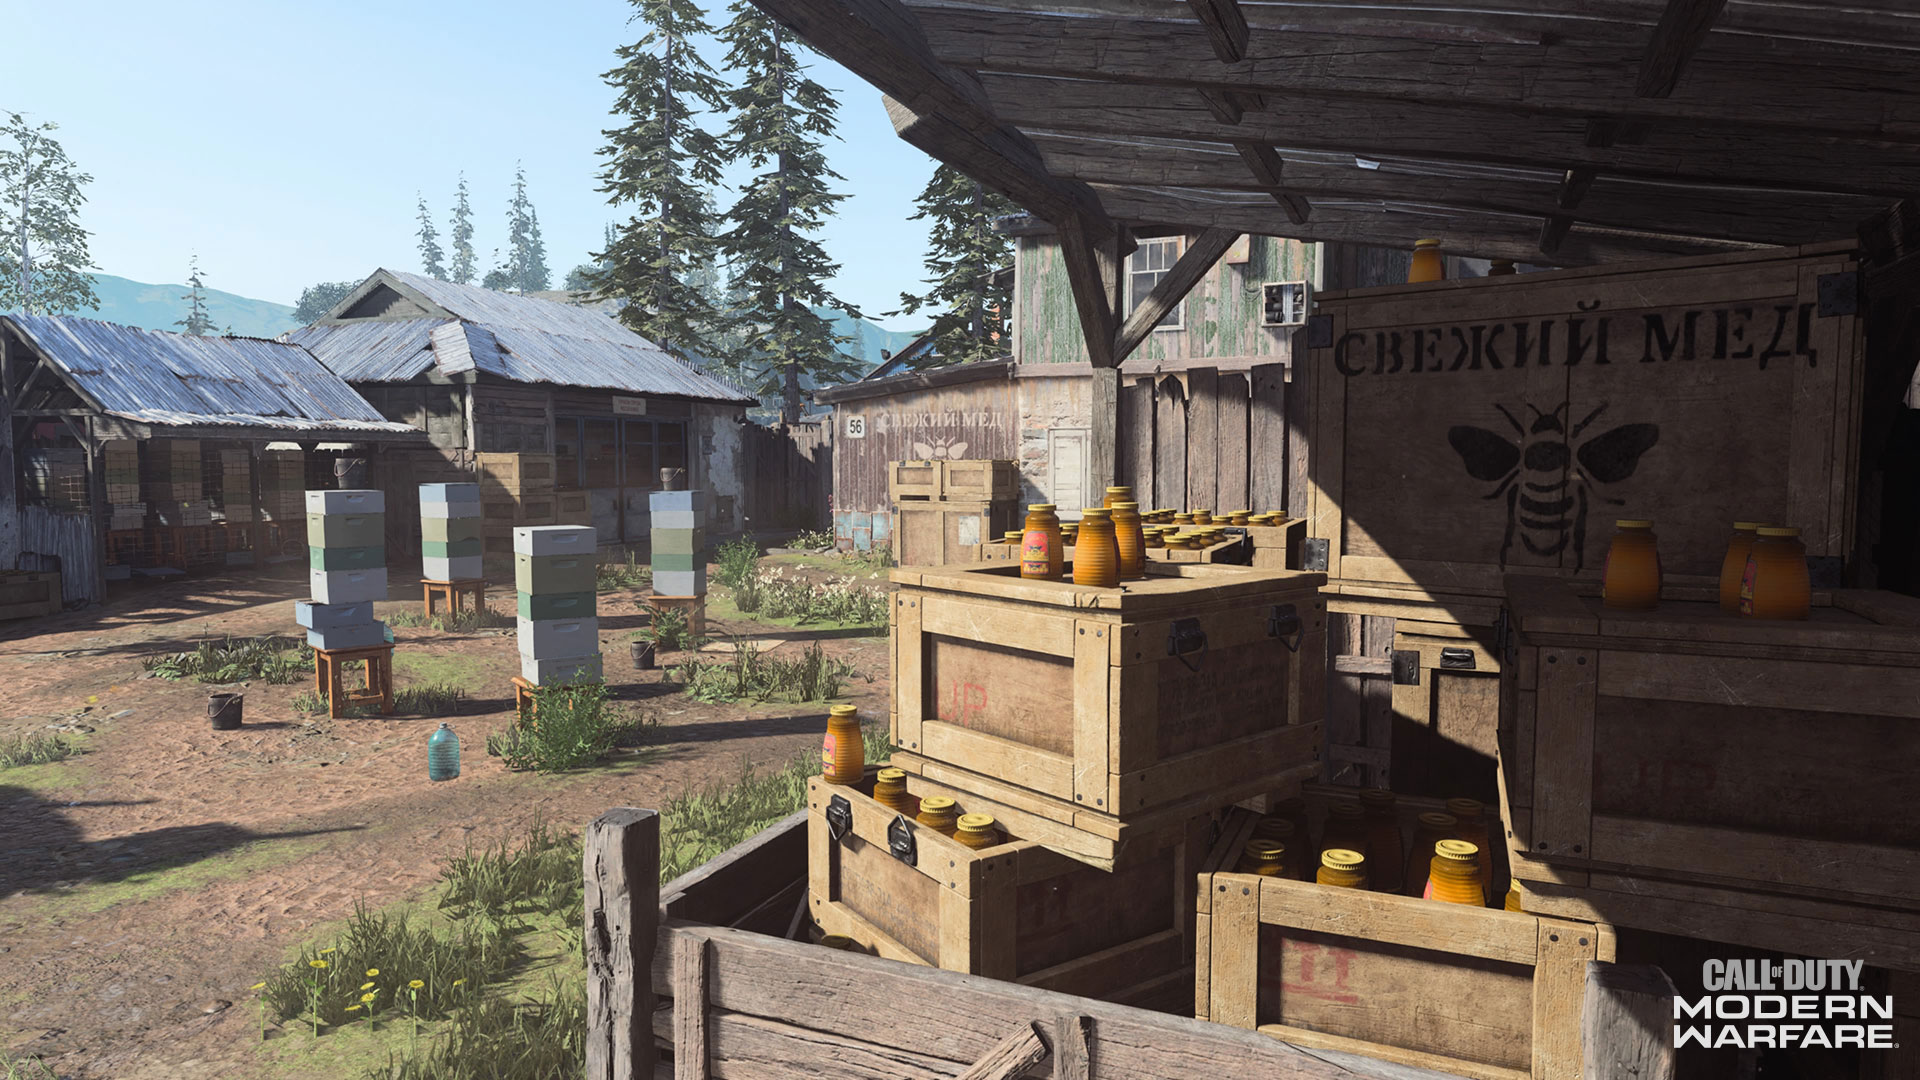
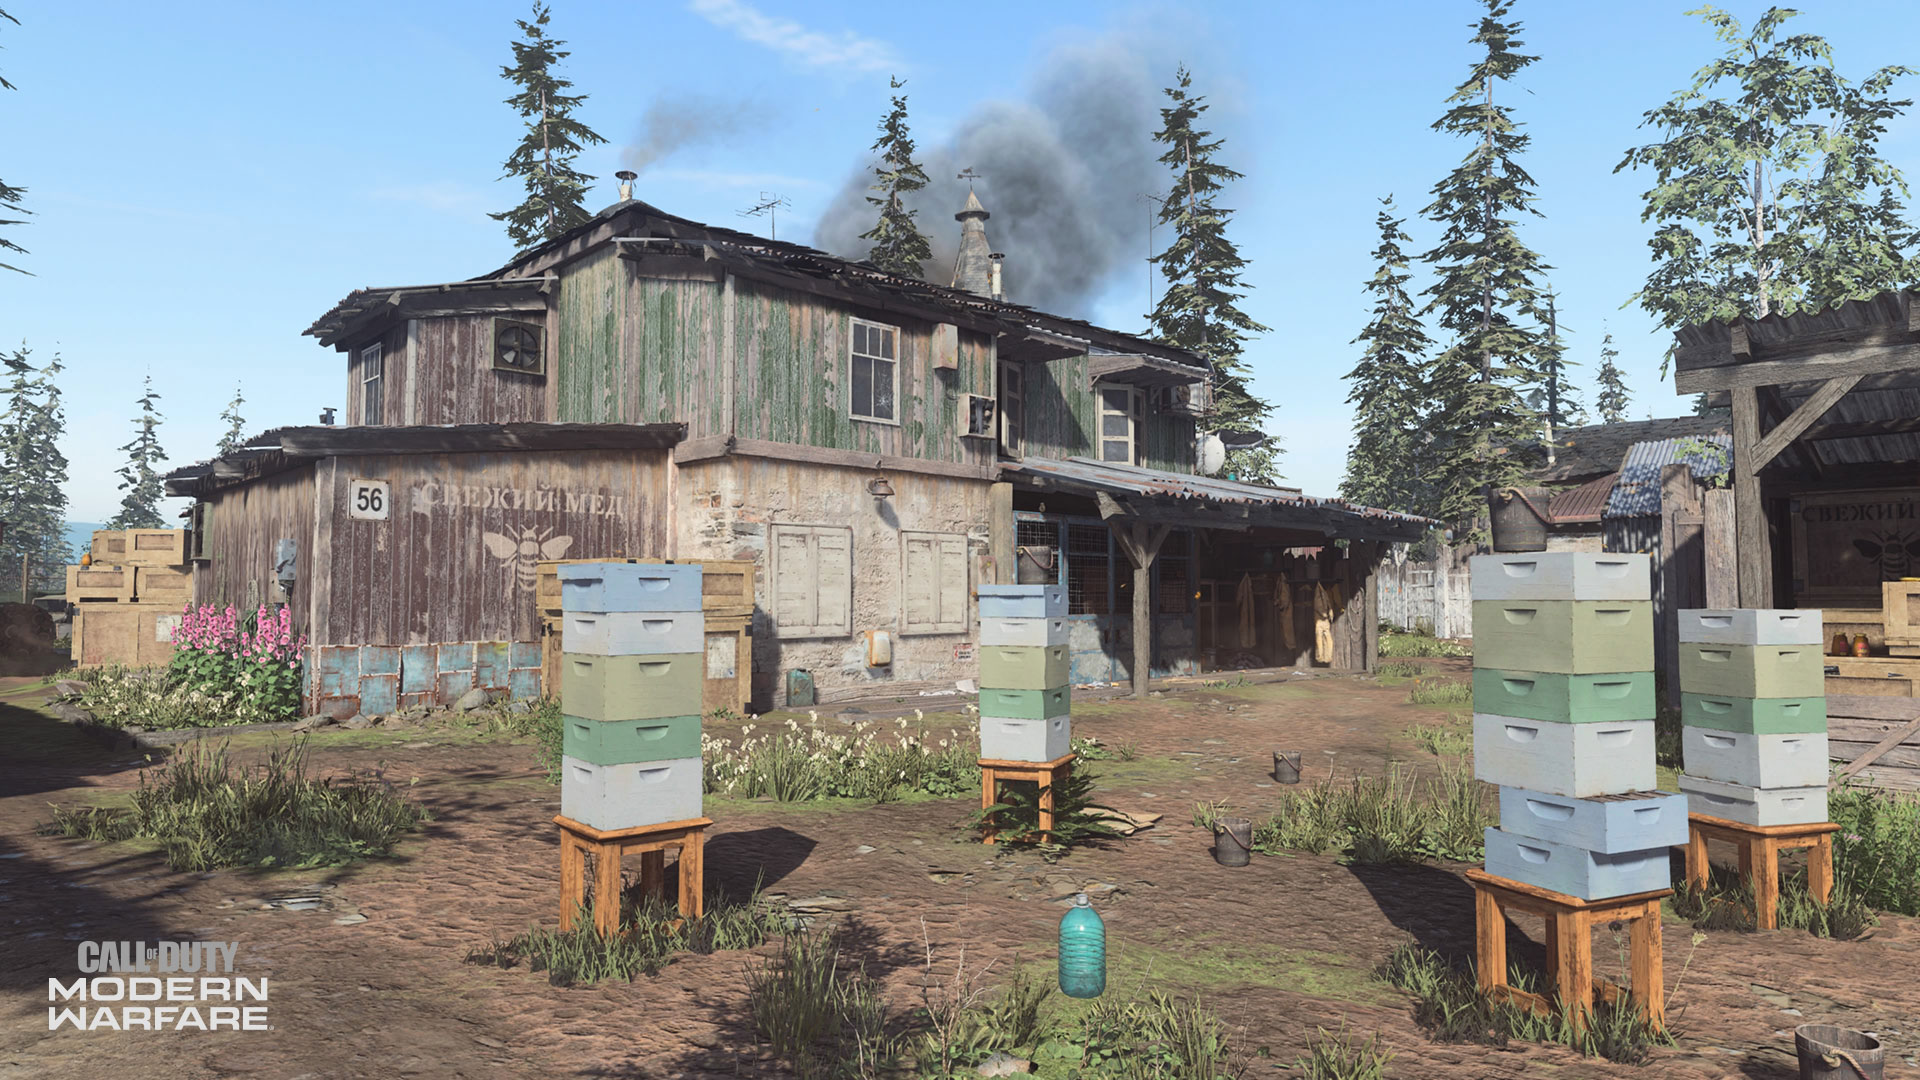
Here, its villagers lived simple lives, working and shopping at the local butchery, an organic veggie farm, and the beekeeper’s area. In fact, if it were not for the successful logging industry, this village would be known for its delicious honey, which is stacked in crates and was ready to be shipped out across Eastern Europe.
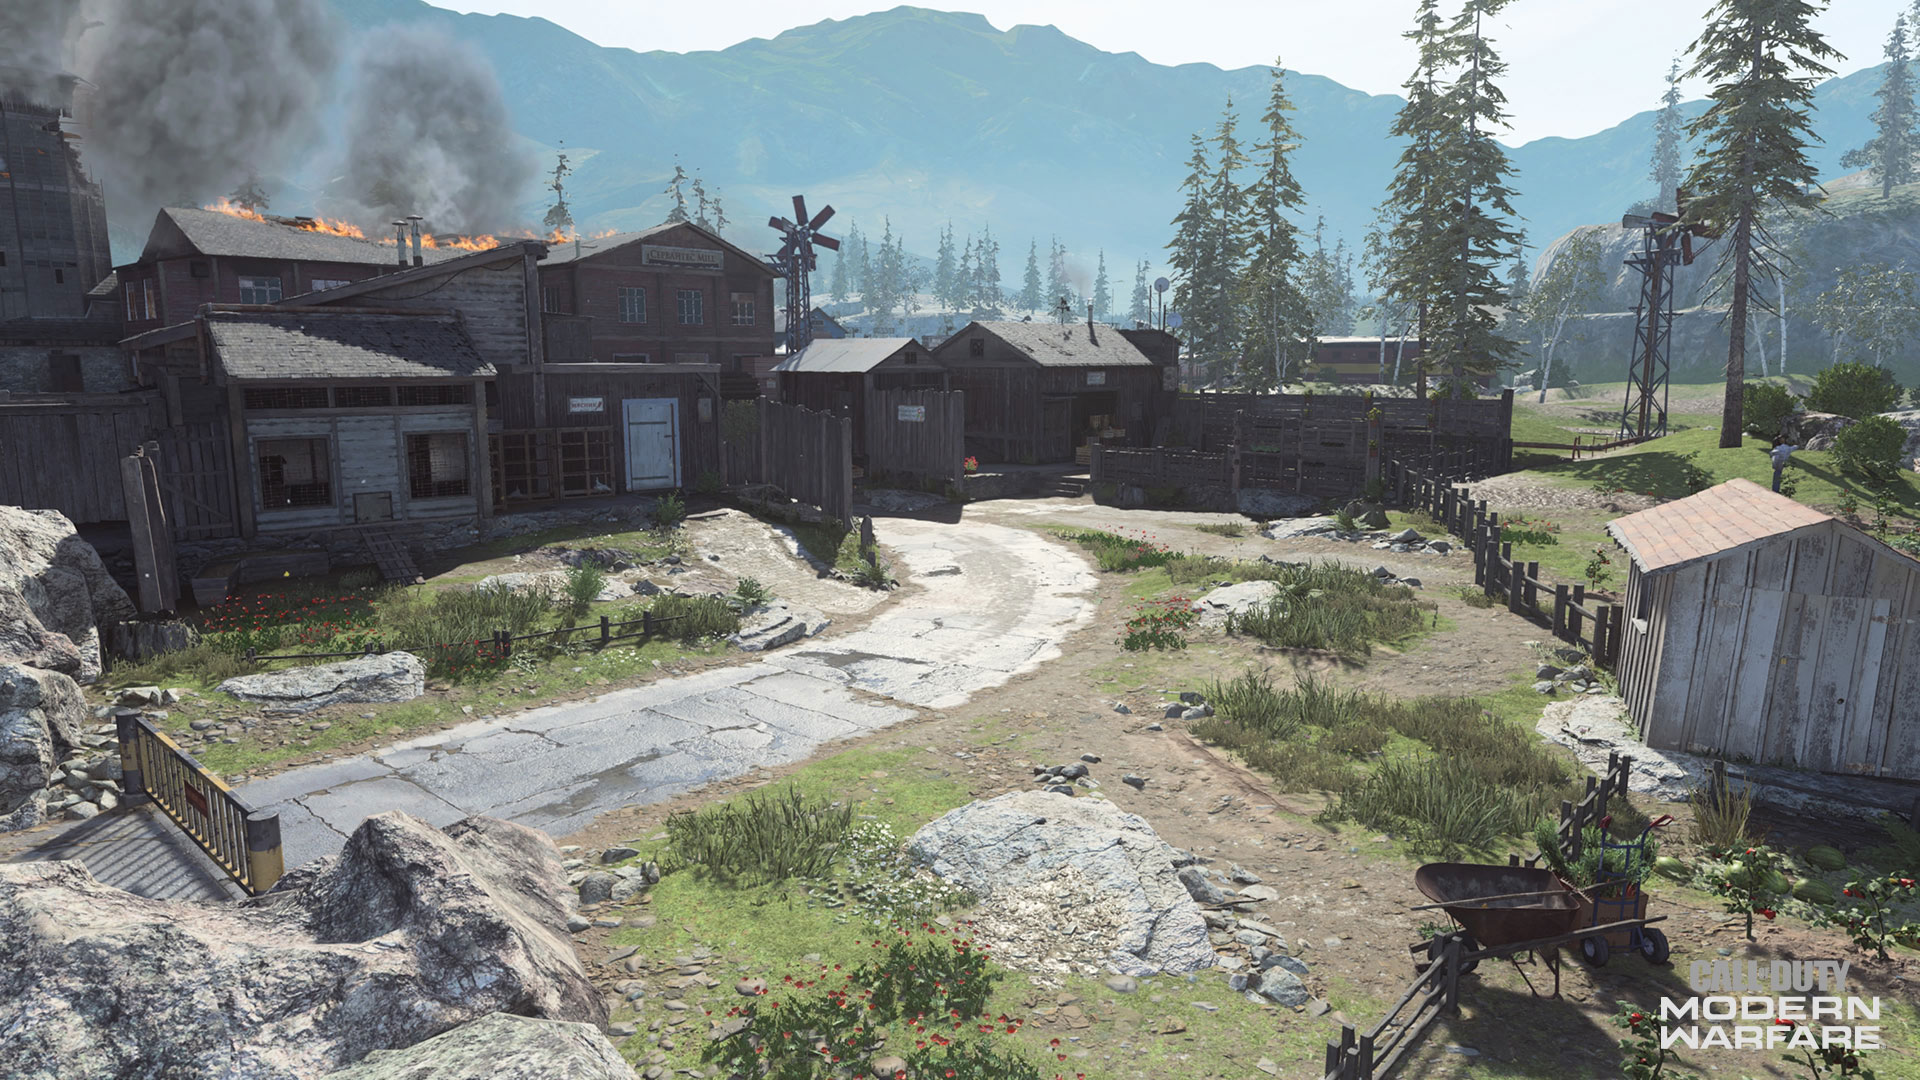
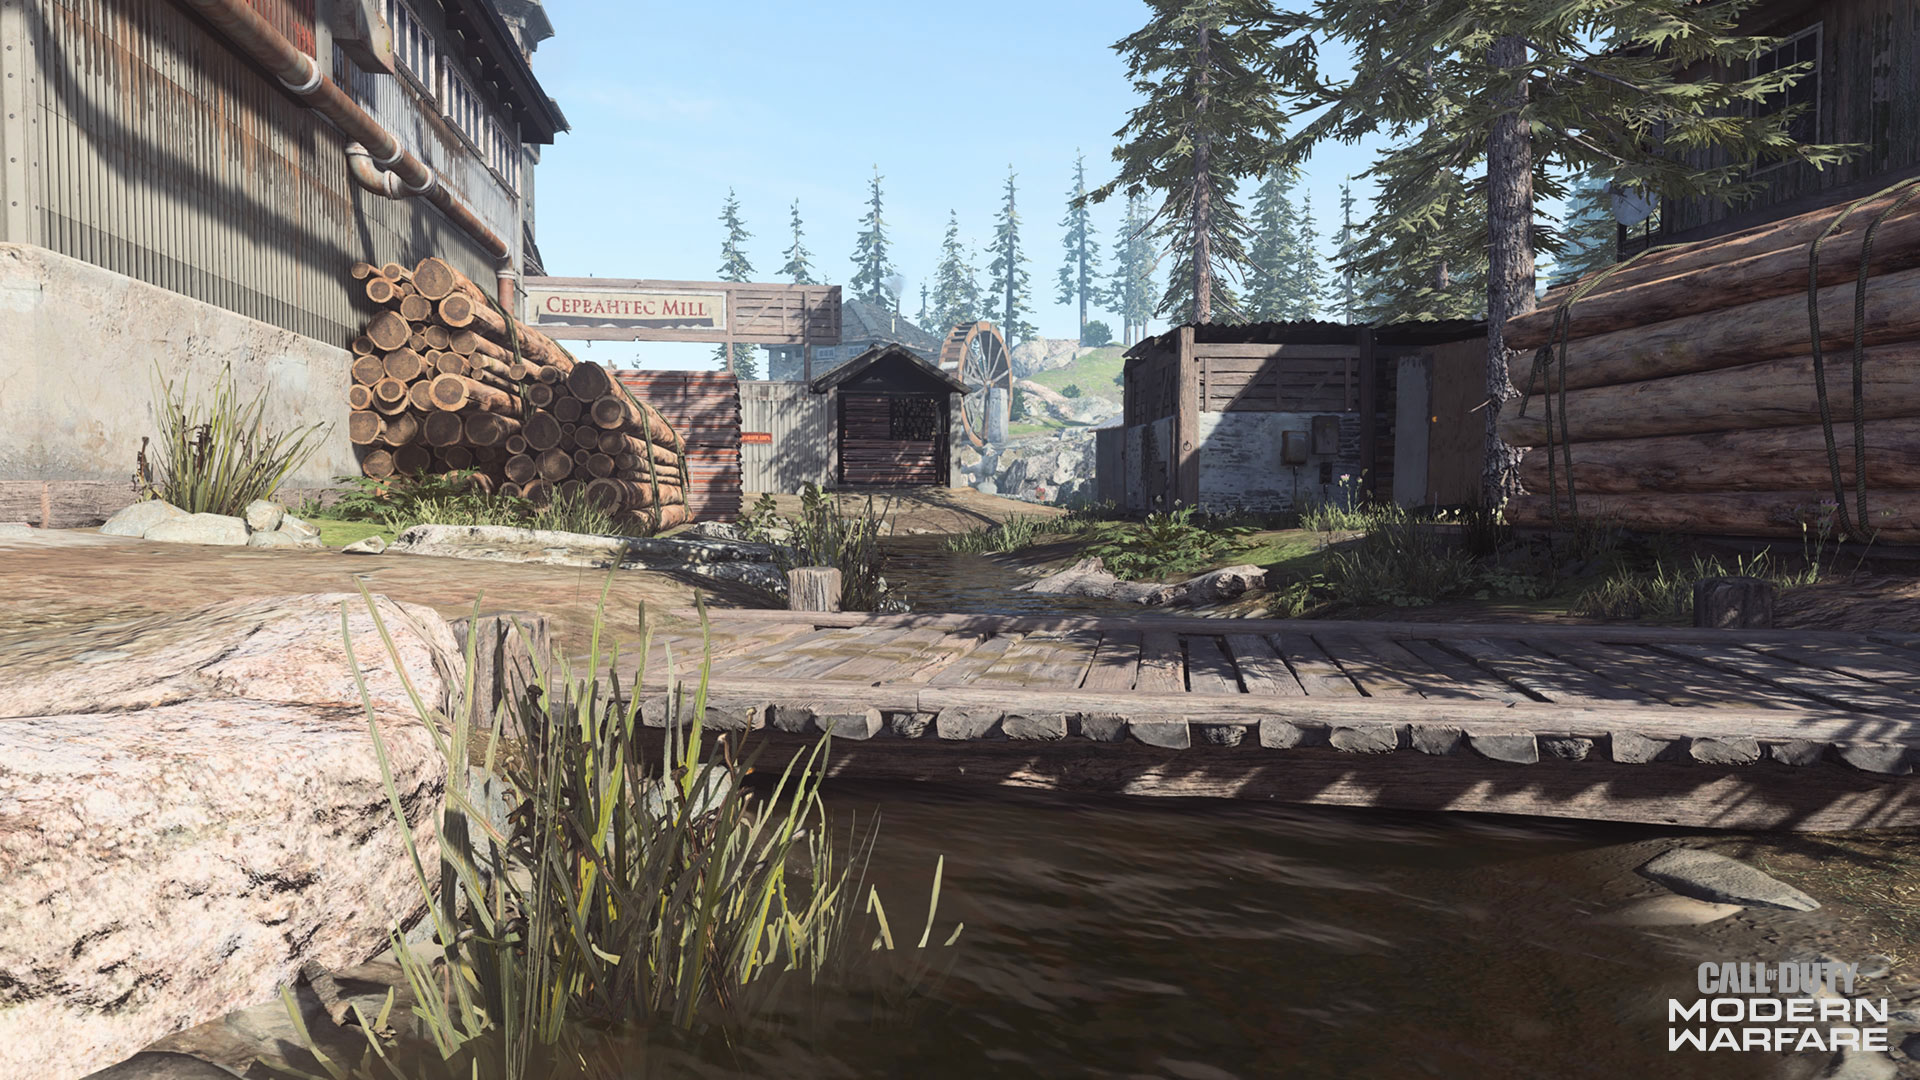
However, the focal point for this village is the Sawmill, where workers harvest the forest surrounding them to export lumber for a variety of industries.
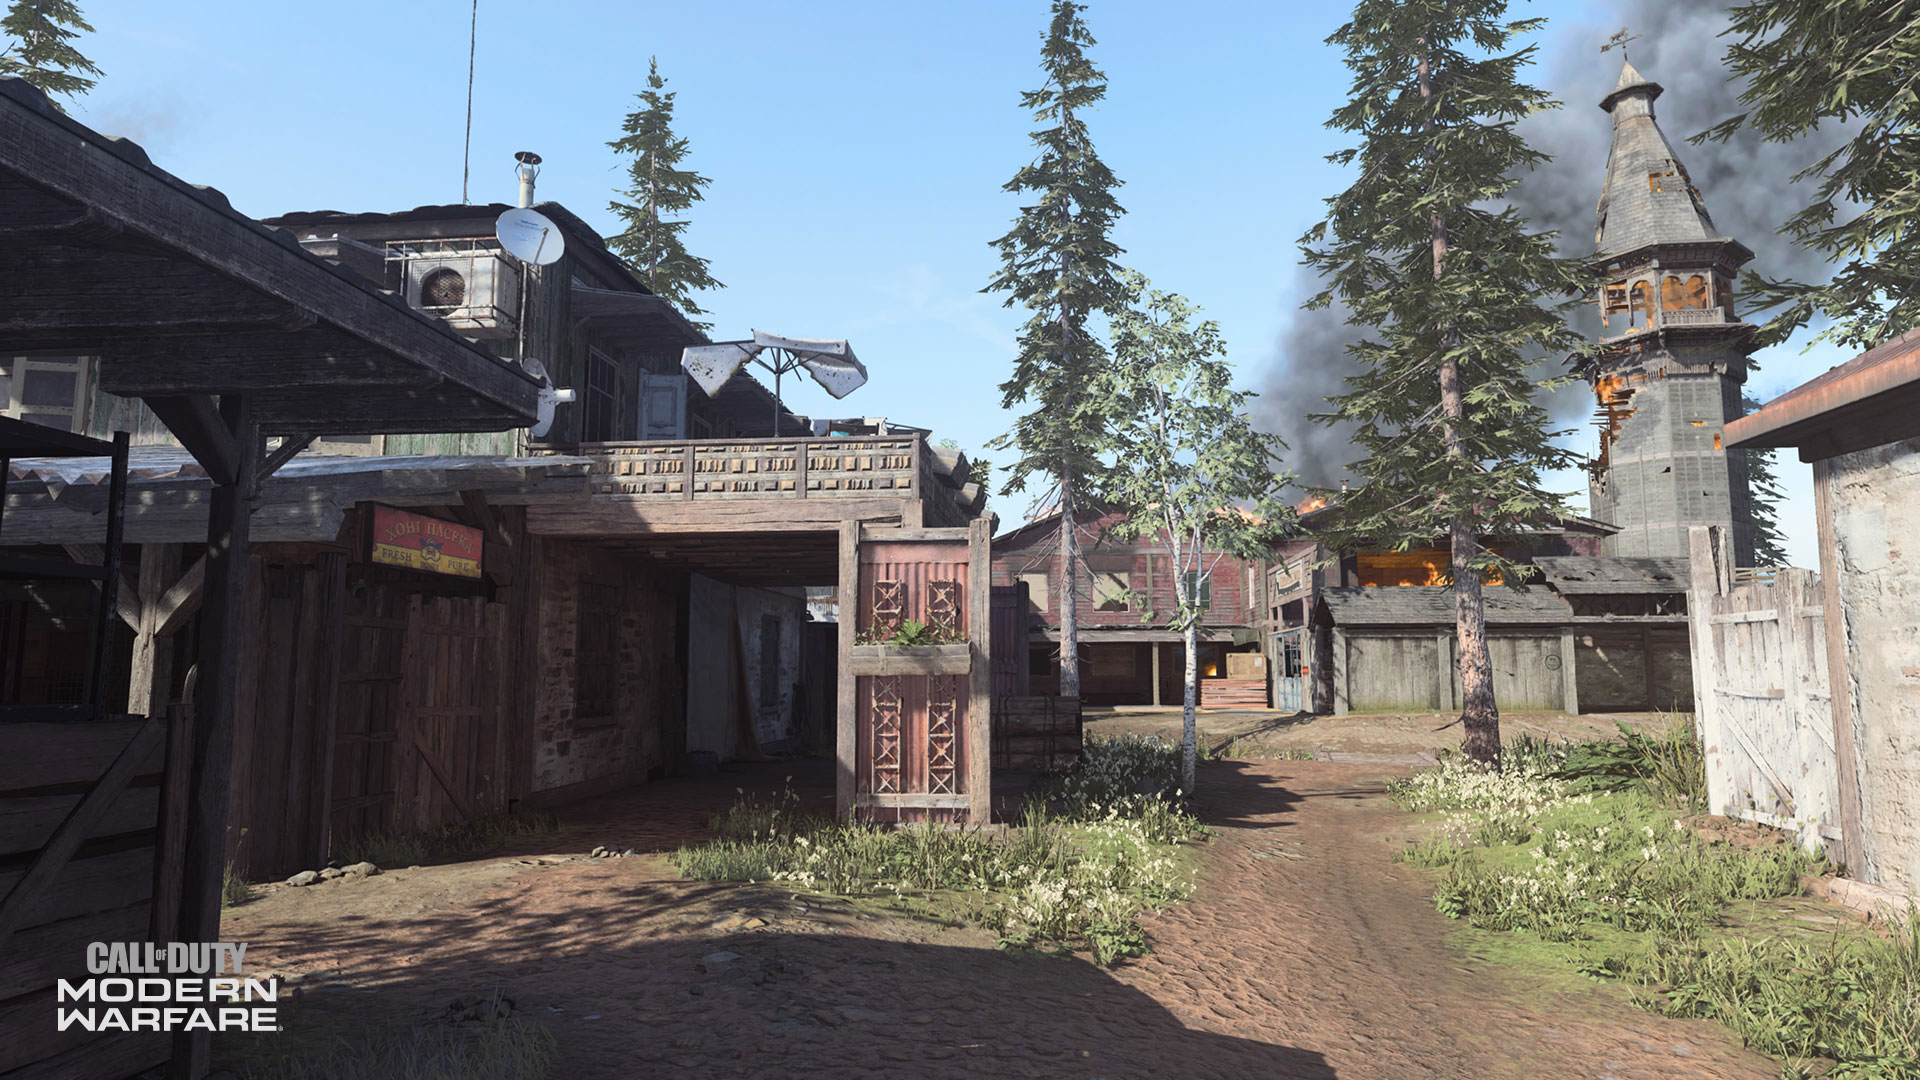
Unfortunately, this peaceful village went under siege; during this time, the Sawmill caught fire, partially collapsing and still smoking from the remaining embers. Both the Allegiance’s 12th Spetsnaz Brigade and the Coalition’s Delta Detachment of the SAS forces.
Map Detail:
Hovec Sawmill is a medium-sized, three-lane map suited for 6v6 playlists with a mix of interior and exterior combat opportunities.
Here are the 22 distinct zones that this map contains:
1. Back Spawn - Coalition
2. Butchers
3. Veggie Farm
4. Lower Trail
5. Main Road
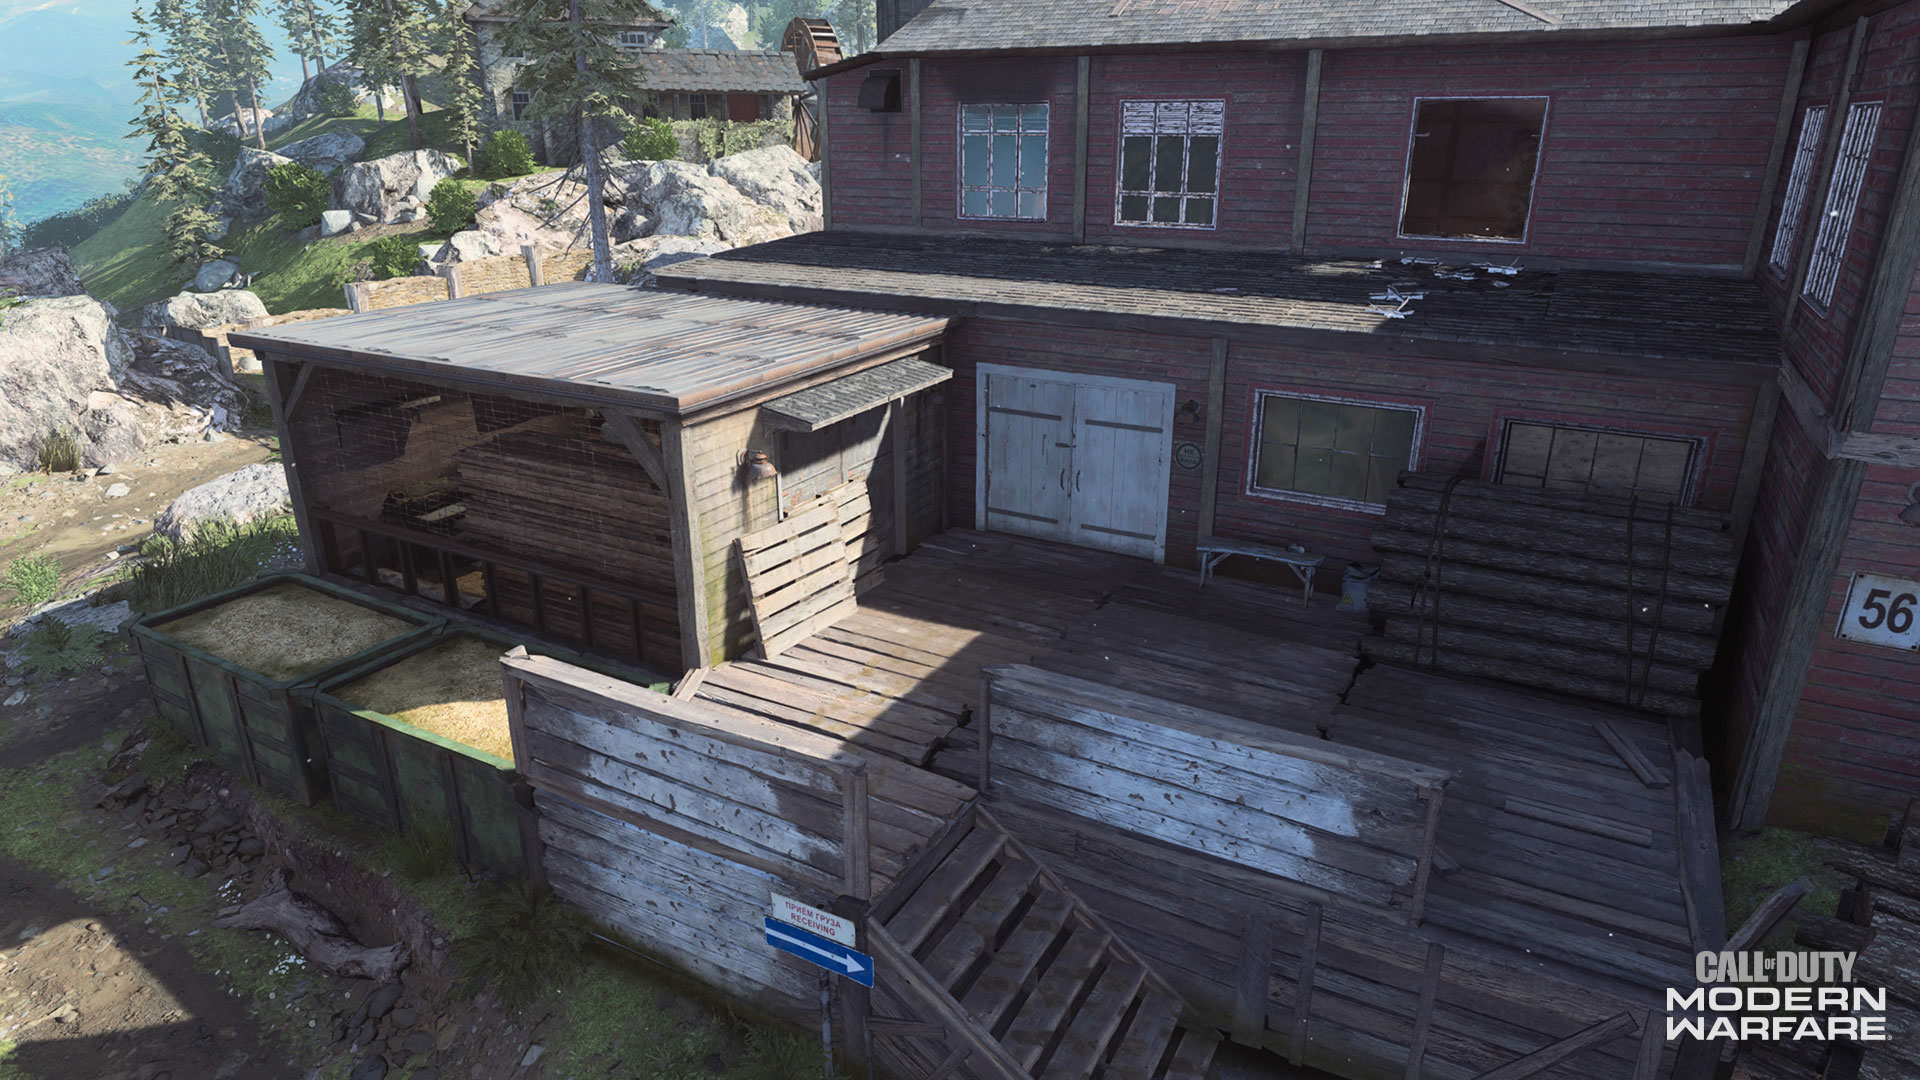
6. Sawmill Porch
7. Sawmill
8. Upper Trail
9. Sawmill Entrance/Awning
10. Storage/Storage Awning
11. Main River
12. River Awning
13. Porch
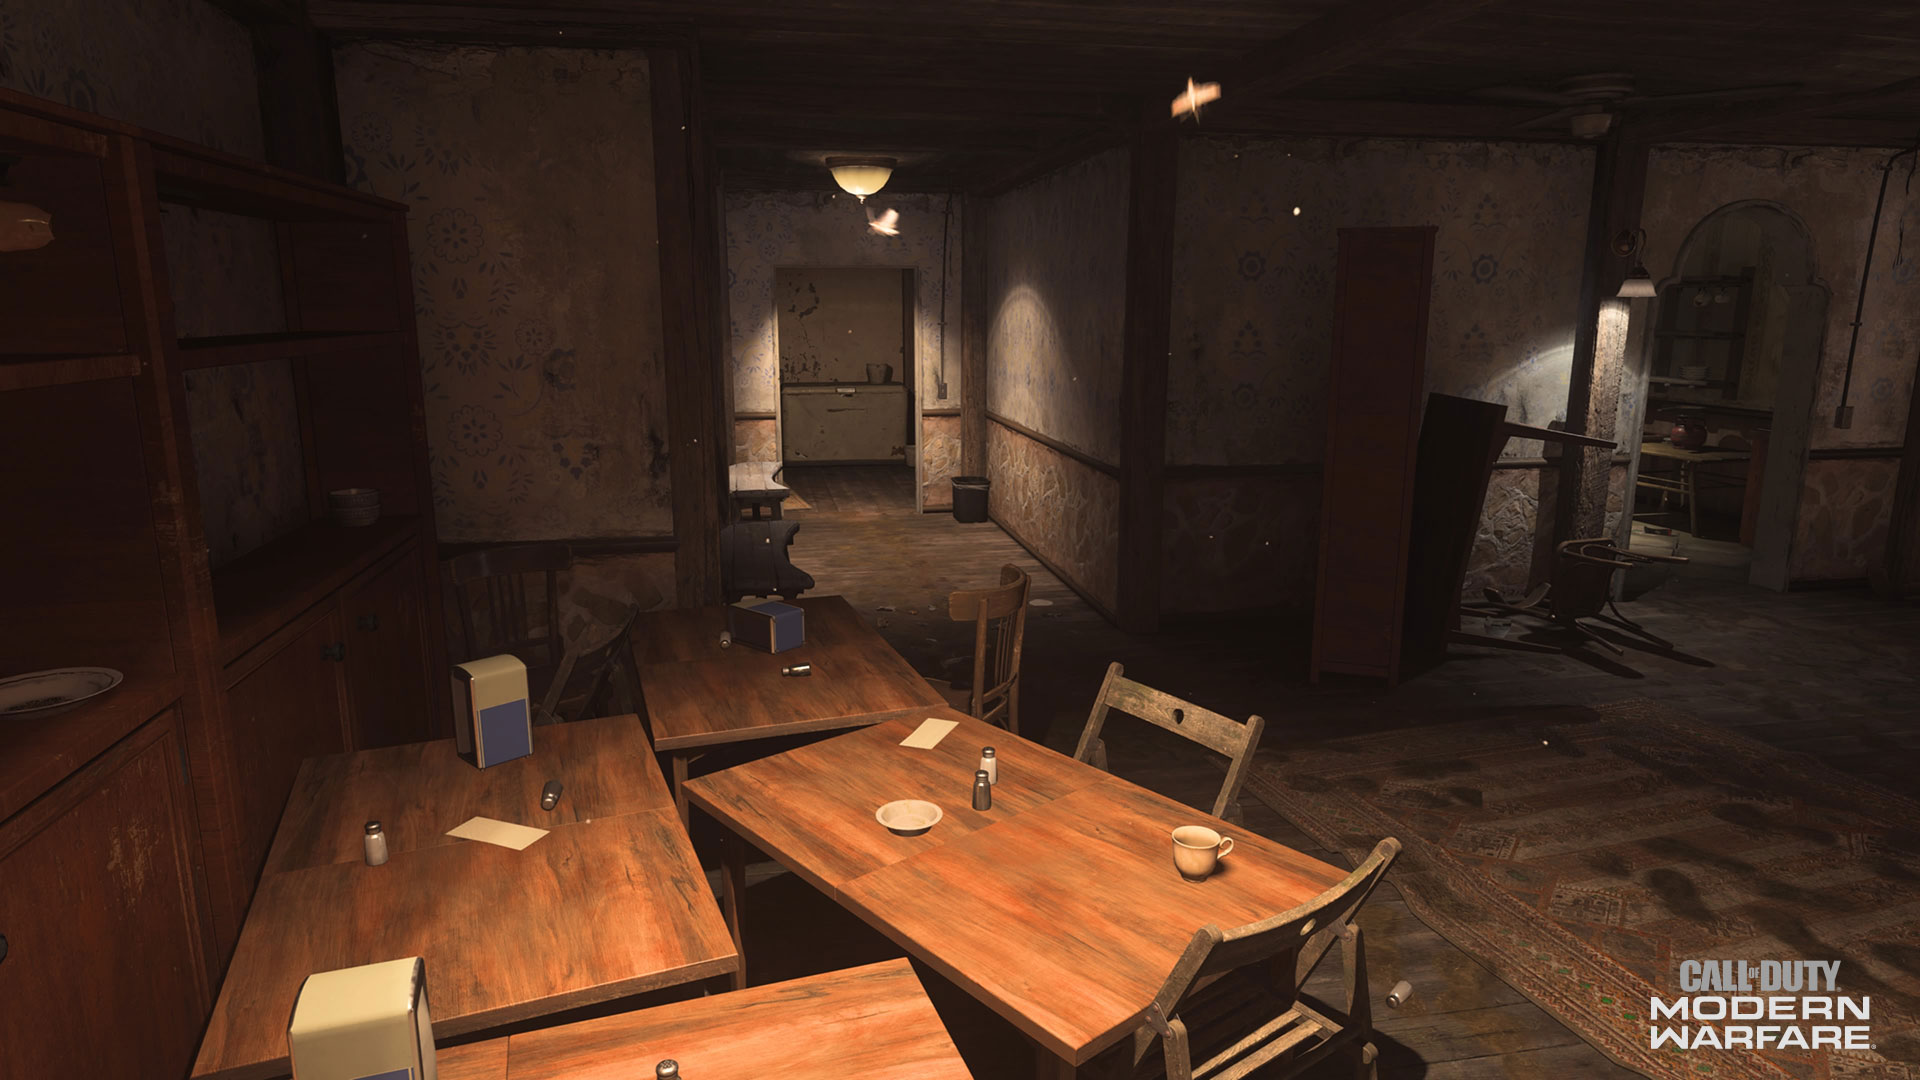
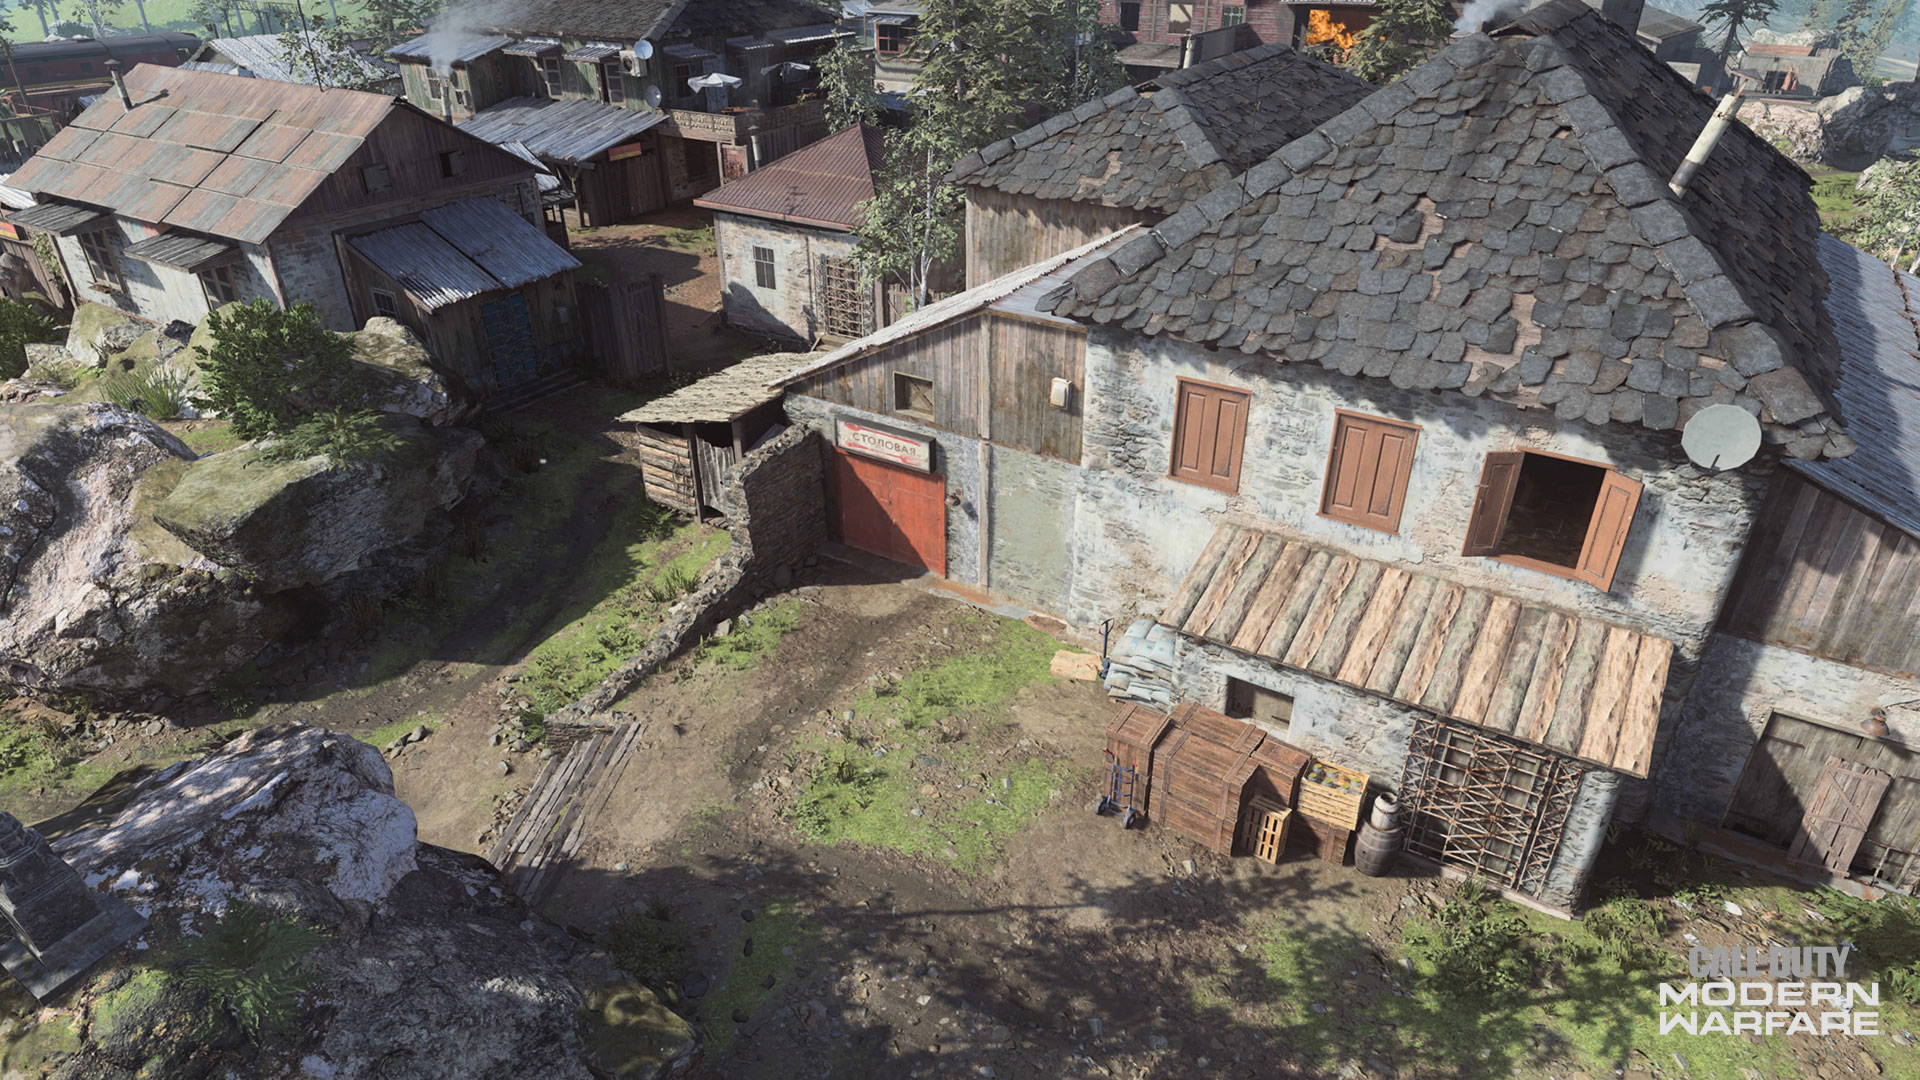
14. Mess Hall
15. Mid Field
16. Beekeepers/Beekeepers Awning
17. Alley
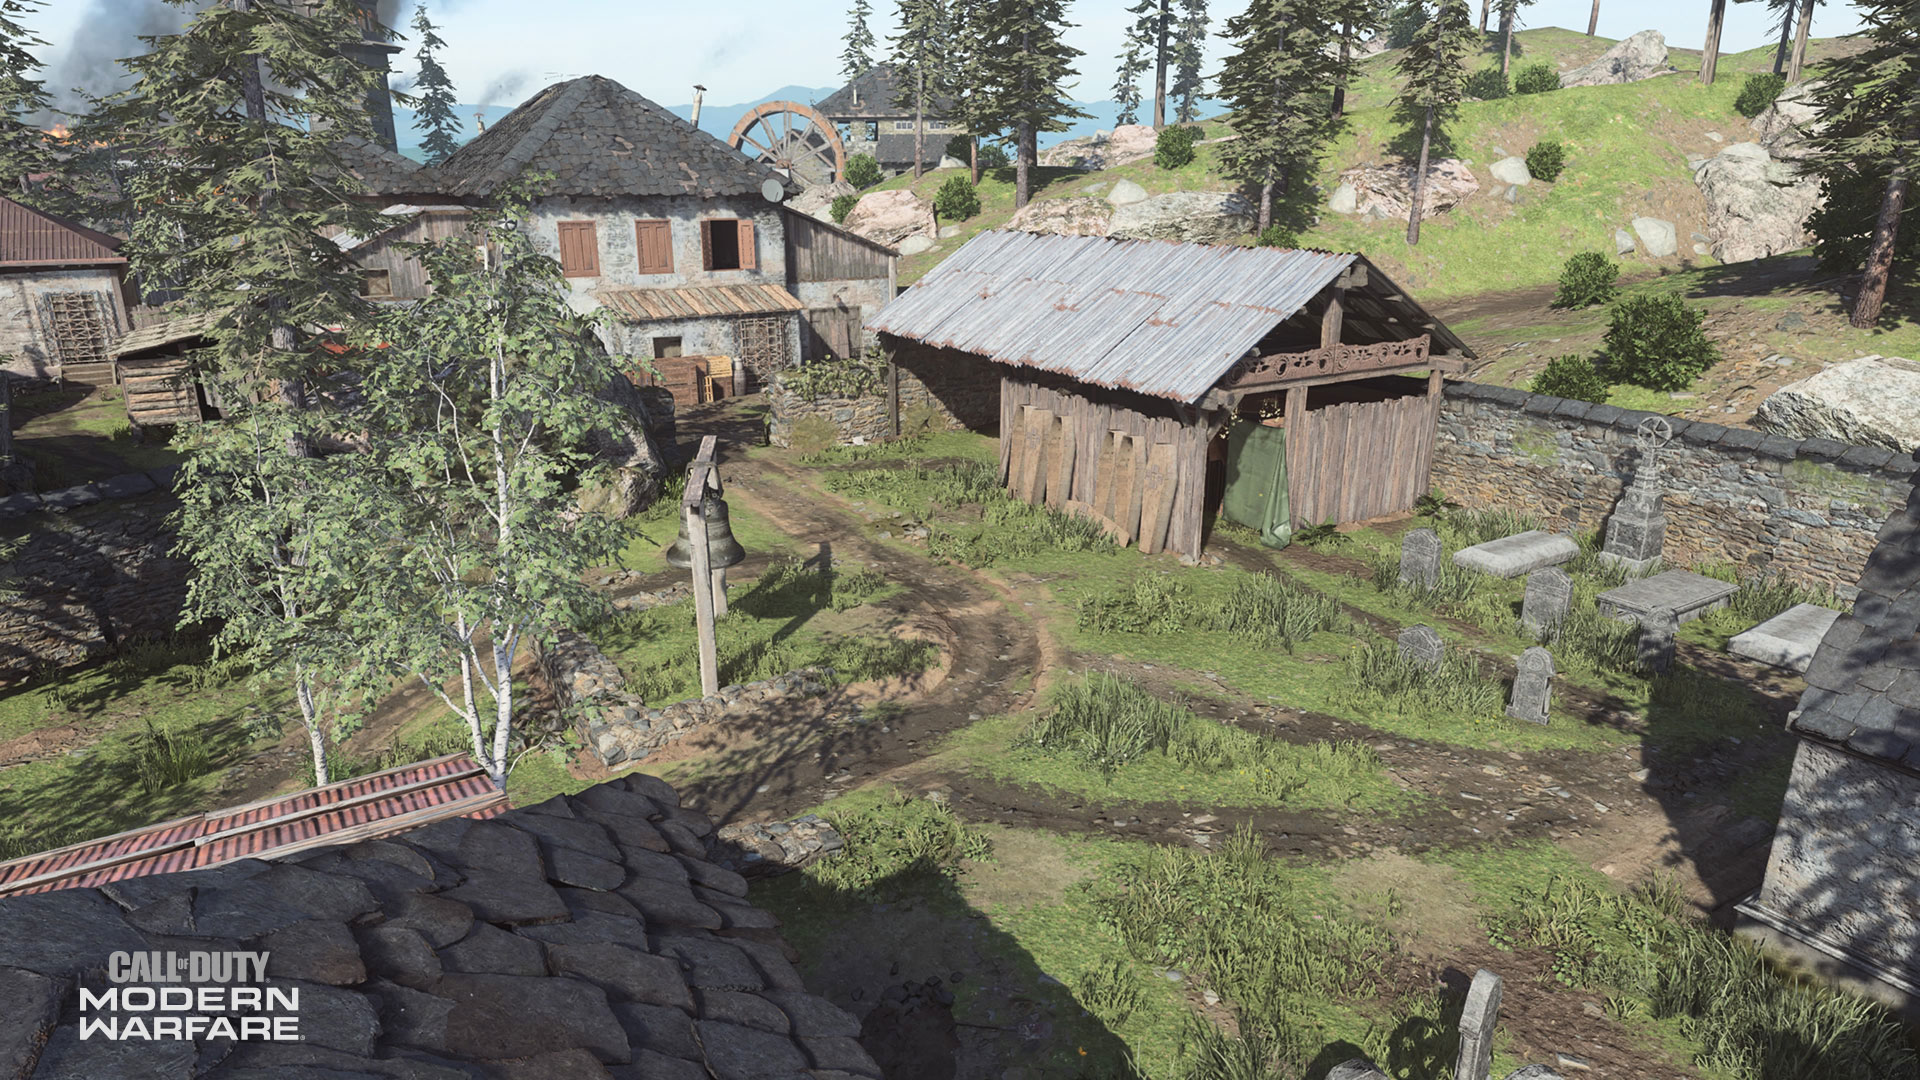
18. Cemetery
19. Carpenters Yard
20. Carpenters Shack
21. Driveway
22. Ye Old Cemetery Road - Allegiance Spawn
Map Overview
The following set of maps detail the entirety of Hovec Sawmill, including the zones, the locations of important areas in different game modes, and a topographical image. Swipe or click left or right to see them all:
Hovec Sawmill: Map Overview
Hovec Sawmill: Zones
Hovec Sawmill: Domination
Hovec Sawmill: Hardpoint
Hovec Sawmill: Search and Destroy
Hovec Sawmill: Cyber Attack
Hovec Sawmill: Topography
Map Zones Overview:
1. Back Spawn - Coalition
The main spawn area for the Coalition is the western-most zone of the map, and slightly breaks north as you get deeper into it.
Like spawn areas on most maps, the strategic purpose of it is to provide a safe area for those respawning, or for anti-Killstreak Operators to use their launchers for knocking high-end streaks out of the sky.
There is one trick for the Back Spawn, and it involves countering enemies who push too far into the Butchers zone. It is possible to lob a C4 or other equipment piece over the unplayable area, allowing you to surprise an over-aggressive enemy that decides to set up shop in the Butchers’ outdoor area
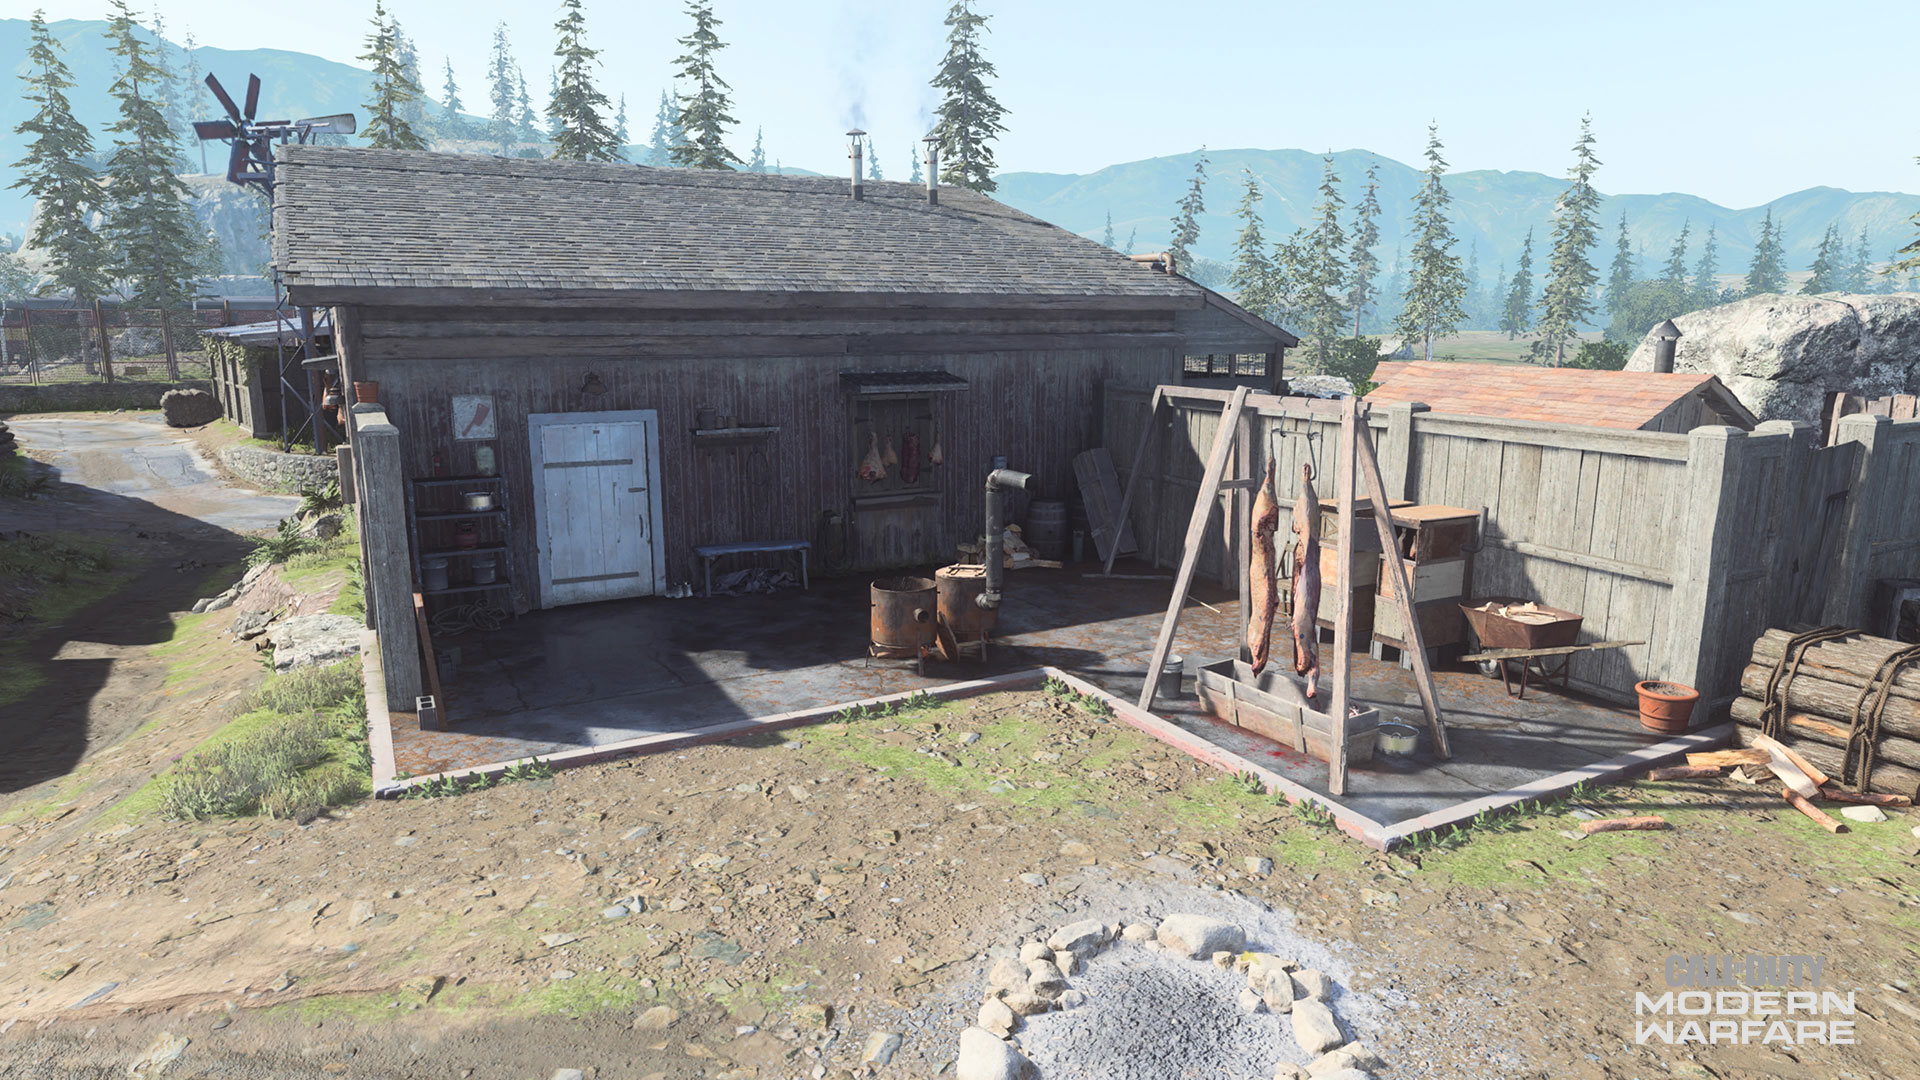
2. Butchers
The Butchers small abode comprises of his dark workshop and his outdoor firepit, complete with a few fresh cuts hanging out to dry.
Within the actual Butchers’ structure, shotguns and SMGs will reign supreme, as there is little wiggle room in between the sharp cleavers, meat hooks, and products for sale.
Outside, be careful of mid to long range loadouts that Operators coming from the Trail may be using. This is especially important in Hardpoint and Headquarters, where a massive rock on this Trail acts as the marker for a Hardpoint or HQ location.
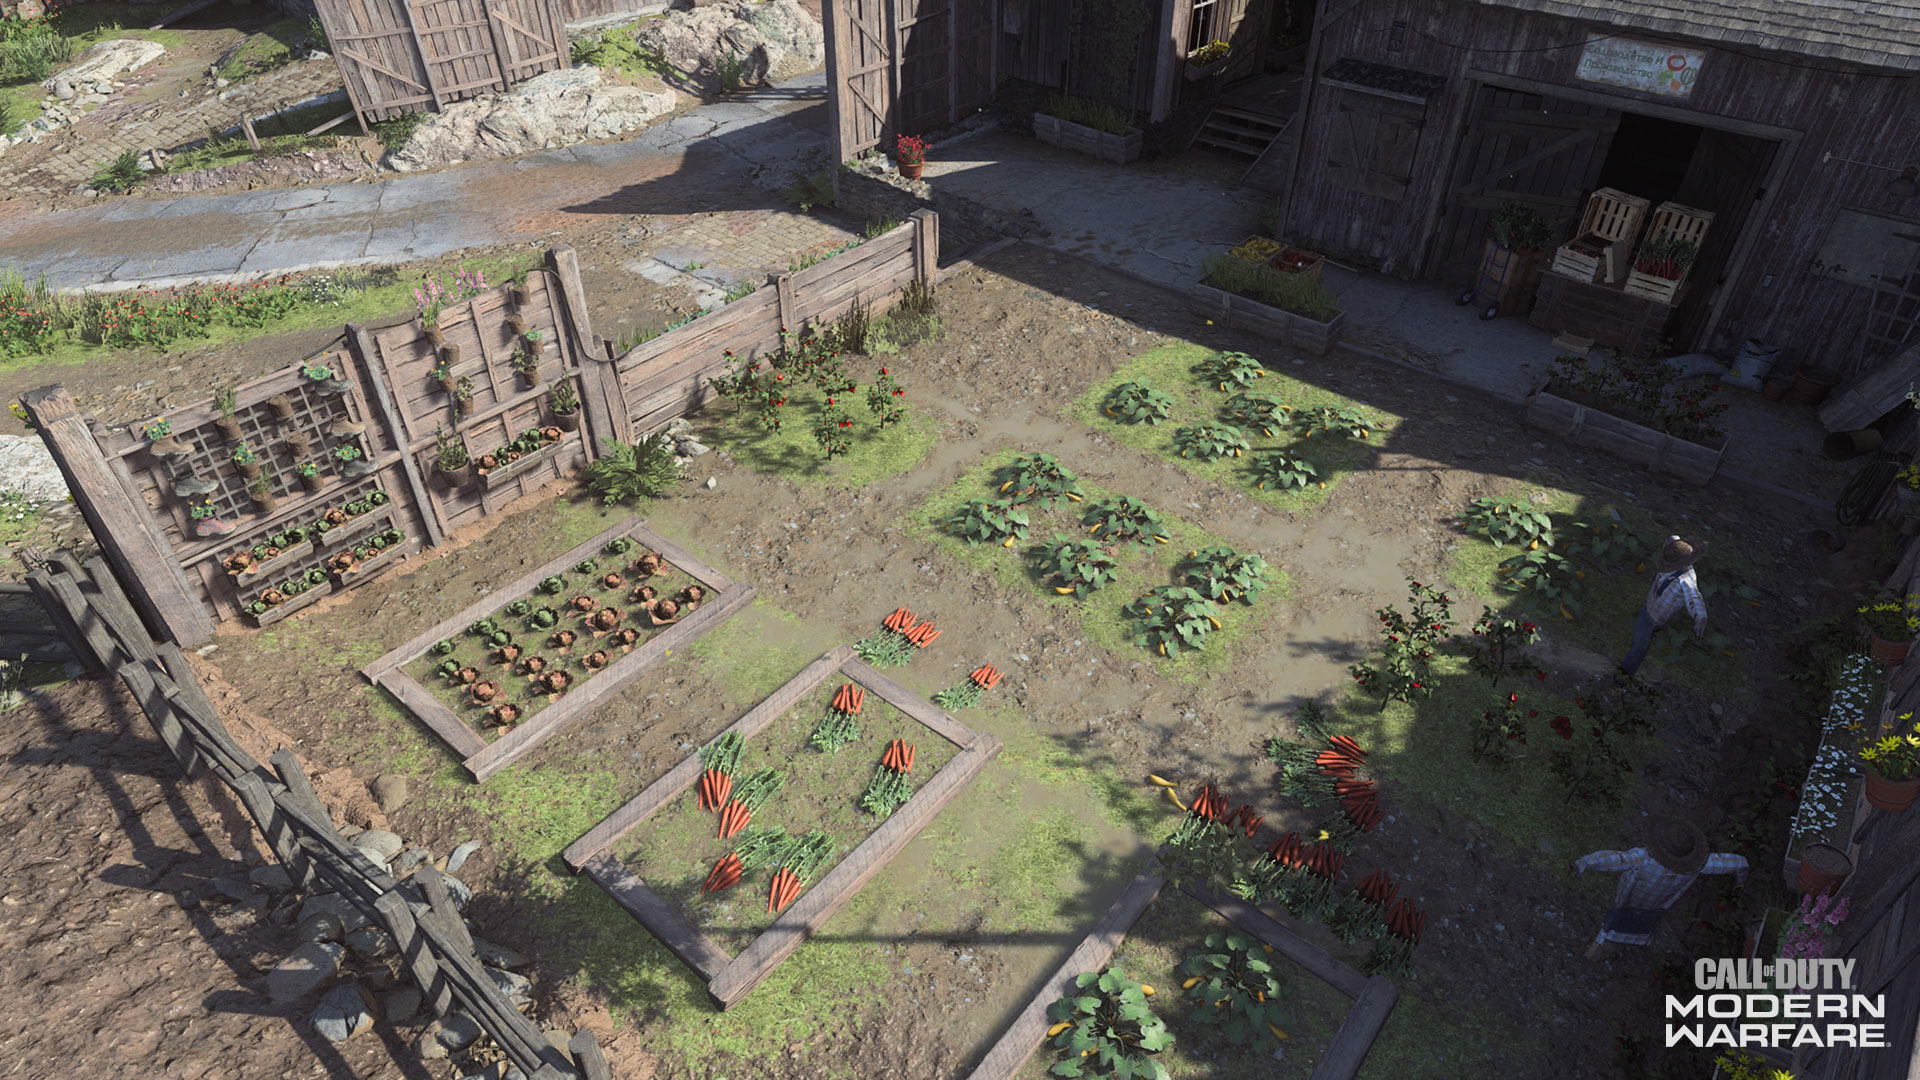
3. Veggie Farm
The Veggie Farm serves a similar purpose to the Butchers: it is the next zone that respawning Coalition members will run through as they travel to one of Hovec Sawmill’s three main lanes.
Because most of this farm area is outdoors, this could be another great area for an Operator to take out a launcher and shoot down enemy Killstreaks. The shaded overhang within this area acts as a great piece of cover between the farm and the Main Road, which is useful for taking out over-aggressive hostiles.
In Headquarters or Hardpoint, this may be where attackers will want to flank the enemy if the objective lands west of here next to the Sawmill.
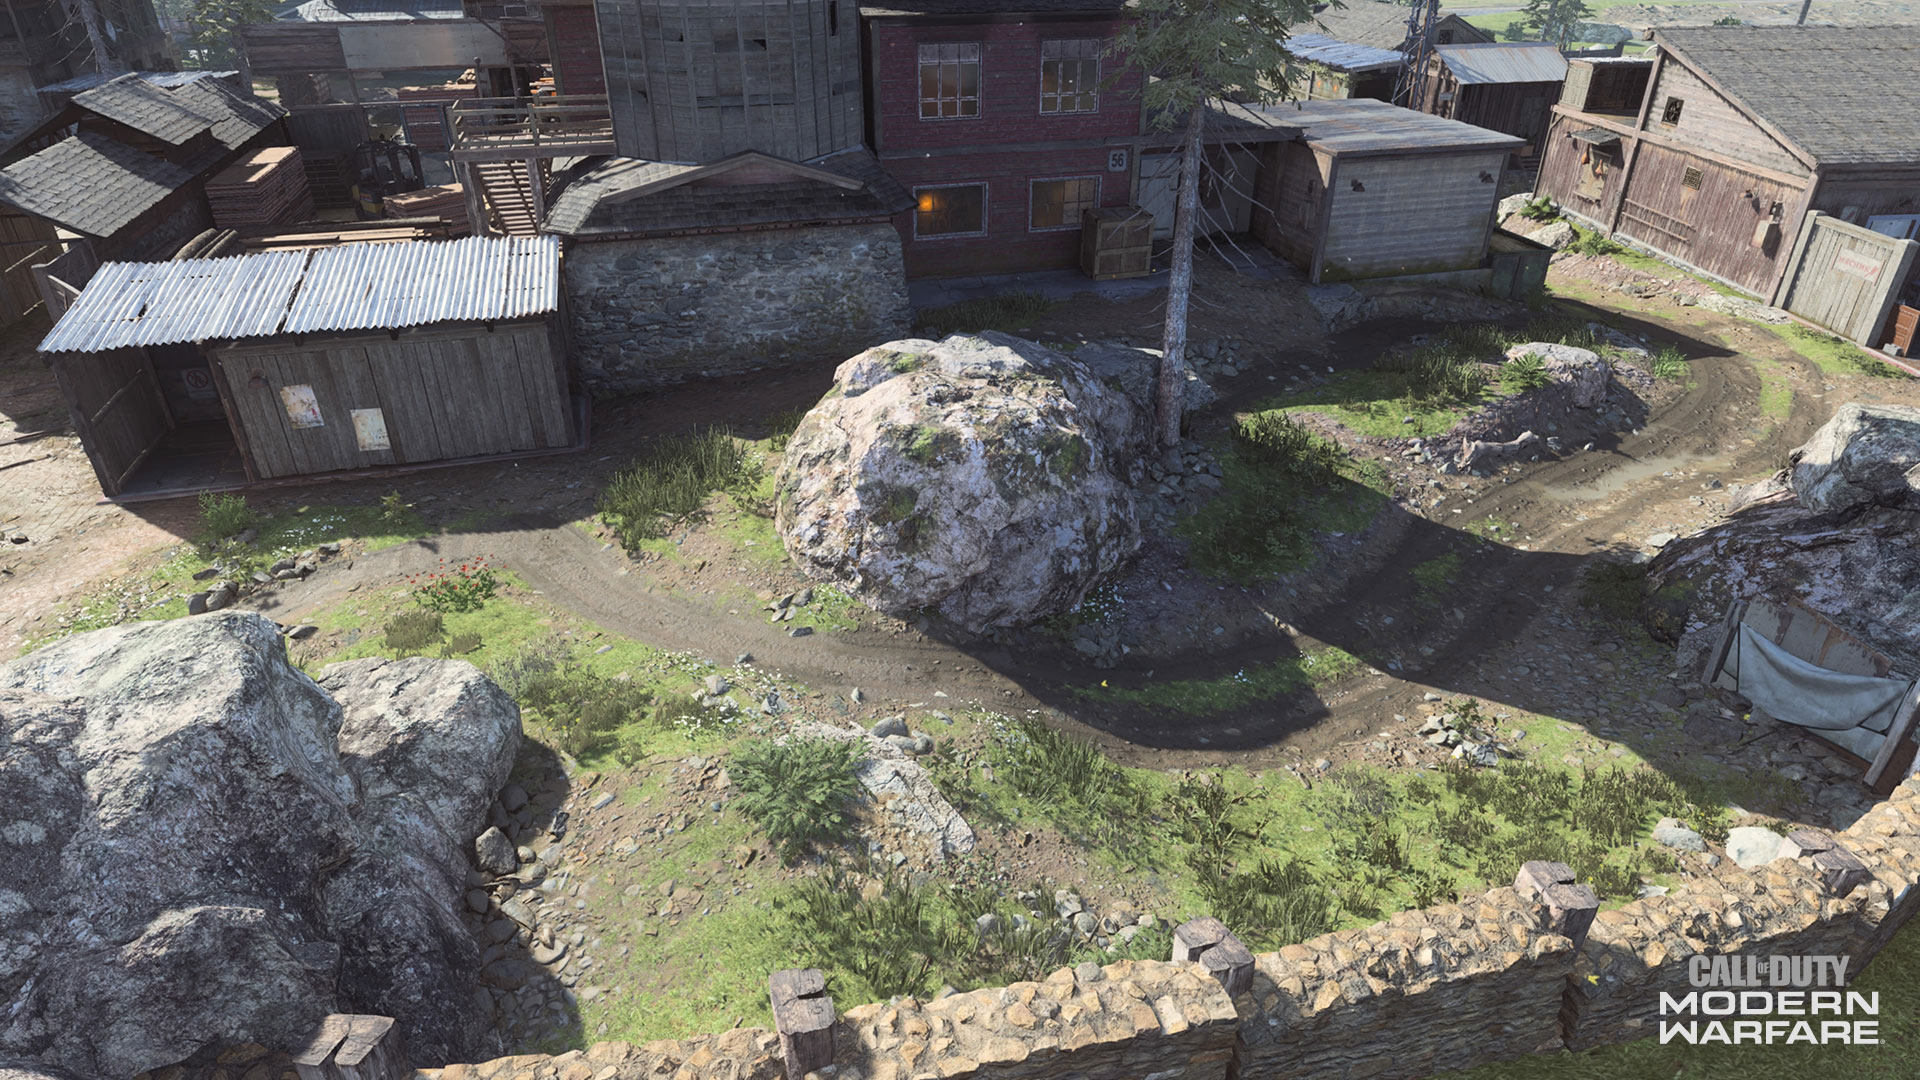
4. Lower Trail
This dirt path runs along the Sawmill’s north side from the Butchers to the Upper Trail, and begins the north lane of the map that is defined by a few good unobstructed sightlines.
Here, you must use the natural cover to your advantage, as the rocks are dense enough to stonewall bullets (literally). Use the time when your enemy is reloading to pop back up over the rocks and counter them, and don’t stick around here for too long, or else you’re asking for a hostile Killstreak or JOKR missile.
In Hardpoint and Headquarters, the big rock between the Lower and Upper Trail is an objective location. You can either use this rock as cover or stand atop it and snipe down any attackers coming from the east.
5. Main Road
Running north-south on the map’s west side, the Main Road separates the Coalition’s main spawn from the Sawmill, Lower Trail, and Storage areas.
Other than being a transition area, there are stacks of plywood just outside the Sawmill where a Hardpoint or Headquarter can pop up. If you are defending this area, watch for CQB Operators coming from the west or the Sawmill, or mid-range weapon users that are around or on top of the Storage building.
The Main Road also serves as a Domination flag location, which is considered the Coalition’s “spawn flag.”
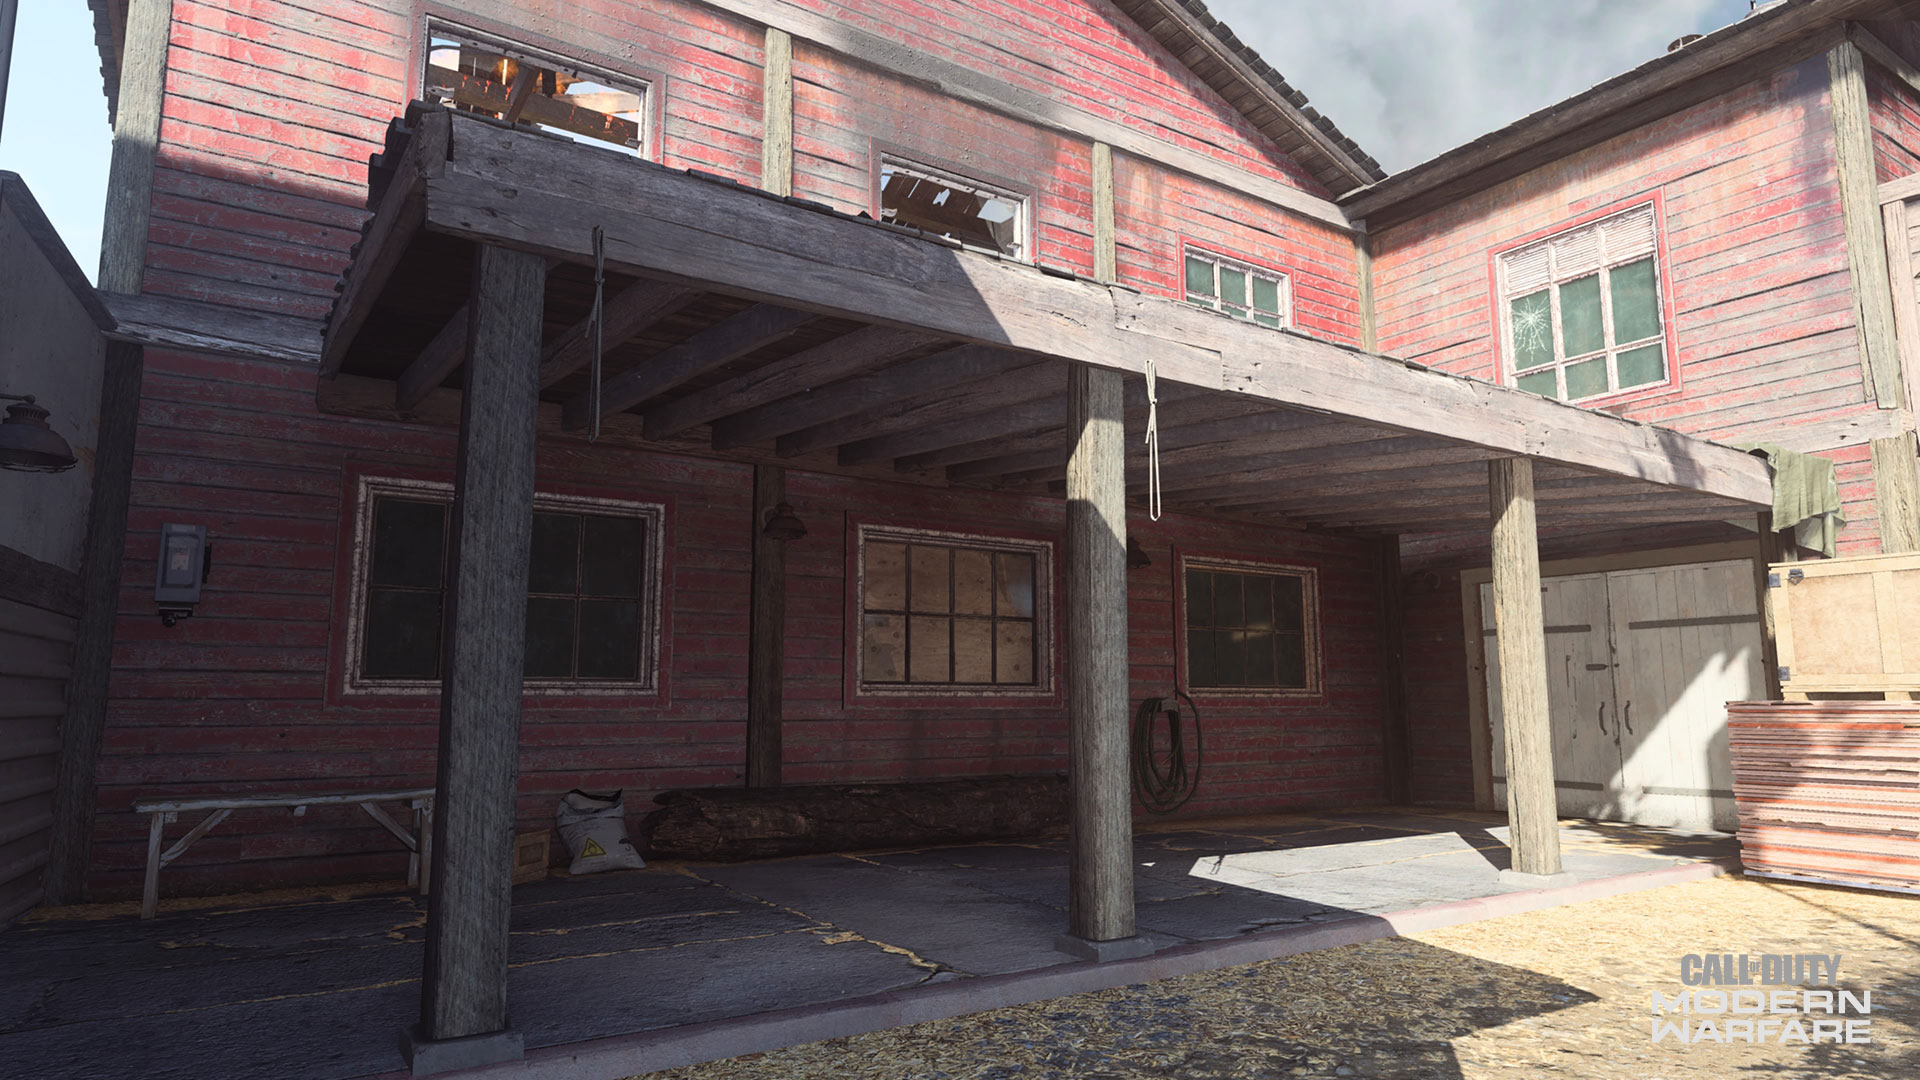
6. Sawmill Porch
The Sawmill’s back porch not only has a set of double doors leading into the Sawmill, but also a big roof space that can be easily accessed.
This can allow for alternative entry into the Sawmill, putting an Operator on a wooden catwalk to the zone’s main overlook point. The roof also just north, allowing for a sniper to get an angle on the North lane, albeit one that is partially obstructive.
Coalition members will find their initial Data Center in Cyber Attack here. When attacking it, watch out for defenders who may take solace in the corner of the roof that looks right down on the porch below.
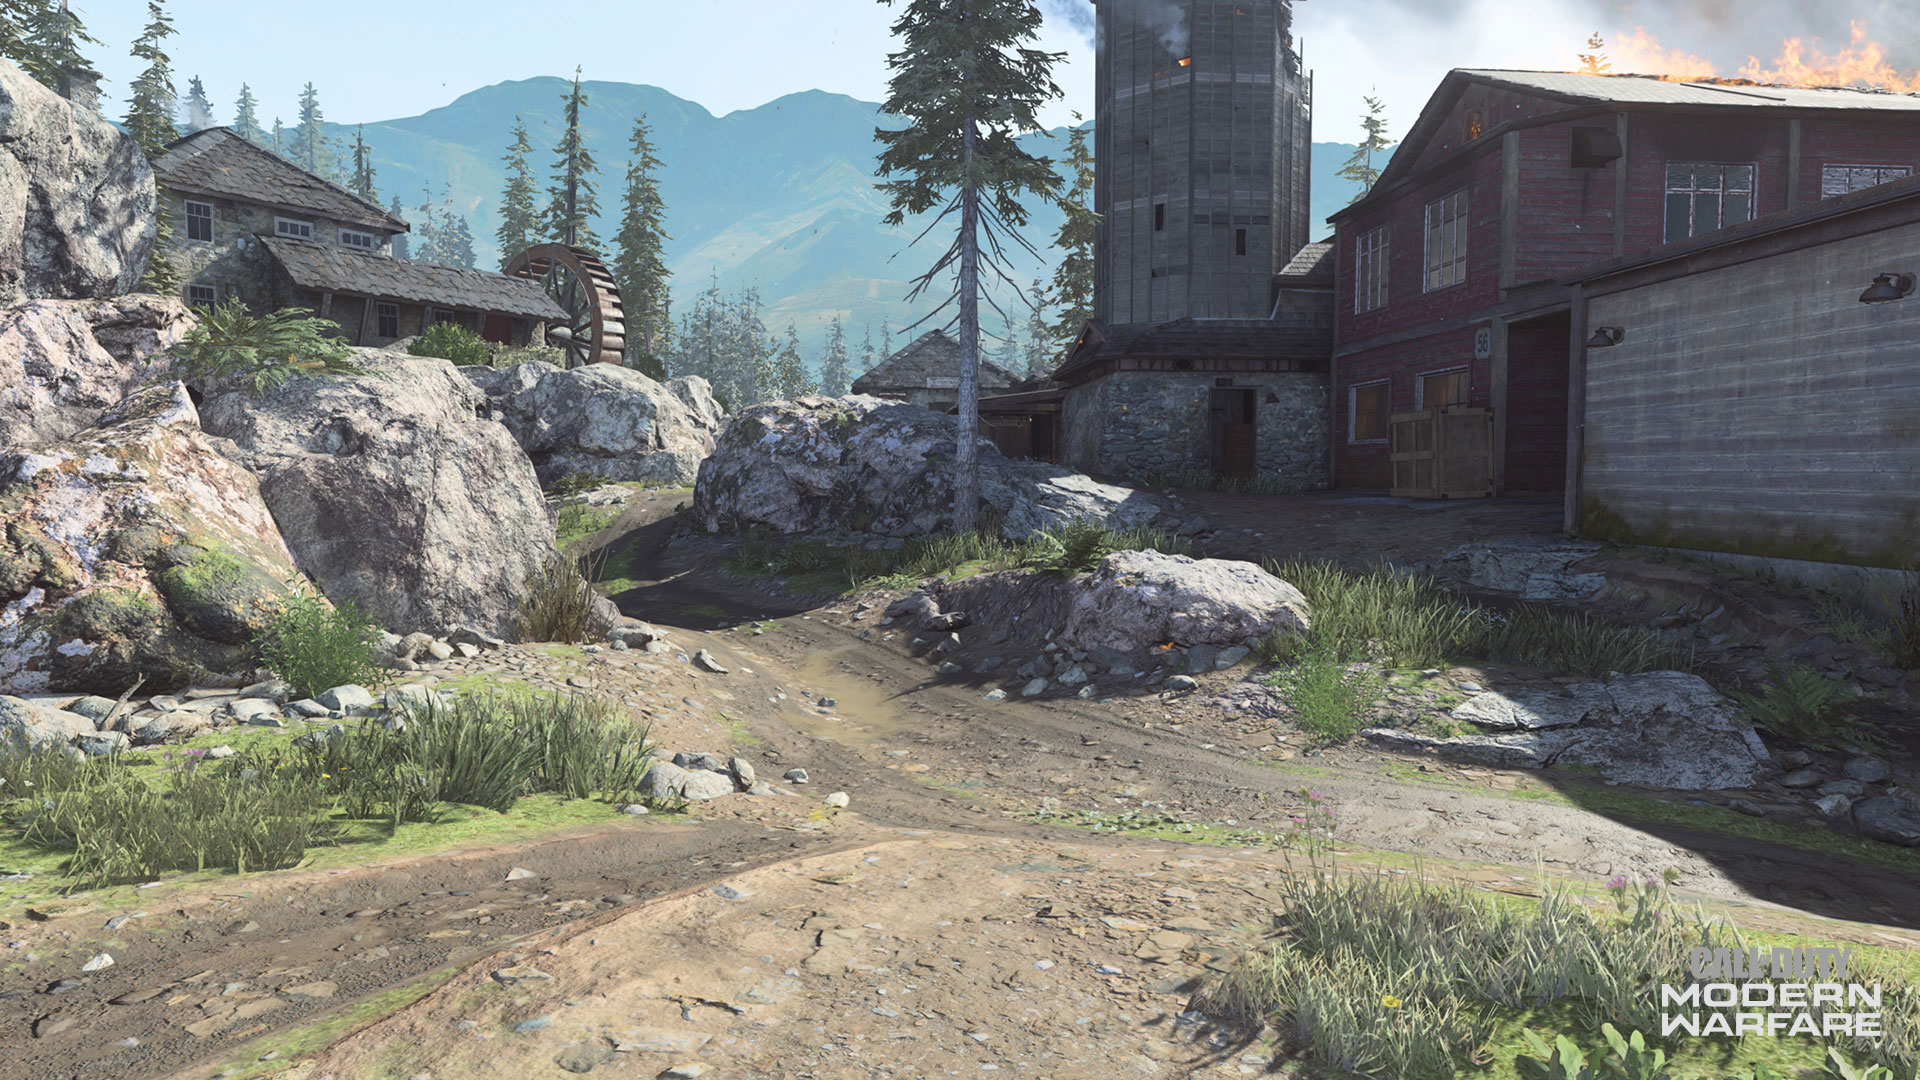
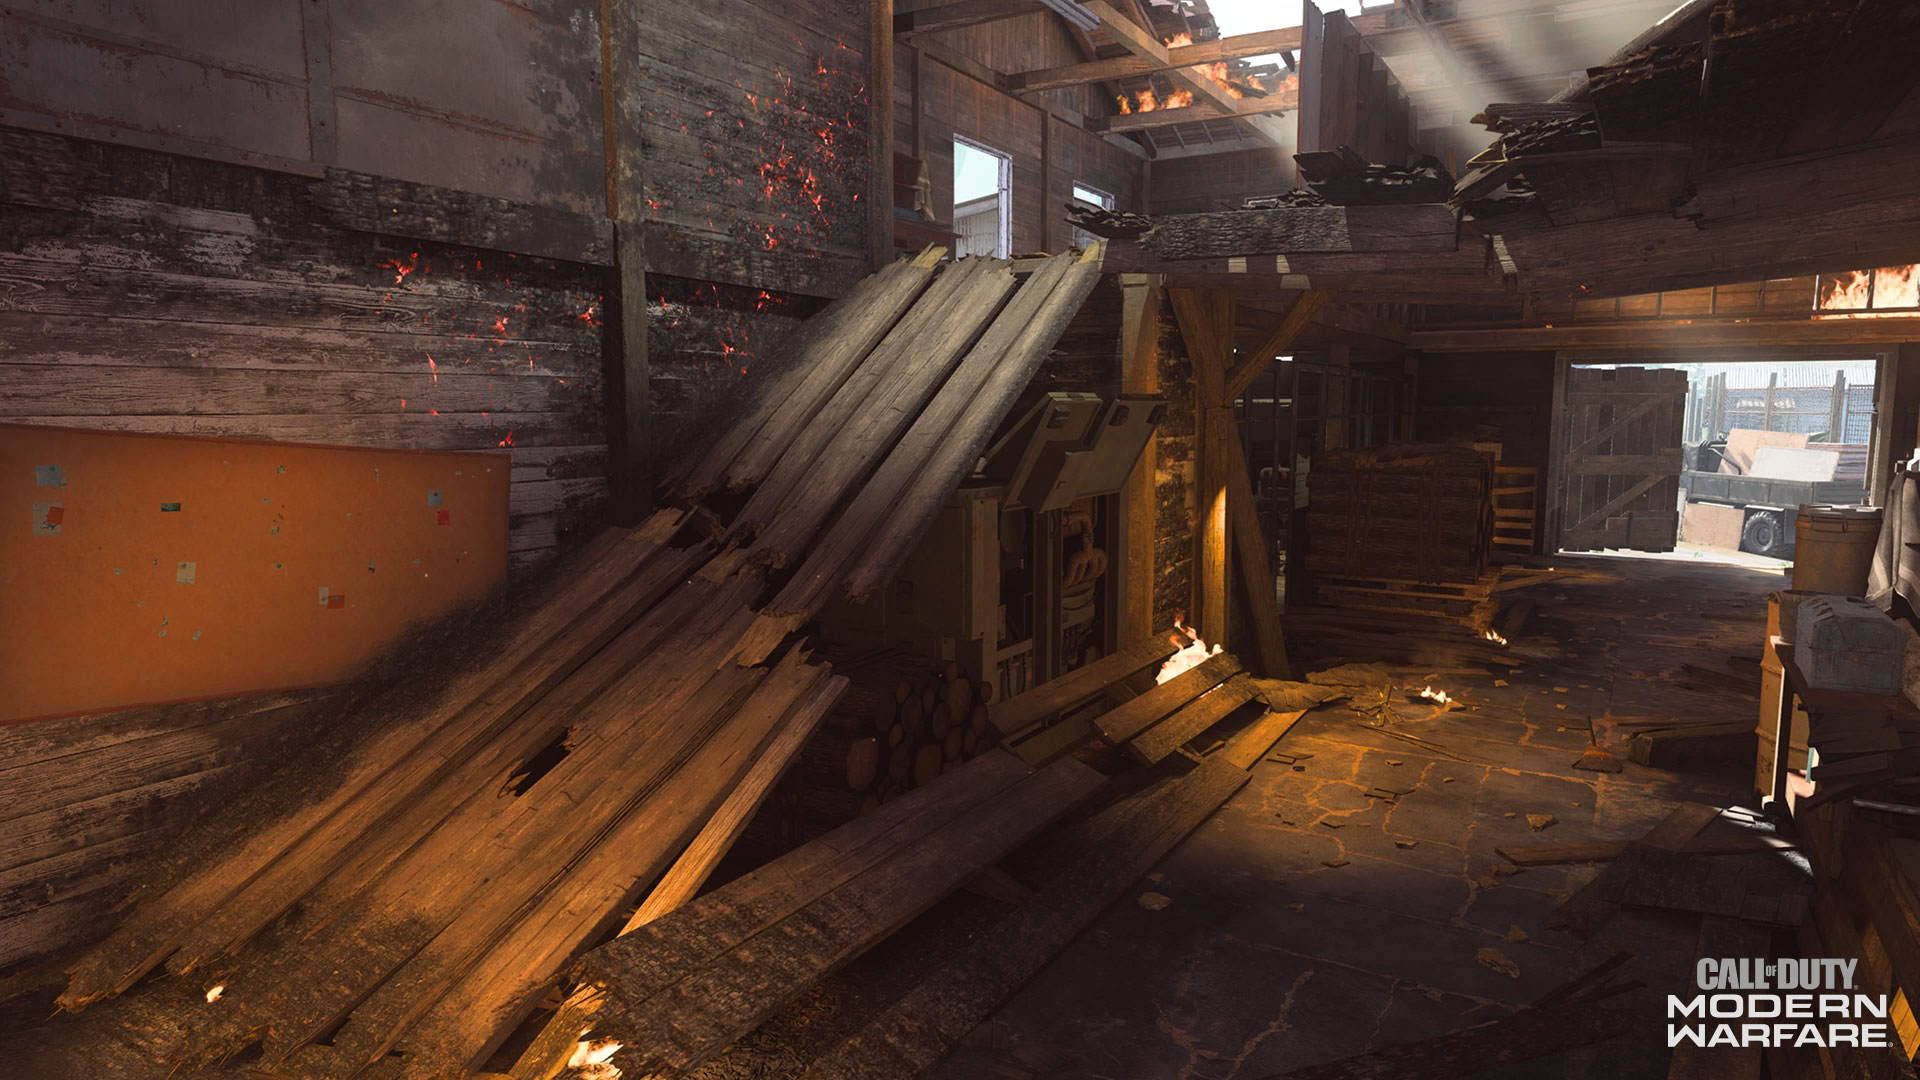
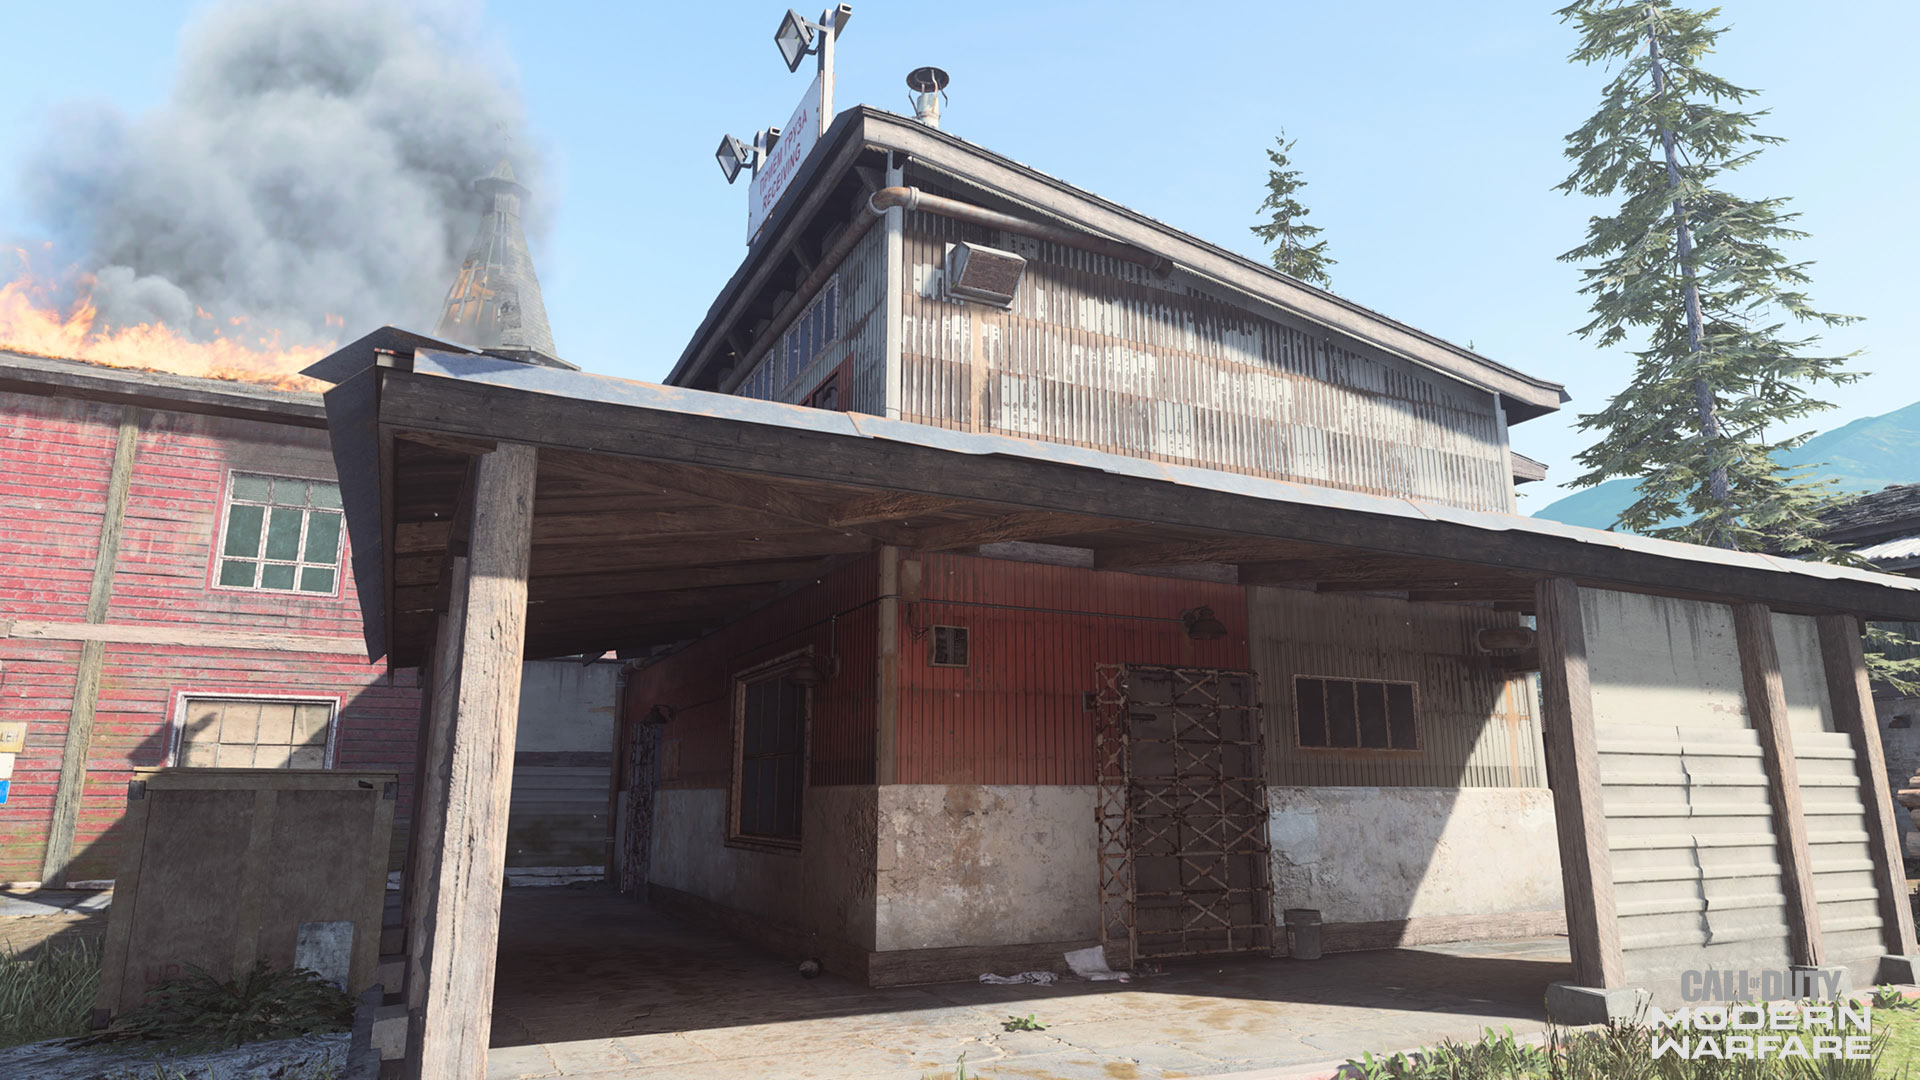
7. Sawmill
The namesake of Hovec Sawmill has seen better days, as it is now ablaze and crumbling, but still – somehow – safe enough to fight in.
The Sawmill comprises of two floors: the first, which is where a Hardpoint or Headquarter can spawn, and the second, which has two windows that are superb for snipers.
While the Sawmill can be described as a power position, there are no shortage of seven different methods of entry, including both windows, that Operators can swarm in from. That’s not even mentioning the open roof, where Killstreaks and missiles can fly through to deal massive damage.
Although the views from here over the map’s middle lane are great, it’s best to have an exit strategy if you travel into here to pick off a few enemies.
8. Upper Trail
The second half of the map’s north trail finishes the dirt path with some more rocky outcrops, along with a small shack that provides some decent cover from the elements and enemy players.
That shack is great for catching Operators trying to sneak into the Sawmill through the side entrance, or counter people on top of its roof. Facing the other way, the wall facing the Mess Hall can obstruct you from snipers up here, but one well-placed FMJ bullet will have them celebrating an impressive wall-bang, so be careful when taking cover here.
In Search and Destroy, the A Bomb Site is here, and should be defended from a distance by mid to long range weapon users on either side of this northern lane.
9. Sawmill Entrance/Awning
A wooden overhang and a set of double doors are the main features of this small, yet meaningful area.
Although its purpose is obvious – come here to walk into the Sawmill – note the stack of wood and a crate that can boost you up to the awning.
If you get up here, you could surprise someone sniping out the windows, and counter them with a short-range weapon that you would not use otherwise within this middle lane. Also, you could use the Awning to jump over to the Storage Awning, which is a quick hop over a wall away.
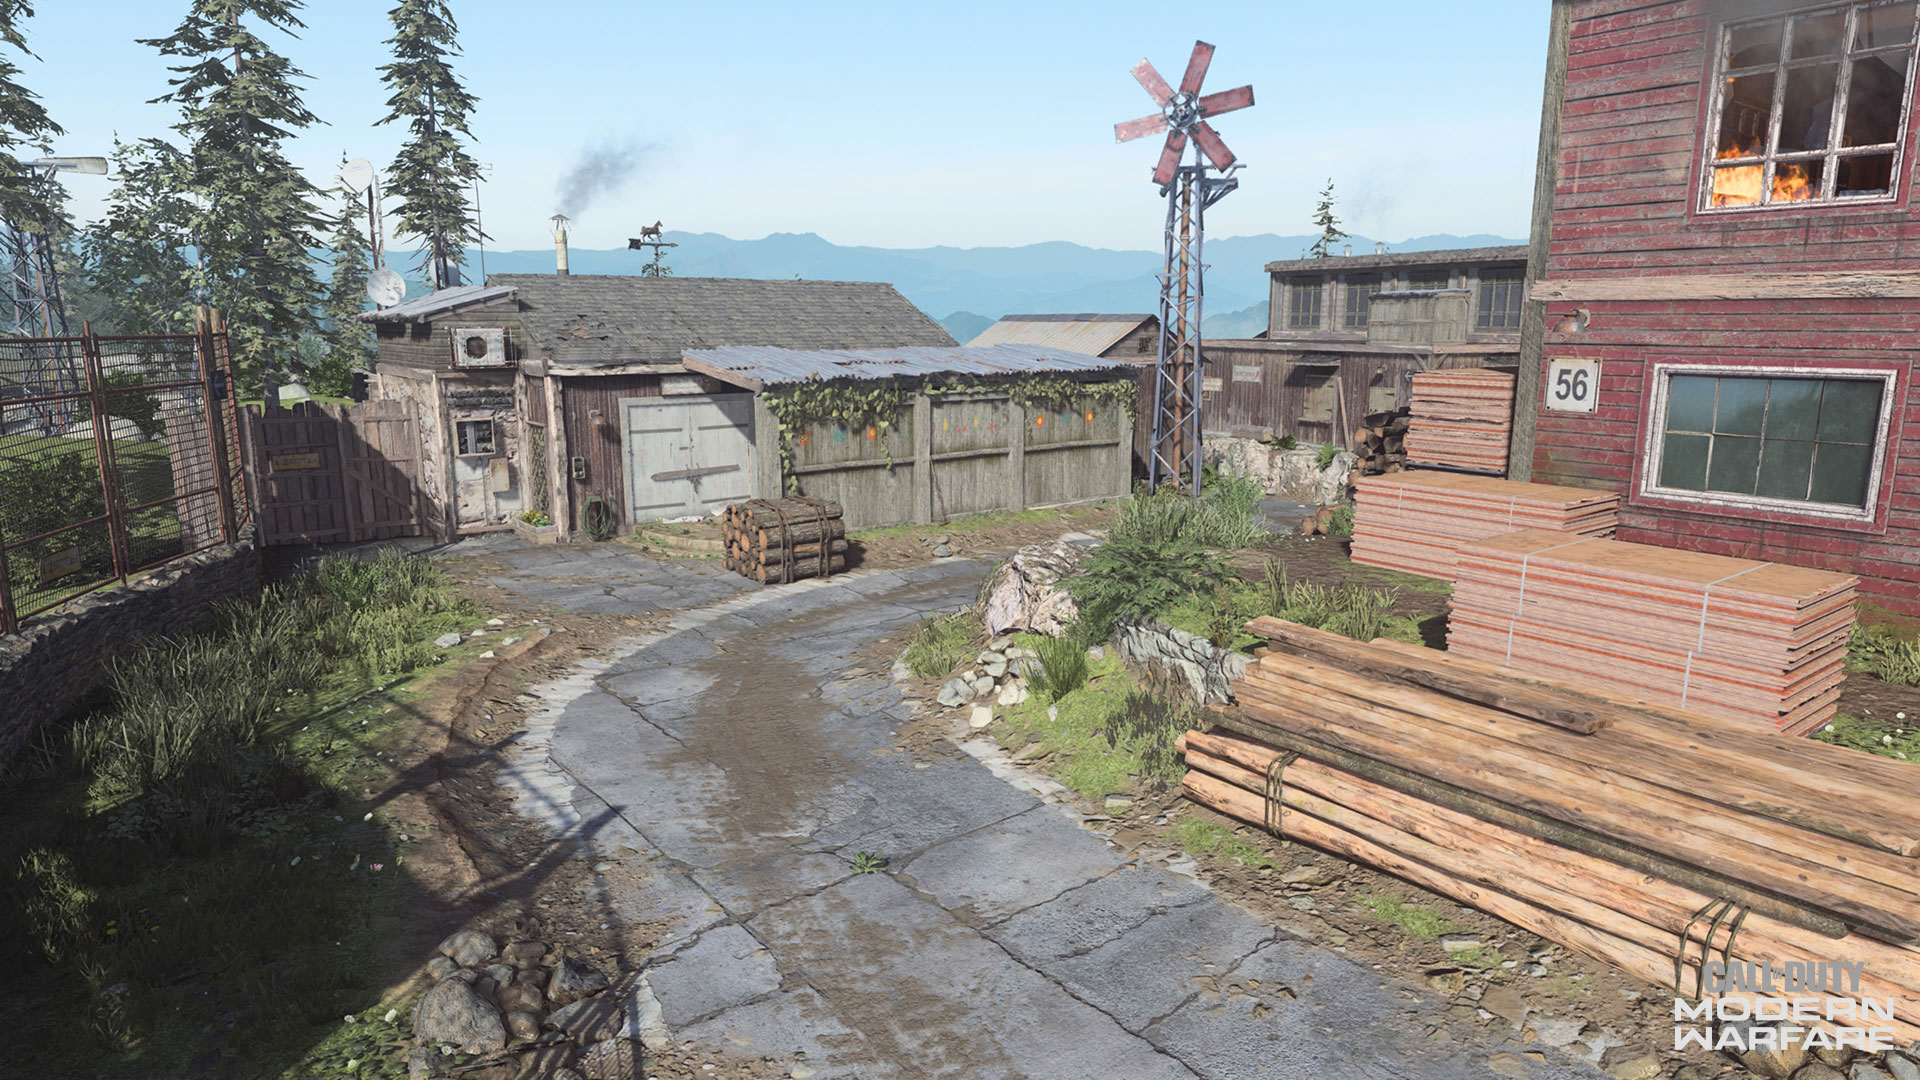
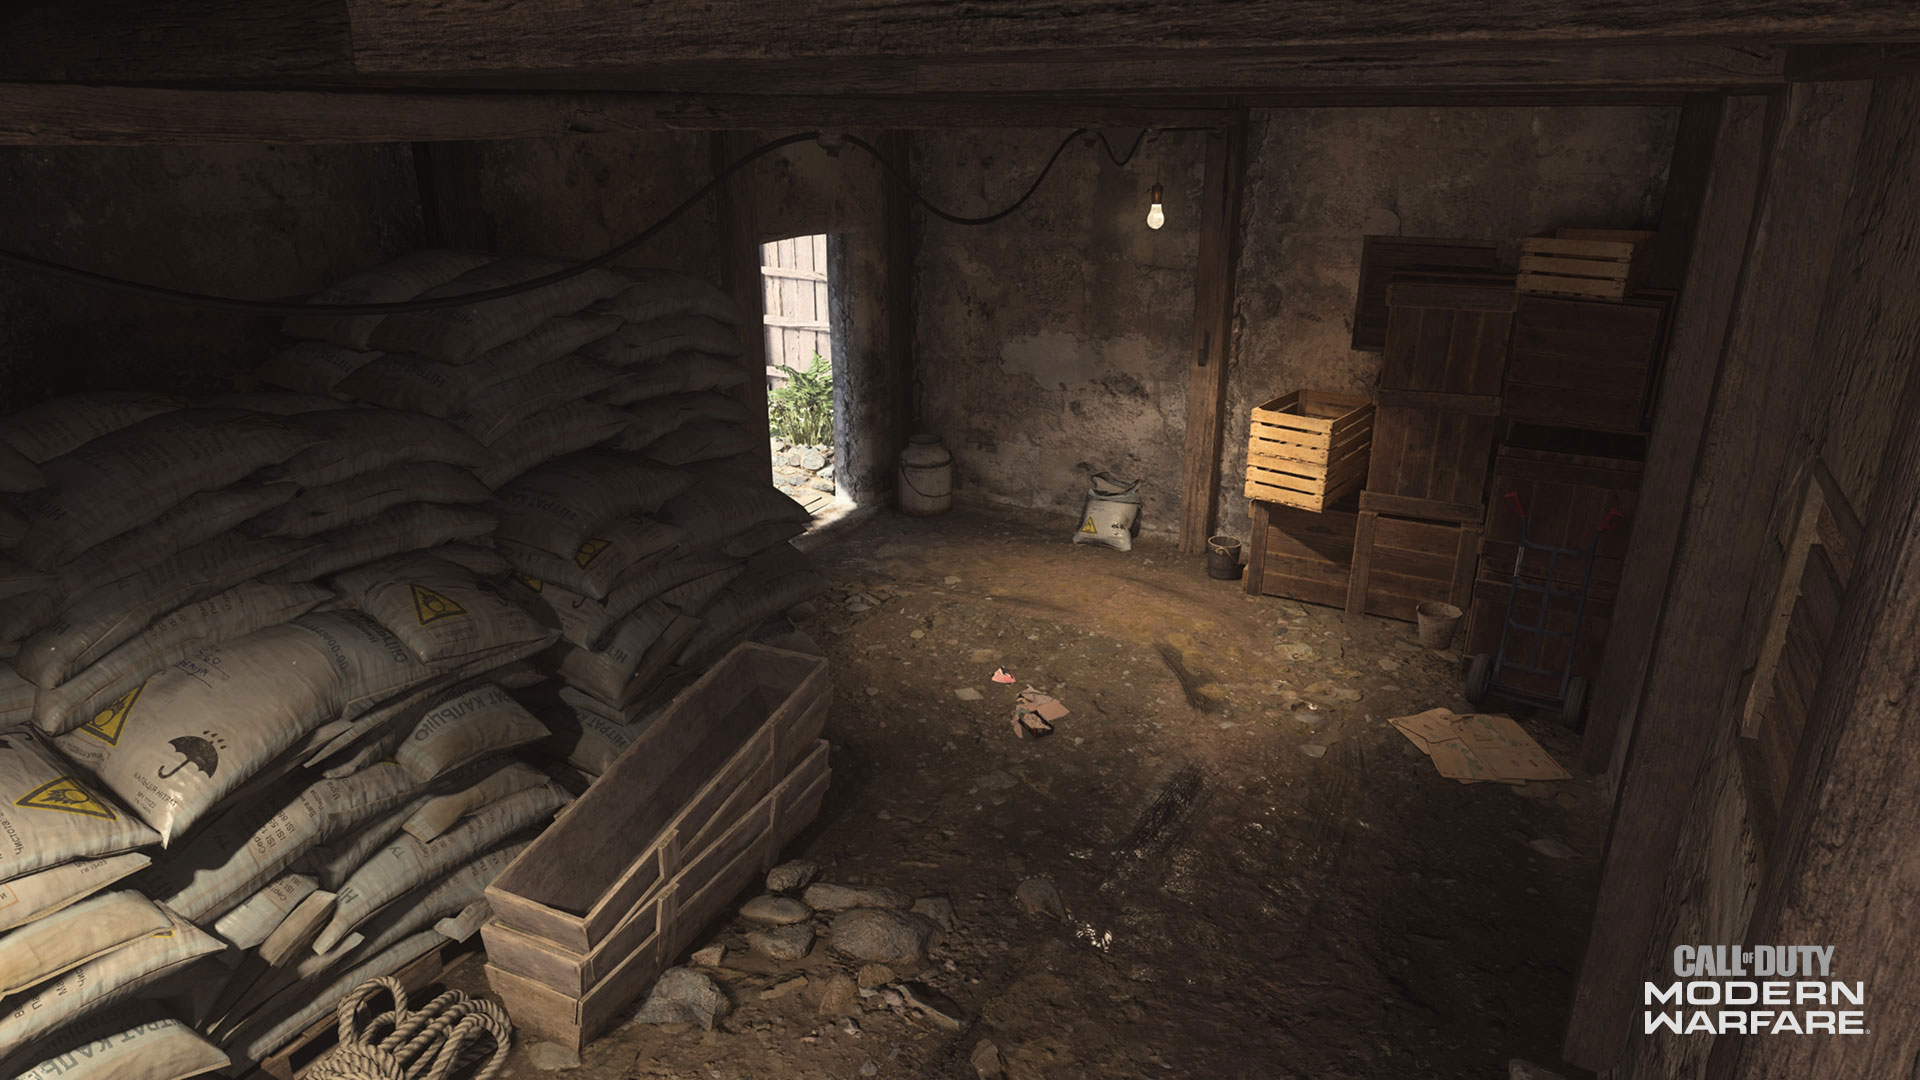
10. Storage / Storage Awning
This small building adjacent to the Sawmill is where excess wood is shelved until it is delivered, with a large vehicle blocking entrance into the building itself.
The area underneath the awning provides decent, but not perfect, coverage from aerial Killstreaks. Meanwhile, the awning could be a great place to snipe down the south lane from, or to hop up onto the Sawmill Awning if you want to switch lanes.
Those who use certain equipment pieces, such as Frag Grenades or Throwing Knives, can bounce them off the Storage building and into the Sawmill for a Bankshot with enough practice… And if you can do this, then it might just be worthy of a #CODTopPlay designation.
11. Main River
An active river flows straight through Hovec Sawmill, as a river mill turns the rushing water into power outside of the map before dumping it down into this smaller stream.
This area cuts through the entire middle of the map, acting as a midpoint of all lanes and the probable meeting point for first bloods. Note the sound your combat boots make in water, which can tip enemies off to your location.
The south end of the river acts as a major objective location, as it serves the B flag for Domination, the first Hardpoint, and a Headquarters location in those game modes. When fighting for control here, watch out not only for enemies patrolling the south lane, but also firing from across the map all the way up north.
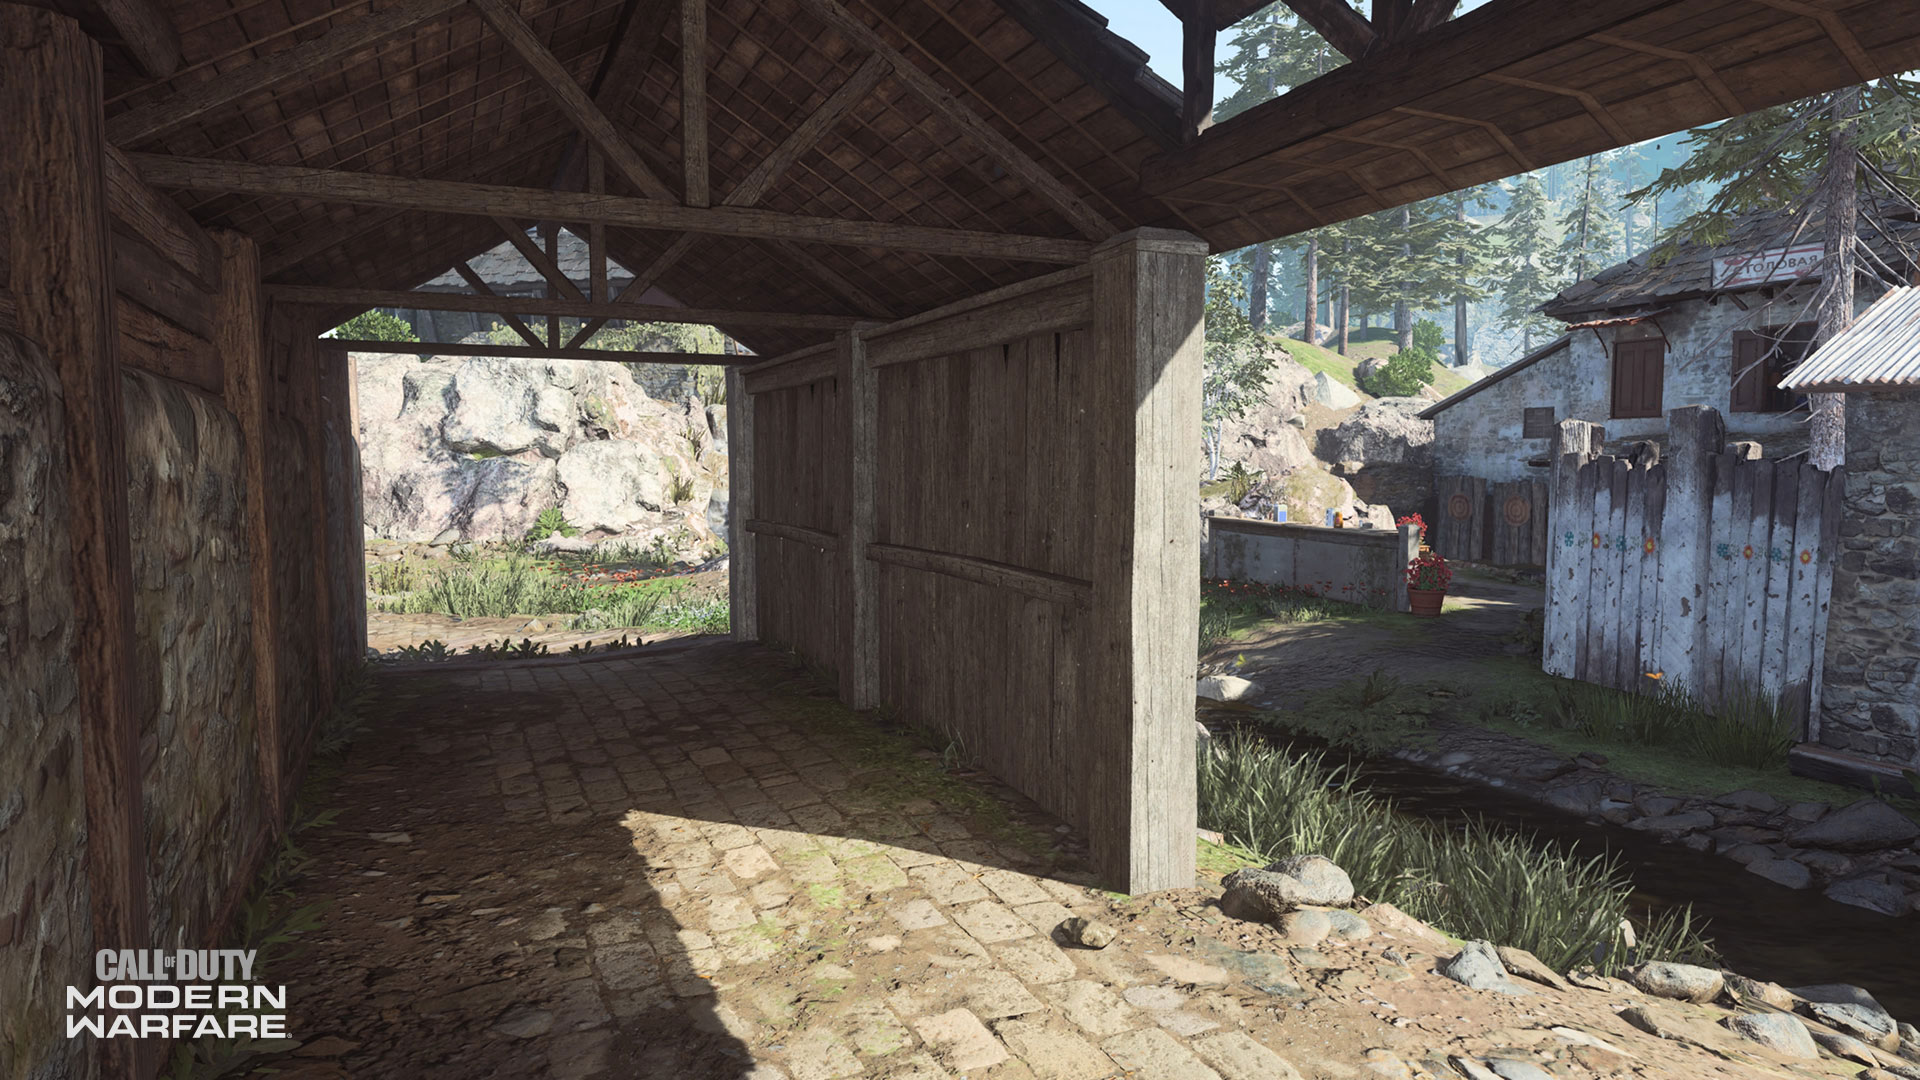
12. River Awning
A major piece of cover alongside the river, the River Awning serves as another place of protection against aerial Killstreaks and snipers from the Mess Hall or elsewhere.
While it isn’t the most tactical zone on the map, it is a key place to set up if the Hardpoint or Headquarter moves to the Porch outside the Mess Hall.
Its position just west of it makes it a great zone to reload or take cover in before pressing forward, although the Mess Hall itself is usually a better place to take refuge in than here.
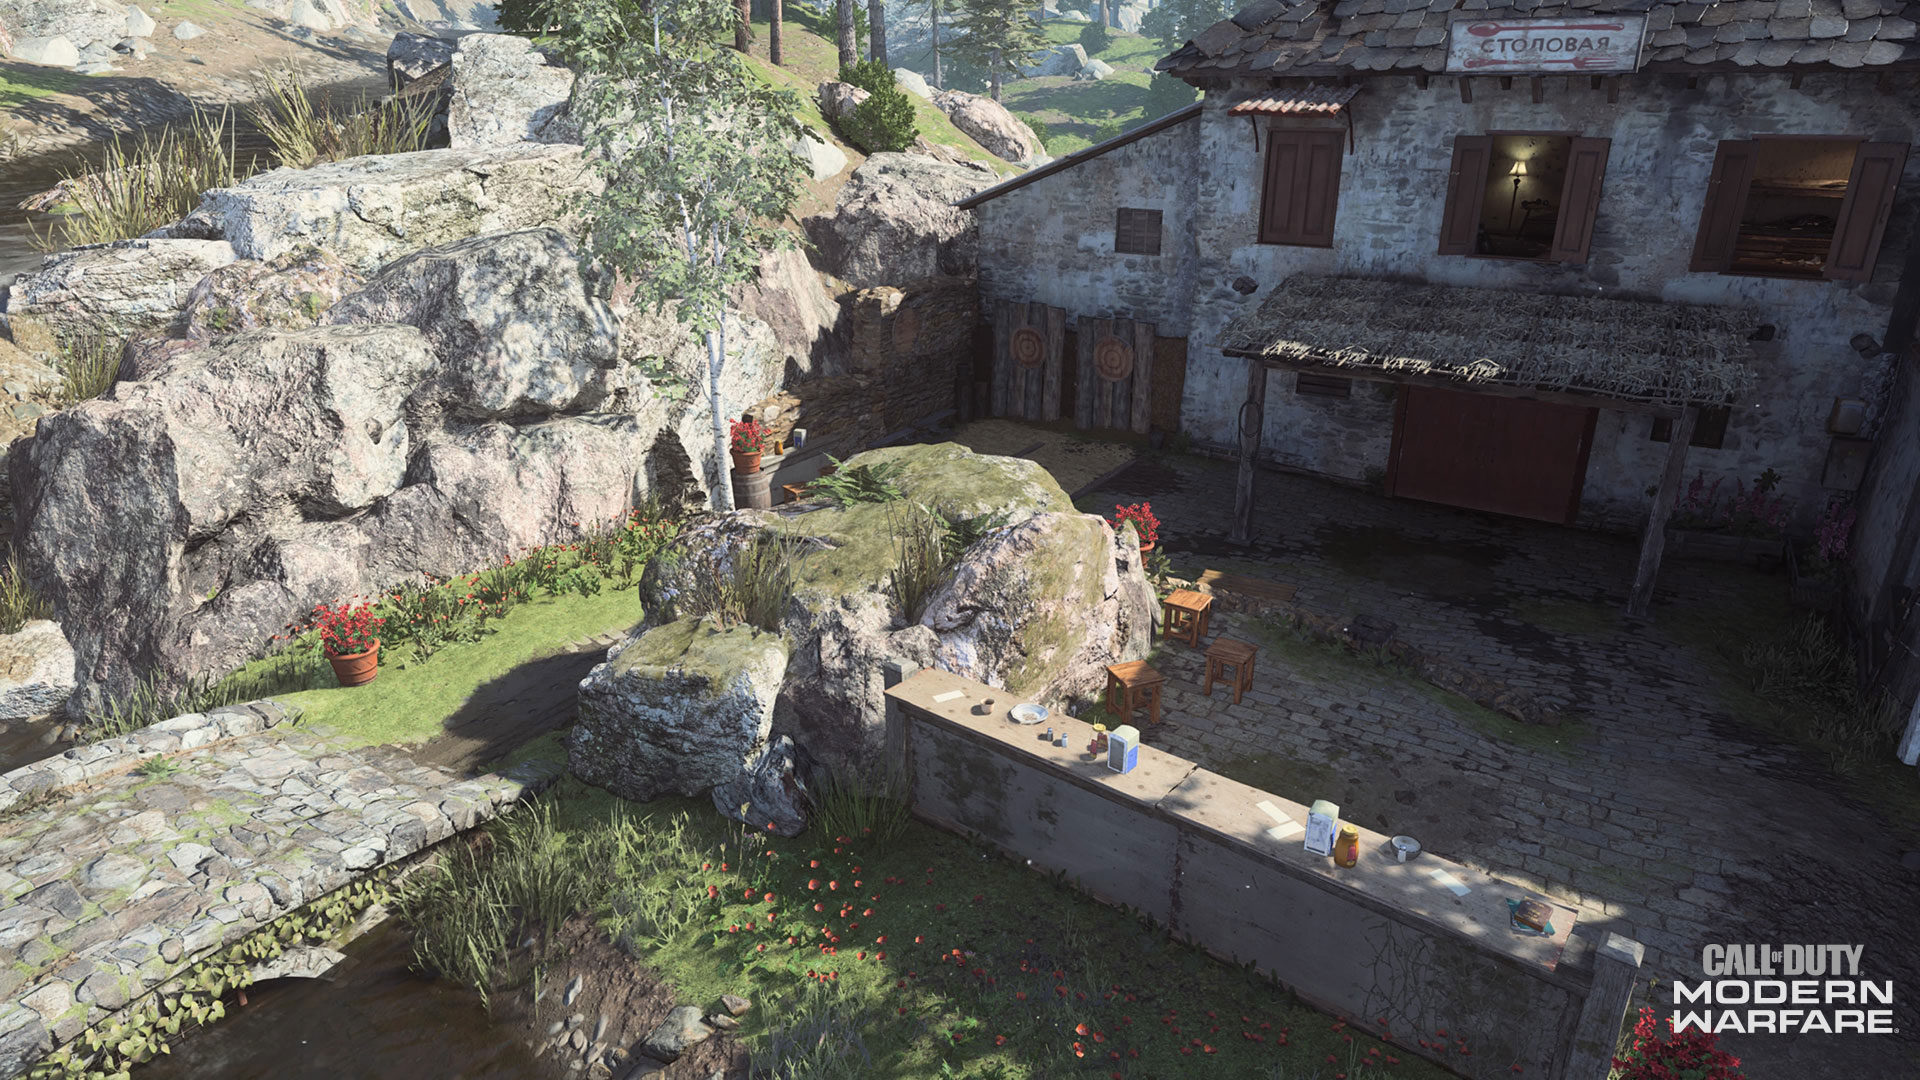
13. Porch
Speaking of the Porch, this outdoor patio has a small table and chairs for outdoor dining, as well as a bar, a massive stone, and a bridge over the river’s troubled waters.
This zone serves as the aforementioned Hardpoint or HQ location, as well as one of the main entrances into the Mess Hall via double doors. When fighting here, it’s best to use the rock and bar for cover against all types of weaponry.
While the timing is tricky, it’s also possible to hop from the giant rock onto the Mess Hall’s awning, allowing you to get up to a sniper’s level on the second floor.
14. Mess Hall
Good grub was plenty in this now abandoned Mess Hall, with the tables and chairs that served guests pushed up against the cabinets. The second floor was an inn for weary travelers looking to stop before pressing forward on their journey.
Now, the first floor is a key point where a Hardpoint or Headquarter can pop up, and the upper level is where snipers can look out onto the South lane or out into the Alley and Cemetery.
For fighting on the first level, it’s best to bring a shotgun, SMG, or any other weapon that excel in close-quarters, as the term “cozy” is the best way to describe these rooms. Also, although it’s good to let a warm spring breeze in, keeping those double doors shut helps prevent any long-range weapon users from shooting through the front entrance and knocking out any defenders inside.
15. Mid Field
Right down the middle lane is Mid Field, a dirt road leading up to the Sawmill from the Alley and Beekeepers’ zones.
Because of how relatively unobstructed this area is, be cautious when roaming through it, as you may be asking to get picked off by an enemy sniper. Stick to the buildings and walls, especially underneath a balcony that juts over the south part of the road and get ready to cut north or south to escape a long-range barrage.
If you are hunting for longshots and mounted kills, look to a stack of plywood and a small shed right near the entrance to the alley, and aim towards the Sawmill. With how frequent snipers go there, you may not have an issue in swiftly giving them a taste of their own medicine.
16. Beekeepers / Beekeepers Awning
Yes, the bees are here in their hive boxes places around this otherwise open area, with all their delicious honey put into jars within massive crates to be exported.
Fighting will take place around the hives, which are thankfully indestructible. Because of this, you may have to angle shots past the hives, or rush through them with a close-range weapon.
The Beekeepers’ area also includes an Awning, where snipers can set up shop and snipe over the south lane. This may be helpful when defending this area in Hardpoint or Headquarters, where the objective sits among the hives on the ground.
17. Alley
Bridging multiple eastern zones together, the Alley is where silent Operators can skulk around and cause terror to those running around this side of the map.
In Hardpoint or Headquarters, the use of a close-range weapon is near-essential for defending the objective, as there aren’t too many sightlines into here. A smart Operator will also throw down a Trophy System here, as there could be no shortage of explosive equipment and Killstreaks flying down into the Alley.
Note that the Alley also includes the small awning into the Mess Hall, which can act as a route onto the second floor where an Operator can counter a sniper overlooking the northern lane.
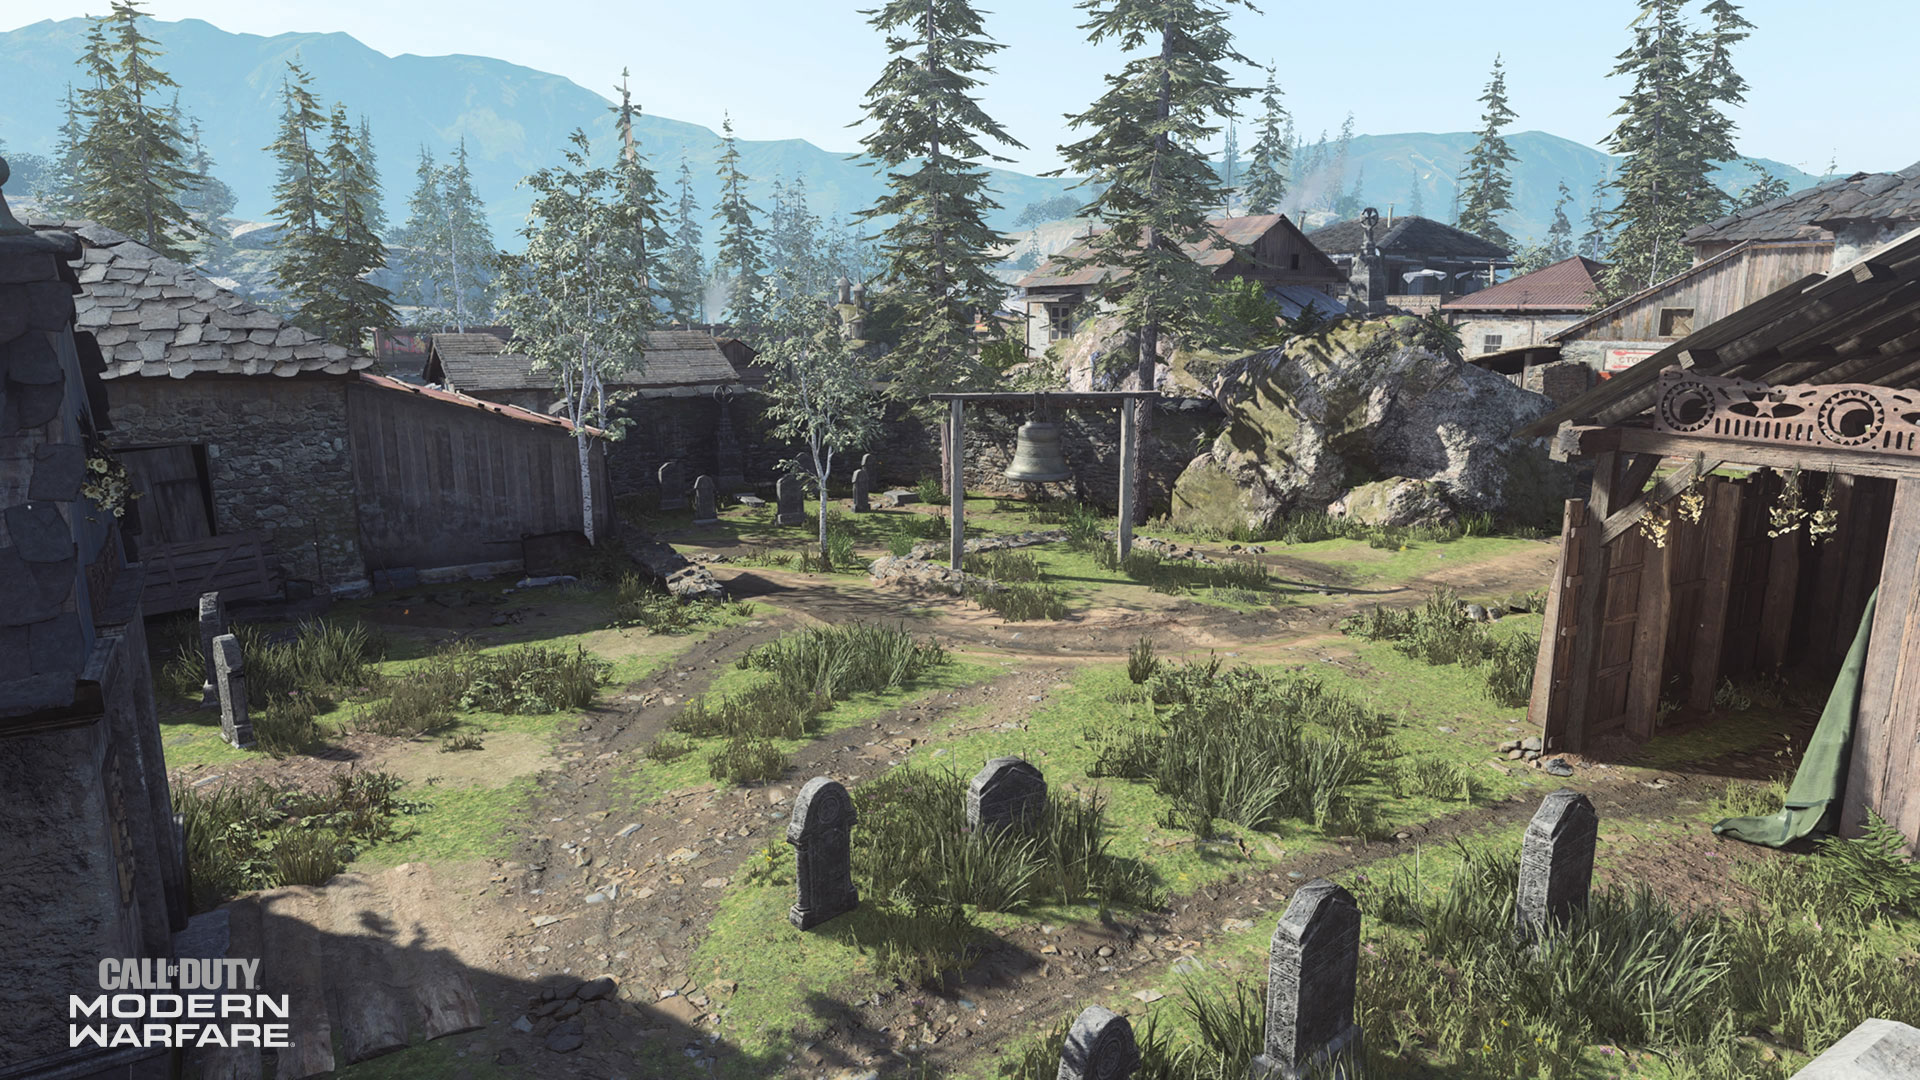
18. Cemetery
Here lie the graves of local villagers, as well as a bell in the middle that tolls for thee… Or any Operator that shoots it.
Usually, this is where Allegiance forces will run through out of their initial spawn in the hopes of locking down the Mess Hall quickly, or as a place to shoot down Killstreaks.
Although a bit of reverence should always be taken here, the gravestones could be used as partial cover from enemy Operators. Alternatively, there is a giant shed to the far north that acts as a place of respite from aerial Killstreaks or run-and-gunners roaming around here.
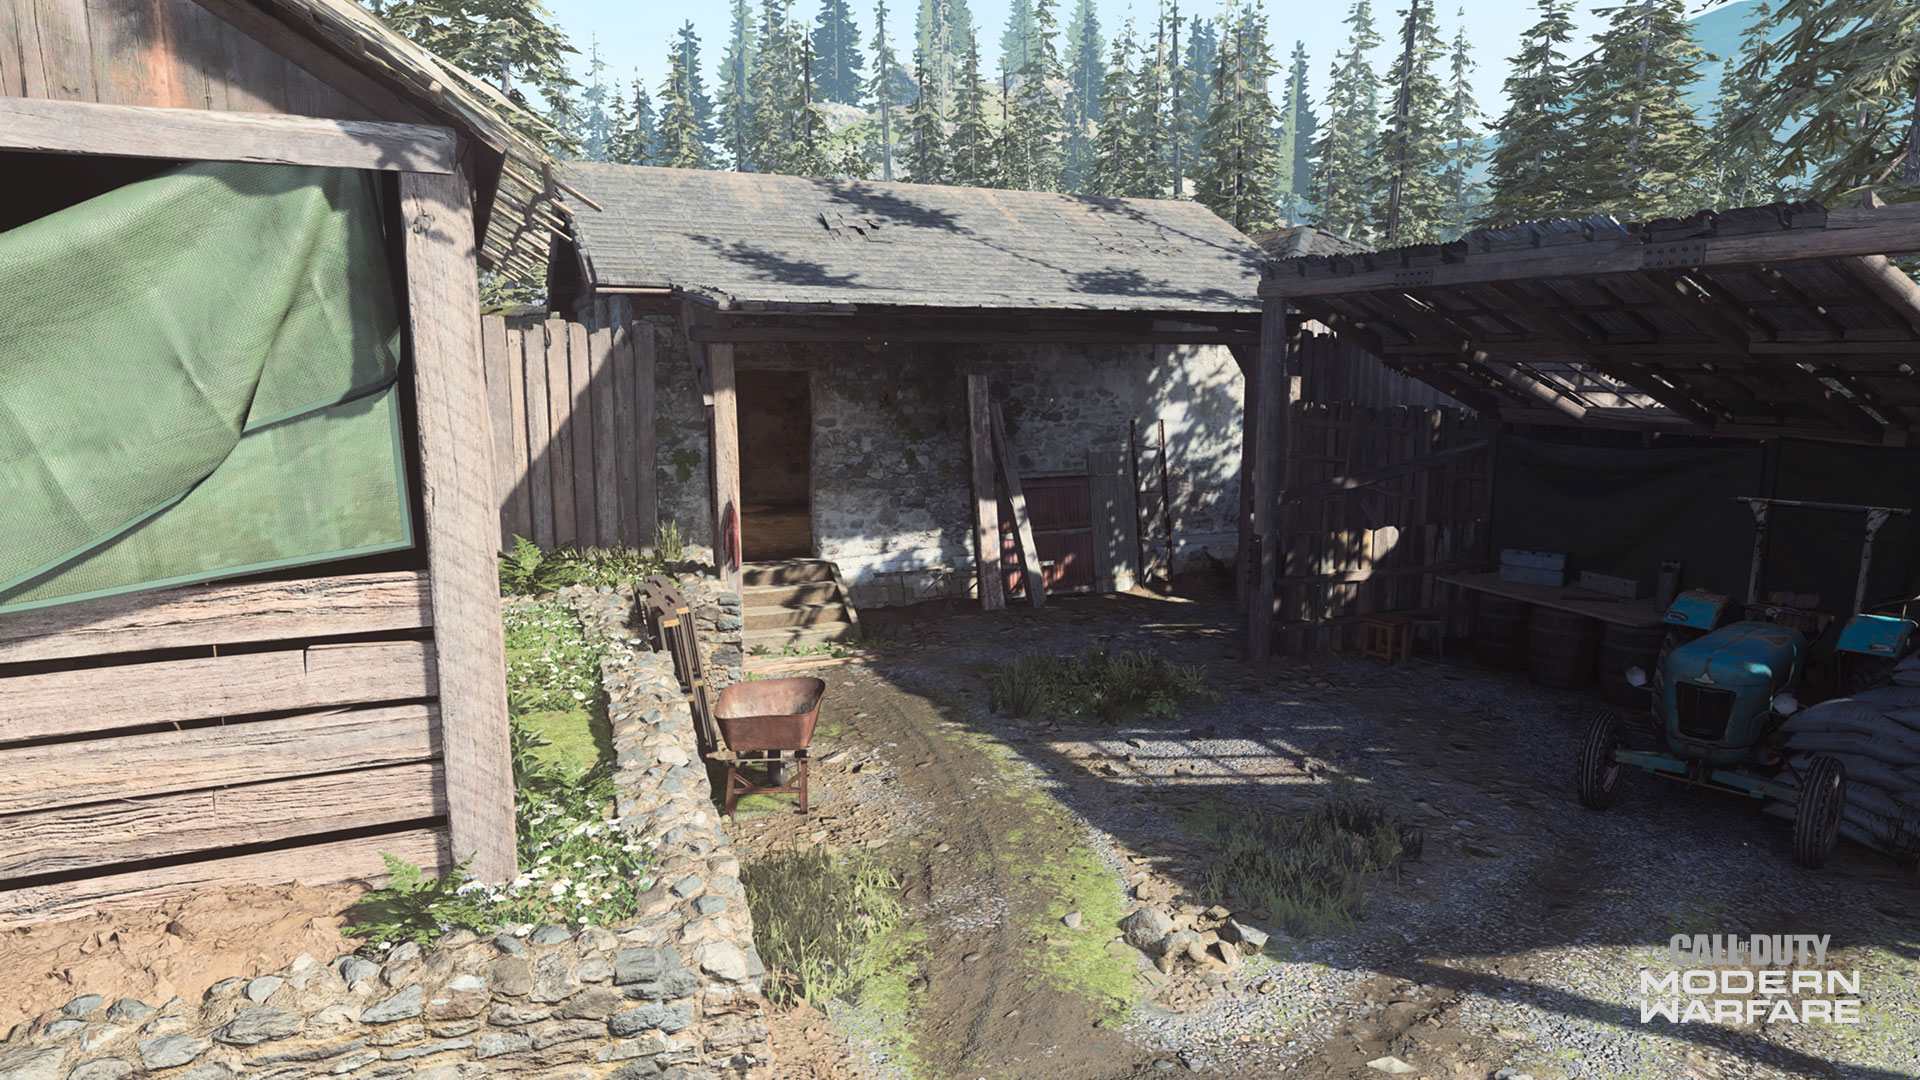
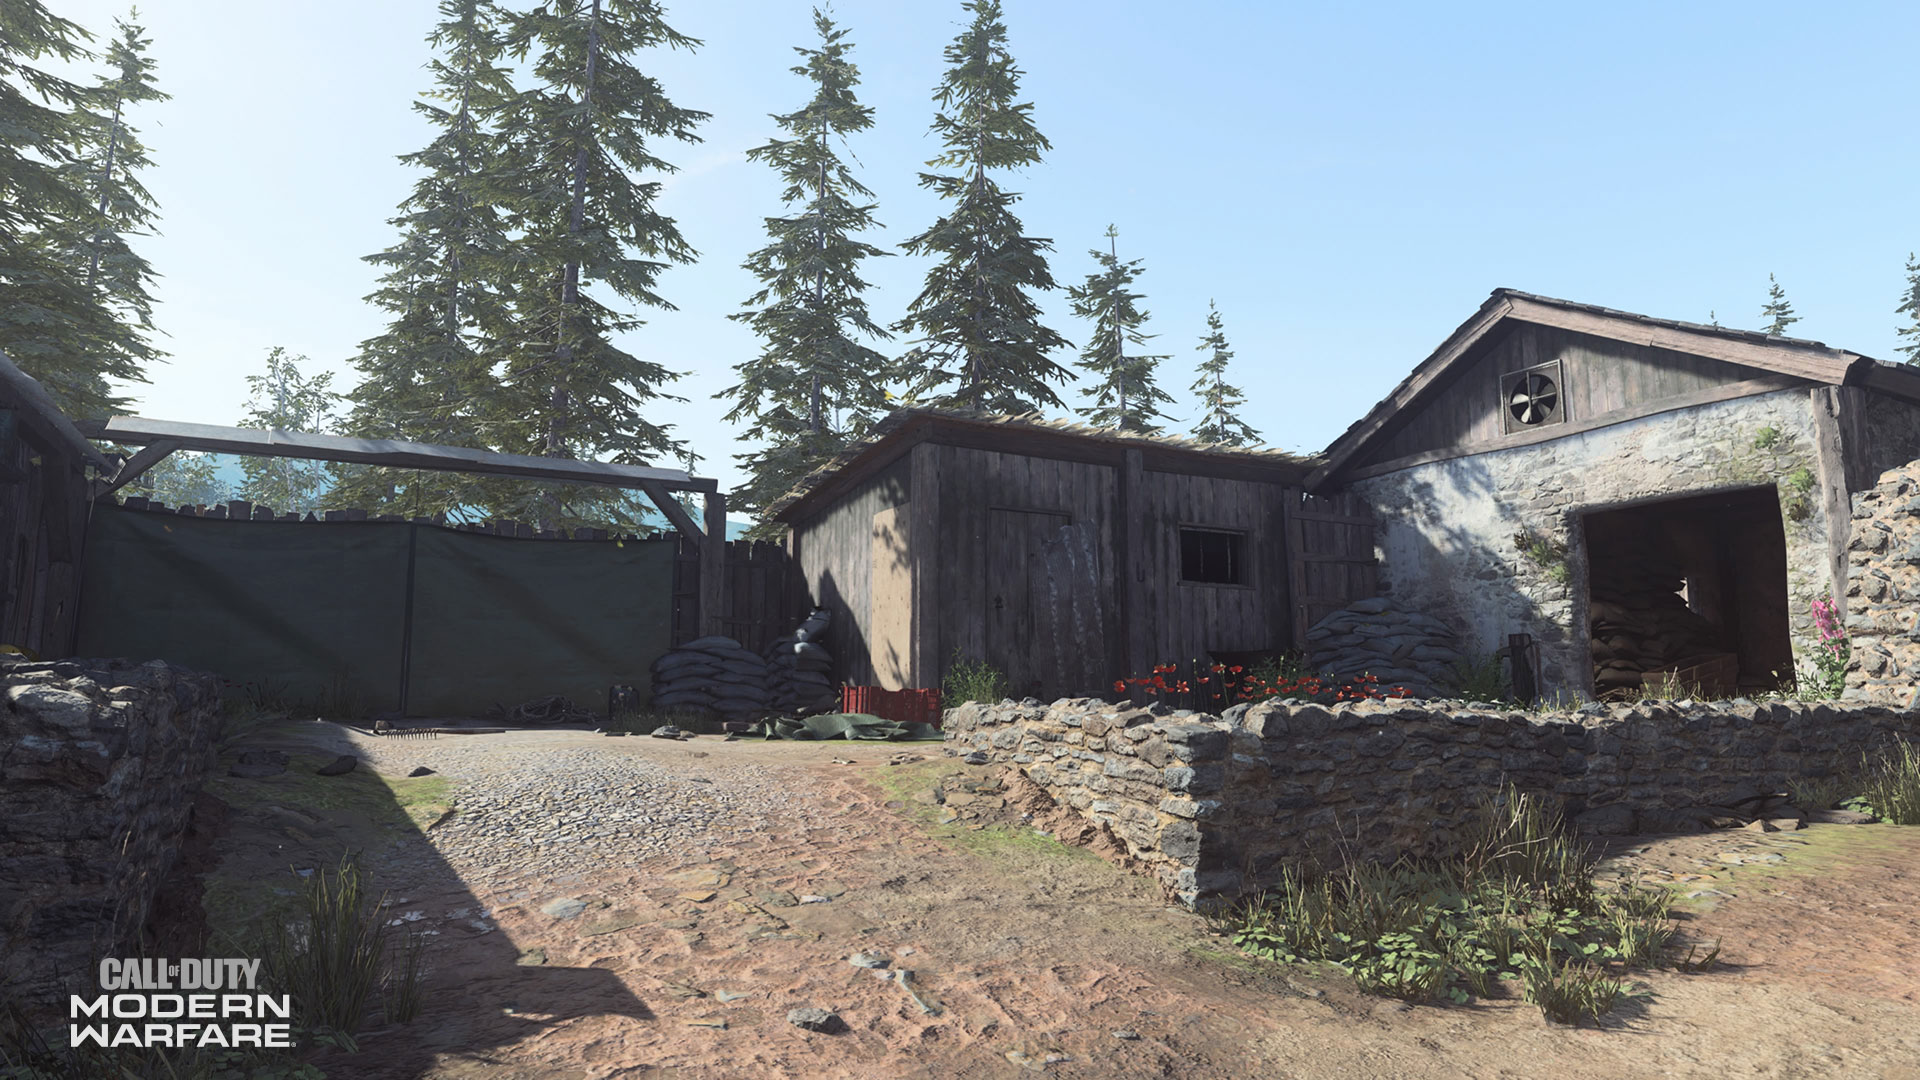
19. Carpenters Yard
The Carpenters Yard is part of a zone trio that might have little strategic significance on the map’s east side other than providing a fast track to the Beekeepers area.
While in the yard, you could use a small structure as cover if an enemy pushes too far into the Beekeepers zone, firing westward in order to drive them back. That may be a needed strategy if the Beekeepers zone serves as a Hardpoint or Headquarter location.
Other than that, it’s best to rush through here and advance to more hotly contested zones.
20. Carpenters Shack
This Shack is one of the smallest zones on the map, serving as refuge from the elements and aerial Killstreaks.
If you are on anti-Killstreak duty, it is a good idea to fire your launcher from the Driveway up into the sky and duck into here to reload. That way, if you are not Cold-Blooded, you can take cover from those Killstreaks as you try to down them.
Other than being careful of extremely close-range fights that could take place here, it’s best to rush through here, past the Yard, and onto the Beekeepers zone to wrest control of the South lane.
21. Driveway
Just like the two zones detailed above, there is little strategic advice to give for this small area, as it is tucked in a low traffic and small corner of the map.
Allegiance members will have to run through here to get to the South lane quickly, immediately dashing into the Shack and out of the Yard towards Beekeepers.
As mentioned before, this may be where your anti-Killstreak Operators will want to set up camp to take out those tools of war before getting back into the fray.
22. Ye Old Cemetery Road
This epically sounding name is where Allegiance members will initially spawn into the fray, and where they will find their C flag in Domination.
The road will bend South towards Beekeepers, with exits out into the Alley and Cemetery along the way. It’s best to use all of the road to counter over aggressive enemies, or duck straight into the Carpenters Shack or Cemetery for cover.
Outside of being a spawn area and spawn objective location, Ye Old Cemetery Road is mainly just a path to each of map’s three main lanes.
General Tips:
· Three Lanes of Fun. If you want to break down this map into its simplest form, think of it as three lanes: one that is the Trails and Mess Hall (North), another that comprises of the Sawmill and Mid Field (Central), and the third the Beekeepers and Storage zone (South).
· Look Around… and Up. The rooftops of Hovec Sawmill may be littered with enemies hoping to pick off unsuspecting targets. Keep your eyes peeled and look for a glint to determine if a sniper has you in their sights.
· Silent and Deadly. Because the rolling river in Hovec Sawmill gives off a distinct sound, consider using the Dead Silence Field Upgrade, as crossing over the river may give away your position.
· Battle with Range. Mid to long range sightlines both find a home on Hovec Sawmill; consider a weapon with a hybrid scope to ensure you find your target at any distance.
· Be Creative in Movement. The most obvious entrance to some buildings may lead to traps or untimely deaths. If you use a bit of parkour and ingenuity, you may just surprise your enemies and keep those killstreaks rolling.
For more information and the latest intel on Call of Duty®: Modern Warfare®, check out: www.callofduty.com, www.youtube.com/callofduty and follow @InfinityWard and @CallofDuty on Twitter and Instagram and Facebook.