The world of Sekiro: Shadows Die Twice can be unforgiving as well as spectacular. There are many ways to complete your adventuring across FromSoftware’s epic take on feudal Japan, but if you find yourself at an impasse, it’s worth re-evaluating your swordplay planning and techniques. Assuming you’ve grasped the basics of combat, use the tactical advice below: It could keep you from dying twice!
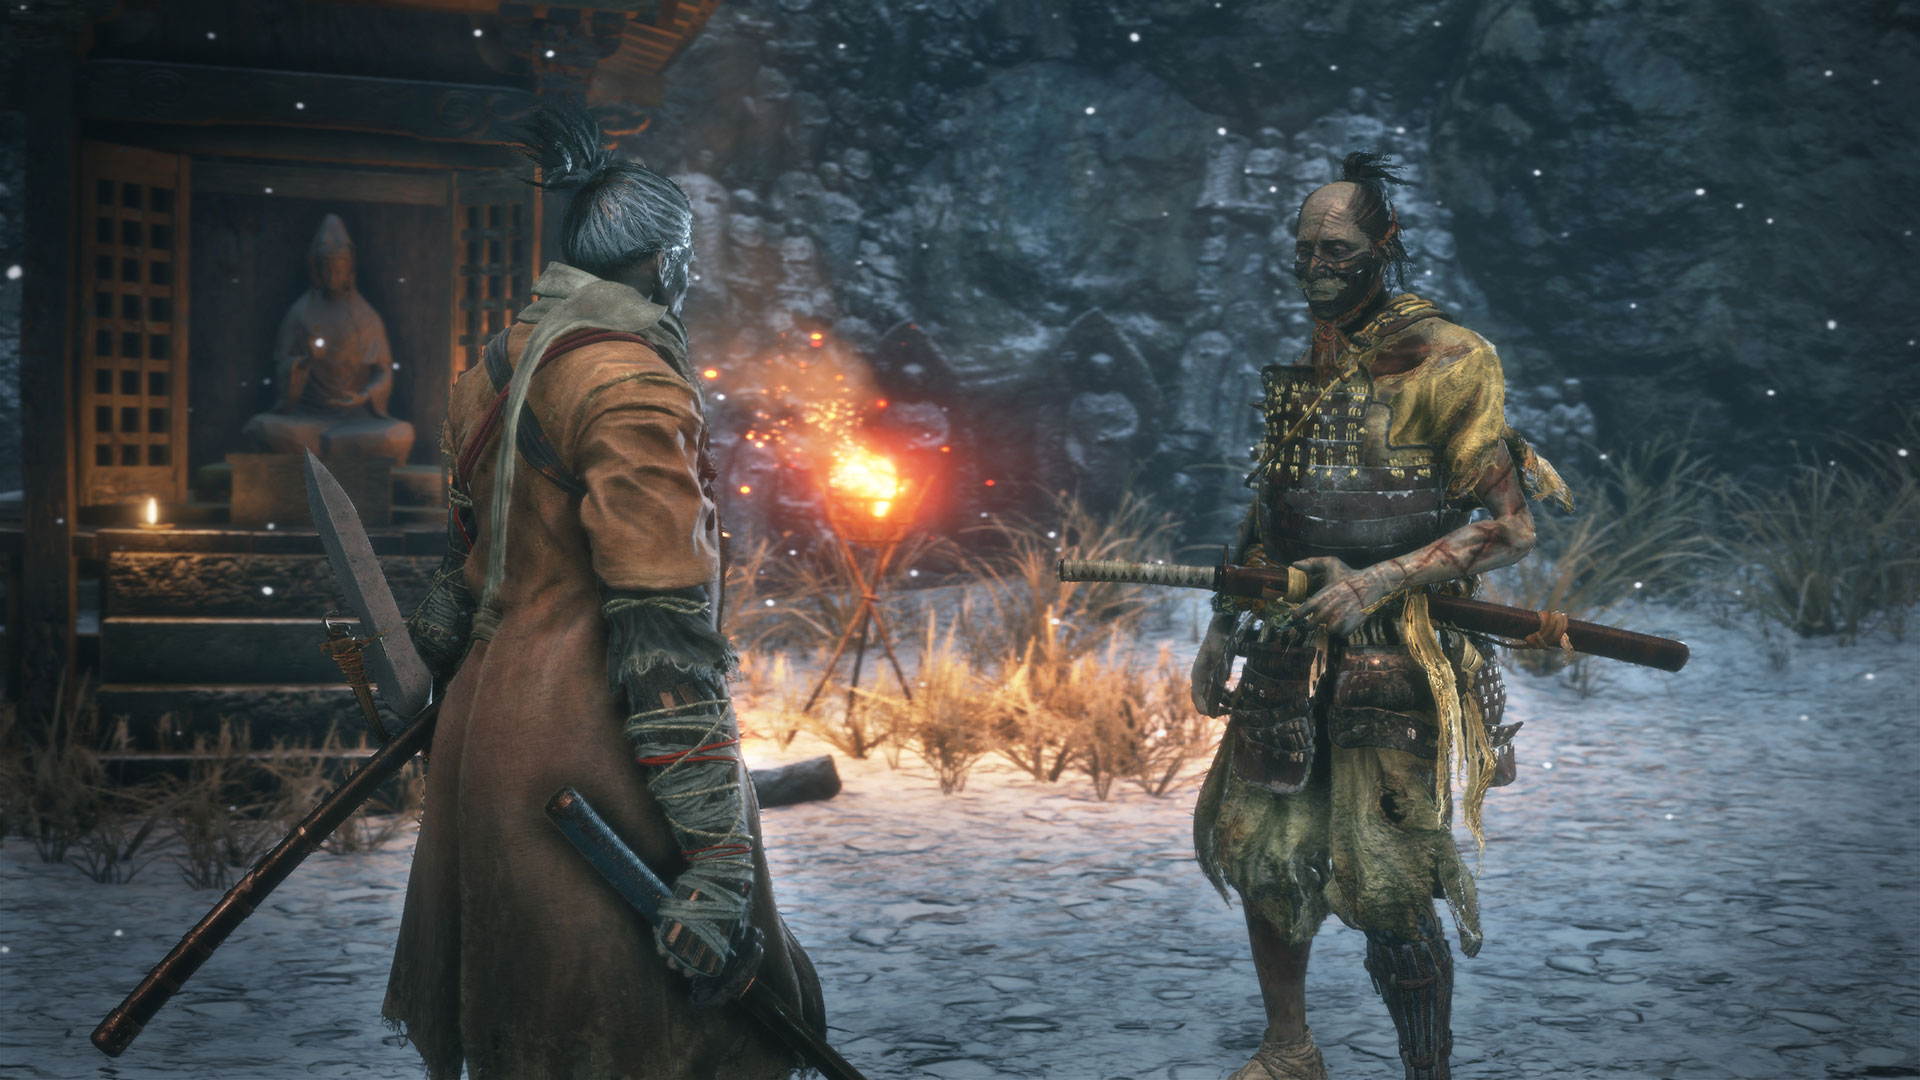
Hanbei the Undying
The most important fellow to meet is the one you cannot defeat!
After completing the introduction and losing your arm, you’ll have access to Hanbei the Undying. As you emerge from the Dilapidated Temple, taking the path on the right toward a wide clearing will lead you right to him.
Hanbei gives you an opportunity to practice the game’s key mechanics without the risk of taking damage.
It is highly recommended to complete all of his training topics as well as Free Training, even if you feel like you understand them already. The Step Dodge in particular takes some getting used to, as it works quite differently than it has in previous FromSoftware titles.
Hanbei’s Further Tutorials
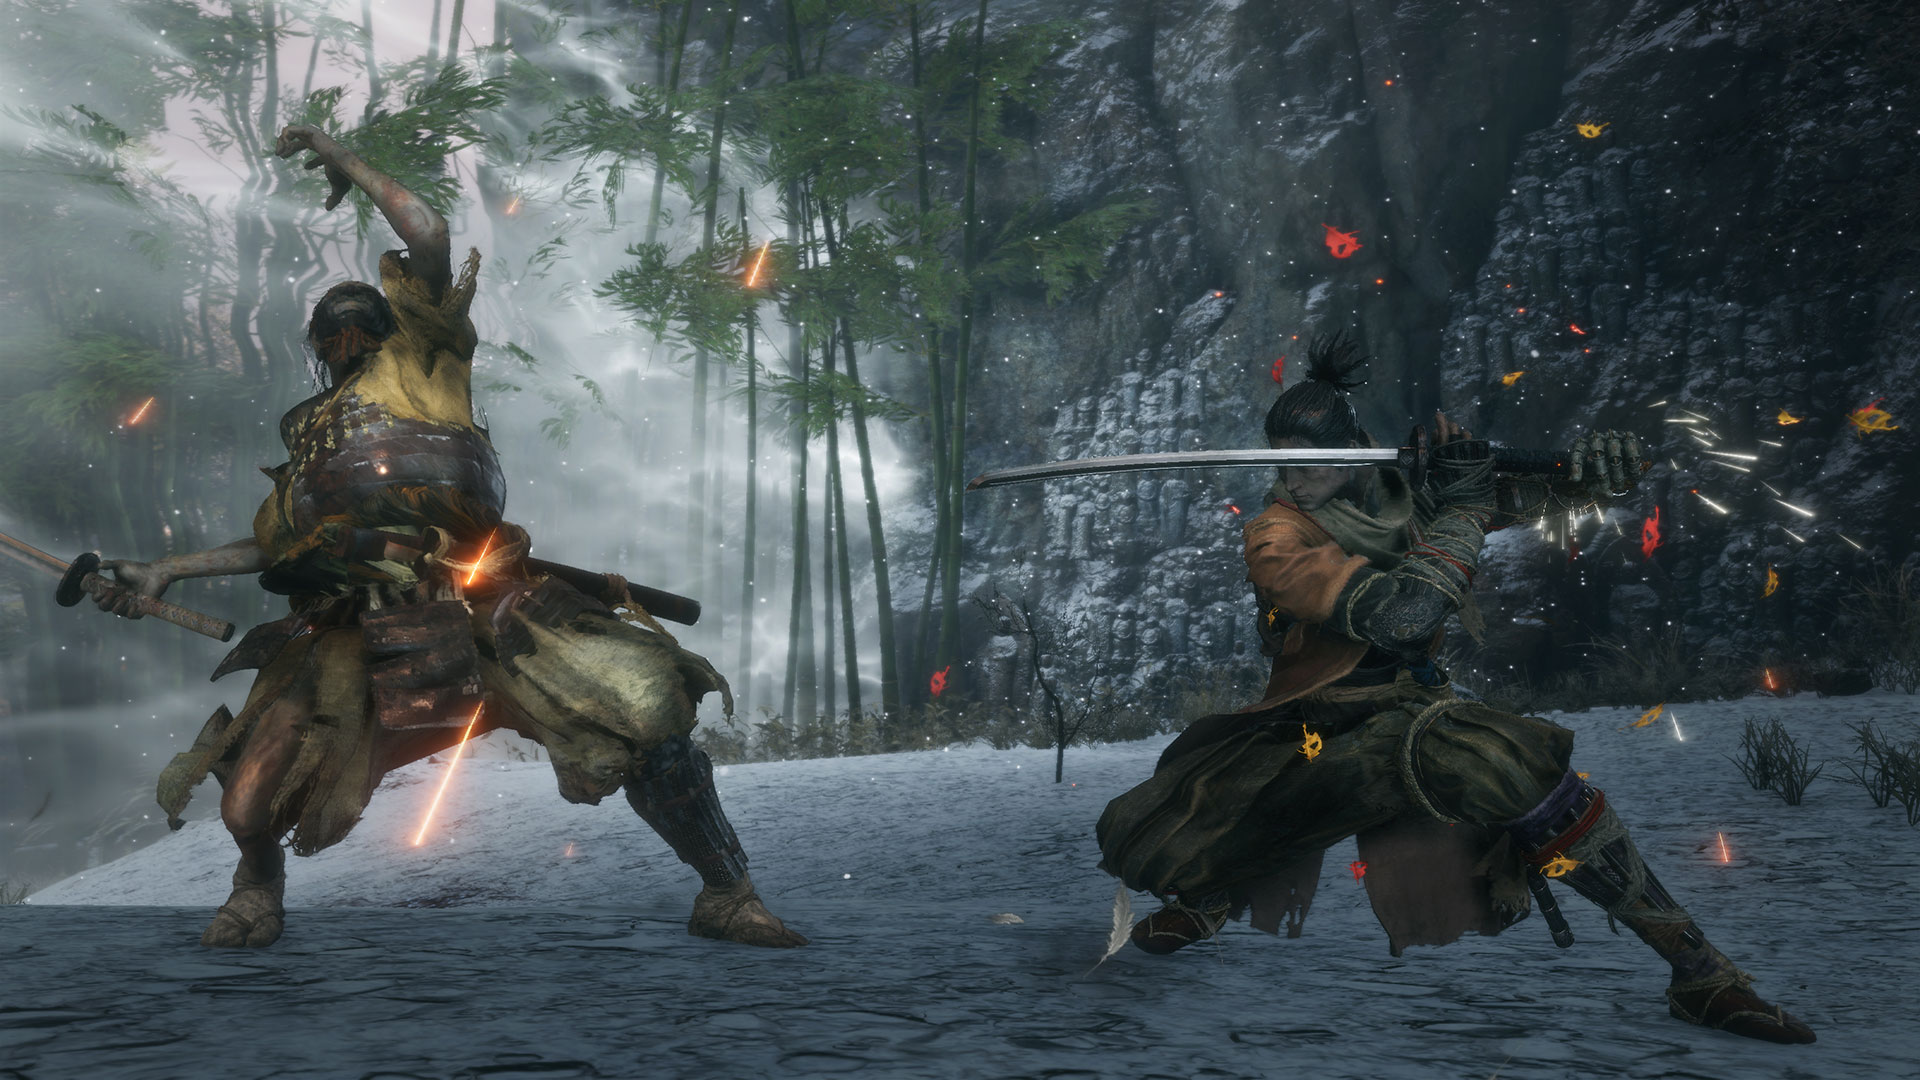
You can now explore the Ashina Outskirts, facing the first Samurai General in the Gate Path area. Once you’ve faced him (though you don’t have to beat him) and completed the basic training, more advanced training techniques become available. The Advanced Training topics really highlight what makes the combat unique. If you can master the techniques listed below, you’ll be in a very good place for taking on whatever the game throws at you.
Consecutive Deflections: In this game you’re expected to deflect flurries of attacks, not just individual ones. This training prepares you for it.
Vitality and Posture: Vitality and Posture are linked together, and this training emphasizes the strategies involved in taking down enemies with fast posture regeneration.
Countering Thrust and Sweep Attacks: Dealing with perilous attacks correctly is arguably one of the most important things for new players to master. There are several types of these attacks, and it’s up to the player to recognize them and deal with them correctly. Select this training to help ensure you know what to look for and what the proper response is for each type.
Shinobi and Prosthetic Arts Primer
Recommended progression through the Shinobi Arts and Prosthetic Arts trees
As you initially progress, you’re able to obtain a variety of skills from the Shinobi Arts and Prosthetic Arts trees, and one recommended order of unlocking them is detailed below, as well as some advice on utilizing the skills you’ve just unlocked.
Tip: Talk to the Sculptor after gaining your first skill point to acquire the Shinobi Arts Esoteric Text. This will allow you to spend your skill points to acquire new battle skills. Upon obtaining three prosthetic tools, the Sculptor will also provide the Prosthetic Arts Esoteric Text, which allows you to learn skills when you’ve found the first three arm tools. Unlocking the abilities in the Prosthetic Arts tree is very important to ensure your tools are as useful as possible!
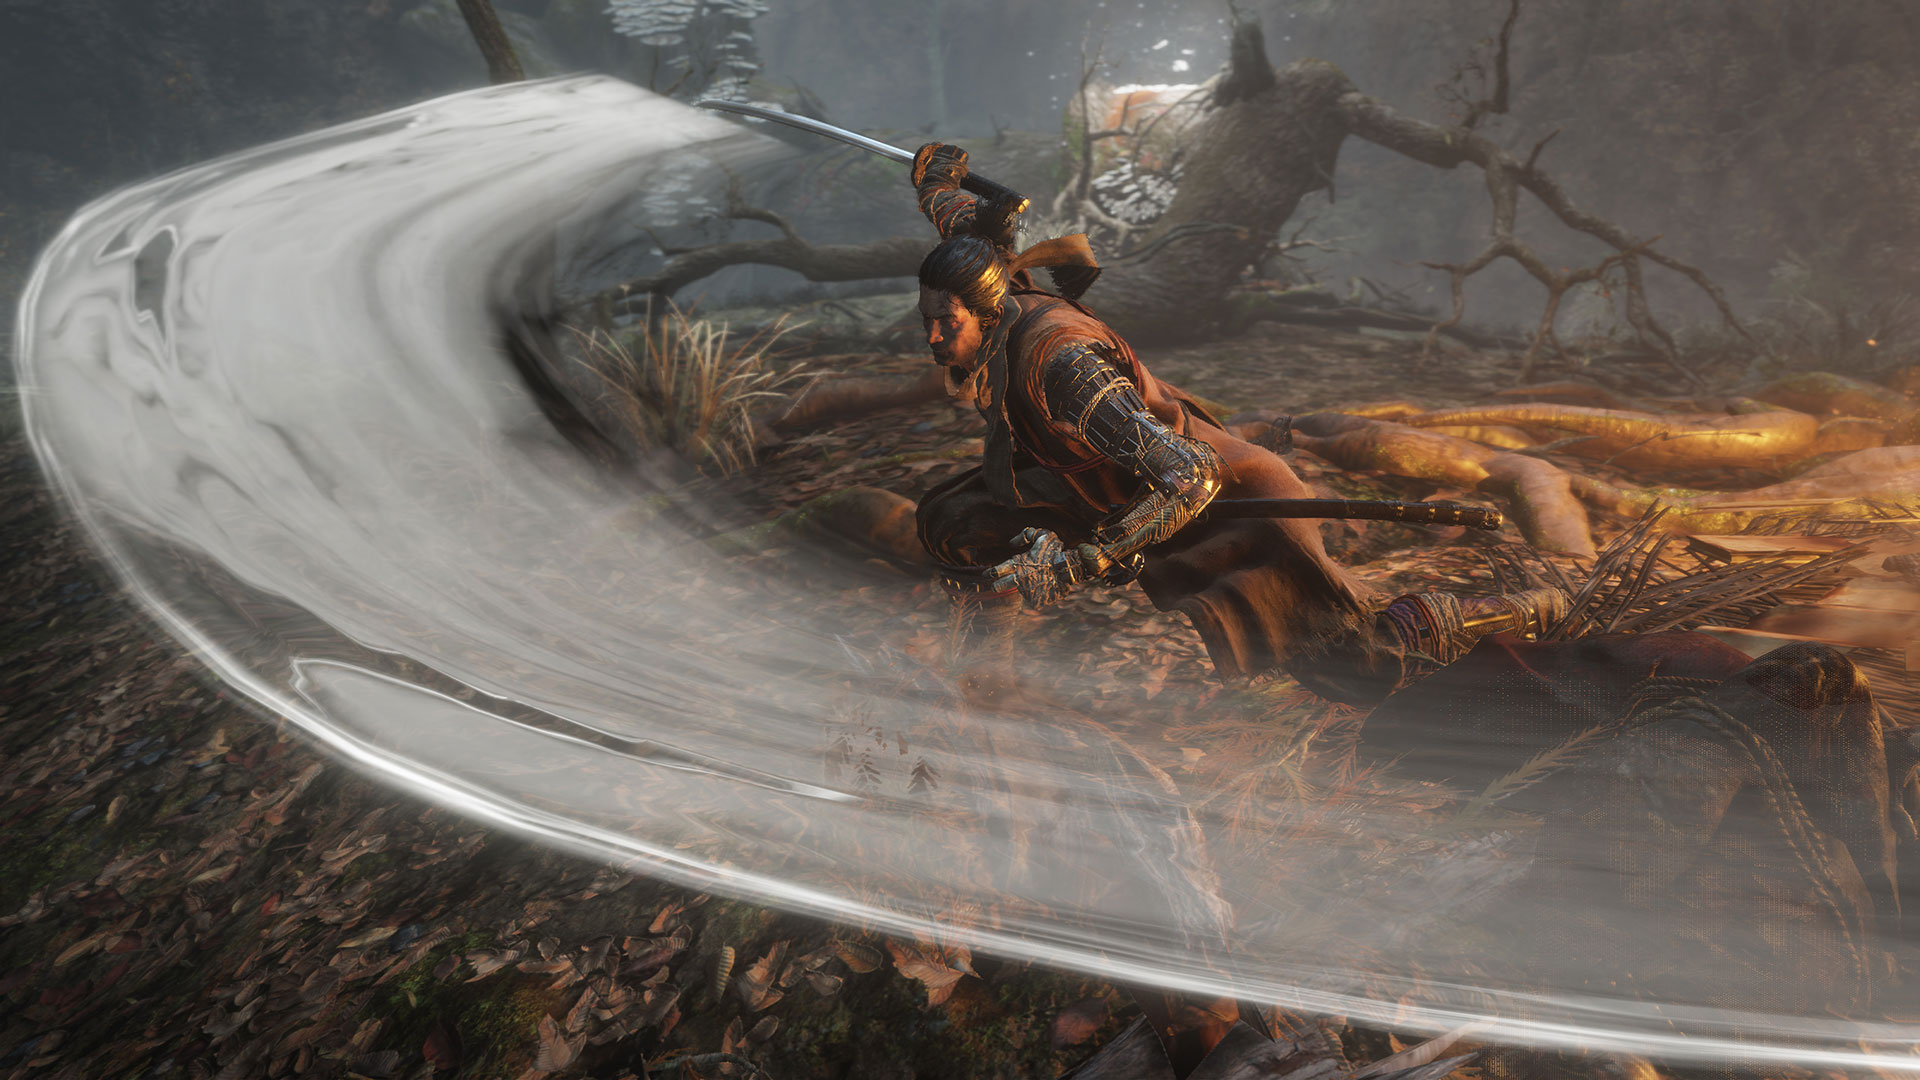
First Unlock: Shinobi Arts: Whirlwind Slash
Whirlwind Slash is a wide-area attack that inflicts piercing damage (i.e. it damages enemies’ Vitality even when guarded). It excels against groups of enemies and is also helpful in 1v1 combat situations against enemies with strong defenses; it comes out very quickly and deals good, guaranteed damage.
Some other things to keep in mind:
- If you aren’t locked onto a foe, you can change direction mid-way through the attack.
- Can be a good initiate if you start your strike out of reach of opponents as they’re moving toward you.
- It is also effective just after dodging backward
However, the Whirlwind Slash isn’t without risk – it locks you into a long animation, during which time you can be struck. It is risky to use against foes with attacks that are difficult to interrupt, and doesn’t effectively interrupt those moves; so learn which moves those are!
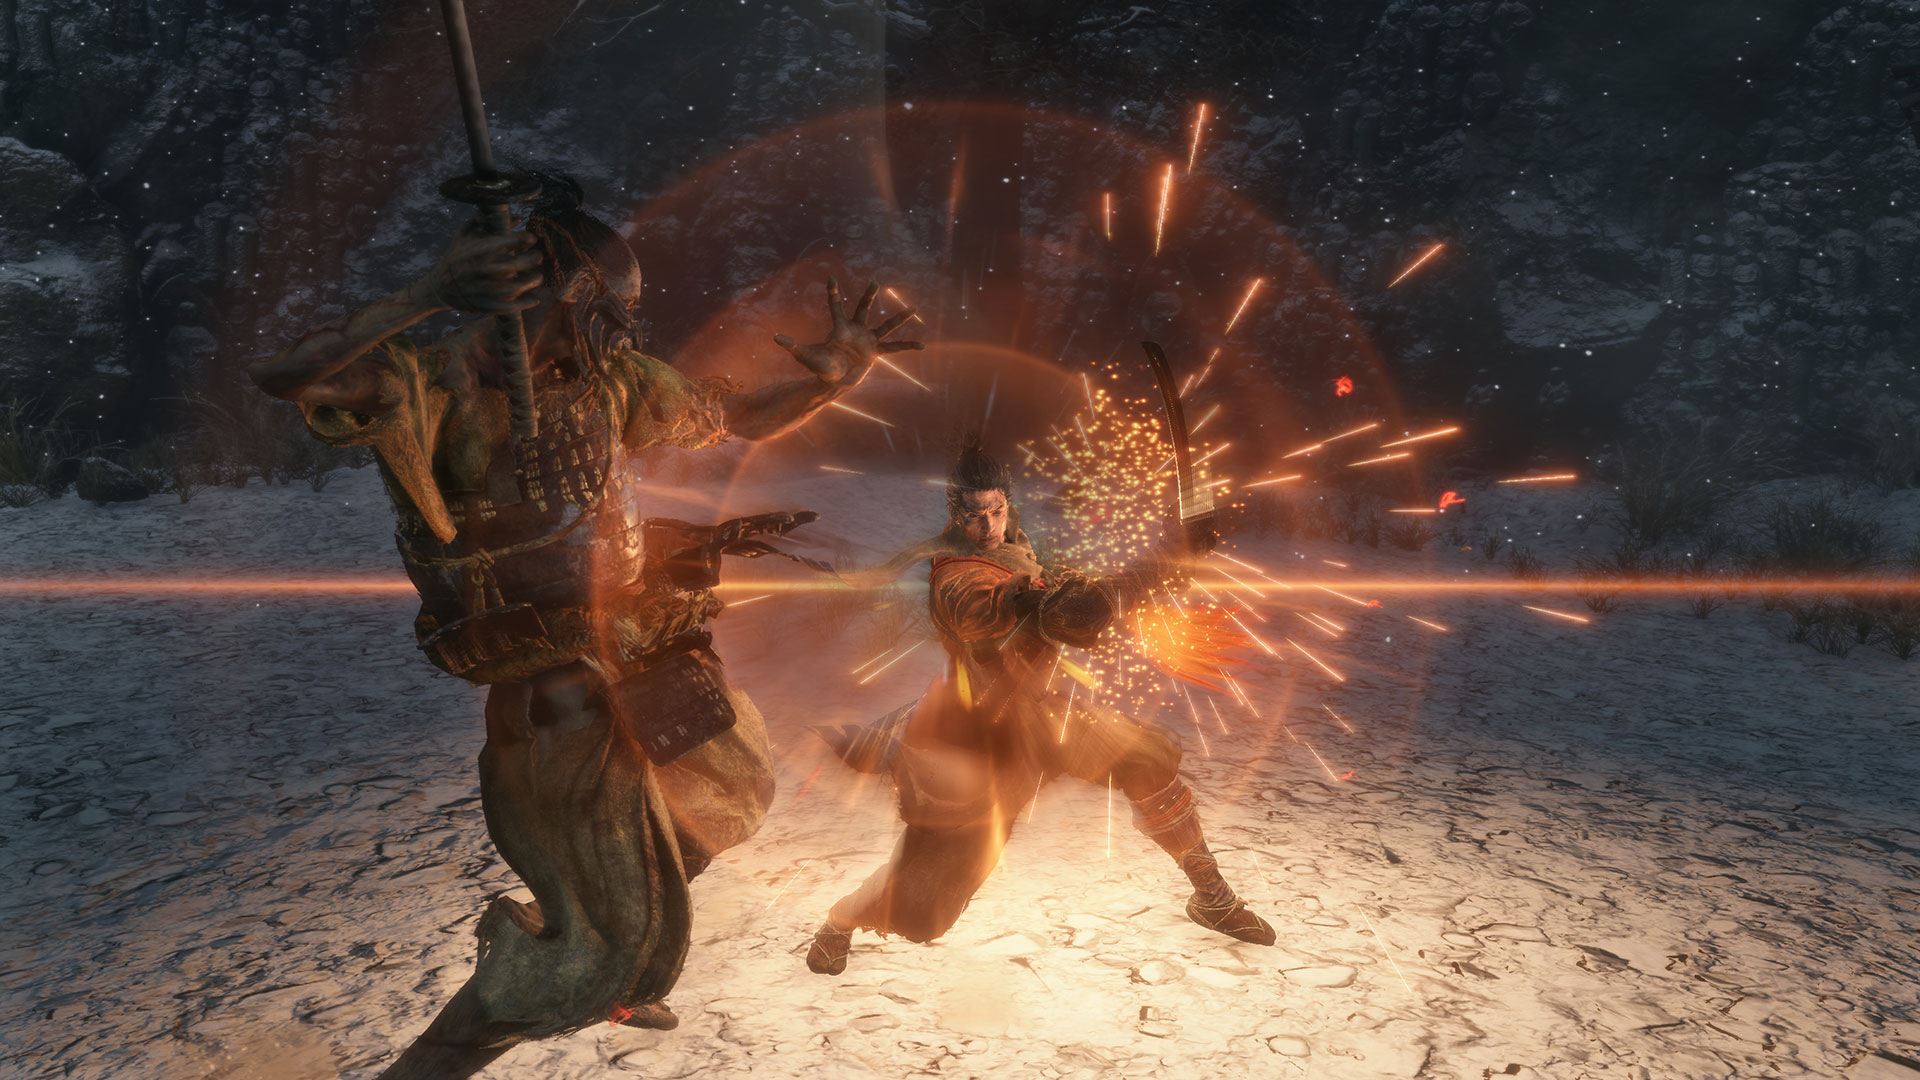
Second Unlock: Shinobi Arts: Mikiri Counter
This is a very risky move, but one that can yield incredible dividends if your timing is spot-on! Use the Step Dodge button (in a neutral direction or towards an enemy) at the moment an enemy’s thrust attack lands. If timed correctly, Mikiri Counter will allow you to step down on the enemy’s weapon, dealing a large amount of posture damage.
However, if you mis-time the counter, you end up dodging into an enemy attack and will probably take serious damage. Use this on enemies that frequently use thrust attacks, such as Shinobi Hunter Enshin of Misen or the spear-wielding Ashina soldiers.
Third Unlock: Prosthetic Arts: Chasing Slice
Once you’ve acquired the Prosthetic Arts Esoteric Text, you should try to get Chasing Slice as soon as possible. It’s one of the most potent moves in the game, and is very cheap to purchase, requiring only one skill point. It can be used by pressing the sword attack button immediately after using the Shuriken, and has a huge amount of utility. Specifically:
- It allows for quick gap closing after interrupting with the shuriken, especially useful against bowmen or flintlock snipers.
- The mobility allows you to “leapfrog” between enemies, avoid getting surrounded and control the flow of a battle against multiple enemies while also keeping up aggression. You can “leapfrog” between individual enemies in a group.
- It helps you keep pace with especially nimble enemies such as Shinobi Hunter Enshin.
Hitting regular enemies with this and then immediately using Whirlwind Slash will inflict a lot of damage to regular enemies.
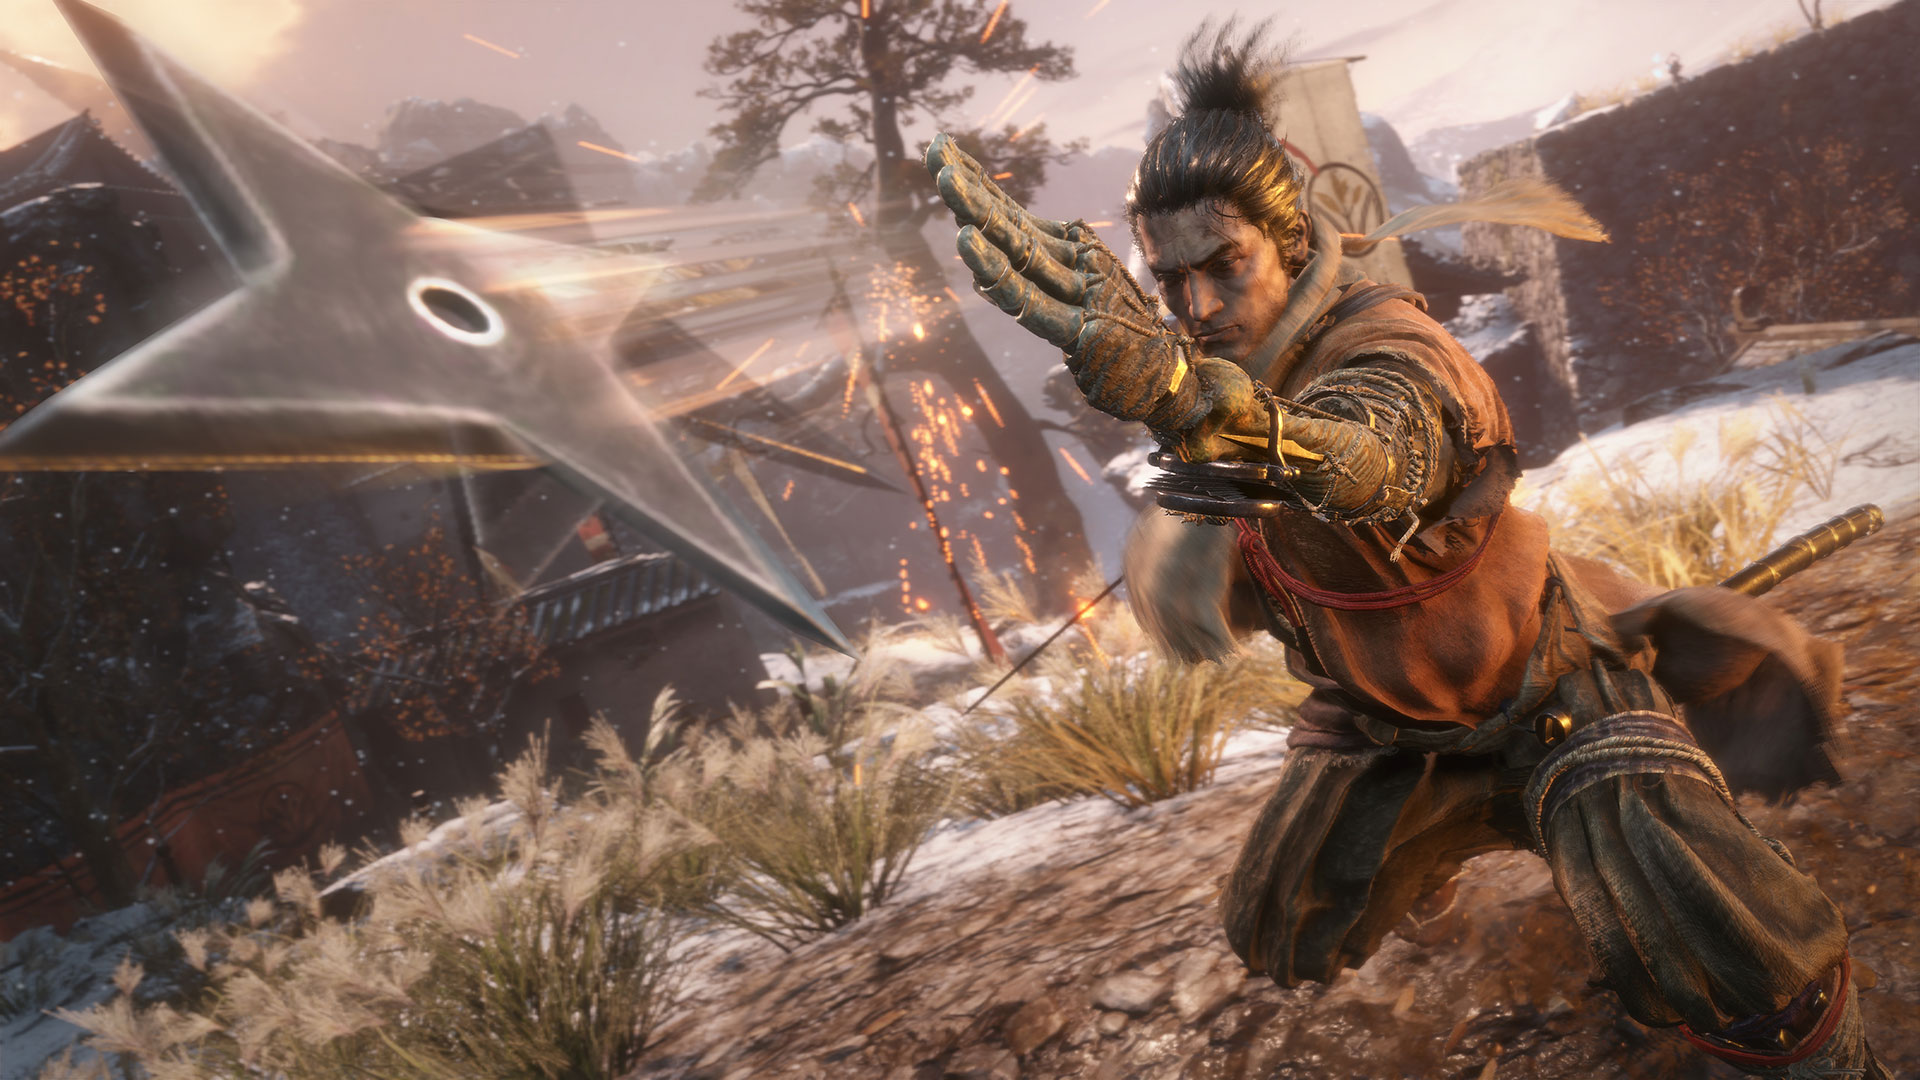
Prosthetic Tools: The Shuriken
Initially, one may think the Shuriken isn’t that useful – after all, it doesn’t seem to do a lot of damage, and it costs spirit emblems to use. However, in the right hands, the Shuriken is one of the most potent tools at a Shinobi’s disposal. Here’s why:
Firstly, it’s the only ranged tool that doesn’t break stealth, allowing you to kill enemies at a distance without anyone spotting you (assuming you’re in cover). Three or four well-placed shuriken will take out a bowman, and nobody will know where the attack came from, meaning you can still initiate from stealth on another enemy.
Next, it’s a cheap and low-risk test for how interruptible an enemy’s attacks are. If you throw a Shuriken at an attacking enemy and it makes them flinch/cancels their attack, you now know that the same move can be canceled with a regular sword attack. The goal of the game’s combat is not just to respond to what they do, but to control the flow of combat by interrupting their attacks and proactively creating opportunities for damage – the shuriken is one of your key tools to do this.
Tip: You’d be surprised how many perilous attacks can be easily interrupted with a Shuriken.
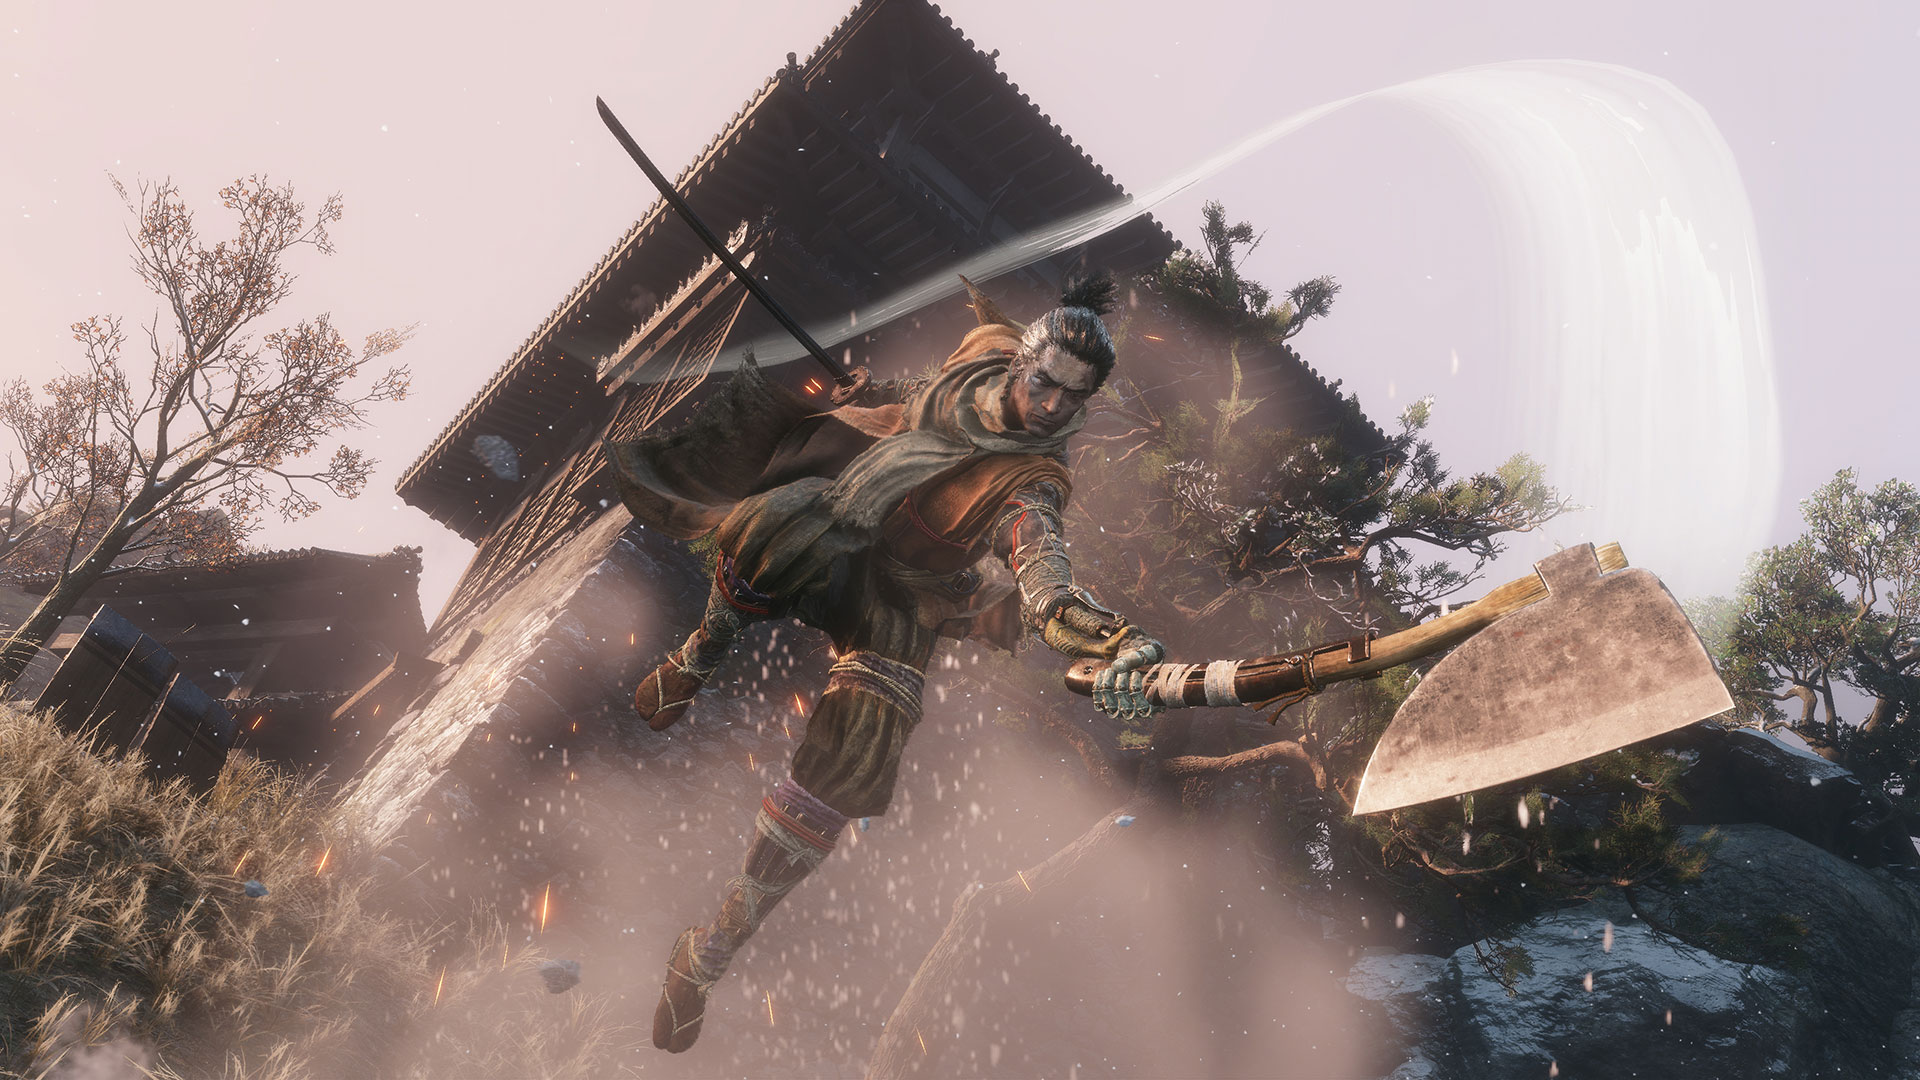
Prosthetic Tools: The Loaded Axe
The Loaded Axe not only does a large amount of damage in a single blow, that blow is difficult for enemies to interrupt, meaning you can take some damage while using it and still land the blow. Additionally, it’s very good for interrupting enemy attacks, even those that can’t be interrupted with regular sword attacks or shuriken. As an added bonus, it can also break enemy shields.
The Prosthetic technique adds a second axe swing, which has the same interruption/ uninterruptible properties and also does significant damage.
Using this tool in mid-air is extremely powerful, because it reduces the windup time significantly, and all but ensures you won’t miss your target.
When using it from the ground, try launching your Axe attack from range as enemies walk toward you, as the tip still damages, and you have less risk of being struck during the wind-up phase of the attack.
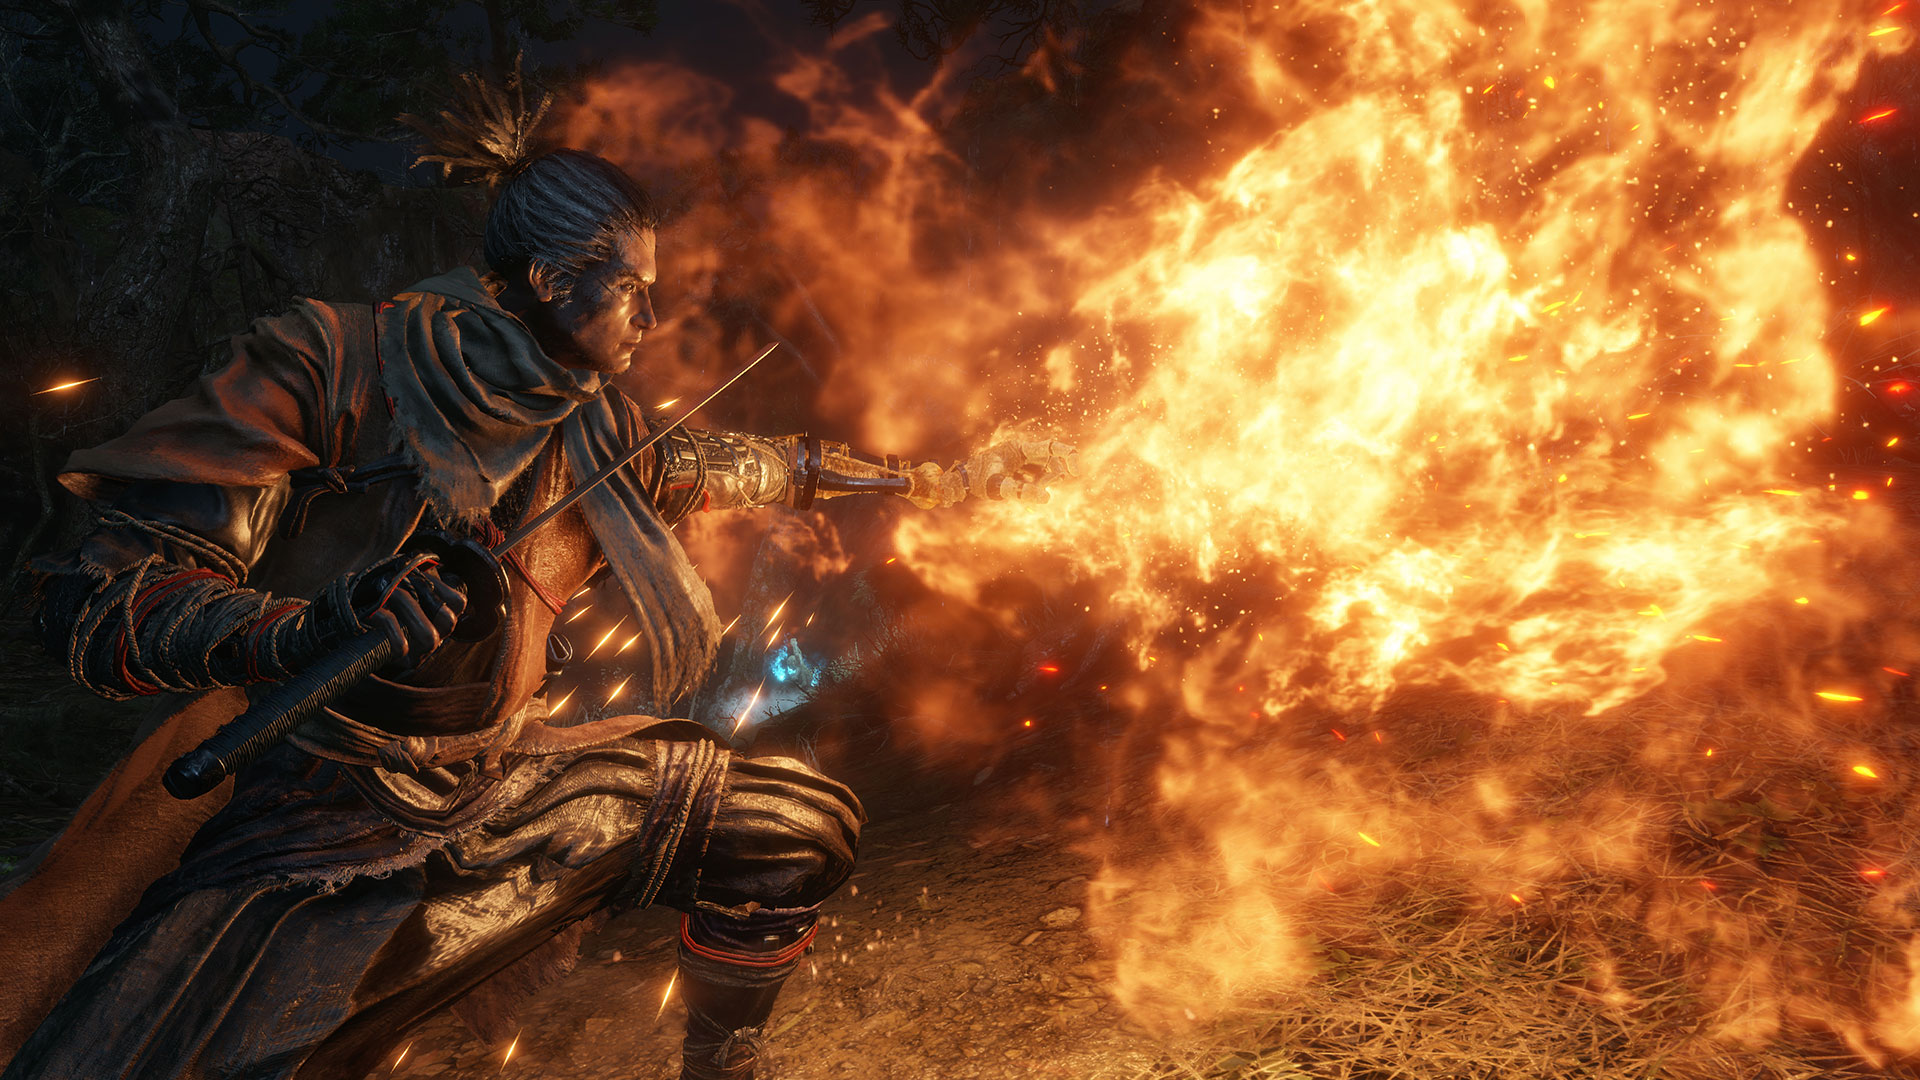
Prosthetic Tools: Flame Vent
The Flame Vent is expensive to use, but is worth it, as it can make a huge difference in a battle. The ground attack comes out at medium speed and has relatively short range, but it damages enemies with the initial blast, and inflicts burn status abnormality on enemies it hits. If you inflict enough burn damage on the enemy they will catch on fire, taking damage over time, and completely stopping their Posture from recovering for the duration.
Use this to your advantage by setting foes with fast posture recovery ablaze and learn which enemies fear or have a weakness to fire, which can cause them to recover for longer than normal; the biggest initial example being the Chained Ogre!
If you use oil on an opponent, you should be able to set the enemy ablaze in a single hit, which can mitigate the three spirit emblem cost of the tool. Also, if you have the Mid-Air Prosthetic Tools Shinobi Martial Art, an air attack with the Flame Vent has a very short wind up and propels you backward upon use, making it a safer, faster option for applying Burn. You can also take advantage of this backwards jump as a back-step to avoid arrows or foes while dealing damage.
Final Tip: Unlock Mid-Air Prosthetic Tools early. Launching prosthetic attacks from the ground or the air gives you flexibility, and in general the wind-up time for a prosthetic tool is reduced when it’s used in the air. Follow-up attacks such as Chasing Slice can also be used just as you hit the ground, allowing for some pretty slick combos.
Special thanks to Robert Conkey for his insight and tactical knowledge that helped in the creation of this blog post.
Sekiro: Shadows Die Twice is available now for PlayStation®4, Xbox One, and PC. Take Revenge. Restore your Honor. Kill Ingeniously.
For further details about Sekiro: Shadows Die Twice, check out the Sekiro: Shadows Die Twice website, and follow Sekirothegame on Twitter, Facebook, and Instagram.