"Black Ops Flashback. Deep within the snowy Russia borders, a covert laboratory has spun up production of weaponized Nova 6 chemicals.”
Operation: Spectre Rising didn’t just return a fan-favorite Specialist; for Black Ops Pass holders, it also came with WMD, a Multiplayer map from the original Call of Duty®: Black Ops.
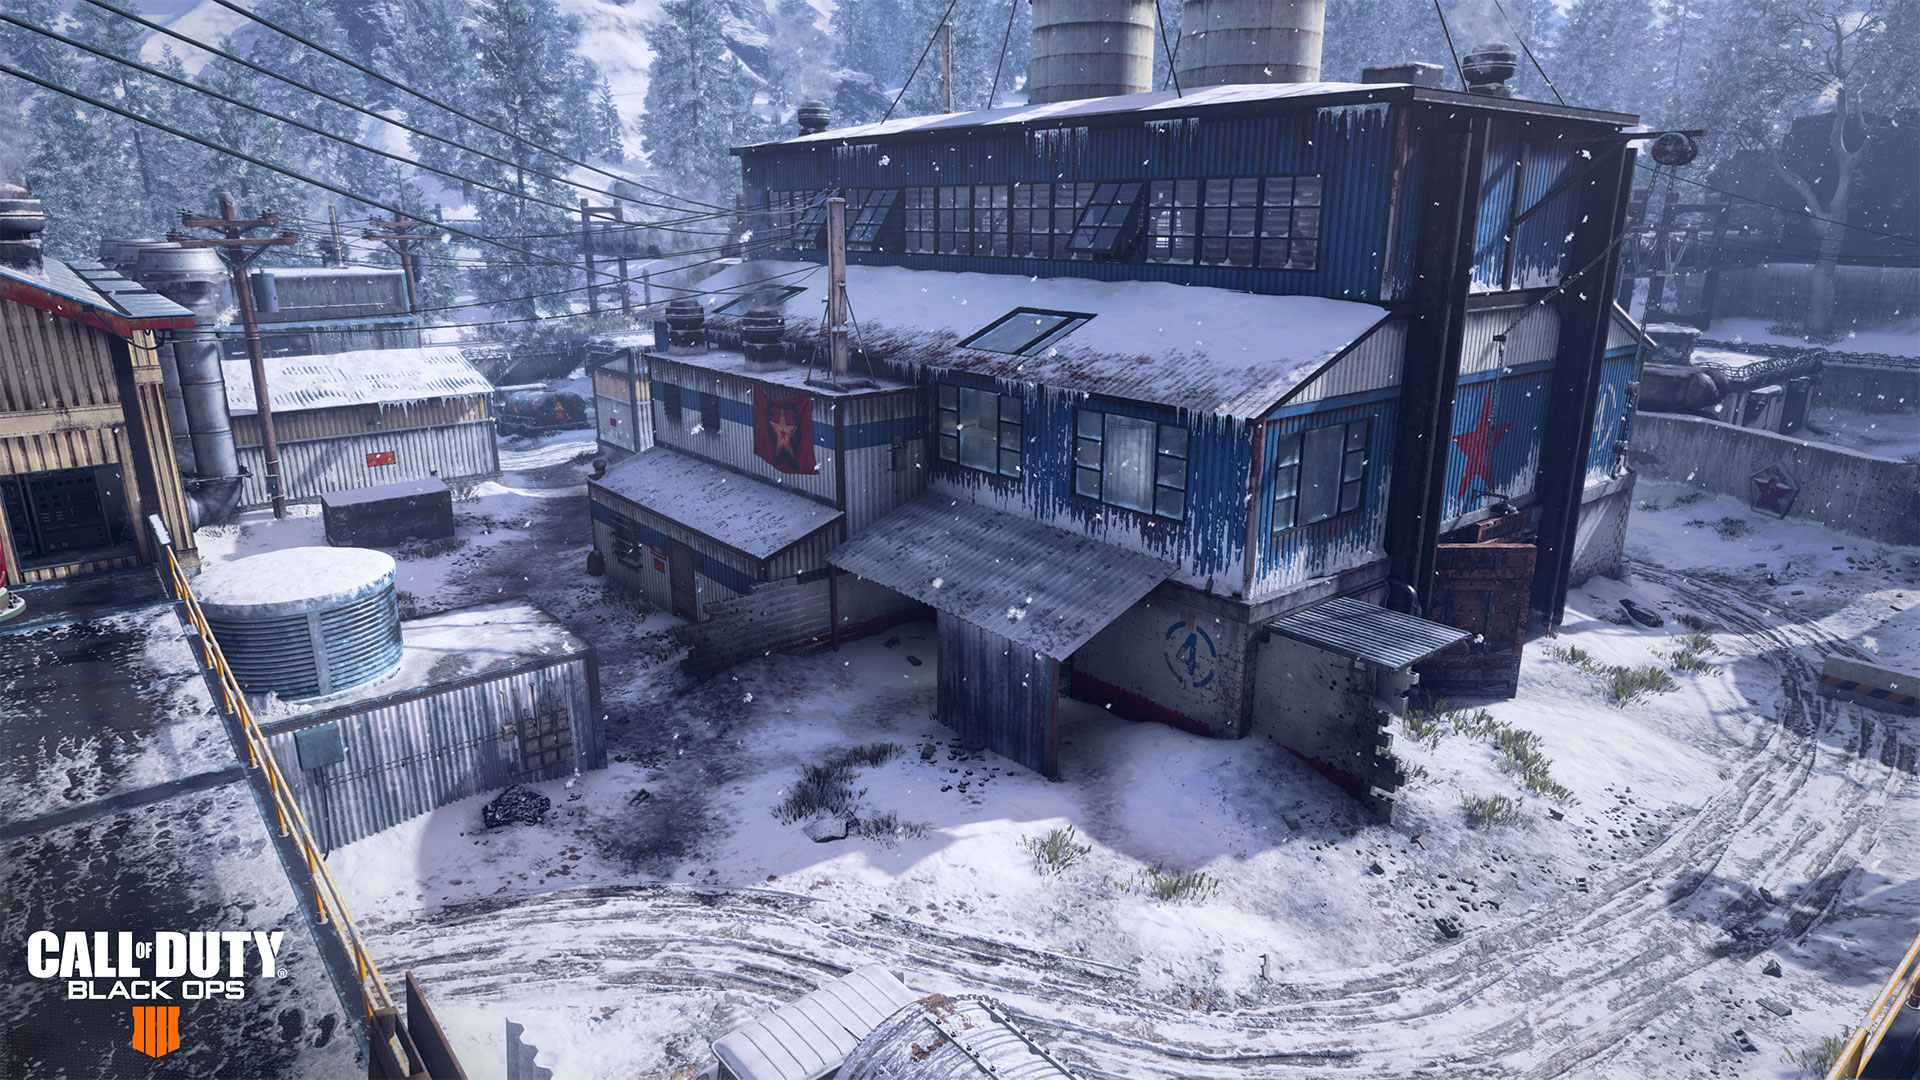
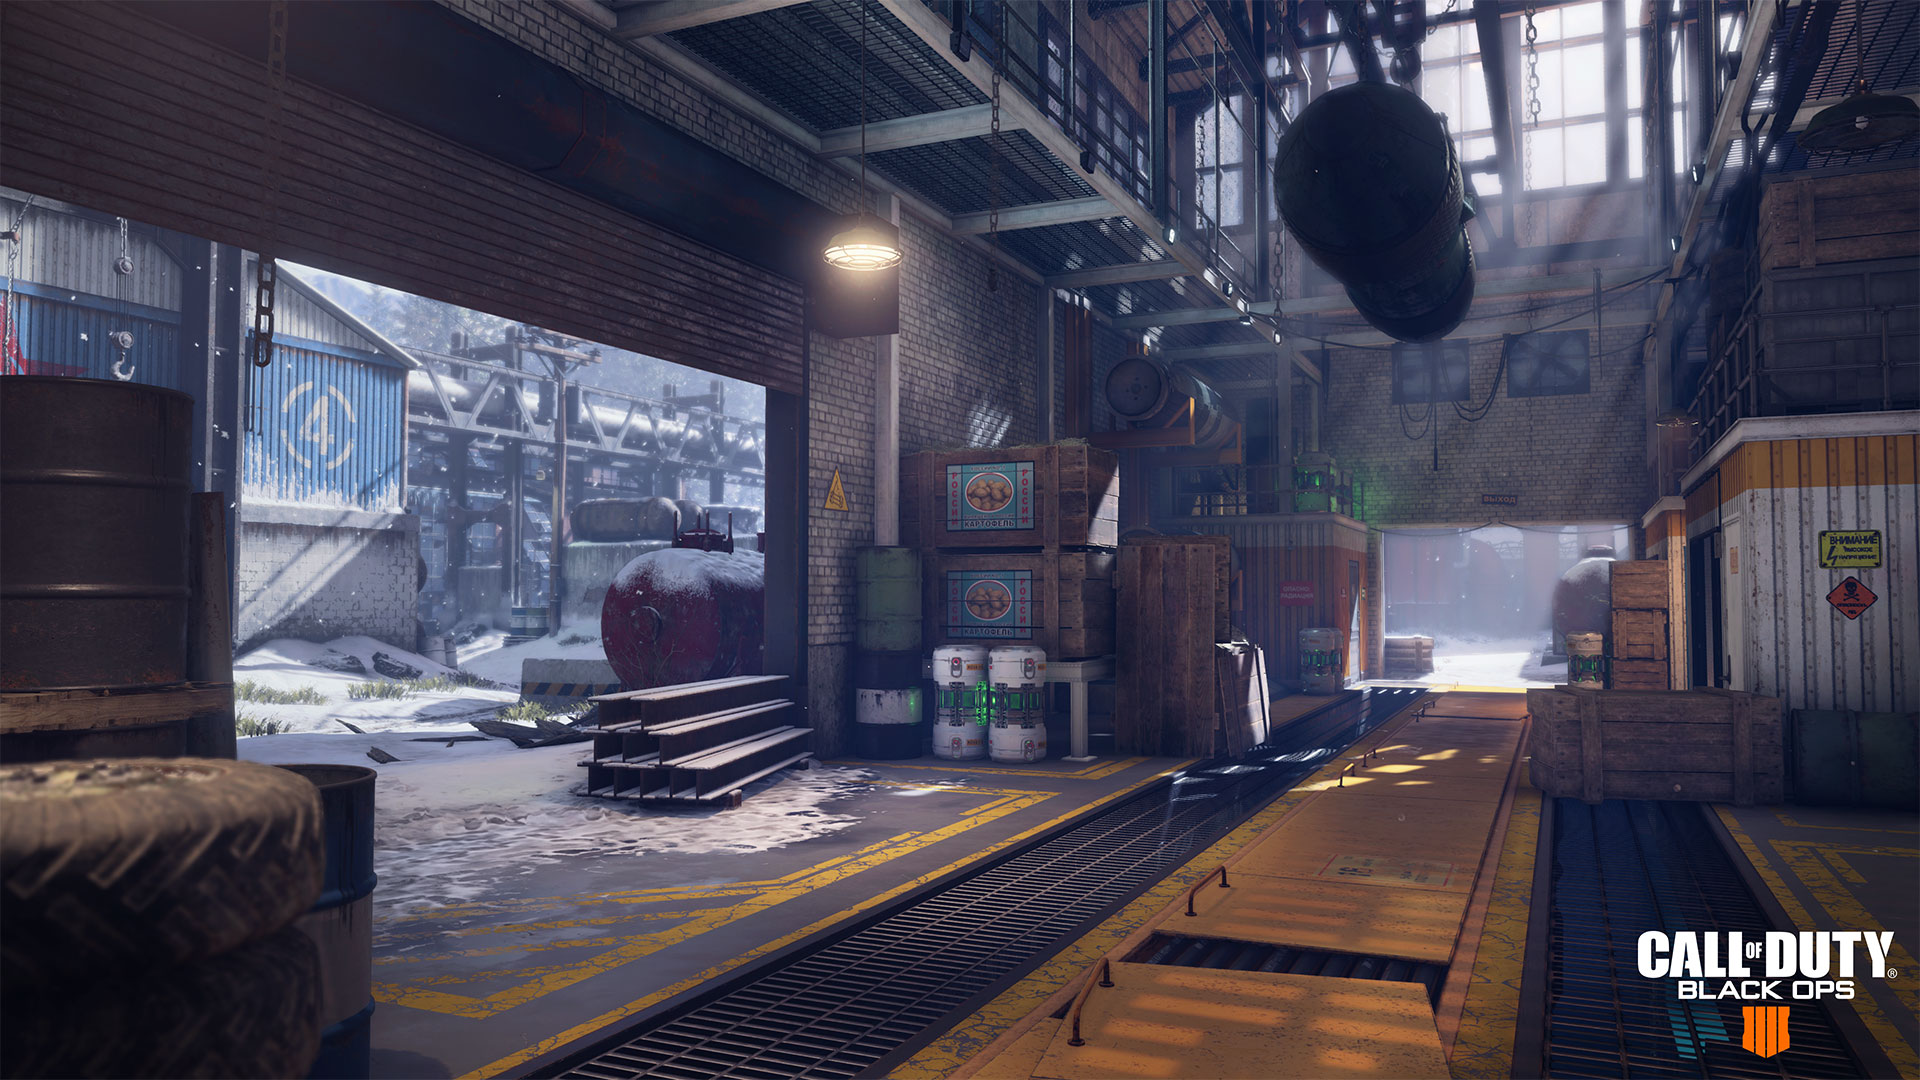
This Russian lab blanketed in snow evokes memories for those who’ve played the Call of Duty®: Black Ops series this past decade. From the all-out brawls had in the central warehouse to patrolling the catwalks with a sniper, WMD is just like you remember it. The map has been remastered with updated visuals while preserving the iconic gameplay space.
For those jumping into WMD for the first time, or those wanting to take a trip down memory lane, read on:
The Lay of the Land:
The initial spawns for WMD in team-based games are on the eastern and western limits of the map. The east spawns are near large silos that house the Nova 6 gas, while the west spawns are beside a warehouse with pipes carrying the chemicals jutting out.
WMD does have three lanes; however, the various buildings, side flanks, and mutli-level play space makes it unique.
The first unique feature is verticality. The silos to the east, the second floor of the central building, another multi-story structure towards the west, and the infamous catwalks are all key high-ground points that may see frequent use in a typical game. And that’s not even all of them; you’ll discover the rest when exploring the map.
Another unique aspect is the extended northern lane that offers a narrow alley to the side of the main building, as well as a wider passage to the extreme north. The J-shaped building causes this unique lane structure to form, allowing for plenty of opportunity and risk when traversing around WMD’s centerpiece.
These aren’t the only two unique parts of WMD; a broken central lane, a large open building in the southeast that gets plenty of action, the larger-than-you-think back areas of the two main spawns… there’s a reason why this is a fan-favorite map.
General Strategy:
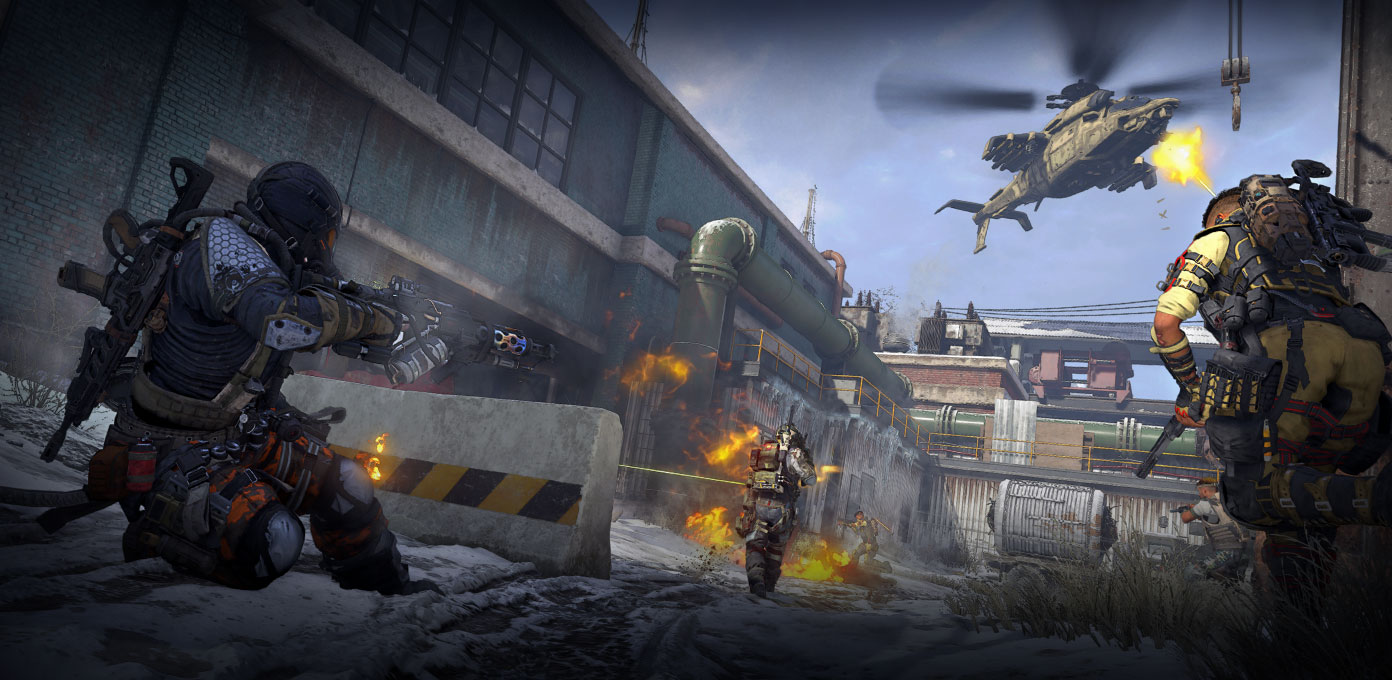
Looking for the optimal weapon to use on this map? Good news: pick your poison, because anything can be a weapon of mass destruction on WMD.
There are plenty of tight spaces that may be conducive to success for close quarter builds, several long lines of sight where sharpshooters can find targets, and nearly everything in between. Learn what you are comfortable with in terms of a play style and use the map to those advantages.
Snipers may be tempted to set up shop on either end of the map, especially on WMD’s ultimate high ground of the catwalks.
Should you want to take the long climb up the ladder, be forewarned of the exposure to the chilling elements of the Russian winter… oh, and also enemy fire. A learned player might know to check this high ground often, so be careful in frequenting the catwalks.
Another often popular area is the map’s central building. While not a black hole for combat opportunities, having control of this landmark offers overwatch on several routes on the map. When attacking this central building, consider chucking a quick grenade through the window, as enemies might be hiding or just setting up defensive positioning.
Objective Tips and Tricks:
In some objective game modes, the dead center of the map is used as a key objective point. This places a bigger emphasis on central building control, even though it is possible to trap an enemy team within the structure and contain their threats. Still, be cautious of diving on any objectives in the middle of the map, as there are plenty of ways for enemies to deal damage onto you, especially from higher ground.
In Search and Destroy, the A bomb site is located to the far north near a vacant tanker truck caught in the snow. The latter bomb location is practically next to the defensive spawn near the silos.
As an attacker, you may assume that the enemy team is defending what it perceives to be an easier point, so you might lead your team towards the A bomb site to the north. But, in knowing what is expected, the defending team may protect that bomb site and leave the other, more obvious defensive position unoccupied.
It’s a conundrum that even the best Call of Duty players in the world consider every single round on both sides, and WMD’s design definitely makes for a fun and satisfying challenge in every game.
Consider flanking teams by using the southern path through the warehouse. While not as near to the bomb sites as other routes, it may potentially catch the other team off guard when used.
Playing defensively, it’s difficult to exactly predict the movements of the other team. Instead, consider playing offensively and vary your routes and gameplay patterns to keep other players on their toes.
Whether you are a first-timer or a seasoned pro, the ultimate tip we have for this map, and every map in Call of Duty: Black Ops 4, is to have fun.
We'll see you online.
For more intel about Call of Duty: Black Ops 4, be sure to visit CallofDuty.com/blackops4 and follow @CallofDuty and @Treyarch on Twitter.
For more information on Activision games, follow @Activision on Twitter, Facebook, and Instagram.