Season Two of Modern Warfare returns Rust to combat, and the map from Call of Duty®: Modern Warfare® 2 has lost none of its original shine.
Veteran players can consider this guide a refresher. While newcomers can use the knowledge, tips, and tactics of this Tactical Map Intel to get up to speed.
Lay of the Land
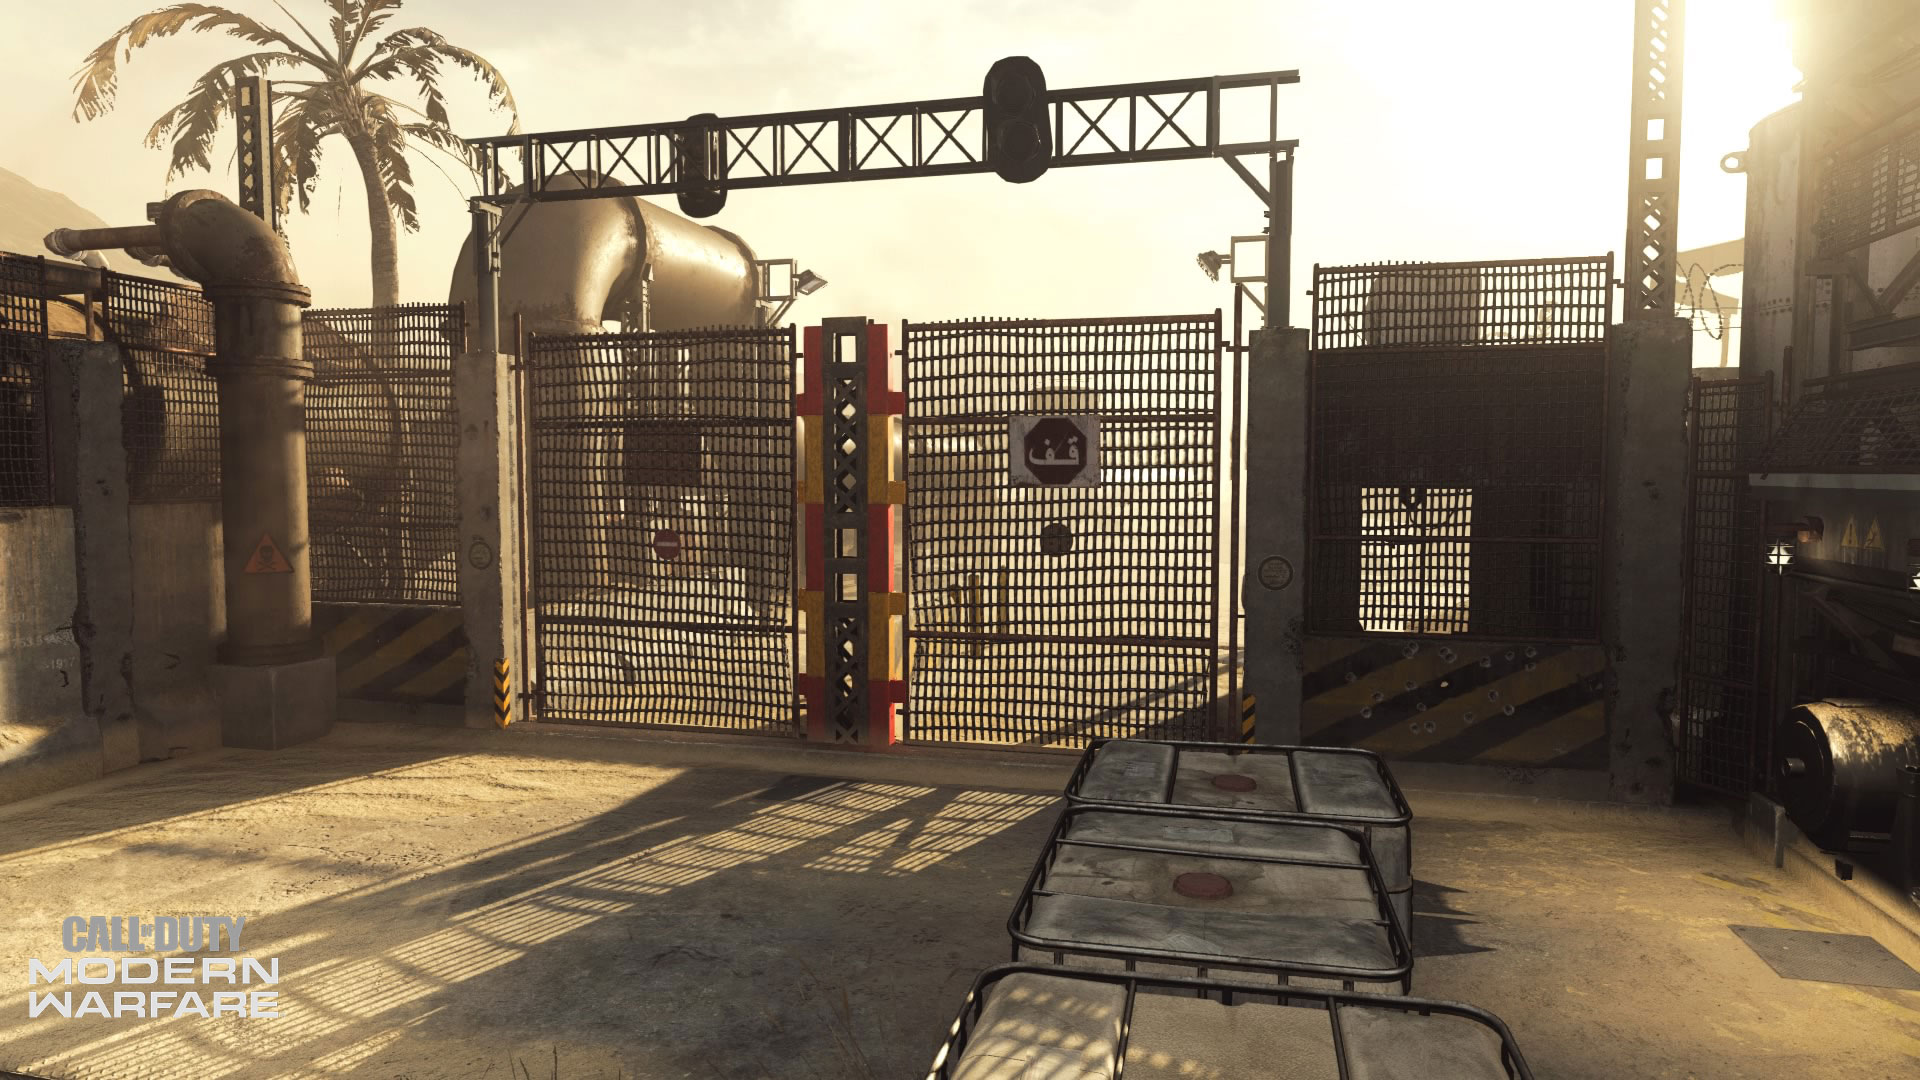
It’s Day 80 of the ongoing fight between the Allegiance and Coalition. The Allegiance forces begin their fight near the northeast Front Gate while the Coalition team spawns at the southwest Loading Dock.
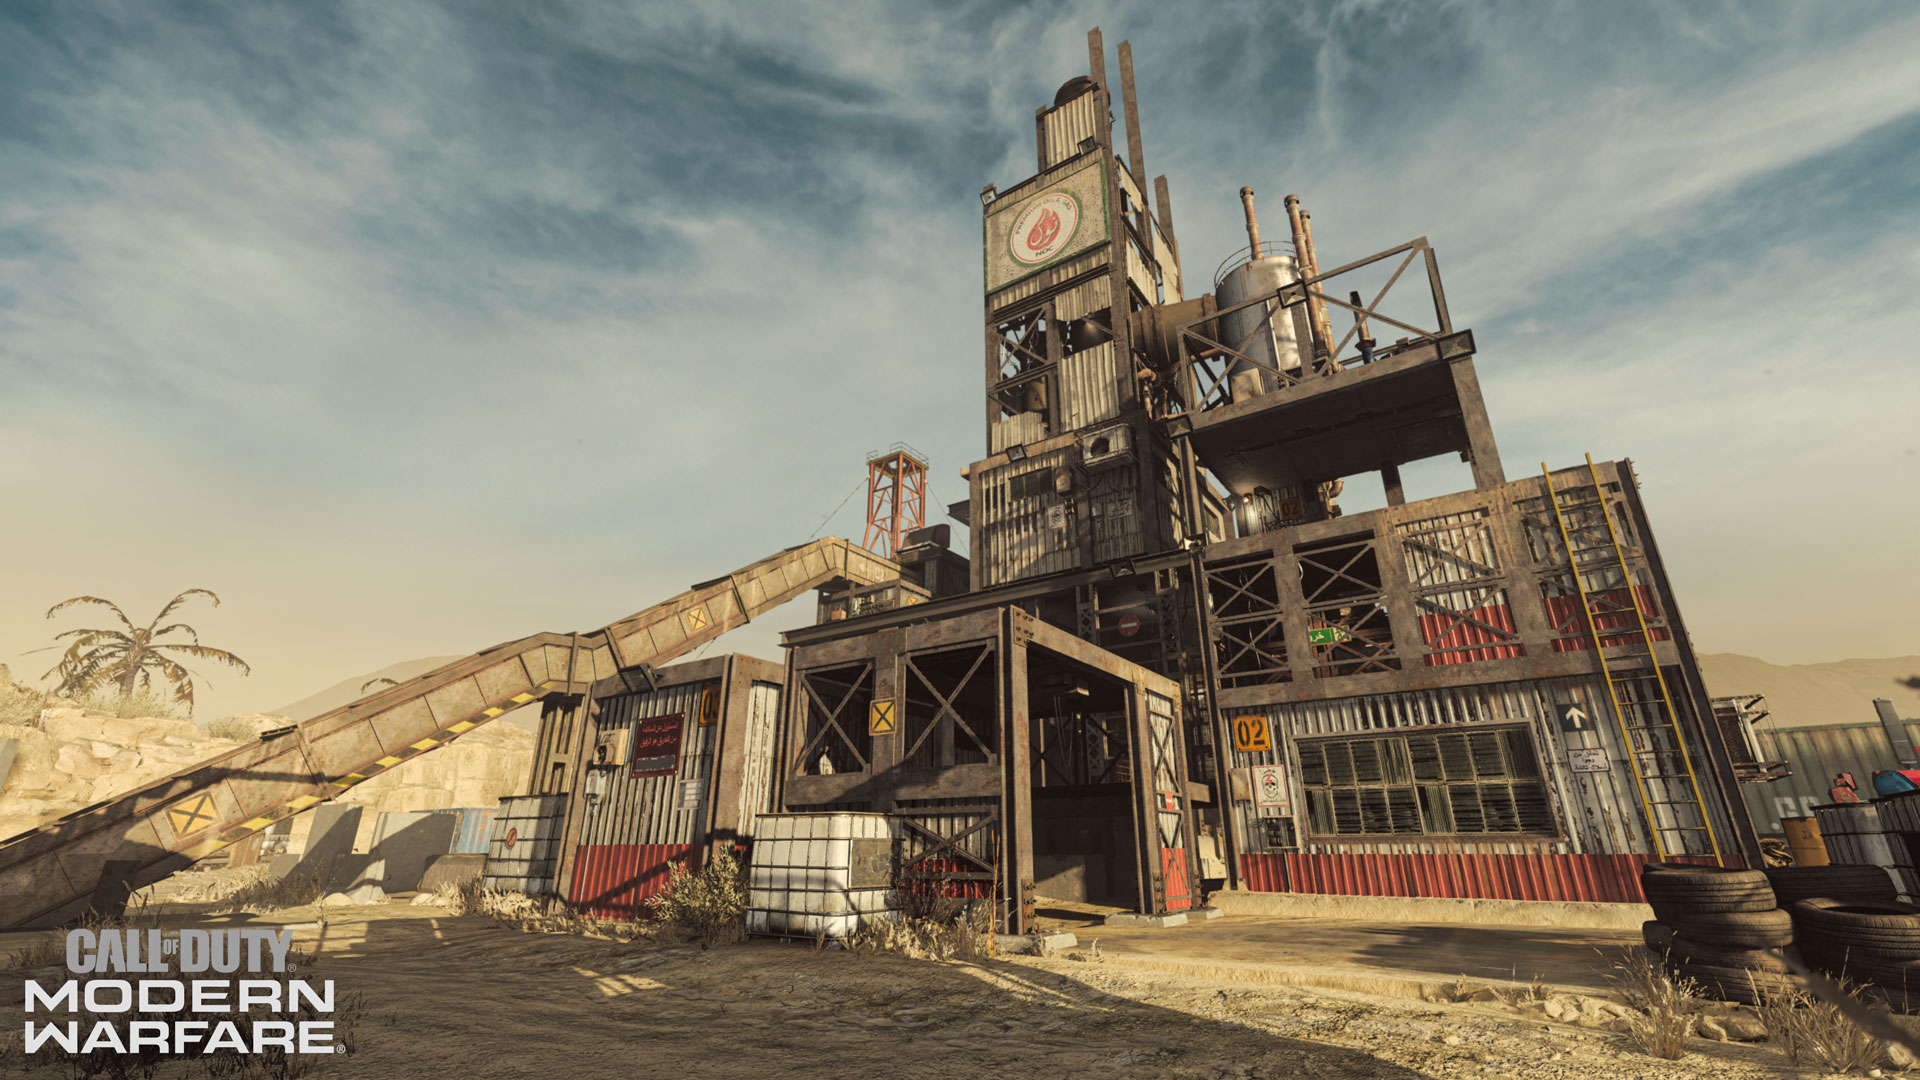
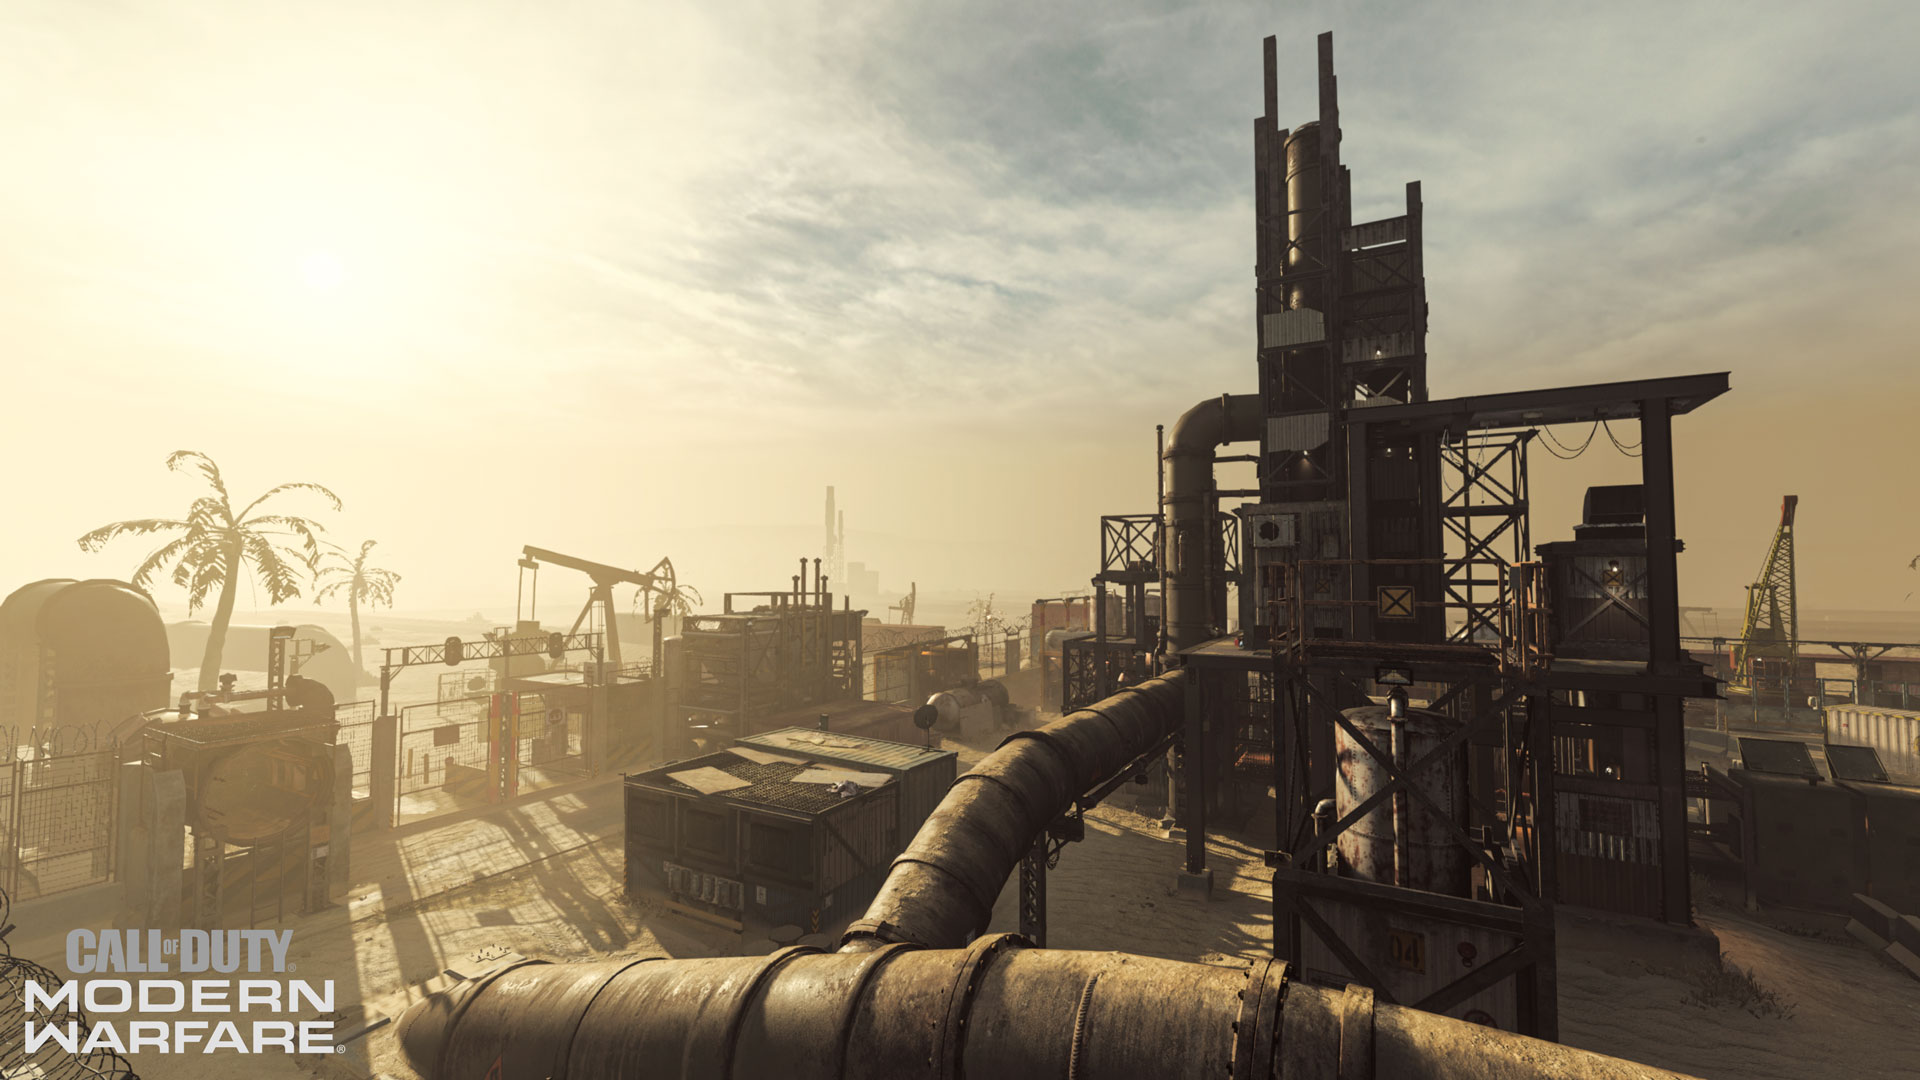
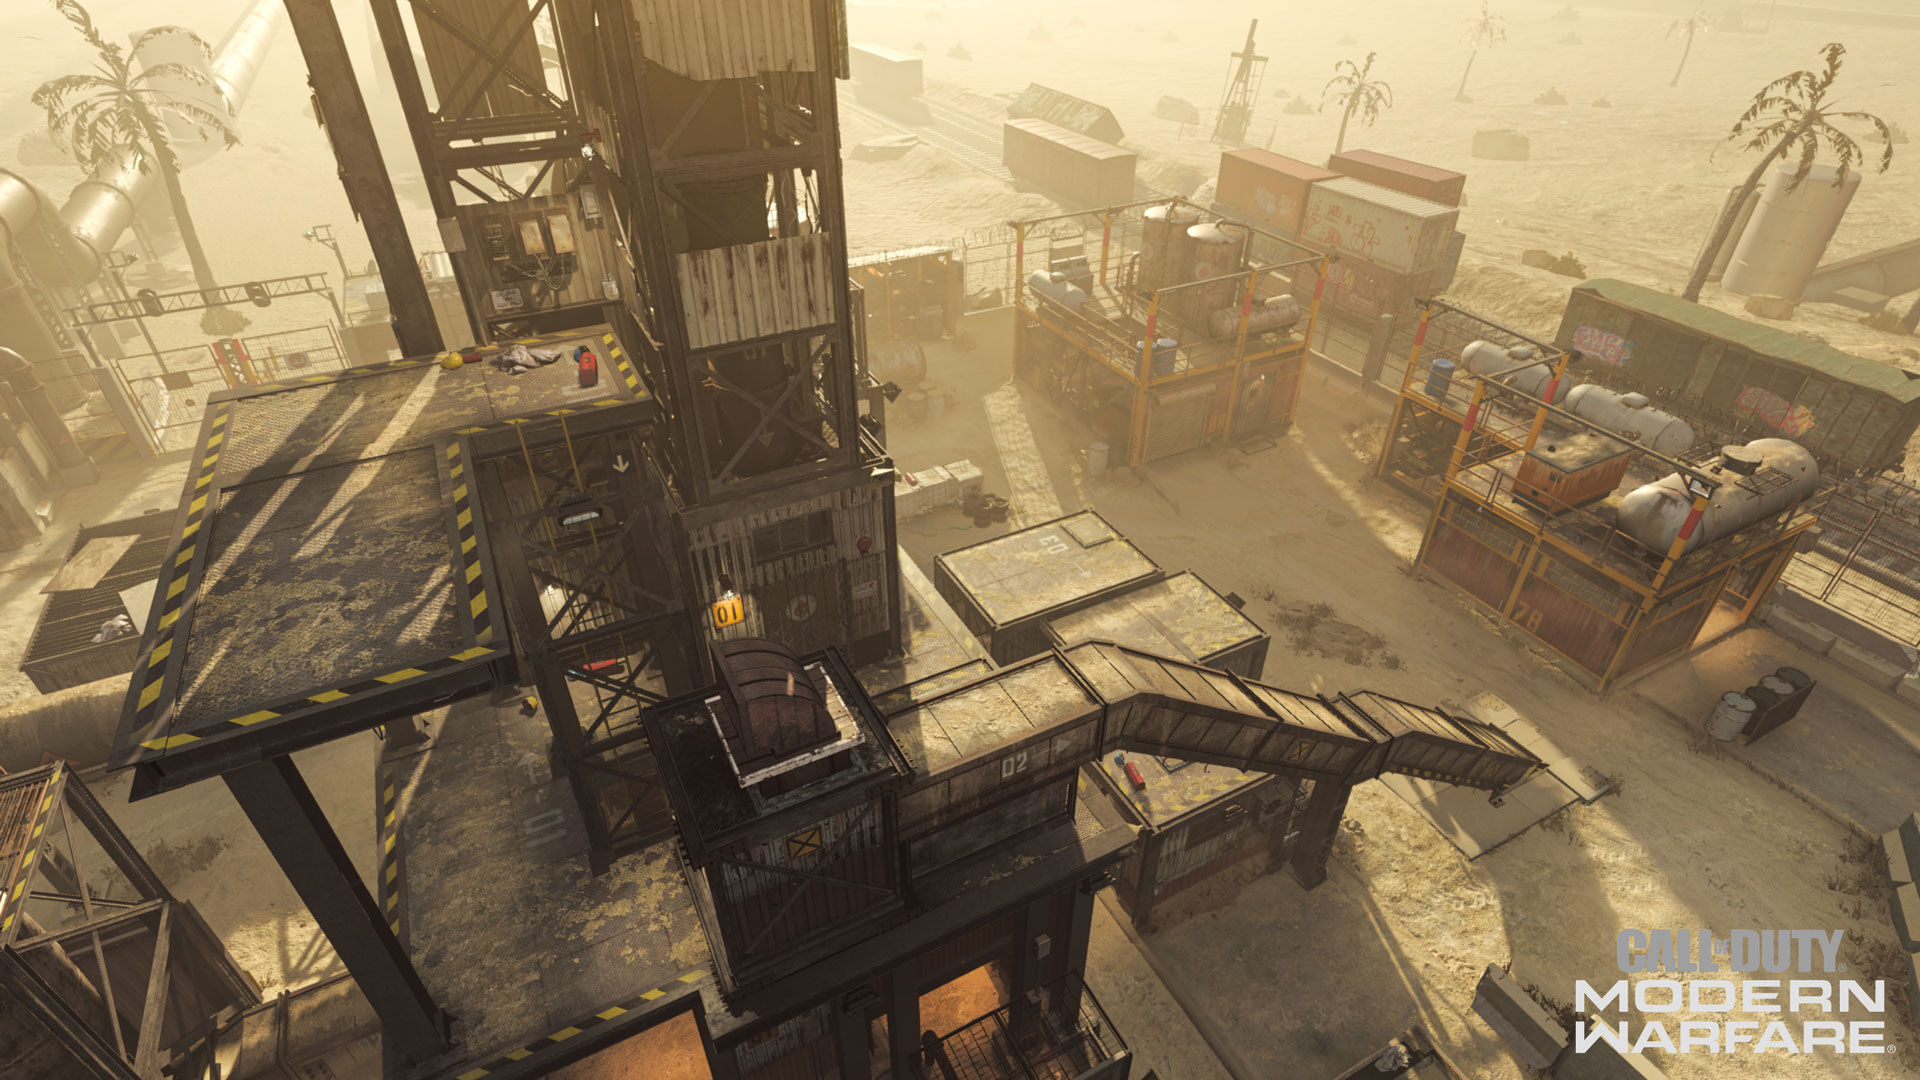
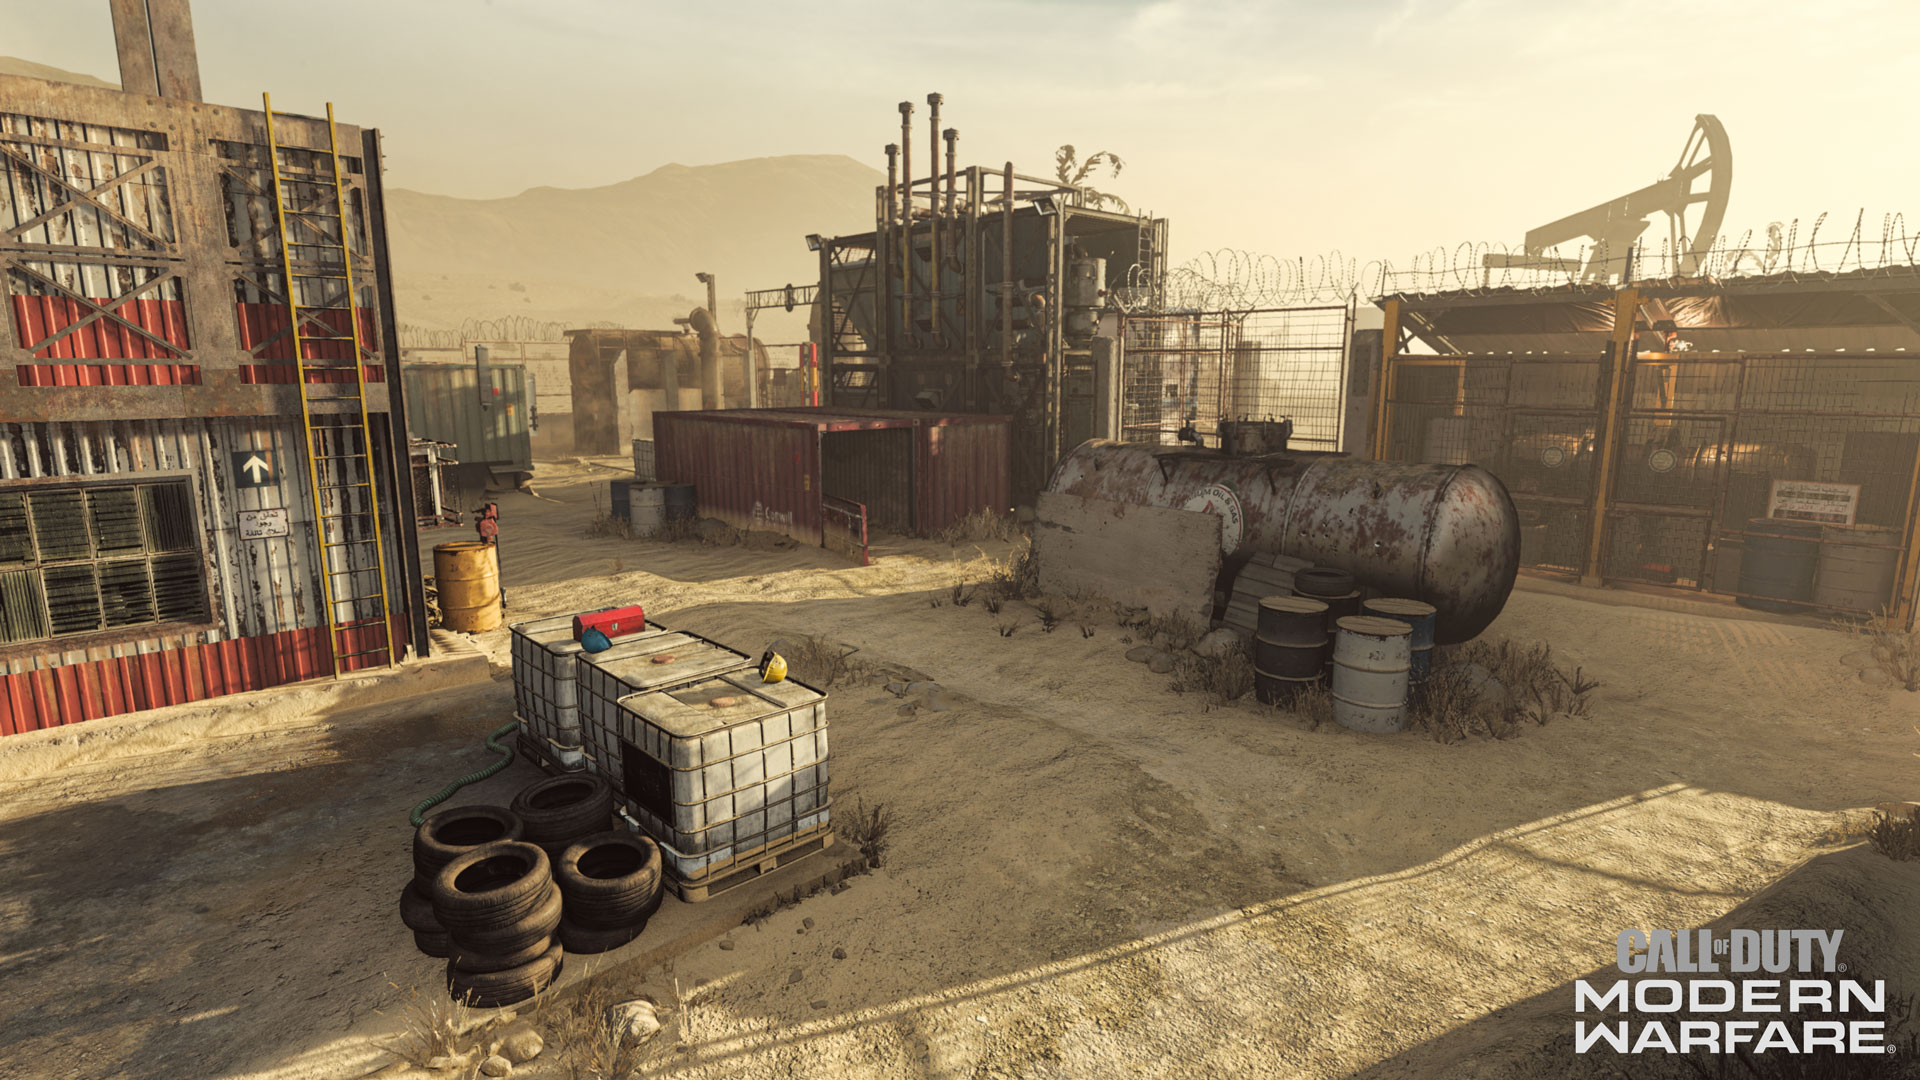
Rust takes place in an oil yard somewhere in the Urzikstan desert. The small, but vertical battleground is home to pipelines, communication stations, and a tall tower that creates dynamic gameplay and expands the range of this sandbox.
In addition to being a standard Multiplayer map, Rust will also be playable in Gunfight. Its vertical design will add even more nuance into an already intense and tactical game mode.
Rust has 12 named zones in total. Some feature multiple levels of verticality, while others stay grounded. All have their uses and potential for intense firefights.
Map Zones:
Here’s a list of all 12 zones in Rust:
1. Front Gate
2. Pipeline
3. Oil Derrick
4. Blue Containers
5. Loading Dock
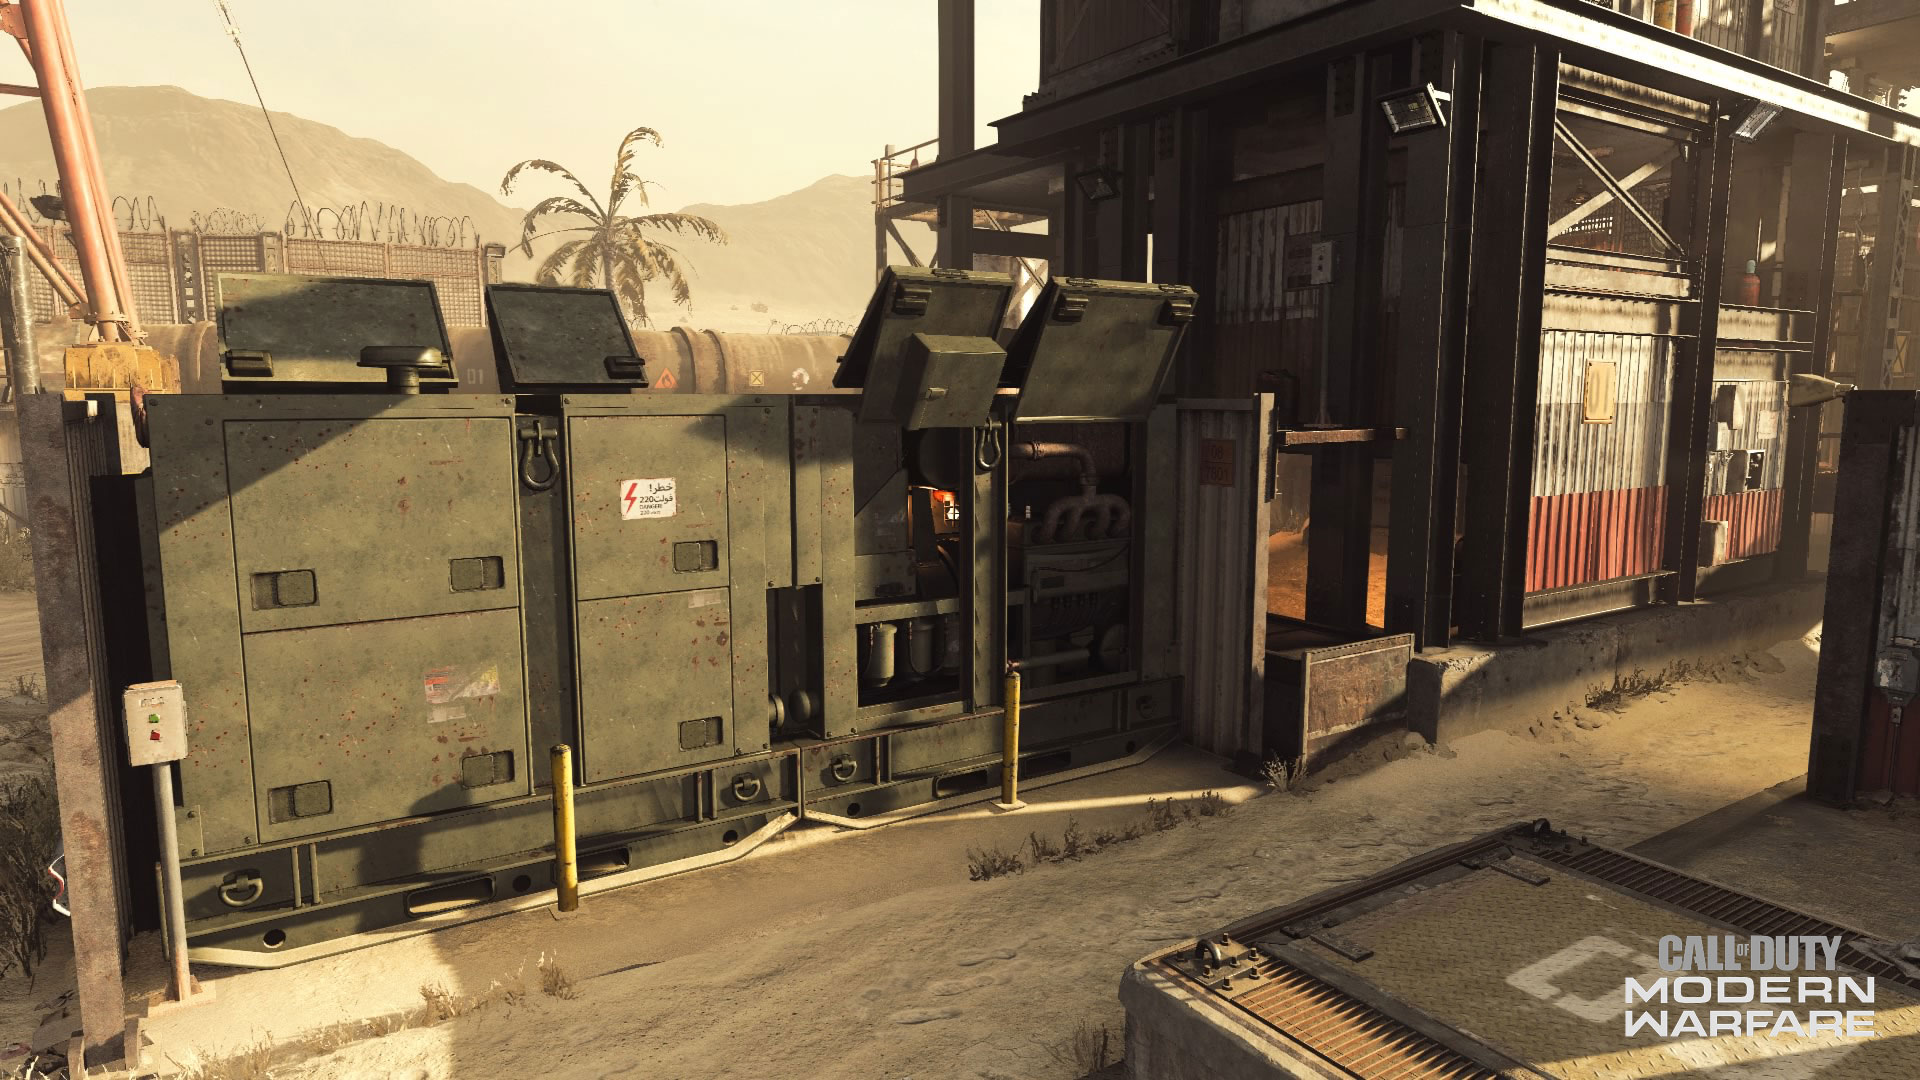
6. Generators
7. Tower
8. Control Room
9. Maintenance
10. Fuel Depot
11. Red Containers
12. Comms Station
Map Overview:
The below maps detail Rust, including all of its 12 zones and key locations in various game modes.
Map Zones Detail:
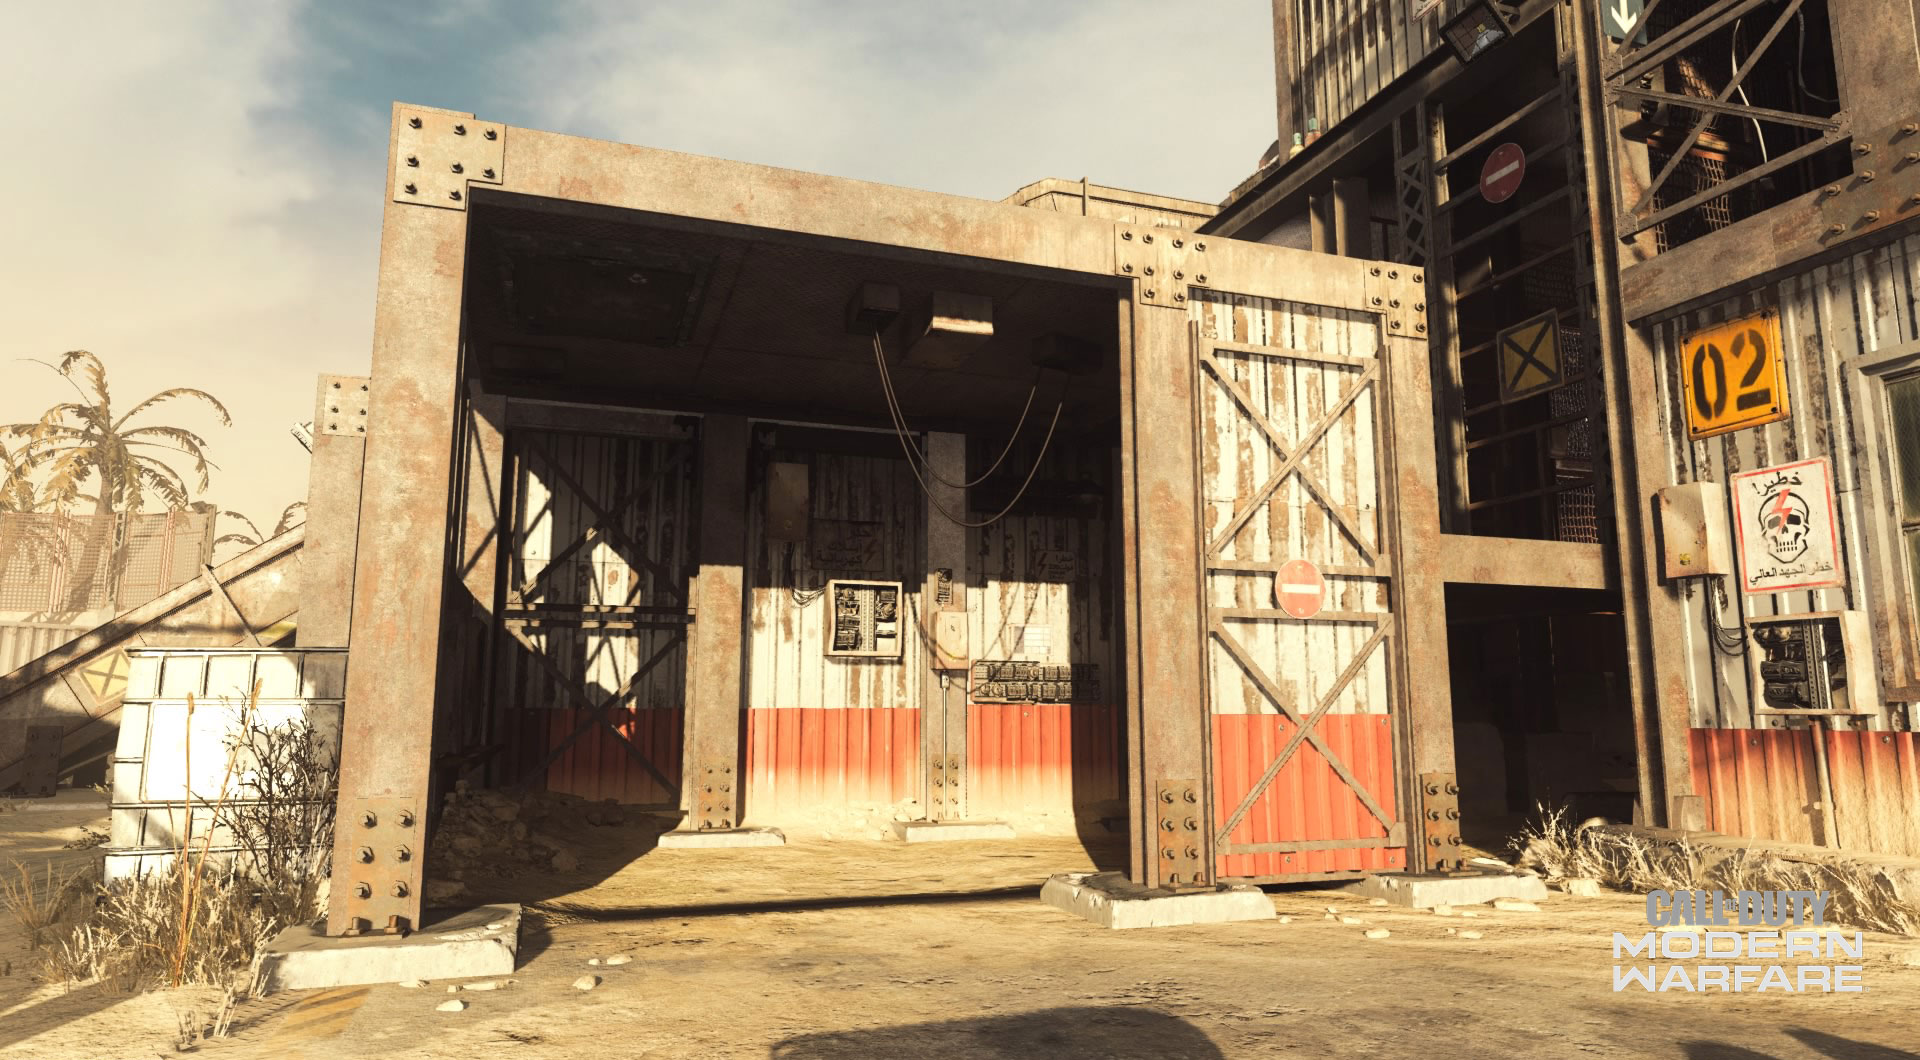
Front Gate
The Allegiance spawn is as much a part of the battlefield as any other zone on the map. For players starting at the Front Gate, travel west up the Pipeline to get early verticality and visibility on your opponents. You can also mantle to the top of the Comms Station via a trio of packages to get a look at enemies coming from the south.
The Front Gate is key objective area for multiple game modes. It serves as a Hardpoint, Headquarters location, and a Data Center location in Cyber Attack.
If playing one of these objective modes, consider using the trio of boxes as protection while uploading the EMP device or “capping” the objective. For those attacking, you’ll have one of the best combinations of visibility and protection from the high ground portion of Maintenance.
With limited cover, if the battle does come to the Front Gate due to an objective consider bringing a Trophy System or the Deployable Cover to give you some protection from the enemy onslaught isn’t a bad idea.
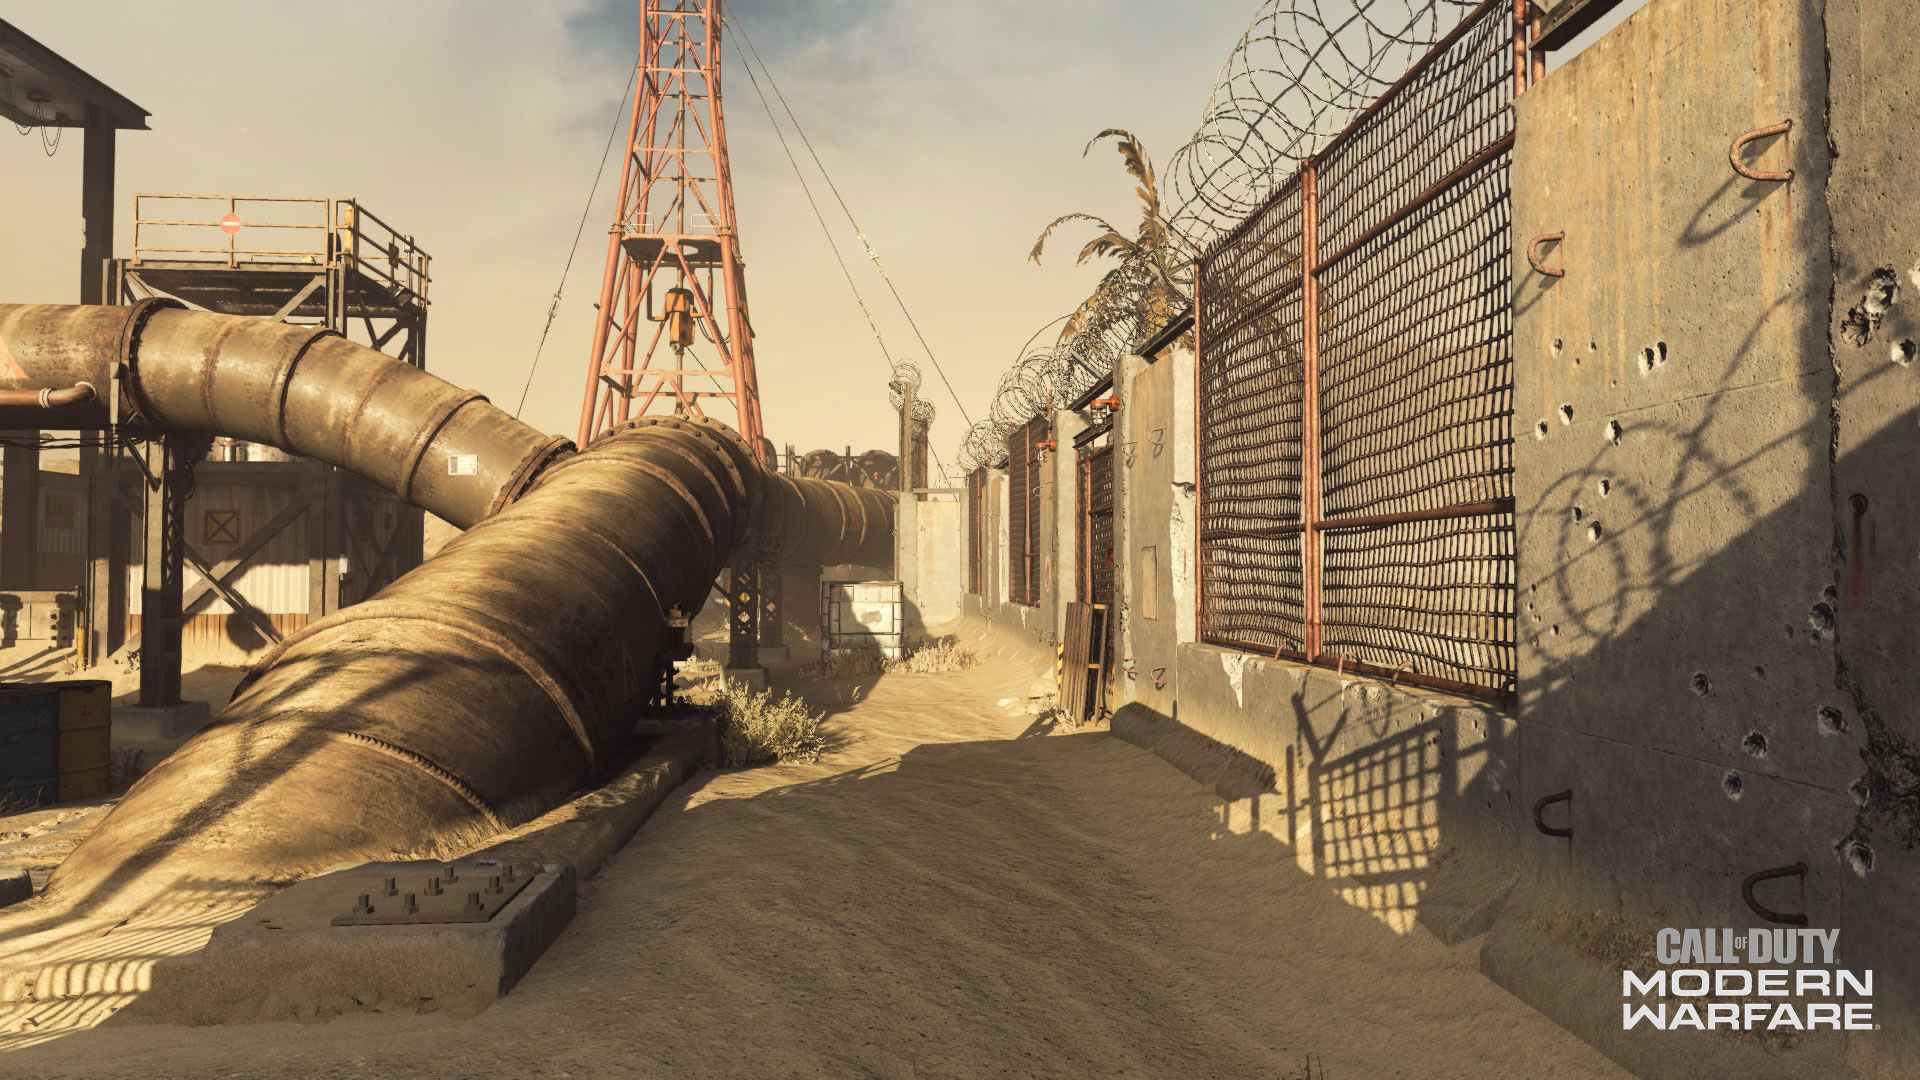
Pipeline
This elevated path covers the northern most side of the map. Walk on top of the pipeline for quick, albeit exposed, access to Tower or the Oil Derrick or stay on the ground for slightly better protection.
In Pipeline, directly adjacent to Oil Derrick, is one of the bomb sites in Search and Destroy. This is one of the tougher objectives to take due to the limited cover in the area. If clearing the area, try to eliminate enemies without getting too close. If planting a bomb, use the pieces of the pipeline that lead into the ground for cover and work with teammates to plant the explosives before you’re eliminated.
In the northeast corner, you can mantle into a broken piece of the pipeline. Use this “hole in the wall” to catch enemies off guard and protect opponents looking to rush the Front Gate during objective modes. Just be aware that you’ll have limited mobility. If an opponent sees you, it might be tough to escape the “hole” with your life.
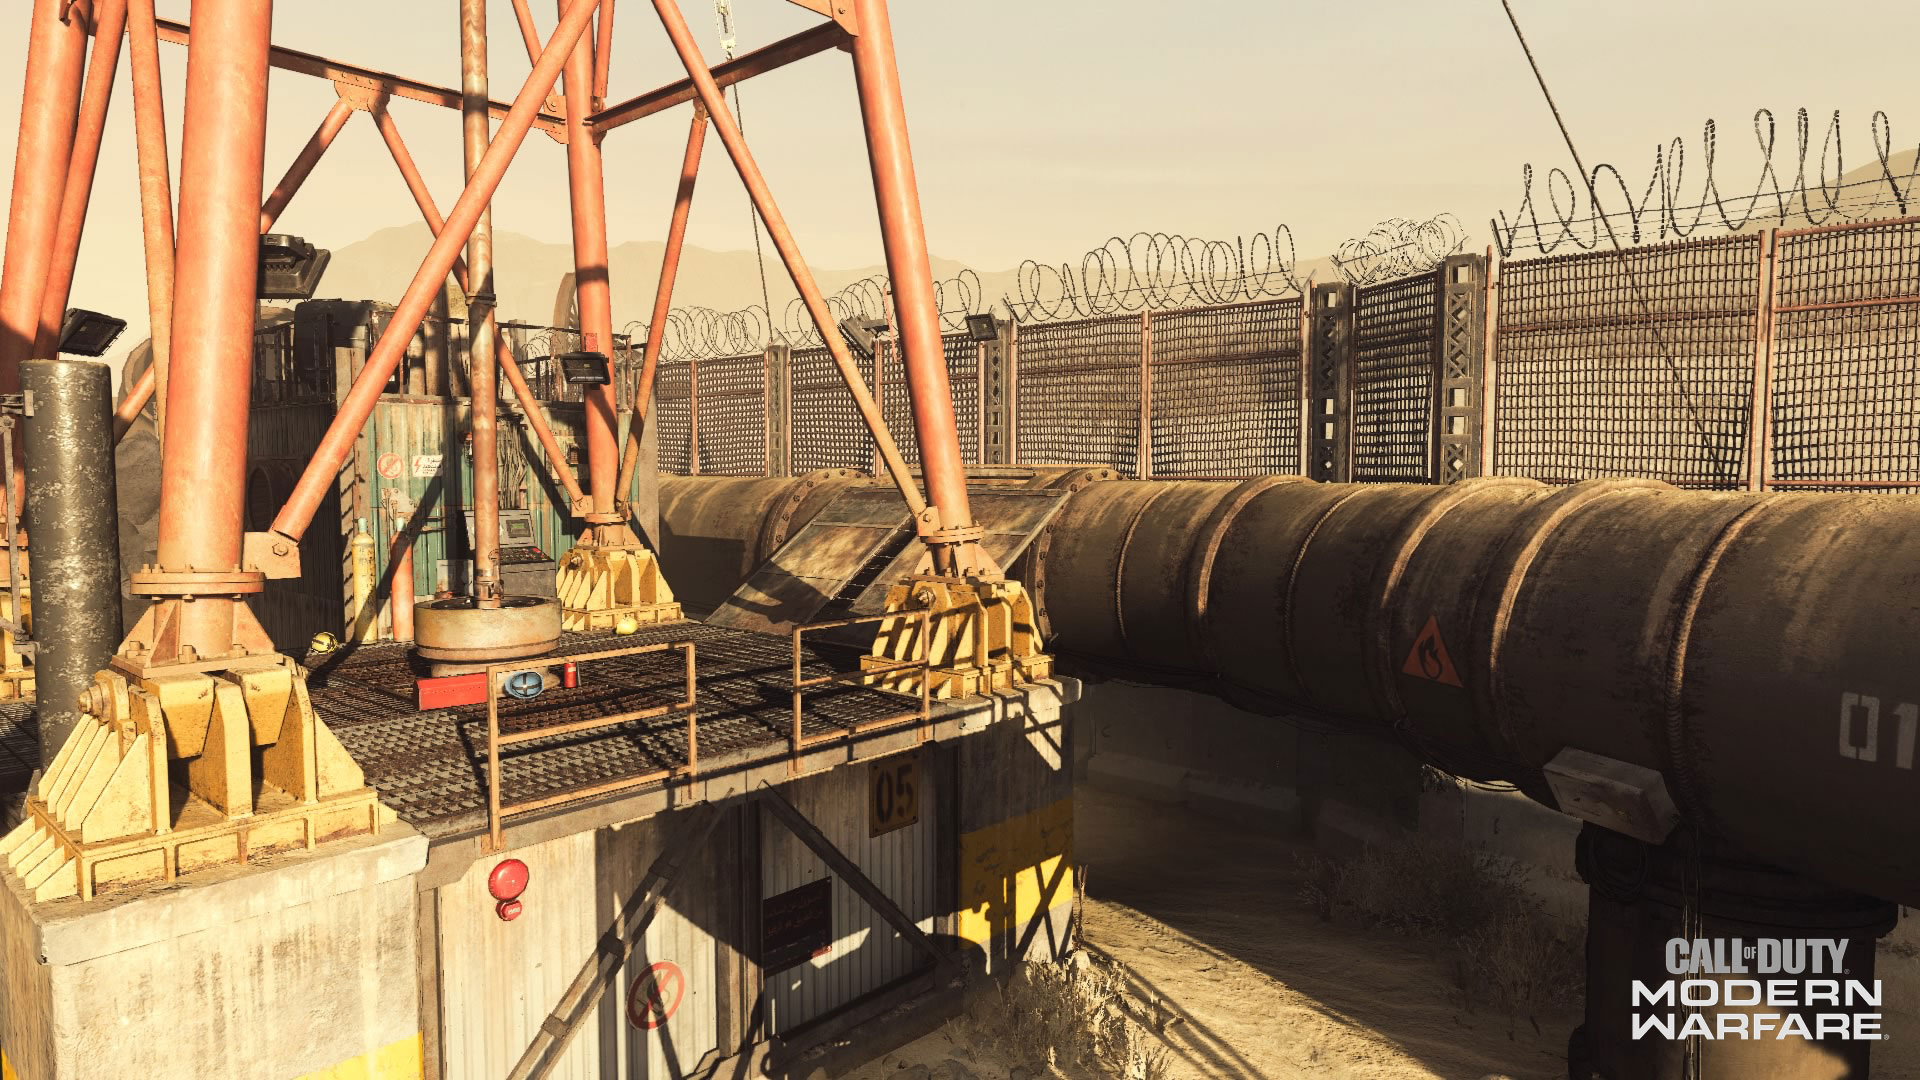
Oil Derrick
A raised platform that’s positioned well for tactical play, Oil Derrick has space for multiple playstyles while favoring CQB players. The zone includes the remaining pipeline that connects to the northwestern edge of the map and a small semi-protected platform that has visibility all the way to Generators. The top of the oil derrick can be accessed via the pipeline or by mantling on nearby containers. Players can also go behind, on top, and underneath the oil derrick making it one of the more versatile pieces of the environment.
A Hardpoint and Headquarters location rests on the larger of the two platforms in Oil Derrick which is partially protected by the steel framework above. The ground area of Oil Derrick should be considered when holding an objective as you’ll be able to eliminate enemies at a distance and mount your weapon to the oil derrick’s side.
The northwest corner of Oil Derrick can be a gem of a spot to just be mindful of enemies rushing from Pipeline when you are firing off into the southern parts of the map.
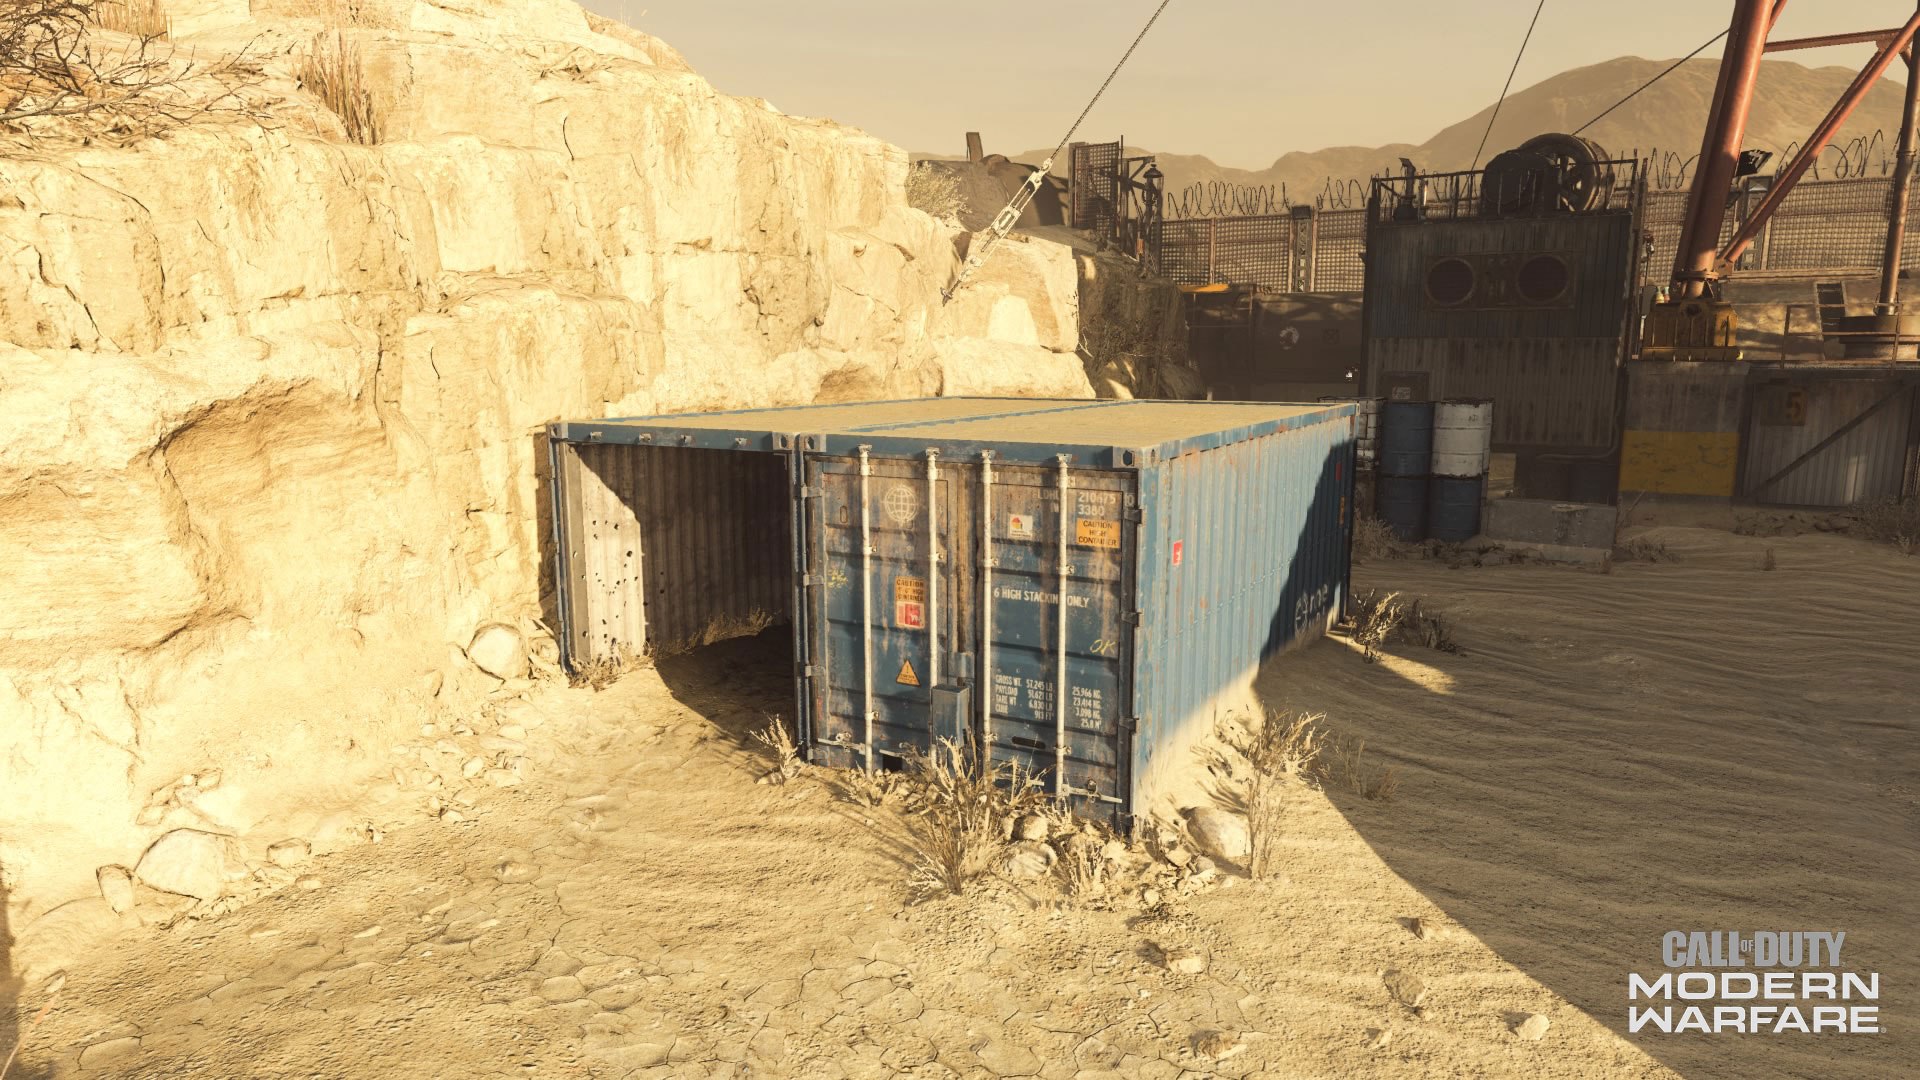
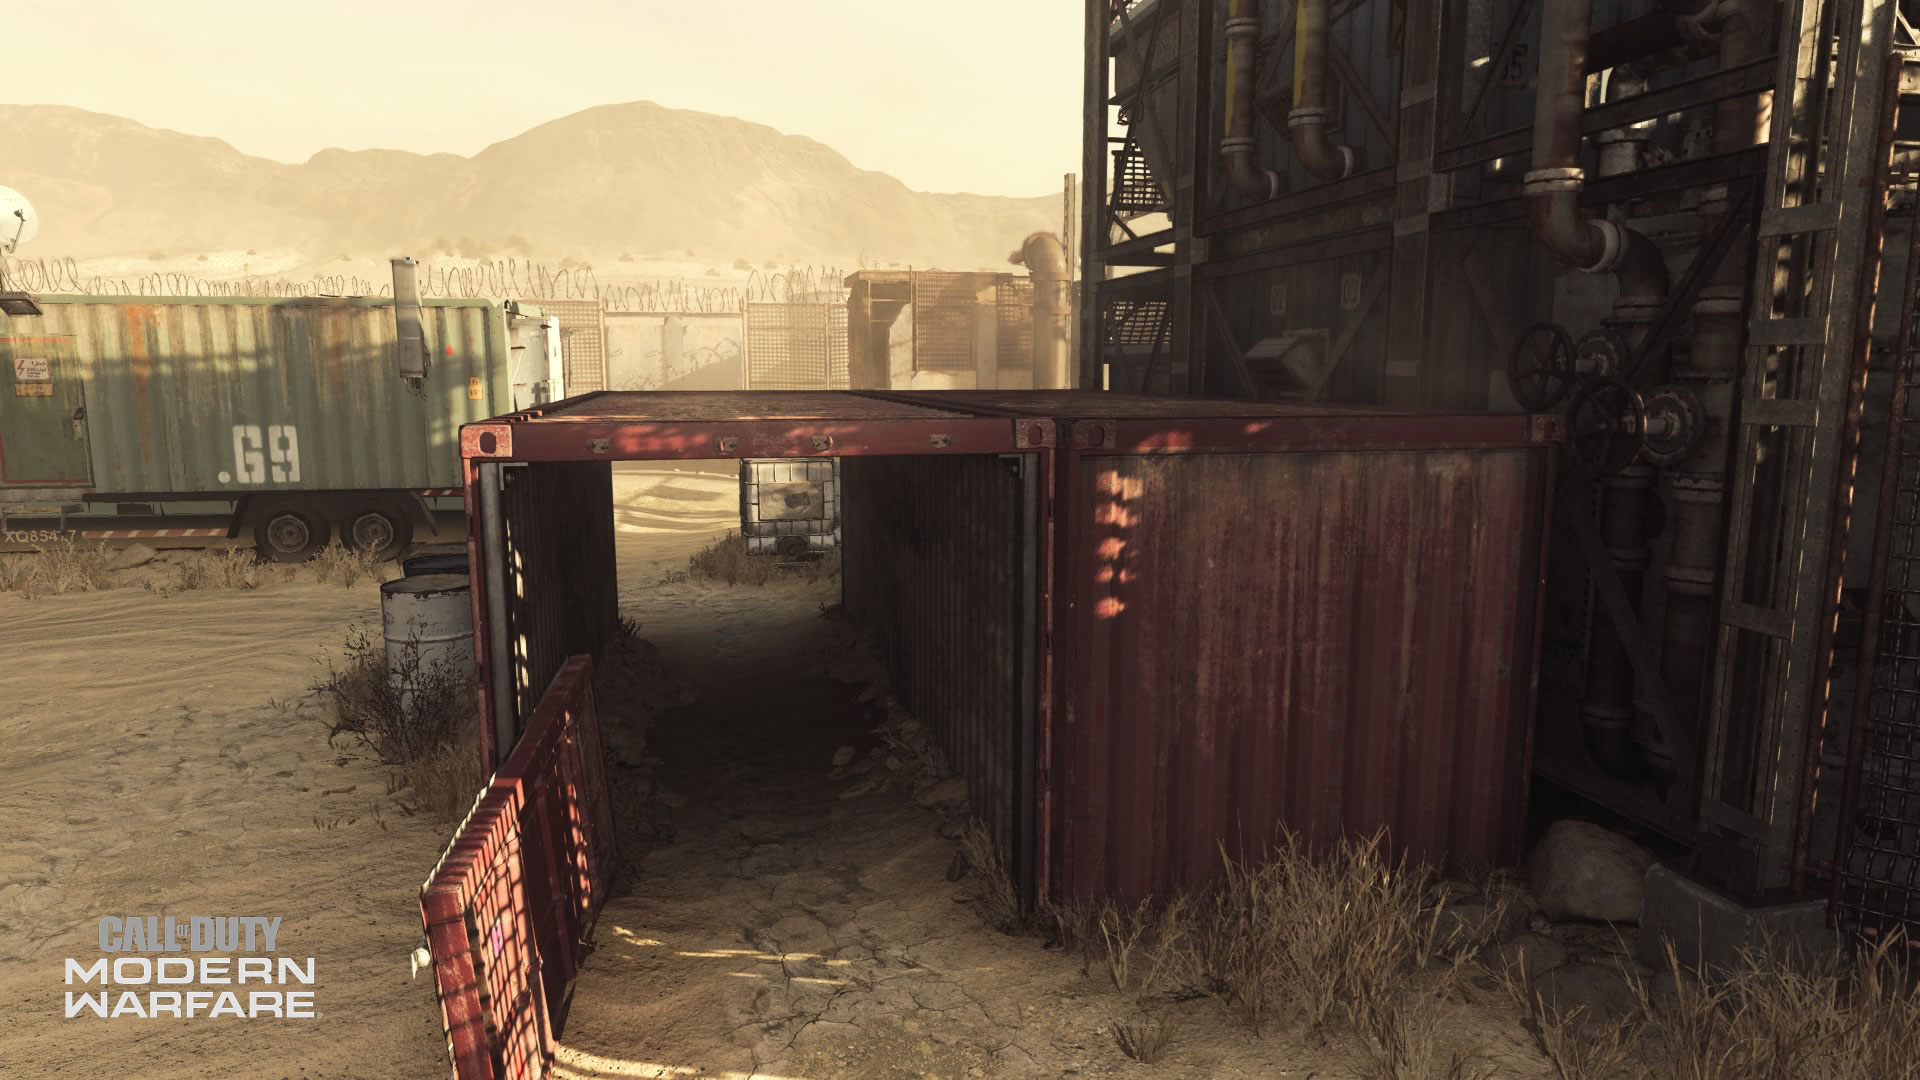
Blue Containers
A small and primarily transitional area named for its two blue containers. One of the containers is open and acts as a protected tunnel from players running from Oil Derrick to the Loading Zone. While you can get on top of the containers, it’s not particularly advantageous due to its exposure.
This area is also home to the C flag in Domination which straddles the intersection of Blue Containers, Oil Derrick, and Generators. This objective is one of the harder ones to cap. Because all of the Domination objectives sit in a triangle; it’s worth considering capping A and B and leaving this one for your opponents.
The best tactical advantage this area can give you is a direct sight line to Generators. Weapons that aim down sight quickly will play well here allowing you to slide in and out of the container, then “snap” on enemies for efficient eliminations.
Loading Dock
Home to the Coalition spawn and a Cyber Attack Data Center, Loading Dock is one of the most protected zones on the map with barriers, crates, and a long container shielding it. To the left of Loading Dock, you’ll have great visibility on most of Oil Derrick and anyone emerging from Blue Containers. To the right, you’ll have partial visibility on Maintenance, Generators, and Fuel Depot.
Long-range weapons can find success in this area, but due to the nature of Rust you’ll also want to pack something that has great mobility. Climbing to the top of the singular container in Loading Dock can be good for a quick shot to take out someone on the Tower or in the Control Room. Once you hit your mark, it might be wise to hop down to avoid being taken out yourself.
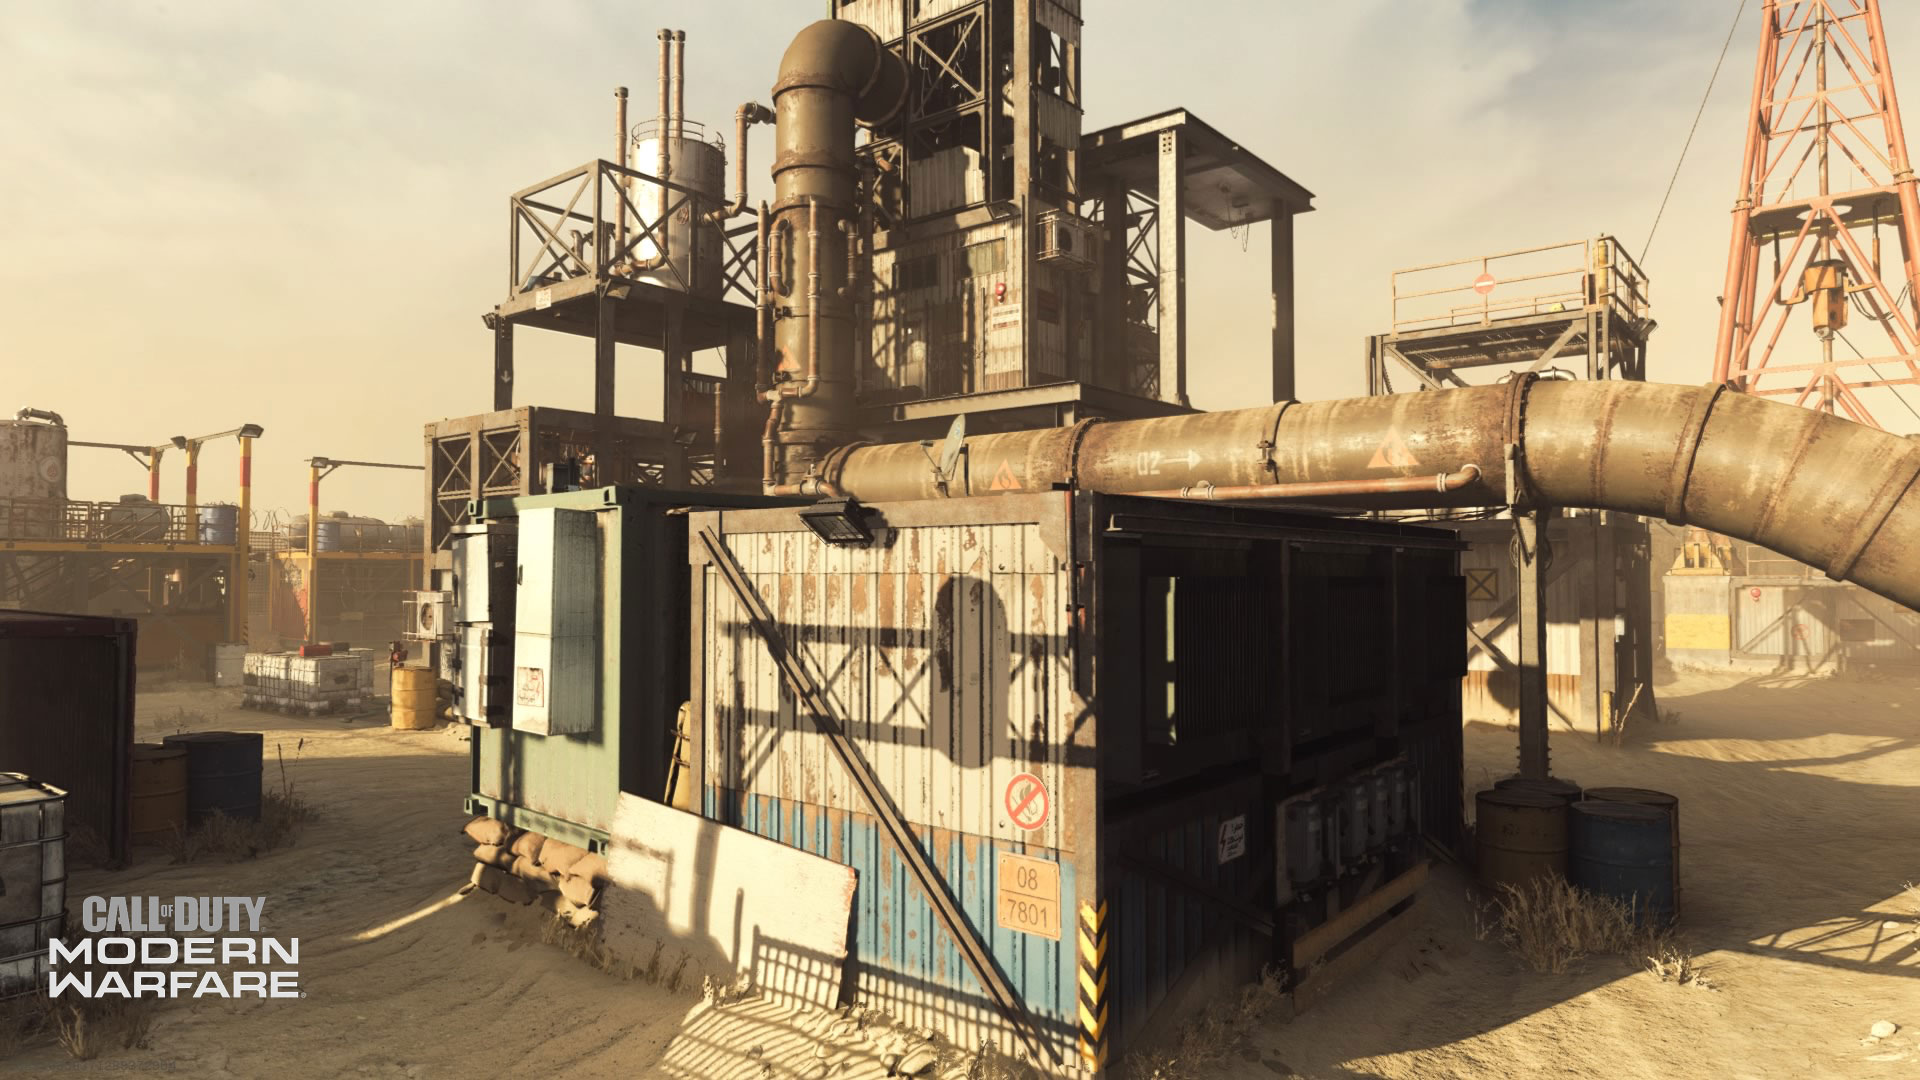
Generators
One of the areas that surrounds the Tower, Generators is split in half by a generator. Both the north and south side of Generators contain a Hardpoint and a Headquarters location making this a hotly contested objective. Generators south side is the better protected of the two, while the north only has one semi-safe entry and exit: the Tower.
Close Quarters Builds will play well for anyone rushing on the south side while weapons with more range will work best on the north. The top of Generators is easily accessible and has a few metal flaps which will offer some protection for those lying flat. From the top, you can also jump to the Control Room to get quick visibility on Maintenance and Fuel Depot.
In OBJ modes, there is small path in south Generators that leads to Tower. You’ll have to crouch to access it, but it’s the most stealthy and protected way to take out foes at the bottom of Tower, north Generators, and Oil Derrick.
Tower
The focal point of the oil yard is the centrally located Tower. Getting to the top is no easy feat, but from there you’ll be able to scope out most everything on the map (the tower blocks sightlines to the south east). There are two paths to the top of Tower: a ladder and walking atop an exhaust chute.
If you do make it up consider bringing a Munitions Box and equipping the EOD perk, so you can be effective here for the long haul.
The top of the Tower is not the totality of this area, rather just its highest point, so be mindful of that when listening to audio callouts. The bottom of the Tower consists of the ground surrounding the ladder and a small platform that you can use to jump to Control Room. While the top of the Tower favors long-range weapons, the bottom is ideal for CQB.
If you do take the exhaust chute path to the top, you’ll find another lower platform that wraps around the central ladder. From here, you’ll have less height, but greater visibility on the entire map.
Control Room
This extremely small zone divides Generators and Maintenance. While you can jump from the top of Control Room to the top of Generators, you cannot jump to the Tower platform from here. It looks close, but doing so will only result in an impactful ground landing, most likely without fall damage.
Mid-range weapons will work well in on the top and ground level of Control Room, but try to stay agile as the majority of Control Room is exposed to the Loading Dock, Fuel Depot, and Red Containers.
Maintenance
Home to the first Hardpoint rotation and Headquarters location, Maintenance is often the spot of a clean-up. Because the Tower and the Control Room block longer sightlines, short and mid-range loadouts have a great chance of success in Maintenance. If capping an objective here, consider lying flat and using the small crates as protection from enemies at the Fuel Depot.
Climb the ladder in Maintenance to access a small platform that leads to the Tower. From the platform, you’ll have visibility to the Front Gate, Comms Station, and Red Containers. While the position itself isn’t more exposed that any other high ground in Rust, taking the ladder could be a death sentence. If you choose to climb, consider equipping a pistol as a secondary so you’ll still have some firepower.
One of the best entry points into Maintenance is from Control Room. Run and slide underneath an abandoned elevator shaft from the far side of Tower. Your slide, from a sprint, should take you underneath Tower and the Control Room finishing with a clean line of sight towards Maintenance.
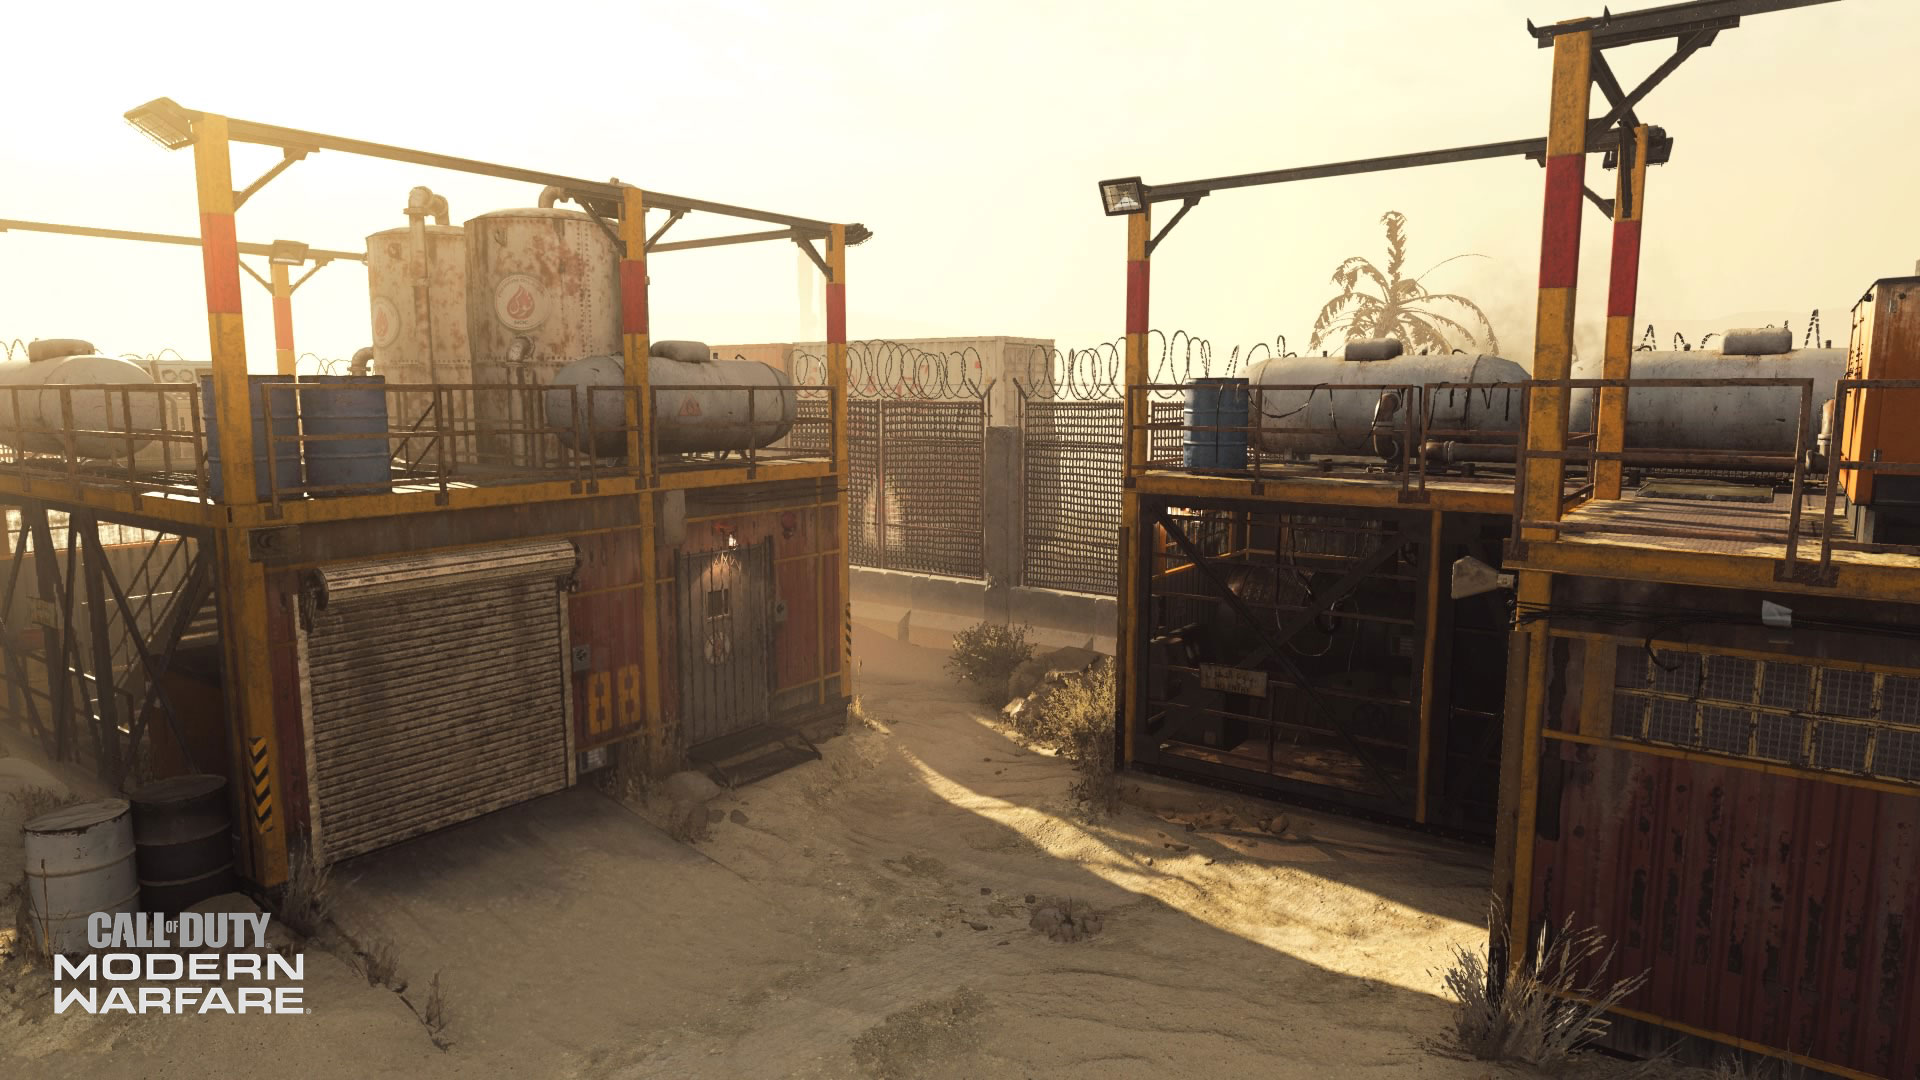
Fuel Depot
Fuel Depot is a moderately protected southeast corner that plays similarly to Loading Dock. This is one of the best areas to take out enemies at Maintenance while keeping an eye on activity emerging from the Allegiance initial spawn.
The A Domination flag borders the edge of Fuel Depot and Maintenance in area that’s not so safe for capping. However, the A and B flag should be easier to cap than C because you aren’t as exposed to long sightlines. If playing Domination, it’s best to bring Smoke and a Trophy System to help take any objective.
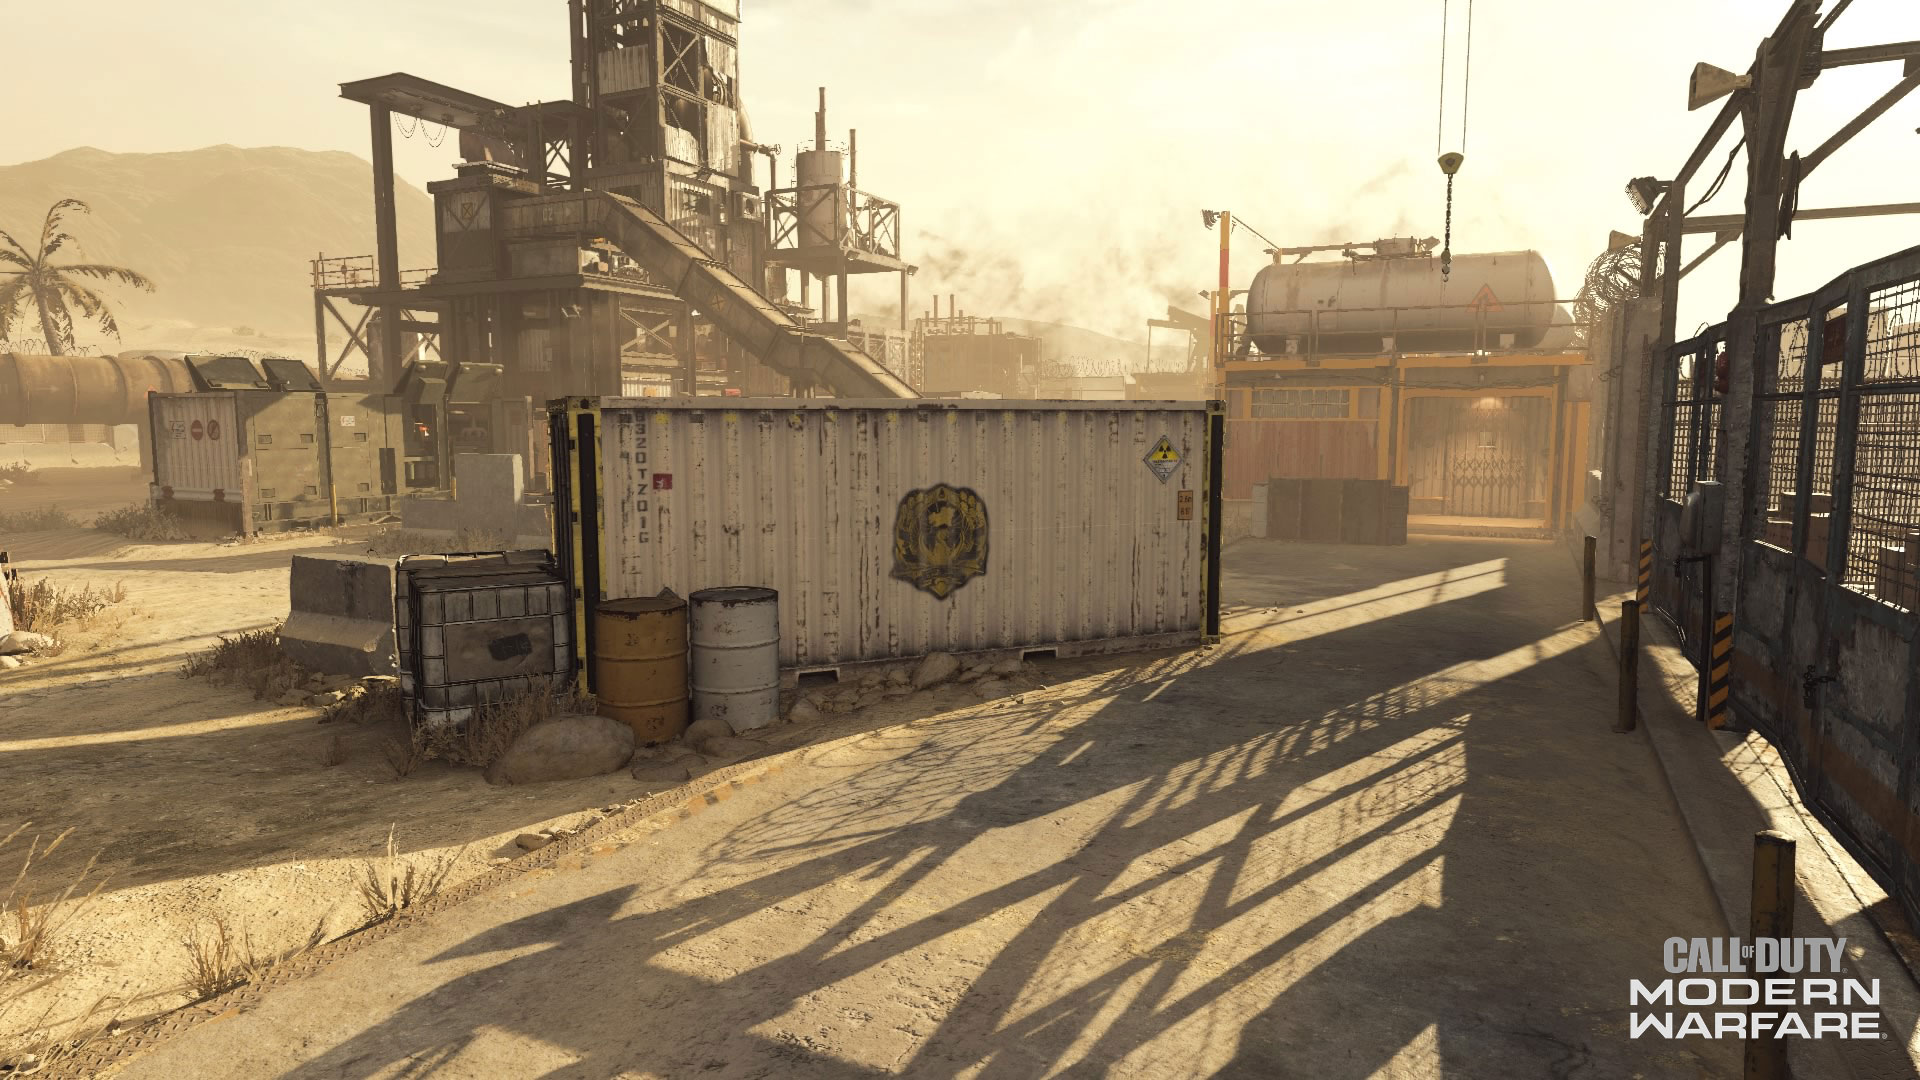
Red Containers
Similar in size, scope, and playstyle to its blue counterpart, Red Containers is primarily a transition path between Fuel Depot and Front Gate. It’s easier to access the top of Red Containers compared to Blue, but just as dangerous from a combat perspective.
There’s a broken container door that you can mount your weapon to which can give you deadly accuracy for foes wandering through Maintenance.
Comms Station
Home to a rare B flag that might be an easier cap than A or C, the Comms Station is marked by a tiny building near Front Gate. That building is best used to mount your weapon and give you cover from enemies coming down the pipeline.
To successfully hold down the B flag or even objectives at Front Gate, the Comms Station can act as a central point of combat (not communications) to push back enemies encroaching on the objective.
General Tips
· (Field) Upgrade to a Trophy System. Rust is a small map which means lethal and tactical tossed equipment will be plentiful. Deploy a Trophy System around key objective areas and consider equipping the Tune Up perk to get your Field Upgrade faster.
· The Low Ground. The verticality of Rust often brings the combat off the ground, but many stealthy plays are made ducking underneath buildings. Keep an eye on opportunities to go down, then pop up and surprise your enemies.
· Climbing on Up. Taking the ladders is often the quickest way up, but not always the smartest. If getting above the competition fits your playstyle, consider all of the paths and favor those that give you access to both of your weapons.
· Rain on Everyone’s Parade: Rust is entirely outdoors with minimal protection inside the Containers and underneath the Tower. Consider equipping Aerial Scorestreaks and the Pointman perk to earn higher-level streaks easier and devastate your opponents.
· Path to Objective: Most objectives on Rust are fairly exposed, so you’ll have to take a tactical approach to hold. Consider leaving one player on the objective, while the others play around them eliminating anyone who advances on their position. Also, a little Smoke never hurt anyone.
· Built for Speed: While sightlines vary in Rust, the speed of play will likely stay fast-paced. Consider loadouts that are agile and choose a secondary weapon that fills in any tactical gaps like a launcher.
Have fun battling on Rust, and we’ll see you online. Stay frosty.
For more information and the latest intel on Call of Duty®: Modern Warfare®, check out: www.callofduty.com, www.youtube.com/callofdutyand follow @InfinityWard and @CallofDuty on Twitter and Instagram and Facebook.
For more information on Activision games, follow @Activision on Twitter,Facebook, and Instagram.