Get ready for a knockdown, drag out fight, soldier. Welcome to Promenade, a new 16v16 Ground War Multiplayer map that will be familiar to Warzone players who have spent time battling in Verdansk’s Barakett Promenade West. But in this version, part of Season Four’s major content offering, there is no escape.
Read on for an in-depth overview of Promenade, including tips and strategies to push forward, grab the objectives, and hold them against even the most determined enemy.
Lay of the Land
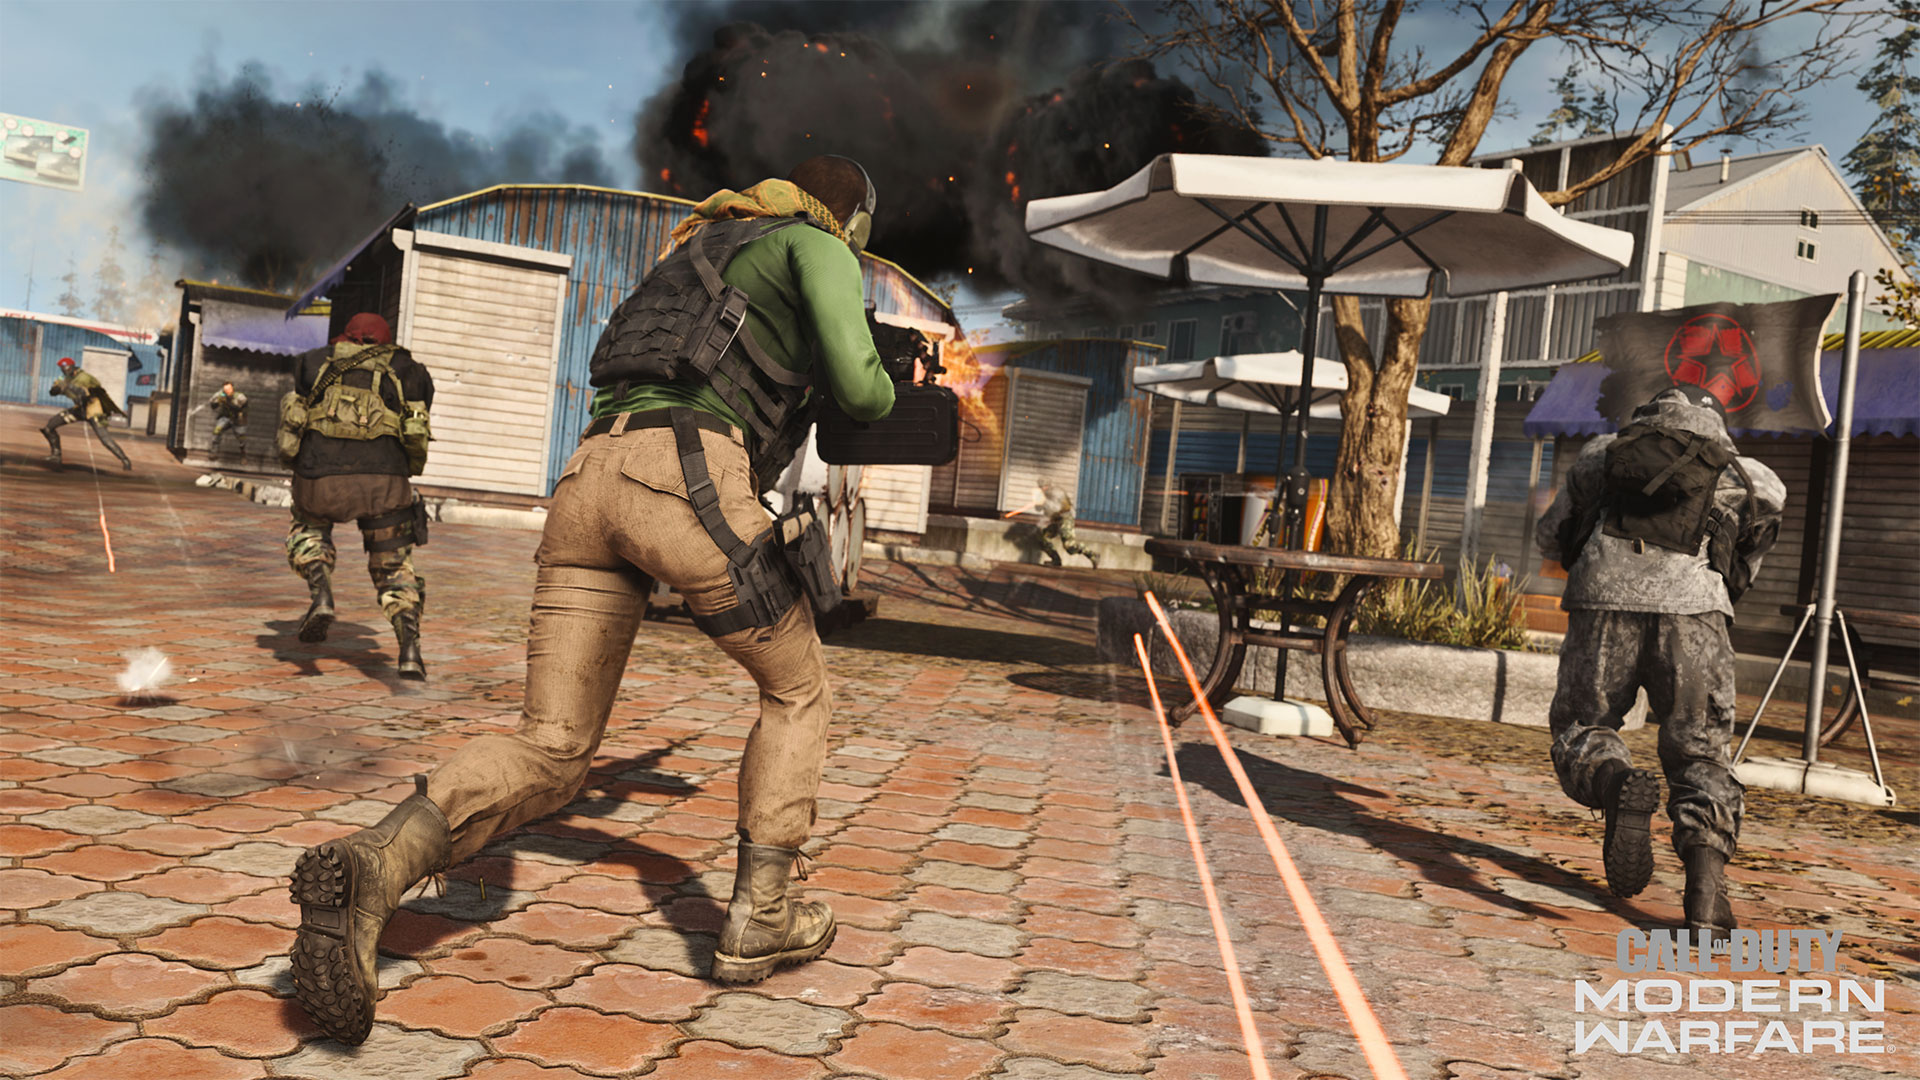
Promenade pits teams against each other along a thin strip of land that funnels players into a constant stream of engagements. All playstyles can perform well here, from snipers covering the outside lanes to close- and mid-range fighters duking it out from building to building.
The layout is divided largely between what’s inside the fencing, where buildings and supplies offer plenty of cover opportunities, to the outside lanes where there are fewer cover points and greater opportunities for long range fights. While the outer lanes may appear to stretch out into the distance, watch your mini-map for the demarcation between in-bounds and out-of-bounds play. Warzone fans in particular will have to resist the urge to escape the map’s boundaries.
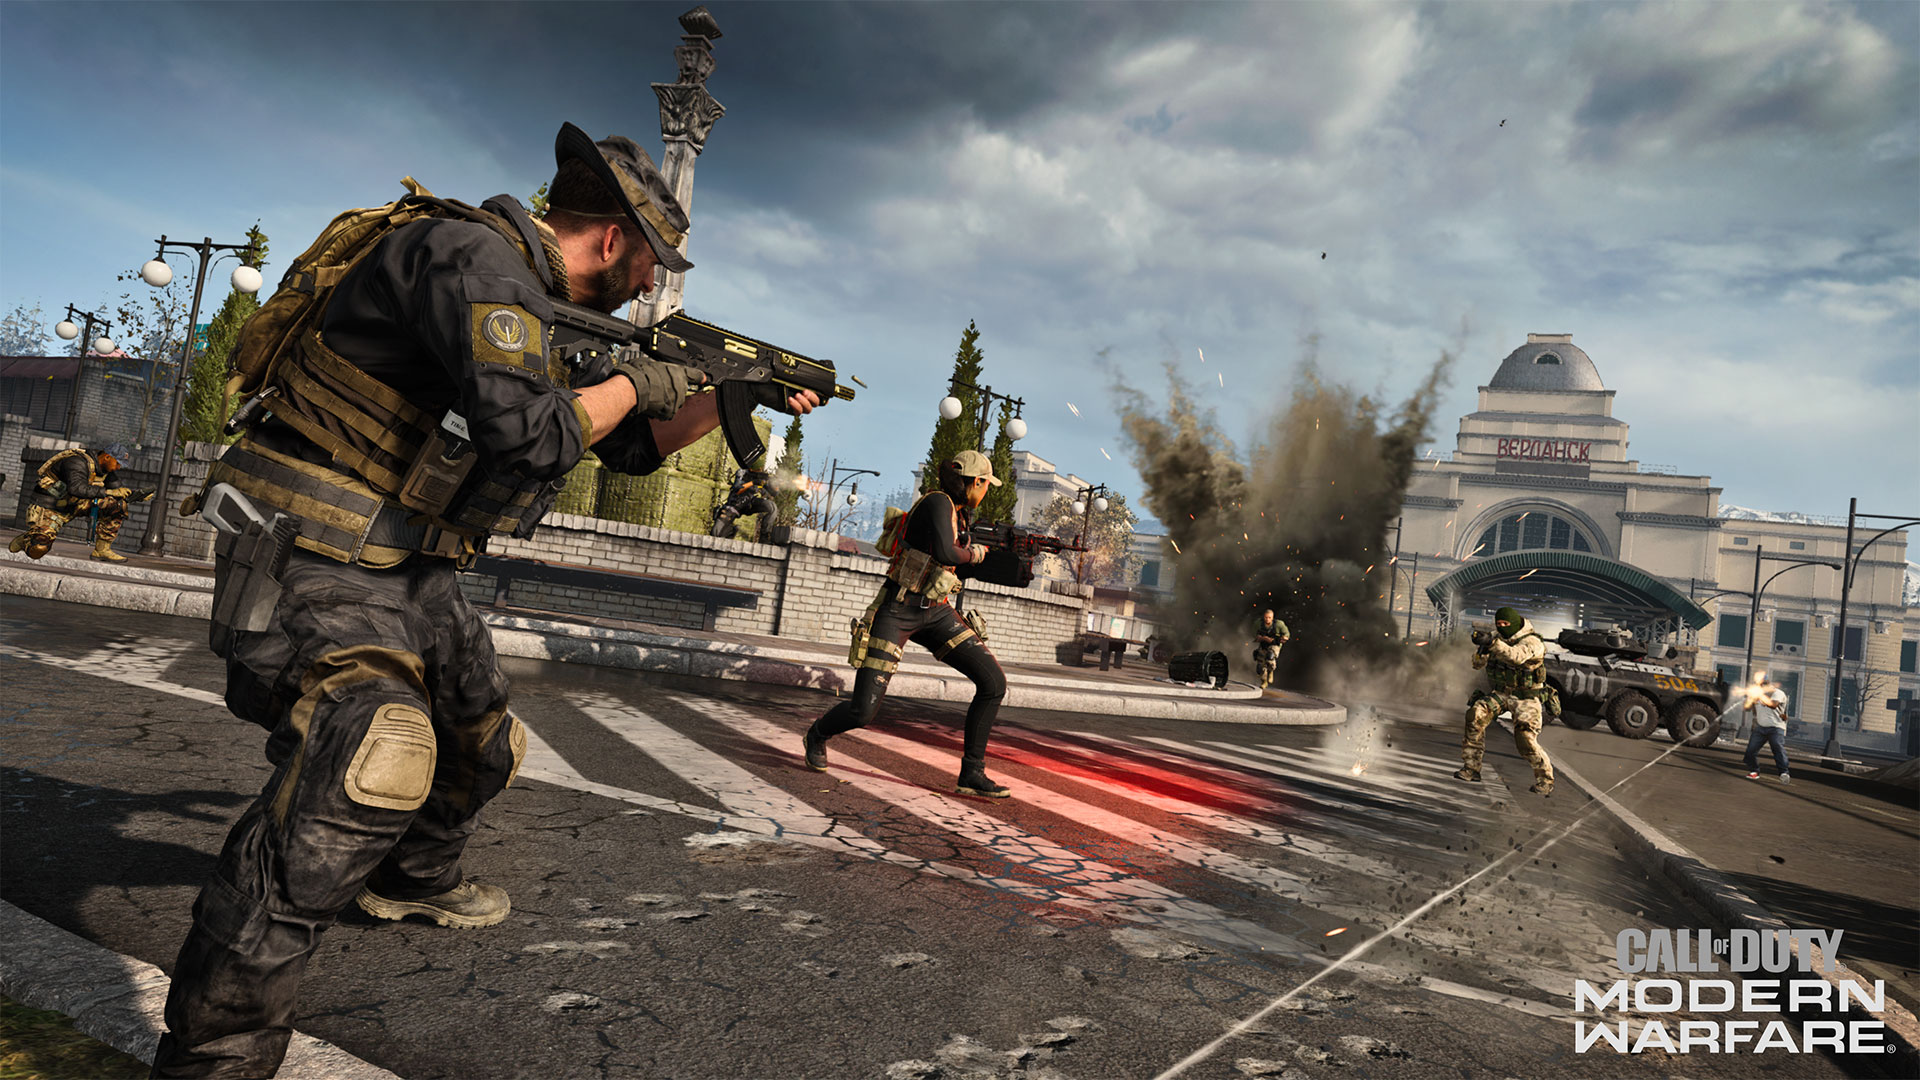
As opposed to most Ground War maps which feature a wide selection of vehicles, Promenade places just a single APC at each team’s Main HQ, but make no mistake — in a narrow map like this, these APCs constitute a major asset or threat, depending on which end of the barrel you’re looking down.
While the majority of combat takes places on the ground floor, there are several points along the map that allow access to the top of the fence and the rooftops of buildings sitting against it. Look out for crates and other climbable objects on the outside lanes and pushed up against these buildings on the inside.
Objective Guide
Promenade’s five capture points are laid out in a line along the map’s narrow corridor. With teams pressed so closely together, this map gives a heightened meaning to the concept of a tug of war battle. Let’s take a look at how you can best succeed in capturing and holding these points.
Flags A & B
The Allegiance spawns near the A flag, so A and B are easily within their grasp. Situated on either side of the marketplace here, a determined squad can capture and hold them while the rest of the Allegiance players push forward toward C and D. During an attack, favor falling back on A to defend the area, as it brings you closer to your Main HQ for reinforcements and it keeps you away from the street where an APC can do some real damage.
On the Coalition side, taking these flags means you’re either pushing for a DEFCON initiation or perhaps pressing too far forward. Remember, it only takes holding three flags to turn the tide in your favor. Cover your rear and only move up when you’re sure of a stable defense.
Flags C & D
The C and D flags rest in more neutral territory, somewhat favoring the Coalition spawn near the E flag. Expect fierce close quarters combat at C, where the flag sits between two buildings adjacent to one another. The D flag is in more open territory allowing for mid-range weapons to provide cover for players attacking or defending. Watch for snipers on top of buildings near the Coalition spawn.
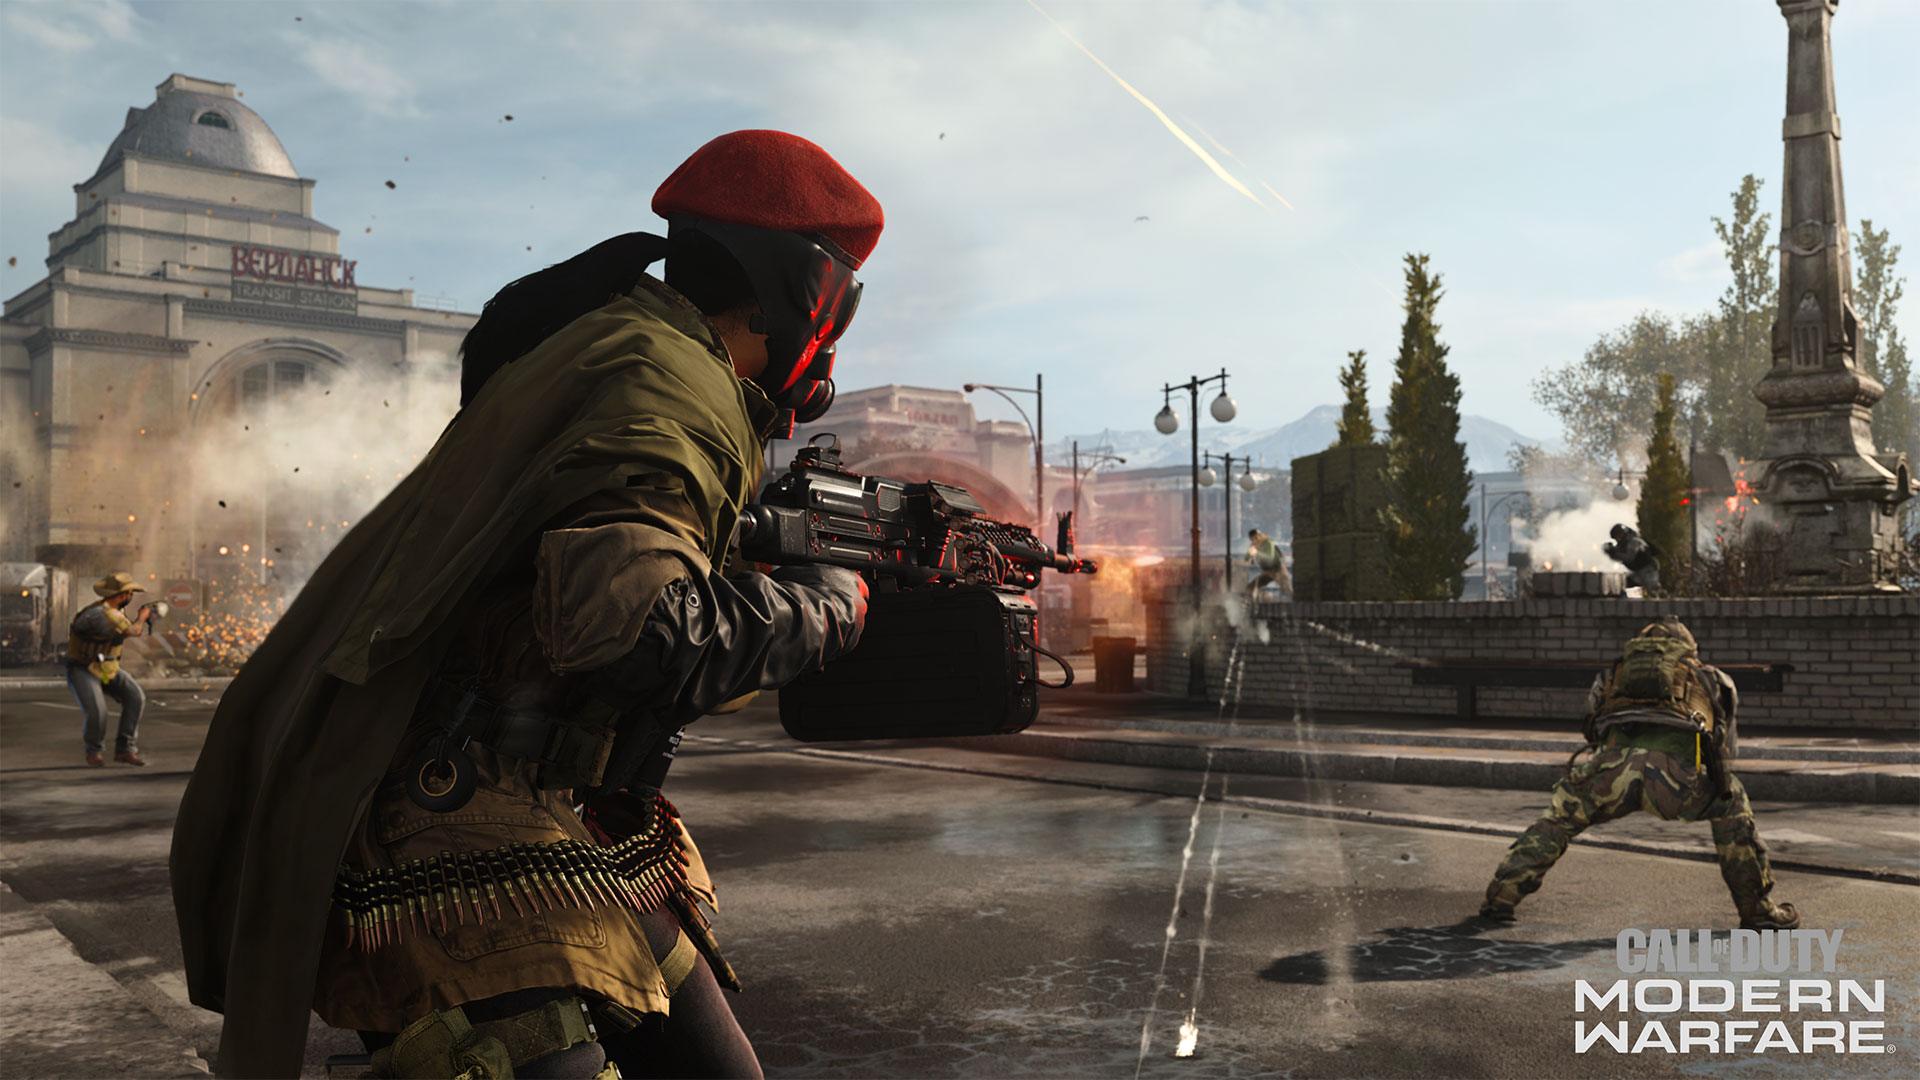
Flag E
The E flag sits right next to the Coalition spawn, making for an easy early match capture. If you need to defend the flag against an aggressive Allegiance side, use the nearby crates or the stone column for cover to minimize exposure in the otherwise open area. If you’re sniping or have a long-range optic, pull back to the rearmost building to pick off enemy targets while your teammates regroup to take back territory.
Finally, keep an eye out for ammo resupply stations located near all of the flags. Through the intense, constant fighting within Promenade, the last thing you want is to get caught empty handed.
Killstreak Field Guide
Promenade’s corridor layout largely results in teams fighting for forward ground, and while a sneaky play can find the enemy coming up from the rear, you’ll most often be fighting face to face. Because of this, the Care Package is a useful Killstreak that can be safely called in by falling back to the rear line.
The seven-kill category is quite powerful on this map, so pick your poison. The Sentry Gun is useful in the long outer lanes as long as there’s no threat of an enemy APC to blow it up. Or go for the Infantry Assault Vehicle or Wheelson for a more aggressive option that can support your team’s APC with extra vehicular power.
Air support can do well here with the sheer number of enemy soldiers grouped close together, but it’s a high risk, high reward proposition. While you may initially earn a cluster of kills, it’s far easier for an enemy to momentarily fall back and take shots with a launcher, making for a short-lived attack. The five-kill category may be the better option: they’re easier to earn and every flag is open to an air-to-ground attack.
Or you can forego Killstreaks altogether and opt for Specialist instead. A steady player who sticks with their teammates and doesn’t take unnecessary risks can earn a lot of kills in a short period of time, becoming more and more powerful in the process.
Top 10 Tips
10. In a map like Promenade where every inch of territory is earned, it’s especially important to keep your squad engaged in the fight. Watch your squad’s status, and when you see three skulls take a breather from the fight so they can spawn back on you and get right back to it.
9. While useful in all flag-based modes, Smoke Grenades are even more vital here. Use them to move forward through open ground when the enemy is getting in shots from a distance, paired with Cold-Blooded to deny thermal optics from spotting you in the smoke.
8. Have a launcher and/or Thermite on hand, or at least available in one of your loadouts. An unchecked APC can wreak havoc on your lines. Don’t let that happen.
7. If the enemy storms forward and starts making headway toward your main HQ, gather your squad and sprint past their vanguard to capture a rear flag. It’s a risky move that should only be attempted in emergency situations, but the resulting confusion and separation of enemy forces can create the perfect opportunity for a counterattack.
6. Use the Recon Drone Field Upgrade to mark enemies inside and outside of the fencing. The precise intel can make the difference between success or failure in your next push.
5. In fact, consider activating Field Upgrade Pro for more options. Take the always useful Trophy System to help defend against explosives while capturing or defending a flag, or pick the Tactical Insertion to keep your forward position even after a squad wipe.
4. Try pairing the High Alert and Quick Fix perks. Use High Alert to turn on enemies attempting a flank attack and heal up quick via Quick Fix after getting the kill. In this map, there’s always another threat around the corner, and you don’t want to engage while wounded.
3. You don’t always have to face the enemy head on when they’re pushing forward. Stick your back to a wall facing the direction they’re coming from and shoot them in the back as they rush past you.
2. Promenade is a great map for building up mounted kills required for many weapons’ Topo camo category. Move up to engage, find a piece of cover, and mount your weapon for accurate shots against enemy squads.
1. Drop that pistol for something stronger. With soldiers grouped so closely together, there’s often an abundance of weapons on the ground. Keep your eyes open and pick up anything you come across that adds more power to your loadout.
Good luck out there. We’ll see you online.
Stay Frosty.
For more information and the latest intel on Call of Duty®: Modern Warfare®, check out: www.callofduty.com,www.youtube.com/callofdutyand follow @InfinityWard and @CallofDuty on Twitter and Instagram and Facebook.
© 2020 Activision Publishing, Inc. Activision, Call of Duty, and Modern Warfare are trademarks of Activision Publishing, Inc. All other trademarks and trade names are the properties of their respective owners.
For more information on Activision games, follow @Activision on Twitter, Facebook, and Instagram.