Warzone™ Mastery: Train Station Concourse / Freight Train

Read this Warzone Mastery double feature for a breakdown and tips for the new Train Station Concourse and Freight Train points of interest.

Warzone™ Mastery: Train Station Concourse / Freight Train

Read this Warzone Mastery double feature for a breakdown and tips for the new Train Station Concourse and Freight Train points of interest.

All aboard this two-in-one Warzone Mastery vehicle for your success within Verdansk.

Outside of the Stadium’s grand opening, there were two other major additions to the Warzone, and both involve locomotives.

Lest we lose our train of thought, let’s dive immediately into this edition of our Warzone Mastery series, starting with the additions to the Train Station Concourse.

Lay of the Land – Train Station Concourse

Prior to Shadow Company’s explosive arrival, the Verdansk Train Station had over half a dozen points of interest, with some of its main building’s interior accessible. For example, here is the station’s east concourse prior to Season Five:

Again, the Train Station hasn’t changed much outside of its actual Concourse opening for business. This two-story concourse and its walkway, which connected it to the station platforms’ eastern ends, were barricaded in and kept that way due to infighting and disagreements on mission priorities within Armistice.

As usual, Shadow Company came in and “got it done,” by clearing all barricades to this concourse.

One notable barricade included a cover over the circular skylight, which looks down onto the concourse’s main staircase and otherwise was just an accent piece on the area’s rooftop.

About that roof: it’s even more accessible thanks to Exterior Ascenders, the very same that were added to areas such as Downtown and Stadium. Ascenders are found on each of the four station’s sides, with the eastern and northern extenders shown above.

The new concourse area is accessible through give entry points: three ground-floor entrances – one on each interior pedestrian walkway areas and another from the station platforms – the skylight, and the walkway.

1. Concourse Ground Floor and Info Booth

Accessible via entrances on either side (east and west) or by dropping straight down through the skylight, the ground floor optimized for high pedestrian foot traffic. 

Large groups of commuters or tourists could fit through these wide walkways with previously little obstructions to encourage quick movement. Post-invasion, abandoned luggage carts, military or humanitarian storage containers, and other objects are littered in and could be used as cover.

An information booth on the concourse’s west side gave customers updates on train time and sightseeing brochures. Now, it could contain items or otherwise act as great cover.

2. Stairs and Skylight

A stone and marble staircase divides the ground-floor concourse in two uneven halves. 

A circular overlook allows for great people-watching opportunities from the upper floor, and for light – or Operators – to pour in through the skylight to the ground level.

Behind the staircase is a small set of stairs leading to the concourse’s platform-level entrance.

3. Concourse Second Floor and Burger Town

Before heading onto the walkway towards a departure, or walking out through the ground floor as an arrival, station customers will pass through this miniature mall-like area.

While most shops are closed, a Burger Town outlet offers additional cover opportunities via its counter and overall structure.

Expect equal item and cover opportunities here as you would on the ground level, in addition to the “high ground” over that level with increased vulnerability to those on the roof.

4. East Concourse Walkway

The only open walkway at present, this builds out the previously-inaccessible area overlooking the platform and tracks on the station’s east side.

Just like the rest of the concourse and station at large, split-flap displays – used to – give up-to-the-minute information on arrivals and departures, but now can be used as great cover pieces.

Note the various windows offering sights out to points east and west, along with the stairways down to platform level and the entry/exit point opposite the concourse area.

Lay of the Land – Freight Train

Unlike any other point of interest within Warzone, the Freight Train is a moving locale that also acts as an environmental hazard.

This massive train includes a locomotive that pulls numerous storage cars, including boxcars (covered cars) and flatcars (open-air cars), on the circular track that loops around the map’s western portion. 

Specifically, it follows the Gora River from the Airport all the way down past the Hospital, before it turns past the Barakett Promenade East and through the Novi Grazna Hills. Then, it begins its journey back north, avoiding the Promenade’s West Side and the Train Station as the track threads between the Zhokov Boneyard and Junkyard, rolls past Storage Town, and completes its loop at the Airport after taking a brief trip up the snowy mountains.

It is possible to jump on the train as additional cargo – and pick up any leftover goods on it – but be warned that it will happily crush anything standing in front of it, including vehicles.

A chunk of this track is underground, with tunnels allowing for passage under mountainous terrain. The most notable of which are right through the hills north of Hospital, and through the southern crags overlooking the sea. 

While it is not a point of interest that has a lot of surface depth – learning the various train cars will take far less time than knowing the ins-and-outs of the new concourse – the Freight Train will reward those who master its intricacies, including the very track that it rolls along indefinitely.

Top Ten Tips – Train Station Concourse and Freight Train

In summary, here’s what you need to know about surviving in the Train Station, from landing and resource gathering to attacking and defending:

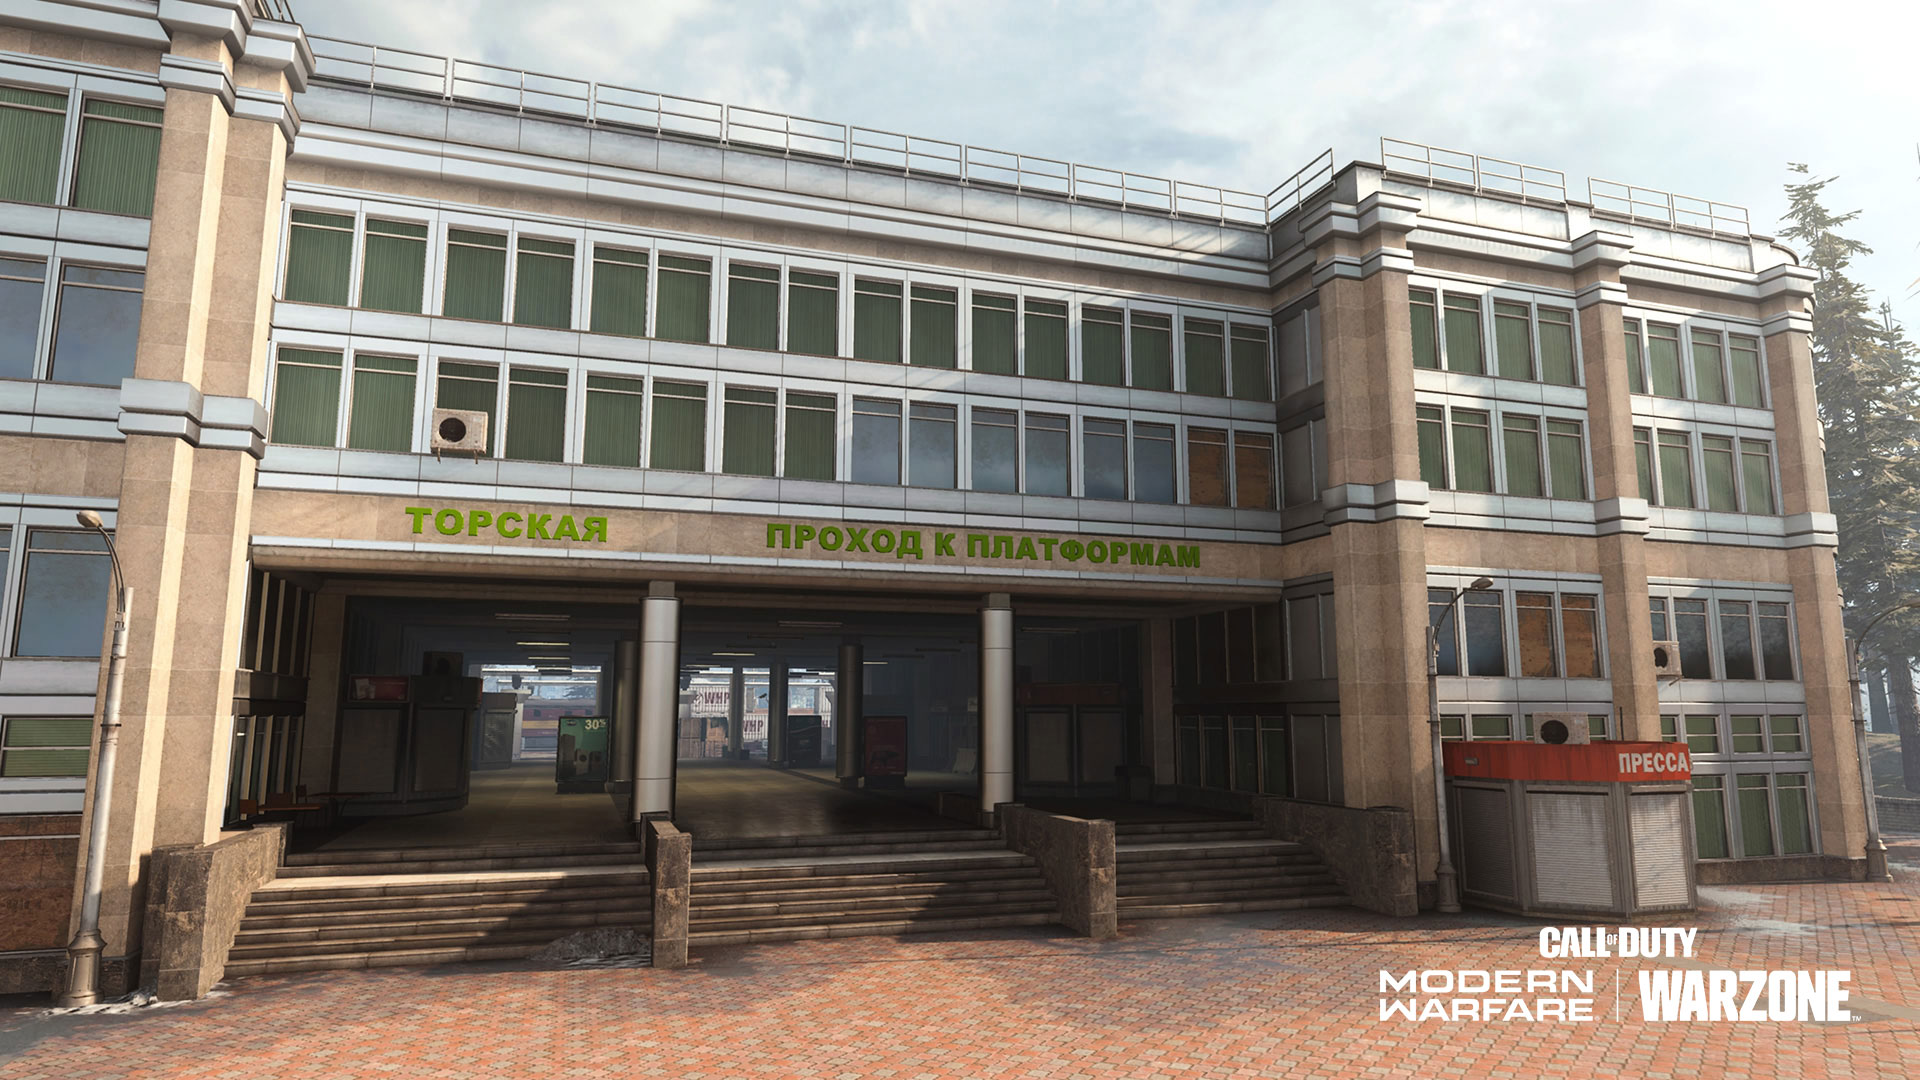
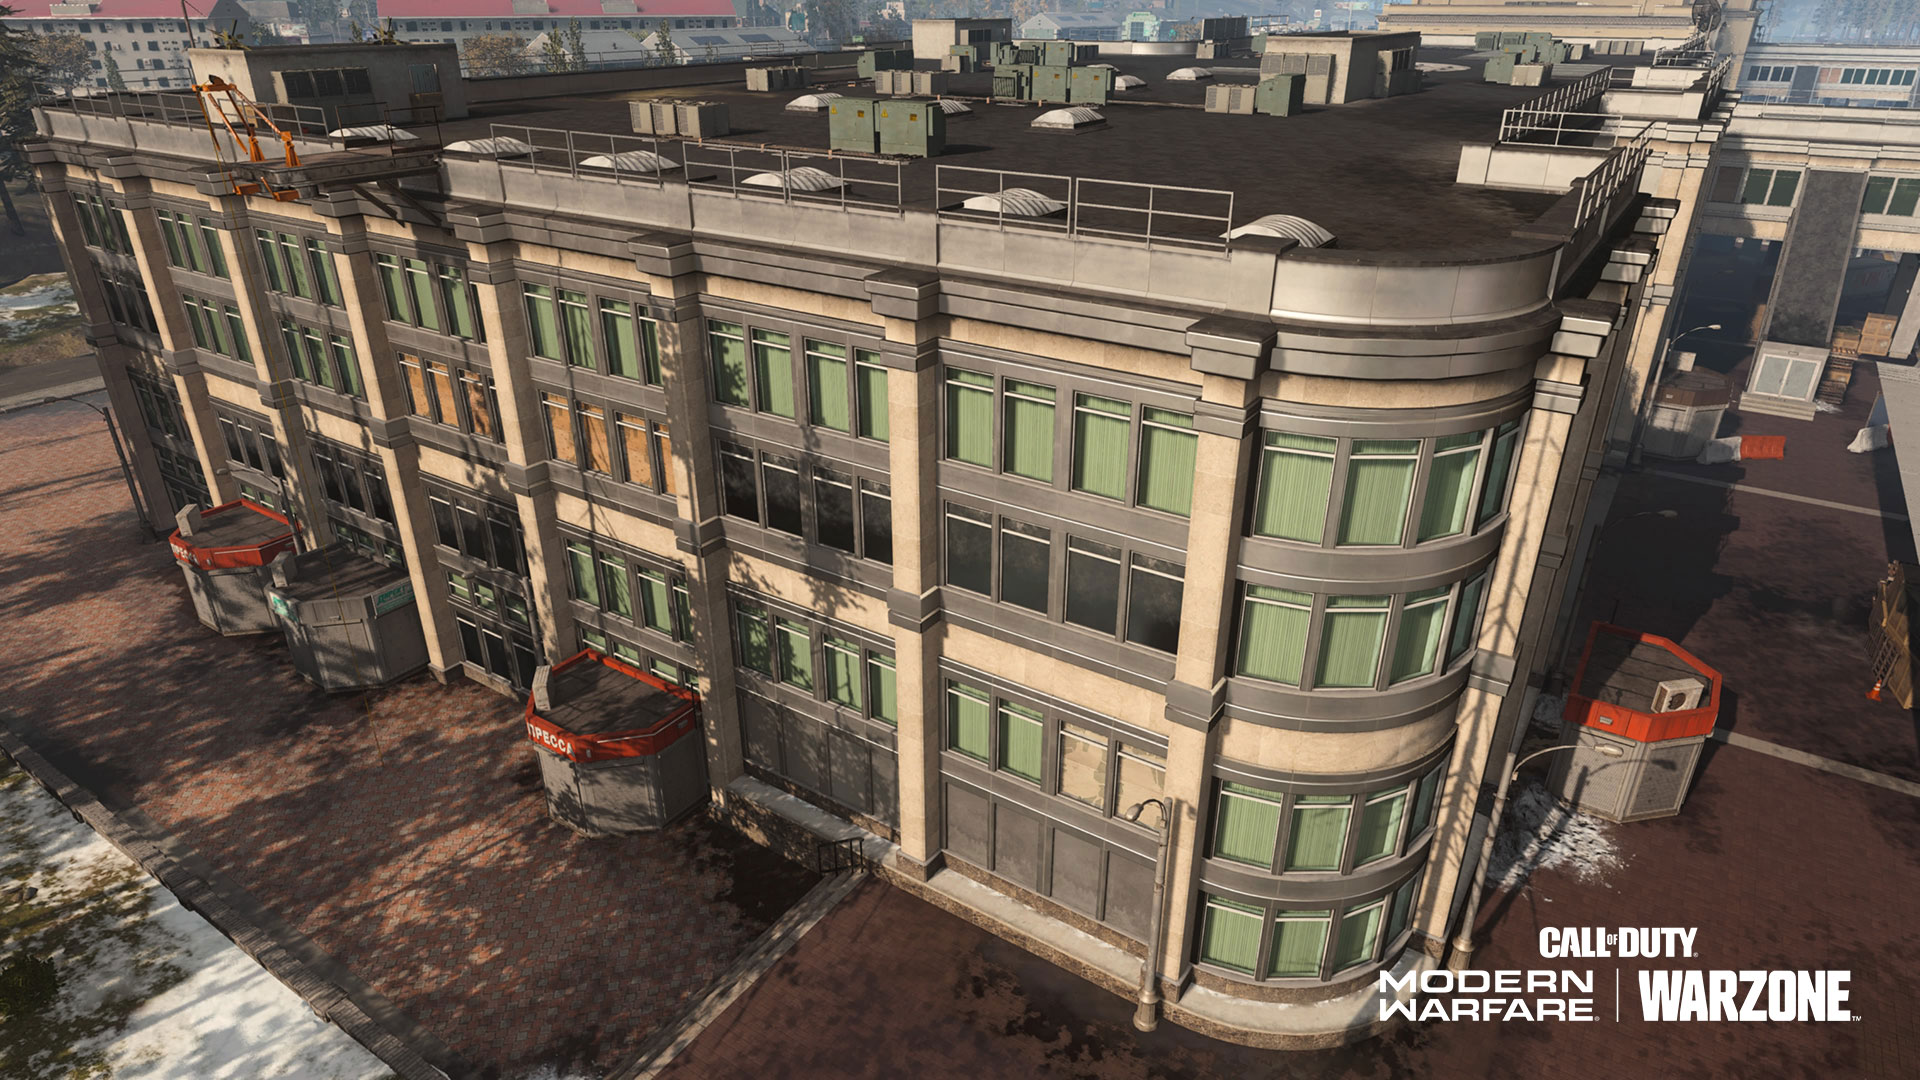
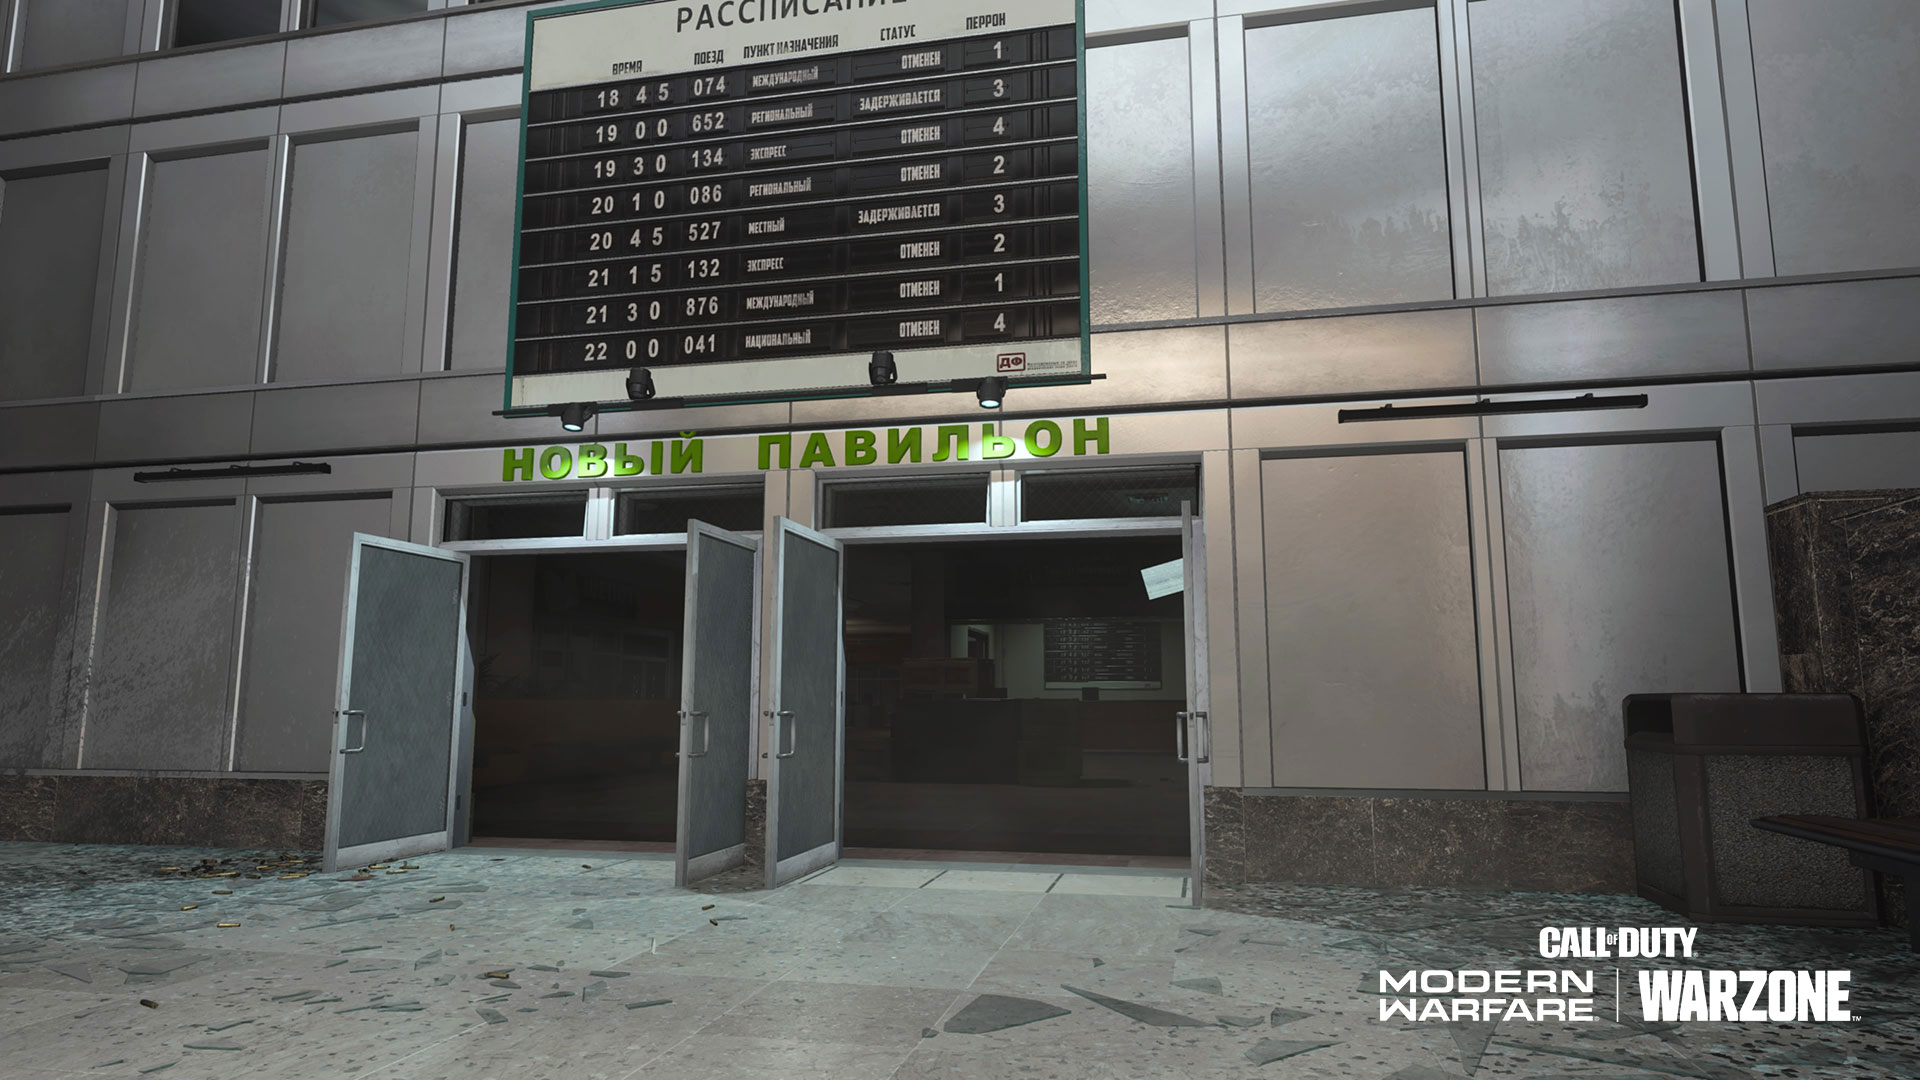
10. Hot(ish) Drop. Just like the Stadium, be mindful of the Train Station being a busier drop point than it was in prior seasons. The new interior sections give, by their very inclusion, more item and Contract opportunities, so weigh the risk and reward of dropping here with your squad (or yourself) before marking it as the Landing Zone (or LZ).

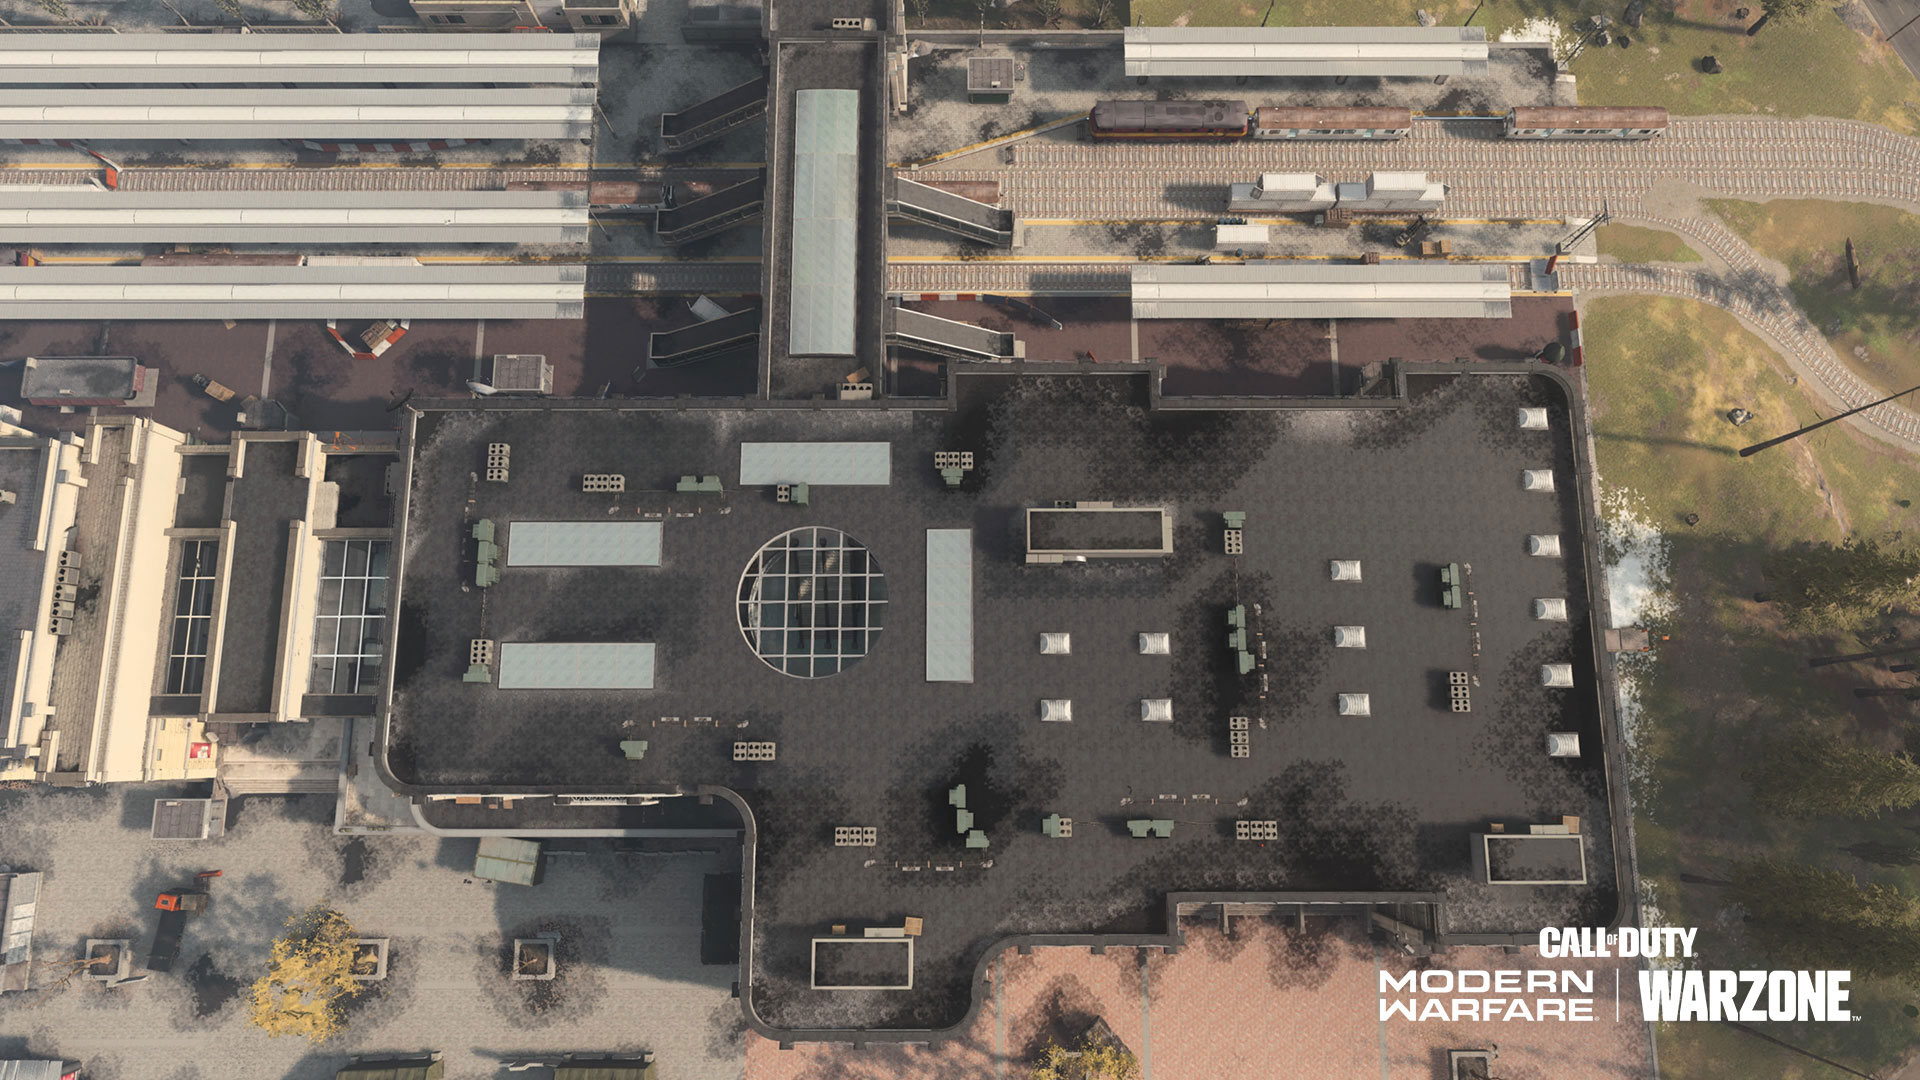
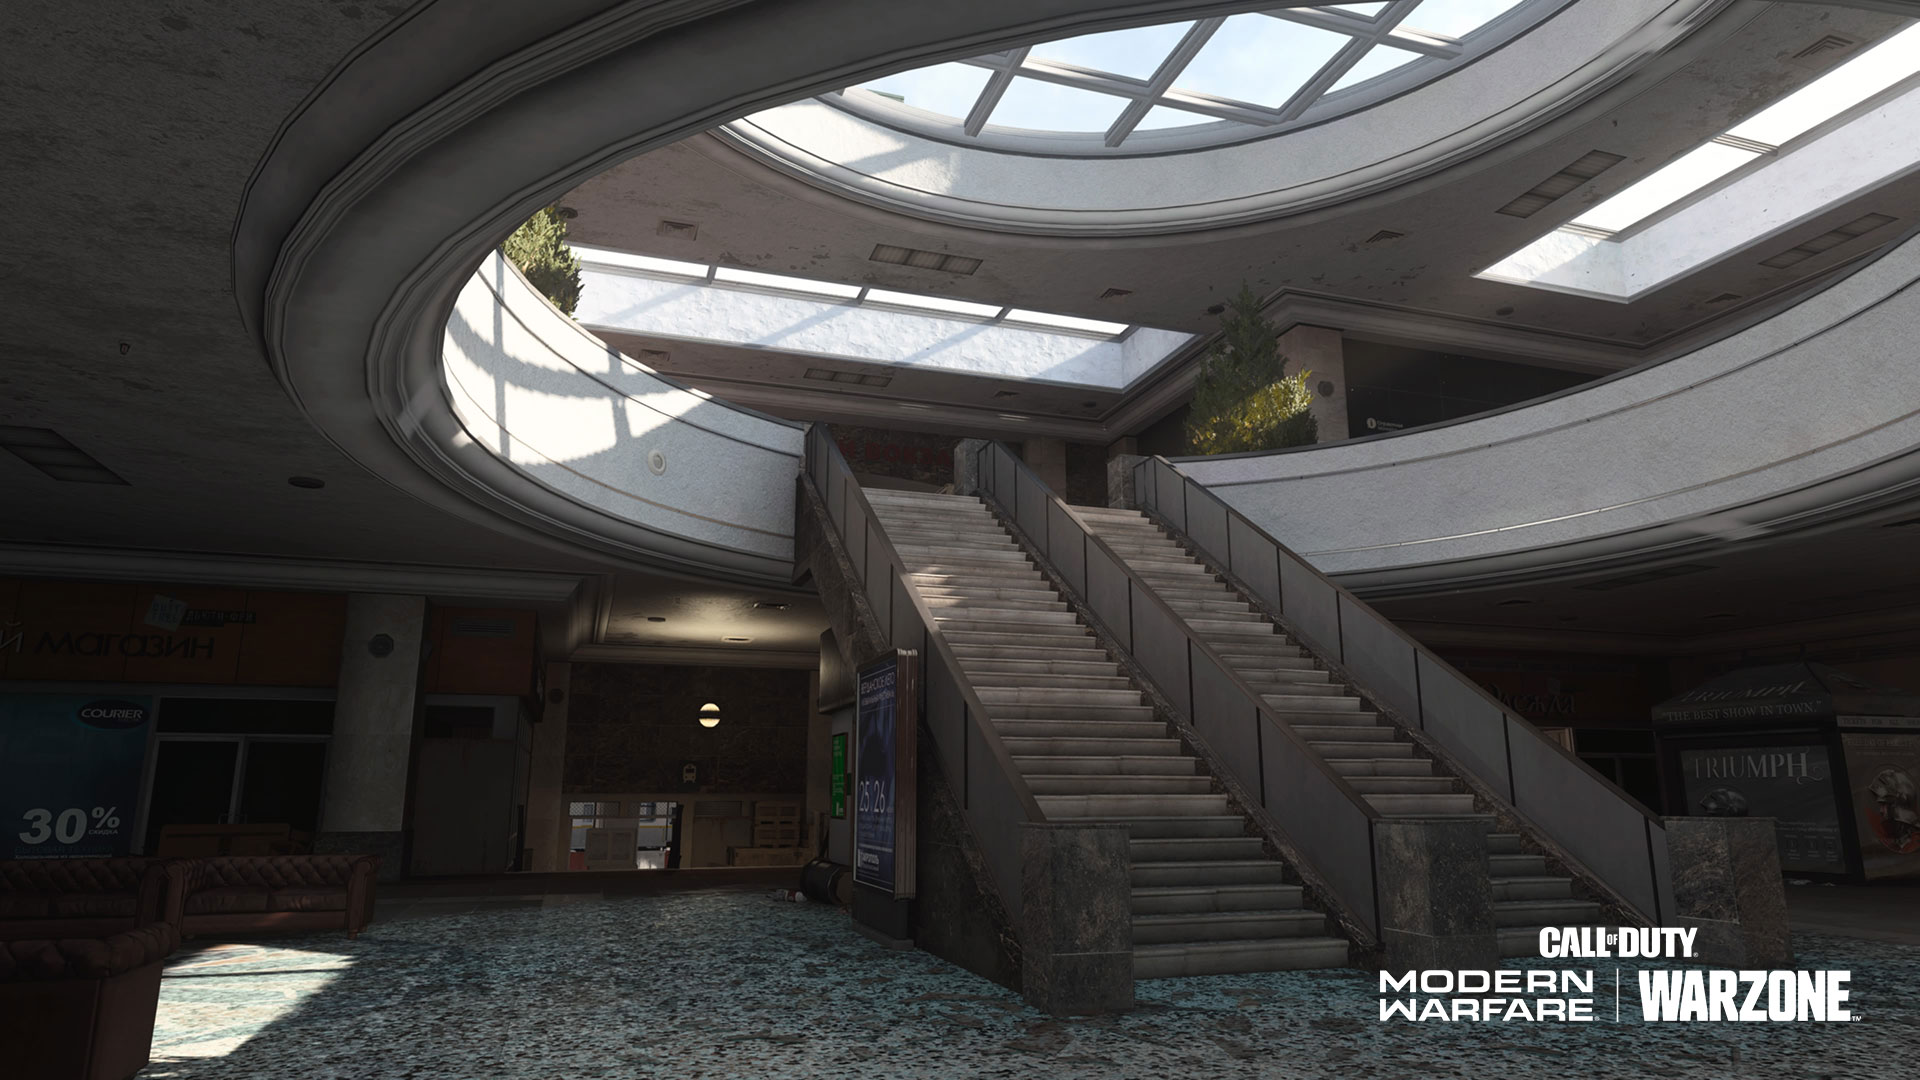
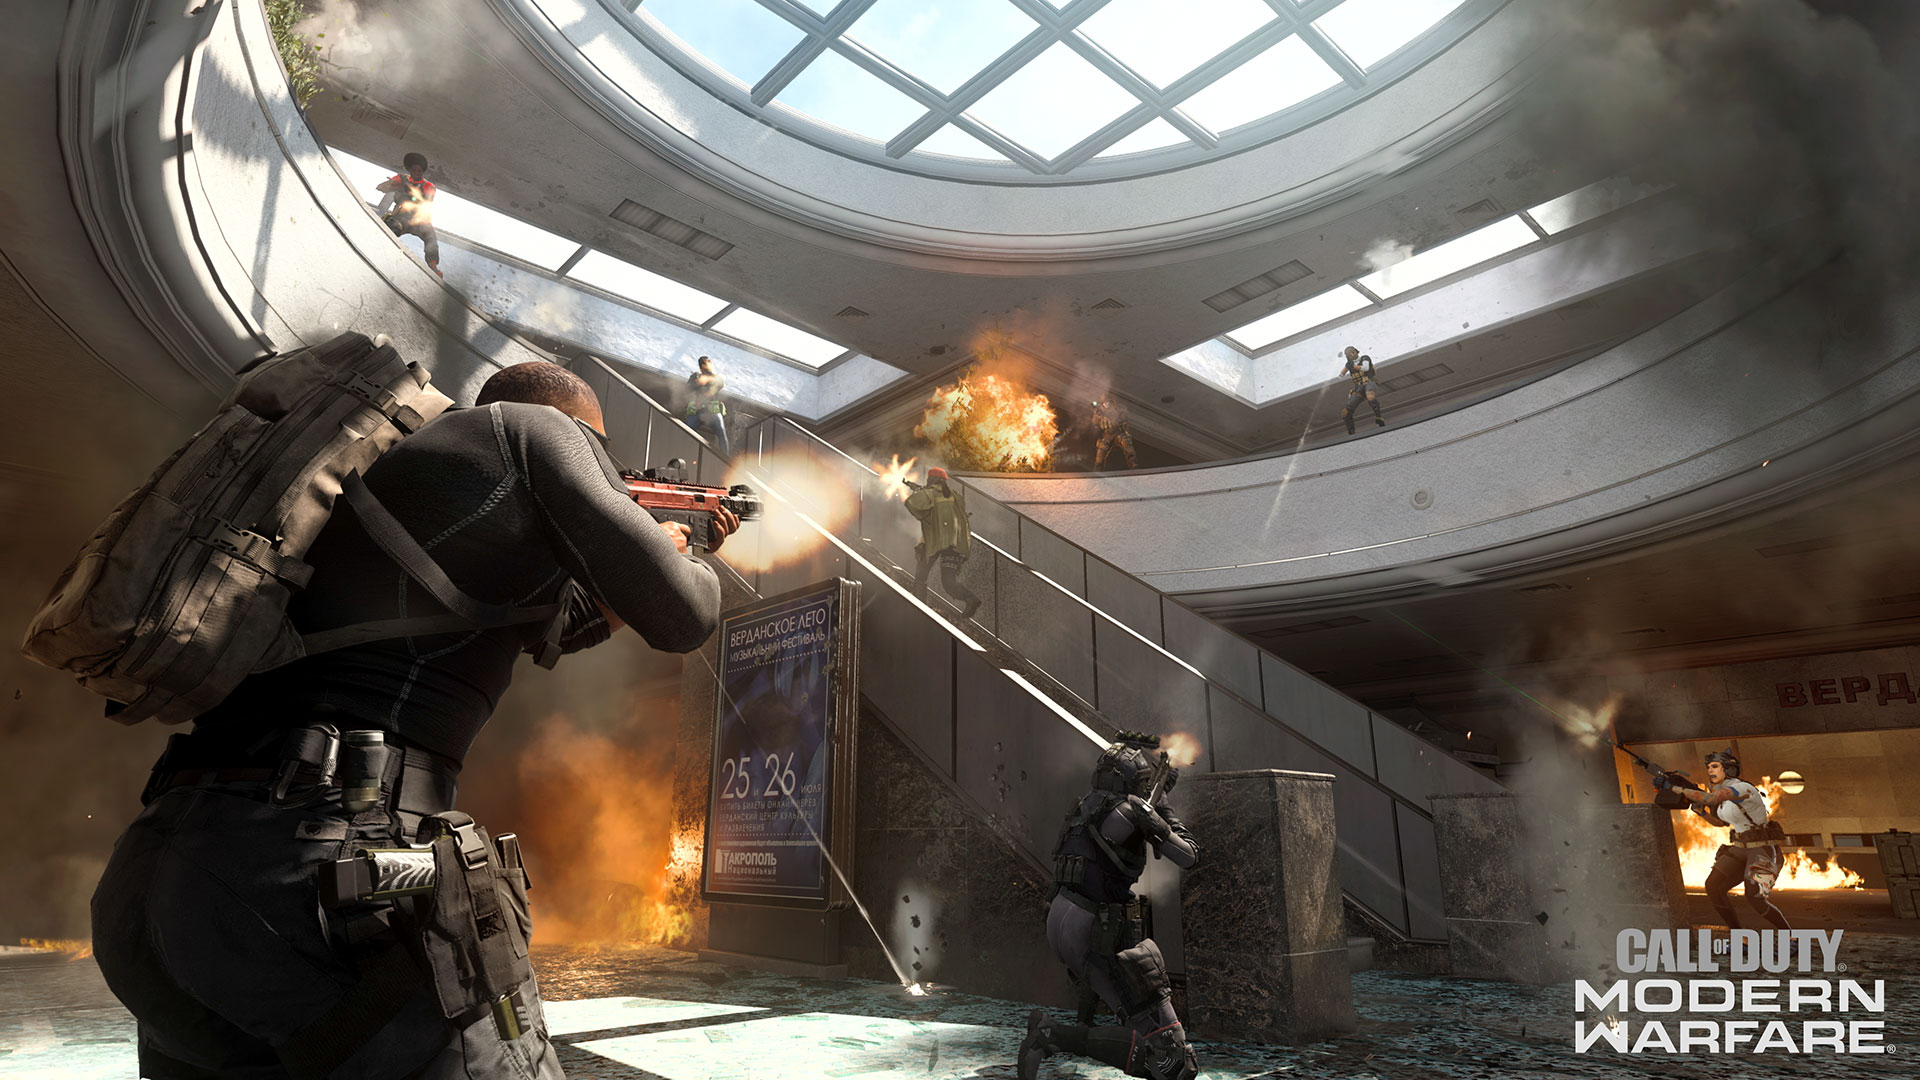
9. Tri-Level Fighting. The staircase area could be a hotbed for multi-team fights, as it is open enough for both concourse floors – and the station’s roof – to gain visuals on hostile forces that are on other levels. Usually, proceeding with caution is your squad’s (or your individual) best bet for survival when traversing this zone.

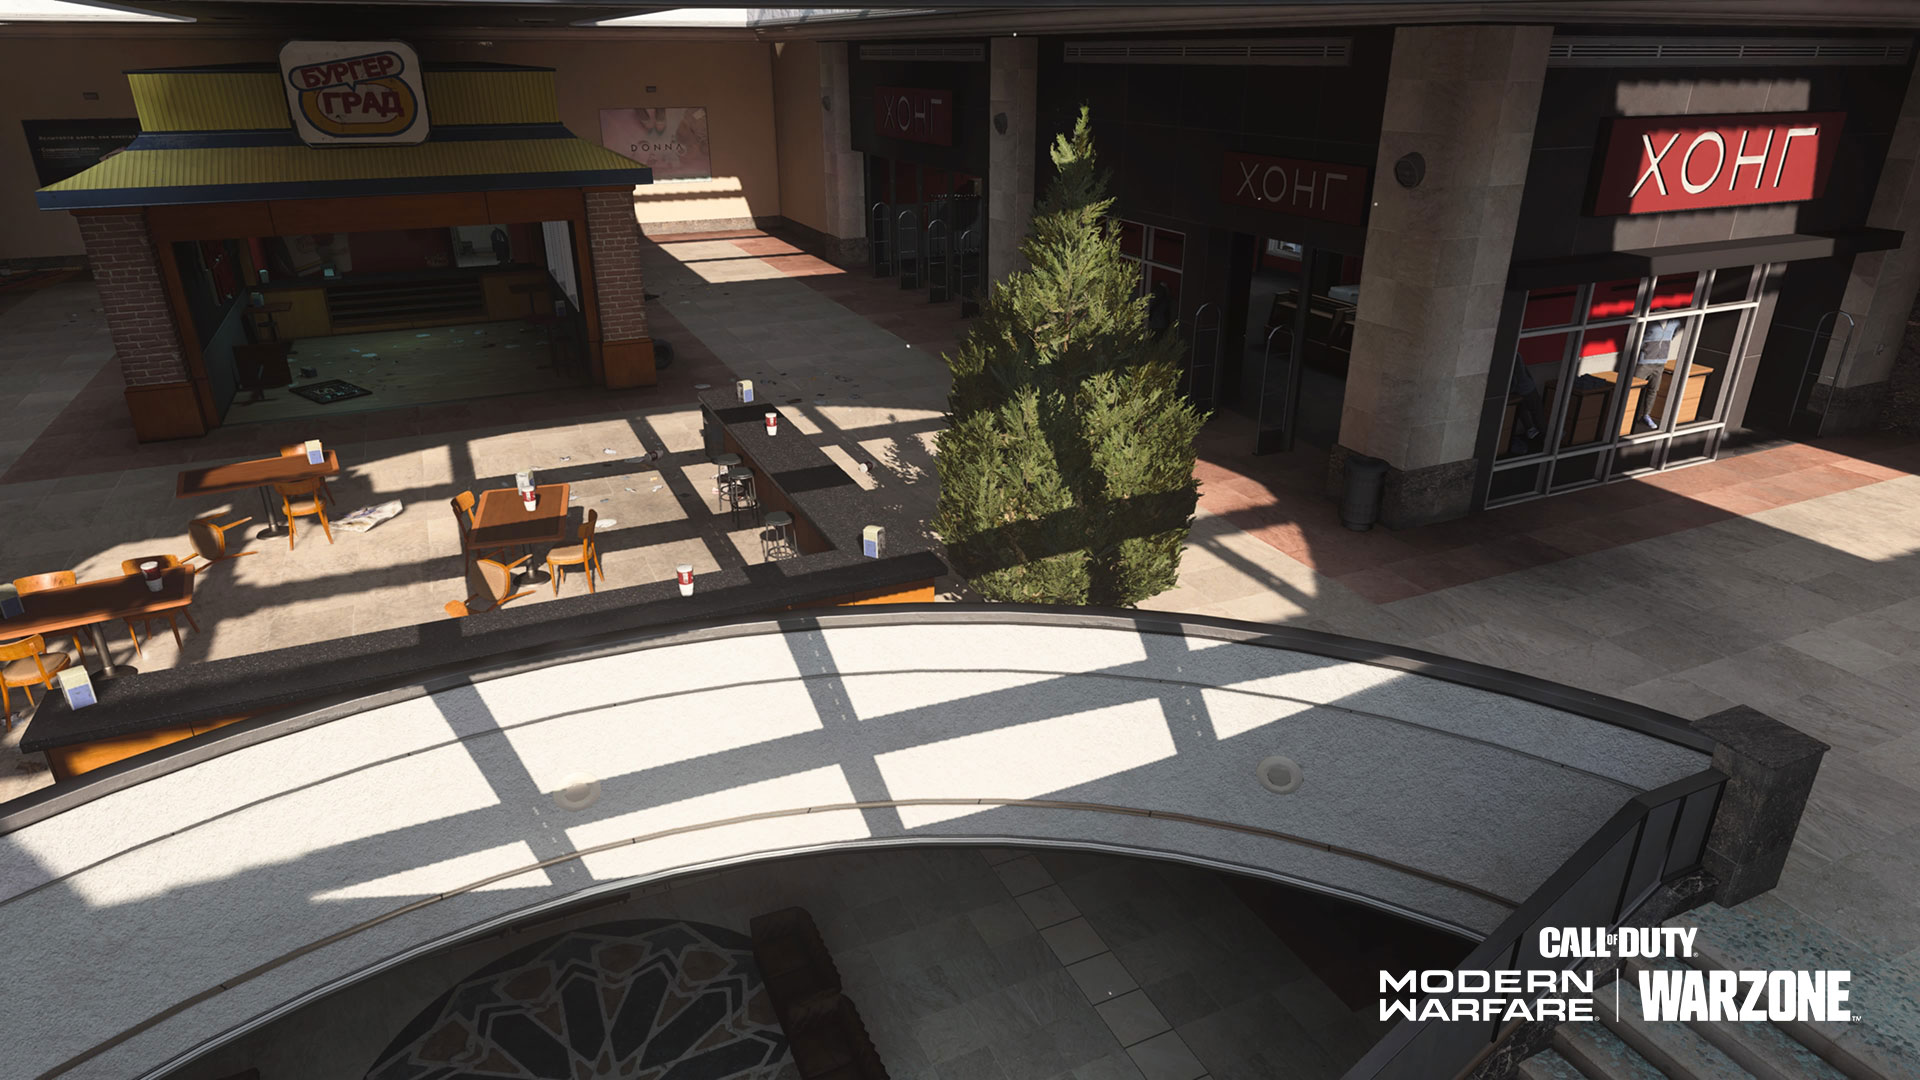
8. Leave No Corner Unchecked. Especially when it comes to the walkways beside Burger Town on the second floor, the concourse has blind spots where something could be hiding and is otherwise a deceptively dense zone for potential item and box spawns. Use the hum of Supply Boxes and reconnaissance tools – e.g. Heartbeat Sensors – to fully scout this area before deeming it vacant.

7. Open 24/7 – The Kiosk and Burger Town. Unfortunately, you can’t get your favorite Operator a nice gift at the Donna Store as it, and nearly every other concourse store, is closed. That is exclusive of Burger Town and the Tourist Info Kiosk, which have a high potential for item gathering, cover, and CQB fighting opportunities.

6. All Aboard! The Freight Train, like the other new point of interest, has serious potential for gathering items or finding Supply Boxes, including those of Legendary rarity. If your experience allows your squad to do so, consider taking a quick trip on the train and see what you can find.

5. Walk This Way (or That Way). The new walkway offers better coverage against those sniping on the station’s roof, if your alternative is to dash through the platform and train track areas. Plus, you can even use it as a high-ground point to attack those taking that riskier alternative.

4. Tunnel Ambushes. While riding the train, be on the lookout for ambushes that can easily be set up inside tunnels or over them. If you have one, a Trophy System could intercept incoming explosive equipment and projectiles, while a Deployable Shield can act as additional cover on the flatcars.

3. Full Steam Ahead. Need to make up serious ground across the map and don’t have a vehicle? Consider hopping on the train and using it to get into the safe zone faster than going by foot. Just be mindful of other passengers… Usually, they aren’t friendly, and will often be in CQB fighting distance.

2. The Train Stops for No Man… Or Gas. With the above tip in mind, the train track’s location, it is entirely possible for the Freight Train to roll right into the gas without any care for its passengers. Therefore, it’s wise to abandon ship… er, train… if it’s next stop is for inevitable doom.

1. Seriously – Mind the Gap. Again, even the most veteran Operators could have their legendary Warzone run foiled by this behemoth. Always look both ways before crossing the tracks, and be careful when boarding or exiting the train via mantling or parachute.

For a more in-depth look at Verdansk, check out our Warzone Official Strategy Guide, which features an interactive Tac Map with over 300 points of interest – including the ones at the Stadium – along with tips that span from the initial infil to the Gulag.


For more information and the latest intel on Warzone, visit www.callofduty.com/warzone and follow @CallofDuty on Twitter, Instagram, and Facebook. 

© 2020 Activision Publishing, Inc. ACTIVISION, CALL OF DUTY, WARZONE, and CALL OF DUTY WARZONE are trademarks of Activision Publishing, Inc. 

For more information on Activision games, follow @Activision on Twitter, Facebook, and Instagram.

The Software License and Service Agreement will be updated. Please follow this link [https://www.activision.com/legal/ap-eula] in order to see these changes.