Call of Duty®: Mobile Map Snapshot: Terminal

Revisit the classic Multiplayer map Terminal, first released in Call of Duty®: Modern Warfare® 2, and get tips and tricks for winning your fights from the lobby to the plane.

Call of Duty®: Mobile Map Snapshot: Terminal

Revisit the classic Multiplayer map Terminal, first released in Call of Duty®: Modern Warfare® 2, and get tips and tricks for winning your fights from the lobby to the plane.

The planes are grounded and the target is at the airport. Get your loadouts in working order, soldier, because we’re headed to Terminal, the iconic Multiplayer map from Call of Duty: Modern Warfare 2, now available in Call of Duty: Mobile.

Whether you’re new to the map or you’re a Terminal expert, we’ve got you covered. Read on for an in-depth map overview plus strategies and tips for taking the win.

Map Overview

Terminal is a medium sized map with the action broken into two major areas — inside the terminal and the exterior airport apron; a parking area for grounded planes.

Inside the terminal, the northeast acts as a lobby leading up escalators to the dining room. Players can climb a ladder here for a vantage point over the lobby and out onto the maintenance room just outside. Expect a lot of fighting between the lobby and the dining room and watch for snipers shooting from the rear diner vents.

From the dining room players can wrap around to the main departure hall and security or head down the departure walkway. The middle bookstore connects the two pathways and often sees fighting erupt between players traversing between the areas. From the walkway mind the view out to the plane and tarmac (apron), as well as up to maintenance.

The main departure hall is another hot zone, as its fed into from the dining room, walkway, and the plane. The plane itself squeezes you into close quarters with an exit out the side and down in the back.

Use caution on the exterior apron, where players can get views from the plane, the maintenance room, the walkway, and down on the floor level, too. Navigate around the large scattered crates to minimize your exposure to enemy fire, or move under the stairwell and the plane, where you’re not sticking out in the open.

Tips and Tactics

The first step is to simply clock up some matches. Terminal can be a tricky map for newcomers, and its intricate layout can seem larger than it really is at first glance.

As you play through each area, take note of all the various attacking points, then try them out to find what’s most effective. Through several matches you’ll see how the different areas interconnect and which angles to watch out for when moving between them. You might even discover some new trick spots to use, like that corner window ledge outside the walkway and plane.

There are several long-range sightlines in and out of the Terminal, so expect to weed out snipers and other players using precision optics. Shotguns are more restricted here, but they can really shine when holding down the bookstore or the inside of the plane, or even on the parking apron provided you’re going after someone nearby. They do well with baiting, too. Try throwing a grenade into the departure hall and then fall back to the dining room — blast ‘em when they come rushing around the corner.

Ready for Takeoff: KN-44 Gunsmith Configuration

To succeed in all areas of Terminal, consider a fast-firing weapon that performs well at range and in heated close up engagements. For those reasons, we chose the KN-44. Here’s how we configured it in Gunsmith, and the loadout we used with it.

Primary Weapon: KN-44

Attachments: Monolithic Suppressor, Classic Red Dot Sight, FMJ, Merc Foregrip, 38 Round Fast Reload

Secondary Weapon: Pistol

Perks: Skulker, Toughness, Dead Silence

Equipment: Trophy System, Combat Axe

This Gunsmith configuration and loadout is ideal for handling the various challenges in Terminal. The Monolithic Suppressor keeps your shot off the mini-map while retaining damage at range, while the Classic Red Dot Sight reliably targets enemies in close and mid-range fights. FMJ is vital here, to help puncture through the many cover obstacles scattered in and out of the terminal, and the Merc Foregrip will help keep your shots on target. Finally, pick up the 38 Round Fast Reload ammunition for a hefty magazine that can be replaced fast in big fights.

Skulker’s bonus to walking speed encourages you to avoid running everywhere. Instead, approach your corners with caution and be ready to pull up your weapon at a moment’s notice. Toughness keeps you on target while sustaining damage, and Dead Silence lets you sneak up behind that sniper in the diner without giving yourself away.

When you’re on an objective or forced back to a tight space, throw down the Trophy System for added protection, and greet anyone bold enough to come forward with a Combat Axe.

Scorestreak Field Guide

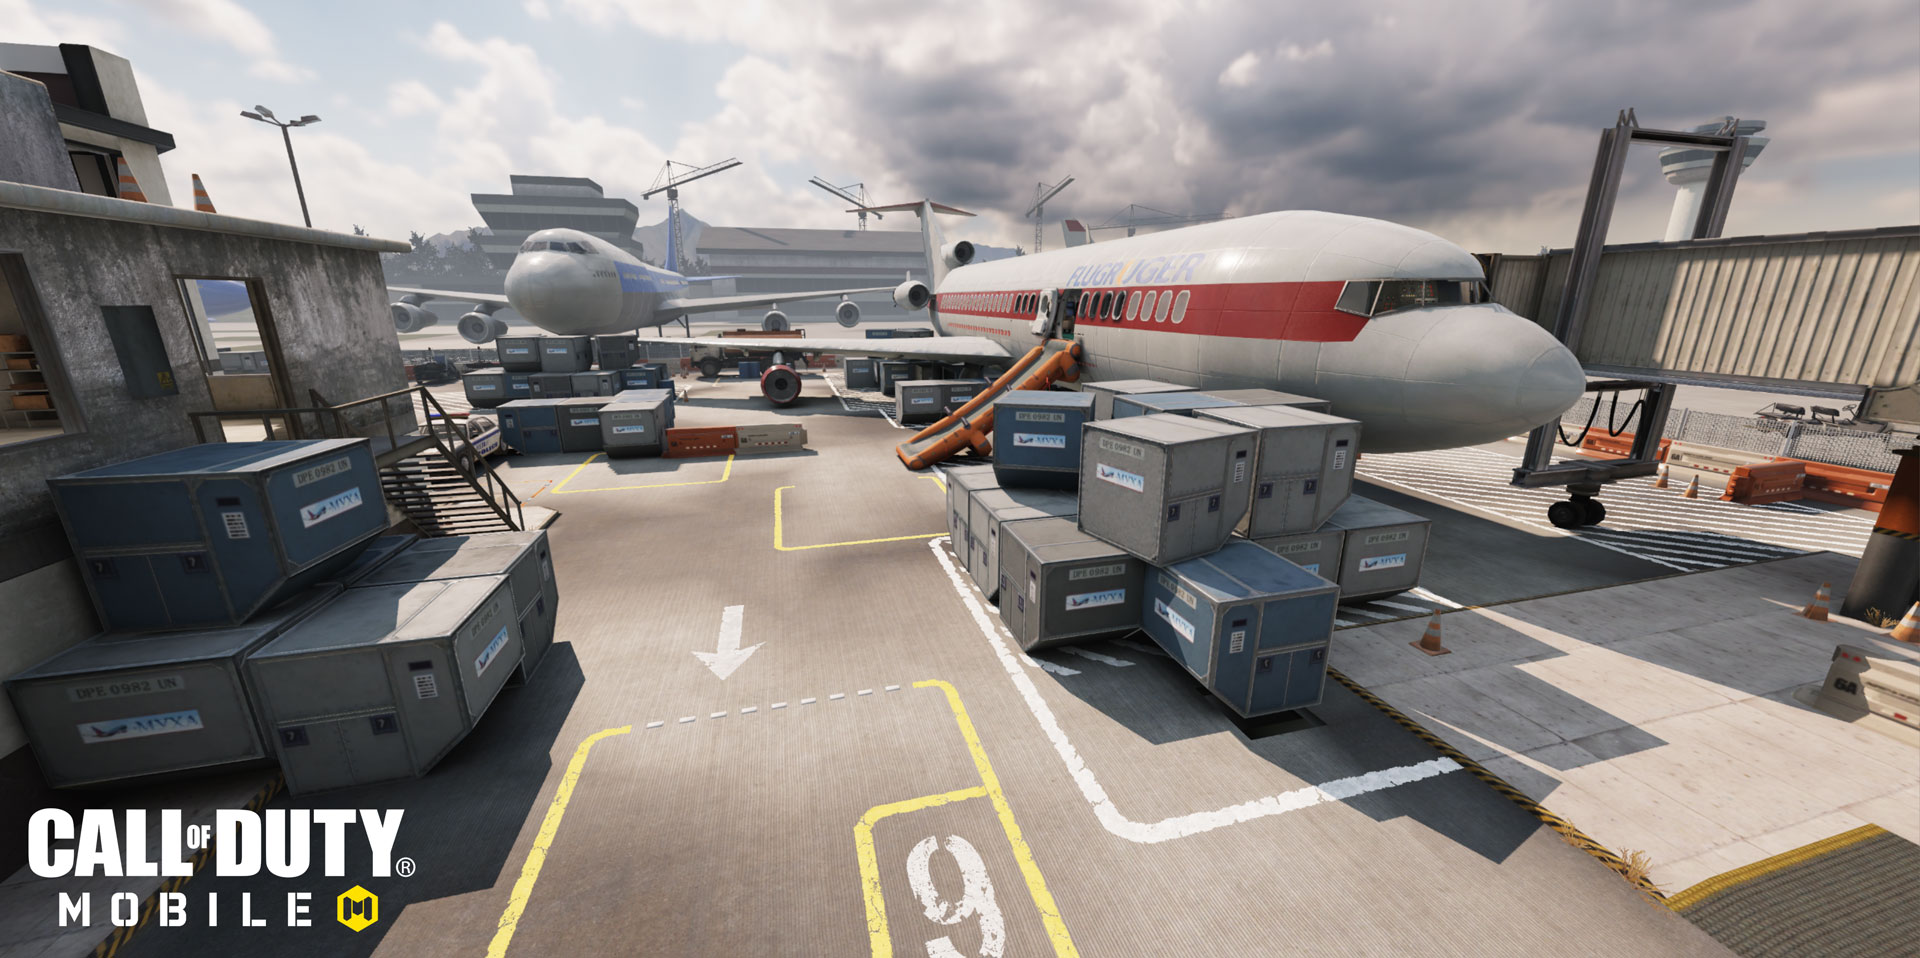
The map is large enough to fall back and call in a Care Package or XS1 Goliath, and there is enough open space for air-to-ground attacks to deal devastating damage, provided they’re called in when the enemy is outside.

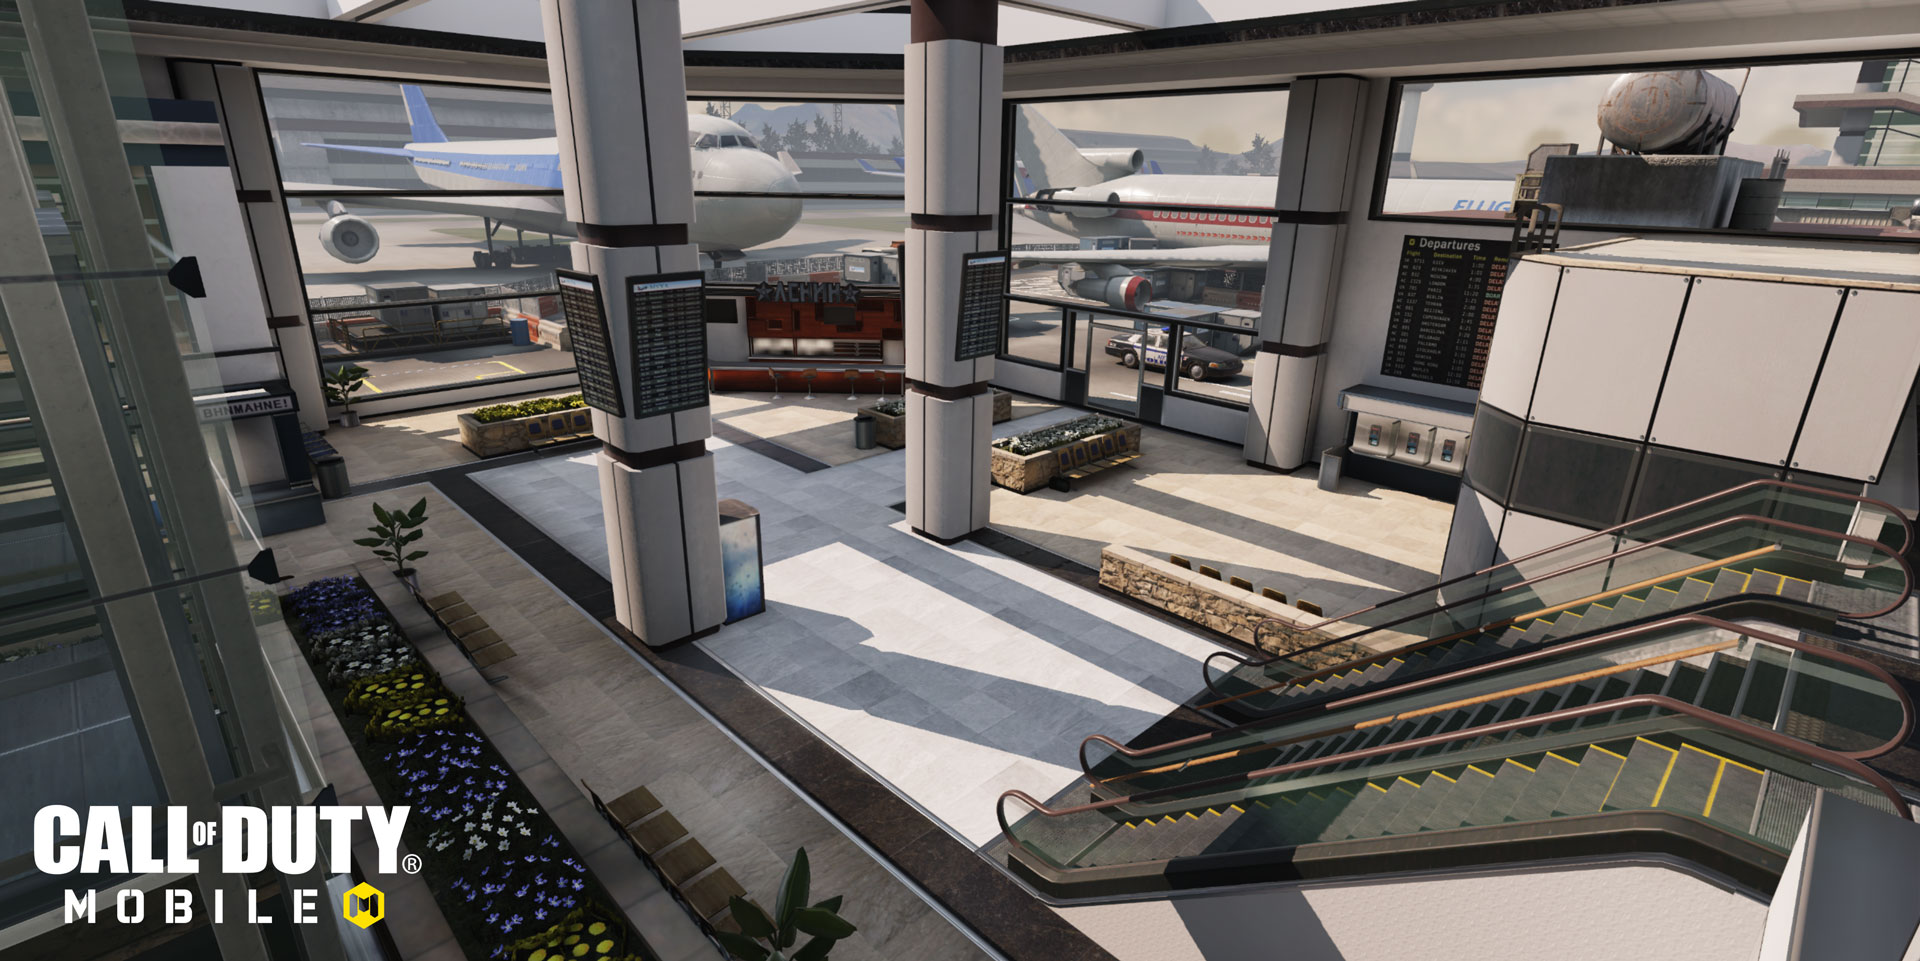
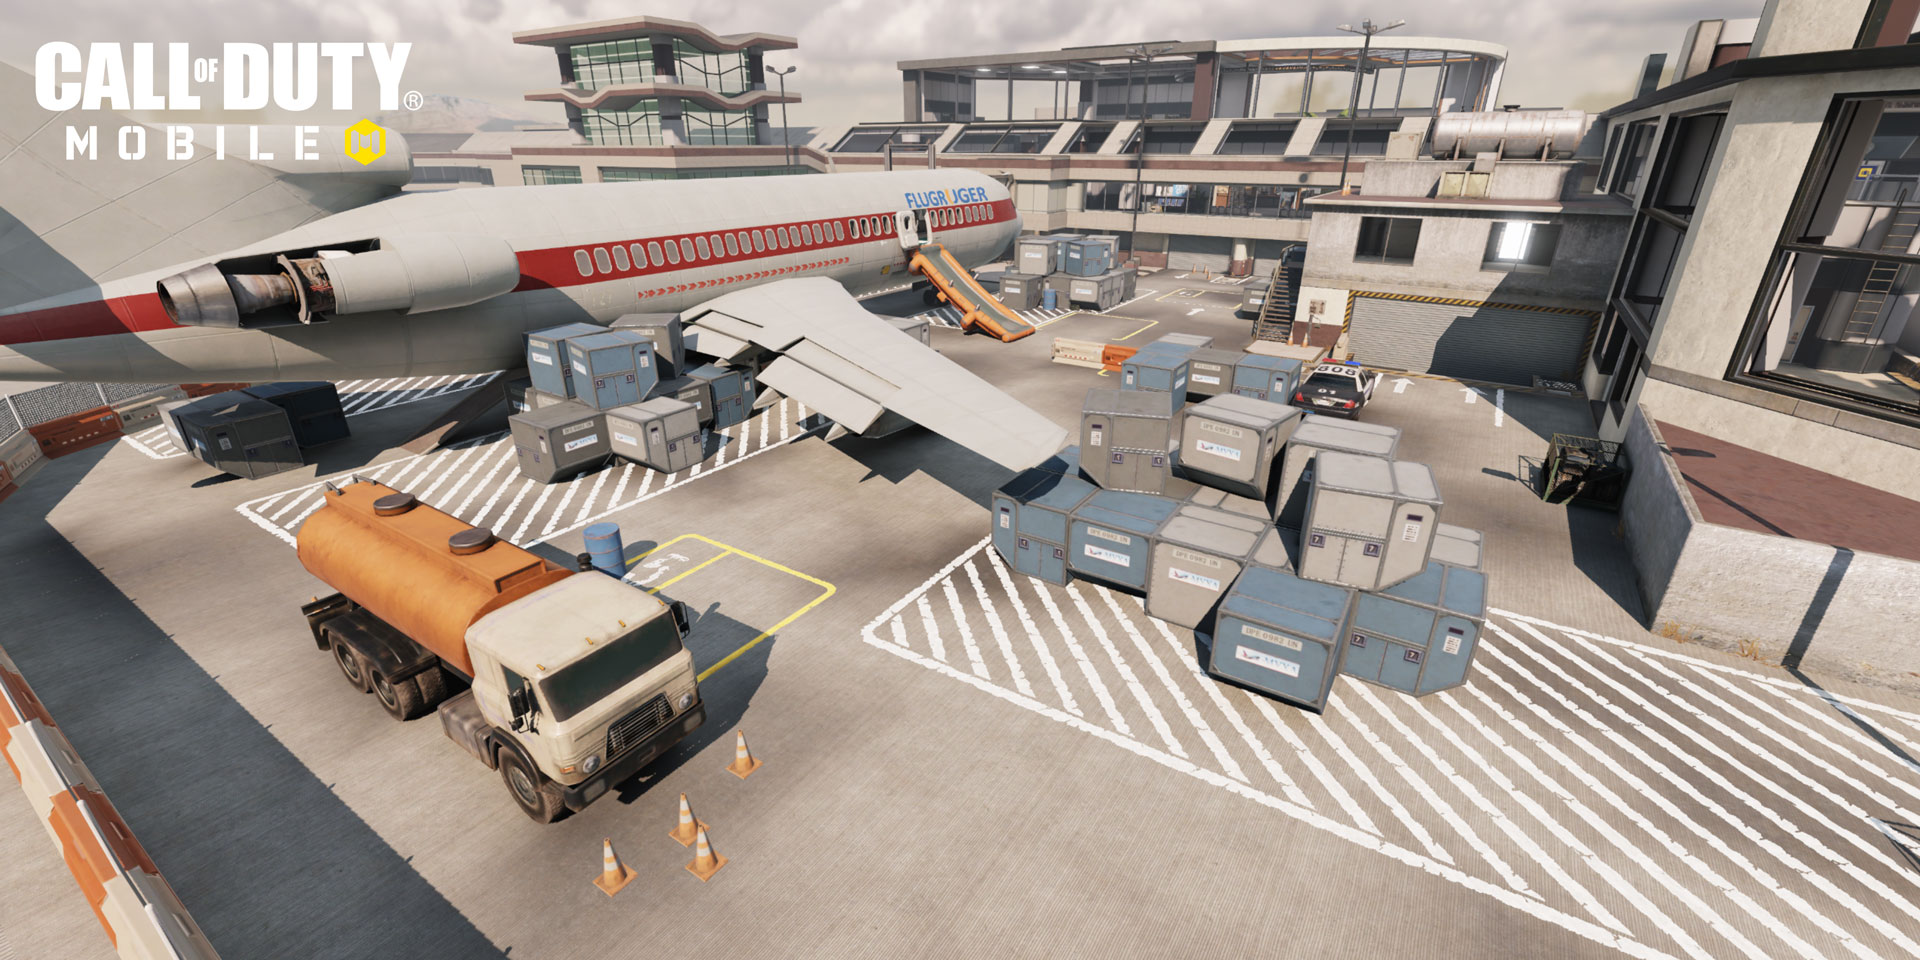
Consider the SAM Turret to give your team a huge defensive boost. Lay it down in the southeast corner outside the lobby and frustrate the enemy team by shooting down their aerial streaks. Place the Sentry Gun up by the maintenance room, or line it up to cover the walkway while you fight in the atrium.

Use the Shock RC for a valuable low-cost streak that can save your life as it zaps enemies so you can get the first shot. Deploy it when you’re approaching an objective to help root out defenders or vice versa to fend off enemy attackers.

The always handy UAV and Counter-UAV can provide or deny critical intel, so both are always worth consideration.

Objective Play

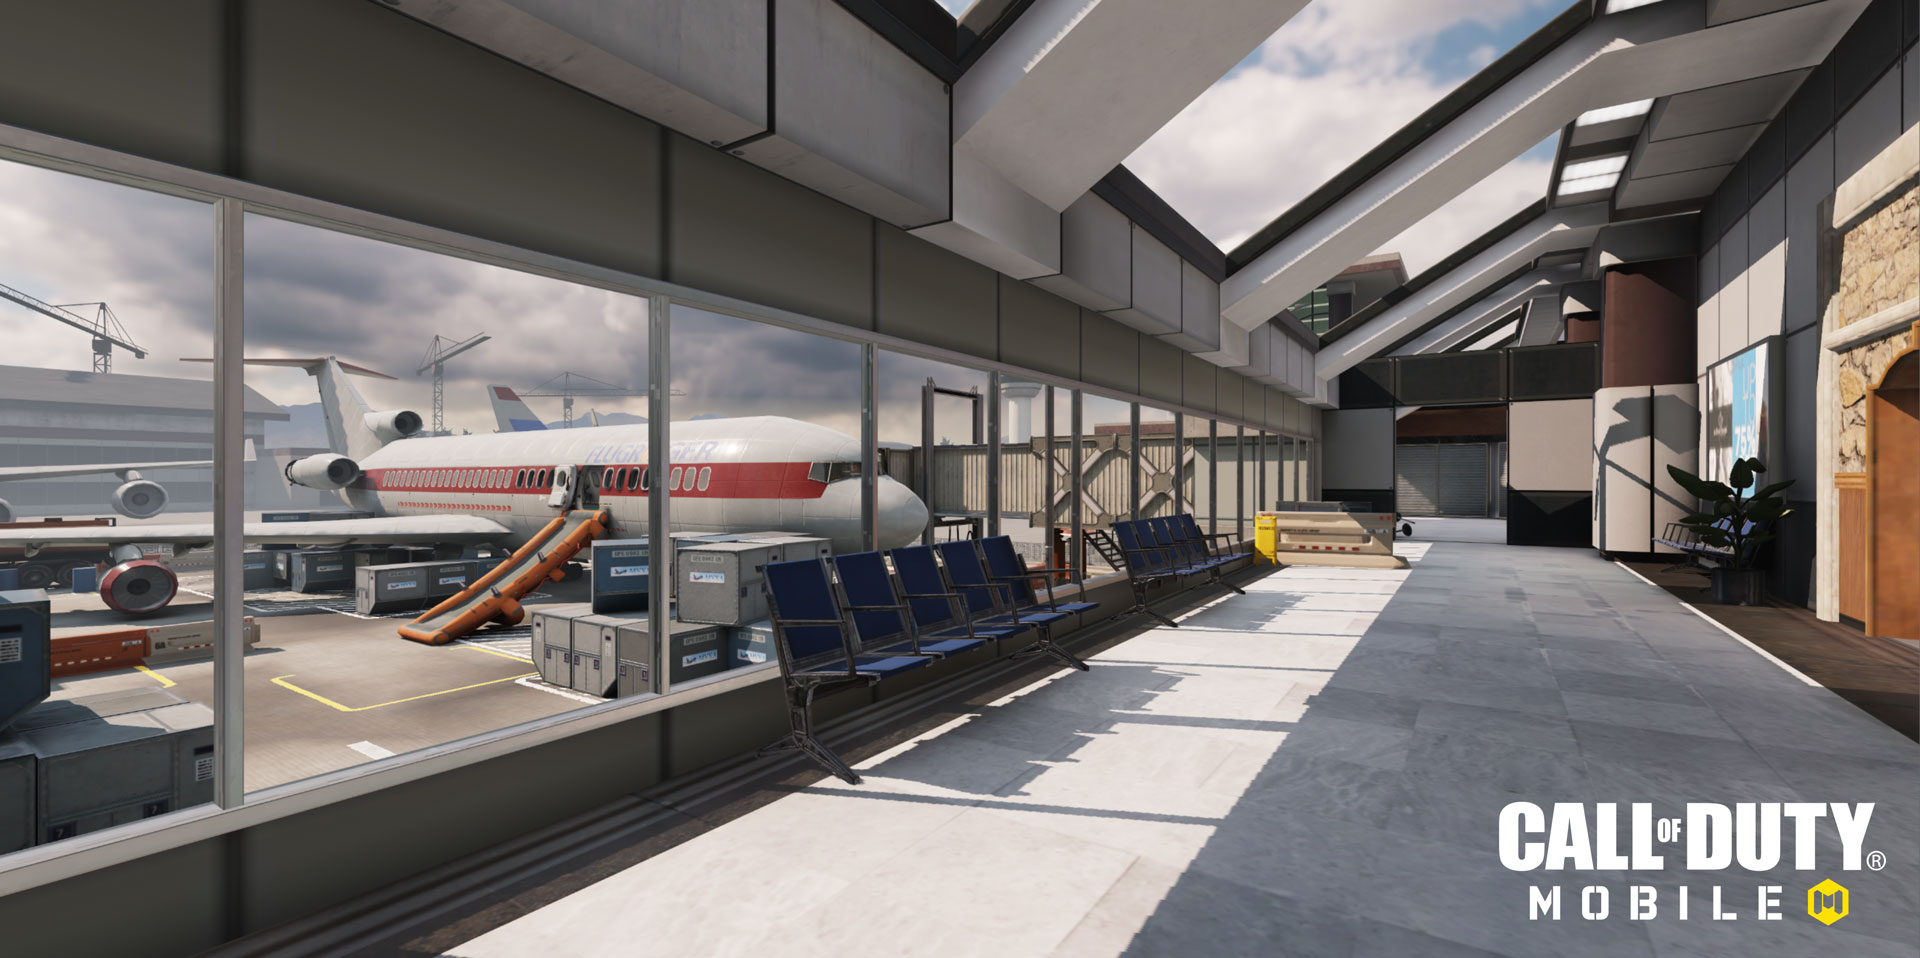
In Hardpoint you’ll be squeezed into tight spaces like the plane, the bookstore, and the maintenance room. Consider a Hardpoint loadout using Demo Expert for increased explosive damage; lob a grenade into the Hardpoint, rush in with your weapon to clear the rest out and start bringing in the points for your side. Use Flak Jacket as well to avoid having the same done to you.

In Domination, fight for two flags and then dig in and defend. To avoid aerial attacks, opt for A and C. Get behind the diner to cover C if you’re using a long-ranged weapon, or fight around A in a loop around the main departure hall, walkway, bookstore, and atrium. If you’ve already got defenders at both flags, rush between the two using the atrium to provide support wherever it’s needed most.

Whichever mode you’re playing, know that it’s generally easier to defend here than it is to attack. With so many angles and obstacles for cover, a coordinated team can hold down a position fairly well. So if you’re on the side that needs to make the breach, wait up for a couple of teammates and overwhelm them with greater numbers.

10 Tips

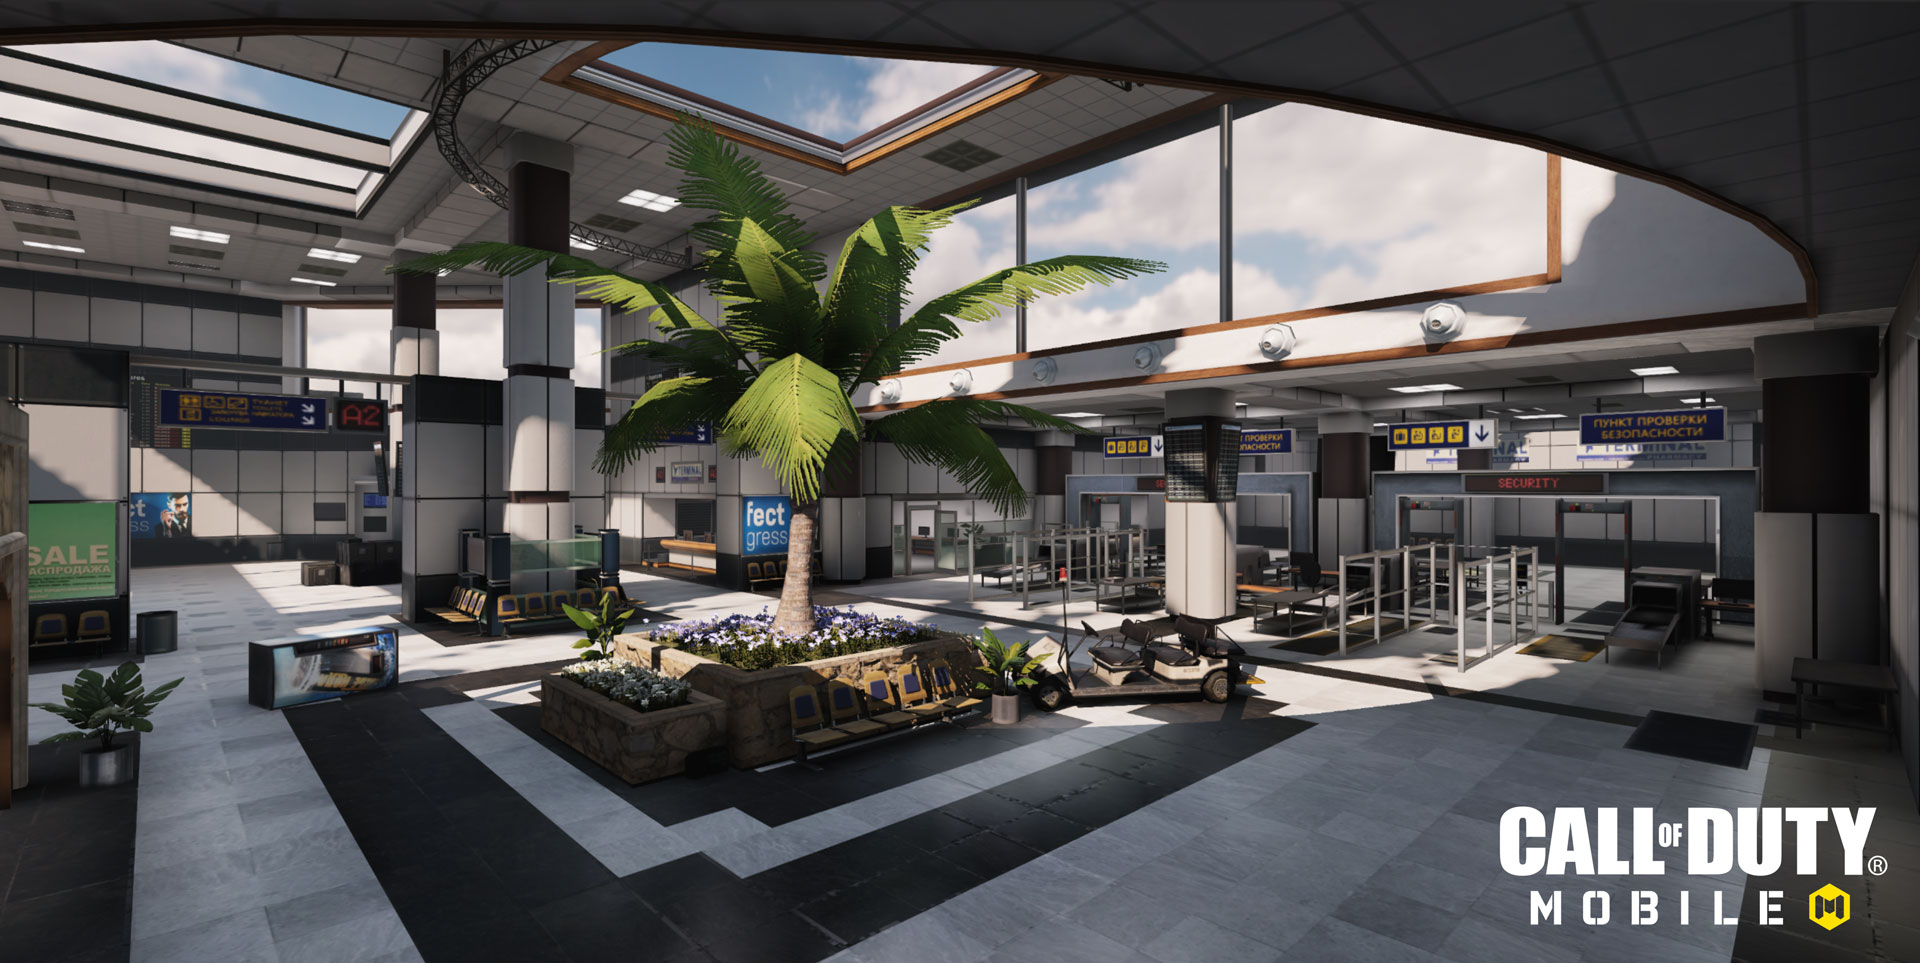
10. Fighting inside? Try using the Tracker perk to chase down enemy players weaving through the terminal. See those footprints heading into the bookstore? Follow after them and say hello.

9. Trip up your opponents and drop a Trip Mine in the plane the next time you’re running through. The interior is so narrow that they’re sure to run into it. Enemy doing the same to you? Avoid the plane altogether or equip Hard Wired to avoid triggering the Trip Mine.

8. Drop a Smoke Grenade and set a distraction. Throw it into the walkway and then attack from atrium or use it to blind snipers back in the diner as you rush forward from the lobby. Switch up how you use it, from concealing your own movements to taking another way while the enemy searches the smoke for nothing.

7. Hit Tier 21 in the Conquest Battle Pass yet? The Kilo Bolt-Action, free for everyone who reaches Tier 21, is a great weapon for mid-to-long range engagements. Kit it out for distance and fire down from the maintenance room or opt for mobility enhancing attachments so you can stay light on your feet and keep up with the fight.

6. It’s worth repeating the power of the FMJ weapon perk here. You’ll want that extra power when shooting through the myriad cover pieces and obstacles found across Terminal.

5. Patience with that Cluster Strike! You’ve got to time your air-to-ground attacks accordingly, lest you waste your barrage on the terminal roof. Wait until the fighting moves outside, and then call in the attack.

4. Try equipping the Death Machine or Sparrow Operator Skills. They’re both devastating up close or at range, giving you the flexibility to turn the tide of battle in any area of the map.

3. Complete at least the first two steps of the Fully Loaded seasonal event to unlock the new Amped perk. This perk improves your weapon swap speed, so you can switch from sniping at a distance to shooting up close in no time. Just be on the lookout for a weapon to replace that starting pistol.

2. Climb everything! There’s no better way to find the best routes than by exploring. Climb up through the front window into the main lobby, and from there take the ladder up to the maintenance room. Look for all opportunities to get over and ahead of the enemy team.

1. Enjoy! Terminal is a classic entry in the long-running list of iconic Multiplayer maps. Keep on playing and you’ll find out why. Good luck out there.

See you online.

For the latest intel, be sure to visit the Call of Duty: Mobile website. Also check out www.callofduty.comwww.youtube.com/callofduty, and follow @CallofDuty on Twitter, Instagram and Facebook.

© 2019-2020 Activision Publishing, Inc. Activision, Call of Duty, Call of Duty: Black Ops and Call of Duty: Modern Warfare are trademarks of Activision Publishing, Inc. All other trademarks and trade names are the properties of their respective owners.

For more information on Activision games, follow @Activision on Twitter, Facebook, and Instagram.

The Software License and Service Agreement will be updated. Please follow this link [https://www.activision.com/legal/ap-eula] in order to see these changes.