Trials Without the Tribulations Part 5: A Guide to Season Four Trials in Modern Warfare®

Ready for a huge XP boost while fine-tuning your skills? Look no further than Season Four’s Trials. Read on for our tips on earning three-star results in each one.

Trials Without the Tribulations Part 5: A Guide to Season Four Trials in Modern Warfare®

Ready for a huge XP boost while fine-tuning your skills? Look no further than Season Four’s Trials. Read on for our tips on earning three-star results in each one.

It’s time to see just how in shape you are, officers. Season Four adds five more Trials that push your shooting, racing, and movement skills to the limit, all with the potential to earn a huge XP payout on completion. Not bad for a few minutes of exercise.

Let’s review how Trials work and then take a look at what Season Four has to offer.

Trial Basics

Trials require tickets, which are awarded for every level earned after rank 55 (Officer Ranks). Each Trial gives you three attempts to complete its objective, whether that’s achieving a certain score or top speed.

There are three benchmarks per Trial, denoted by a three-star ranking system. Earn 5,000 XP for a one-star result, 7,500 XP for two stars, and a whopping 10,000 XP for a three-star result. 

Got some extra Double XP tokens? Activate one before the Trial and potentially earn 20,000 XP for a three-star result!

Behind Enemy Lines

Live fire exercise: Find and eliminate all hostiles in the A.O. as quickly as possible.

Loadout: Demolition Weapons
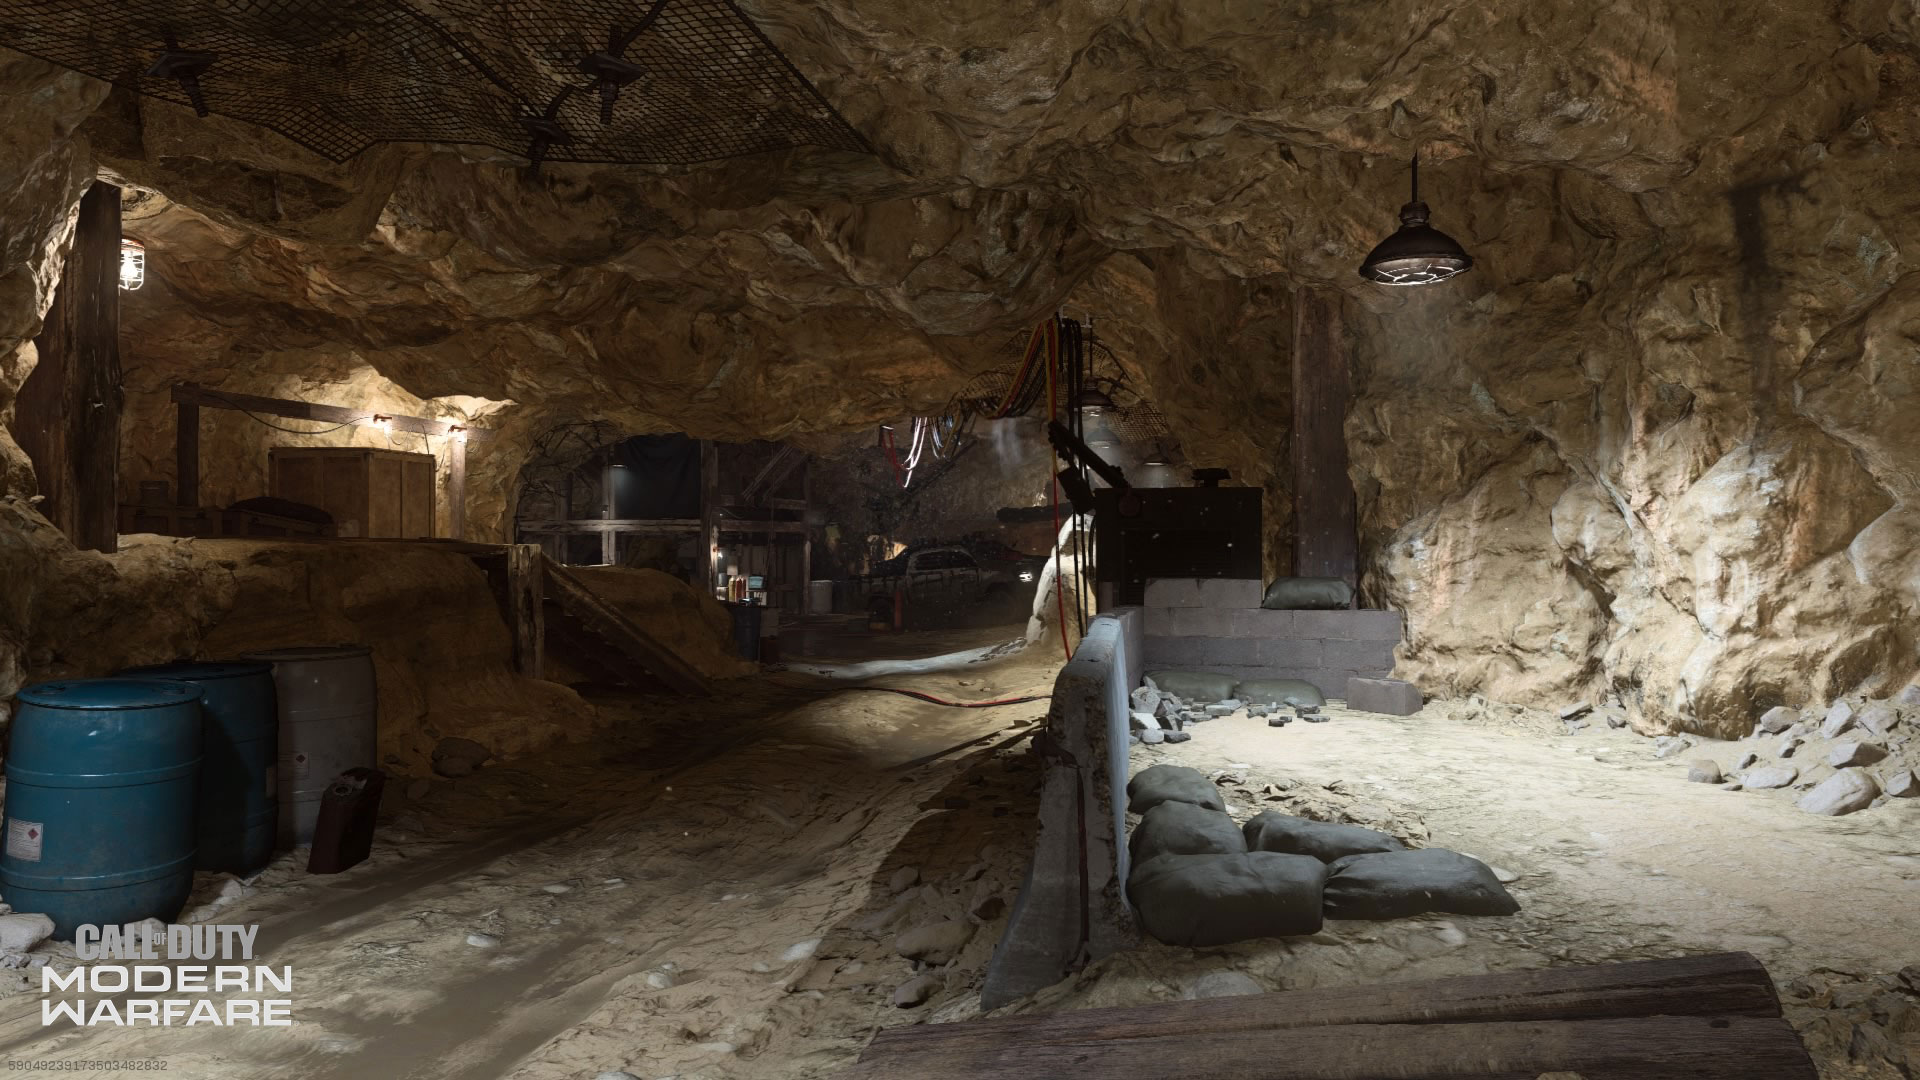
Map: Azhir Cave

*** = 1:30

** = 2:00

* = 2:30

Get blasting in this Trial and use demolitions to knock out 45 hostiles. You’ll start with a Combat Knife and two lethals: C4 and Thermite. From that, choose from various weapons including the MGL-32 Grenade Launcher and the M4A1 M203 -  to kit out your loadout.

If this is your first run, consider the M4 and the Grenade Launcher. The M4A1 packs 30 round magazines and explosive underbarrel rounds, and the Grenade Launcher offers the most blasts per reload. Speedrunners who know the layout can opt for a single weapon to maintain top running speed with the Combat Knife.

Look for the red barrels! These are liberally scattered amongst the enemies here, and a single shot blows them up and can take down multiple enemies. Consider switching the M4A1 to single shot mode so you don’t waste ammo detonating them: wasted ammo equals more reloads equals a slower completion time.

Frequent UAV sweeps show where the enemies are located, but after your first or second run you should know where they are and plan a loop that hits everyone without stopping to check your intel. Try sticking to the right side of the map, blasting enemies along the way until you hit Road East, and then weaving into Cave East, out to the Main Road, and back for the finale in Cave West.

If you’re running low on ammo, don’t miss the two Ammo Crates: One by the guard post on Cliff Path and the other at the top of Main Road. Stopping to resupply cost precious time; make every shot count, so you only stop once. Extend your ammo reserves by using your C4 on clustered enemies and your Thermite on stragglers.
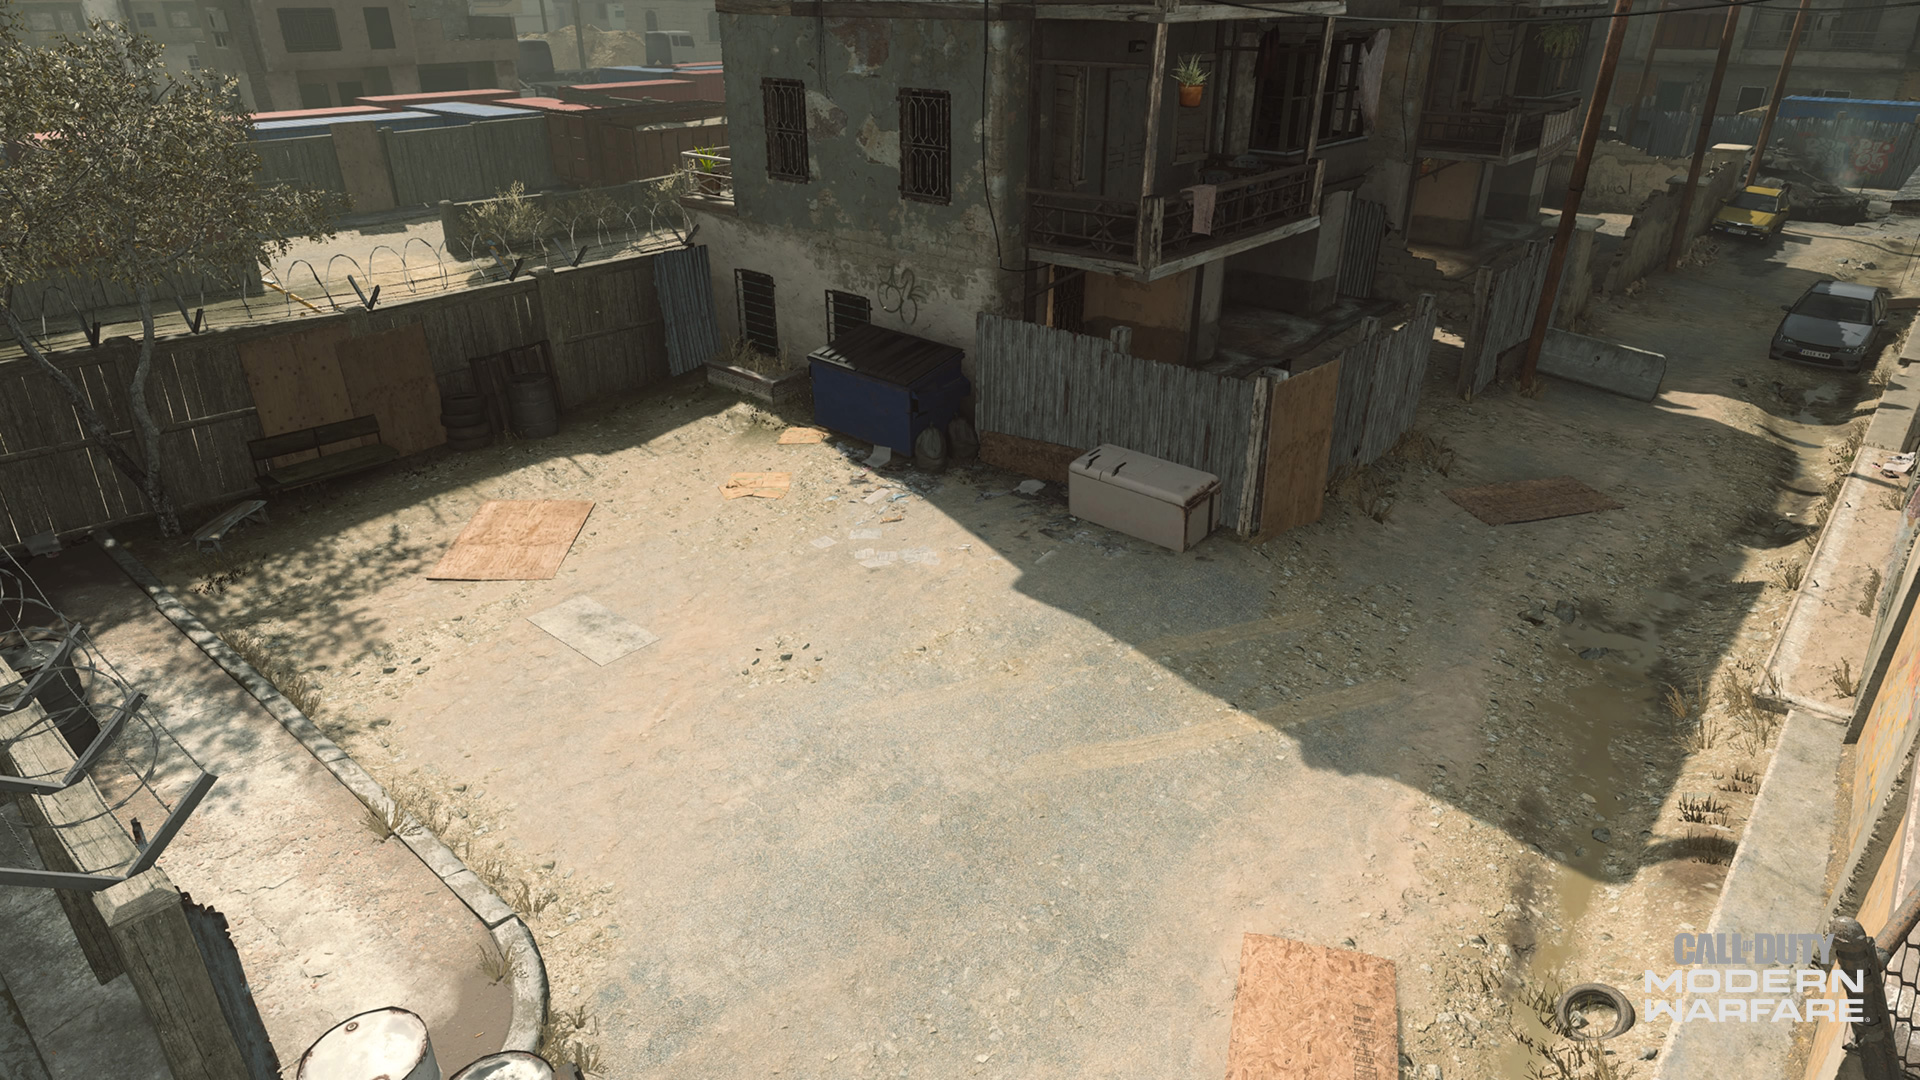
Price’s Alley

Sharpen your decision-making skills while engaging waves of mixed enemies and civilian targets.

*** = 12000

** = 10500

* = 9000

You’re given a semi-auto assault rifle equipped with a Hybrid Scope and tasked with shooting down as many hostile targets as possible over a course of four waves. Earn 100 points for each regular kill and 150 for a headshot. Shoot a civilian and lose 200 points.

Mount your weapon for the first wave and go for headshots: the targets will be lined up in a row, for easier extra headshot points. After that the targets will appear dispersed throughout the area, including moving targets in the last two waves. At this point, switch to your reflex sight every time new targets pop up so that you don’t miss enemies in the near corners.

Reload between waves and make every shot count — the higher your accuracy, the more bonus score you’ll earn at the end of the Trial. 

Note: it’s possible to hit multiple targets with a collateral hit. That’s great when it’s a pair of hostiles, but watch out for enemy targets moving in front of civilians.

Quad Race

Race through flare gates and finish the course as quickly as possible. Each lap, a new set of dog tags will appear along the track. Collect them to improve your time.

Loadout: ATV

Map: Arklov Peak

*** = 1:02

** = 1:08

* = 1:15

All that driving around in Warzone™ is about to pay off. This Trial tasks you with completing three laps as quickly as possible by following the track marker and driving through flare gates.

Collect dog tags to take a second off of your final time per tag. You’ll knock off an additional five seconds if you collect all 30. The dog tags change their position each lap, so keep an eye out for their telling red outline. These locations are consistent, however, from race to race, so pay attention and use that info to cut down your time in future attempts.

Use the handbrake for sharp cornering but using the main brake will be devastating to your final time. Try easing off the acceleration if you need to slow your speed and then slam it down again after you’ve regained control.

Risky Parkour

Collect all dog tags to finish the course as quickly as possible. Beware of the heavy toxic gas on low ground.

Loadout: Combat Knife

Map: Talsik Backlot (Day) / Gun Runner (Night)

Backlot / Gun Runner

*** = 1:50 / 0:52

** = 2:10 / 1:00

* = 2:30 / 1:08

There are two Trial versions of Risky Parkour, one on Backlot and the other using NVGs on Gun Runner. 

On Backlot, there are 30 dog tags spread above ground that you must collect. To grab them without touching the floor requires jumping across vehicles, up and over fencing, and into the upper levels of certain buildings. The dog tags appear on the mini-map, guiding you loosely from West Street up to the Tin Building and back around Market and Main Street. See our Talsik Backlot post for an overview of these distinct zones.

Gun Runner forgoes dog tags in favor of reaching 20 checkpoints. Don your night vision goggles and follow the objective markers from the Train Yard up into the Munition Depot, back to the Train Yard and toward the Cargo Containers. You’ll then turn toward the Center Platform and Smokestack and collect the final checkpoints around the Loading Zone and Parking Lot. See our Gun Runner post to review these zones.

In both Trials, touching the gas not only damages you but also adds extra seconds to your final time. And yes, the gas can kill you, so can falling from too great a height. Three starring these challenges requires a precise mixture of sprinting — including tactical sprinting for big jumps — jumping, balancing, mounting, and climbing. The skills you gain from completing these Trials will give you a whole new insight into map navigation. 

See you online.


For more information and the latest intel on Call of Duty®: Modern Warfare®, check out: www.callofduty.comwww.youtube.com/callofduty and follow @InfinityWard and @CallofDuty on Twitter and Instagram and Facebook.

For more information on Activision games, follow @Activision on Twitter, Facebook, and Instagram.

The Software License and Service Agreement will be updated. Please follow this link [https://www.activision.com/legal/ap-eula] in order to see these changes.