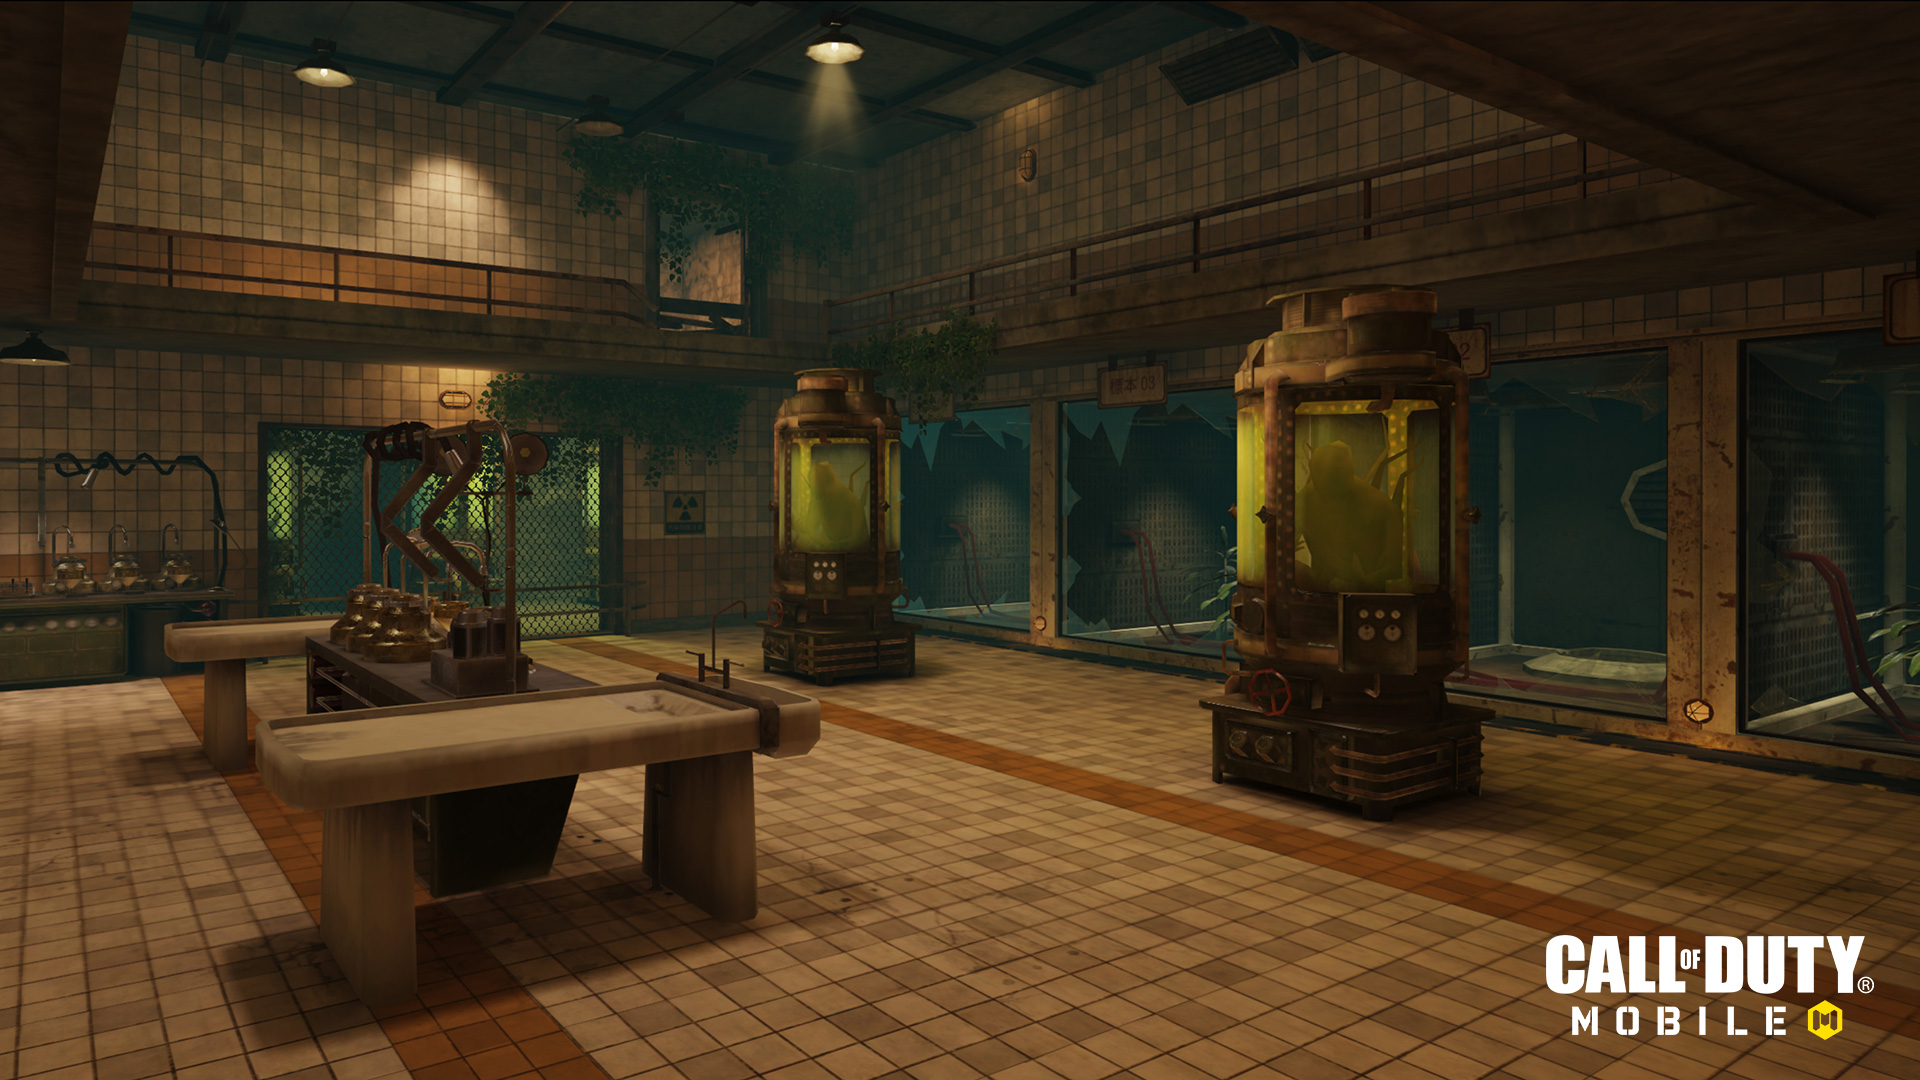
"It’s been abandoned for a long time. Data indicates this area house was a secret research facility in World War II.”
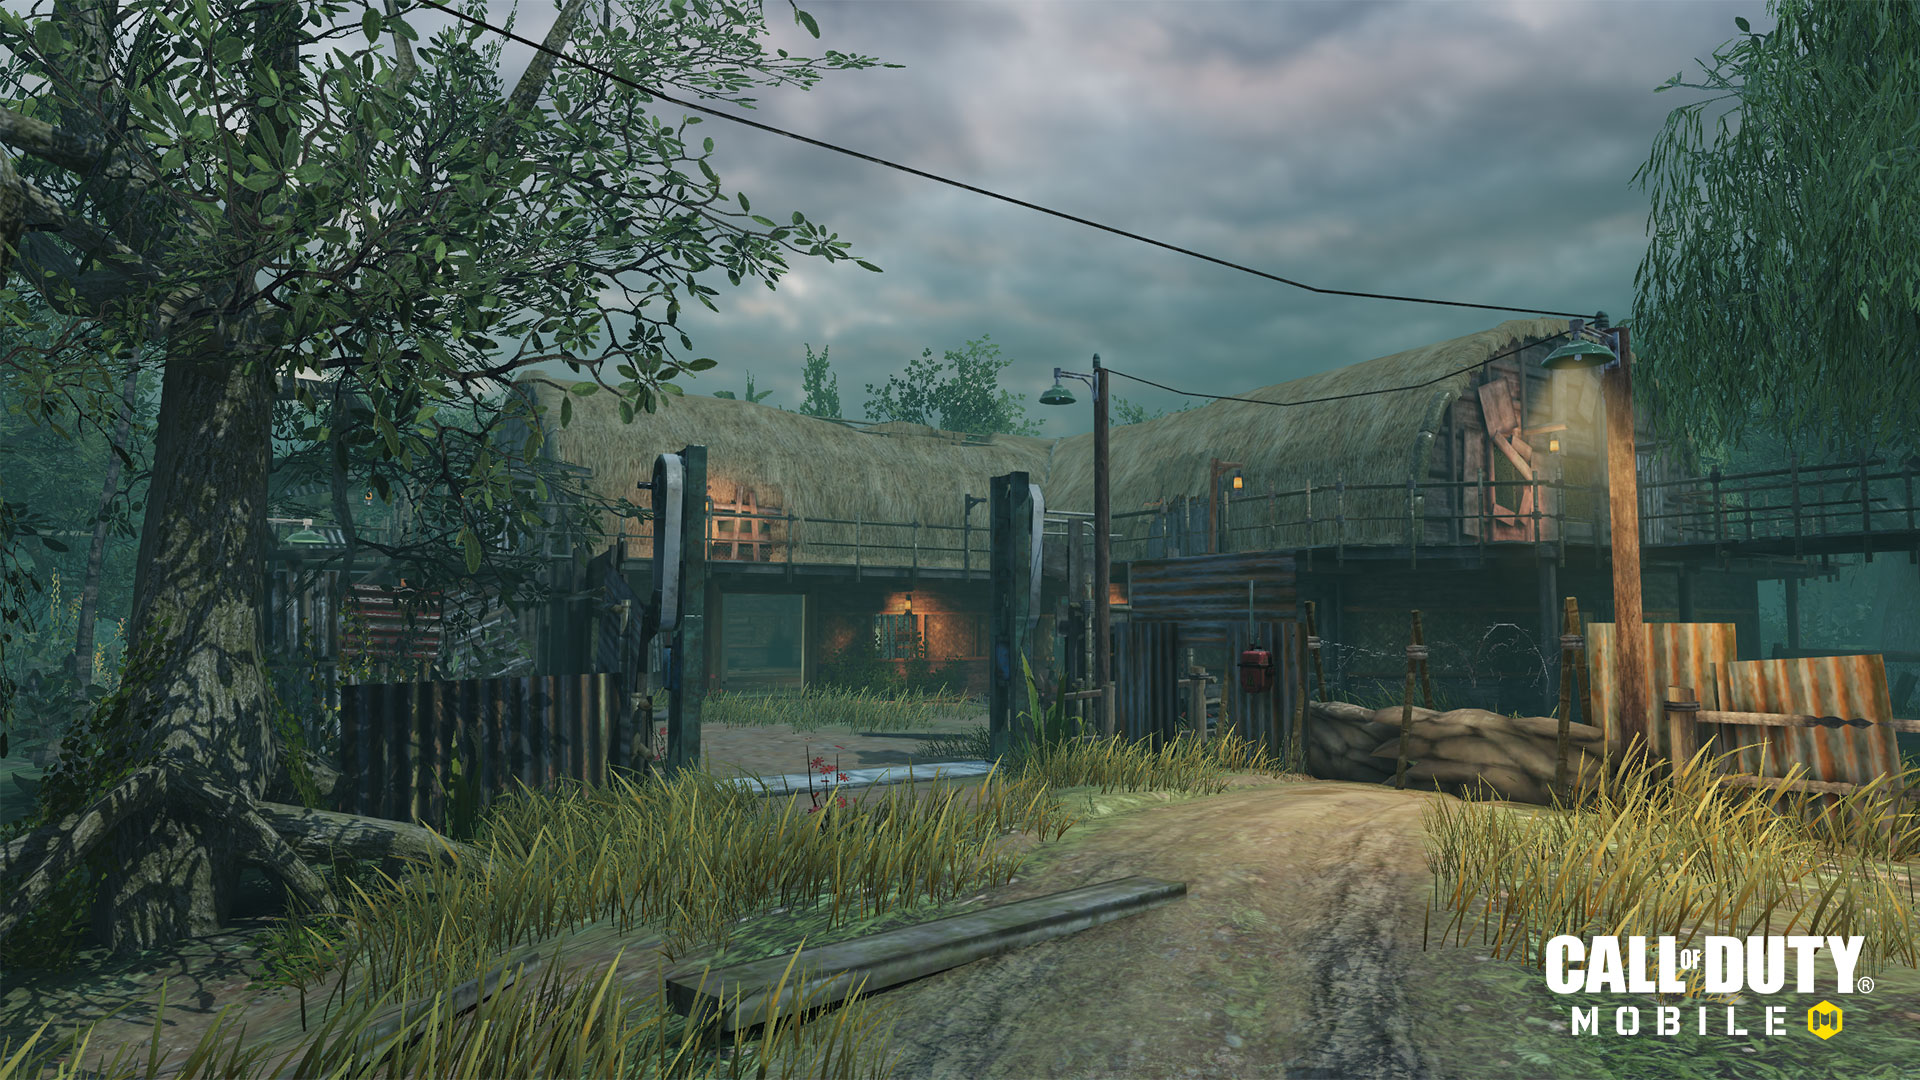
Deep within the swamps of of former Imperial Japanese territory, there lies an old network of huts that is set to hold a dark and powerful secret.
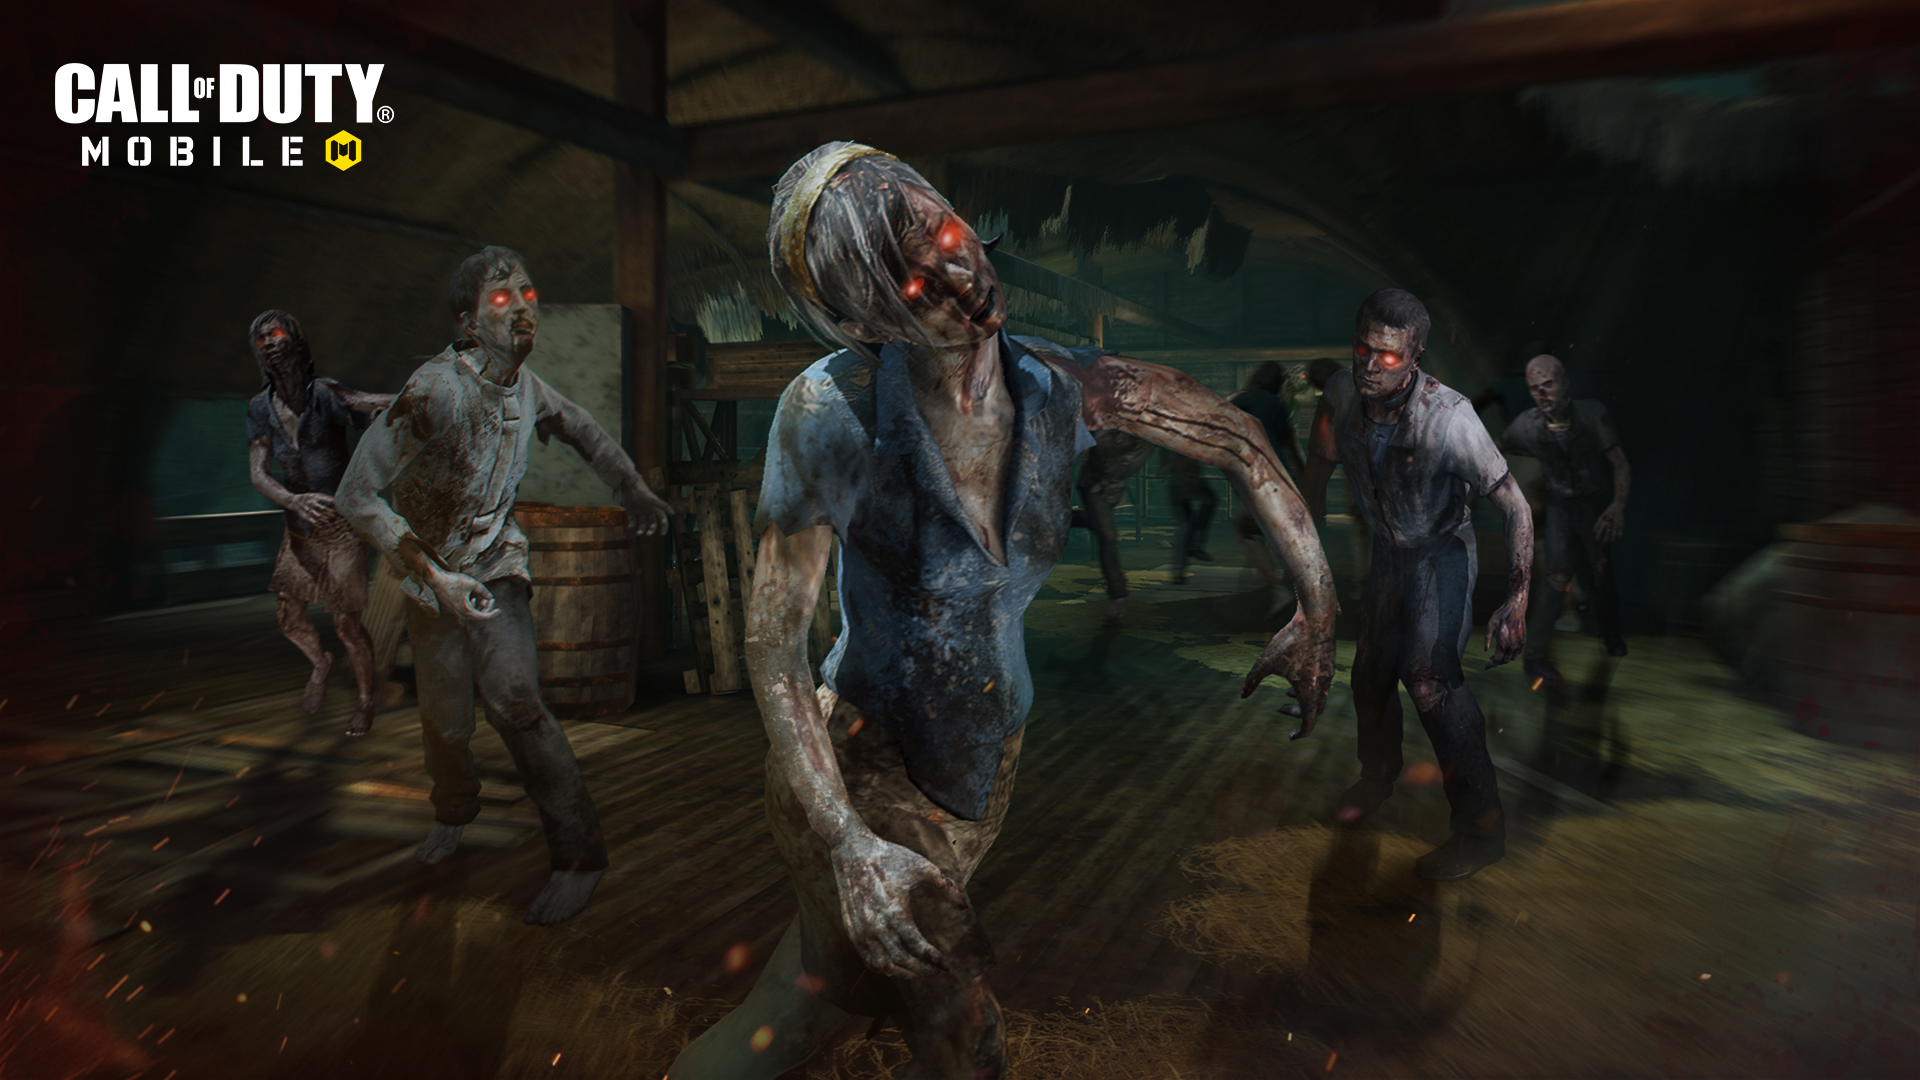
This network of huts is Shi No Numa – the Swamp of Death – and it is the first zombies experience within Call of Duty: Mobile.
Veterans know this locale first appearing as a downloadable map in the Zombies mode within Call of Duty®: World at War. After seeing a role in multiple Call of Dutygames since, Shi No Numa not only returns to Call of Duty: Mobile, but is also a whole new experience designed specifically for Mobile.
Here’s what’s new (and familiar) about Shi No Numa:
Lay of the Land
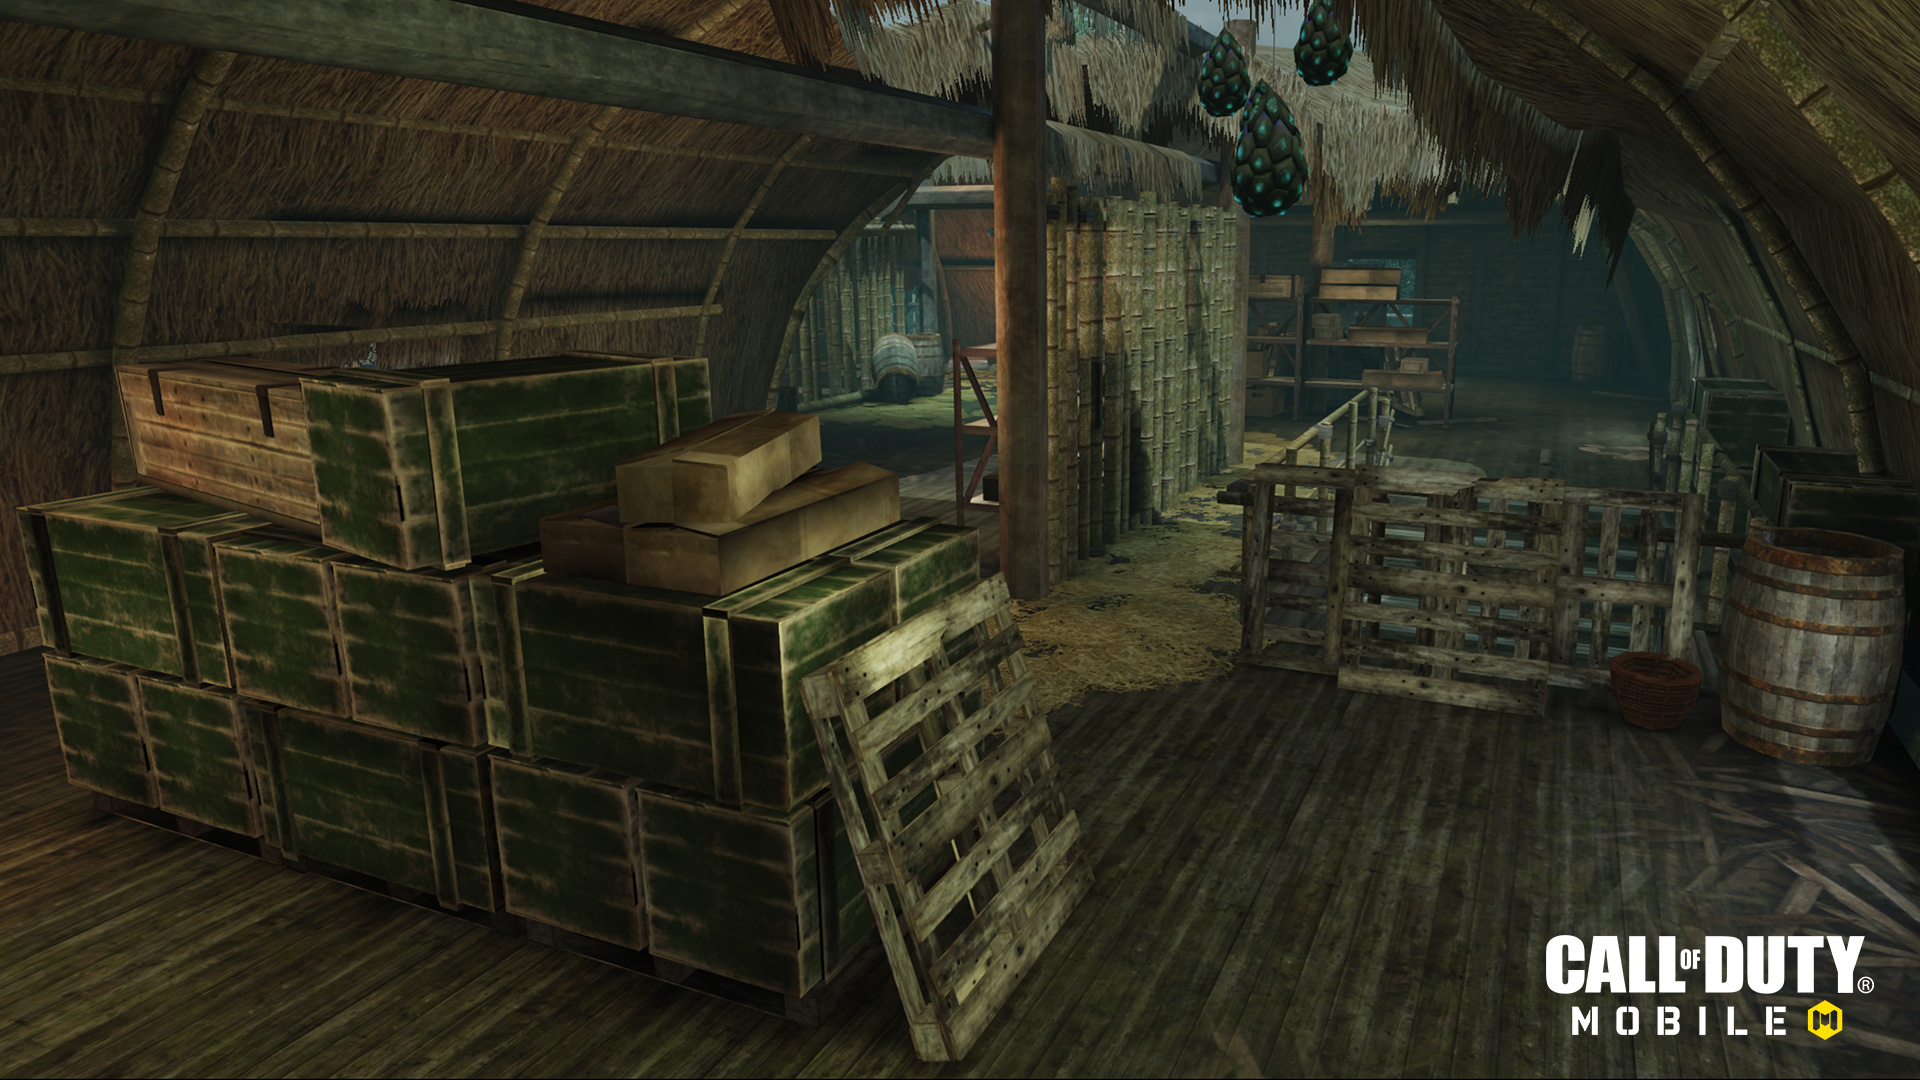
Shi No Numa is a series of five huts, with one larger, two-story building in the center acting as the starting area. The other four huts surround the map’s center in four separate corners.
Going clockwise from the top right, these small shacks were once a communications room, fishing hut, doctor’s quarters, and storage area for those villagers who previously called this swamp their home.
The central hut also has a decrepit elevator shaft, which at one point may have been the entrance to the secret underground research facility. If it can be repaired, you could see what lies beneath the surface…
Survival Tactics
Like any Zombies experience you may have had before, survivors will begin their time in Shi No Numa with only a pistol, a knife, and 500 points to your name.
The starting room is relatively small, with only two chalk weapon outlines offering sources of offense outside the starting weapon. Both weapons only cost 500 points and should hold you over for a few rounds, which is enough time to find the Mystery Box or better wall weapons.
Another cheap point buy is a coin machine that sits right near a pile of debris. This one-time active skill can slow down zombies or turn the tide of battle in other ways, so it may be worth considering a coin over a shiny new magnum.
There is also a sticky grenade outline within the starting area. Although it costs 2000 points, the sticky grenade can be used multiple times and is a great source of splash damage that may come in handy against tight groups of zombies.
Last, but certainly not least, the starting room is where you’ll find Quick Revive. As you can imagine from its name, this perk-a-cola machine is a near-essential for solo players and for those tasked at revive duty in Multiplayer games.
The rest of the central building, which is accessible by removing barriers with points, contains a buff machine, where you can purchase and upgrade buffs, and a Mystery Box spawn point. To get out of this main building, the paths to the four main huts cost 1000 points to open, with each of the huts themselves having barriers that will also run you 1000 points to clear.
All four huts will have a random perk machine and weapon outlines for various wall weapons. Should you find a way into the secret research facility, the other two perk machines and a few more weapon outlines will be available for your use.
On top of also being Mystery Box spawn locations and having coin machines, these huts have their entryways rigged with traps. The path to the fishing hut from the main building has an additional trap known as “The Flogger,” which will paddle any zombies (and players!) down below to death.
With that in mind, one strategy worth considering is to lead zombies through entryways rigged with traps, such as The Flogger, and switch it on before they get too close for comfort. Running around the map will expose you to flooded swampland, which will slow down your movement. When a whole train of the undead is behind you, you may want to avoid a quick dip in the water, lest you slow down enough for them to catch up.
Taking a defensive position in one of the huts is another option for survival, but a dangerous one at that, as it may be easy for the horde to squeeze through a bottleneck and end your survival run prematurely.
Whether you play Shi No Numa on Survival or for a Raid, you will have to deal with Hellhounds every few rounds. These zombified dogs are quicker than their human counterparts, but have considerably less health.
Because of their lower profile, Hellhounds are best dealt with by aiming your weapon slightly downwards towards the ground to meet them. Although they may be tough to deal with, surviving a Hellhound round will spawn a Max Ammo pickup, which could be the difference between life and death.
Acing the Raids
When it comes to Raids on Shi No Numa, the most important tactic for success isn’t longevity, but ramping up your weapons, perks, and buffs for the final boss fight. Normal Raid goers will experience the final boss after Round 8, while Heroic Raid players have 12 rounds to build towards that final encounter.
For either Raid, there are a finite number of points you can earn within the set number of rounds. Therefore, it’s important to maximize your point earning potential by repairing windows and getting headshots on enemy zombies.
During a Normal Raid, a frugal survivor will have enough points to afford a few perk-a-colas, a coin, some buffs and buff upgrades, and a few hits of the Mystery Box to build a loadout. The most effective weapons for the job are all up to personal preference, but the Wonder Weapons – i.e. the Ray Gun and unlockable Lava weapons – are usually better than normal ones.
After eight rounds, you’ll be dropped into a new area and face off against the Abomination. This monstrous creature is mutated scorpion that comes with a whole slew of zombies to help it ruin your raid. While we don’t want to spoil the solution to defeating this beast, we do advise that you keep an eye out for launchers around the area, which may help in dealing massive damage to it.
During a Heroic Raid, there is more time to fully kit your loadout, but of course, the challenges here will be greater. Rounds 9-12 are tougher than the first 8 you’ll experience in the Normal Raid, and the Abomination will be a harder fight.
Then again, you may not have to face the Abomination in a Heroic Raid… Because if you find the research lab and complete the easter egg, you may come across an even greater threat to the survivors who dare traverse the swamp of death.
Top Tips
10. Ya need a little revive! Especially in solo play sessions, grabbing a Quick Revive in the starting room is never a bad idea. It’s a cheap – and effective – perk-a-cola that may just save your Survival or Raid run.
9. Ground floor goodies. The ground floor of the main building has a Mystery Box spawn location and the Buff Machine, so progressing past the starting area is a near-essential for Raid and Survival games.
8. Build that loadout! During Raid sessions, you will have a limited number of rounds to build your loadouts with the necessary perks, buffs, coins, and weapons to defeat the boss. Spend your points wisely and efficiently, repairing windows and getting headshots to maximize your point earning potential.
7. The survivors didn’t bring their swimsuits… So avoid taking dips in water around the map whenever possible. It will slow you down, allowing the lurching zombie horde to catch up to you.
6. Hellhound rounds = ammo resupplies. Hellhounds can be tough, but defeating a full wave of them will reward you with a free Max Ammo powerup. Learn how to destroy them efficiently, and you’ll be thankful instead of fearful the next time these creatures come around every few rounds.
5. Flog the flesh gnawers. The Flogger and other traps can wipe out waves of enemies with a single well-timed push of a button. Lead Zombies into their effective range, let them rip, and watch the undead fly!
4. Wonder weapons do wonders. Whether it is the Ray Gun or the Lava weapons, pulling these out of a Mystery Box may help you far more than a wall weapon. Try hitting the Mystery Box during your run, and you may be wonderfully surprised with one of these powerful weapons.
3. Fully explore the map. You will need to figure out how to repair the elevator in order to access two more perk machines and potentially grow one step closer to finding the secret boss.
2. Abomination Slaying 101. Using the launchers positioned around the boss area may assist you in taking down this monstrosity. Just keep your distance whenever firing one of these off, as standing within the blast radius is a recipe for disaster.
1. Strength in Numbers. While it is possible to tackle Shi No Numa alone, partnering up with a buddy or a full lobby may make it easier to complete the raids and progress further in Survival runs.
For the latest intel, be sure to visit the Call of Duty: Mobile website.Also check out www.callofduty.com, www.youtube.com/callofduty, and follow @CallofDuty on Twitter, Instagram and Facebook.
© 2019 Activision Publishing, Inc. Activision, Call of Duty, Call of Duty: Black Ops and Call of Duty: Modern Warfare are trademarks of Activision Publishing, Inc. All other trademarks and trade names are the properties of their respective owners.
For more information on Activision games, follow @Activision on Twitter, Facebook, and Instagram.