Prepare for your next combat training exercise on the Firing Range.
For those who come back to this map after nearly a decade of its service, welcome back. For all those who are experiencing this map for the first time, you are in for a treat.
Around the Call of Duty community, Firing Range is beloved as being an easy one to learn, difficult to master, and packed full of engagement opportunities of all types.
Here are our tips to help you become an expert on the range:
Lay of the Land
This map, a Multiplayer staple of the Call of Duty franchise since 2010 through Call of Duty: Black Ops, is where Simon “Ghost” Riley helped you in the Call of Duty: Mobile tutorial. Based on a major United States island military base, this medium-small sized training course is built to prepare soldiers for a wide variety of combat scenarios.
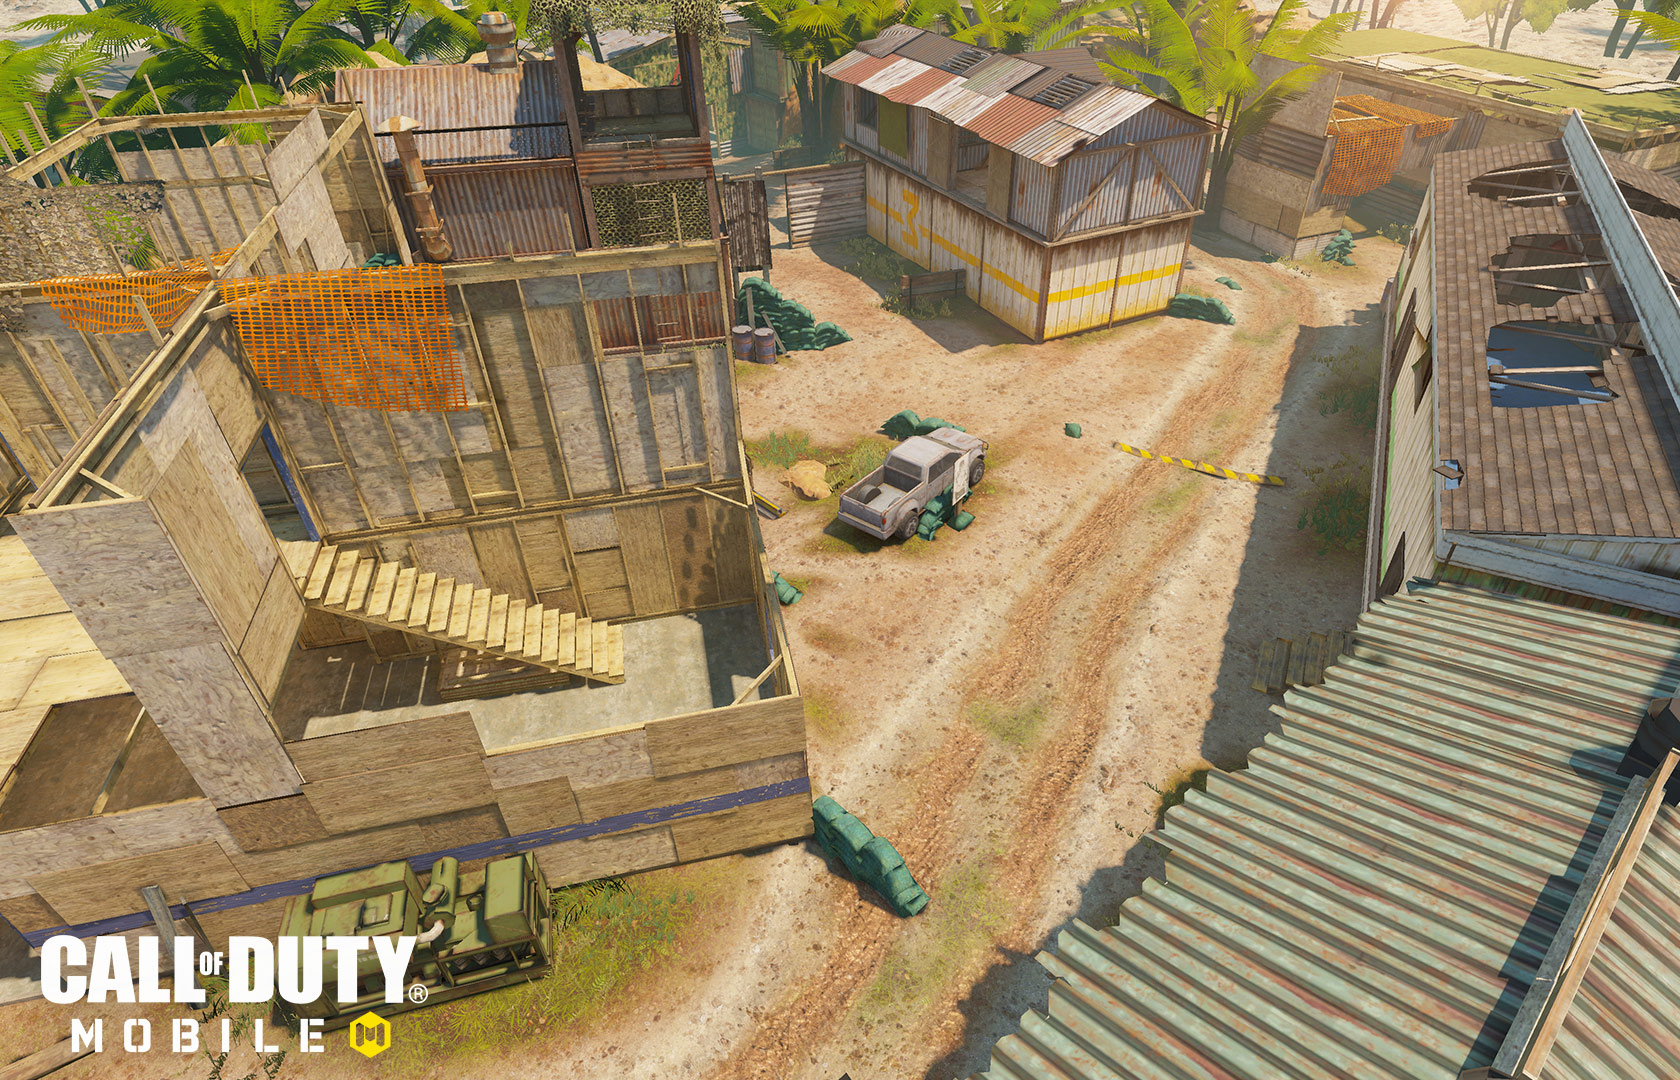
Starting from one initial team spawn at the course’s entrance on the East side of the map and going clockwise, one will pass by a two-story wooden building before ducking into a path filled with jungle vegetation. Continuing North, we see the eponymous range and a shack where soldiers take their best shots from out onto the targets down out of the map’s boundaries.
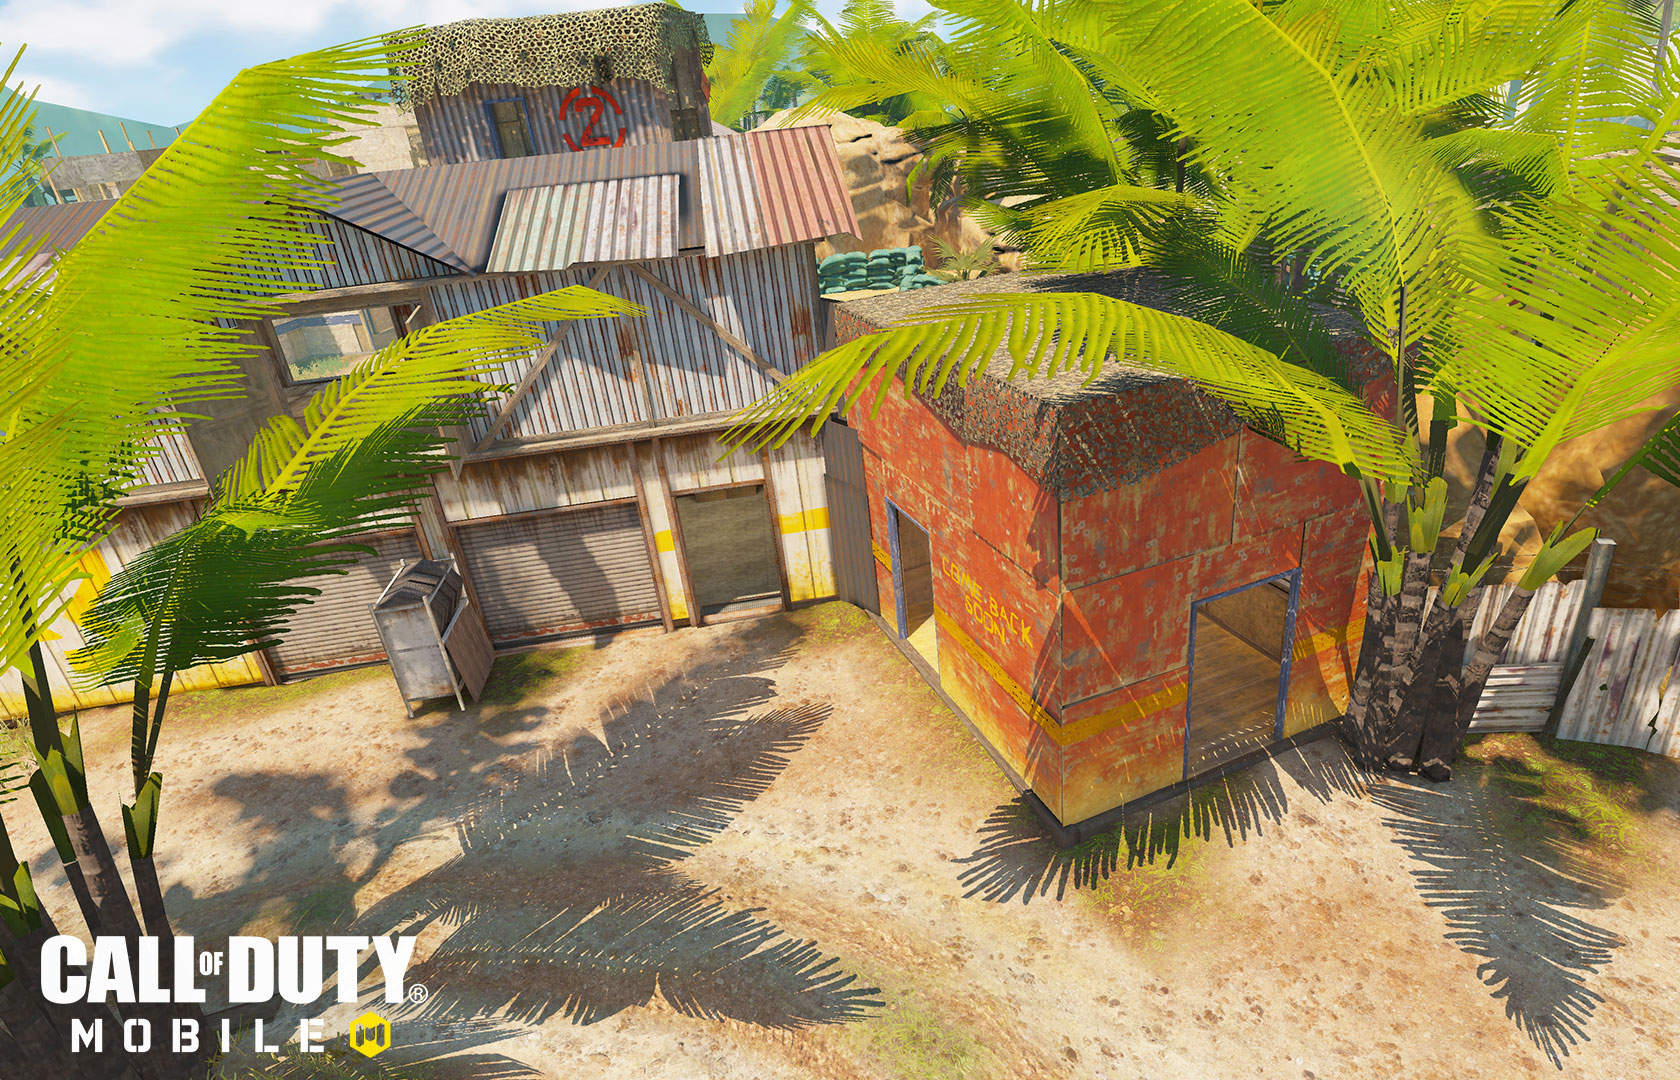
Running through a hollowed-out container towards the armory brings us to the other initial spawn, where a two-story tin building defines this small complex. Due South is a long trailer and a path with several moving targets, which eventually leads us back to the entrance around a red locker room hut.
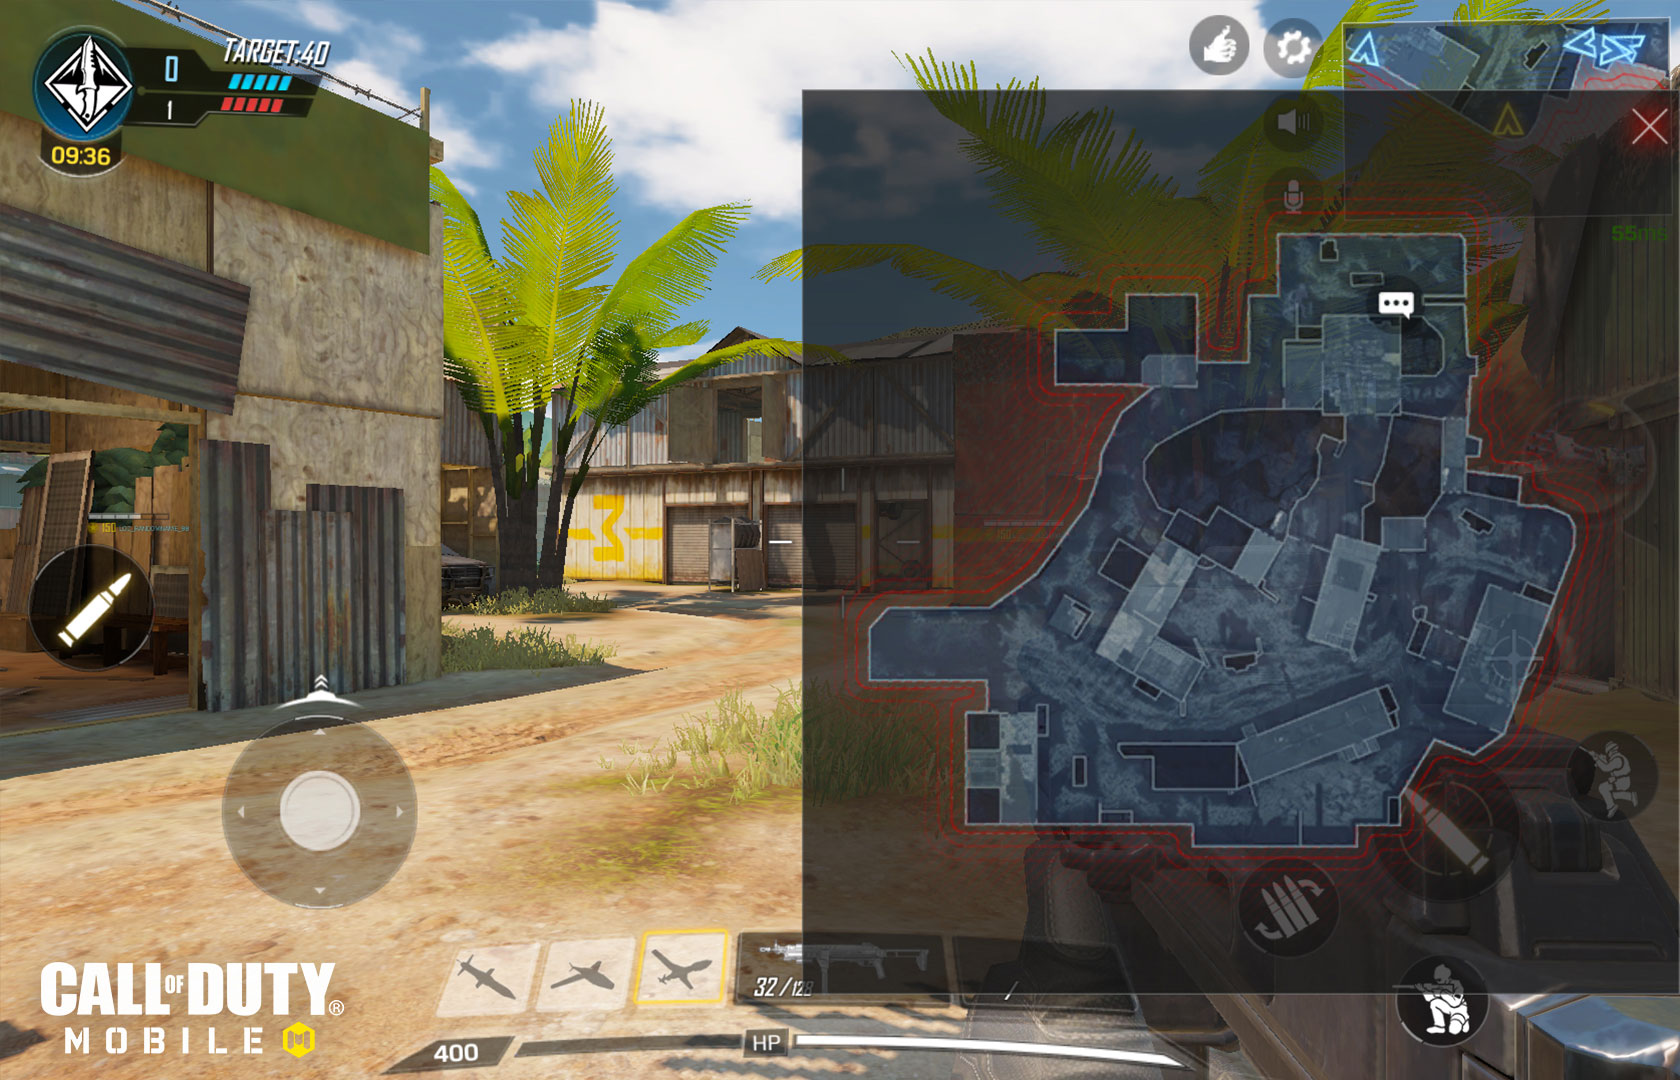
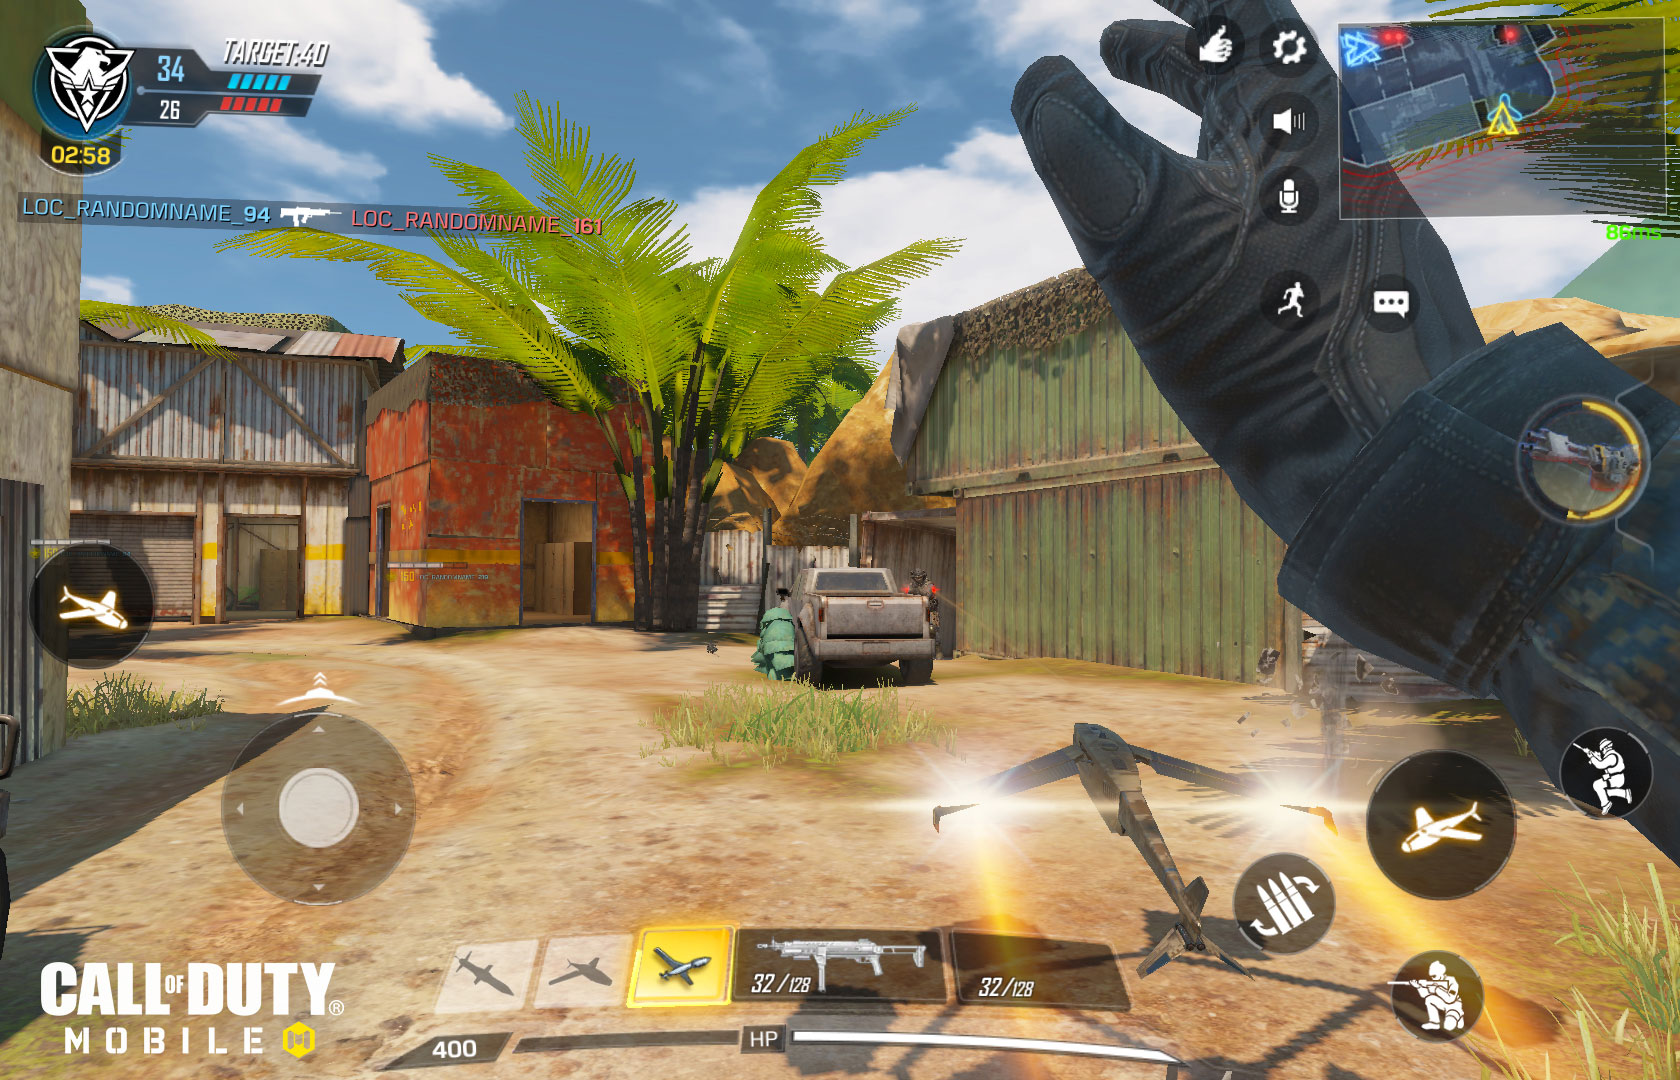
The middle of the map is defined by a lone vehicle parked among sandbags, as well as a watchtower that looms over all other structures.
Boot Camp: Basic Tips
Completing Call of Duty: Mobile’s Tutorial gives you a taste of what this map is all about: it is a mix of open space and interior combat that suits a wide variety of play styles.
The various buildings around the map offer plenty of cover in this otherwise open and sandy battlefield, as well as potential power positions to use against the opposition.
For example, one potential power position is the second floor of the tin building, which is known around the community as “Top Tin.” Here, there are good sightlines towards the armory and trailer, as well as down the middle of the map.
Another great spot is a large platform on top of the two-story wooden building that offers good angle of mid-map. There is also a large hole here that is great for making an escape through the Northern path away from the potentially common crossfire at mid-map.
Speaking of mid-map, engagements here tend to spill out North towards the main shack through a narrow passageway between Top Tin and the watchtower. Be careful, especially after a respawn, when traversing through this area, and consider taking alternative routes on the Northern or Southern perimeter.
Mobile Master Tactics
Top Tin might be a great power position, but an untrained soldier could lose that foothold quickly if they cannot defend all points of entry. That includes a large opening in front towards the map’s center, which can be mantled up into by jumping from the top of a narrow barrier outside of it, and a back window where a stack of tires offers direct access to the second floor.
Consider using these entry points next time a pesky sniper holes up in Top Tin, or try lobbing grenades through the second floor to smoke them out.
Those in Top Tin who have a great sense of balance may want to take a perilous walk across a wooden beam that spans from the building over to a cliffside ledge with a few sandbags for cover. This area offers a great view into the shack to the North, as well as the narrow route that the wooden beam stretches across.
It also is a potential place to counter someone up on top of the watchtower, which is its own possible power position to consider, especially when using long-range weaponry.
The climb up to this watchtower is risky – a lone ladder facing the middle of the map is the only way to access it – but the reward for getting here could be great. From this watchtower, one could look down upon those on Top Tin, into the training building, across the middle of the map, or even those who take up residency at the two-story wooden structure.
Scorestreak Field Guide
Firing Range could be a field day for Scorestreak users; with many buildings having partially exposed ceilings, it is possible to pilot a Scorestreak into places where enemies might think they are safe.
This includes the large shack outside the main firing range, whose whole roof is nothing but a few wooden slats. When dropping that Missile or piloting a VTOL, consider guiding those explosives into those buildings if those red boxes start lighting up inside.
Another safe bet is piloting a Scorestreak over the middle of the map; with that much open space, a Stealth Chopper might find a few frags on those who dare to traverse this engagement-heavy space.
Survey of Objective Play
In some objective game modes, the middle of Firing Range becomes an inevitable area for a tactical takeover.
Those potential power positions on the second floor of the surrounding buildings might become more important in this case, as having a watchpoint on the middle of the map allows a team to better defend this otherwise frenetic area.
Taking these locations might also be safer than running about the objective area; if the objective does not require you to be on it all times, consider capturing it, then ducking into a nearby building for safety.
Alternatively, locking down Firing Range’s perimeter could make it possible to win an objective game mode without worrying about the mid-map madness. However, given Firing Range’s size, this may be easier said than done.
Top-10 Tips
10. Call of Duty: Mobile’s tutorial will give you a great taste for what this map has to offer. Expect a wide variety of engagements – from close-quarters tussles to long-range shootouts – on this medium-small sized map.
9. Firing Range’s buildings could act as power positions, as they offer ample amounts of cover with some even offering some high ground to prey on those running about the map.
8. The small path between the tin building and watchtower might be a tough route, especially if fighting from the map’s center spills over. Be careful when traversing through here and consider alternative routes out of the firing range shack to the map’s center.
7. Is there an annoying sniper sitting in Top Tin? Try switching up that attack strategy by doing some parkour up a stack of tires or a narrow barrier to potentially catch that soldier by surprise.
6. Firing Range’s notorious watchtower can be a great power position, but be careful when climbing up to it, lest you be shot down while scaling the long ladder.
5. Keep your balance across a wooden beam from Top Tin to the cliffside, and you may be rewarded with a unique way to catch an enemy player in the watchtower.
4. The giant wooden building has a hole on the second floor that can be used to escape a hot gunfight to go on the Northern path. When staking out this area, be careful not to accidentally fall through this hole!
3. Buildings in Firing Range are a lot more open than you think; be careful when hiding in one of these buildings in the event of an enemy Scorestreak, especially if it doesn’t actually have much of a roof left…
2. The middle of the map can be a warzone, especially in objective game modes. Consider capturing an objective here quickly before escaping to a defensive power position in a building.
1. Our most important tip, as always and for every map in Call of Duty: Mobile, is to have fun!
For the latest intel, be sure to visit the Call of Duty: Mobile website. Also check out www.callofduty.com, www.youtube.com/callofduty, and follow @CallofDuty on Twitter, Instagram and Facebook.
© 2019 Activision Publishing, Inc. Activision, Call of Duty, Call of Duty: Black Ops and Call of Duty: Modern Warfare are trademarks of Activision Publishing, Inc. All other trademarks and trade names are the properties of their respective owners.
For more information on Activision games, follow @Activision on Twitter, Facebook, and Instagram.