Modern Warfare® Tactical Map Intel: Krovnik Farmland
Our first Tactical Map Intel for Ground War brings us to Krovnik Farmland, Verdansk’s rural village that has become a battleground for the Allegiance and Coalition.
Modern Warfare® Tactical Map Intel: Krovnik Farmland
Our first Tactical Map Intel for Ground War brings us to Krovnik Farmland, Verdansk’s rural village that has become a battleground for the Allegiance and Coalition.
November 25, 2019
by James Matttone
Along with Shoot House, the first free content release in Call of Duty®: Modern Warfare® featured Krovnik Farmland.
This new addition to the Ground War map rotation brings players to a more rural side of Verdansk, dropping them into a massive farm landscape for colossal team fights.
Here’s our intel on the map for those looking to sow seeds of victory down on Krovnik Farmland:
Lay of the Land
Once idyllic, the rural farm land of Verdansk has been pock-marked with evidence of military conflict, and the scars are visible across this Ground War map designed for battles on a massive scale.
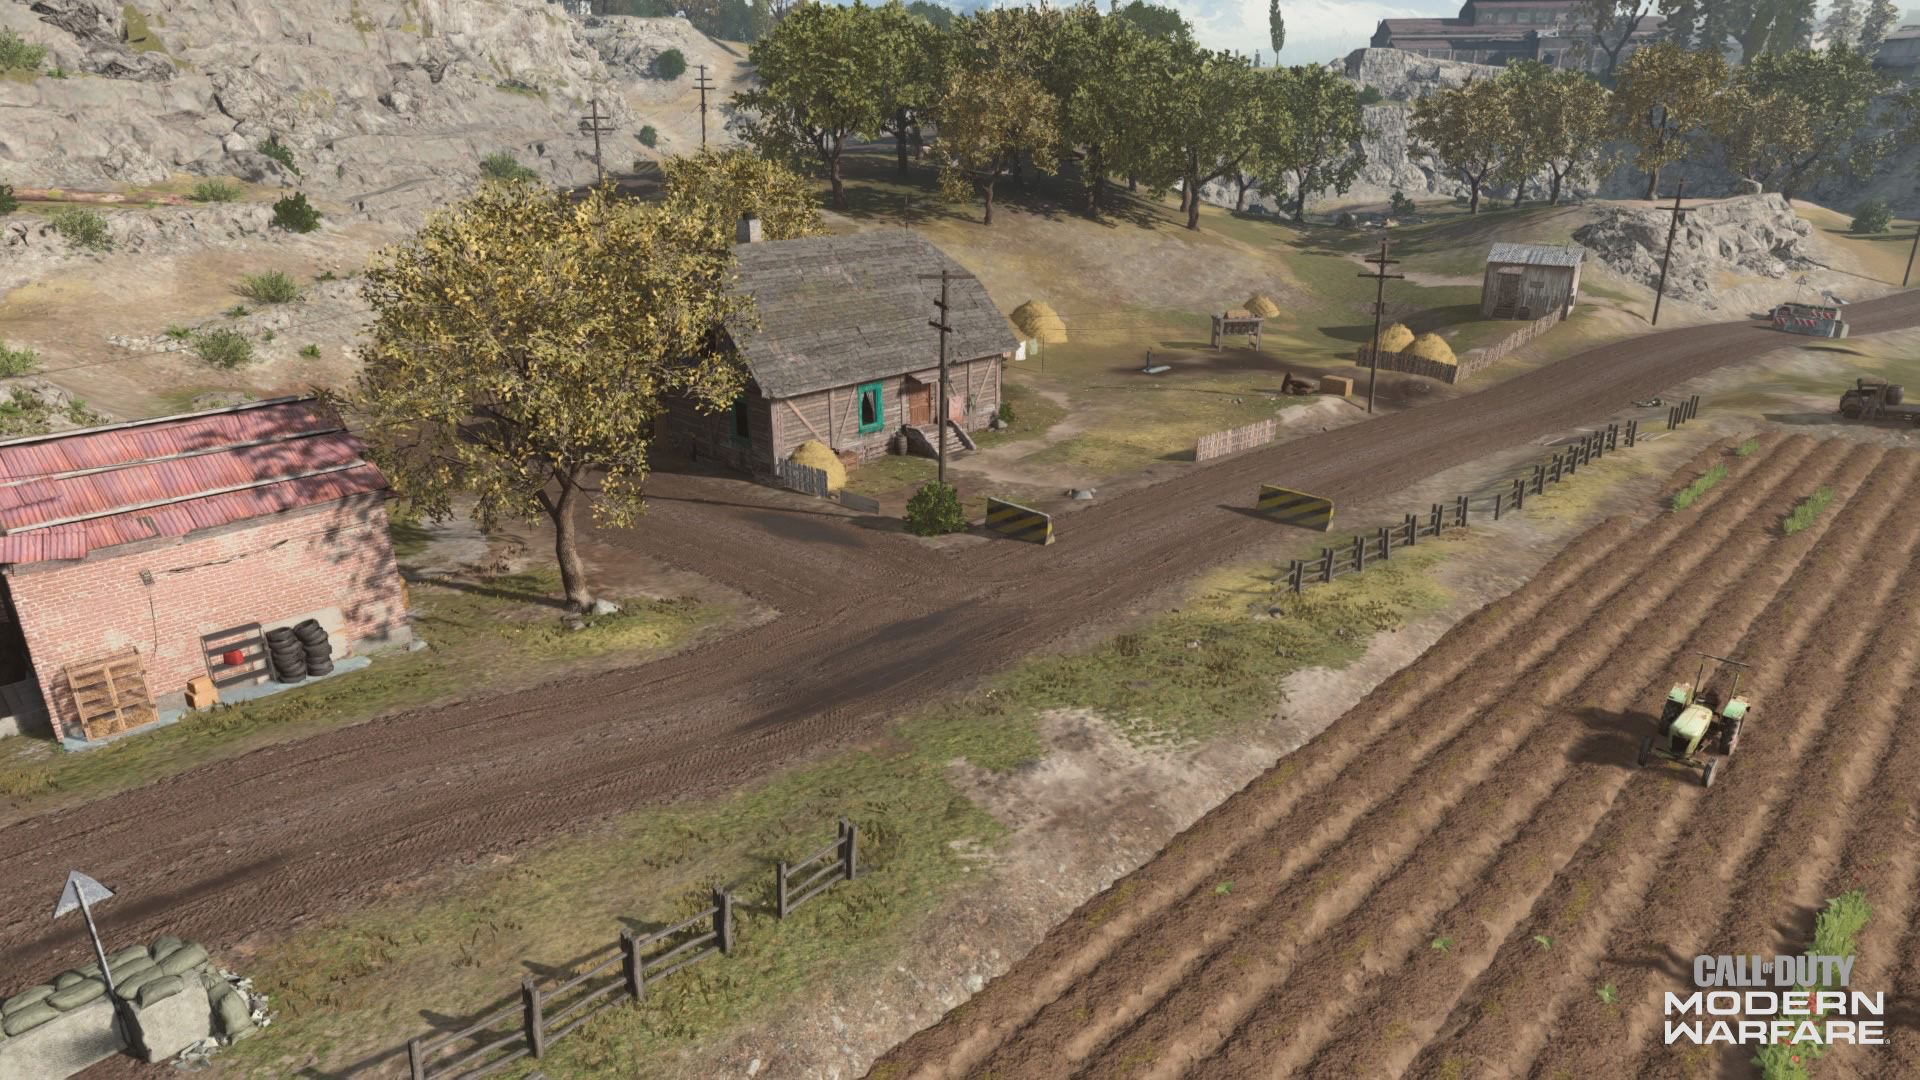
A small farming village was built around the southern end of the Karst River, which provided the proper soil needed for hard working citizens to raise cattle and crops. Although the Krovnik Farmland’s economy revolves mostly around agriculture and cattle herding, there is a lumber mill to the north with a small row of stores outside of it.
Had it not been for the everlasting military conflict, one could describe the Krovnik Farmland as a peaceful respite from the large city to the west.
Speaking of landmarks, the Gulag towers over the area to the south of the farms, with the Old Prison Road acting as the last route one would ride upon until being imprisoned for their crimes.
Map Detail
Our map carousel this time around has only four maps, given that you can only play on the farmland within Ground War. The first image is the plain mini-map, the second is our zone map, the third is the objective map, and the fourth is a top-down perspective of this massive landscape.
Here’s a key to the zones of Krovnik Farmland:
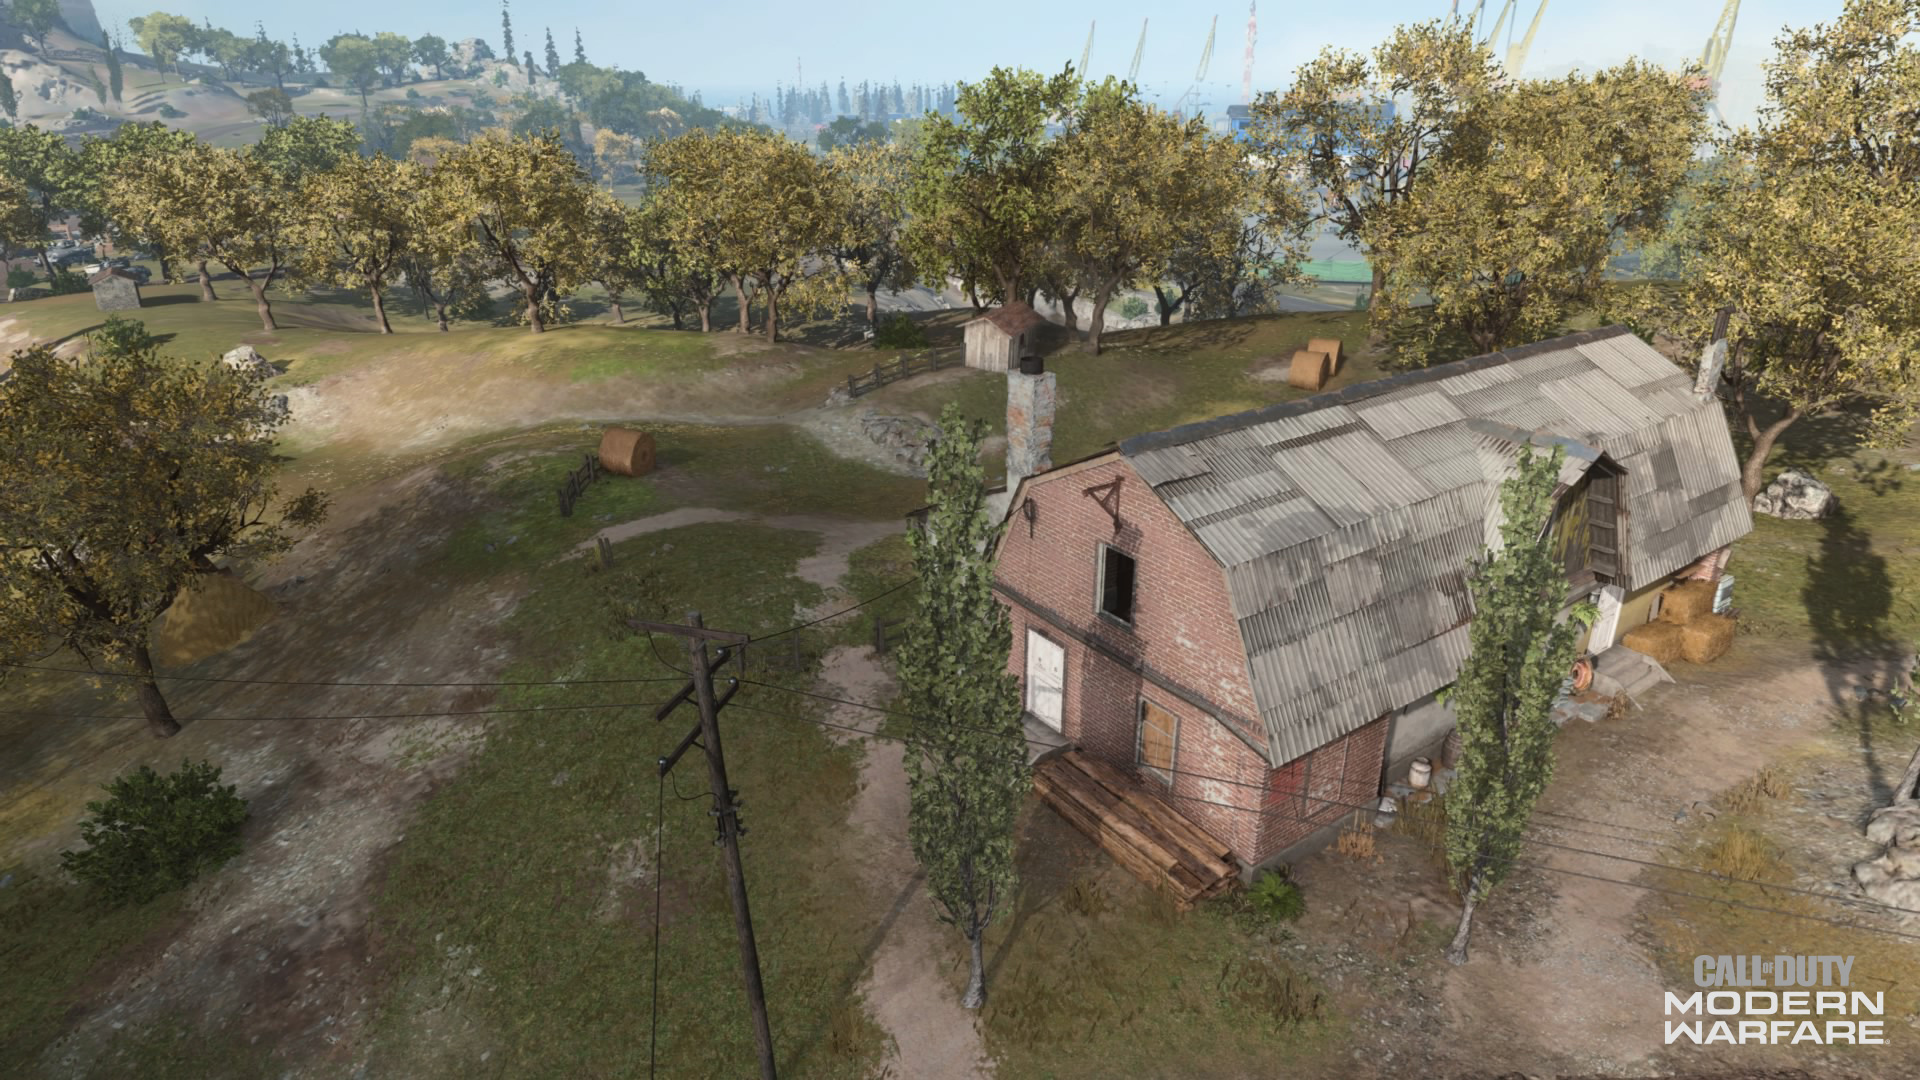
1. Lumber Mill
2. Stores
3. Pastures
4. Windmills
5. Silos
6. Crossroads
7. Orchard
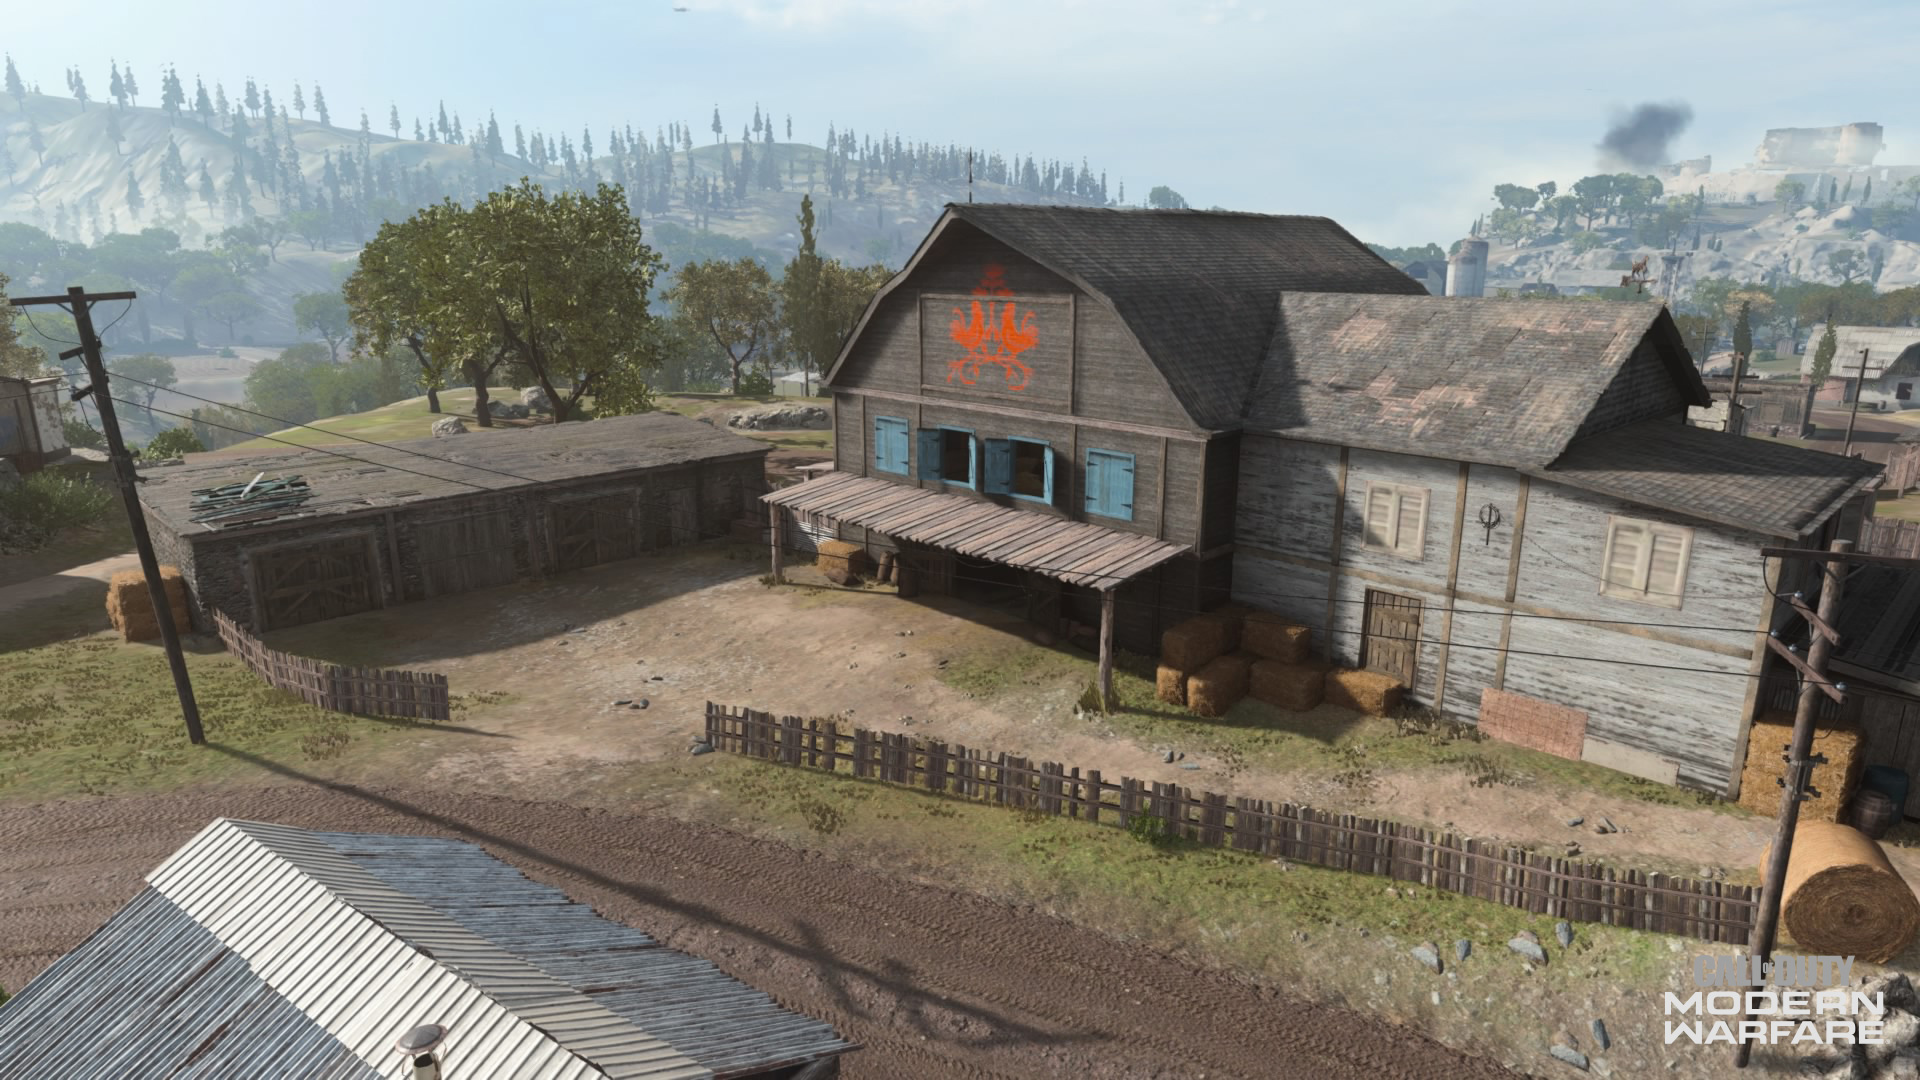
8. Central Barn
9. Crops
10. Launchers
11. Homesteads
12. Hills
13. Hay Storage
14. Cattle Farms
15. Southern Farms
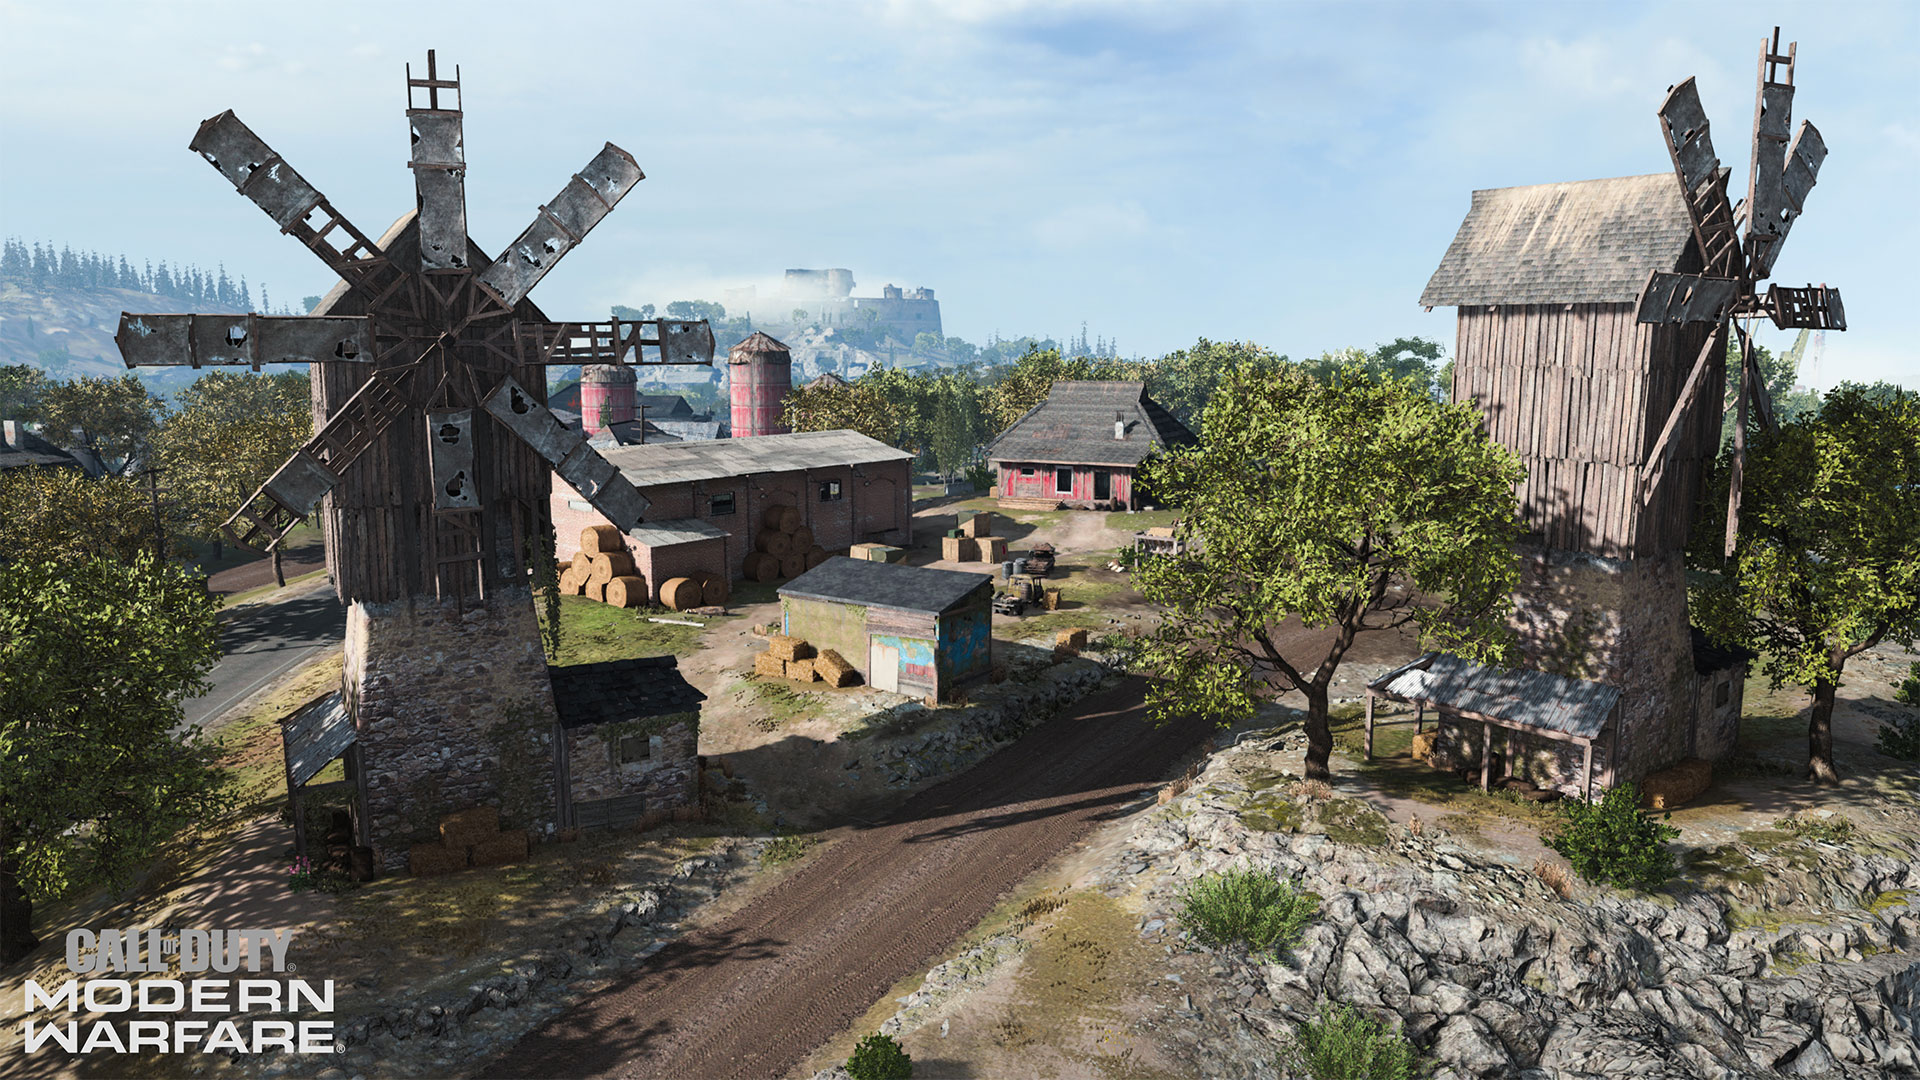
Krovnik Farmland: Map Overview
Krovnik Farmland: Map Zones
Krovnik Farmland: Ground War Objective Locations
Map Zones Detail
1, 2. Lumber Mill, Stores
Krovnik Farmland: Lumber Mill
Krovnik Farmland: Stores
The spawn locations for the Coalition gives them a head start at capturing the E flag over at the Windmills to the southwest.
While the accessible part of the Lumber Mill is nothing more than a dirt lot – Gorengard Lumber Factory is considered out of bounds here – the Stores offer a bit of verticality. A sniper perched up on the roof of the white gun store can get a solid view towards the Windmills, which could help the Coalition turn the tide during a DEFCON (all five flags lost to the other team) situation.
Other than that, the Coalition’s HQ areas are where you can grab a vehicle and get into combat as quickly as possible.
3. Pastures
Skipping out on capturing the E flag from your Coalition base? Or, if you are on the Allegiance, maybe you want to flank Coalition folk until the cows come home?
This is the tactical advantage that mastering the Pastures provides.
While part of it is considered restricted territory for Coalition soldiers only, there is enough room for conflict to take place. However, entering the Pastures as an Allegiance soldier carries a fair share of risk: there isn’t much cover outside of natural environment pieces like trees or rocks.
Only a few small shacks allow for some structure to this otherwise natural area, but it would be safe to assume that Coalition soldiers have these locked down well into a Ground War game.
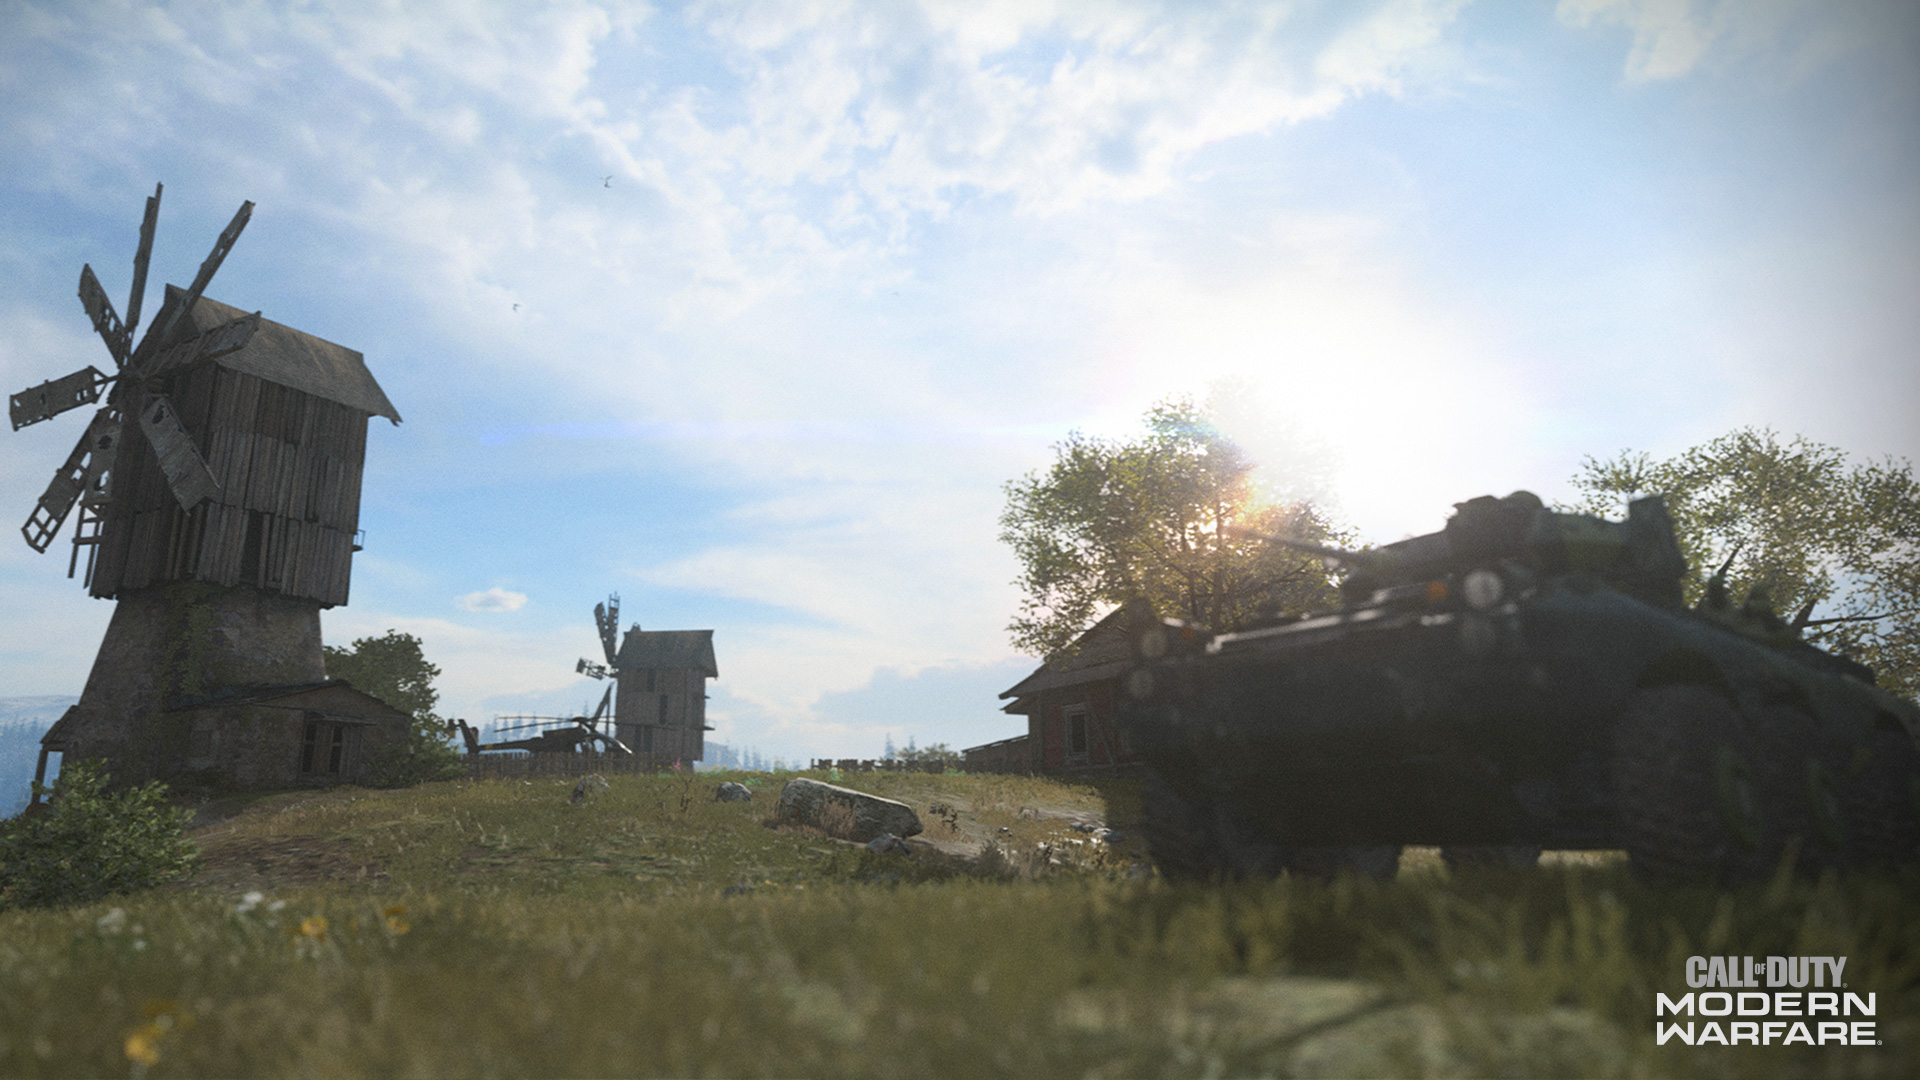
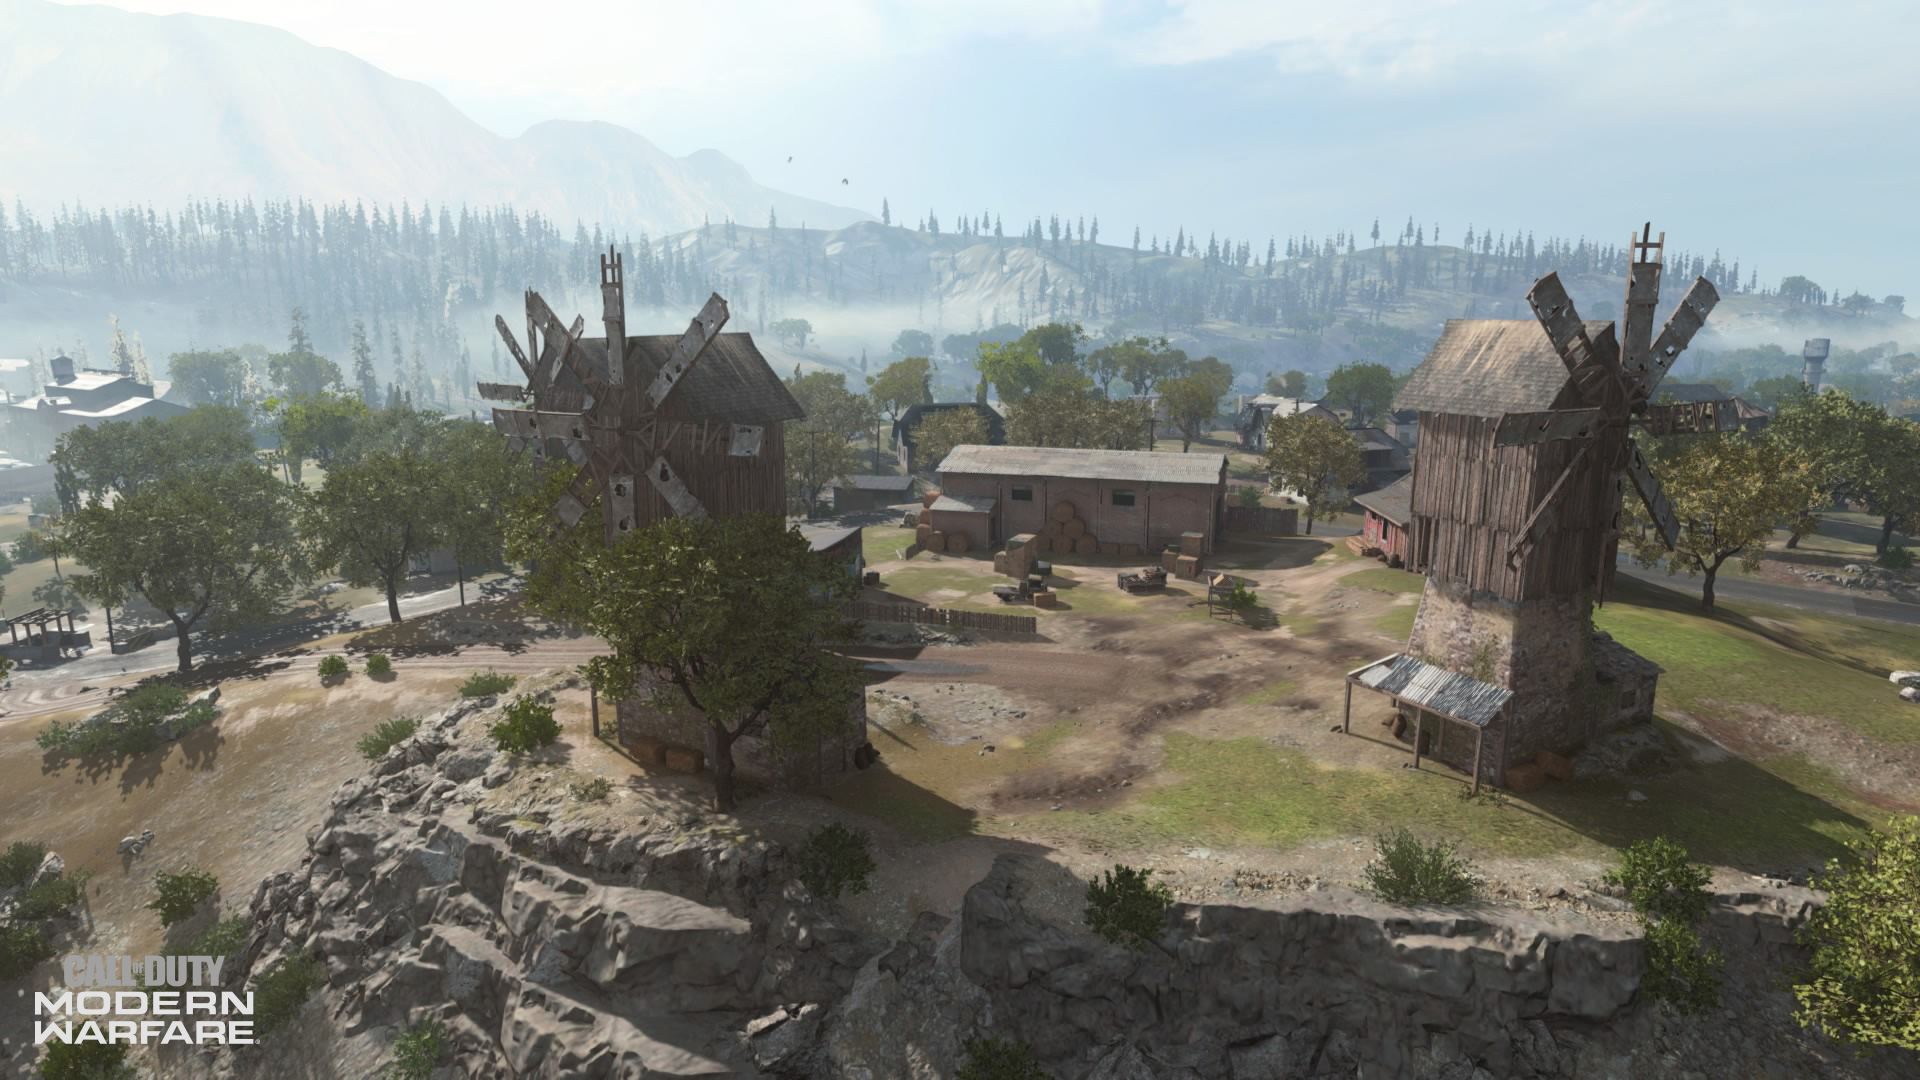
4. Windmills
These three windmills are far from operational, with their interiors locked shut and their wooden structures nearly falling apart. However, they are still considered key landmarks for Krovnik Farmland and mark the location for the E flag.
This flag sits among some old supplies for farming and an ammo stash, which all provide some cover. As one would expect from its location, this flag should be easy for the Coalition to hold and difficult for the Allegiance to steal. If the Allegiance capture the E flag, then they may want to turn attention to the Northwest and watch for attackers from the Coalition’s HQ.
Although you cannot climb up the windmills, there is a large brick building that provides great sightlines over this area as well as the Silos to the southeast. Within this building, a short-range weapon could counter a sluggish sniper who may take residence on the roof or on the second floor.
The other two buildings here, a red house and a blue shack, do not have as much verticality, but may find use for those defending the flag with close-quarters builds.
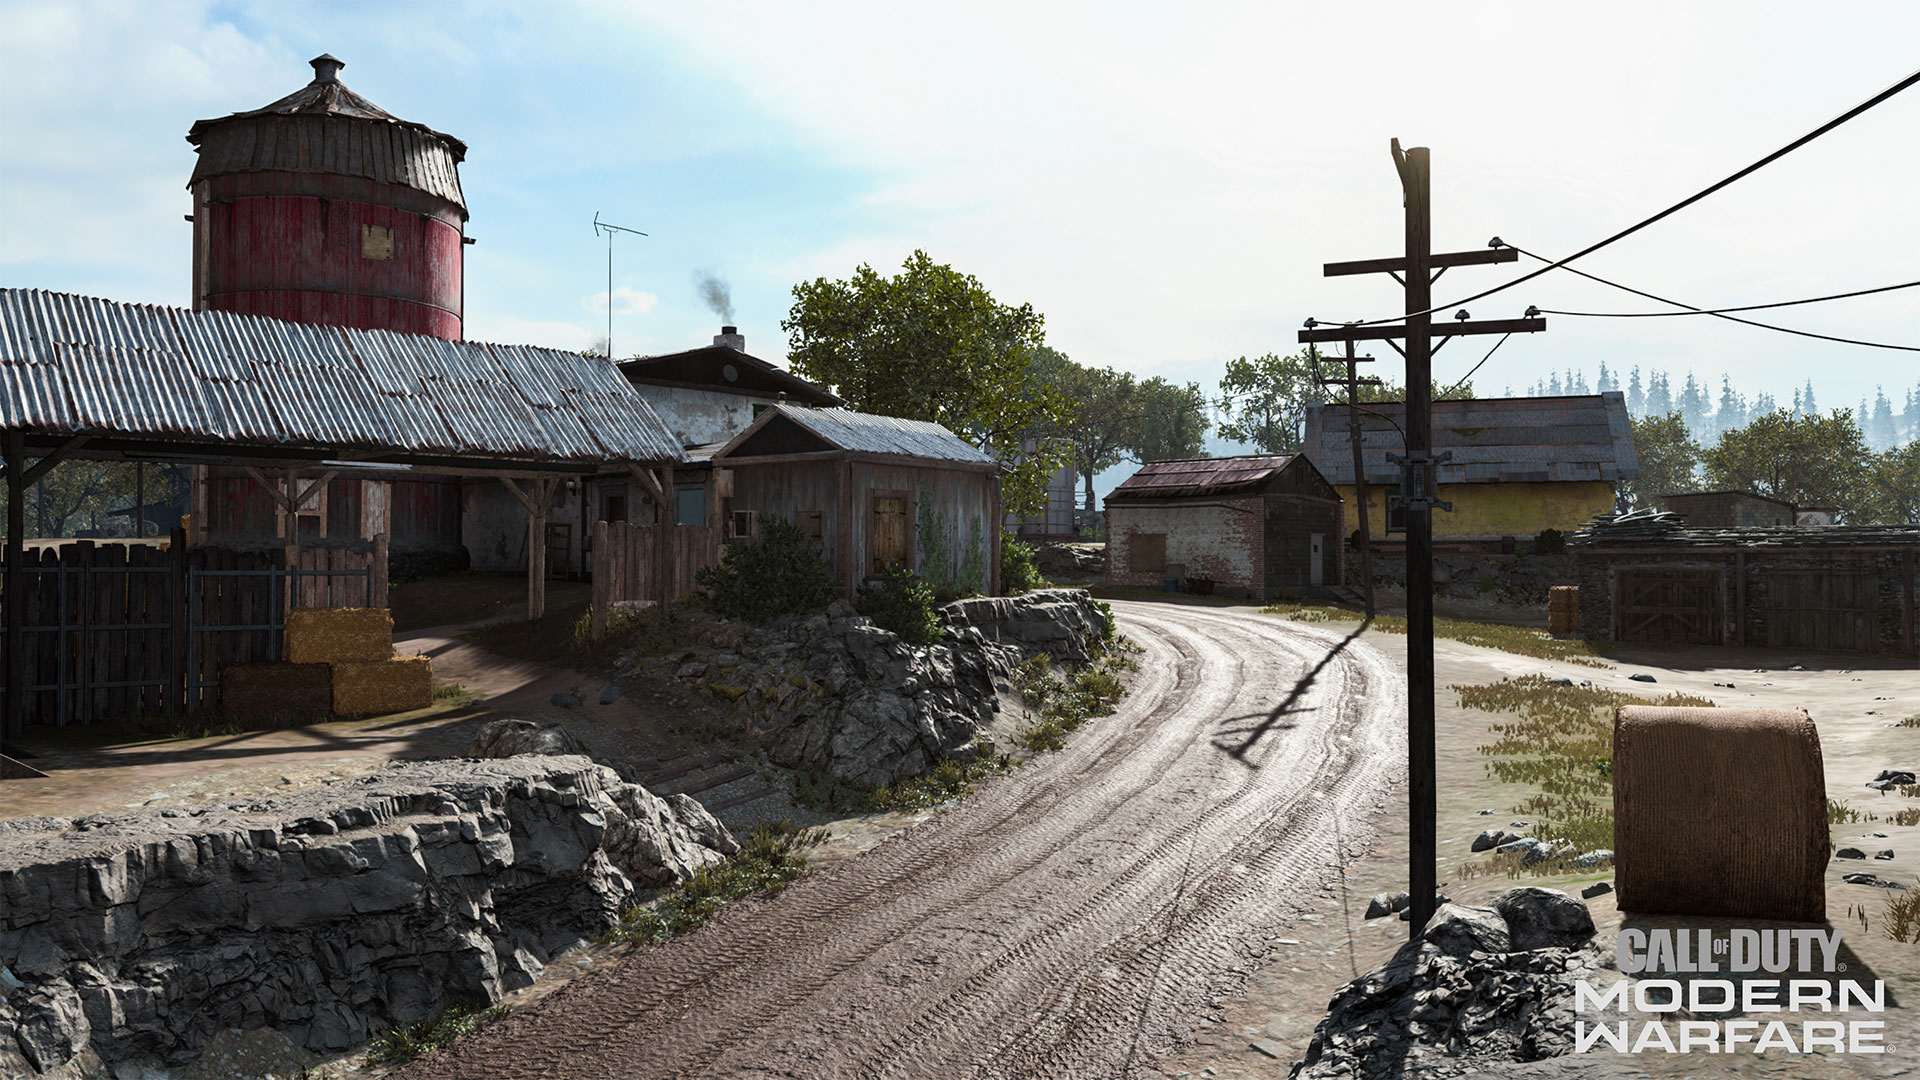
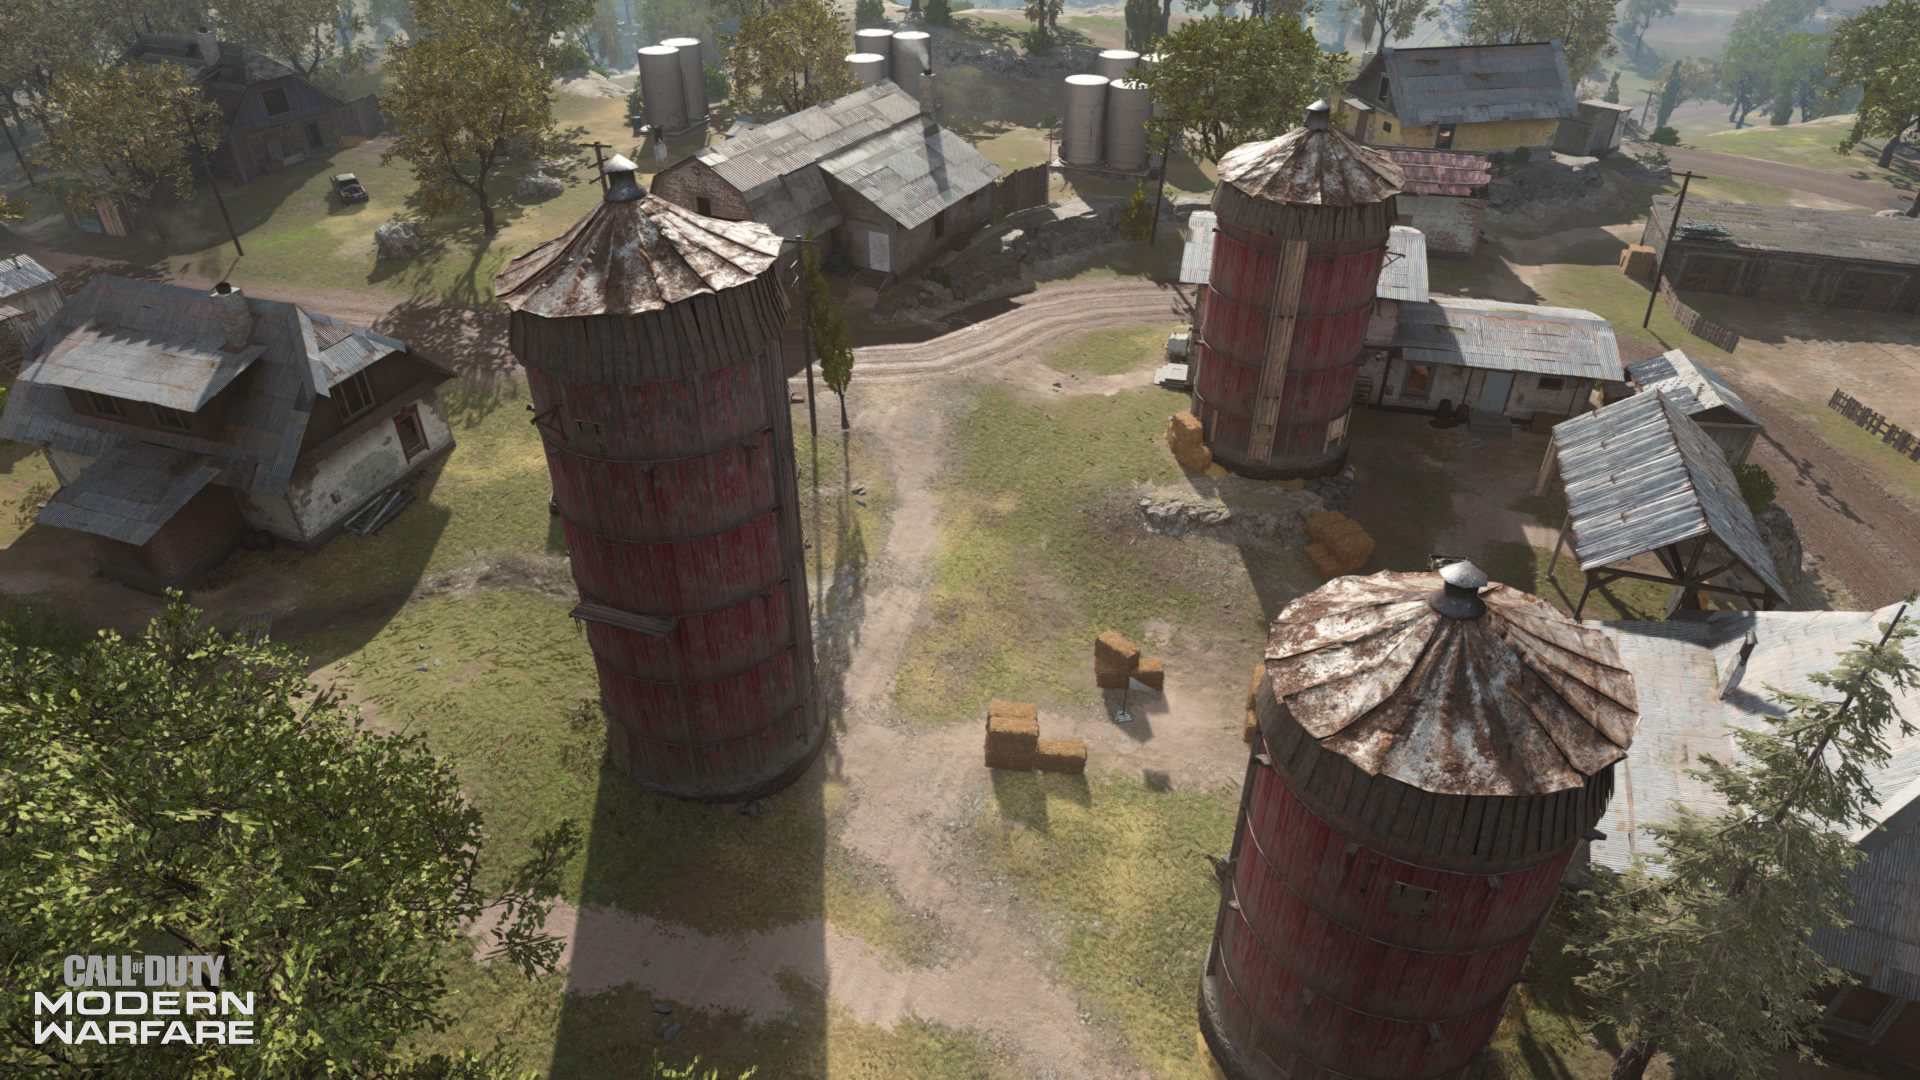
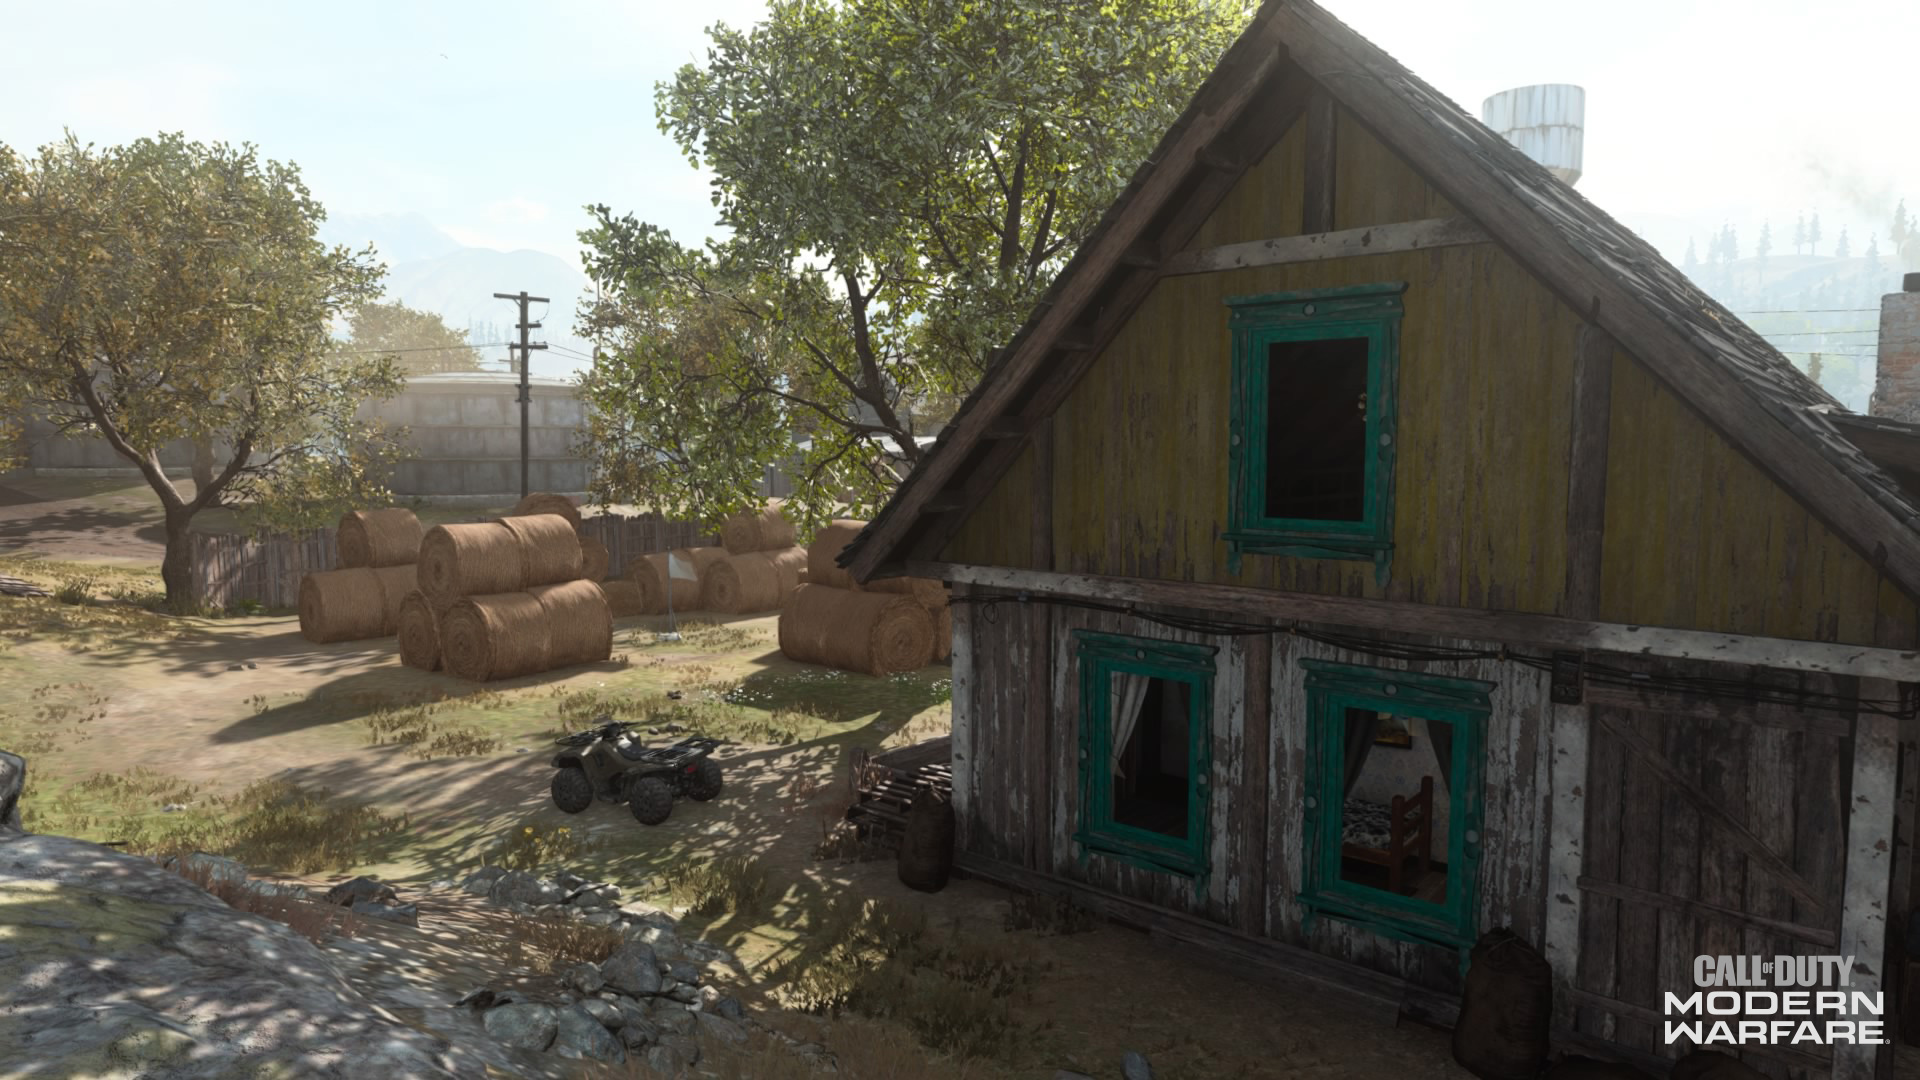
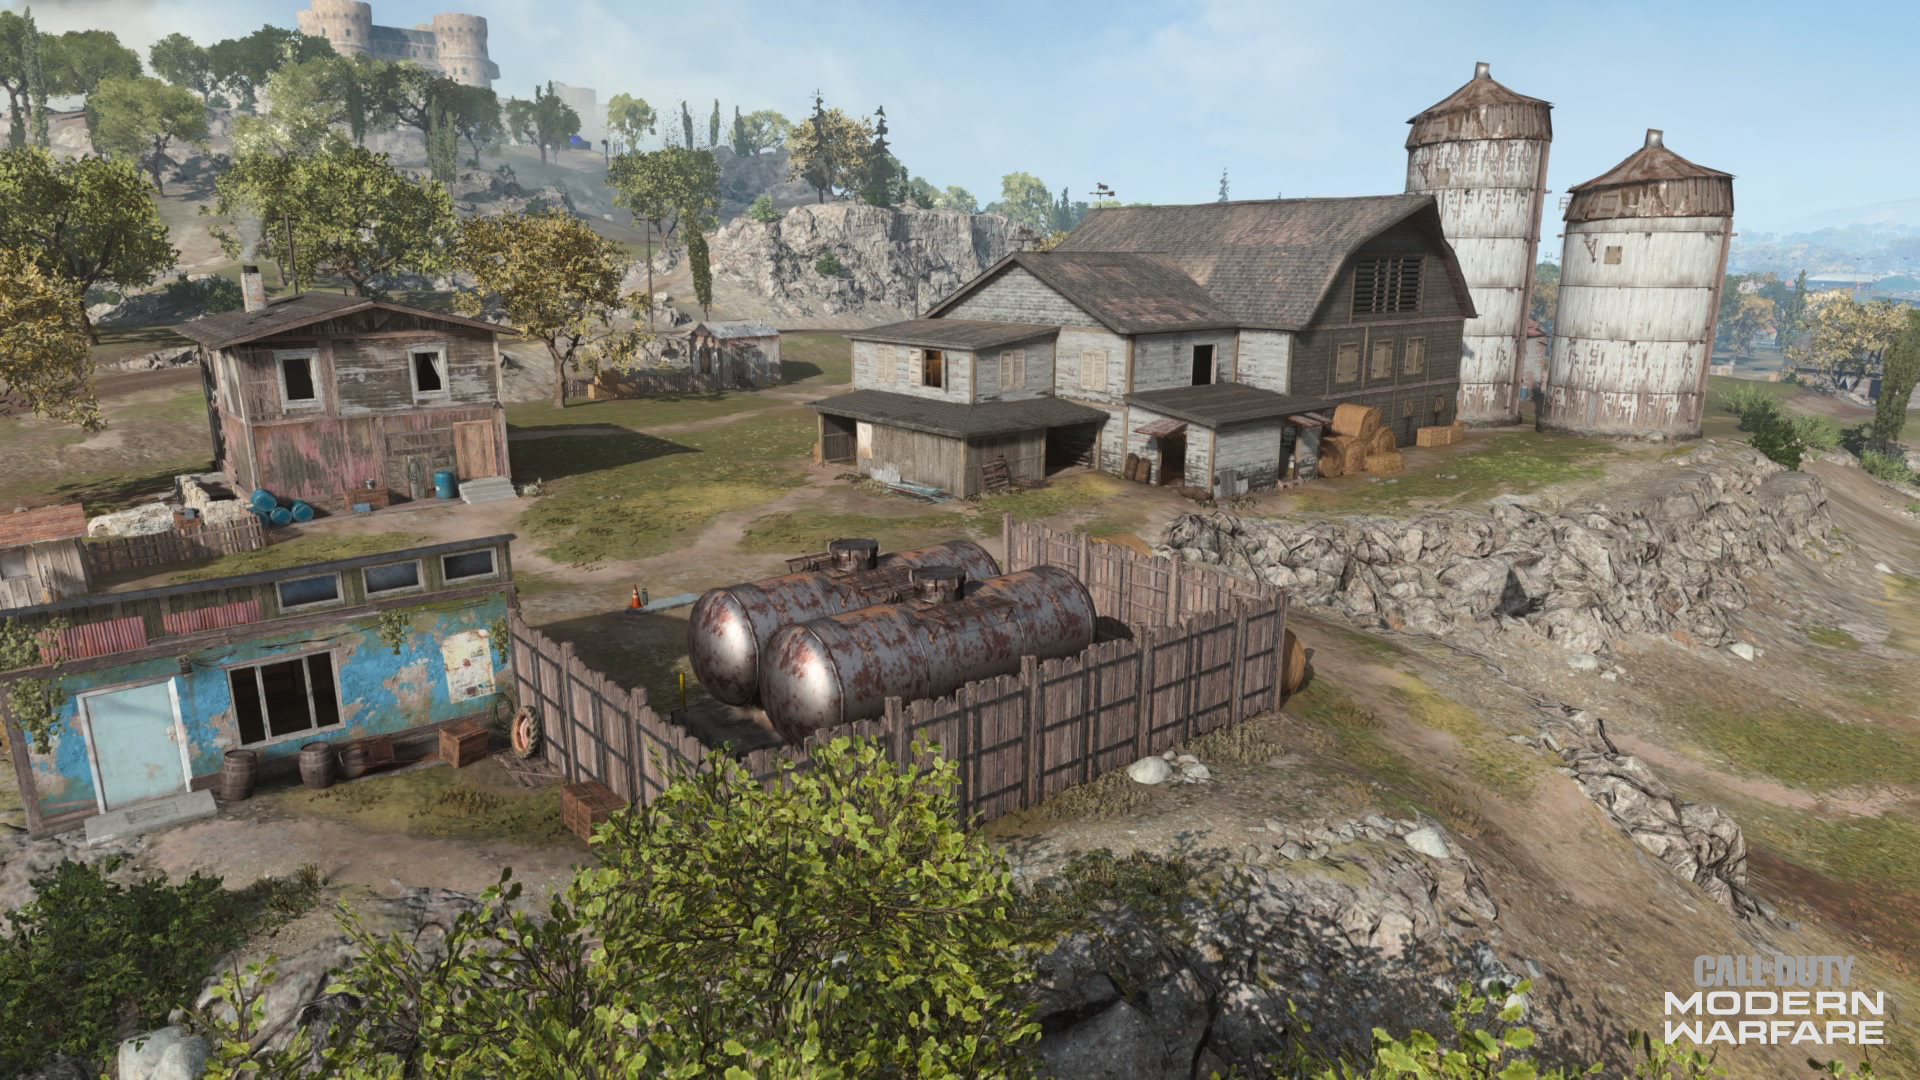
5. Silos
Sitting only 108 meters away from the Windmills’ E flag, the Silos hold the D flag for the taking.
Those looking to play the objective might use the hay bales for cover at first, but more experienced players will realize that hugging the silos will also count towards capturing the objective. Keep this in mind when trying to search for someone contesting this flag.
Within this area, close firefights could take place between those fighting for the flag. However, the sheds and houses here could also serve as sniping positions.
Coalition folk may wrest control of the area’s two northern-most houses first, then proceed to hole up on one of the shed’s tin roofs or in the other house right next to the flag. All these areas offer good sightlines over the area, with the latter structures to the south giving visuals over the Central Barn.
Technically, the smaller metal silos that split sections C4 and D4 on your mini-map and the houses near it count as part of the Silos area. Here, flankers can make use of these structures to get crossfire over to the objective or even towards the Windmills, as well as mosey over to the Central Barn.
6. Crossroads
Outside of the Pastures, a few homes formerly owned by farmers sit right on Farm Road 7C that defines Krovnik Farmland’s eastern border.
You may find yourself here as a flanker on foot or in a vehicle. Luckily, for those who lost their set of wheels, an ATV may spawn around here to help you get back on the road.
The Crossroads shares a disadvantage with the rest of this map’s eastern border: it is below a rocky ridge which most of the Krovnik Farmland sits on. So, not only will you have to watch out for vehicle traffic and potential enemies in these houses, but also potential snipers that may be watching from the ridge.
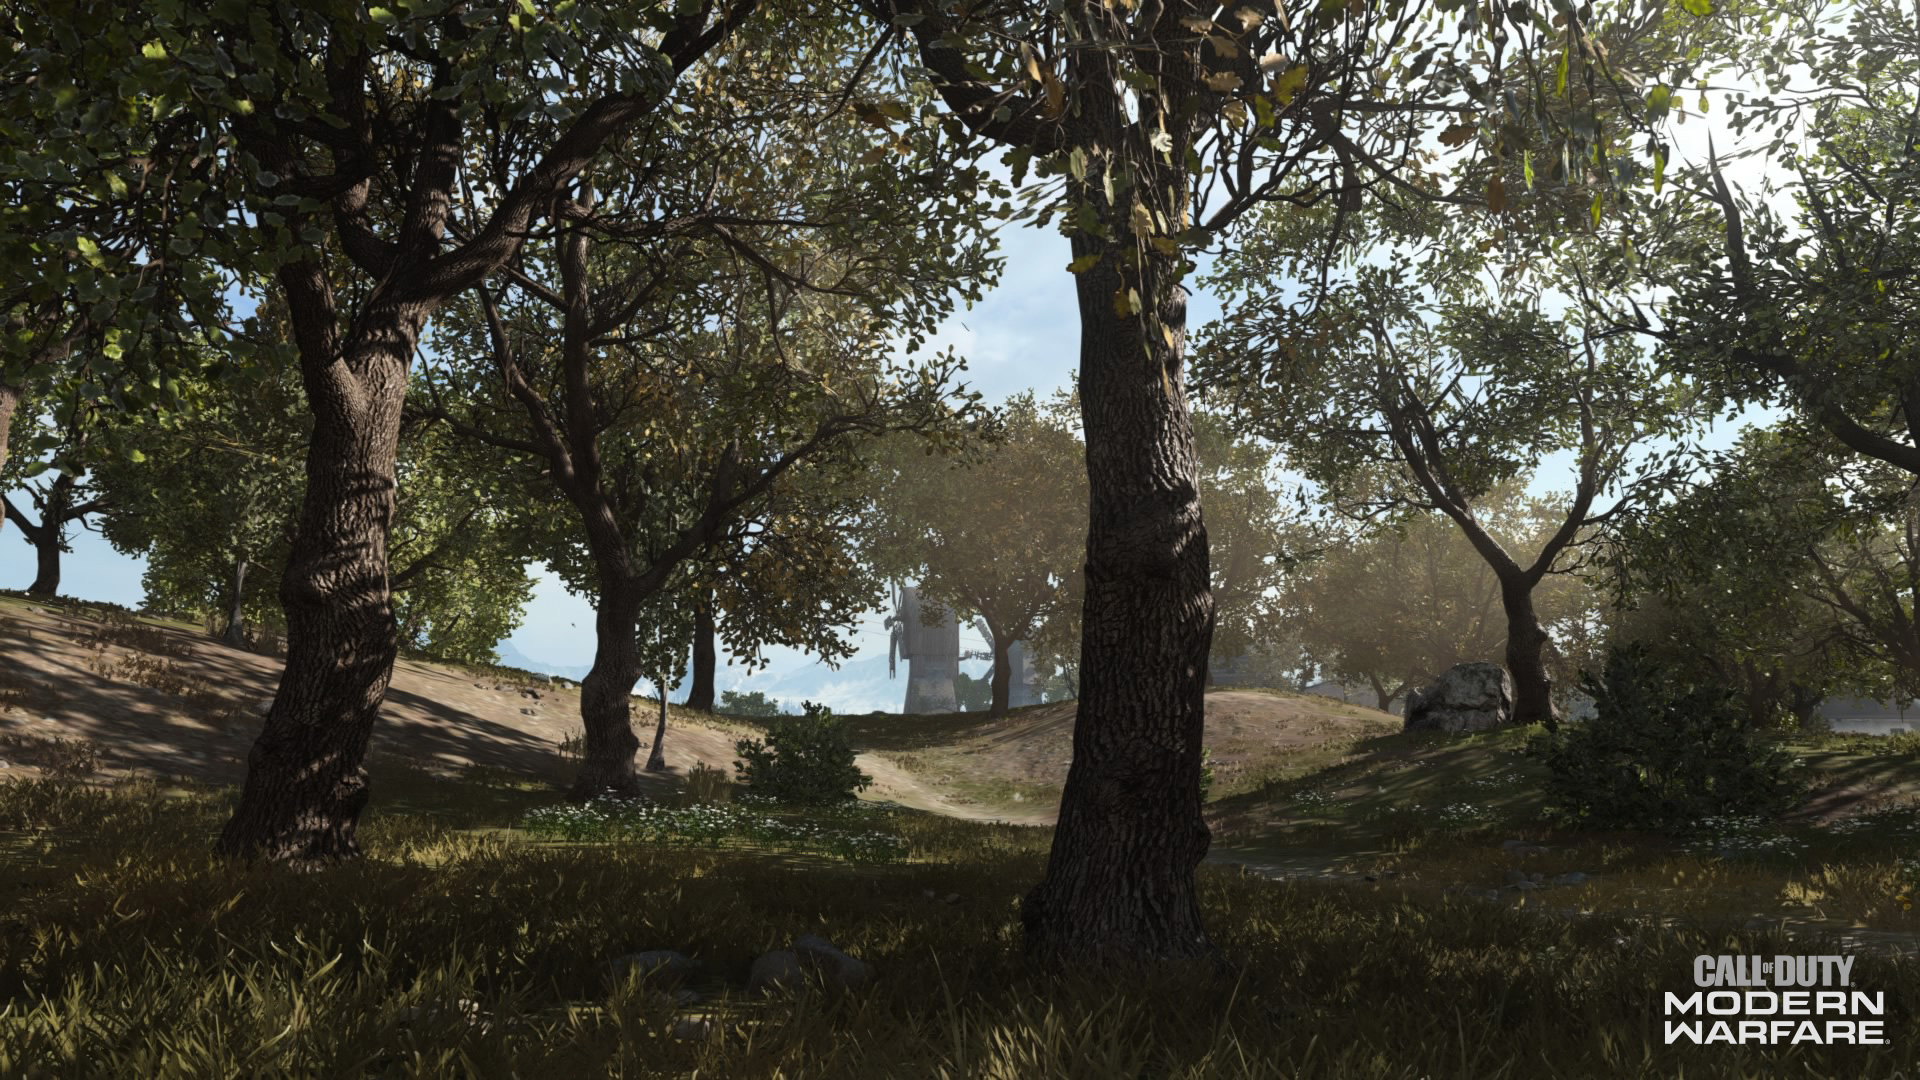
7. Orchard
Beyond the Windmills, dozens of trees sit on a hilly terrain with a road cutting through the otherwise picturesque landscape.
The Orchard lies next to the Silos and Central Barn areas, which hold plenty of objective importance. By proxy, that makes this area important despite it not having many structures.
The road could be used by larger vehicles to flank the opposition, while ATVs and foot soldiers may want to take to the trees for cover. The natural inclines can also allow for long-range weapon users to aim down towards the Silos, Central Barn, or other areas to the south.
However, despite the canopy that the trees provide, travelling for too long may expose you to enemies with more cover from adjacent areas. As always, be cautious when running out in open spaces for an extended period, even if trees can block a few bullets.
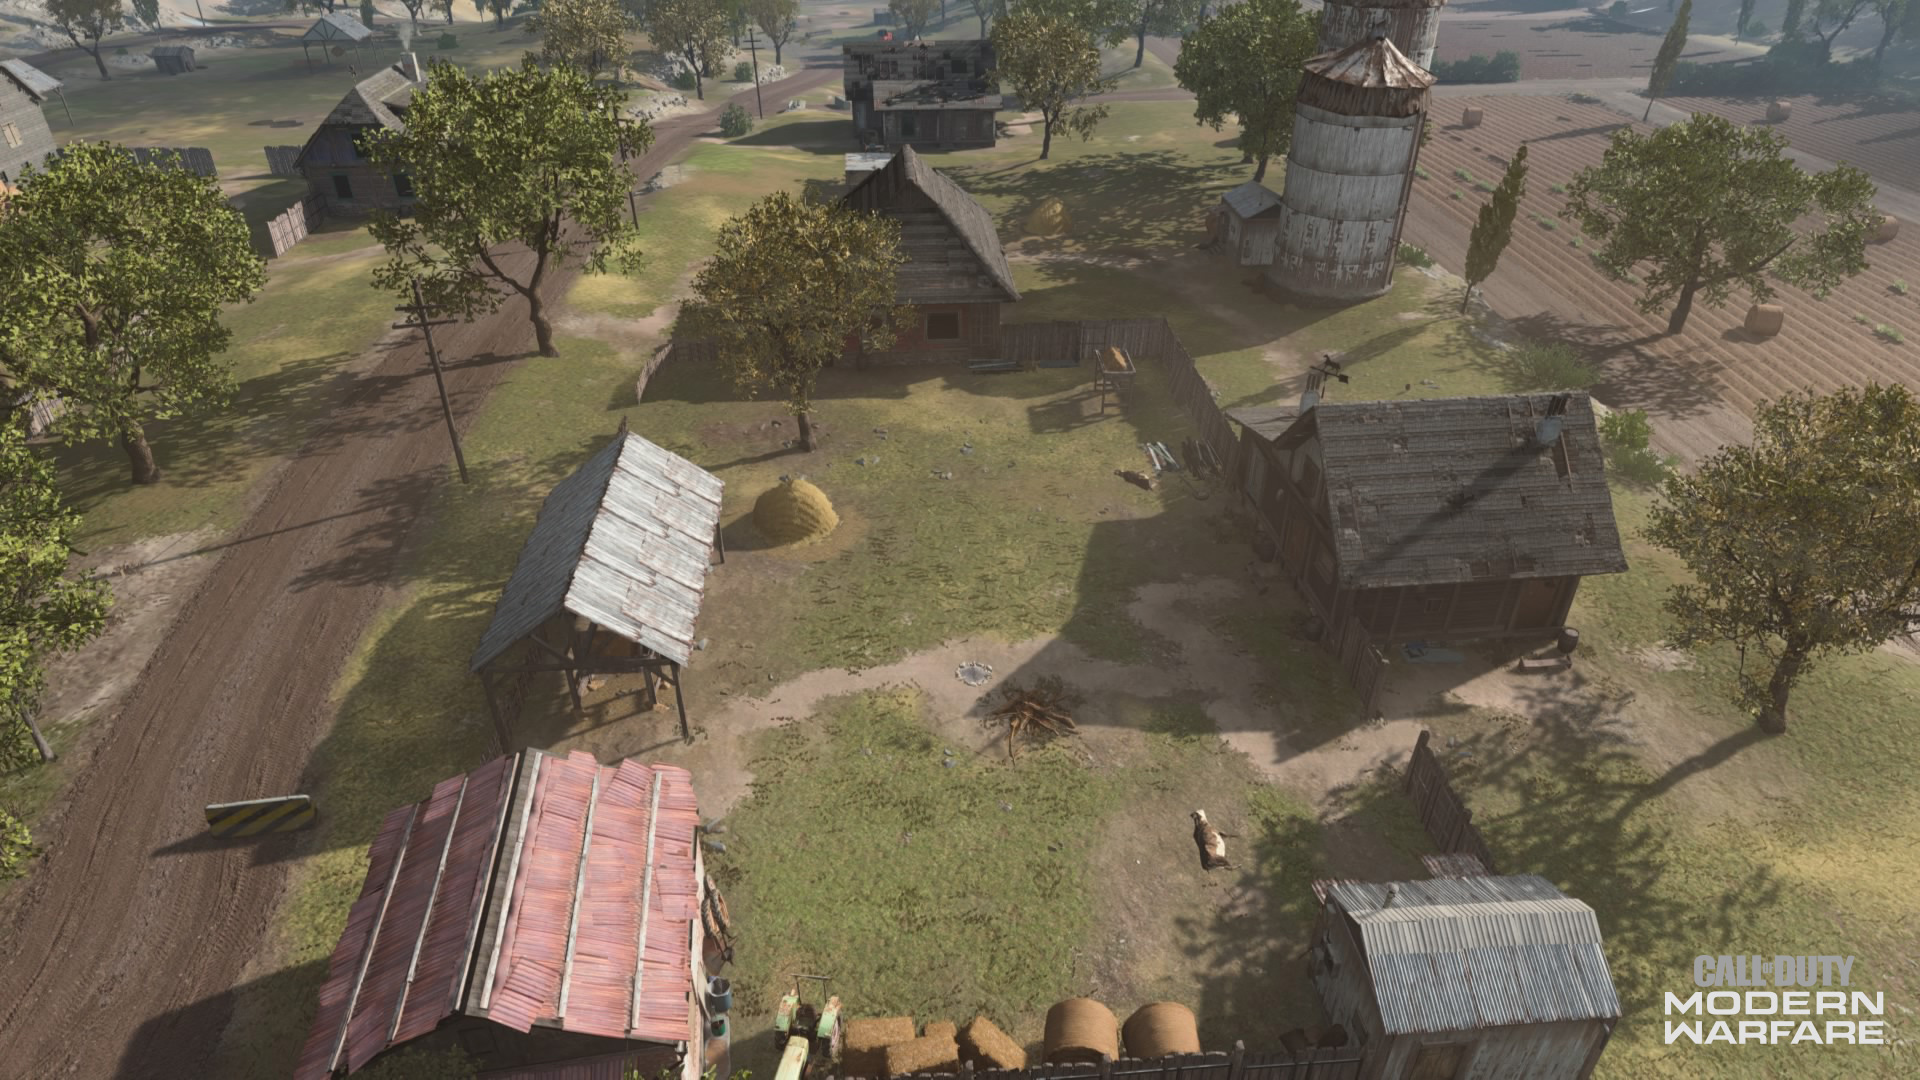
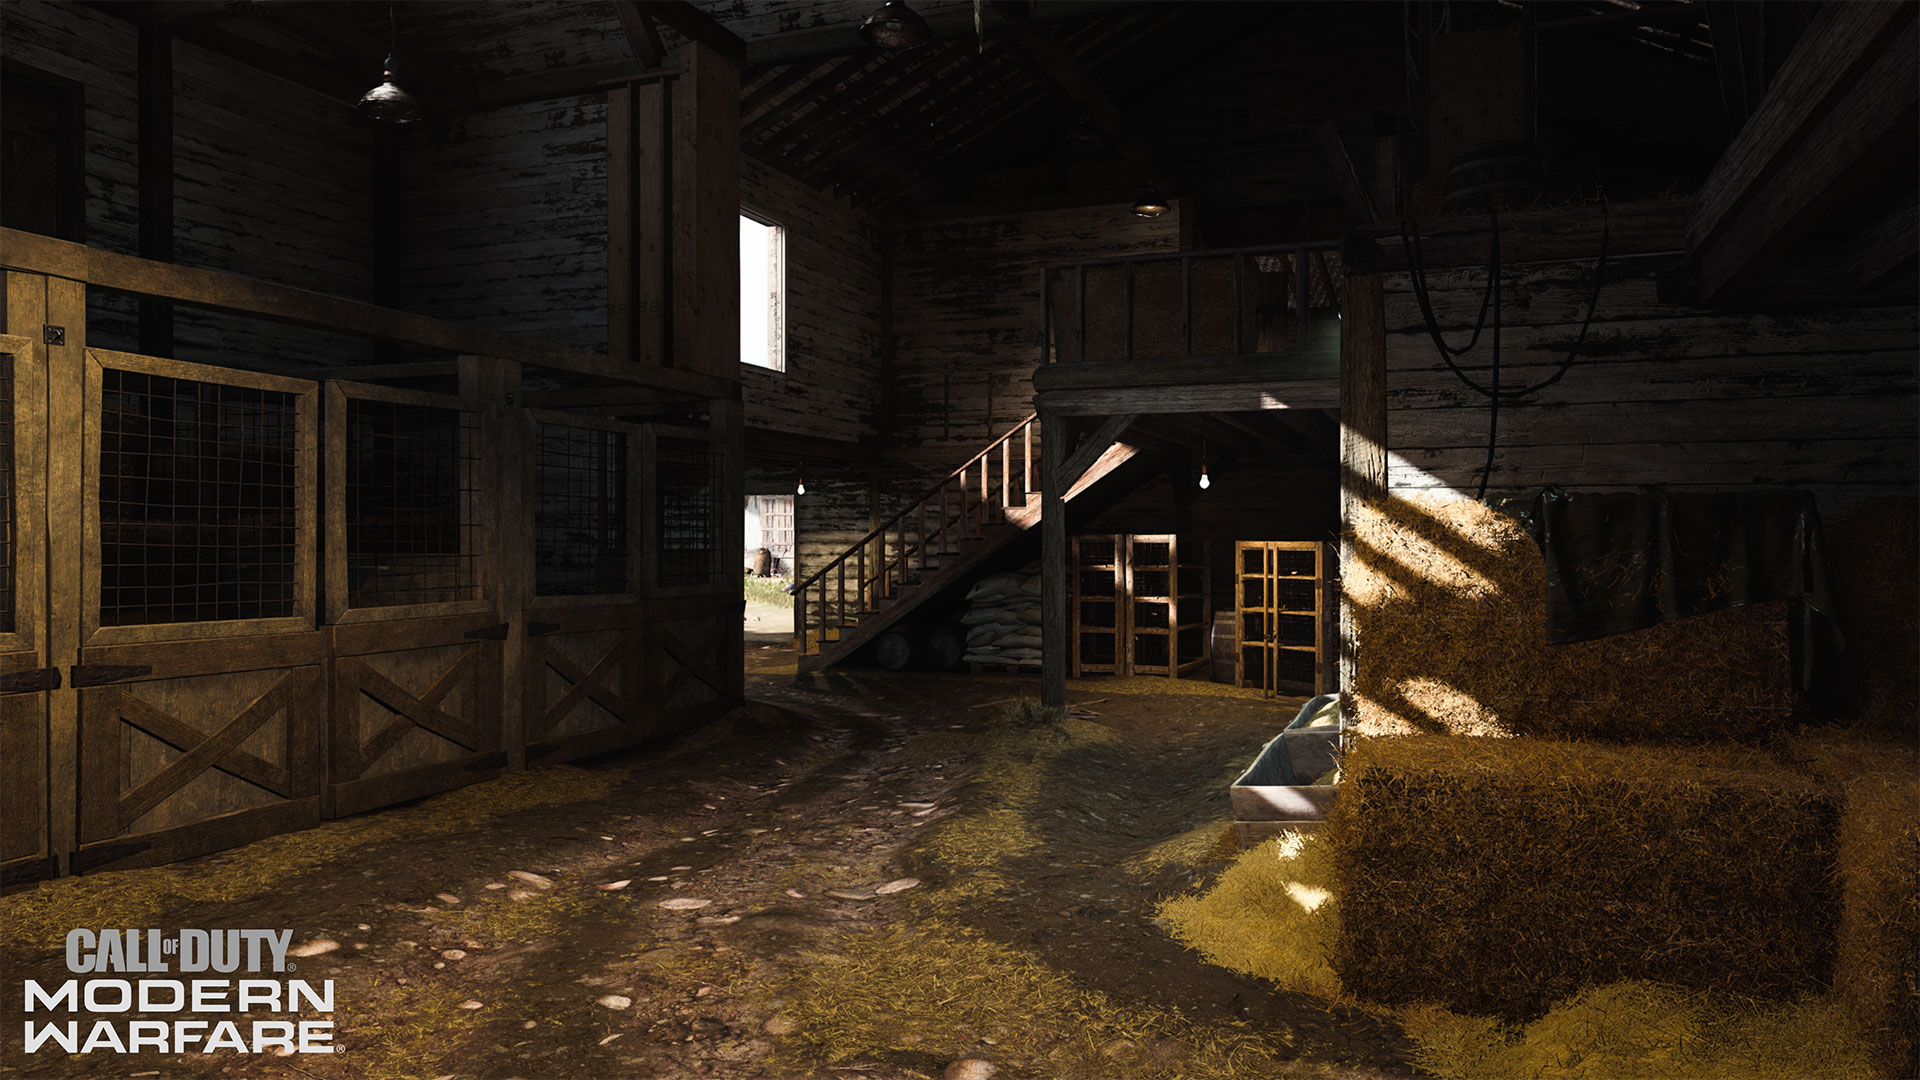
8. Central Barn
Krovnik Farmland’s dead center is a large wooden barn with the C flag inside.
Given its location and objective importance, this could become one of the most chaotic areas of the map.
Its wide entrance facing north is big enough to fit cannon fire through, so charging into here with a vehicle could be a smart decision. The barn itself can be used as a haven for sharpshooters, as the second floor and most of the roof is accessible and gives decent sightlines of the surrounding area.
Then there is the ground floor and the objective area itself; here, close quarters builds can find plenty of cover to face off against likeminded enemies or squash pesky snipers.
The sum of these parts all equal a dangerous area to play in, but it’s a necessary one to visit if your team wants to conquer the C flag. Consider all options before visiting the Central Barn, including using sightlines from surrounding areas to take out sharpshooting threats before charging forward.
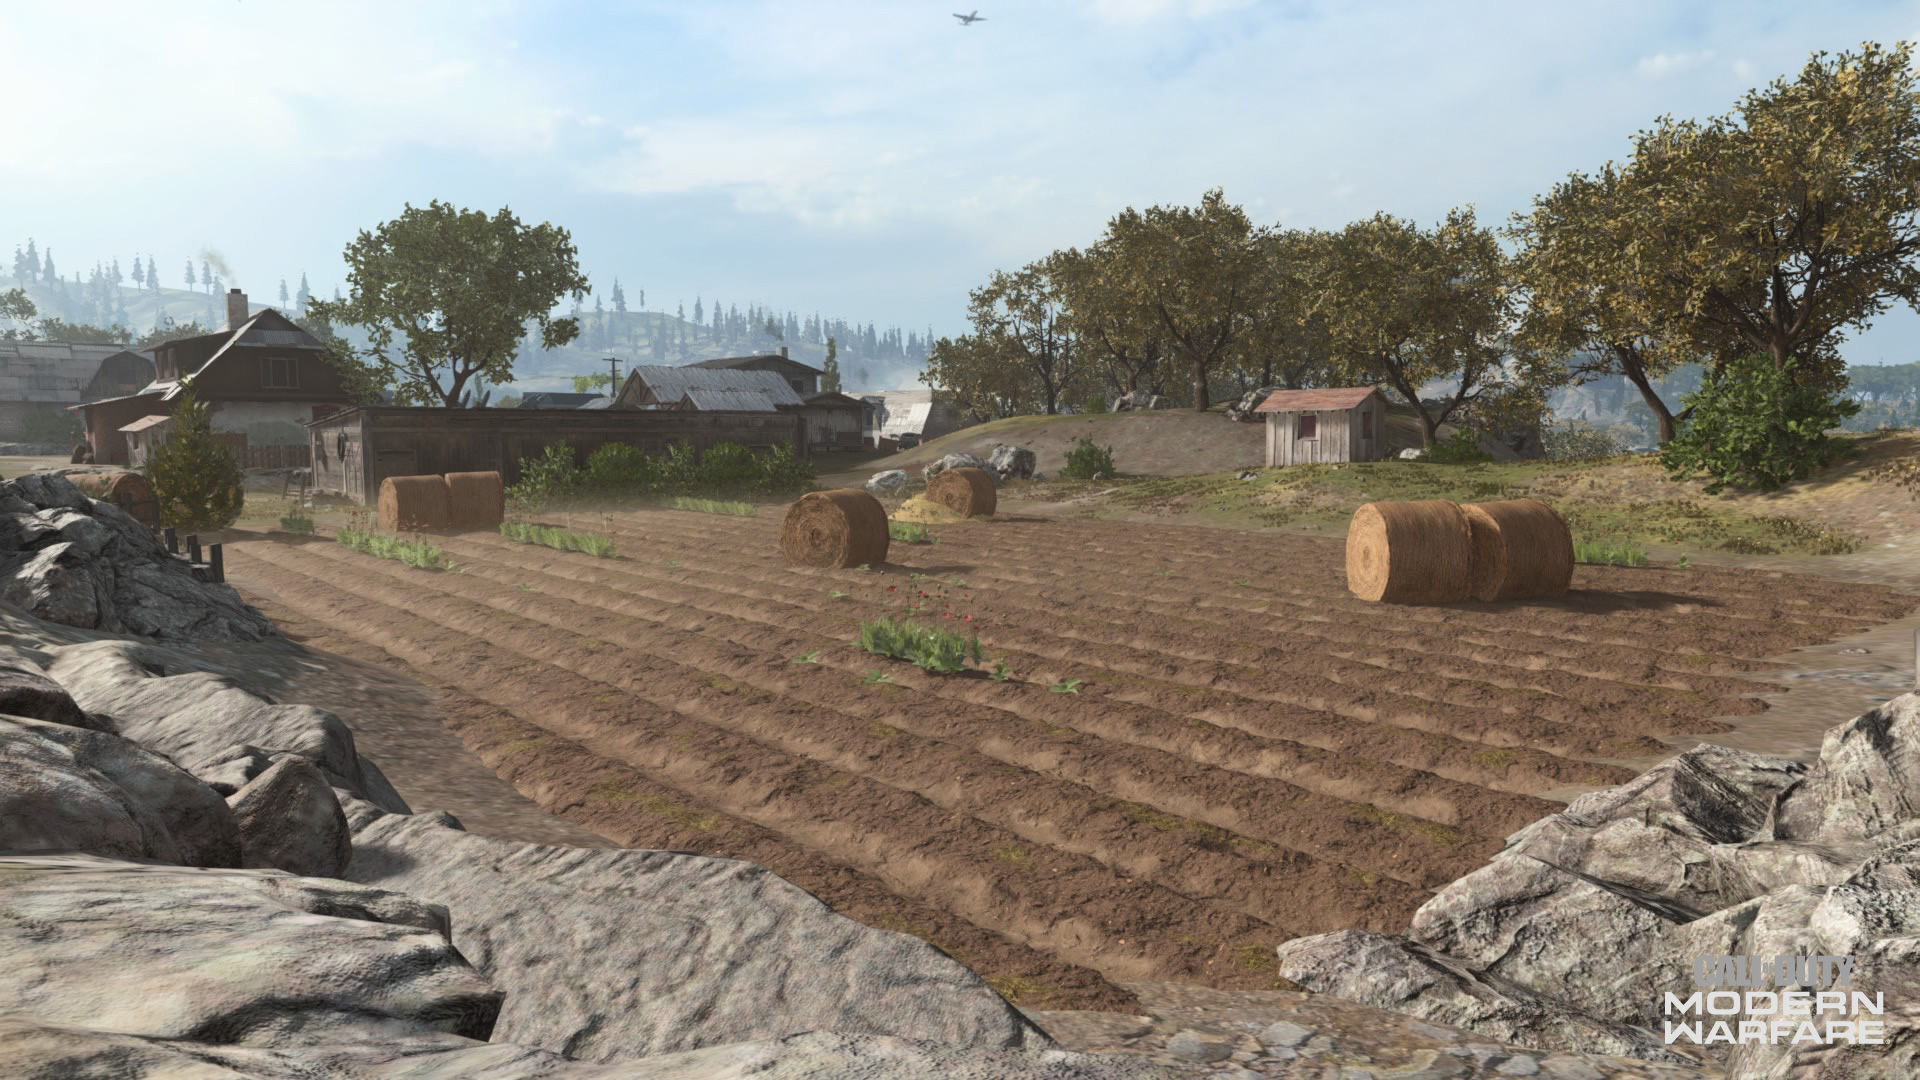
9. Crops
Much like the Orchard, Crops can be described as an area best used for flanking, given that there are no objectives here but two areas with flags are nearby.
The western road cuts through here from the Orchard and might be used by large vehicles looking to cross the map with less resistance compared to a straight shot through the center.
Below the road, the crop field has a long wooden storage shed that can either be mantled up on for better sightlines out of the area, or for cover against those who will want to attack flankers coming from here. This might be your lone source of serious cover separating you from the B flag at the Launchers, so use it wisely.
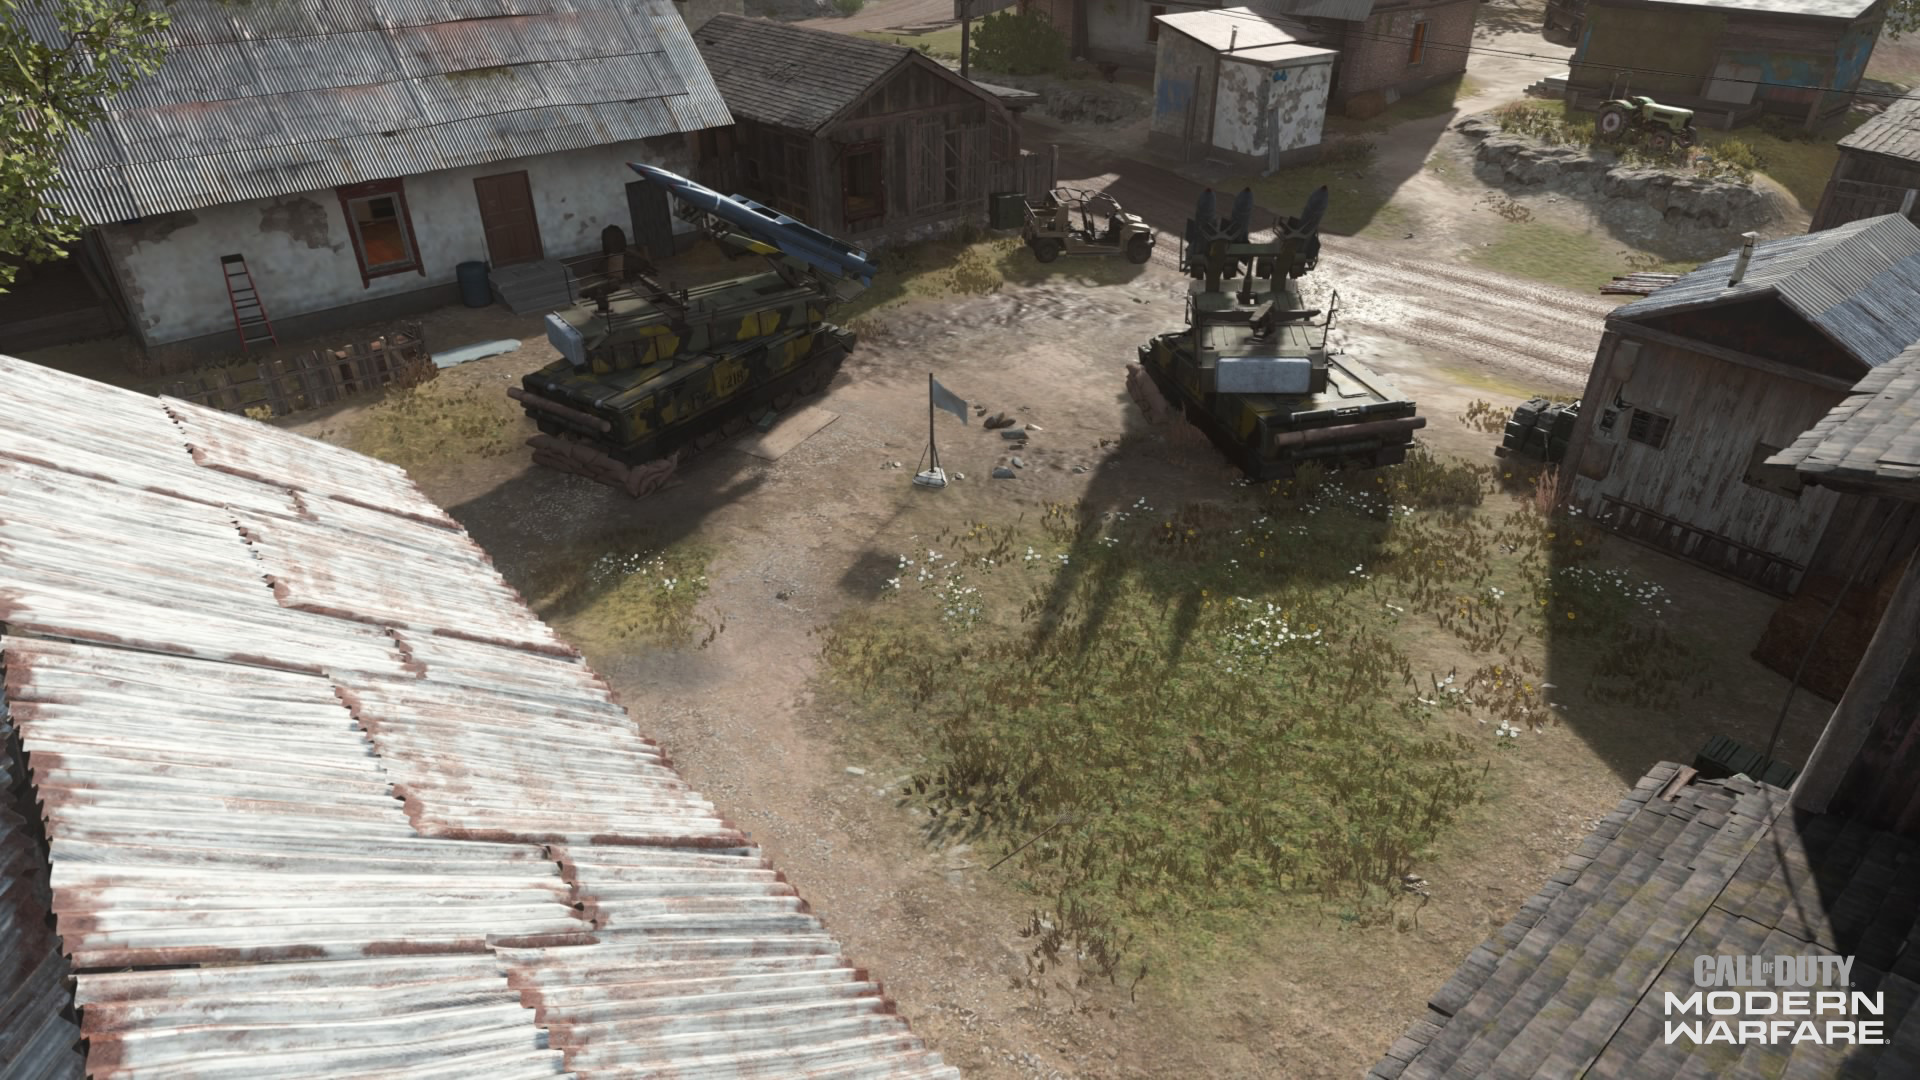
10. Launchers
The smallest area in Krovnik Farmland holds the B flag, one that is easy for the Allegiance team to capture at the beginning of a match but could be frequently contested by Coalition members pushing down from the north.
Two giant rocket launchers here look out of place in this otherwise picture-perfect farmland, but are nevertheless your source of cover while capturing B.
There are also two houses here that can either be used to defend this flag, or as leverage against snipers from other areas to the north. The southern house, which is partially split into the Hills area, has a basement section where one can take refuge to put down a Munitions Box, pilot a Killstreak, or allow teammates to respawn.
Note that when invading the Launchers; if you think you are safe here, be sure to check both houses – including the basement – to wipe out any potential reinforcement problems.
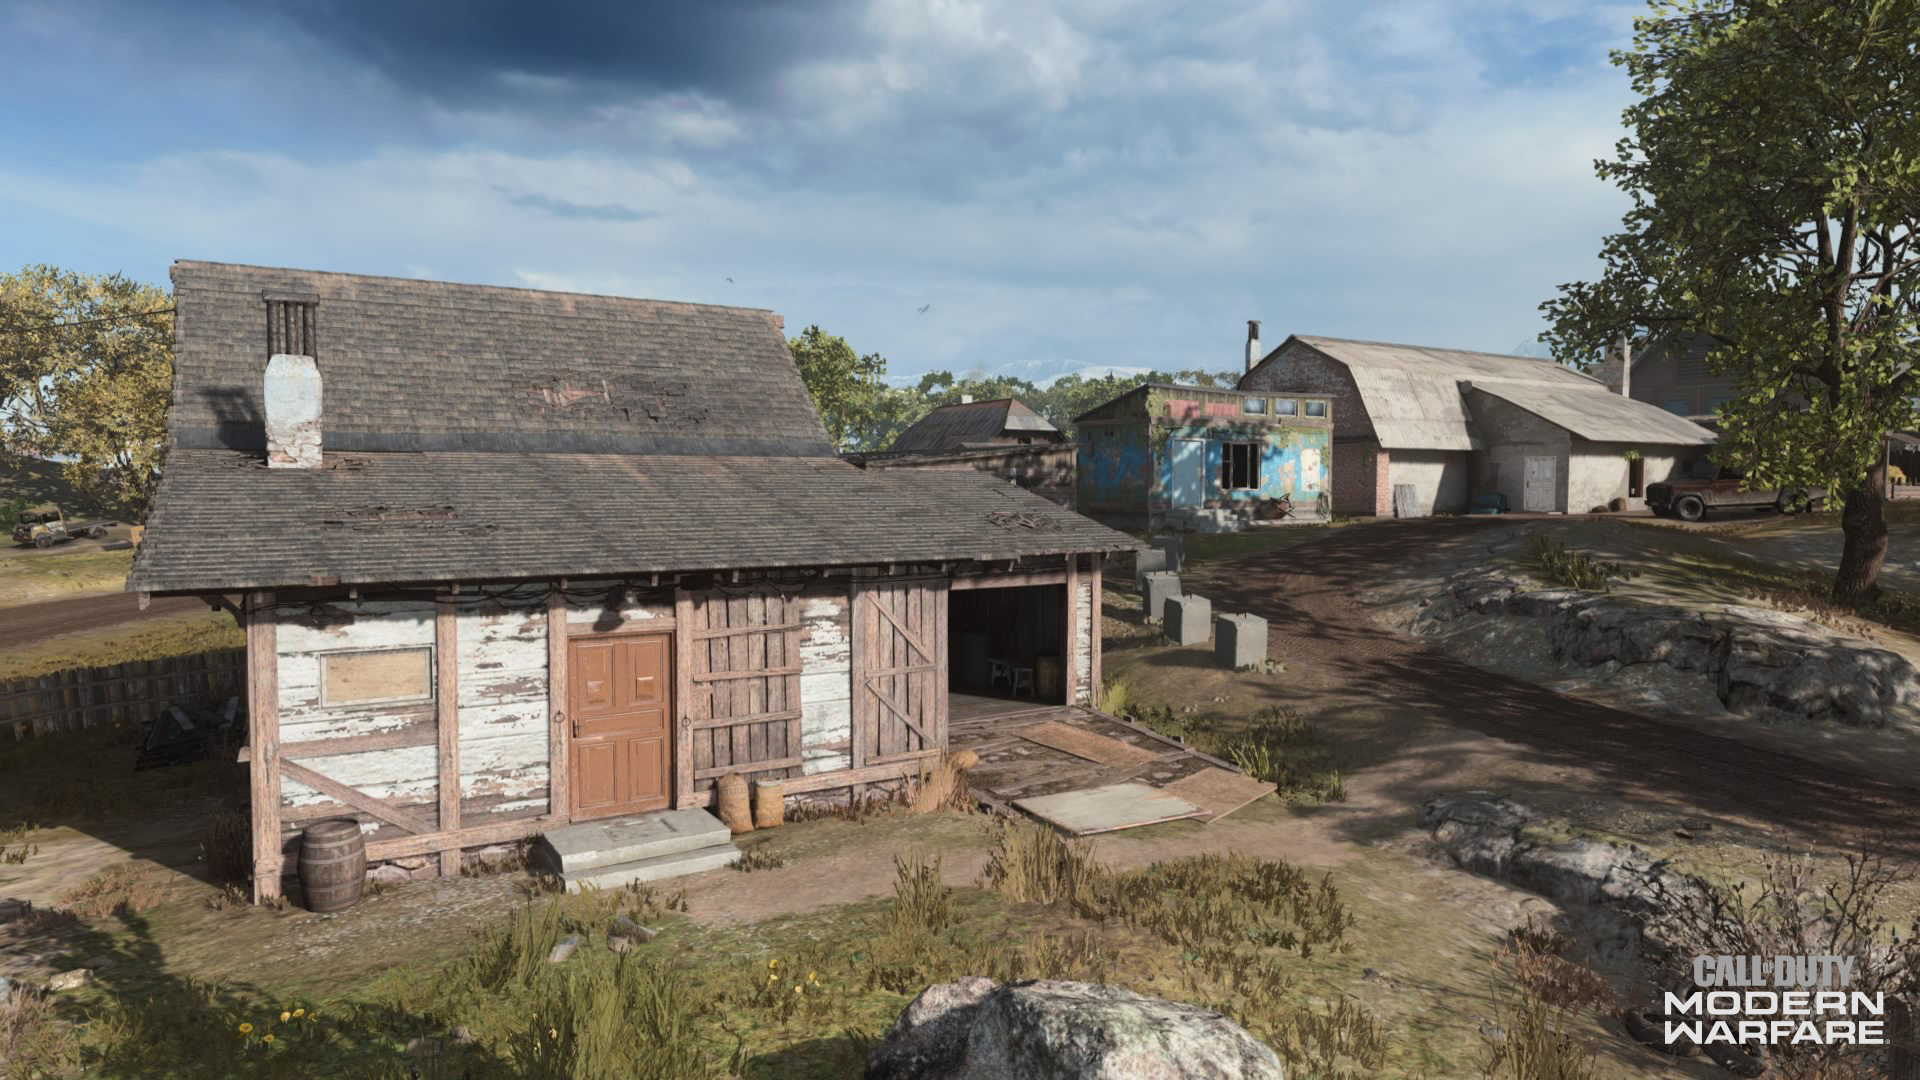
11. Homesteads
As the name suggests, this is where multiple villagers used to call home before the war.
Here, these homes can offer protection against attacking Coalition forces from the north, or tactical positions for snipers to pin down enemies in the barn. By using environmental features, you could hop across the rooftops here and get an awesome view of the Central Barn, but you might also be sending an invitation to the enemy team to can your fiddling routine up here.
Within these houses, submachine guns and shotguns could find use for breach-and-clear operations. Although those may not be common on this massive map, you never know when an enemy squad may call the Homesteads their home for their flanking operation.
One other notable feature in the Homsteads is the possibility of vehicle spawns. The villagers may have left their ATVs or SUVs lying around here, which can serve as backups to your tanks when trying to get across the map quickly.
12. Hills
Rounding out the trio of western border areas, the Hills can be alive with Coalition flankers or Allegiance vehicles rolling out from the Southern Farms. It is also the area that defines the space between the Hay Storage and Launcher spots.
Much like the Crops and Orchards, vehicle traffic can be heavy here. Those trying to flank on foot could be run down by a passing enemy tank, or outright destroyed by cannon fire.
Although this area may not seem like a tactical place at first, there are two spots where long-range weapons can shine. One of them is the house shown above; the second floor has a solid sightline over to the Central Barn and Hay Storage flags.
The other is the two silver holding tanks – located in section E5 – that can be climbed upon using ladders. While you won’t have much cover on top of here, it gives a good visual on the Hay Storage flag and up the road towards the Launchers.
13. Hay Storage
Another small area in Krovnik Farmland’s southern region is where the A flag can be captured. Usually, the Allegiance forces will take it at the start of a match, and it may be the last flag needed by the Coalition to force a DEFCON situation.
When capturing the flag, you may be hiding among the hay bales. And for good reason; they can protect you from enemy fire, should some hapless flanker decide to speed across the map.
Outside of the A flag, the Hay Storage has two more notable features. The first is the home that looks over the bales of hay. Here, one can get up onto the roof and use its ridge for cover while aiming towards the Launchers and other areas to the North.
The other is its potential for vehicle spawns. If you missed out on a tank while in the Allegiance HQ, or are a Coalition member looking for a quick escape, you may find an ATV or two parked around here.
14. Cattle Farms
Much like the Hills and its relation to Krovnik Farmland’s western border, the Cattle Farm is the last stop on the eastern border going north to south before hitting restricted territory.
Unfortunately, unlike the chickens in Azhir Cave’s Chicken Farm, the cattle here are long deceased and left to the flies. However, don’t weep for the bovine for too long; the Cattle Farms have a tactical purpose.
The second floors of buildings and tin roofs of sheds can allow for long-range combat opportunities against those at the Hay Storage and Homestead areas, or even far down the map’s eastern border.
Plus, this is a necessary area to pass through when trying to flank around using this border, so consider setting down traps for enemy vehicles should you find yourself over here.
15. Southern Farms
The Allegiance’s HQ, like the Coalition’s spawn areas, might have little purpose outside of the initial break for a Ground War match.
Its location is close to the Hay Storage where the A flag sits, and in DEFCON situations, this is where you might have to spawn in to avoid a total loss.
What you may not know about this area is its water tower. Located right near the line that divides sections G4 and G5, this tall structure offers a fantastic view of the village and multiple routes that lead northwards.
Because the rest of the Southern Farms are on lower-lying land than most of Krovnik Farmland, this water tower, along with the second floors and roofs of multiple buildings, allow Allegiance soldiers to counter Coalition snipers.
However, if you’re going to snipe on the water tower, you best have some good aim: it’s 151 meters from the Hay Storage, nearly double that to the Launchers, and 350 meters from the Central Barn. Those trying to snipe across the map should keep bullet drop in mind, mount their weapon for extra stability, and remember to hold their breath before taking the shot.
General Tips
· The Great Outdoors. Krovnik Farmland will feel different from the other two Ground War maps, and for good reason: there is a lot more open space compared to Karst River Quarry and Tavorsk District. With that in mind, watch out for aerial Killstreaks when travelling across the map, using buildings for cover when necessary.
· Rules for Rural Combat. In general, short-range weapons will do damage during combat inside buildings, while sharpshooters will want to look for long sightlines across the map using the small bits of verticality that Krovnik Farmland provides.
· Watch for Crossfire. Be careful when travelling near the map’s eastern and western borders for crossfire. Sharpshooters may take these unconventional routes to surprise their enemies from behind.
· Road Trip! Those borders are also where you may drive your vehicles without much resistance, as rolling a tank through the center of the map is just asking for the enemy to pepper it with fire and explosives. If you are finding difficulty in attacking an objective head on, try driving around these roads to your destination. Who knows; maybe you’ll pick up some sharpshooter roadkill on the way!
· Your Last Resort: The HQ. When fighting against a DEFCON loss, don’t be afraid to spawn in your HQ, as there is enough space to counter-snipe the opposition. Just be sure that a squad or two is working to capture the flag.
For more information and the latest intel on Call of Duty®: Modern Warfare®, check out: www.callofduty.com, www.youtube.com/callofdutyand follow @InfinityWard and @CallofDuty on Twitter and Instagram and Facebook.
For more information on Activision games, follow @Activision on Twitter,Facebook, and Instagram.