A Multiplayer map featured in the Zhokov Boneyard and reimagined since its first appearance in 2009, Zhokov Scrapyard is where you’ll be getting in some fast, frenetic, and fun scraps with friends and foes alike. Intel for mastering this map inside.
Modern Warfare® Tactical Map Intel: Scrapyard
A Multiplayer map featured in the Zhokov Boneyard and reimagined since its first appearance in 2009, Zhokov Scrapyard is where you’ll be getting in some fast, frenetic, and fun scraps with friends and foes alike. Intel for mastering this map inside.
June 11, 2020
by James Mattone
“Makarov...you ever hear the old saying...the enemy of my enemy is my friend?” – Captain John Price, Call of Duty®: Modern Warfare® 2
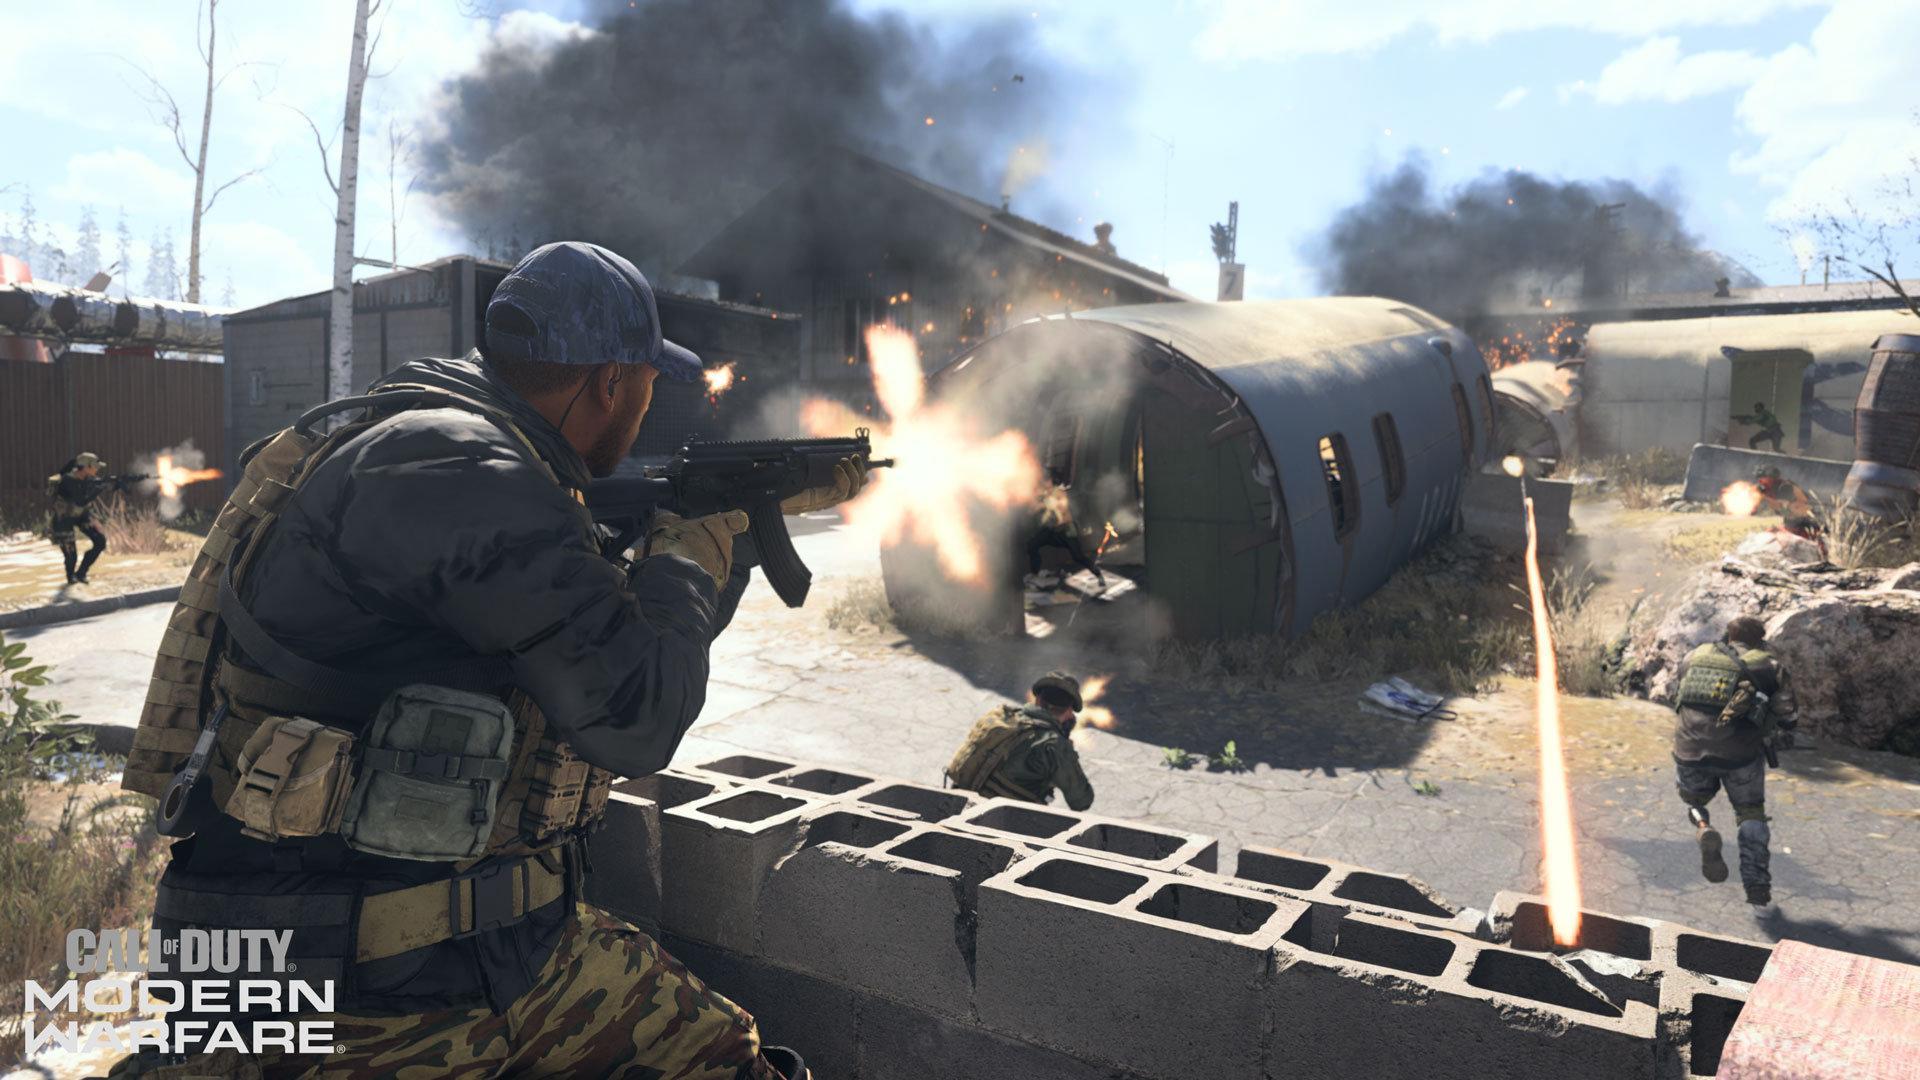
Part of the Zhokov Boneyard, Scrapyard leads a trio of new maps for Modern Warfare Multiplayer and is the lone 6v6 locale out of the bunch.
However, just because it’s a standard 6v6 map doesn’t mean it’s ordinary; here, engagements are frequent, bullets can fly from all directions, and few places are safe from a well-placed Killstreak.
This is your Tactical Map Intel for Scrapyard:
Lay of the Land:
Since 2009, Scrapyard has become an iconic part of Call of Duty, so much so that it was even recreated IRL at Call of Duty: XP in 2011.
Due to its popularity over a decade after its debut, this airplane boneyard was reimagined for Call of Duty:Modern Warfare and integrated into Verdansk as the Zhokov Boneyard. Now, this collection of warehouses and fuselages is back in standard Multiplayer.
Map Detail:
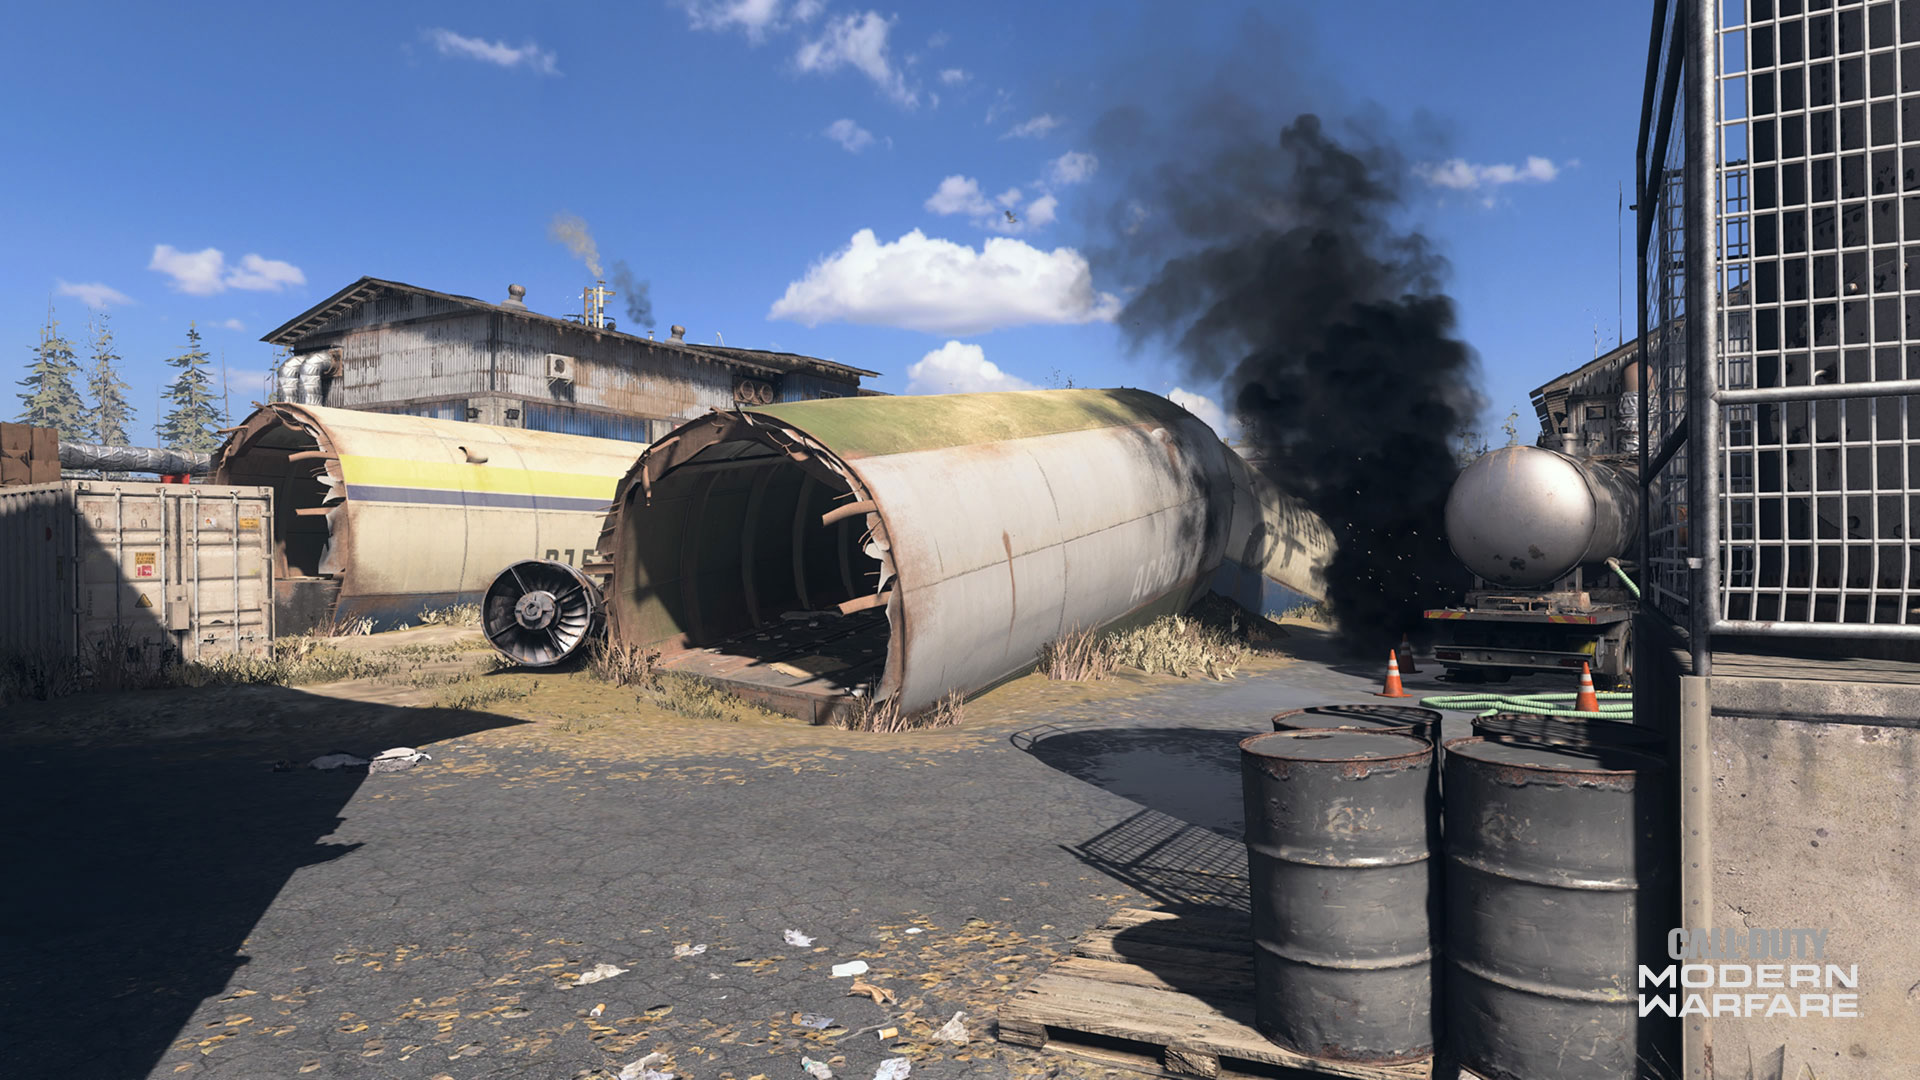
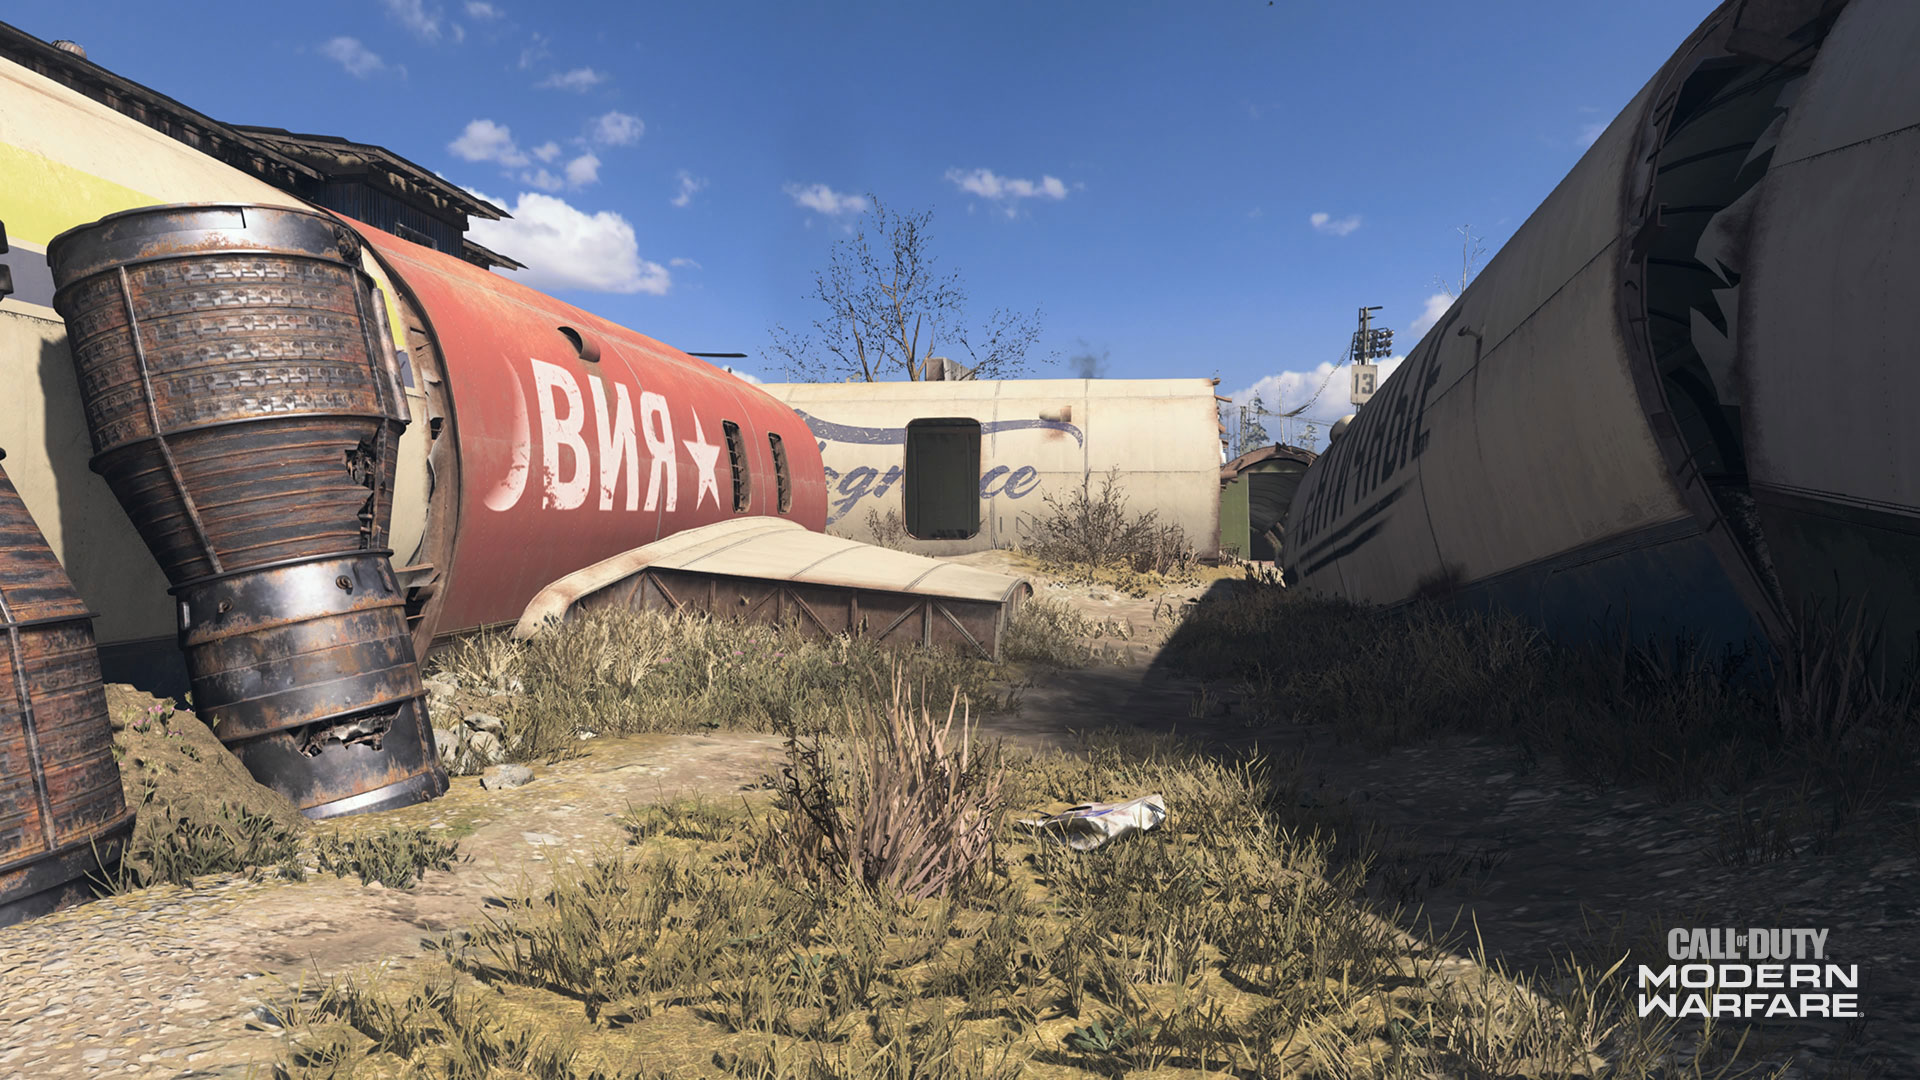
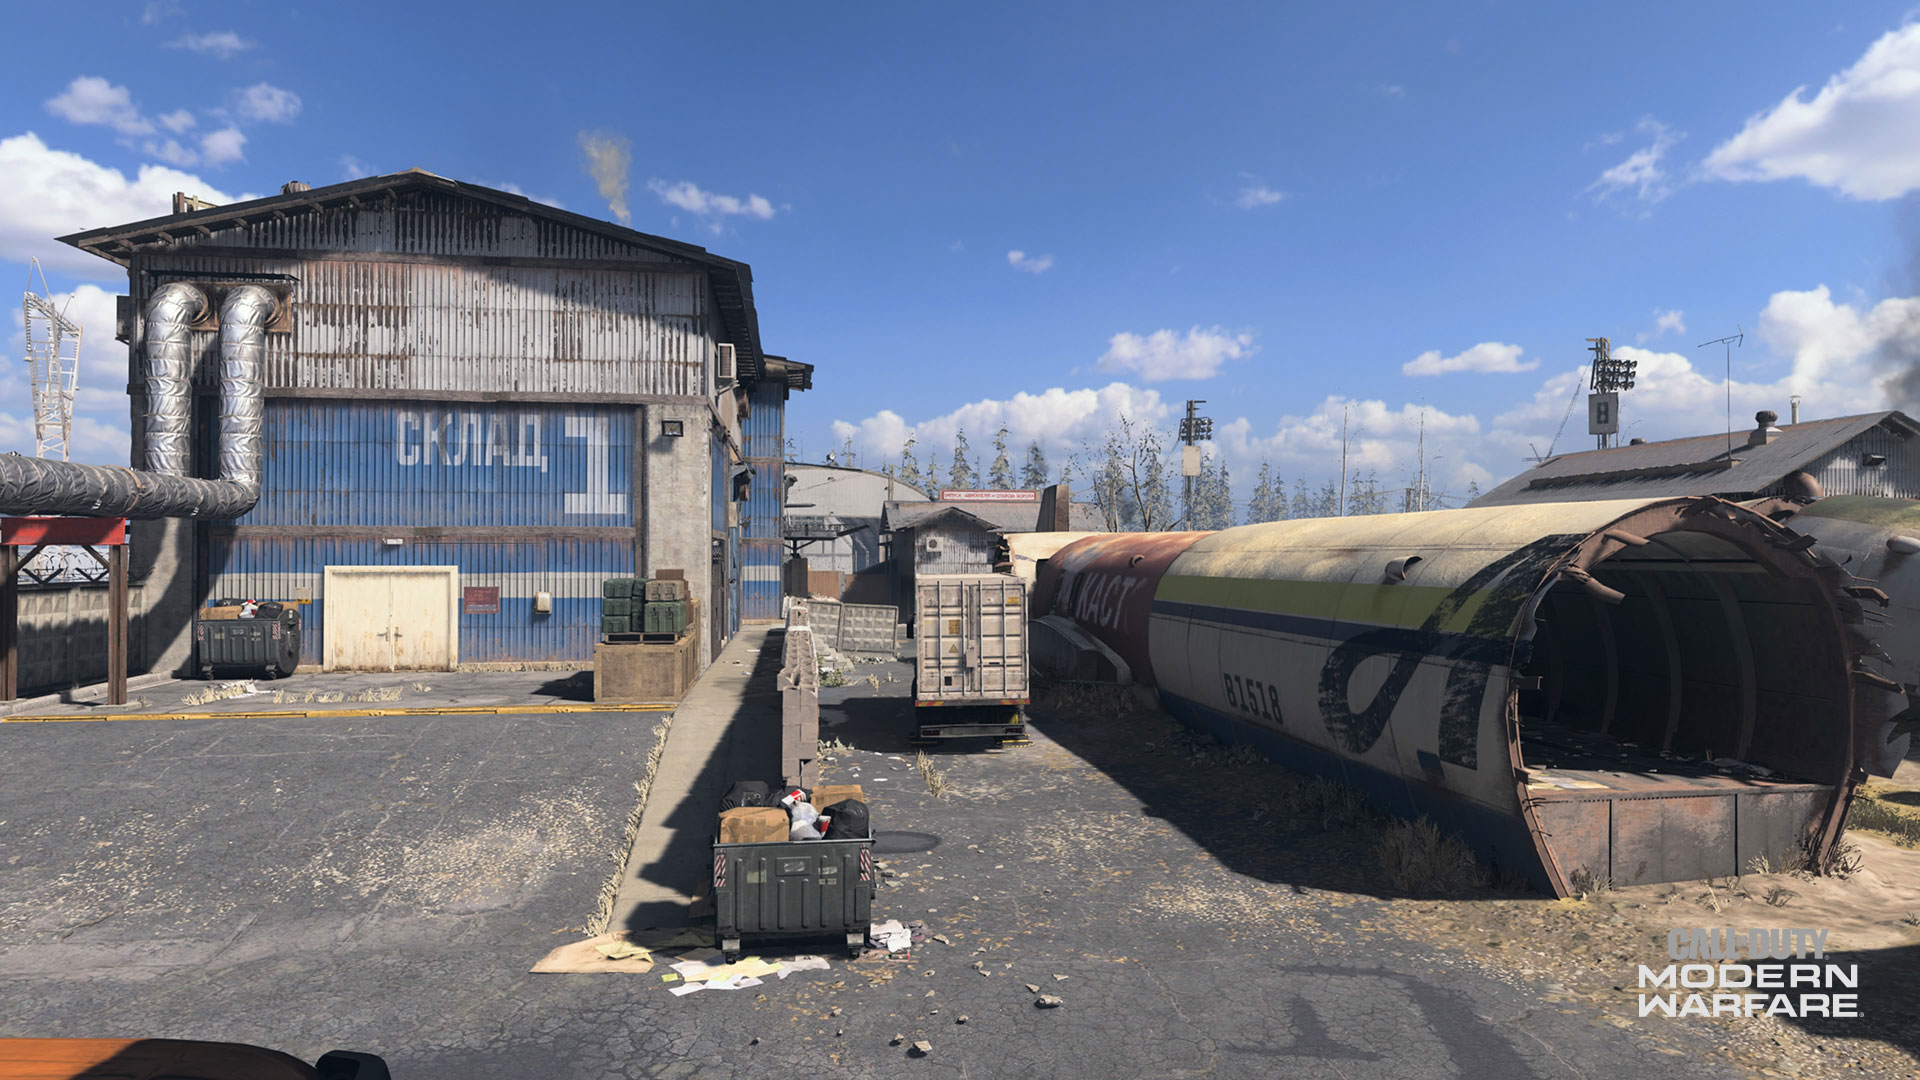
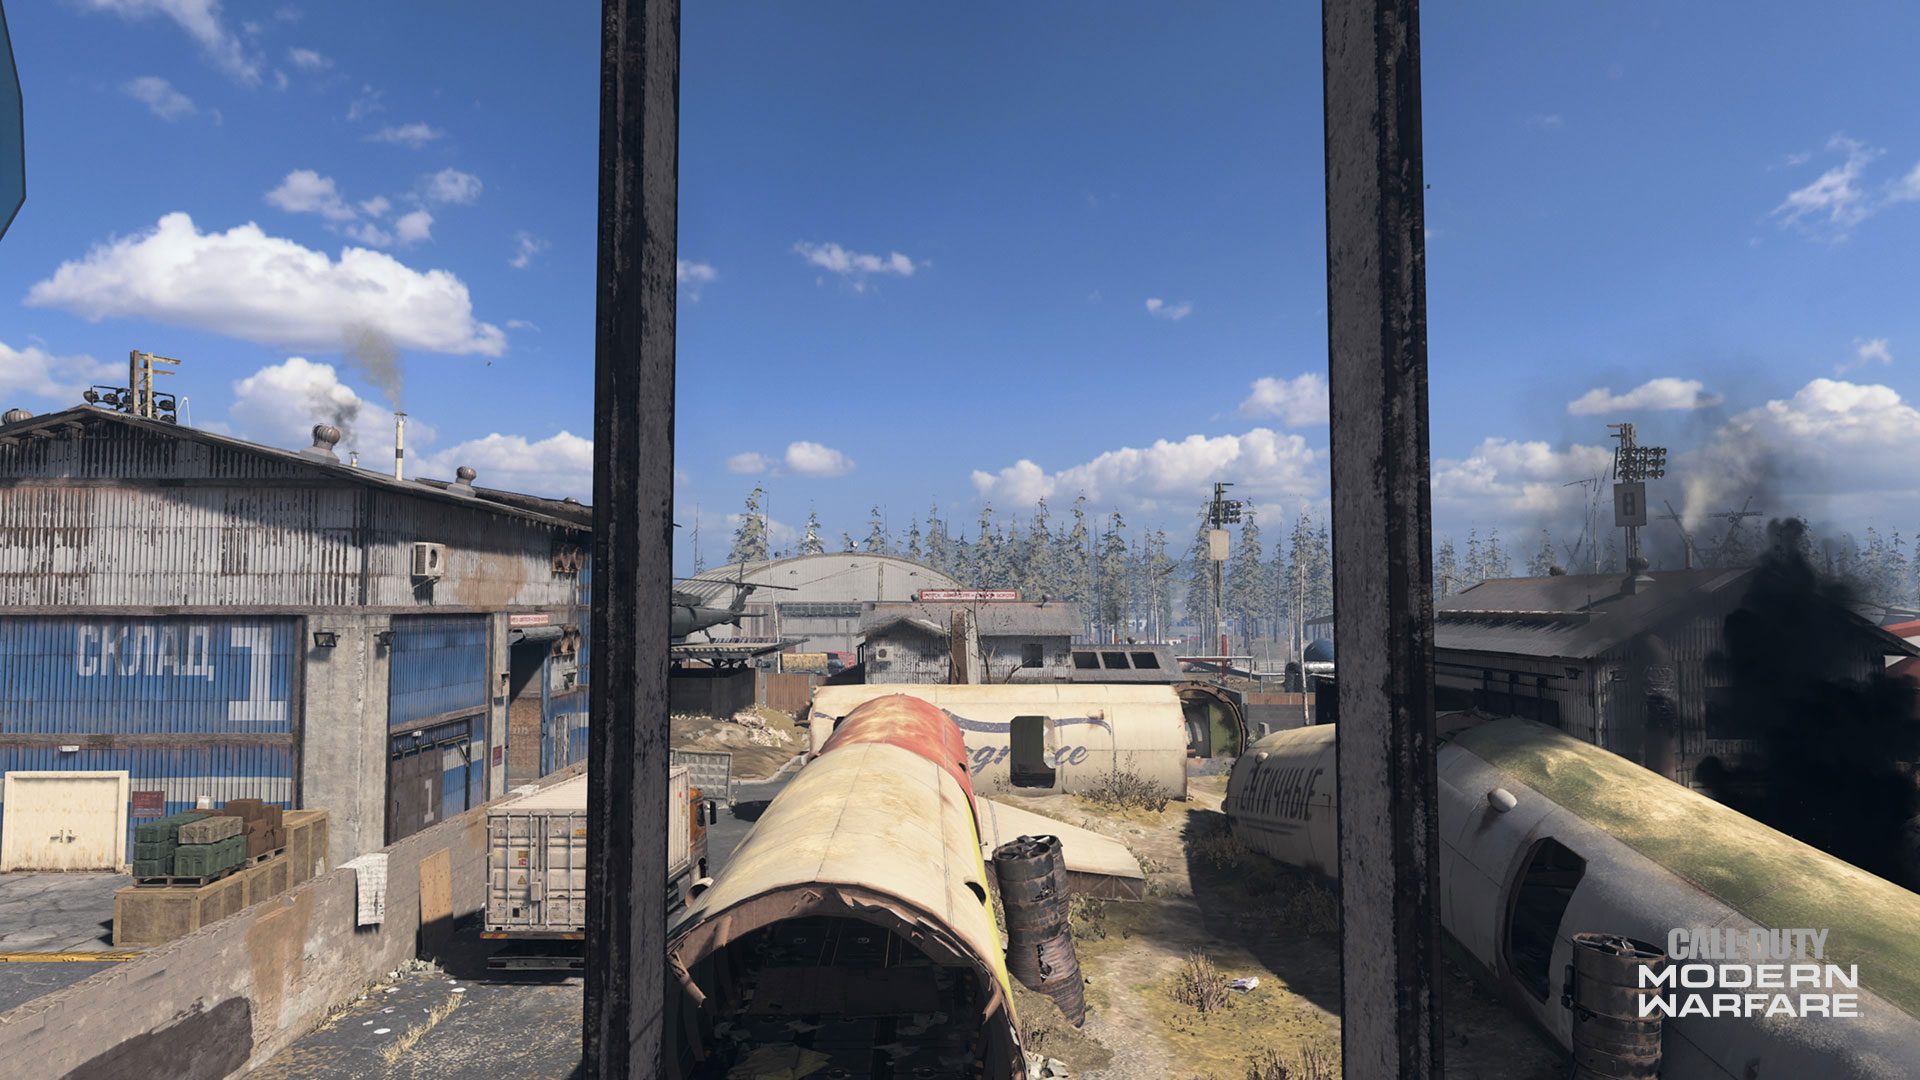
Scrapyard is a medium-small sized map suited for 6v6 playlists. Technically a three-lane map, fighting will take place within, between, around, and across two long streets and a field filled with fuselages. Although certain lanes and areas are more suited for specific playstyles, all weapons will find a home within the Scrapyard.
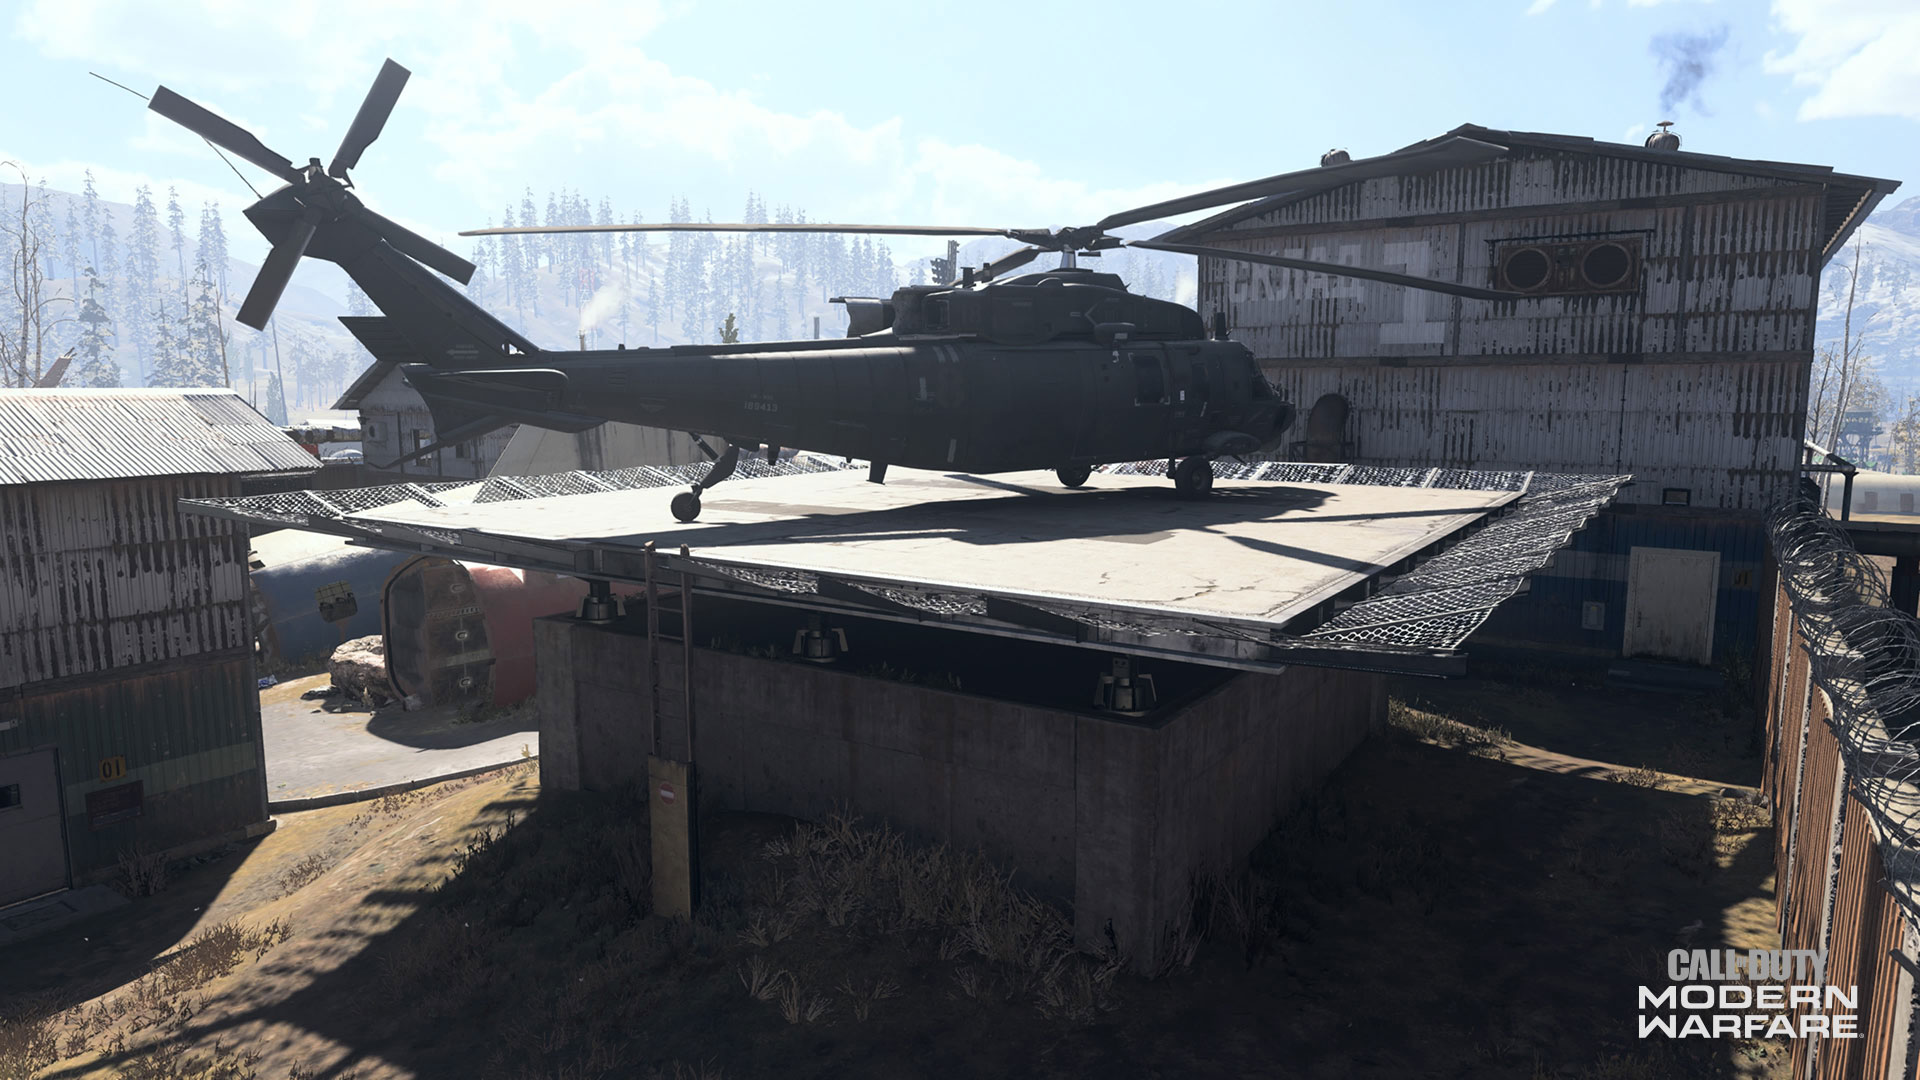
The map is bookended at the north and south by the Green and Red Warehouses respectively. Both warehouses have additional accessible levels for a wide vista over the map. Next to the Green Warehouse is an inaccessible helicopter on a platform where one usually spawns in during Warzone pre-match skirmishes.
There are two other warehouses in the map’s center on the eastern and western borders. Leading up to either of these are routes both narrow and wide, allowing for a variety of playstyles to force their preferred engagements in and around them.
Map Overview
The following set of maps detail the entirety of Scrapyard, including the locations of important areas in different game modes, and a topographical image. Swipe or click left or right to see them all:
Zhokov Scrapyard: Map Overview
Zhokov Scrapyard: Domination
Zhokov Scrapyard: Hardpoint
Zhokov Scrapyard: Search and Destroy
Zhokov Scrapyard: Cyber Attack
Zhokov Scrapyard: Topography
Basic Strategies
In general, Scrapyard will play fast and frenetic – be prepared for aggressive players who will run laps through the fuselages and warehouses looking for engagements.
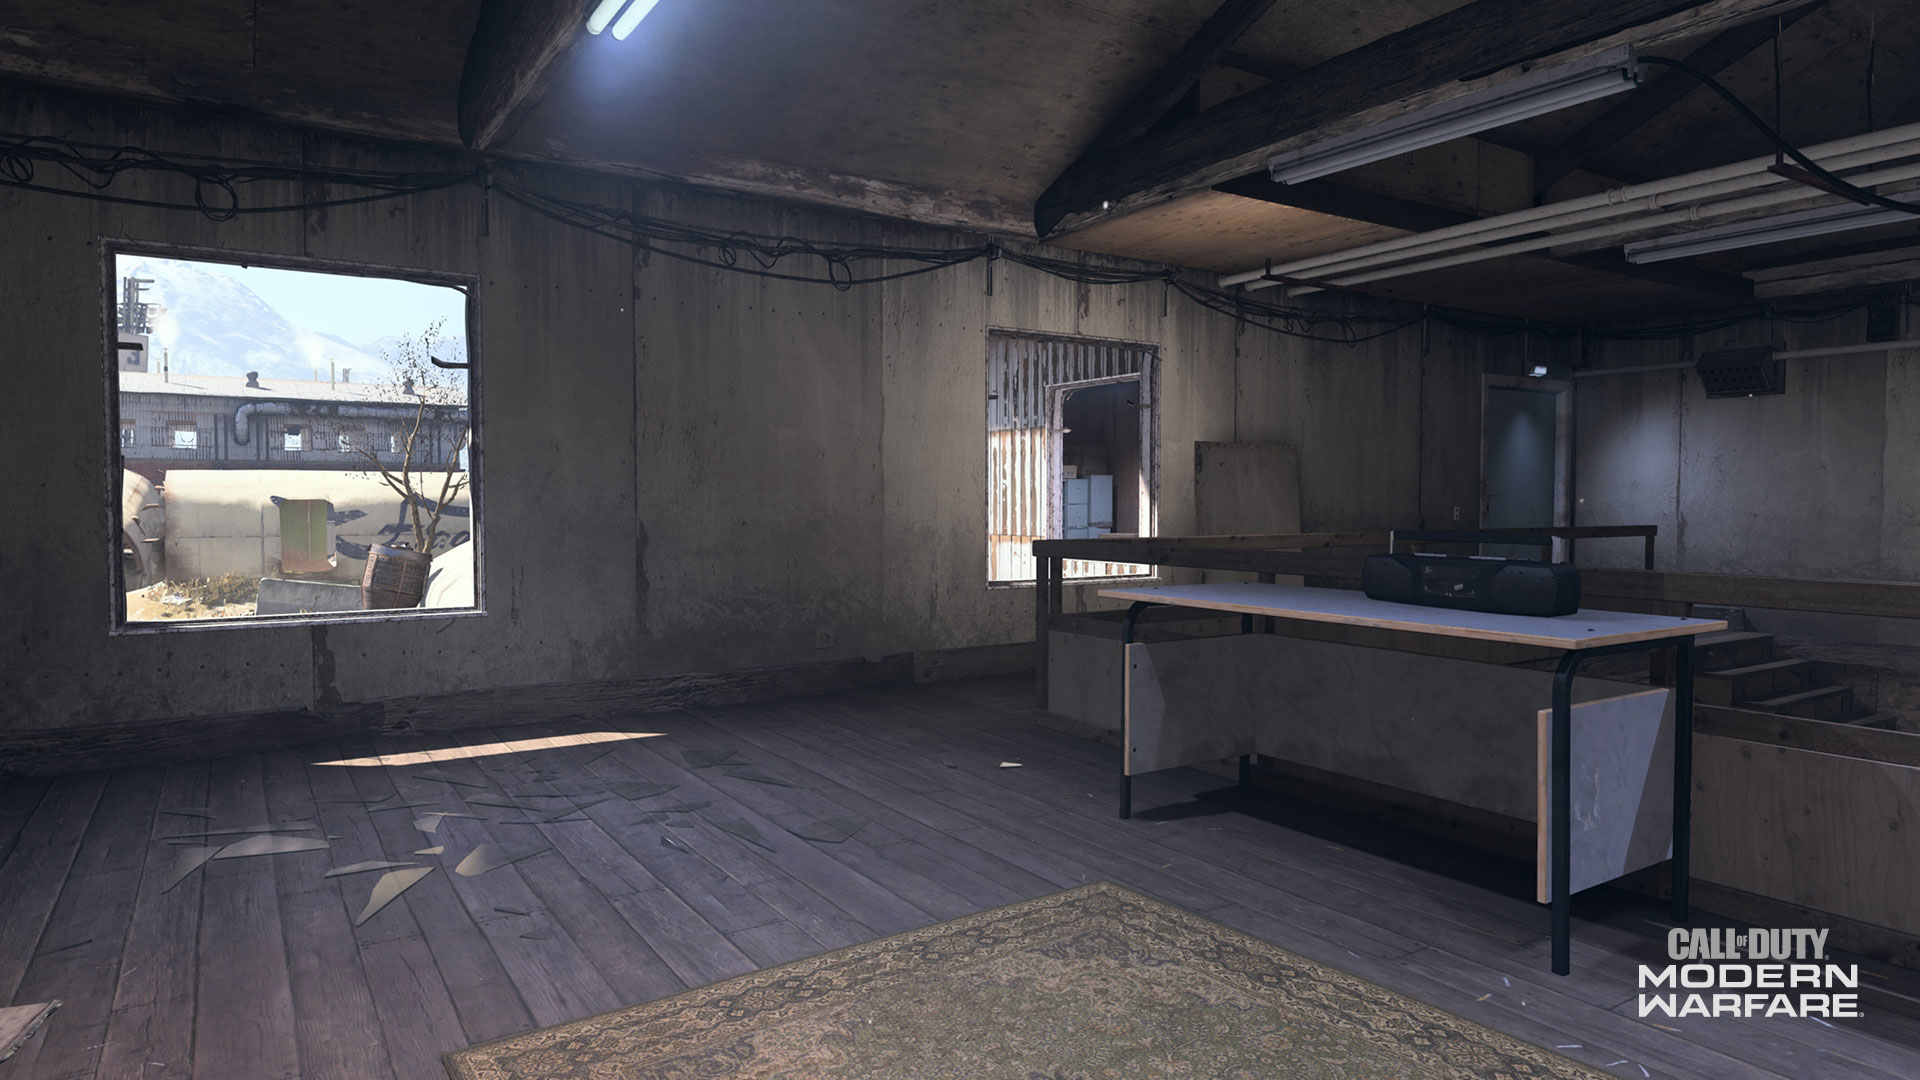
With that in mind, don’t be afraid to fire through scrap metal if you suspect an enemy is hiding behind them. Or, if an enemy enters a fuselage while you’re firing at them, try to keep firing through the metal on where you think they’re running. Who knows? You may get a wallbang!
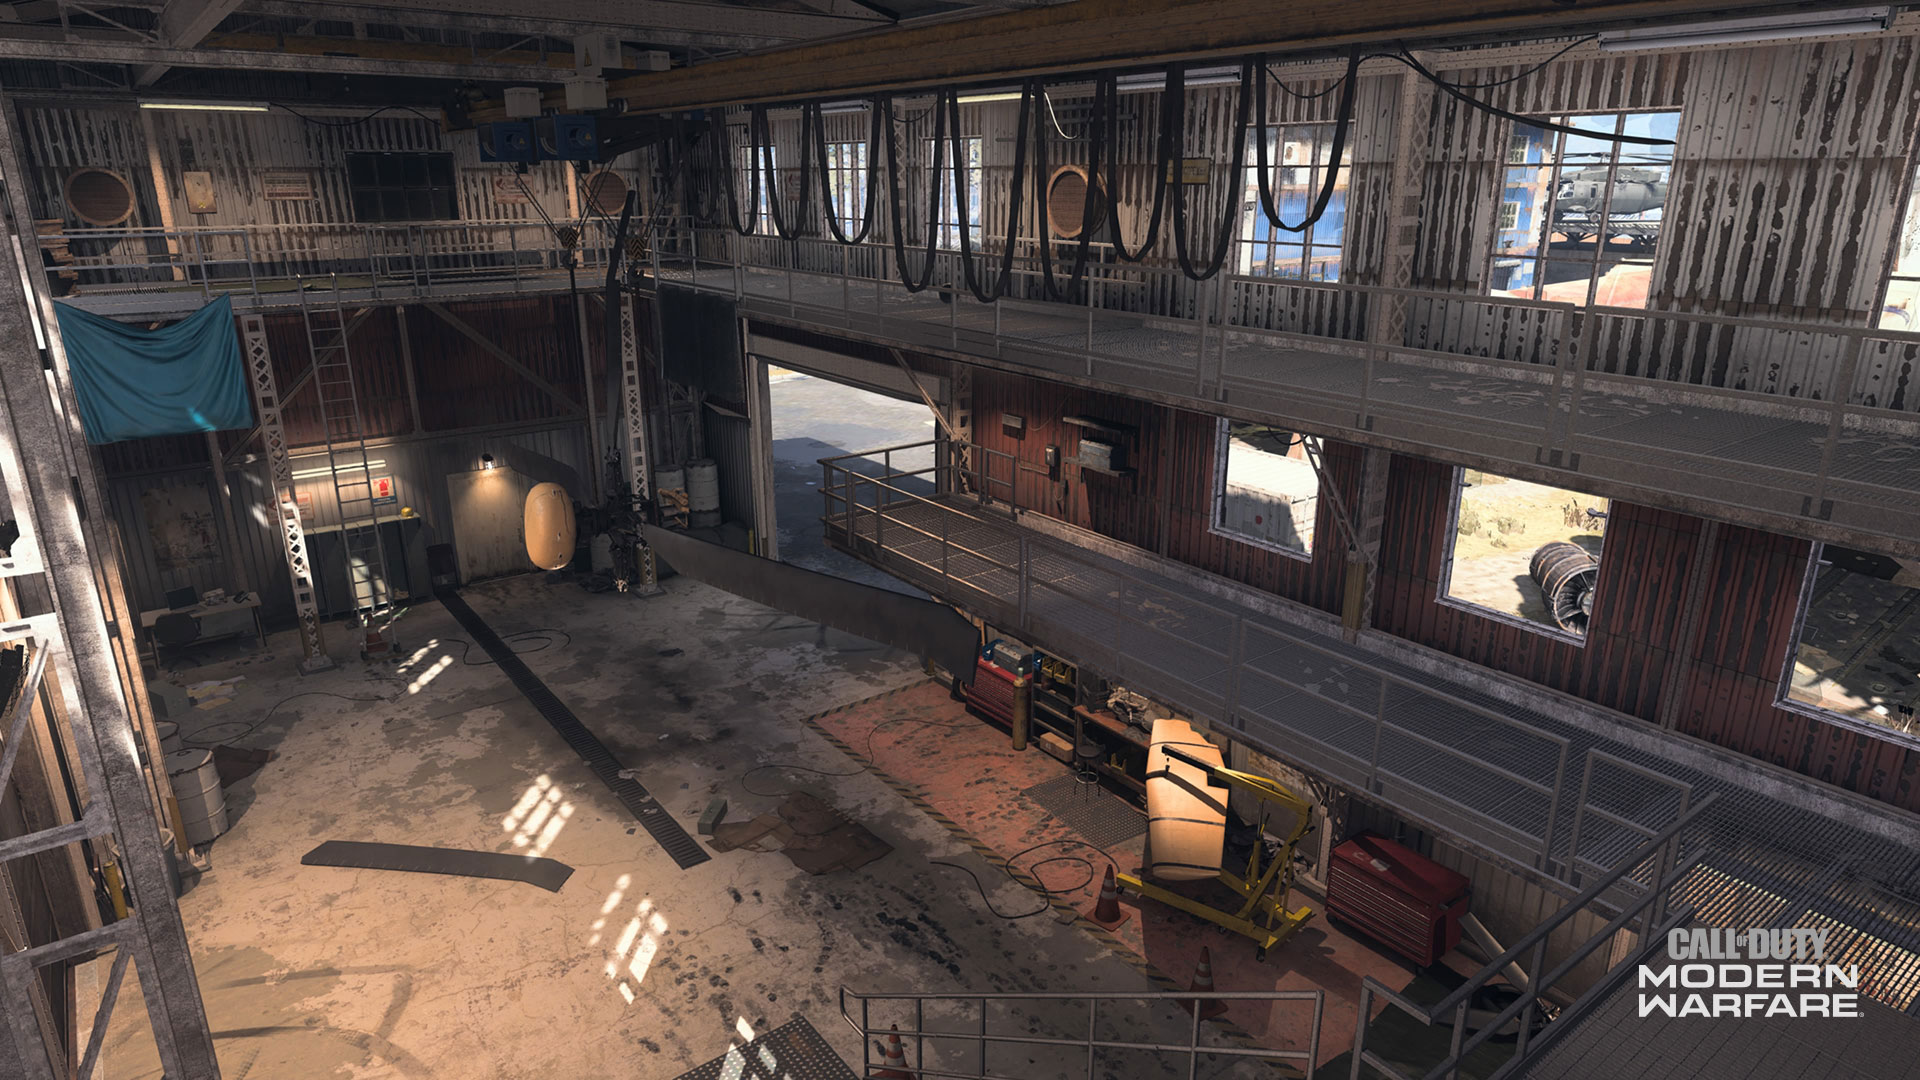
If you need Longshots to earn Gold – and Platinum and Damascus – camo on a weapon, Scrapyard has awesome opportunities for that in the Green Warehouse’s second floor, or the Red Warehouse’s catwalk. There is even a ladder in the Red Warehouse, which offers an even better vista over the map.
However, don’t break out the tent and sleeping bag: veterans can, and will, bring you back down to earth the second you take a shot from here. If you want to counter these snipers, practice lobbing grenades into these windows from the ground, or flank them via the perimeter routes and take your shots from the ground.
A Marksman Match-Up
While every weapon can be used to dominate your competition, for those who want the precision of a sniper but the more agile nature of an assault rifle, a marksman rifle could be a good fit on this map.
‘Old Growth’ a blueprint found at Tier 35 of the Season Four Battle Pass System.
Marksman rifles have great handling statistics and high damage, allowing them to handle a variety of situations in Scrapyard. Need to deal with an over-aggressive SMG player? Go for a quick-scope and challenge them. Is a sniper across in the Green or Red Warehouses bothering your team? Counter-snipe them from an unconventional angle.
For the Old Growth, the FTAC Sport Comb allows for faster aiming down sights, while the Singuard Custom 27’ 8” Barrel maximizes the weapon’s one-shot range to practically cover the entire map. Plus, the Merc Thermal Optic is great for target acquisition, especially at range and through smoke.
Add two more attachments to suit your playstyle, and you’re in business.
Killstreak Field Guide
Across the Scrapyard, there are plenty of wide openings for Killstreak fire to fit through. Whether it’s threading the needle through airplane bodies or angling Gunship fire into one of the warehouses, those who master Killstreaks can wreak havoc on this map.
Conversely, the map’s open-air design makes taking out a Launcher and denying Killstreaks easy. Just take a few steps outside a Warehouse, look to the sky, and ruin your enemy’s plans for aerial domination. By the way: you might want to equip Pointman to benefit from shooting down Killstreaks.
As for ground-based Killstreaks, proper placement of a Shield Turret or Sentry Gun can lock down lanes. Try setting them up on either end of a long street for maximum coverage. And, for those Wheelson lovers out there, our favorite remote-controlled dealer of death can easily roll up into warehouses.
Objective Play
Last – and certainly not least – we have some intel to those who focus on objective play, those unsung heroes on your squad who carry you to victory. And remember: It’s never too late to play the objective.
While the Red Warehouse may not have direct objective importance in certain game modes, like Domination, locking down the catwalks could give a sniper visibility on objectives. An entire team shouldn’t stack up here, but it doesn’t hurt to have a player or two provide overwatch from that position.
In Domination, the flags are set up in a triangle pattern, making it possible to hold A and C – flags usually meant as “spawn flags” – easily without issue. Just keep in mind that you may be handing over the entire west side of the map to the enemy if you do this, as that’s where the B flag is.
Hardpoint and Headquarters is all about controlling the perimeter. In Hardpoint the rotation is always the same so, treat the points like parts of a compass and remember this neat trick for rotating effectively:
Center, North, East, West, South.
Repeat until victory.
Finally, for Search & Destroy, the defenders may find it easier to defend B than A given spawns and proximity to the Red Warehouse. Still, if you want to defend A, be sure to cover all three entry points to that warehouse either with equipment or with an Operator playing aggressive defense.
10 Tips:
In summary, this is the intel that could help you win your next scraps in Scrapyard:
10. Back to the Boneyard. Want to step up your Scrapyard game while playing Warzone or Ground War? Head for Zhokov Boneyard; Scrapyard has the exact same layout there. Already mastered it on the Boneyard? Then you’re a step ahead of the game.
9. Scrap Metal. Large caliber bullets from weapons – especially those with FMJ – can easily penetrate fuselages and other materials on Scrapyard. Don’t be afraid to attempt those wallbangs!
8. Warehouse to Warehouse. Snipers will want to go on the catwalks of the Red Warehouse or the Green Warehouse’s second floor to get fantastic sightlines…
7. Divide and Counter. … but if you suspect someone is getting too comfortable up in those sniping spots, don’t be afraid to lob some equipment, or take a shot from an unconventional angle, to bring them down.
6. Wanted: Marksmen. Weapons like the Old Growth might shine on this map, as it can counter snipers and even fight CQB Operators in a pinch. However, there is a high skill floor to using them, so try out all weapon types to see what works for you.
5. All the Right Angles. Aim Killstreaks through large gaps in buildings or fuselages for maximum damage against those that think they can hide from your aerial firepower.
4. The Great Outdoors. There are plenty of spaces to shoot down Killstreaks on Scrapyard. Make sure to have a Killstreak Denial loadout – e.g. a Launcher, Cold-Blooded – within your ten slots; you never know when you need it.
3. A-C is Fine with Me. Lock down the map’s south and east side if you want to run with an A and C Domination flag set-up. It’s just as good as going with an A-B or B-C set-up.
2. Hardpoint/HQ Rotations. Center, North, East, West, South. Repeat. Simple as that.
1. Prevent Defense. If your team wants to defend the A bomb site in S&D, set up your defenses as soon as possible off spawn in that warehouse. Otherwise, don’t expect the enemy to just waltz down the eastern perimeter towards B; check the center for flanks and the A site for a potential decoy play.
For more information and the latest intel on Call of Duty®: Modern Warfare®, check out: www.callofduty.com, www.youtube.com/callofduty and follow @InfinityWard and @CallofDuty on Twitter and Instagram and Facebook.