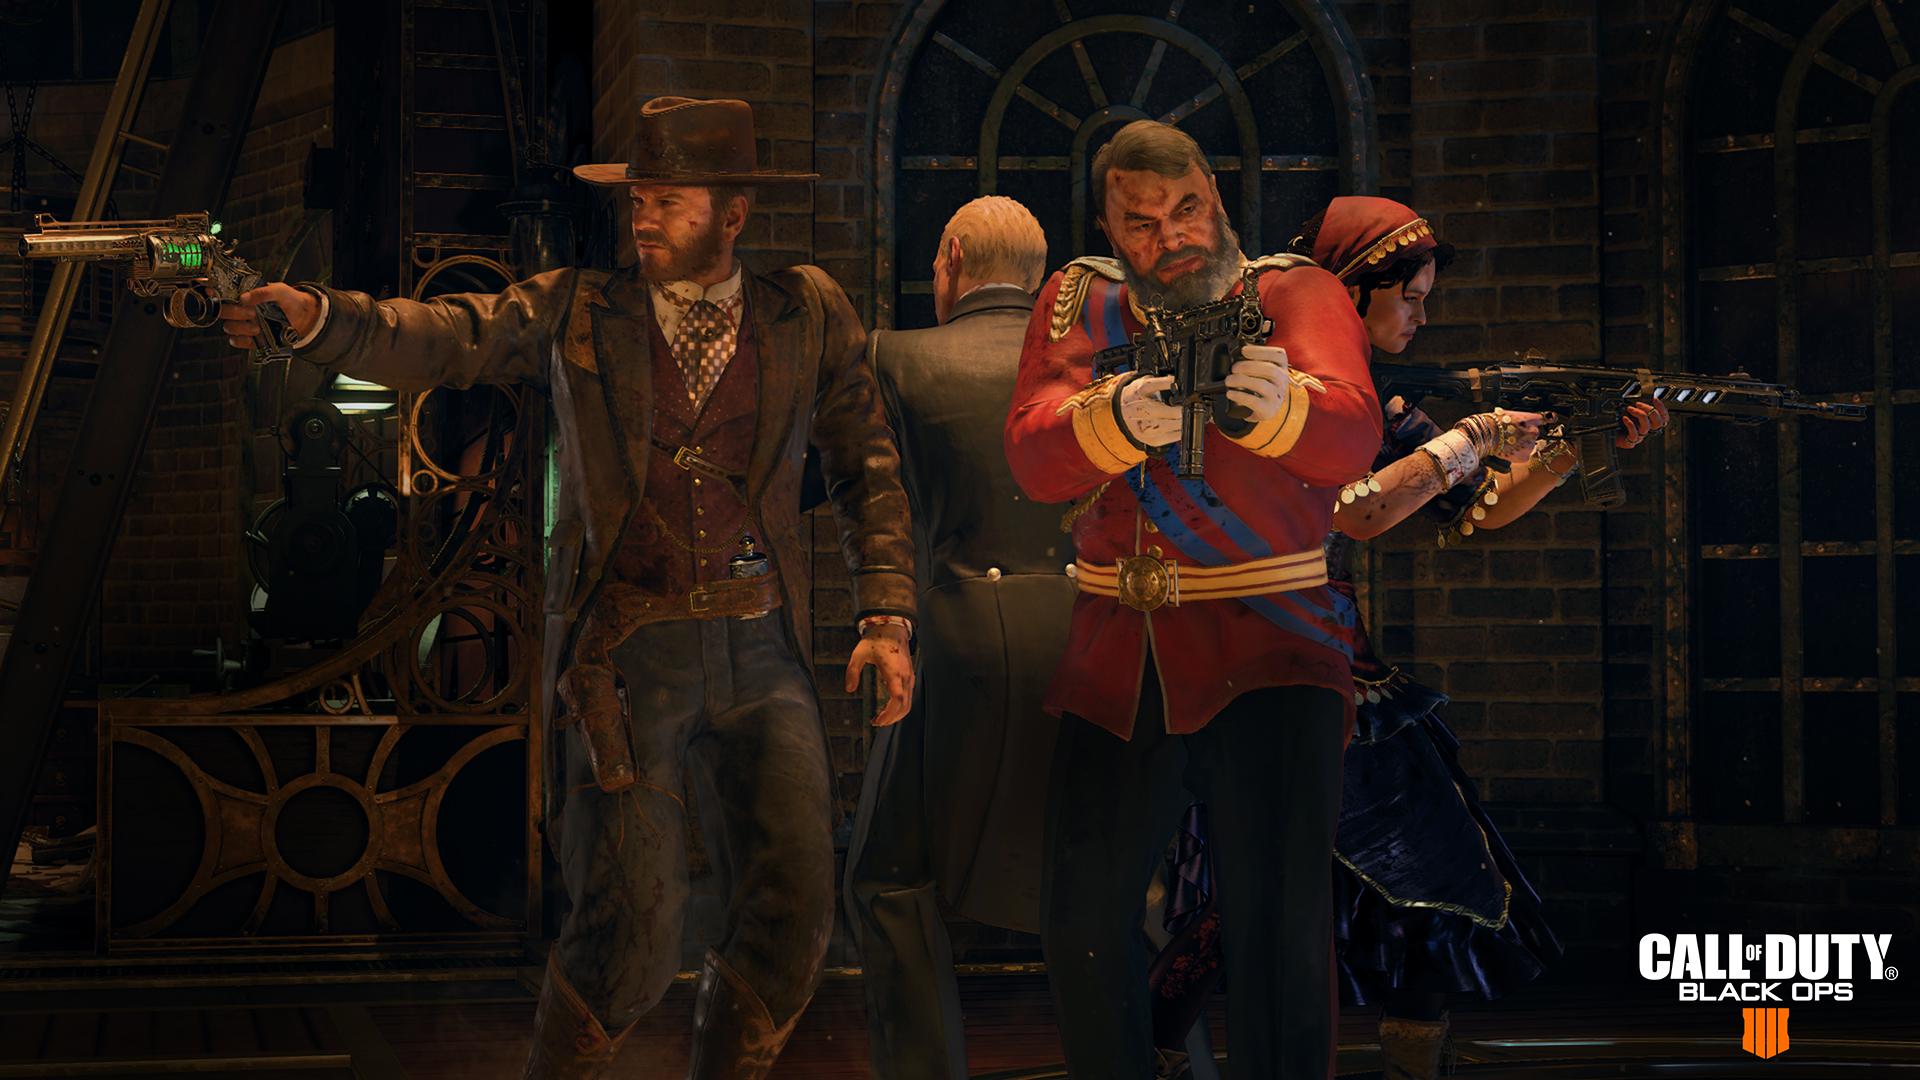
“You are cordially invited to the country estate of Alistair Rhodes…”
And for a Gauntlet that will truly test your survival skills on “Dead of the Night” in Call of Duty: Black Ops 4.
Released alongside Operation Spectre Rising, this new Gauntlet gives a whole new set of challenges to the bone-chilling Zombies experience included with the Black Ops Pass. Like all other Gauntlets before, there are rewards for those that can reach rounds 10, 20, or all 30 rounds… And extras for those that can do it without earning a single strike.
For those unfamiliar with Gauntlets, read up on our general post before diving into this one. Unlike that previous post, however, we’re going to detail how to get through the first 10 rounds, just so you can get that strong start and a cool personalization reward for following along.
With all that said, it’s time to buckle down and make these first 10 rounds count:
Round 1: Power Up!
Activate the Sentinel Artifact
In the first round, you’ve got to get to the Sentinel Artifact FAST and with little room for error.
In order to complete this round, you must amass enough points to open the first two blue glowing doors to get to the Artifact. Ensure that one player has enough points to open doors opposed to splitting kills evenly amongst the team.
As there aren’t a lot of points up for grabs in the opening round, only open doors that lead you to your goal. Think of ways to maximize your points earned in the early rounds and be sure to activate the Sentinel Artifact BEFORE killing the final zombie.
Round 2: Hat Trick
Kill Zombies with 3 Unique Weapons
Three Unique Weapons? But we only start with one! Right?
Technically, weapons aren’t limited to just guns. Think about what you have in your arsenal to secure three unique weapon kills. Plus, make sure you have enough zombies to go around.
Round 3: Pool Party
Sink all the Billiard Balls
Ah yes, a rousing game of billiards in the middle of a zombie attack… Only a simpleton would attempt this, but a challenge is a challenge after all.
From the site of the Sentinel Artifact on the Grand Staircase, head to the left of it and through the Smoking Room to the Billiards Room.
Once there, use what you have to guide the balls into one of the six holes. Don’t focus too much on the pool table as zombies are still attacking.
Work together to complete the challenge and survive. Who doesn’t enjoy billiards with a rousing side of zombies…?
Round 4: Board Silly
All Boards Must be in Place by the End of the Round.
Be a true carpenter by repairing every boarded-up window location (in unlocked locations) before the end of the round.
This map does throw a bit of a change-up, however, because there are a lot of openings that could be places for boards. With a little practice, you’ll recognize what spots are actually in need of repairs. Make sure you do your due diligence before killing the final zombie.
Speaking of being a carpenter... Getting that power-up to spawn during this round makes this round a breeze.
Round 5: Piss Around
Use Unpacked Pistols only.
The Welling, Strife, RK7 Garrison, and Mozu will be your friends in this round. Find a pistol off the wall and go to town on zombies.
Use some of the points you’ve earned along the way to buy one of these pistols or if you’ve spawned in with a pistol make use of it.
Watch your ammo and if needed replenish bullets off the wall. If you managed to pick a favorite weapon off the wall or from the Mystery Box, think twice before trading it in.
Then, just survive and you’ll be on to the next round.
Round 6: Stay Down!
Weapons Can Only be Used While Prone
Self-explanatory, but one big tip: you don’t have to be prone the entire round.
When a big zombie train comes rolling in, it’s okay to run away and set into prone in a less crowded area. Furthermore, you can throw explosives while prone, then get on the move to avoid being overtaken by the horde.
Also, your gun won’t fire while you are standing or kneeling, so don’t worry about any accidents.
Round 7: Unfriendly Dinner
Defend the Dining Room While Avoiding Friendly Fire
Coordination is key for this round.
If you are playing with friends, communicate with one another so there are no accidents. It’s easier said than done in this cramped space, though, so don’t get too discouraged about taking a strike here.
For those playing solo, this is a free round! Right?
Not so fast.
Three AI players join the game and it’s up to you to not damage them. Mind your manners and their movement, and this meal should be over quickly, as the Dining Room can get a little overrun with zombies.
Round 8: BowDie
Bowie Knife Kills Only
Search the map and buy the Bowie weapon off the wall. If you don’t have enough, try boarding windows or using an Elixir to gain some extra points.
This knife is a one hit KO punch to any zombie that stands in the way. Hack and slash through this round to advance, and also bask in the glory of all those points you’ll be earning while doing so. Be advised that zombies can — and will — swipe back, so don’t get too overrun with a horde.
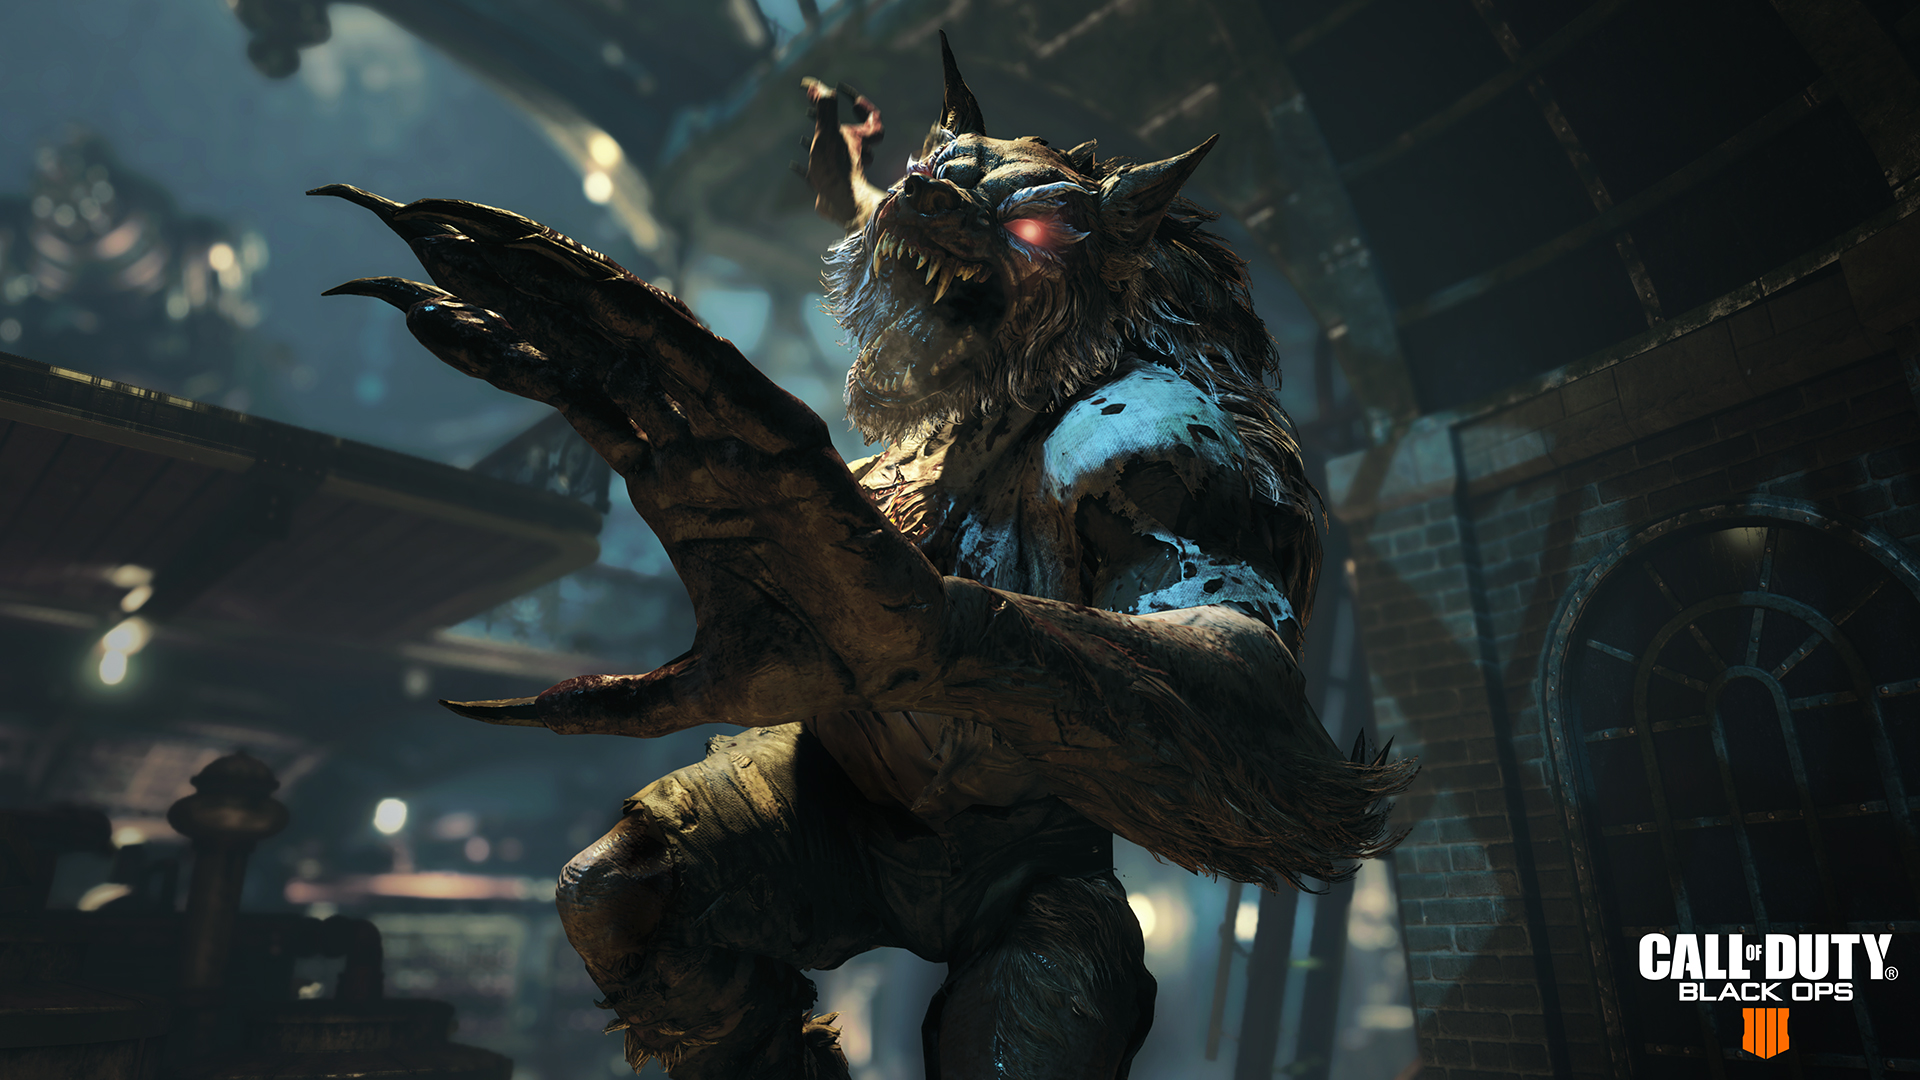
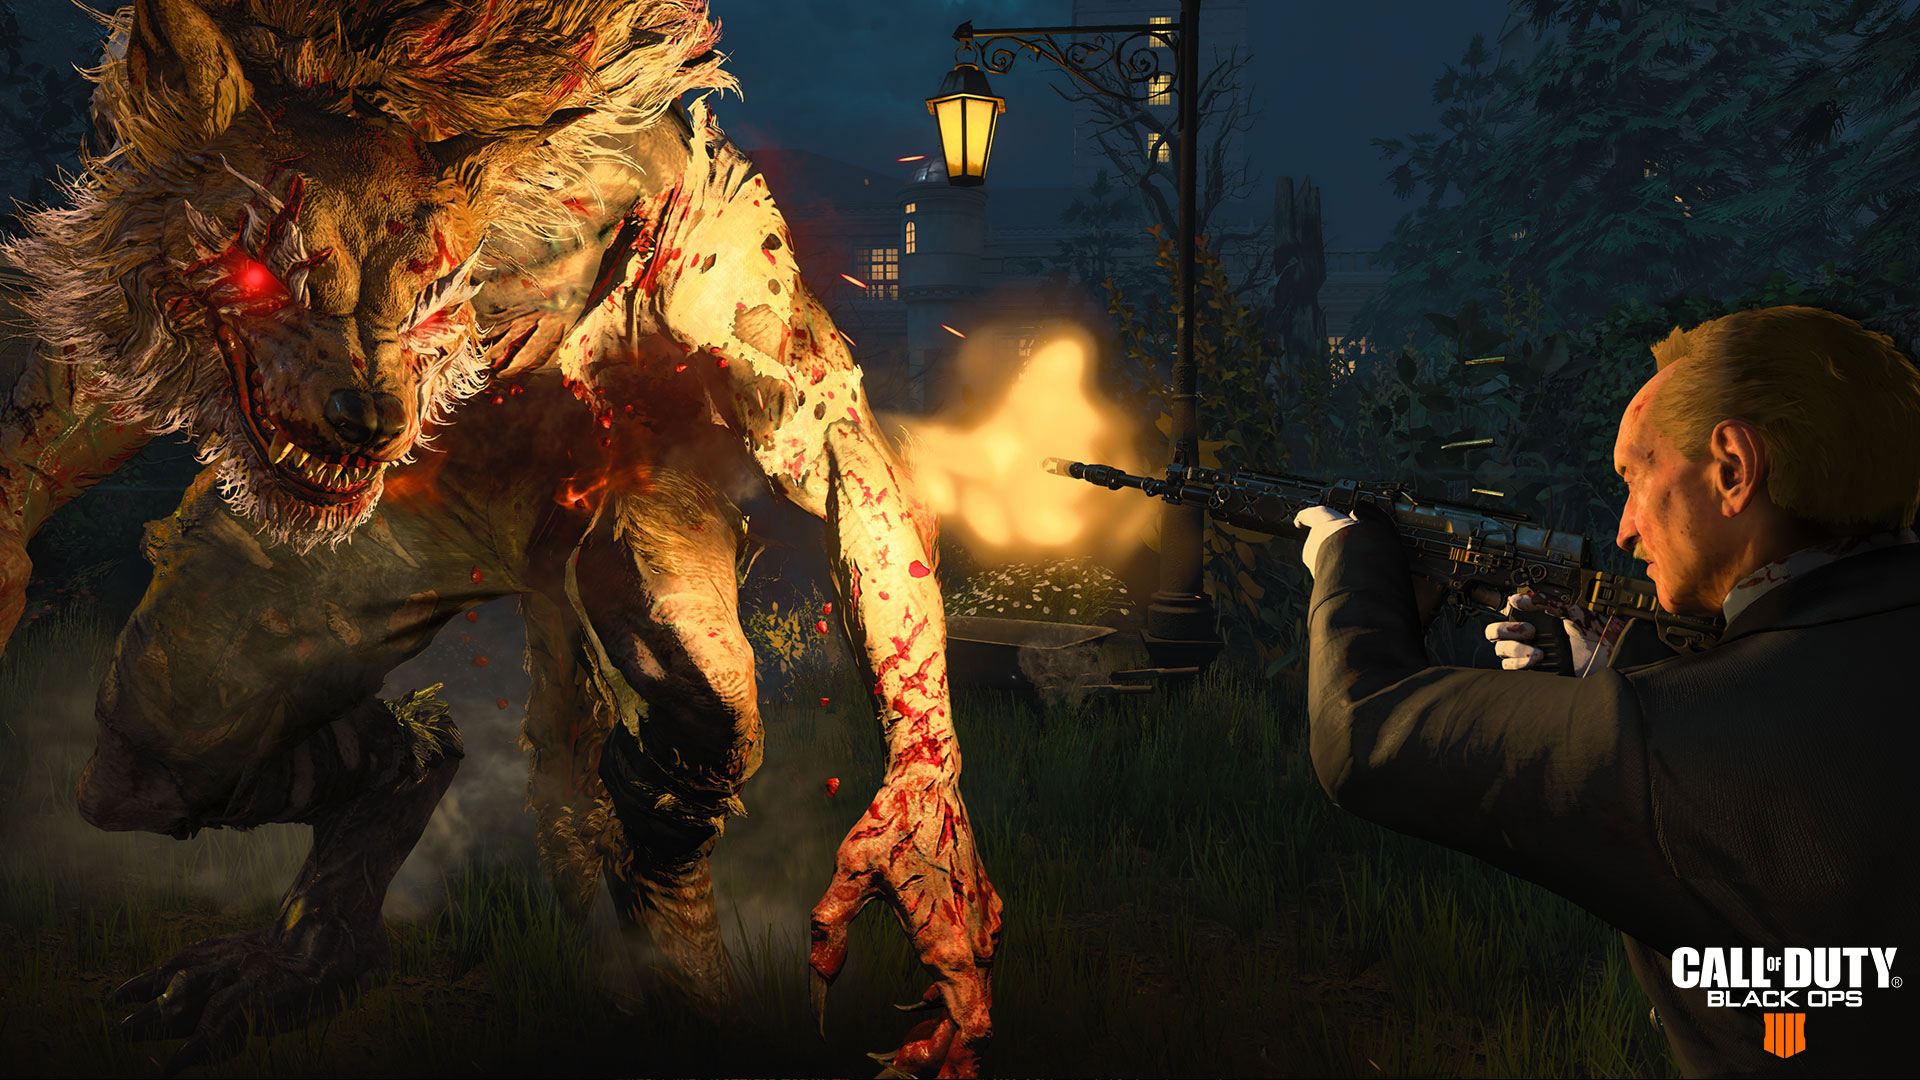
Round 9: Be-Were
Survive the Werewolf Onslaught
Use anything you got on these hulking beasts, because they are tough customers to take down. Load up on ballistics, explosions, special weapons, and anything you can find.
Coordinate your efforts, so you can revive downed players. Also consider bringing along some Elixirs that can help you not just in this round. The werewolves are tough, but they can be beaten.
Round 10: Corner Pocket
Defend the Billiard Room
By this point, you will have had plenty of time to explore the map and gather whatever weapons — from the wall, Mystery Box, or various Easter Eggs — you need to survive.
Get back to the Billiards Room and hold down the fort with whatever you got. This room is even smaller than the Dining Room, so be careful in juggling tens of zombies in here at a time.
You might want to get comfortable here for the next round, as well as with a variety of Pack-A-Punched and unpacked weapons. The Silver and Gold medals will not come easy, as it will involve plenty of knowledge with the buildable items hidden across the map, as well as Easter Eggs, and general Zombies survival techniques.
Needless to say, "This is going to be a long night.”
For more intel about Call of Duty: Black Ops 4, be sure to visit CallofDuty.com/blackops4 and follow @CallofDuty and @Treyarch on Twitter.
For more information on Activision games, follow @Activision on Twitter, Facebook, and Instagram.