Are you ready to be a part of The Resistance?
The Resistance, Call of Duty: WWII’s first DLC Pack, includes three new Multiplayer maps, a new War Mode operation, and a new chapter for Nazi Zombies. The pack is out now on the PlayStation 4, and has its own five-week community event going on right now across all platforms.
Within multiplayer, each of the three maps and the new War Mode operation have their own features and secrets. Keep this intel on the down low and very hush-hush because we’re giving you a quick guide that will help get you going in The Resistance.
Clearing Out the Enemy on Anthropoid
Anthropoid gets its name from Operation Anthropoid, the well-known assassination attempt on a high-ranking German officer during World War II.
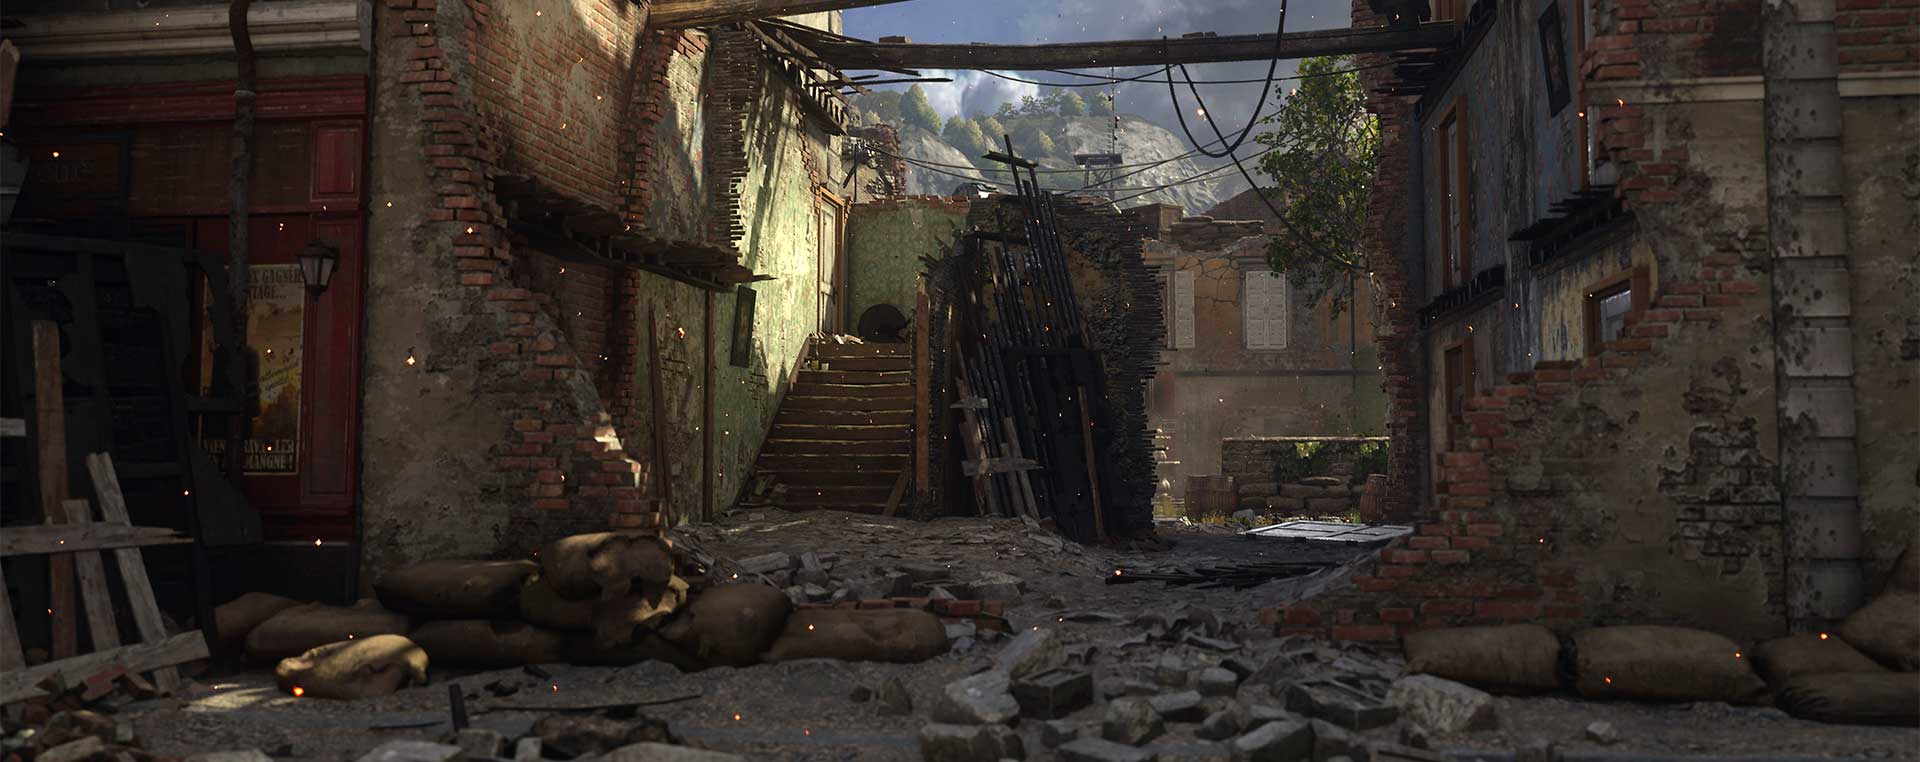
This map comes into Call of Duty: WWII as one of the largest ones in the game, but it has a variety of engagements options due to its streets and tight alleyways.
These shortcuts, as well as Anthropoid’s buildings, make submachine guns and other close quarters weapons very viable. Meanwhile, Snipers and LMG users will most likely be hanging out either in the side streets or toward the north and south of the map’s center.
Should you want to be deadly at a distance, take advantage of the map’s longer sightlines, and have a reliable buddy watch your flanks to prevent an unexpected knife in the back.
Anthropoid’s central river will be one that you may ford during a game, as it partially divides the map. Although it may be tempting to hang out there, don’t stay in the water for too long, or else you’ll be an easy target and wind up sleeping with the fishes rather than swimming with them.
Breaking Down Occupation
To those veteran Call of Duty® fans who played Call of Duty®: Modern Warfare® 3, welcome home. Or at least, what was once your home.
In this remake of a classic Call of Duty map, players battle through the streets and shops of German-occupied Paris during WWII. Long side streets encourage mid-range combat, with nearby homes and storefronts lending defensive positions for ambush and recovery.
Occupation has a mix of short, medium, and long-range engagements. The middle of the map is where you will most likely have close-quarter fights, so stay alert if you hang around outside or inside the central building.
The western part of the map is a long street that is perfect for snipers and long-range gunfights. Translation: avoid this street if you are carrying a shotgun or submachine gun, unless you like getting sniped from afar.
The same rule applies for the opposite side of the map, where you should proceed with caution if you climb the stairs. Those steps lead directly to the opening spawn for the Allied Forces, and anyone sitting on top of the steps has the high ground advantage against anyone running up the stairs.
Finally, many veterans will tell you to be aware of the cars around the map. They are peppered by stray bullets often, and if they have not exploded already, they will most likely blow up during the game from player gunfire. Needless to say, that can be lethal if you’re too close.
Taking Flight on Valkyrie
Valkyrie is inspired by The Wolf’s Lair, which was the Fuhrer’s Eastern-front headquarters during the Nazi invasion of the Soviet Union. It was also the setting for the July 20, 1944 assassination attempt which very nearly succeeded.
The map’s outer lanes are ruled by short to medium-range engagements, which is where you’ll want to use your fully loaded pistol if you are in the Resistance Division, or a submachine gun or shotgun for others. These lanes are also perfect for flanking in any game mode, so use the outside of the map to counter a central enemy offense.
Valkyrie’s streets are fairly open and are prime real estate for snipers and other long-range weapons. Rule the streets with pinpoint accuracy, and you’ll be able to force enemies into the outskirts where your teammates can eagerly wait on fleeing opposition.
The map is relatively flat, so you will have to use cover to gain an upper hand in combat. Be aware of where you can crouch or what you can hide behind around the map, and use those places to recover your health between gunfights.
Keys to Success on Operation Intercept
Operation Intercept is the fourth War Mode experience in Call of Duty: WWII, and is a three-stage rescue mission that takes place outside St. Lo, France in 1944.
The first stage tasks you with either saving hostages from two cells if you are on the Allied Forces, or defending the cells if you are on the Axis Forces.
A defending player can cause a good amount of chaos if he or she ventures past the Objective B hostage building and finds a single set of stairs that leads to a small platform. Lurking around these steps effectively can close off an entire attacking lane, and if you are skilled enough, you can most likely defend this lane by yourself.
Be sure that you communicate to your team about this strategy, though, so that there will be comrades hanging back near the hostage buildings to repair barriers and fight off any stragglers.
Meanwhile, the Allied Forces should use a variety of loadouts in order to get to the cell buildings, as well as fight the Axis Forces at close range inside of the buildings. Coordination is key for getting past this stage, as it will take a while to run from the Allied spawns to the hostage buildings.
The second stage requires you to either destroy radio equipment if you are part of the Allies or protect and repair equipment if you are part of the Axis Forces.
This is the stage where, if I am on offense, I change into my “Radio Destroyer” loadout that uses the Resistance Division, as it has the ability to scramble nearby enemies’ radar and reveal their general direction. These two abilities are crucial to figuring out where enemies are located in the radio rooms and makes it a bit more difficult for them to find me.
The rest of this loadout is a fast firing submachine gun, such as the Waffe, Machine Pistol, and the Concussed Basic Training, which gives me a British No. 69 tactical grenade and two lethal grenades. That all makes for a strong Division that can melt these radios as if they were butter, but of course if you have a preferred close-quarters class of your own, feel free to use it instead.
As for the defending Axis, repairing radios may be your key to victory, as your opposition will have only five minutes to destroy a building full of equipment. Spend some downtime repairing the larger radios if they are not completely destroyed and watch out for attackers coming down from the building’s second floor who will try to flank you.
The final stage is a tank escort mission where the Allies have to advance a tank across the map to a train yard, while the Axis have to stop it.
Similar to other War Mode operations with tank escort stages, be wary about hopping in the tank’s gunner seat on offense, because you’ll become a priority target for the enemy. Stay close to the tank on its side and rear, and pick off any pesky defenders who decide to lay down in front of the tank in order to stop it.
Defenders in this final stage have an unusual advantage in the form of boxcar doors. Closing these doors will cut off attack lanes outside of the tank’s path, and will force attackers to waste time while they open the doors manually. Operation Intercept matches can be won or lost because of these doors, so learn how to defend those box cars as they can block out potential attackers.
That’s all the tips we can share for now about the new Call of Duty: WWII multiplayer maps that come with the new Resistance DLC Pack. We hope you enjoy these four new multiplayer experiences, and we’ll see you on the field!
For more intel about Call of Duty: WWII, be sure to visit CallofDuty.com and follow @CallofDuty and @SHGames on Twitter.