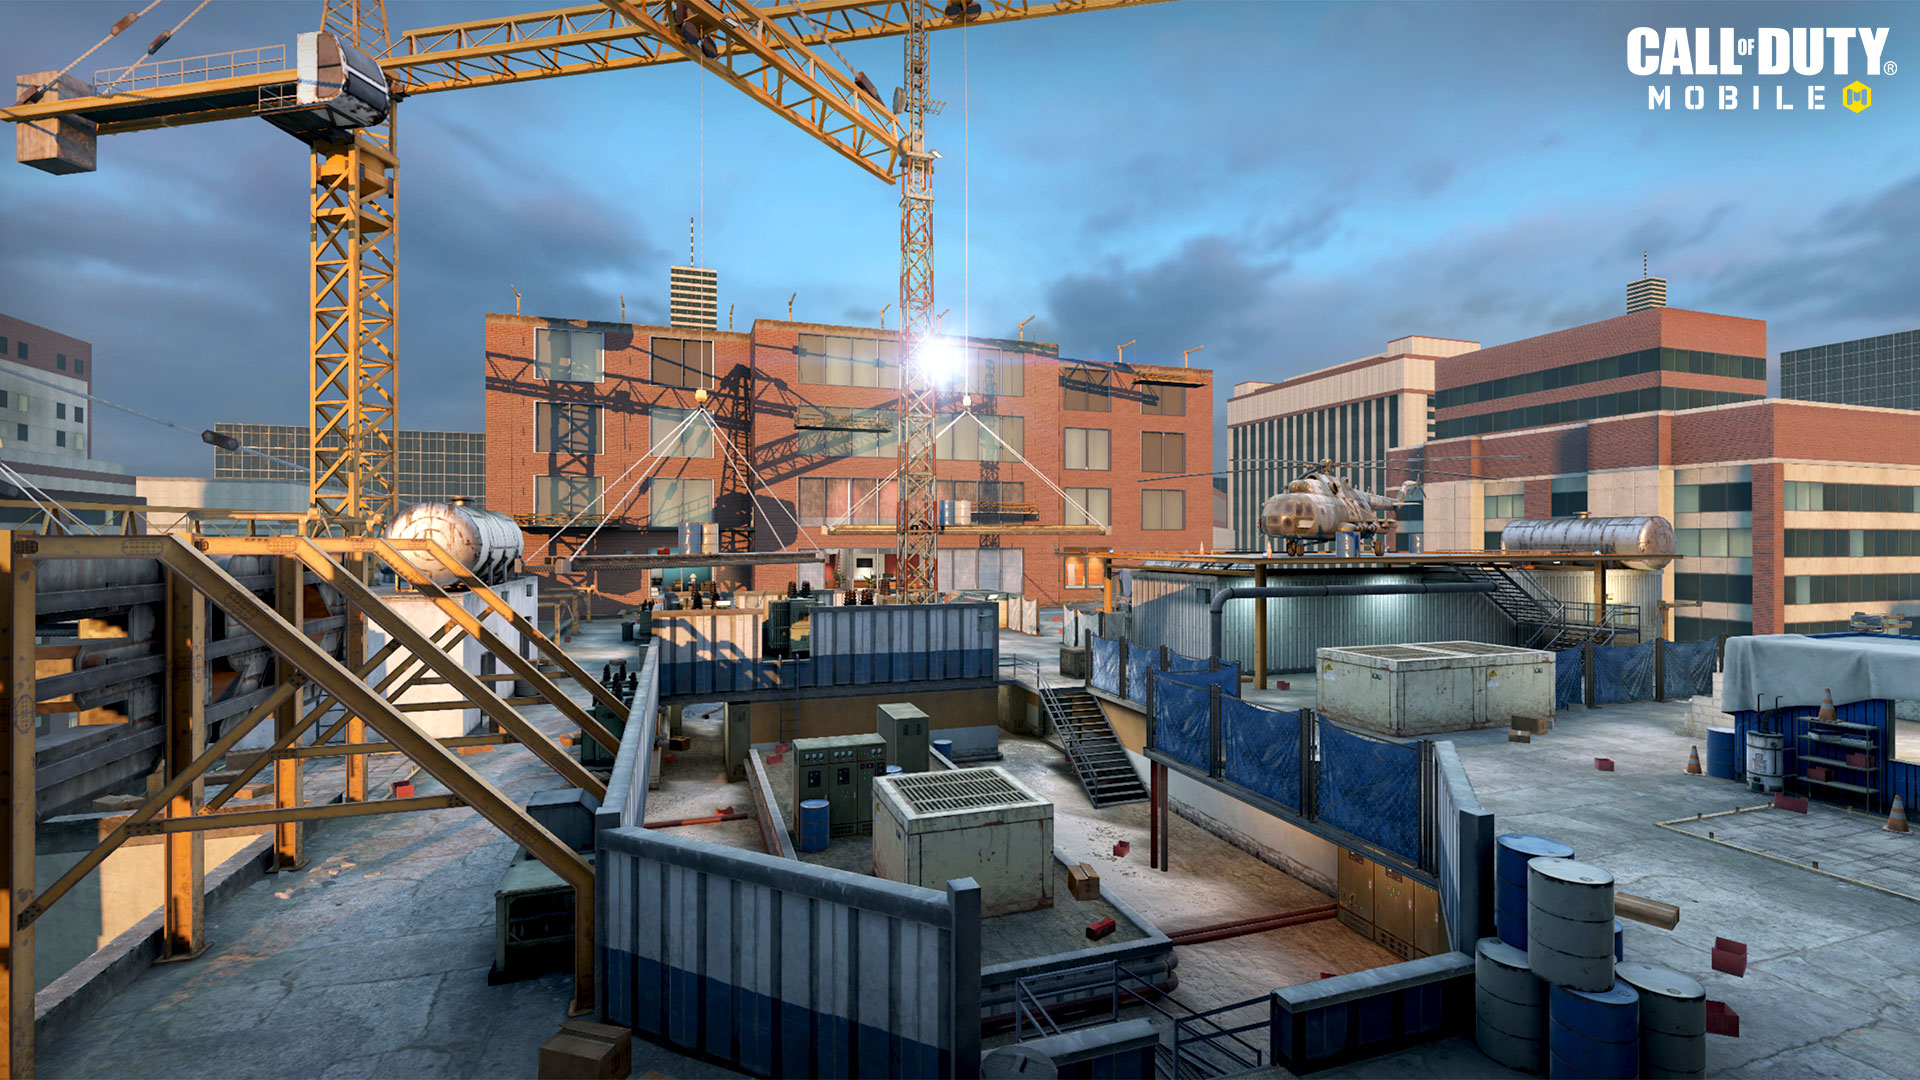
Call of Duty®: Mobile Map Snapshot: Highrise

This Map Snapshot breaks down Highrise, one of the most iconic Multiplayer maps in the Call of Duty series, now available on mobile.

Call of Duty®: Mobile Map Snapshot: Highrise

This Map Snapshot breaks down Highrise, one of the most iconic Multiplayer maps in the Call of Duty series, now available on mobile.

The fan-favorite classic returns. Highrise is available now for Call of Duty: Mobile, challenging players to duke it out in one of the most iconic Multiplayer maps of all time, originally released in Call of Duty®: Modern Warfare® 2 and live now for the first time on mobile.

Whether you’ve played it before or it’s your first time here, read on for an in-depth map overview plus strategies and tips for taking the lead and securing the win.

Map Overview

Highrise is a mid-sized Multiplayer map that deploys soldiers to a construction site atop a towering skyscraper. The initial spawns are located to the north and south in opposite facing office buildings, with a helipad and buildings materials in the middle.  

Both spawns offer similar options for approaching the map, with exits straight out the front of the office buildings for direct access to the middle. The initial spawns also hold entries to the sneakier tunnel route that leads from one office building through the middle of the map to the other. The buildings themselves feature multiple rooms and scattered office equipment leading to many hectic, close-quarters battles.

Middle map is where things really get interesting, as the multi-tiered layout finds players fighting each other from above and below. The far west and center lanes run over the ground floor, providing some cover through walls and other obstacles set along these paths. Between those lanes is the lower level, featuring a large AC unit and other obstacles. This level connects to the tunnel entrances of both buildings.

An elevated helipad dominates the east side of the map, with two staircases leading up top where a grounded helicopter offers some cover from surrounding threats. Fighting from here is a high risk, high reward proposition. You’re given a commanding view of middle map and into portions of both office buildings, though every angle you’re given means an angle for your enemies, as well.

Basic Tips

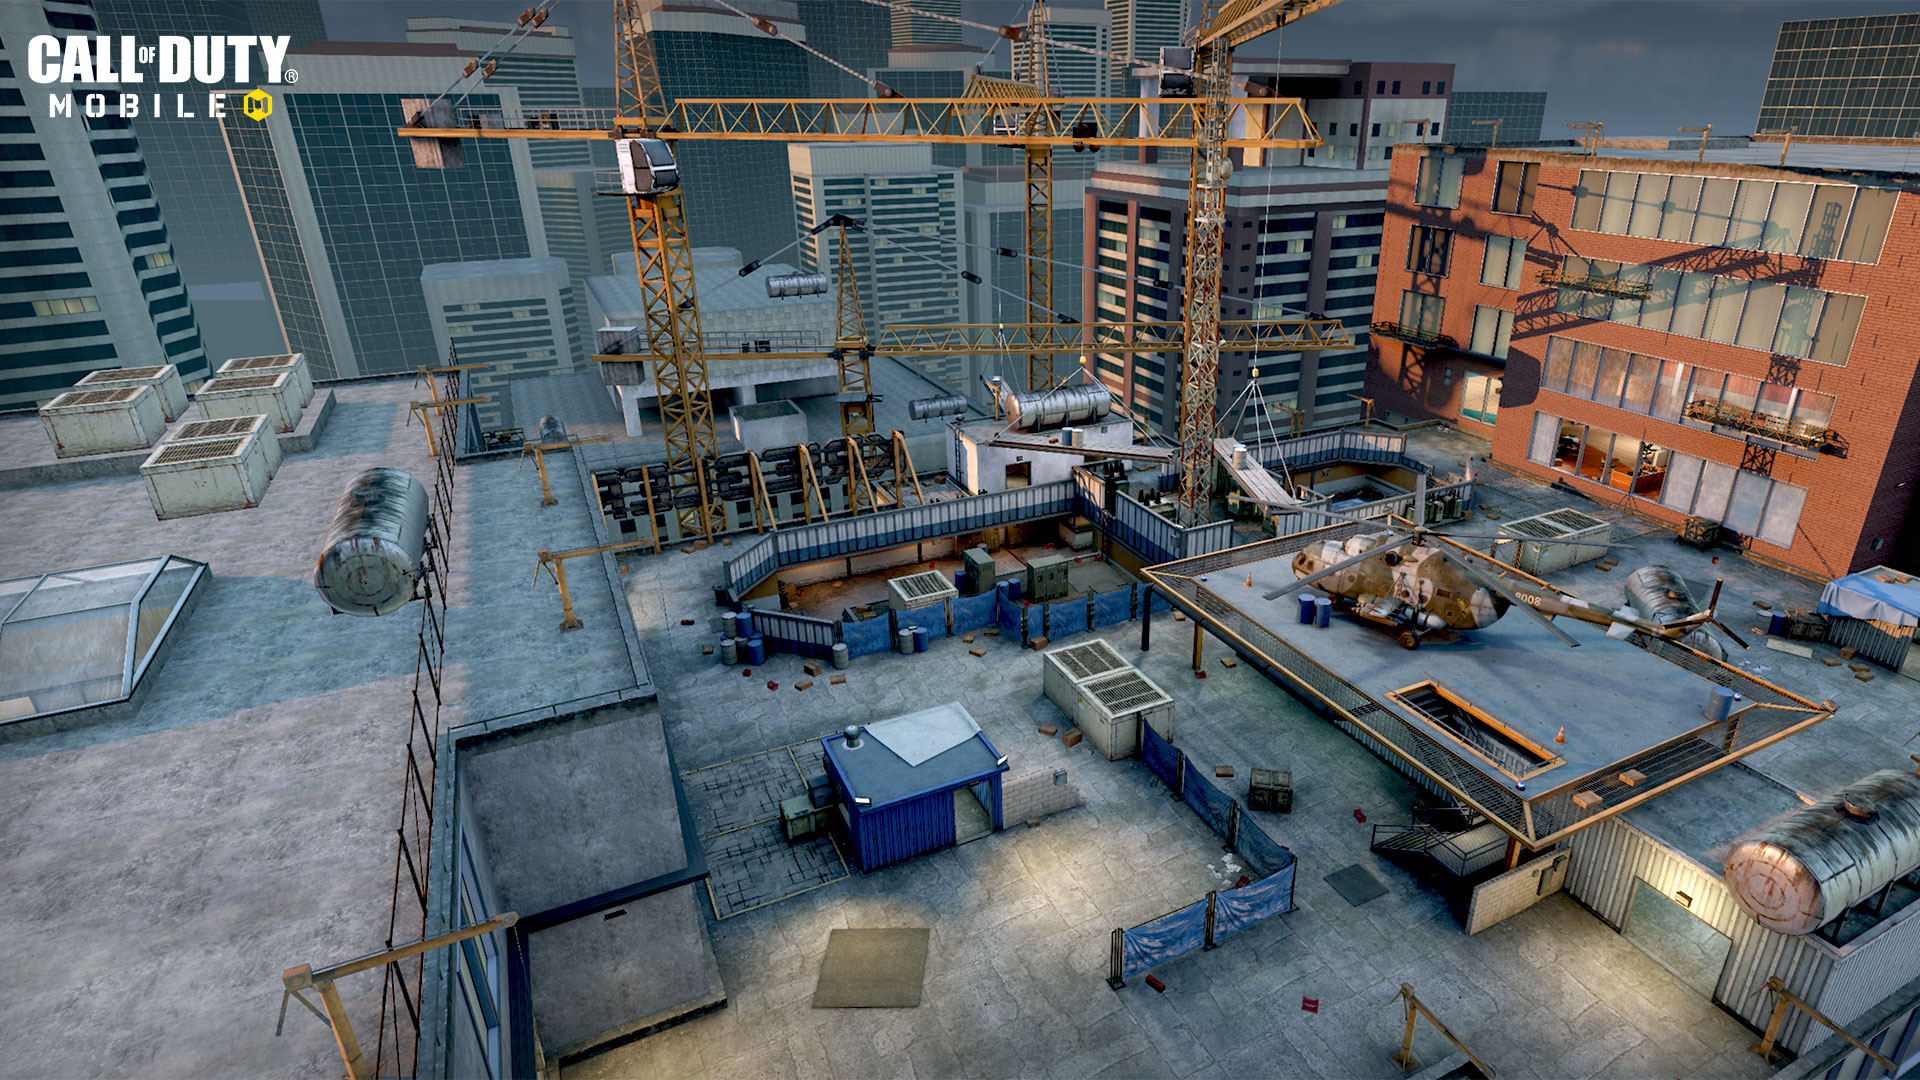
Situational awareness is of paramount importance on Highrise. Success here requires knowing where the greatest threats are coming from and anticipating where future threats may arise. If there’s a shootout between the buildings, take to the tunnels and lower level to avoid sightlines as you approach the enemy position. When the lower level gets packed, toss in grenades and open fire from above. Adapt and thrive.

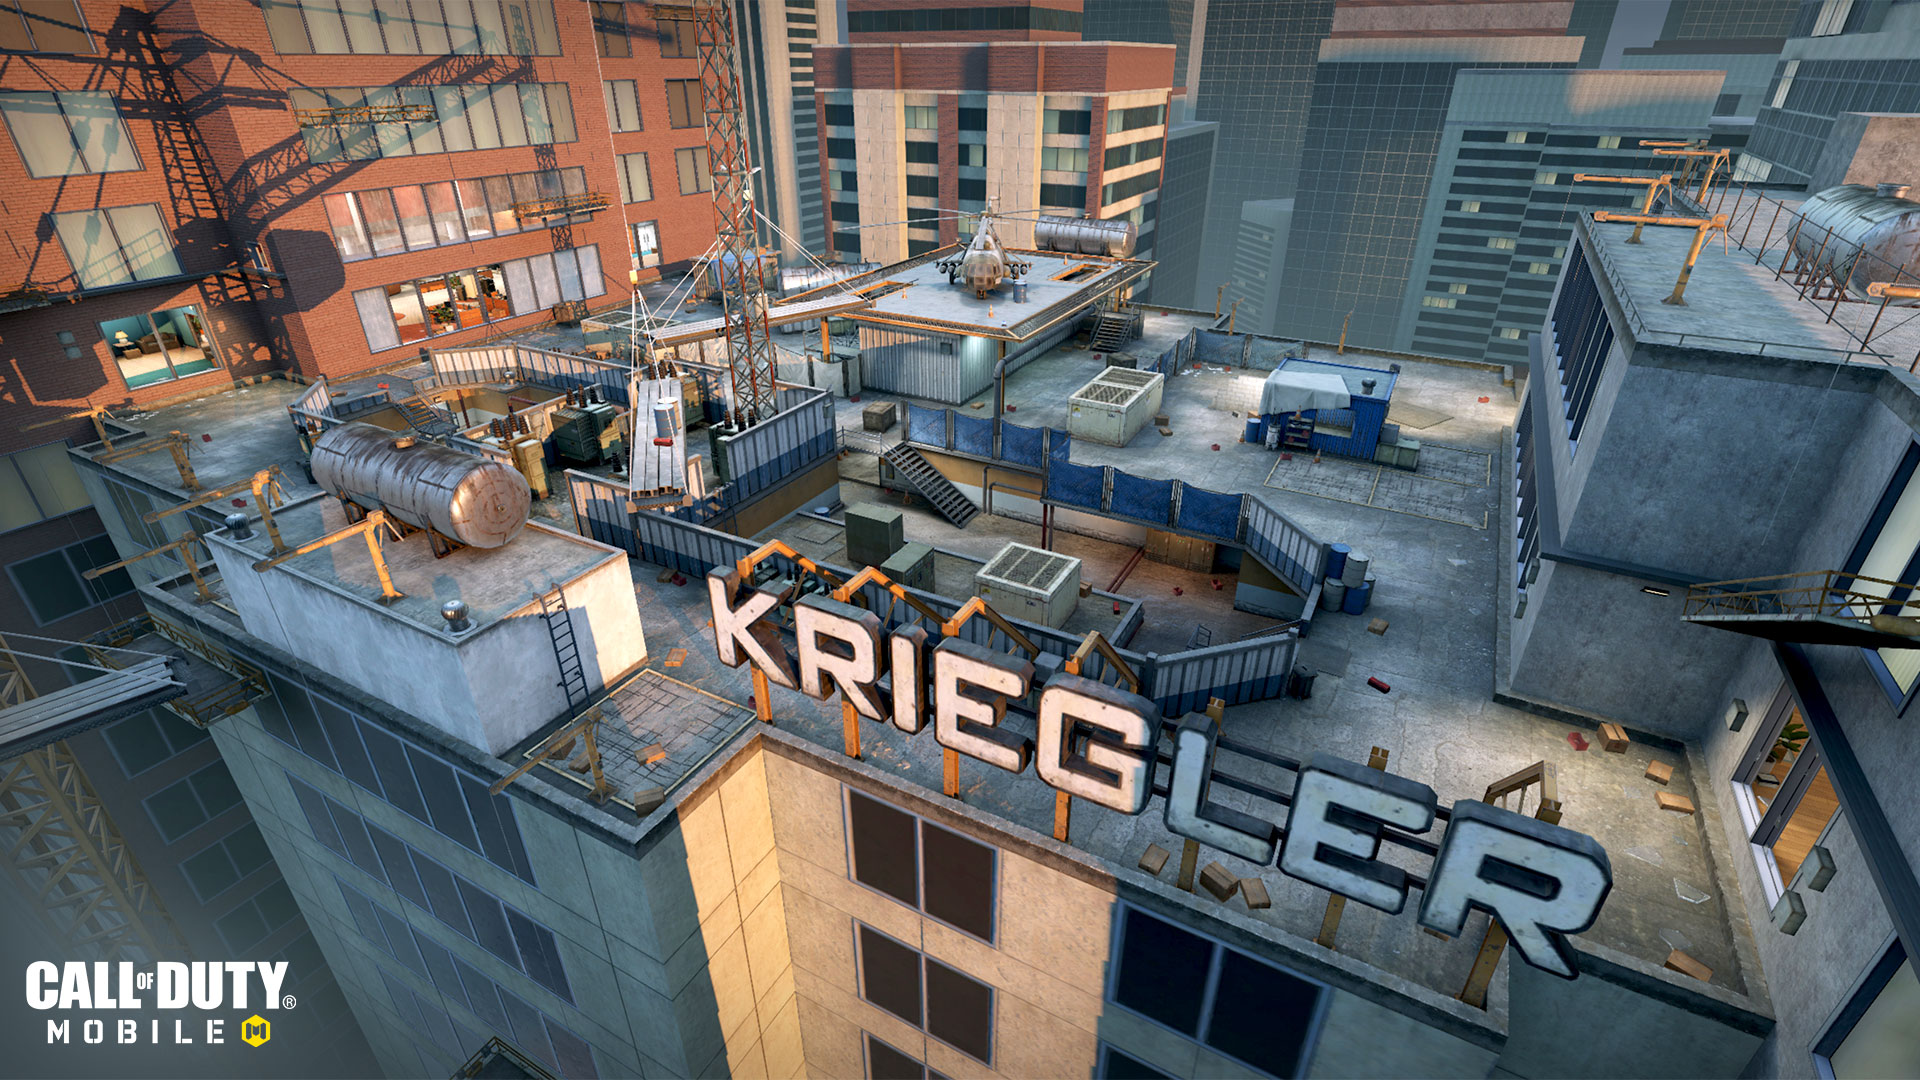
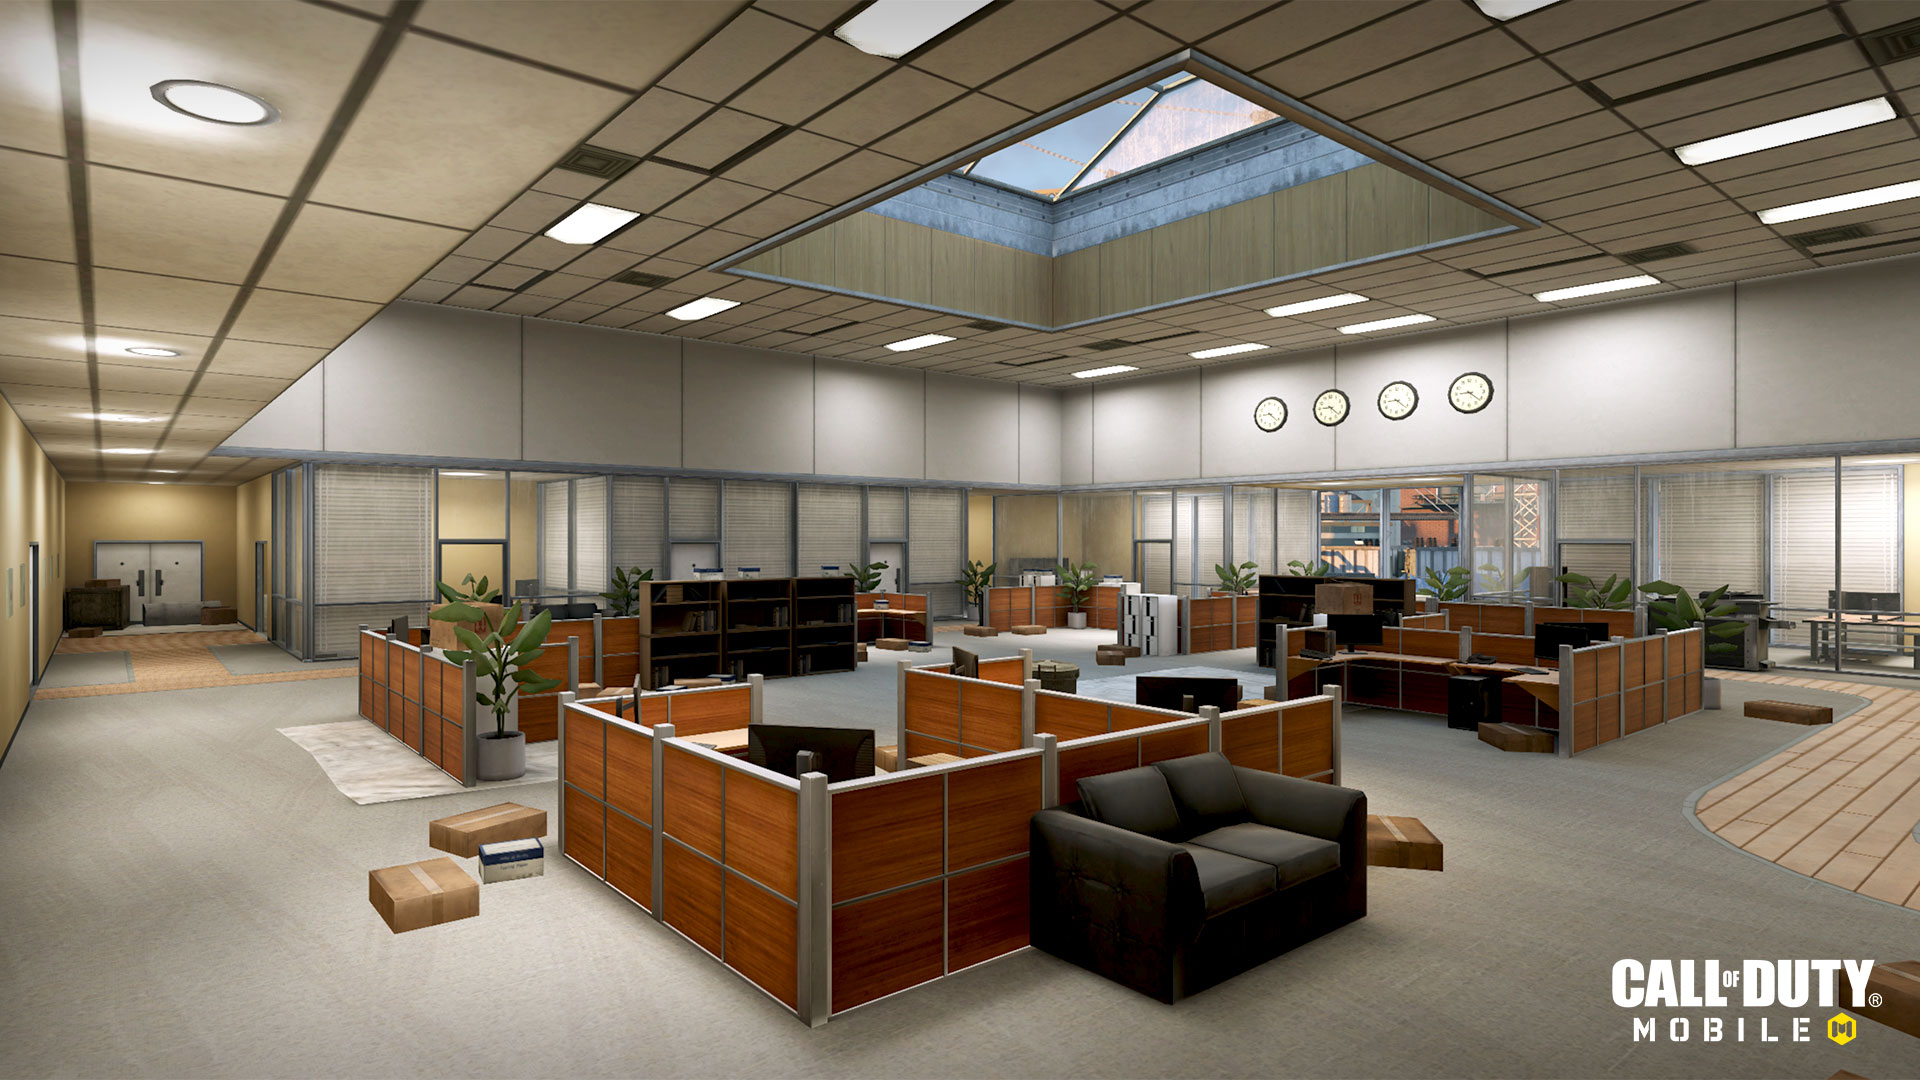
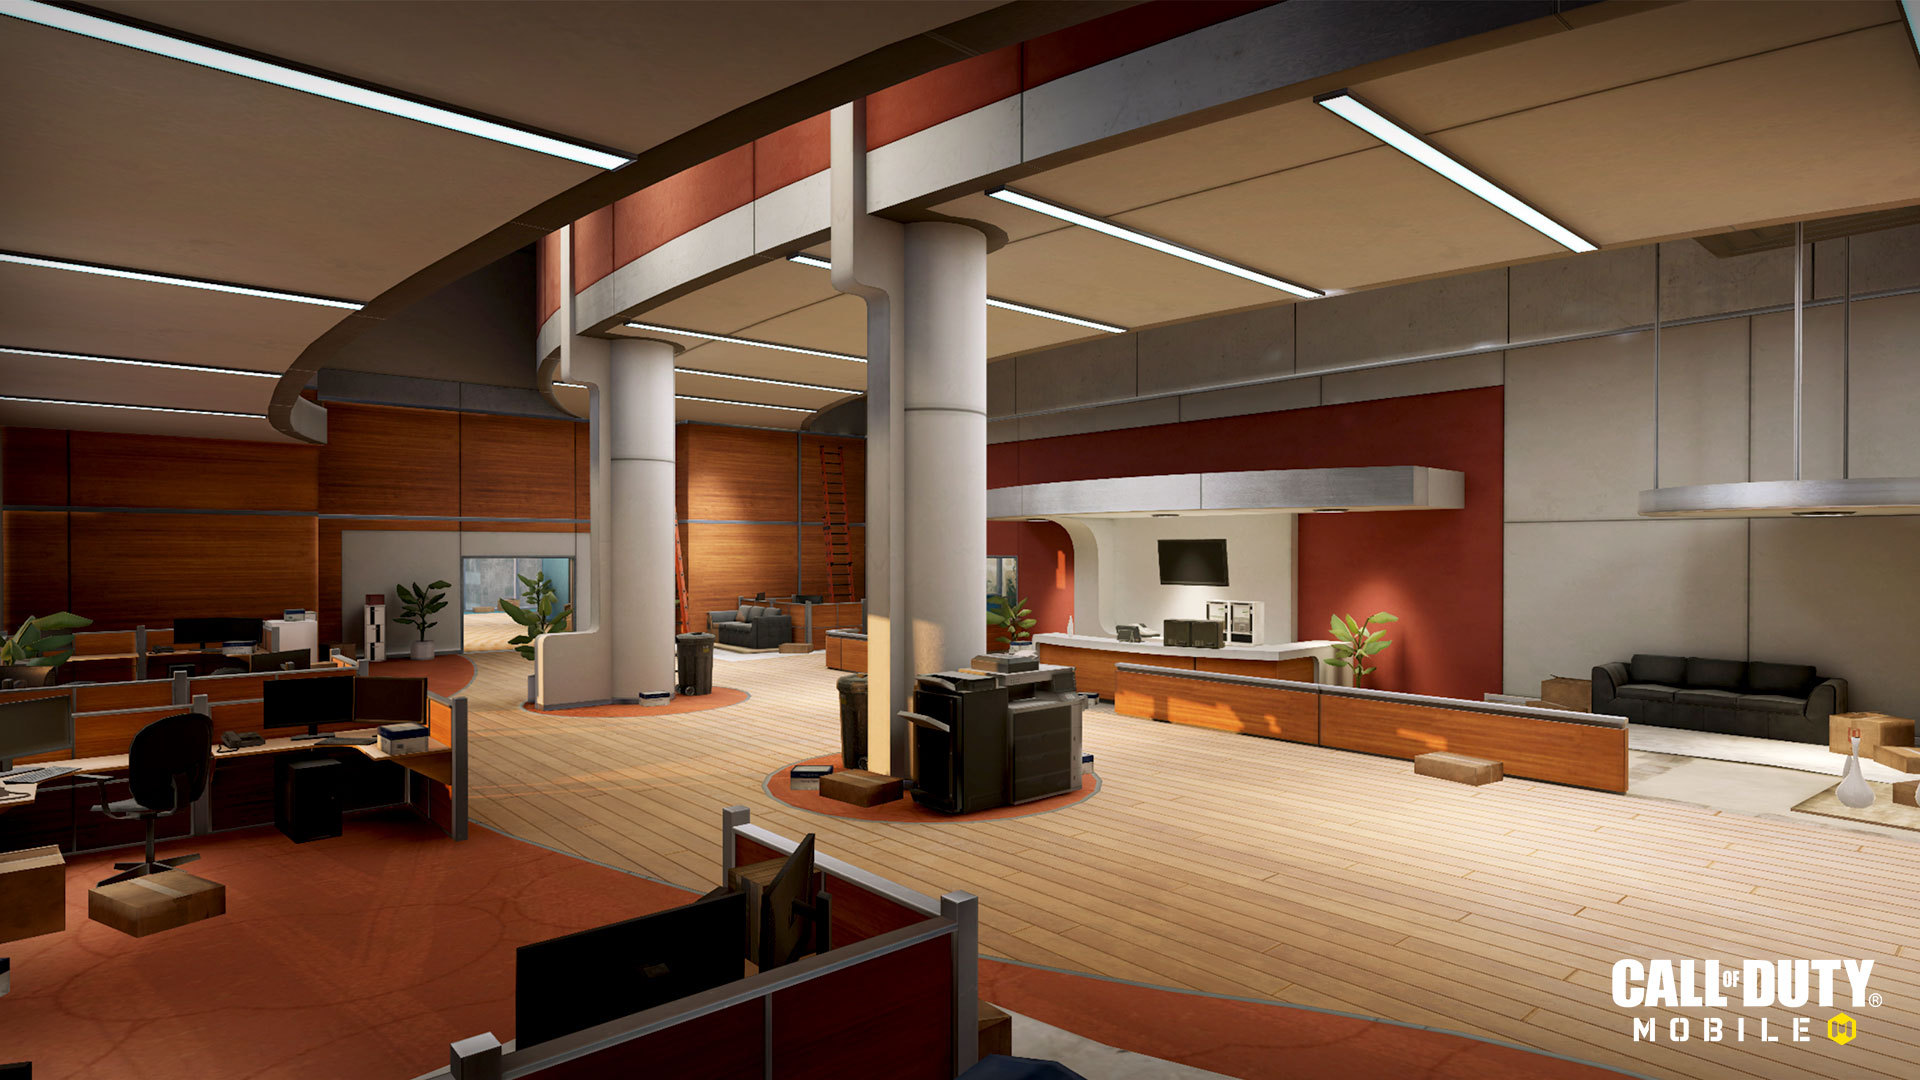
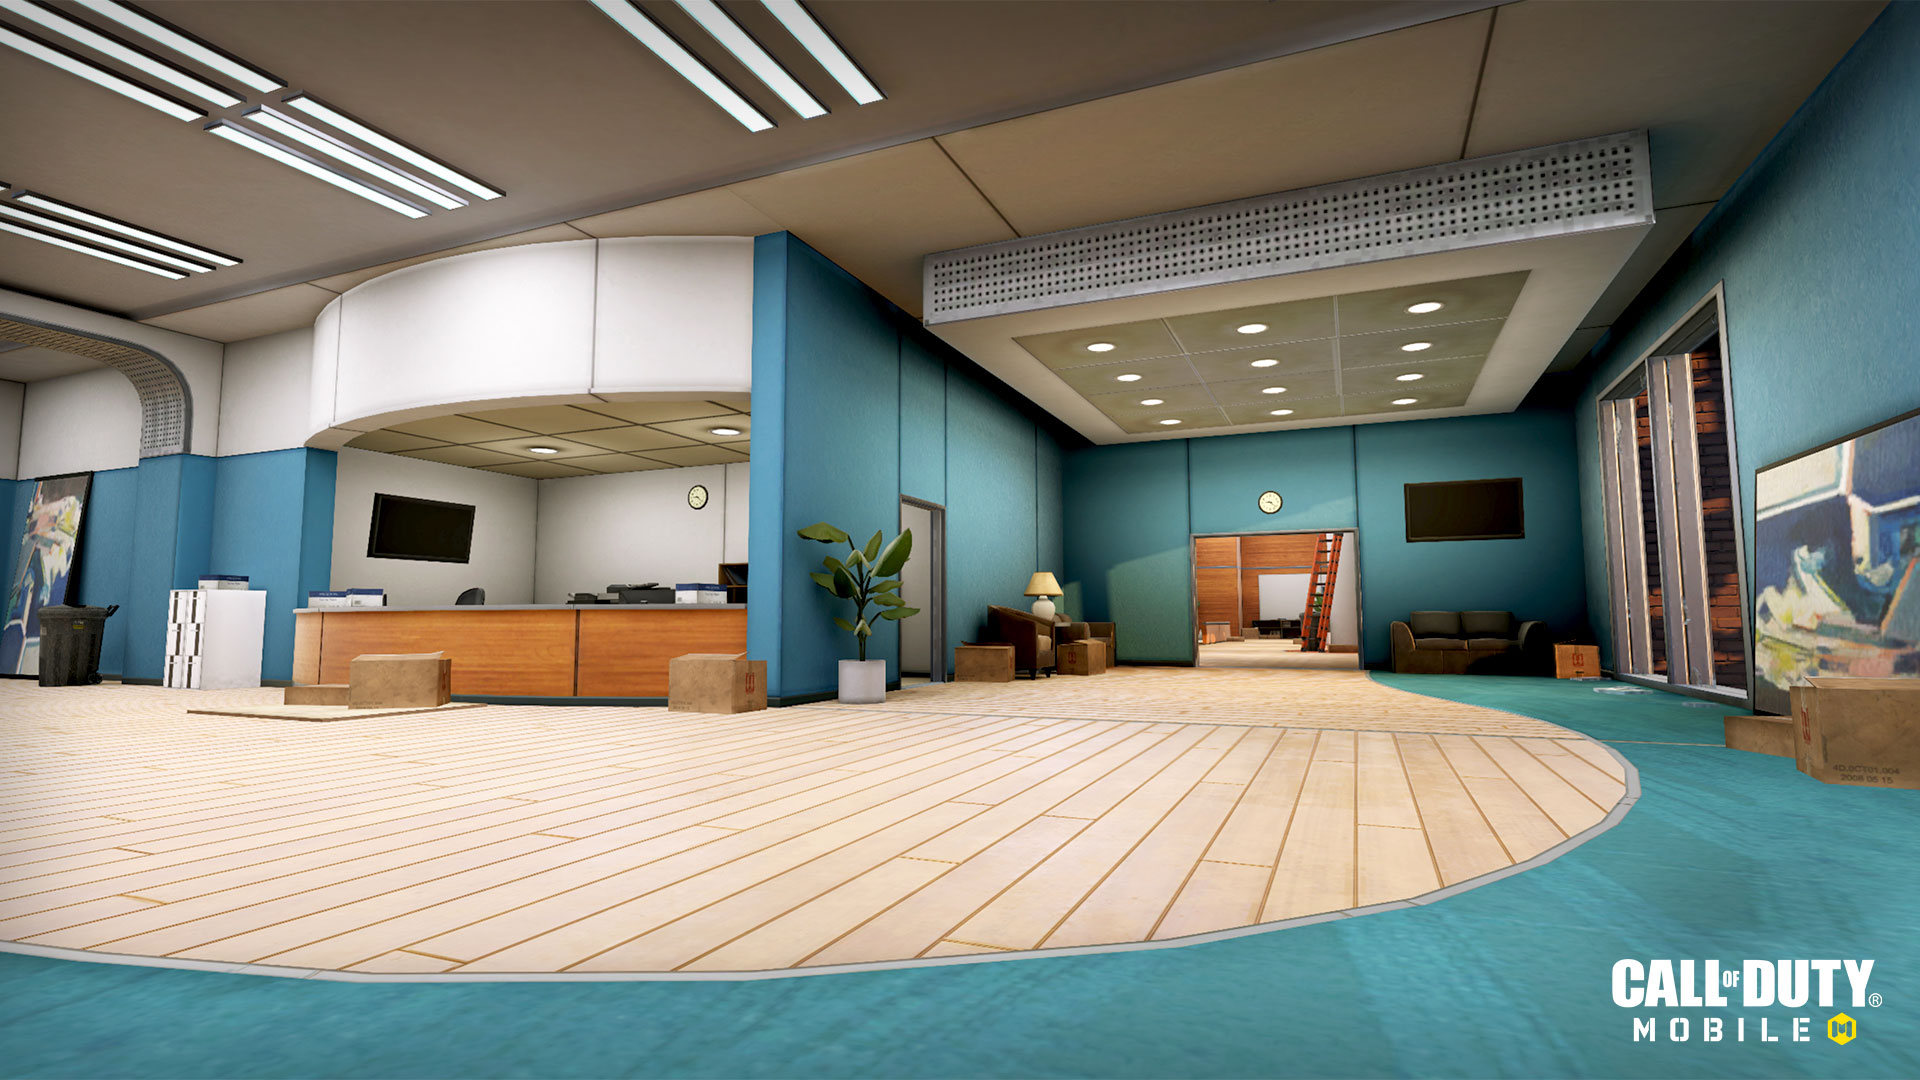
Players who prefer close-quarters combat will find plenty of opportunities to excel. Shotguns and SMGs can inflict major damage while fighting inside the confines of the buildings, especially when flanking enemies focused on middle map. CQB also reign in the tunnels and narrow lower level, and in various pockets along the ground floor when using cover to surprise nearby enemies.

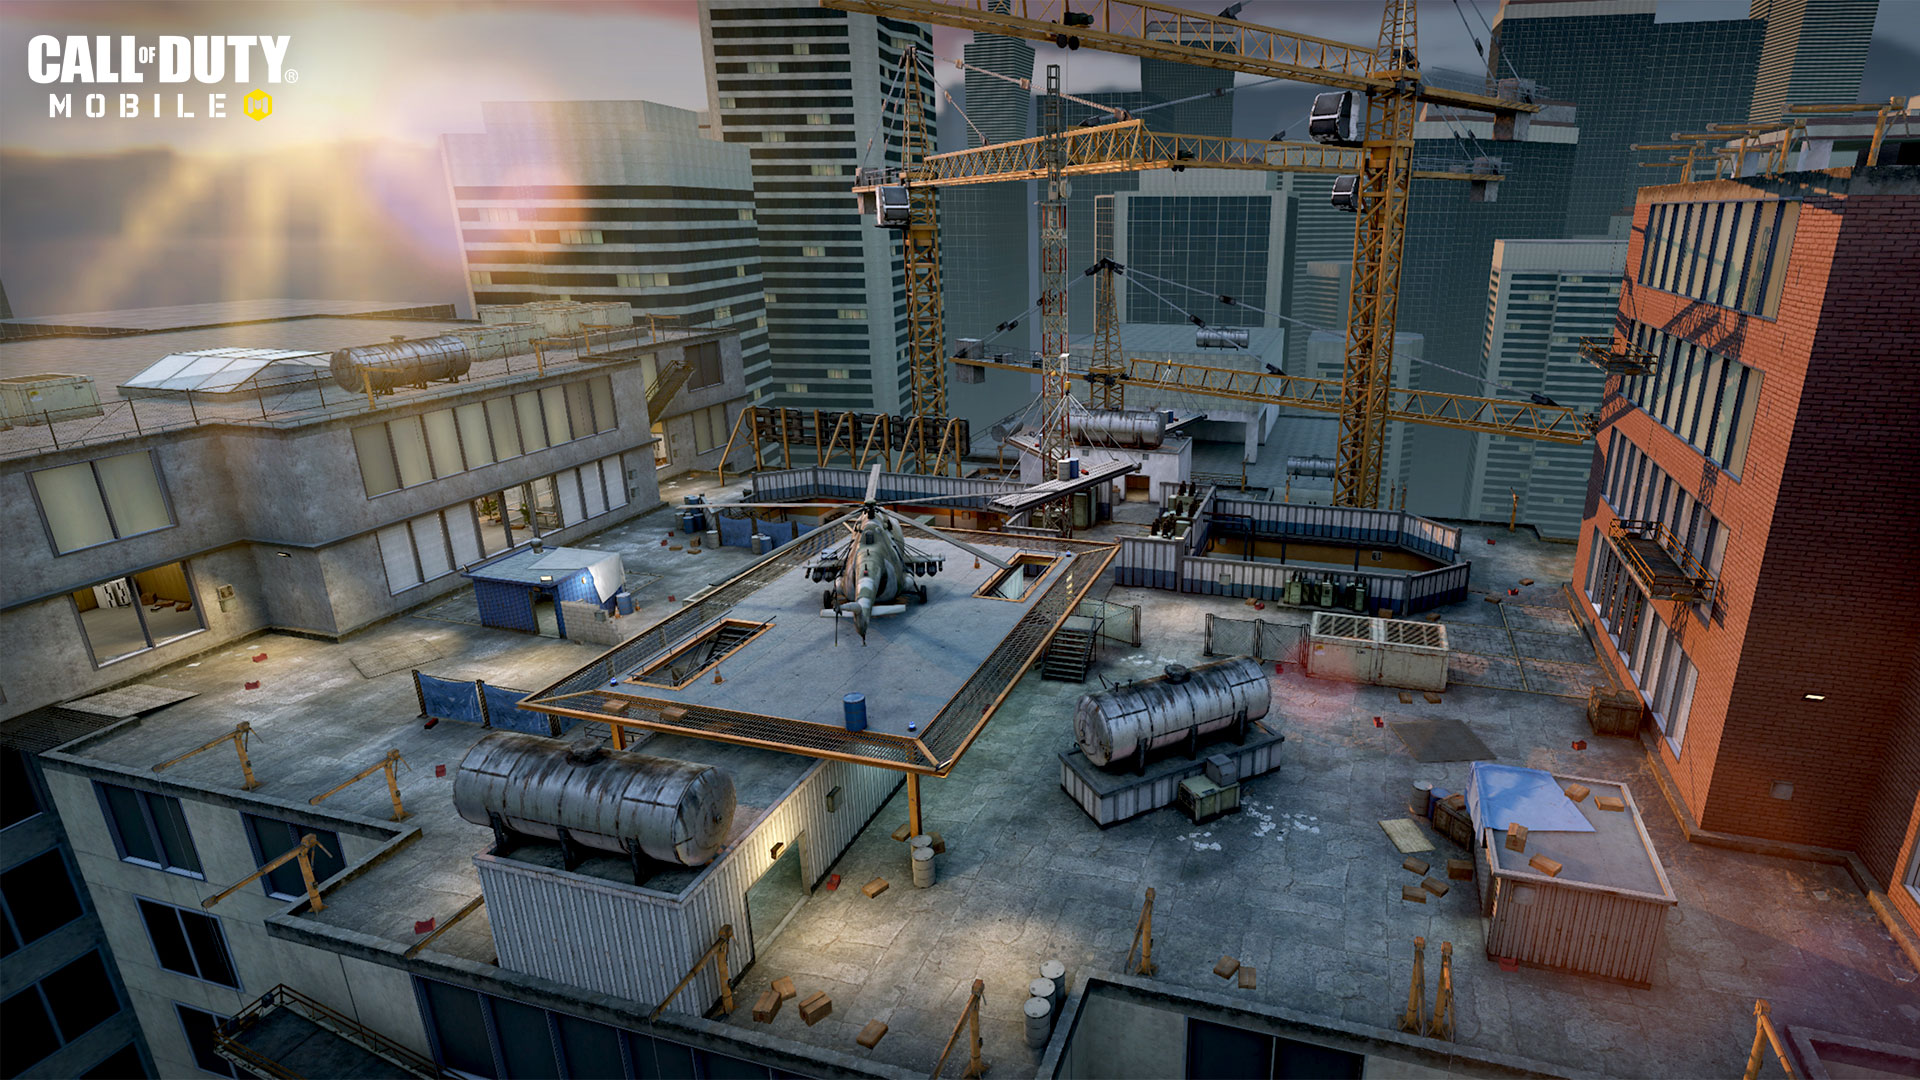
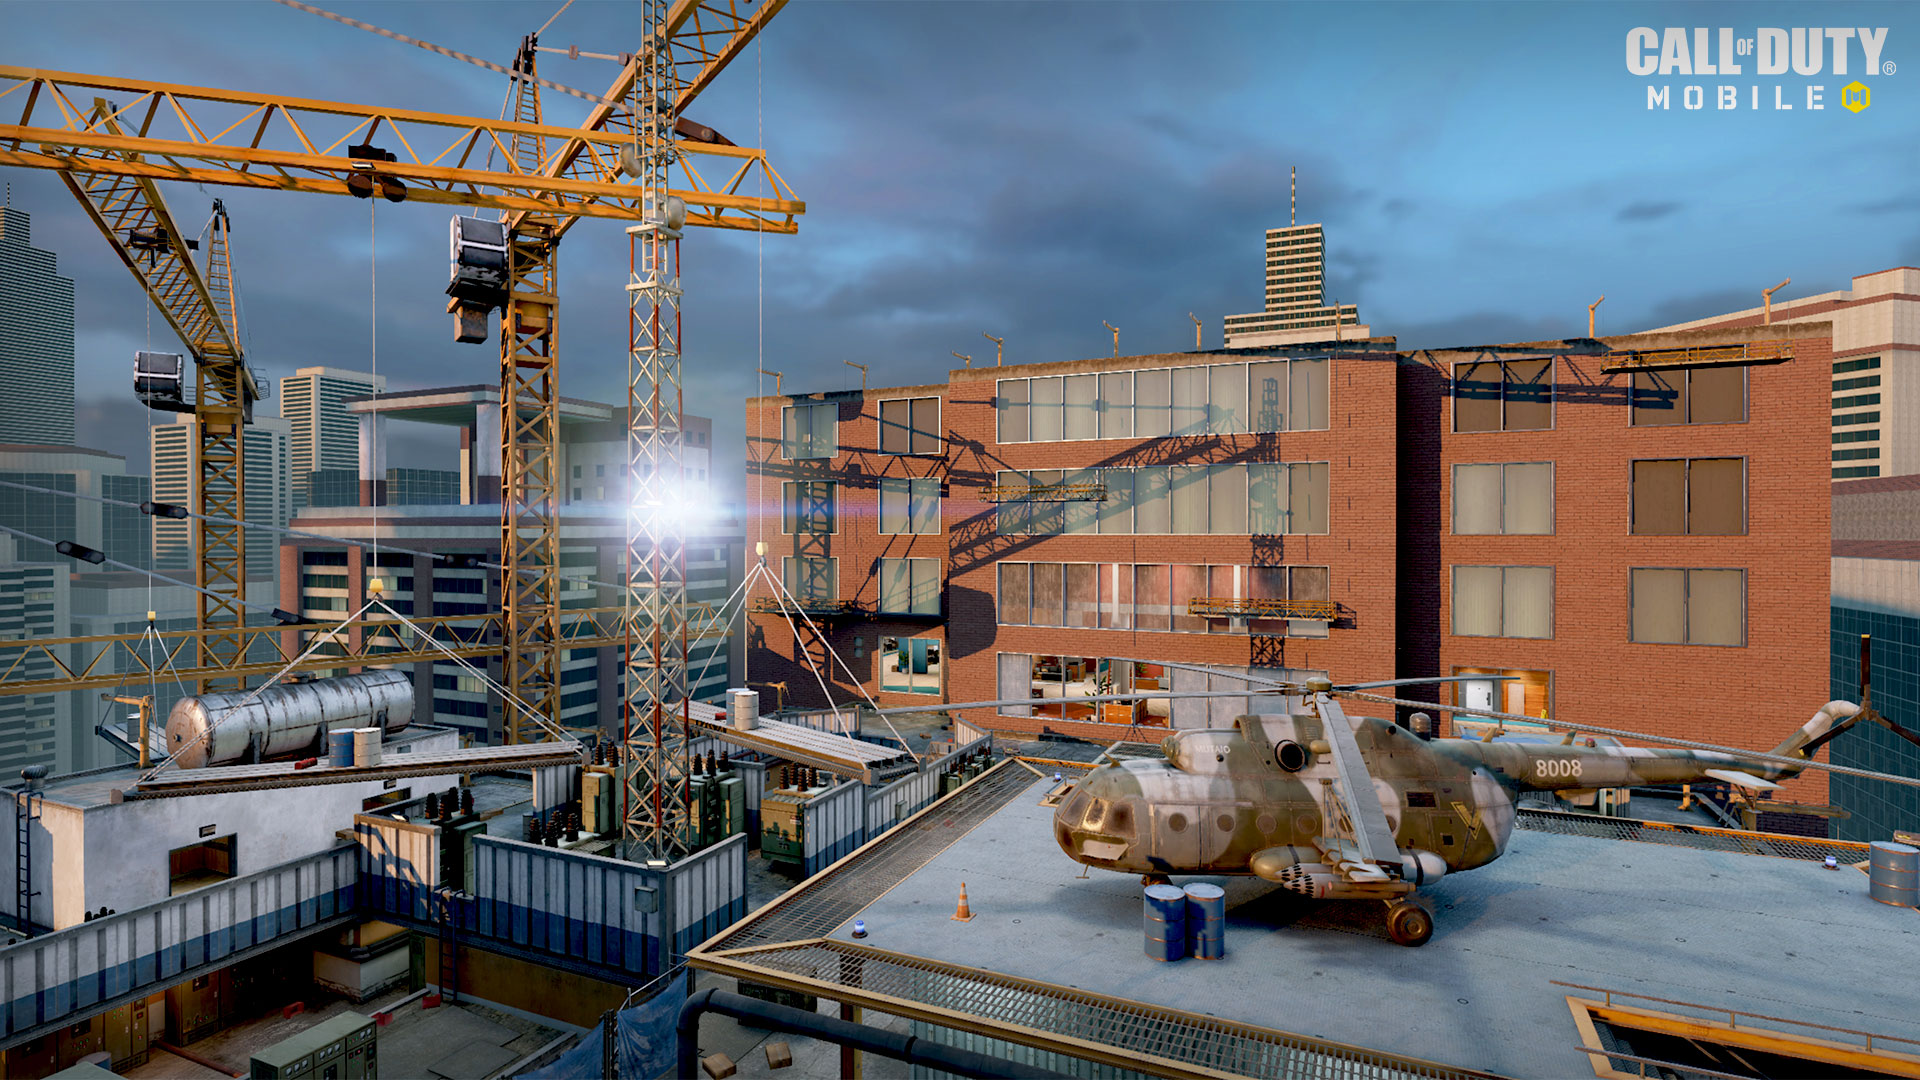
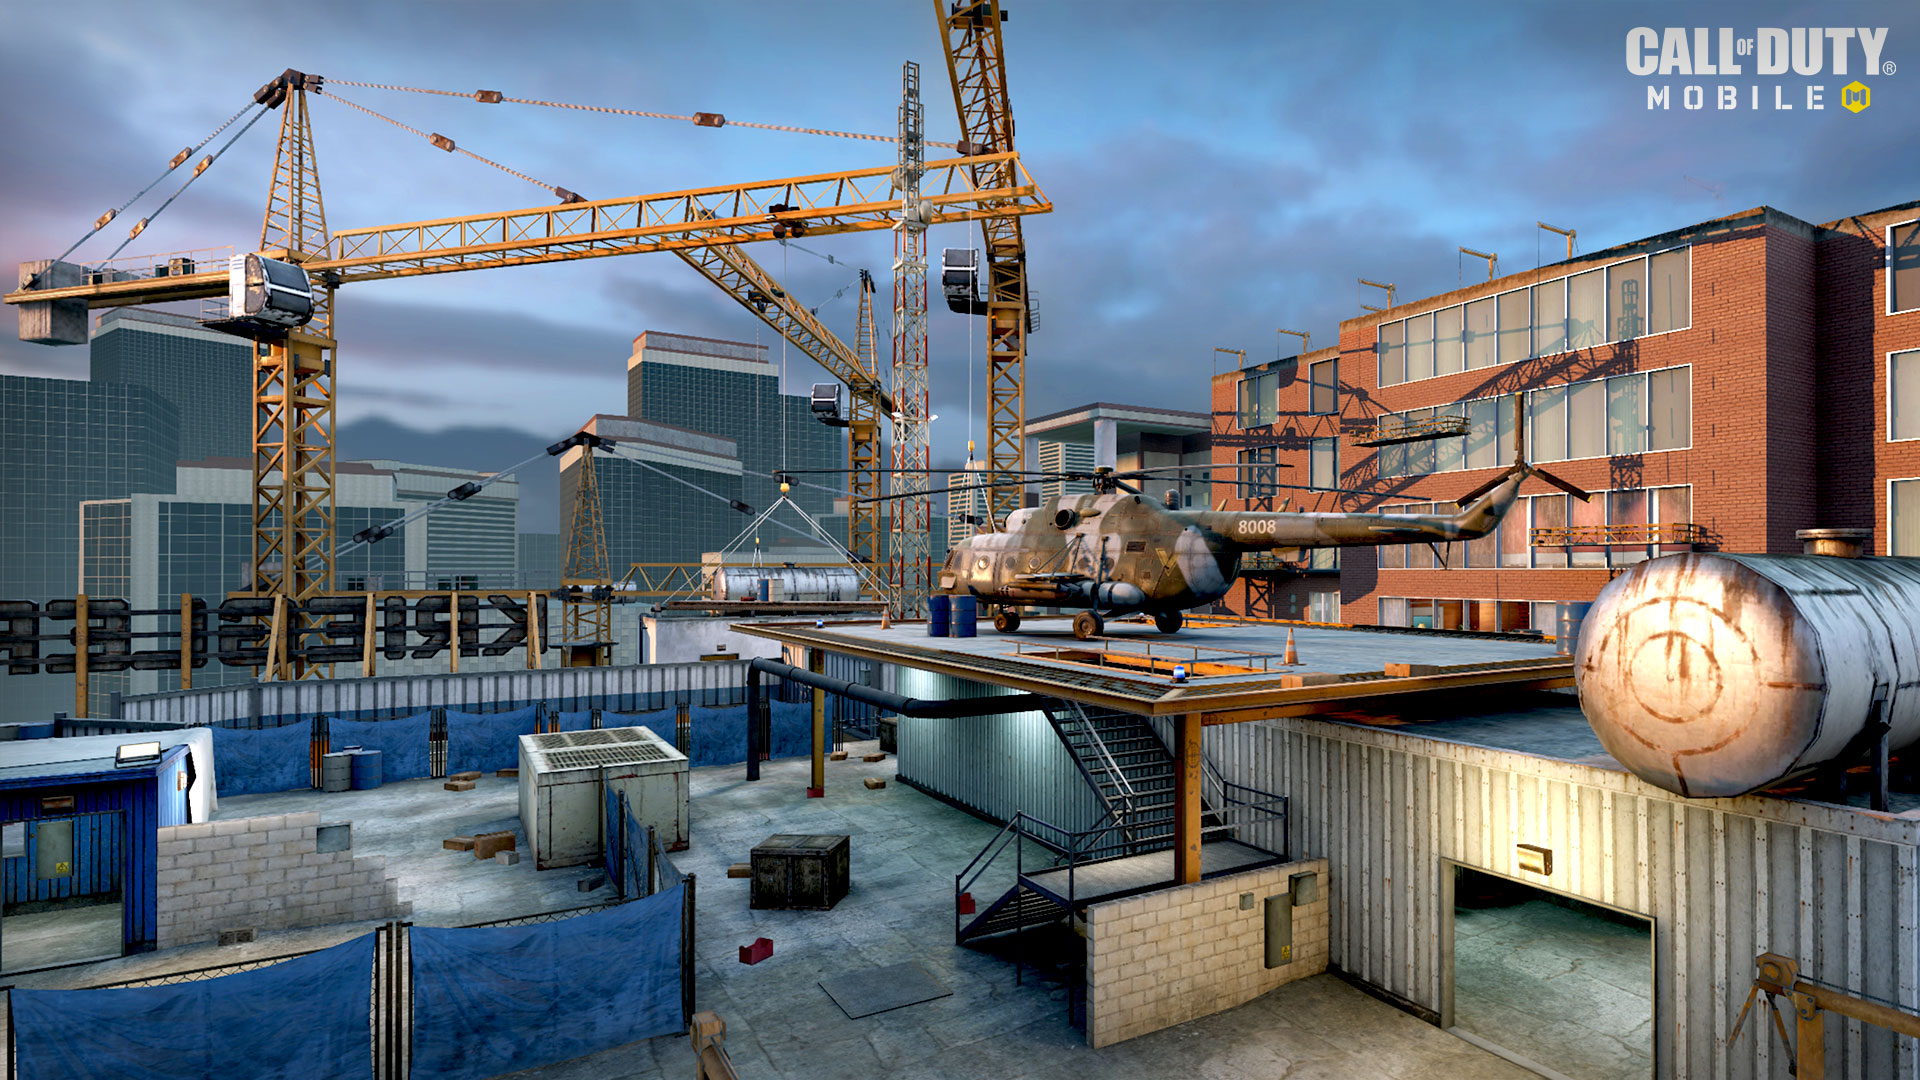
There’s plenty of room for success with mid-range loadouts, too. Run up to the helipad to get the angle on enemies all over middle map. Stick to the top or bottom of middle map — just make sure your back isn’t pointing toward an enemy occupied building — and strafe between the left and center lane, taking out enemies on the move. In the buildings, keep your back and sides protected by the walls, and pull back to land shots on close-range players from a distance. 

While there’s danger from every angle, snipers and other long-range loadouts can make the most out of Highrise’s most famous long-range spots. Brave players can jump from the helipad to the catwalks, on top of the western elevator and again up and onto the crane for commanding long-range views. When facing the north building, climb up a fallen walkway on its far left and follow the ledge across and up to the top of the building. Make it there alive and you’ll have views over a huge portion of the map.

Master Tactics

Highrise may seem intimidating at first, especially when you run into vets who seem to know every angle and pathway but be patient and keep at it. The first step to mastering this classic map is to break it into chunks until you know the ins and outs of each section and can visualize it as a whole.

Start by picking a playstyle and sticking with it for a few matches. Equip an SMG and focus on slaying inside the buildings. Use the tunnels to travel between the buildings and to gain experience fighting in the lower level. Once you’re comfortable there, move to the east side of the map and weave around the helipad to catch enemies moving toward the elevated position.

Once you’ve got a good idea of where CQB loadouts best perform, use that knowledge to protect yourself while fighting with a mid-range loadout. Focus on the middle map ground floor, including positions within each building that offer good views outside where CQB will struggle to retaliate.

Once you’ve nailed the fundamentals, pull out your sniper rifle of choice and start heading for the trick spots. Now you’re a Highrise master.

Scorestreak Field Guide

Highrise’s intricate layout naturally favors some Scorestreaks over others. With the north and south buildings and the multi-tiered middle map, air-to-ground attacks often struggle to find targets, and when you do there’s a good chance they’ll run to cover before the attack lands. The same goes for the Hunter Killer Drone, as the map’s many walls provide easy cover options for all but the most unsuspecting enemies.

The UAV and Counter-UAV are vital low-cost options, as enemy placement largely dictates your plan of attack. Pair these with the Care Package, paying special attention to where you call in the crate so as not to be left out of reach.

The Molotov Cocktail can perform well here, too, for damaging enemies in the enclosed lower level or for trapping them in the buildings. Highrise is built of many narrow, interconnected paths, giving this Scorestreak the power to force enemies into a totally different path, great for momentarily redirecting traffic in objective modes.

Confident players can opt for aerial Scorestreaks like the Stealth Chopper or VTOL, but be aware that this may just push the enemy team into the buildings for cover. Consider the MQ-27 Dragonfire instead to follow them in their retreat.

Objective Play

Objective modes will test your knowledge of all the ins and outs of Highrise and are a great way to extend your map knowledge. Should you look for a vantage point and provide cover, or head straight to the objective? Do you take the direct ground floor path or attempt a flank via the lower level or helipad?

Different objective modes will funnel the action over different parts of the map. Domination favors the center lane with the B flag poised right in the middle, and A and C placed near each team’s spawn point in the buildings. At the start of the match, many will push straight down the middle to attempt an early B capture, but as the match evolves expect the fight to extend into the B flag’s many surrounding flanking paths.

Search & Destroy may see less in-building fights than Domination, but greater use of the whole middle map, with the A bombsite located on the central pathway over the lower level and the B bombsite positioned just north of the helipad. Expect a lot of CQB fights between players approaching the bombsites and be aware of sharpshooters — or be one of them — who cover the center lane to tag enemy players on the move.

In all game modes, consider all of the various paths leading to each point. The more aware you are of your surroundings, the more likely that you’ll get to the objective, fend off enemy players, and secure points for the win.

10 Tips

10. Enemies seemingly attacking from every which way? Use the Alert perk to catch enemies aiming for you out of sight, at least until you’ve got a better handle on all the potential points of attack.

9. Consider the Stock attachment on applicable weapons to encourage moving with your sights up in high danger areas. An attack can come at any second, and you’ll be ready for it.

8. FMJ is another highly valuable attachment on this map, especially when fighting in either building. There are plenty of walls and other obstacles players can weave between mid-fight, and FMJ will keep them from offering too much protection.

7. With its multi-tiered layout and winding pathways, consider the Tracker perk to help spot enemy movement around corners and up and down stairwells. Spot those footprints and close in for the kill.

6. Enemy jamming your radar? Have a loadout on hand with Hard Wired so you can view your minimap even when there’s an enemy Counter-UAV in the air. You’ll also avoid Trip Mines and leave a smaller footprint for enemies with Tracker, all important advantages when navigating this tricky map.

5. Don’t shy away from the trick spots. Traverse the catwalks from the helipad to the crane. Shimmy along the north building’s window ledge on your way to the roof. Bring a sniper rifle along and enjoy the view!

4. Consider using the knife as your secondary weapon. Switch to it for high mobility when chasing down enemies in the tunnel or through any other of the map’s several confined areas.

3. Need a breather? Equip a launcher and step back from the chaos while you shoot down enemy aircraft. Your team will thank you for it.

2. Consider equipping the Gravity Spikes Operator Skill and go to town with a highly mobile and very lethal attack that can decimate groups of enemies in close range. Stun or disorient your enemy with a tactical equipment, then strike with the Gravity Spikes before your foes can react. 

1. Have fun and keep experimenting! Highrise is one of the most iconic maps of all time, and the possibilities just keep expanding as you become more and more familiar with this intricate map.  

We’ll see you online.


For the latest intel, be sure to visit the Call of Duty: Mobile website. Also check out www.callofduty.comwww.youtube.com/callofduty, and follow @CallofDuty on Twitter, Instagram and Facebook.

© 2019-2020 Activision Publishing, Inc. Activision, Call of Duty, Call of Duty: Black Ops and Call of Duty: Modern Warfare are trademarks of Activision Publishing, Inc. All other trademarks and trade names are the properties of their respective owners.

For more information on Activision games, follow @Activision on Twitter, Facebook, and Instagram.

The Software License and Service Agreement will be updated. Please follow this link [https://www.activision.com/legal/ap-eula] in order to see these changes.

Privacy Policy Update
We’ve updated our Privacy Policy. You can view the revised policy here. By continuing to use Activision’s websites, products or services, you acknowledge this revised Privacy Policy.