Demolition returns! Season Three marks the debut of this classic Multiplayer mode in Call of Duty: Modern Warfare. Demolition represents tactical chaos at its finest, as players attempt to outsmart and overpower the other team. Do you all rush in together, or split up and cover the map? Should you run in and plant the bomb, or watch for enemies and provide cover?
Read on for more details about how Demolition works and strategies for leading your team to victory.
Rules of Engagement
Demolition is a respawn enabled round-based objective mode. Teams alternate between attacking and defending two bomb sites, similar to Search & Destroy. Unlike Search & Destroy, attacking players always spawn with a bomb and defuses don’t end the round. This leads to constant pressure and fights around both bomb sites.
There are two ways to win the round:
1. As the attacking team, destroy both bomb sites before the timer ends. If you destroy a single bomb site, you’ll add extra time to the game clock to push up, attack, and destroy the second bomb site.
2. As the defending team, protect at least one bomb site until the timer ends. When a bomb is planted, the match timer pauses. Therefore, the defending team must defuse any bombs to run out the match timer.
The first team to win two rounds wins the match. If both teams win a round, the game goes into Overtime rules for the third and final round. Overtime features a single neutral bomb site which both teams work to detonate. Every player spawns with a bomb, and the first team to plant and detonate the neutral bomb site wins. Expect chaos.
Strategies for Demolition
The opening play in a Demolition round is extremely important as teams move into position to destroy or defend the bomb sites. The attacking team gains a huge advantage if they can take out one of the sites right from the start, while the defending team gains the upper hand if they manage to get intel on the enemy and counter their initial push.
On the attacking side, you can split up and send players to both bomb sites or attempt to overwhelm a single bomb site using everyone. Both have their advantages. When you split up, one side might get lucky and find few or no defenders, offering an easy plant. Or, one group can get loud and draw attention toward one site while a smaller group heads toward the other. You could also overpower the defending team by rushing to a single bomb site.
The defending side should rarely send all players to one bomb site. Your major focus is to delay the attacking team and run down the time. Sending everyone to a single site risks leaving the undefended one open to an easy plant. The attackers get more time when they successfully detonate a bomb site, so it’s in your best interests to prevent that. When defending, split up and head toward both sites.
Communicate and win. Tell your teammates when and where you see the enemy and whether or not you need backup to handle them. If you don’t communicate, you risk overresponding to every threat, leaving major gaps in your attack or defense. Communication is key.
Map Specific Tips
Let’s take a look at Demolition on certain maps:
Rust
Attackers should consider taking the B bomb site first, as there are more cover options available. Detonate B first and you’ll have the whole team available to focus on the more open ground of A. Defenders should know that the top of the central tower covers the A bomb site, while the middle platform is better suited to protect B. If you’ve picked up the Ronin Operator Bundle, consider using the Soulful Wanderer weapon blueprint for mid-range power and precision.
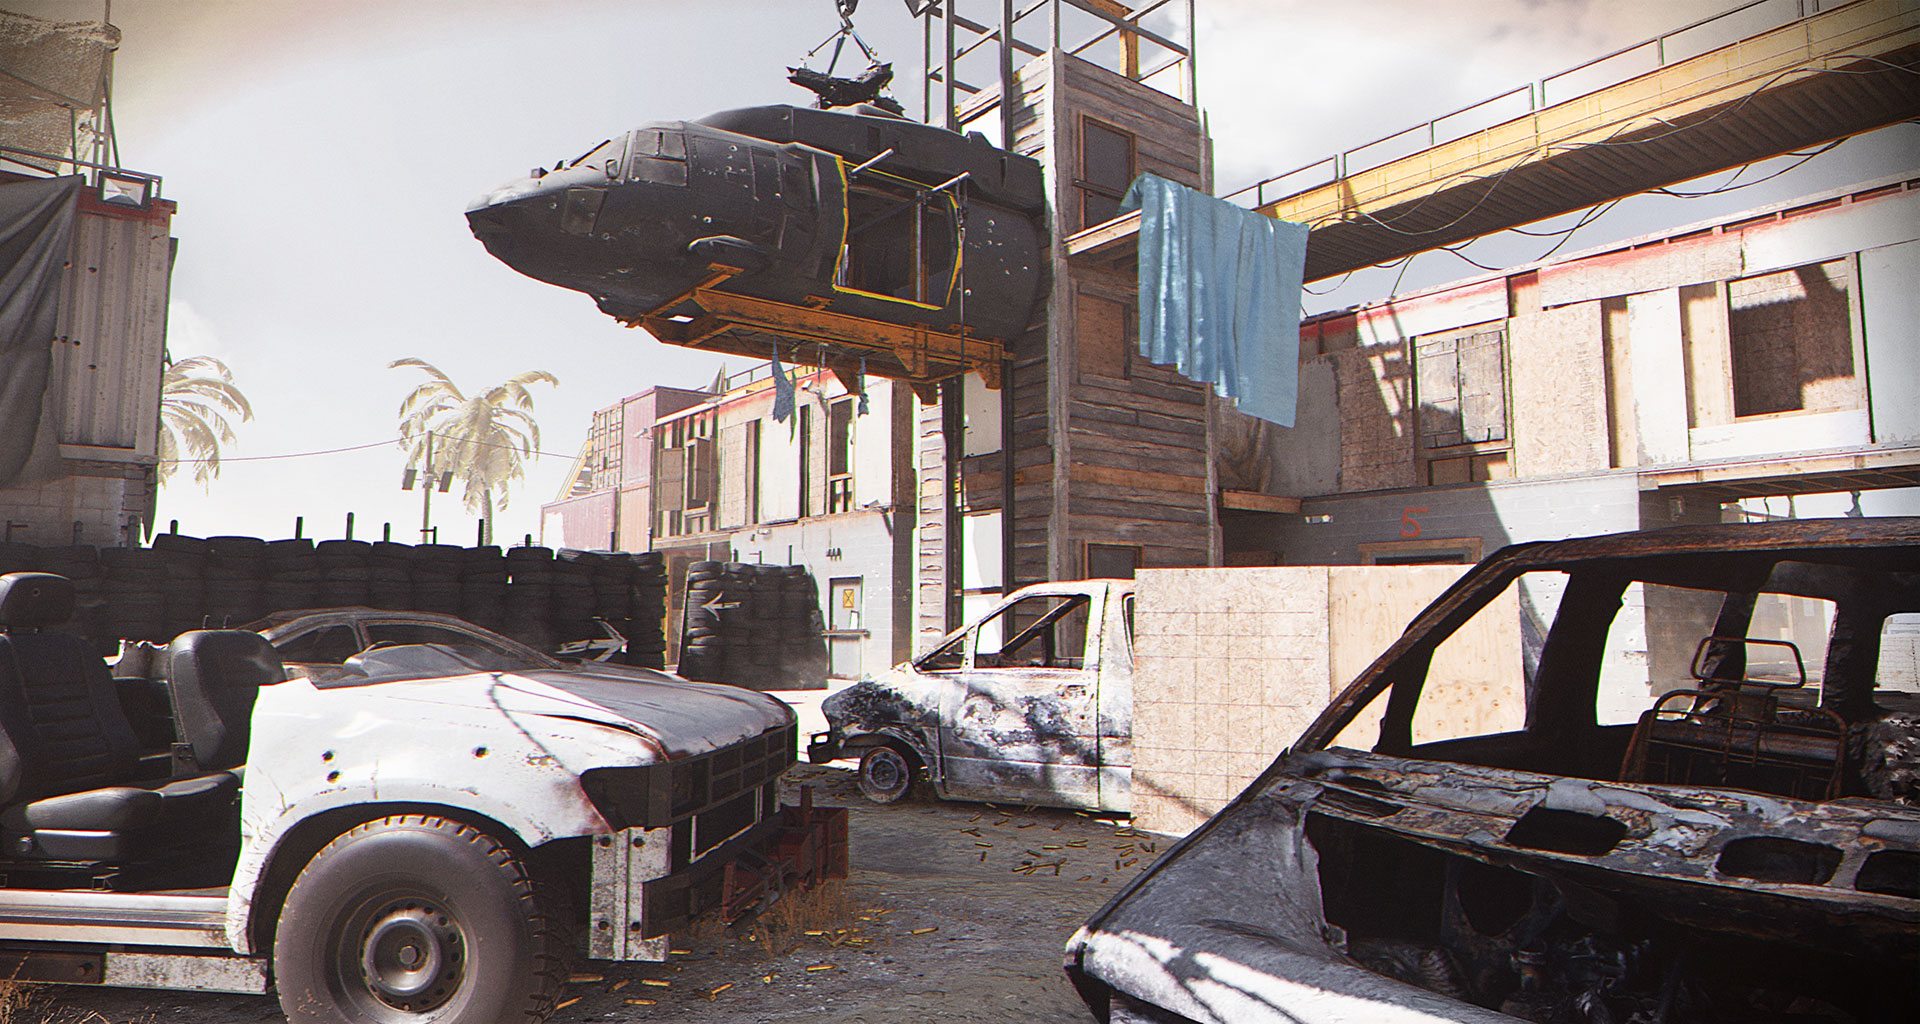
Hackney Yard
Both bomb sites here are in tight spaces, so expect a lot of CQB and grenades. Consider using Tracker to spot footprints so you can better anticipate resistance when approaching a bomb site. At B, watch for attackers on the eastern wall; at A, check the scaffolding and garage for threats. Consider using the Rampage (Tier 51) weapon blueprint here, a highly mobile SMG with a large ammo supply.
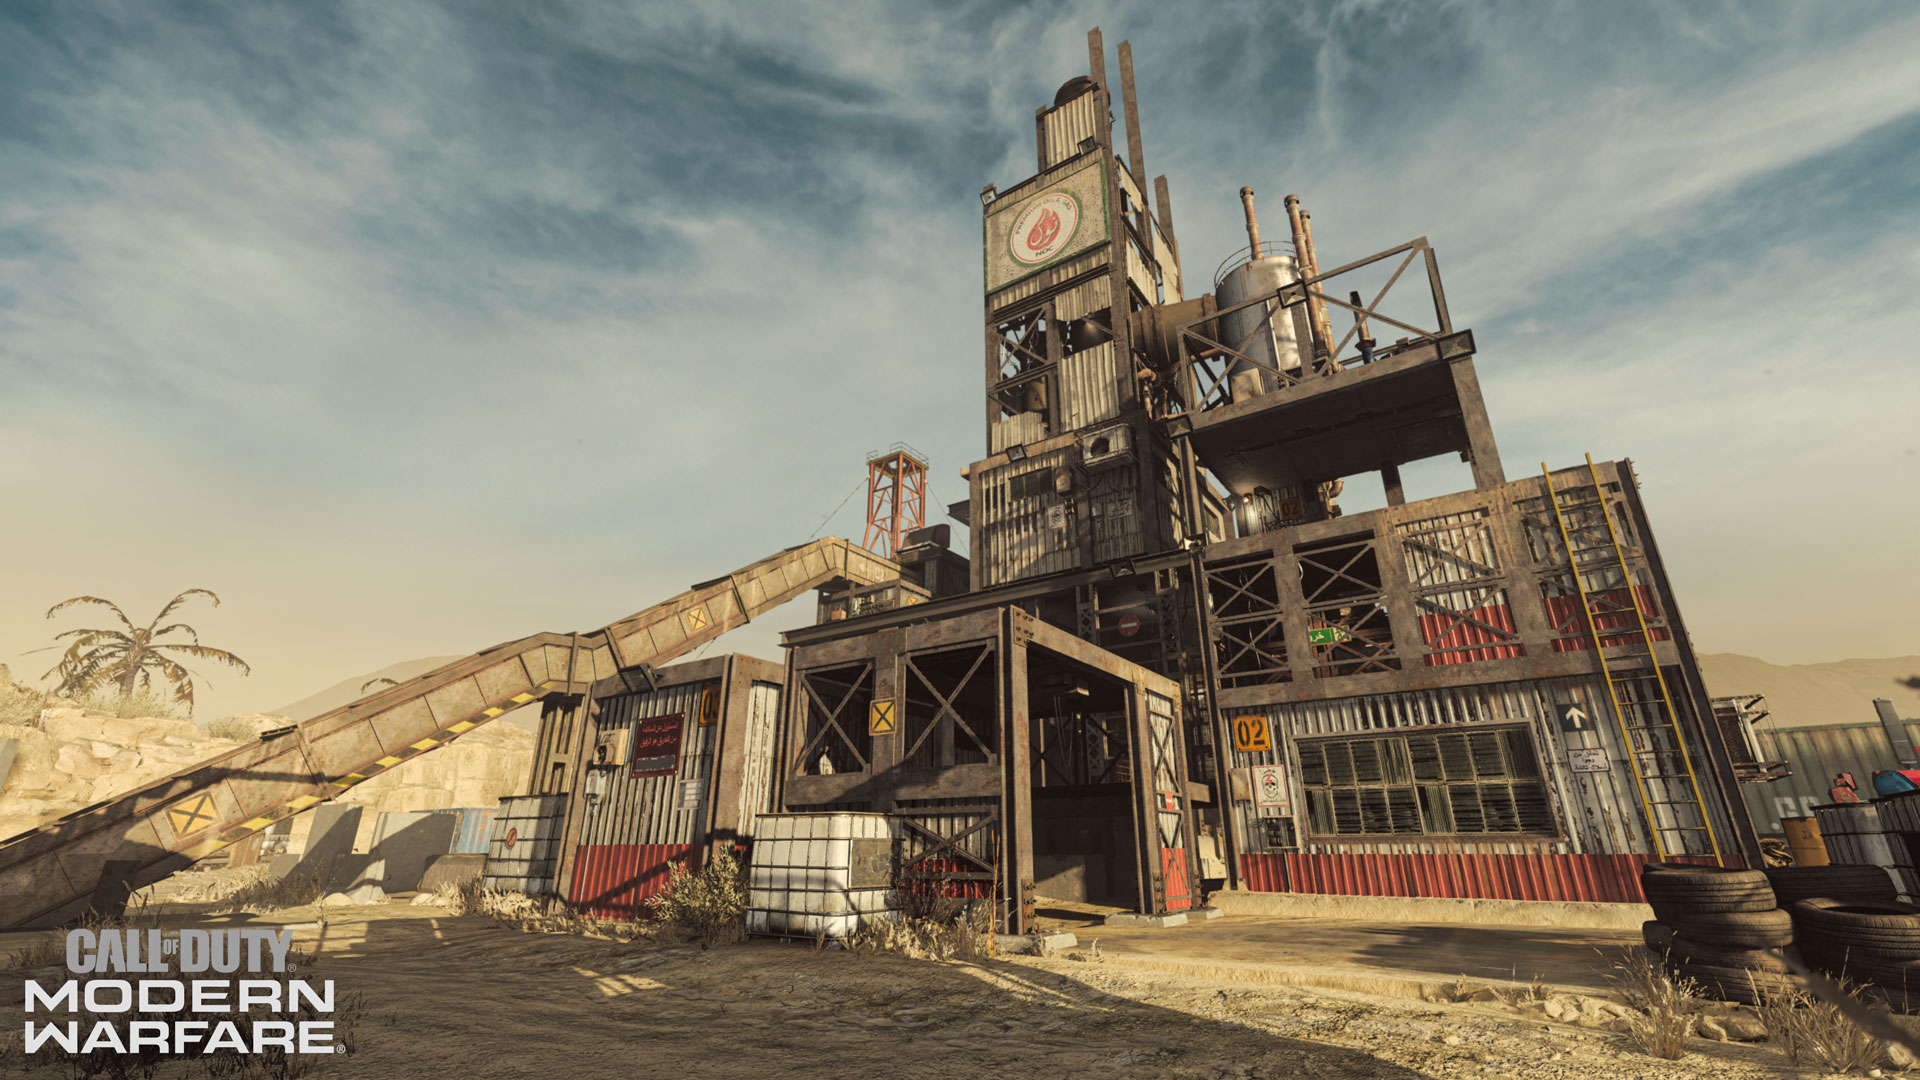
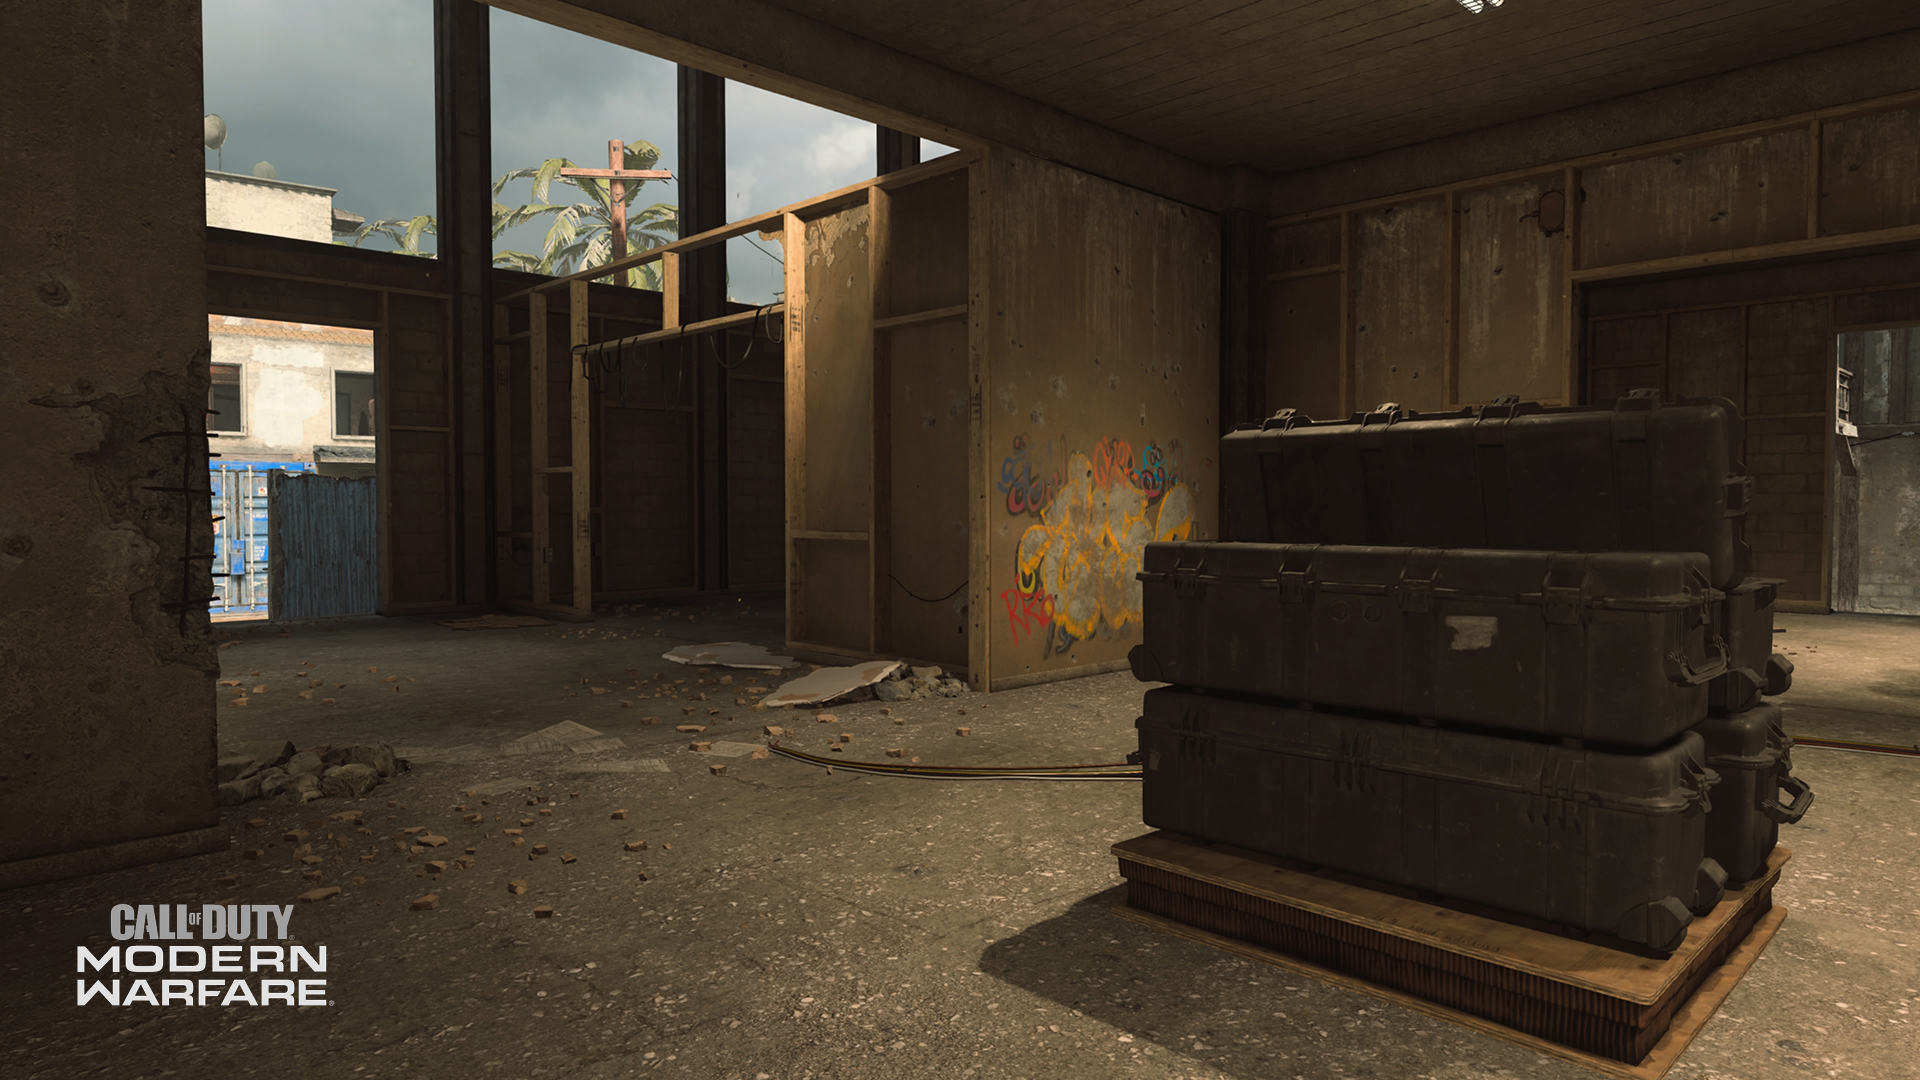
Shoot House
The Shoot House bomb sites are located in the north and southwest, leaving the east side Shanty Town mostly clear as players focus on A and B. Don’t count it out as a potential route, though. It may be a longer path, but it might provide the angle you need to break through an enemy chokepoint. Try the Beefeater (Tier 55) weapon blueprint for a strong mid-range weapon with CQB capabilities in its 12-gauge underbarrel attachment.
Key Tactics for Demolition
Now let’s get those wins rolling. Here are a few tips to keep you in top fighting form while playing Demolition:
1. Stick Together: Demolition rounds are often won by the team who best manages their numbers. Sometimes it’s better to hold off for a moment so that you can attack or defuse a bomb site in unison with other teammates, as opposed to dying one by one against greater numbers.
2. Use Your Loadout Slots: Pick the loadout that best fits your current goal. If you’re focused on planting or defusing, use a class with E.O.D. and Stims for added protection. If you’re providing cover, equip Double Time so you can quickly get to where you’re most effective. This goes for weapons, too — SMGs are great for playing around the bomb, while mid- and long-range weapons excel at providing cover. Don’t get stuck in one loadout.
3. Trophy System Active: You can’t have too many Trophy Systems when playing Demolition. This fast-recharging field upgrade protects you from up to three incoming grenades, a crucial defense when planting or defusing the bomb. Use it.
4. Hardline and Four Kills: A well-timed precision strike can turn the round in an instant, whether you use the Cluster Strike, Cruise Missile, or the Precision Airstrike. Consider Hardline to reach this Killstreak tier with only four kills — just keep in mind which bomb sites are inside, and protected from aerial Killstreaks so you don’t waste the attack.
5. Overkill and Shrapnel in Overtime: Overtime ramps up the tension as both teams fight over a neutral bomb site. Use Overkill to spawn with two primary weapons, one for CQB and one for long-range attacks, paired with Shrapnel for extra explosive power. Now you’re ready for every type of engagement. Good luck to those who cross your path.
See you in Demolition.
Stay frosty.
For more information and the latest intel on Call of Duty®: Modern Warfare®, check out: www.callofduty.com, www.youtube.com/callofduty and follow @InfinityWard and @CallofDuty on Twitter and Instagram and Facebook.
For more information on Activision games, follow @Activision on Twitter, Facebook, and Instagram.