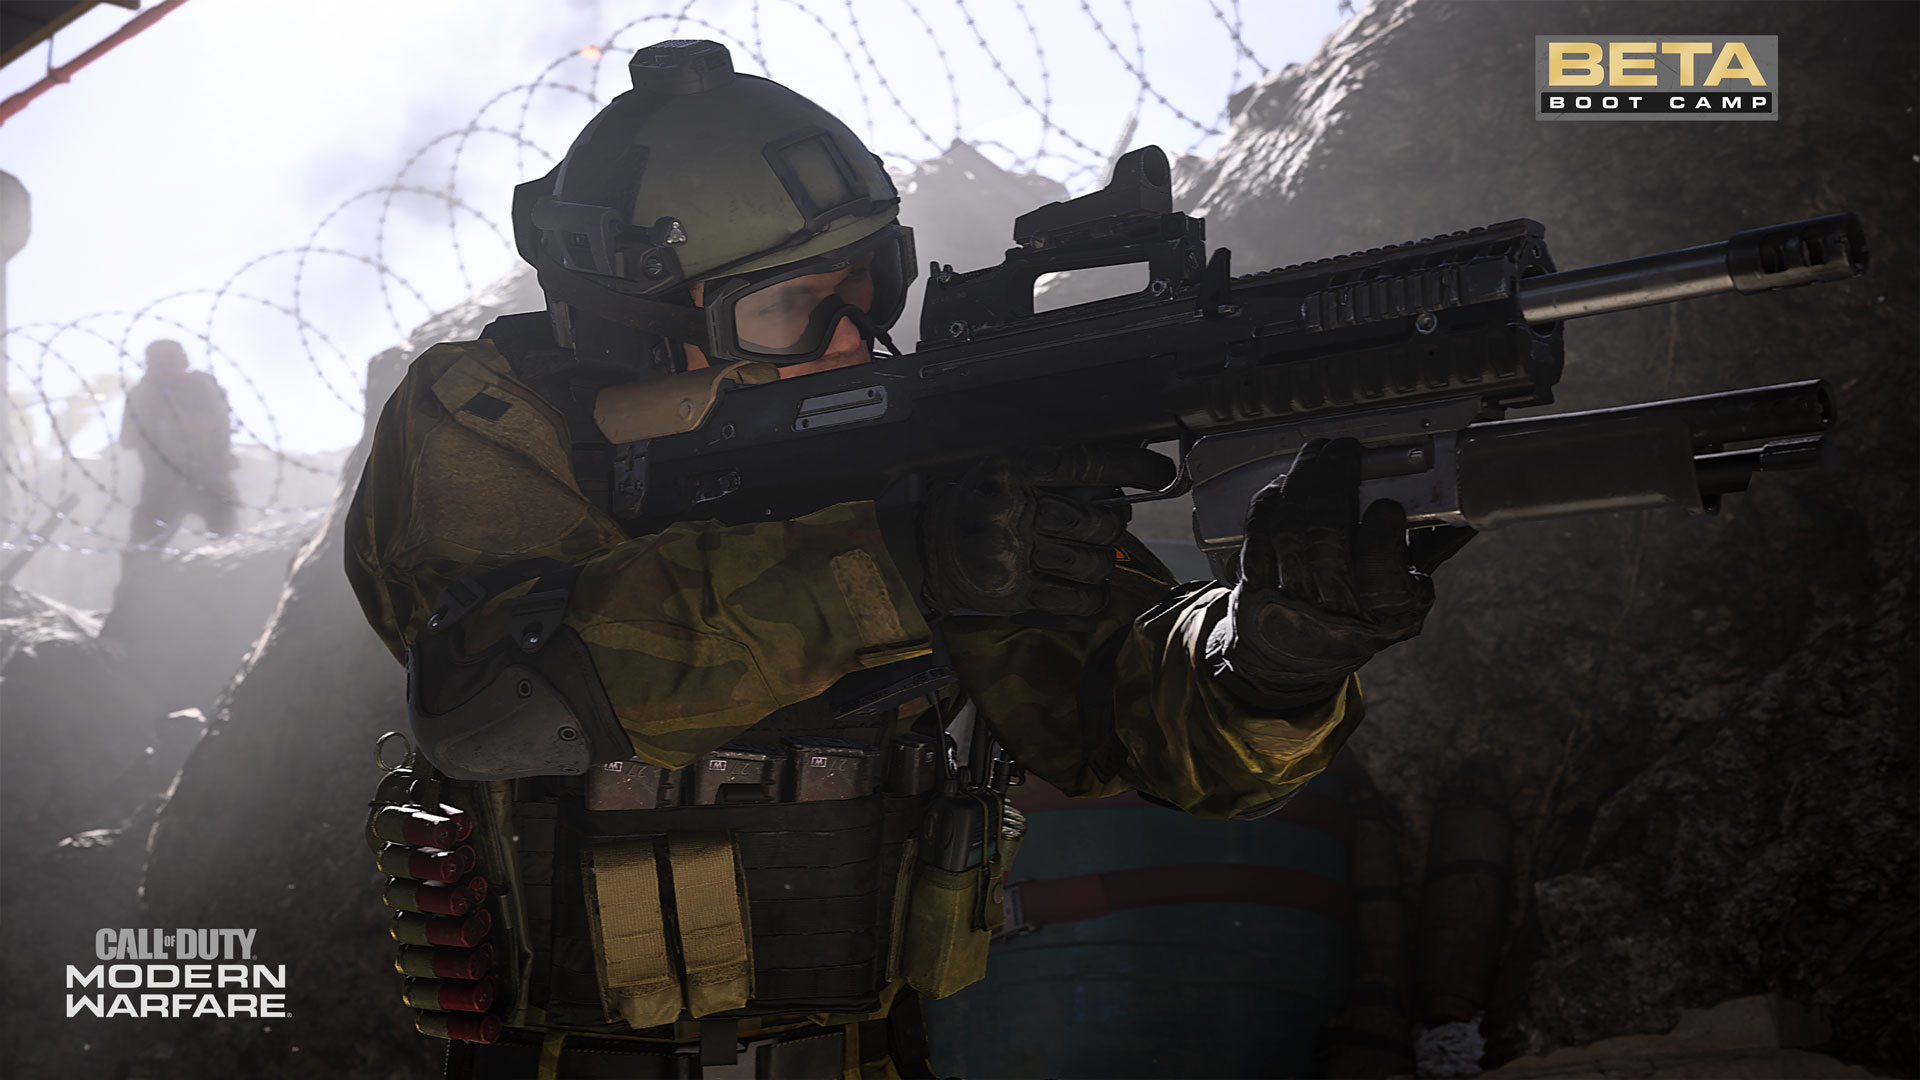
Weapons Menu: Sitting on the Bench
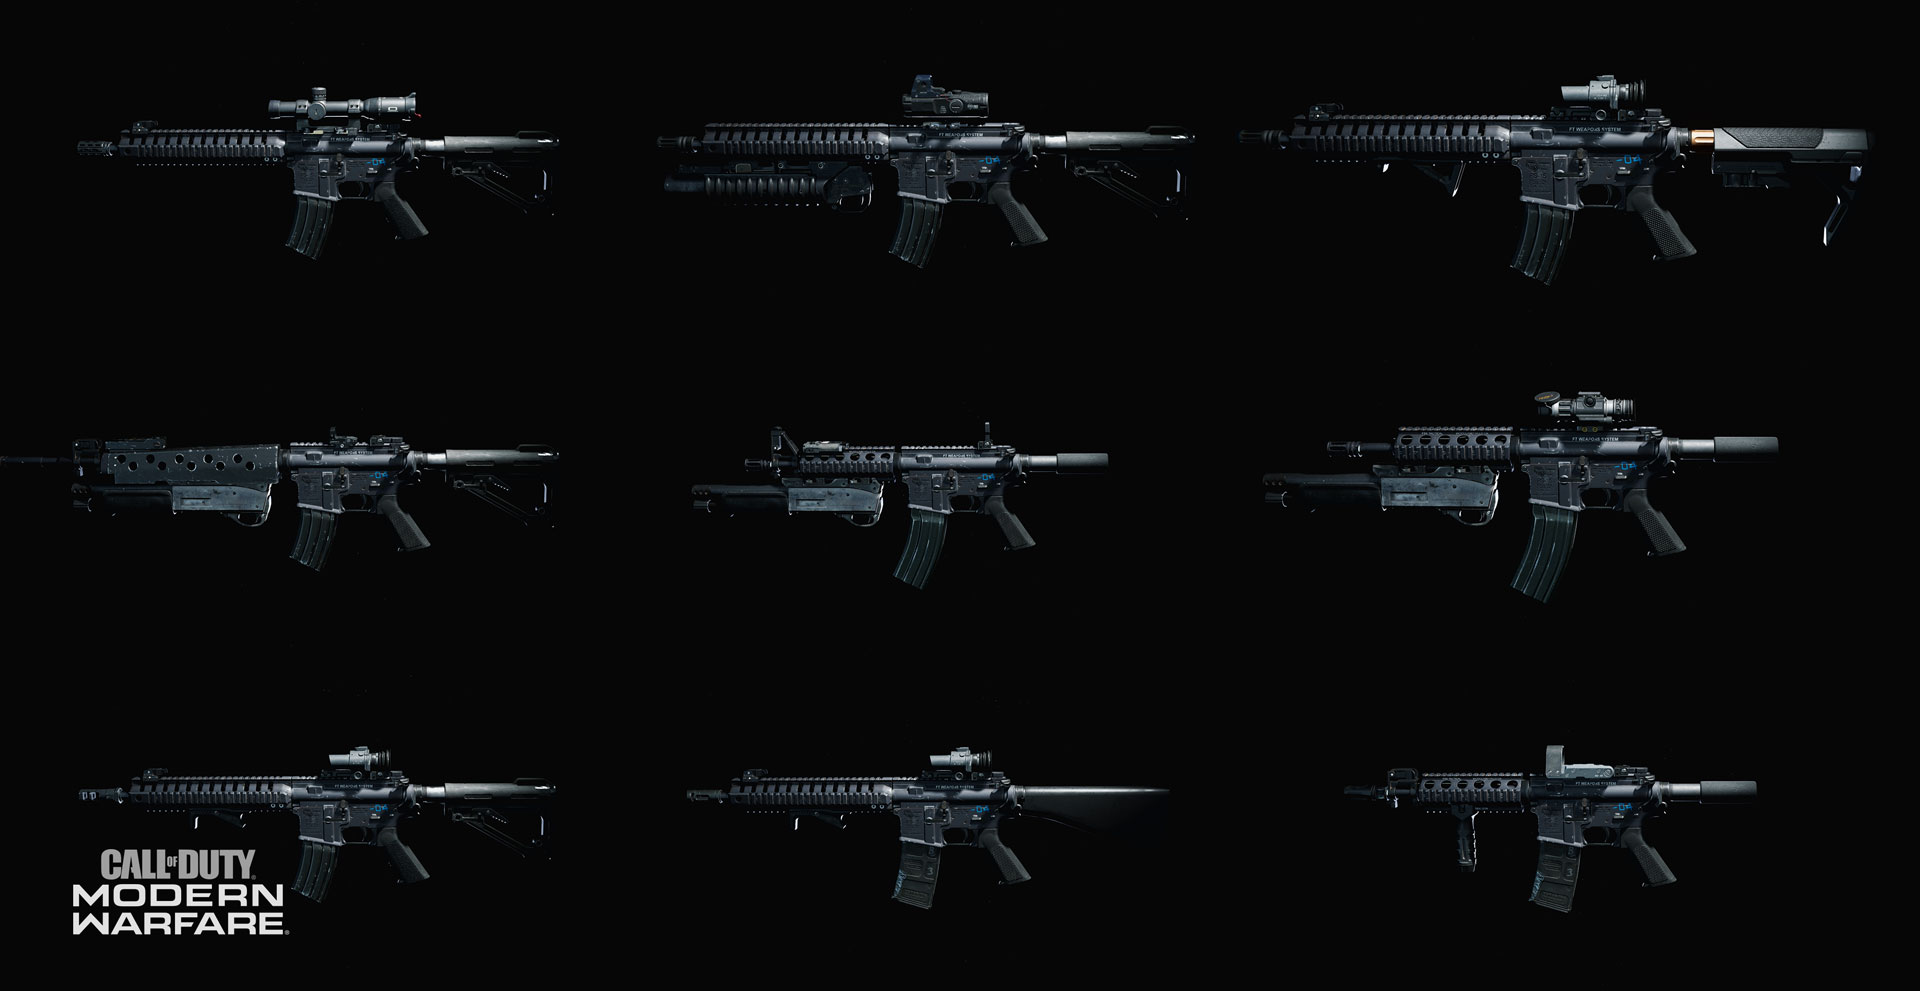
Access your gun bench to view a photorealistic selection of your chosen hardware: Your entire Loadout is showcased here, and it changes as you swap out weaponry, gun attachments, Perks, Lethal, and Tactical equipment. Killstreaks and Field Upgrades are accessible from the main Weapons menu but appear in a separate section.
Getting back to the bench, the augmentation options are plentiful, and designed to allow any player, of any skill level or play style, a wealth of gameplay options. To begin with, there are a number of Custom Loadouts, which you can tailor to the type of gunplay you’re hankering after. Perhaps you want a sniper’s loadout? Or a close-quarter combat specialist? Or anything in-between? The Loadout system is here to provide quick, easy-to-understand and easily navigable menus to get you topside and into the action almost immediately. Or after a lengthy tinkering with the Gunsmith mode: It’s all about your preference.
Primary and Secondary Weapon Slots: An icon, name, and the number of Gunsmith attachments you’ve fastened to your two favorite weapons are shown at the top of the Custom Loadout menu. The Primary weapon is likely to be the weapon you’ll be spending most of your time with, leveling it up, unlocking attachments, and using across gameplay modes. The Secondary weapon usually offers a back-up, or a different type of takedown option. In this menu, primary and secondary weapons are chosen from the following classes (each with a number of possible attachments you can pick for the class in question, of which five are usable at any one time):
Primary Weapons: Assault Rifles, SMGs, Shotguns, LMGs, Marksman Rifles, and Sniper Rifles.
Secondary Weapons: Handguns, Launchers.
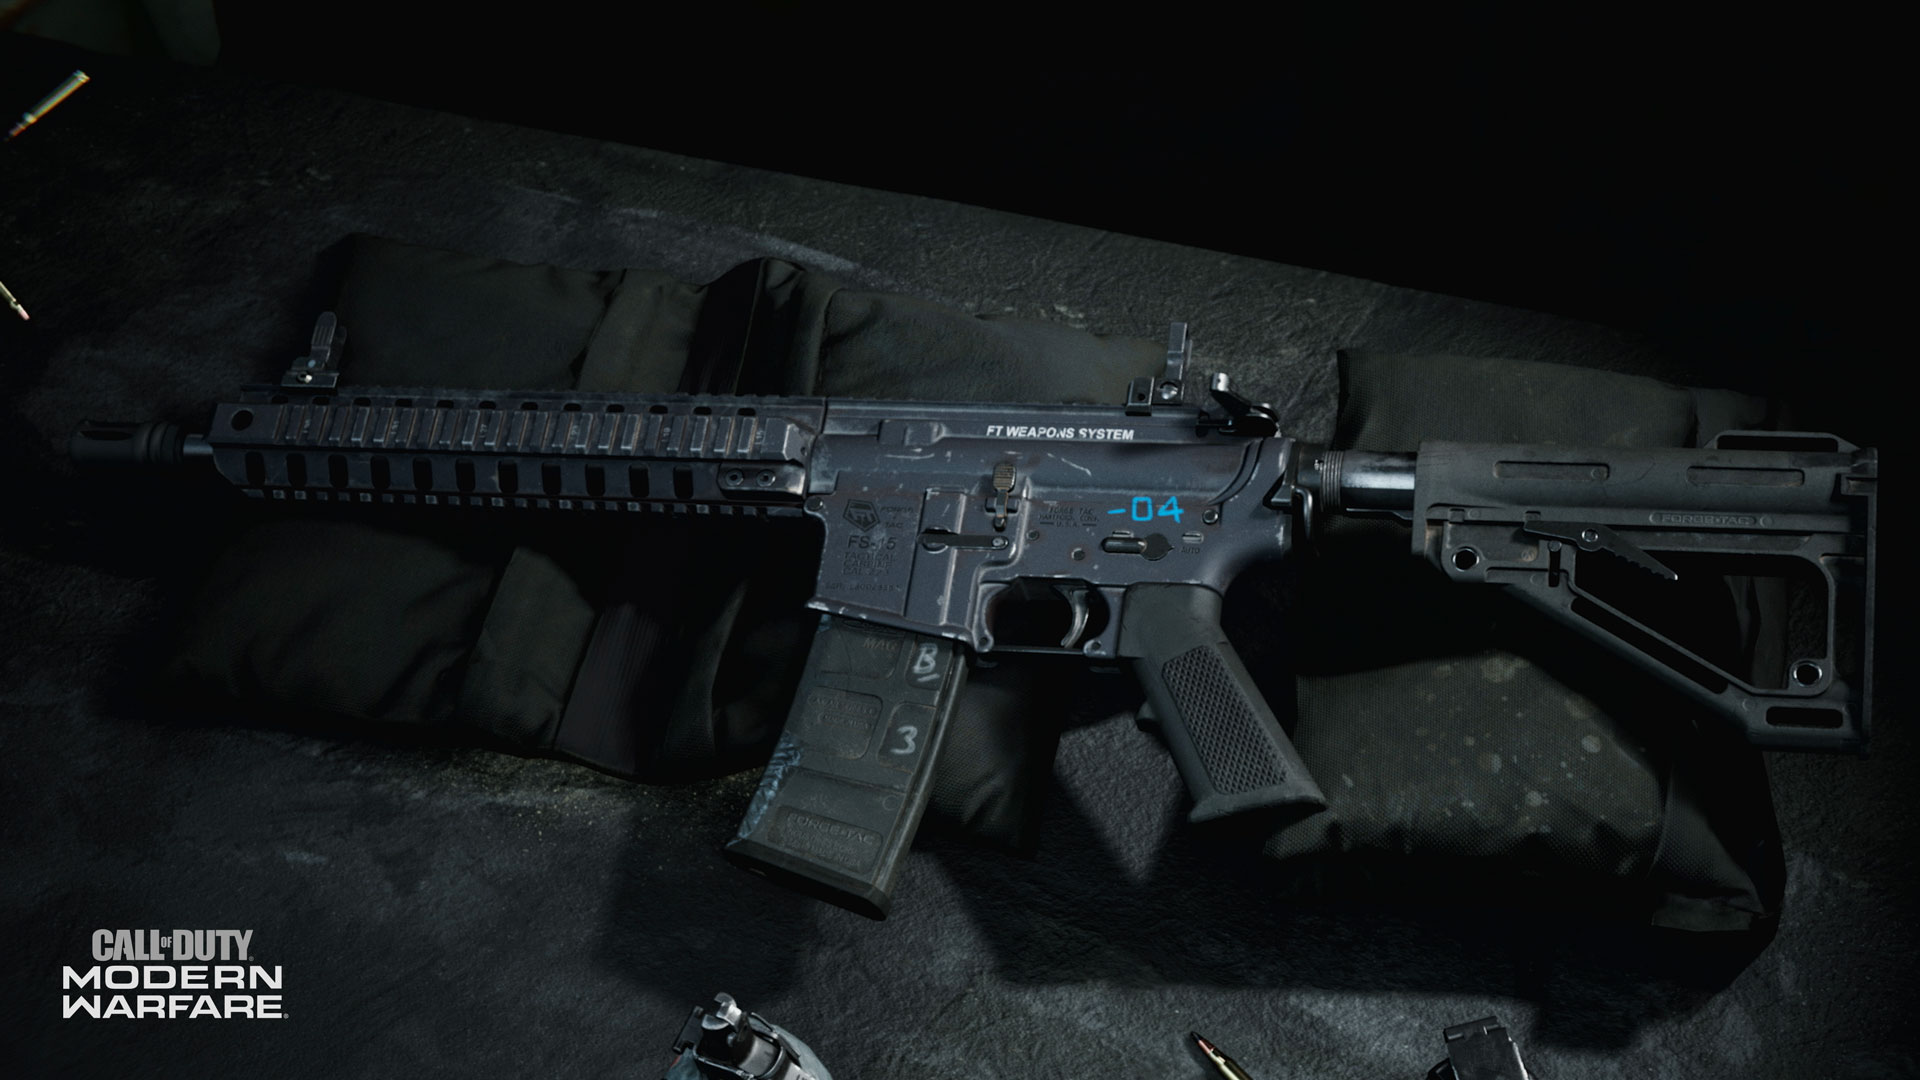
After selecting any Primary or Secondary Weapon menu (except for Launchers, which have no attachments), you can access the Gunsmith menu. Here, you are presented with a wealth of easily-digestible information. You can see:
Equipped: This indicates how many of the five augmentations you’ve added. You can elect to attach less than five attachments, or none at all. It’s up to you.
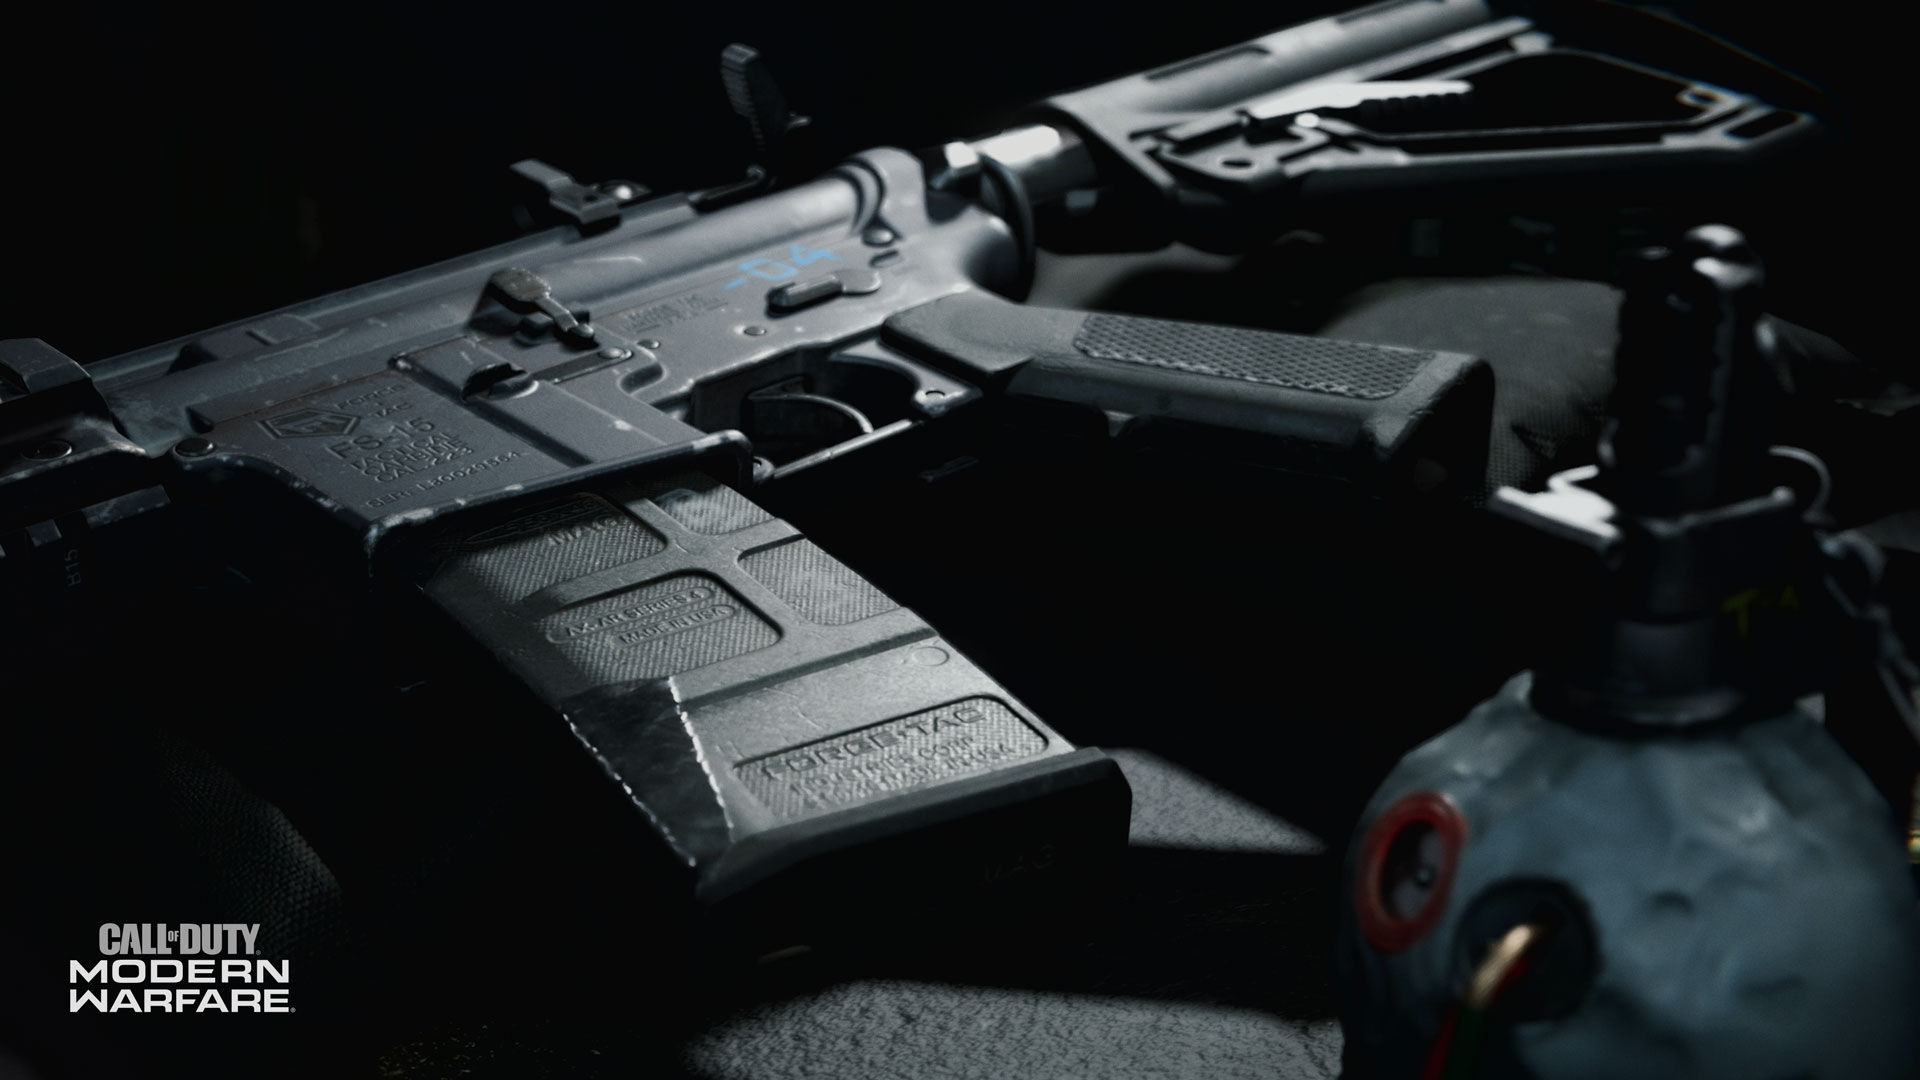
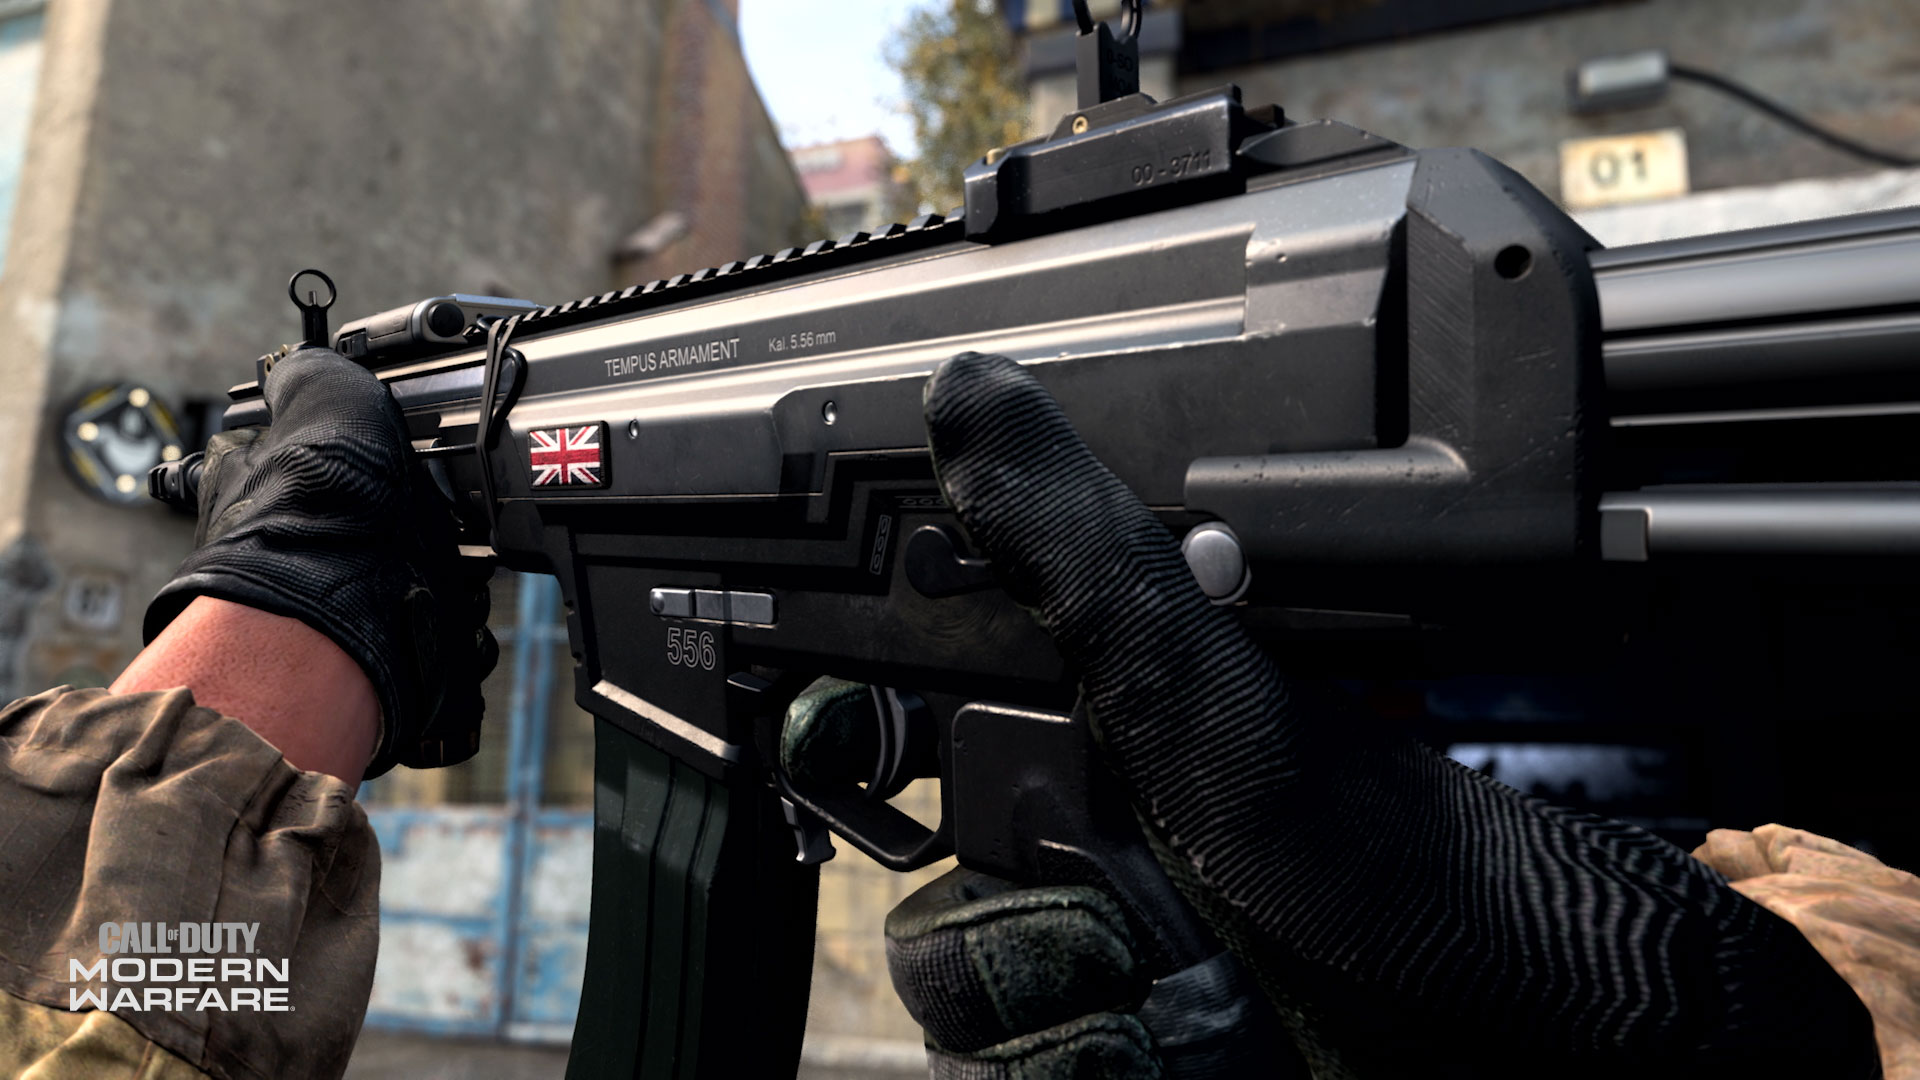
Attachments: Using an Assault Rifle as an example, there are eight different areas on the weapon you can augment: The Muzzle, Lasers, Optic, Stock, Rear Grip, Magazine, Underbarrel, and Barrel. In addition, you can add a Perk, which doesn’t affect the look of the weapon, but offers a single additional effect, usually bestowed upon the operator.
As you play with a given weapon, it will level up and gain more attachments to choose from in the Gunsmith.
Weapon Stats: Naturally, you’ll want to have a bar chart showing the six most important statistics for the weapon you’re fiddling with. These stats show Accuracy, Damage, Range, Fire Rate, Mobility, and Control. Look for a future Blog post to dive more deeply into these statistics, and what they mean.
Preview: Naturally, you can rotate and zoom around the weapon you’re changing the appearance and statistics of, until you’re happy with the overall look.
Customization Options: The previously-listed options aren’t everything that’s available. We’ll show more information about weapon customization in a future blog post.
Weapons Detail: Example Augmentations
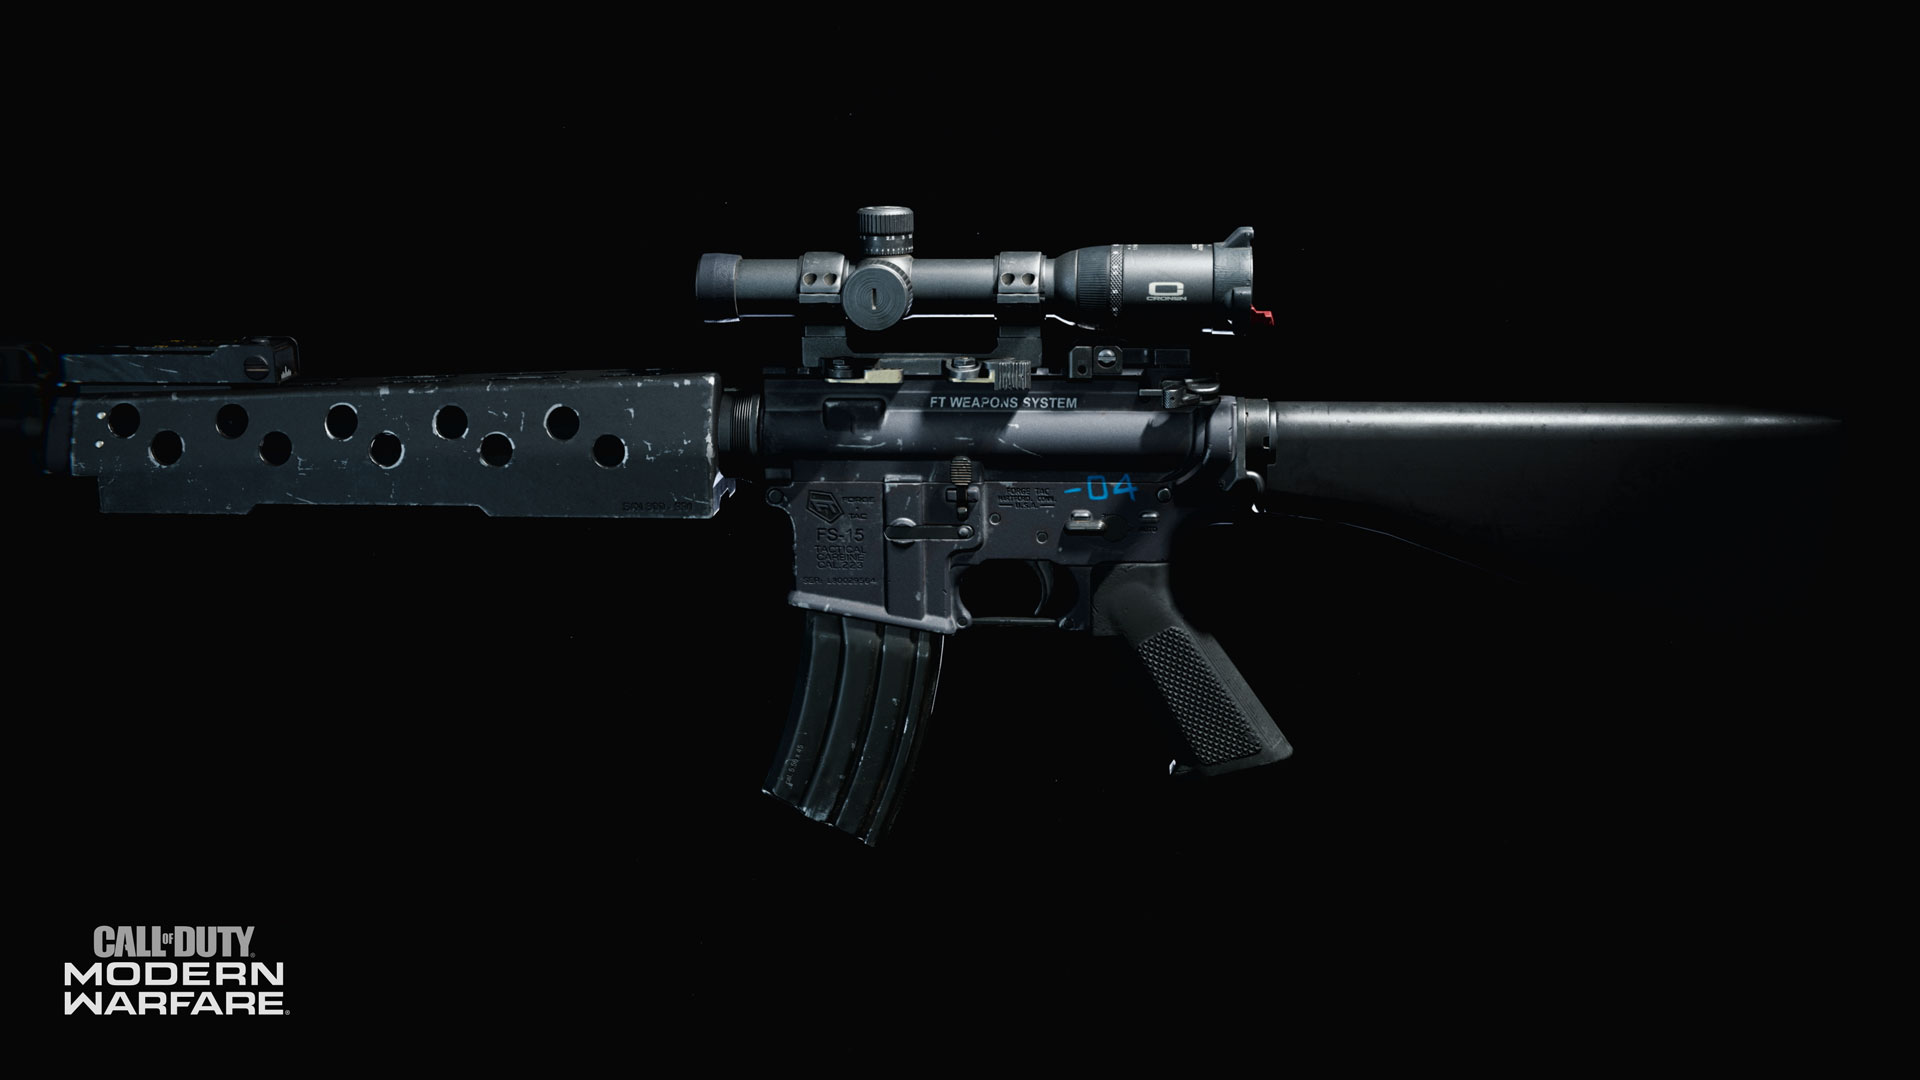
Take the weapon augmentation one stage deeper and inspect the individual attachments. Clicking on the name of the attachment zooms into the area of the weapon the attachment fixes to, and you can run through the available attachments on offer. In our Assault Rifle example, we clicked on the Optics menu, and had the choice of various different Optics to clasp atop the weapon. Hover over each individual attachment to read a brief description, along with a Pro and Con of using it, and how your weapon’s stats will change if you equip the attachment.
We picked the Merc Scout Optic and attached it to the Assault Rifle. This gave us a precision reticle with a 3x magnification for use in all light conditions, as well as a Pro: an improved aiming sight picture. Naturally, there was a Con as well (the ADS speed is reduced). A quick look at the weapon’s new stats indicated an increase in Accuracy and Range, to the detriment of Control. We selected the Optic and tested it out in a few matches. Naturally, it’s the way the four additional attachments combine with and affect the overall weapon abilities that provides a deep and entertaining learning curve. If you want to eke out the tiniest of improvements, you can really go to town here. Just remember, there are seven other areas of the weapon to inspect and utilize!
A special mention must also be made of weapon Perks. Instead of a fifth attachment, you can elect to equip a Perk instead. In the example of the Assault Rifle, you can select the FMJ Perk for the weapon (which increases bullet penetration and damage against equipment and killstreaks), or the Presence of Mind Perk for the Operator (allowing an infinite holding of breath to add to your Focus when attempting ranged takedowns).
Perks: Personal Advancements
Aside from the weapon Perk you can optionally equip in the Primary or Secondary Weapon menu, you have three main Perks to choose from; one from each of the following categories. The bench has three strewn satchels, each with a patch of the perk you’ve picked. They are as follows:
Perk 1 (Blue): Perks included in this menu are Double Time (tripling the duration of your Tactical Sprint and fully refreshing Tactical Sprint on kills), and Tracker (enemies leave behind trails and death markers. Increase crouch movement speed by 30%).
Perk 2 (Red): Perks included in this menu are Overkill (you can carry two primary weapons), and Restock (recharge equipment over 30 seconds).
Perk 3 (Yellow): Perks from this menu include High Alert (your vision pulses when enemies outside of your view see you), and Shrapnel (you spawn with an extra piece of lethal equipment. Explosive damage delays enemy health regeneration).
Lethal and Tactical Equipment
The final two pieces of your Loadout to pick from are your Lethal and Tactical equipment.
Lethal equipment is obviously items designed to maximize harm to your enemies. In this menu, you’re treated to a tutorial so you can quickly learn the basics of taking down foes with Frag Grenades, other explosives, Molotov Cocktails, Claymores, Throwing Knives, C4, Thermite, and Proximity Mines. Note that some lethal equipment, like the Proximity Mine, may be specially designed to take out vehicles as well as infantry.
Tactical equipment can cause just as much havoc, but is intended to confuse or stagger the enemy, allowing you to finish them off by other means. Watch the tutorials and pick one of the following from a Flash Grenade, Smoke Grenade, Stun Grenade, Stim, Decoy Grenade, Gas Grenade, Snapshot Grenade, or Heartbeat Sensor. Note that some tactical equipment may be preferred in night-time situations, like the Snapshot Grenade, which provides a momentary glimpse of enemies within its blast radius.
When you start the Beta* for the first time, your character begins at Level 1. This means there may not be many attachments and weapons unlocked for use in your Loadouts. However, as you level up, you’re likely to gain access to more weapons, equipment, perks, and more to load into your Loadouts.
Now you’re ready for Multiplayer battle.
Pre-Launch Intel: Additional Information and Content
Check back at the Activision Games Blog throughout the coming days and weeks for further intel. Check the Related Articles for further Call of Duty: Modern Warfare information.
Pre-orders at participating retailers are available now, or at CallofDuty.com.
*MP Beta Early Access starts September 12, 2019; Open MP Beta begins September 14, 2019 on PS4™ system. Actual platform availability and launch date(s) of MP Beta subject to change. See www.callofduty.com/beta for more details. Minimum Open Beta duration is 2 days. Limited time only, while Early Access Beta Codes last, at participating retailers. Internet connection required.
For more information and the latest intel on Call of Duty®: Modern Warfare®, check out: www.callofduty.com, www.youtube.com/callofduty and follow @InfinityWard and @CallofDuty on Twitter and Instagram and Facebook.
For more information on Activision games, follow @Activision on Twitter, Facebook, and Instagram.