Whether you are suiting up for Multiplayer combat or being briefed on your next Special Ops mission, your Operator is going to need a loadout for protection on the ground.
On the Modern Warfare progression path, you won’t be able to create a custom loadout until you achieve the rank of Private IV. However, after you earn enough experience to reach this rank, the customization floodgates open.
This guide will take you through the steps of creating a loadout, right down to crafting a weapon in Gunsmith.
Weapons Menu: Sitting on the Bench
While in the main Multiplayer or Special Ops menu, tab one menu over to access the Weapons menu. Here, you can customize your Killstreaks, choose a Field Upgrade, select a Watch…
And, at the very top of the menu, edit your Loadouts.
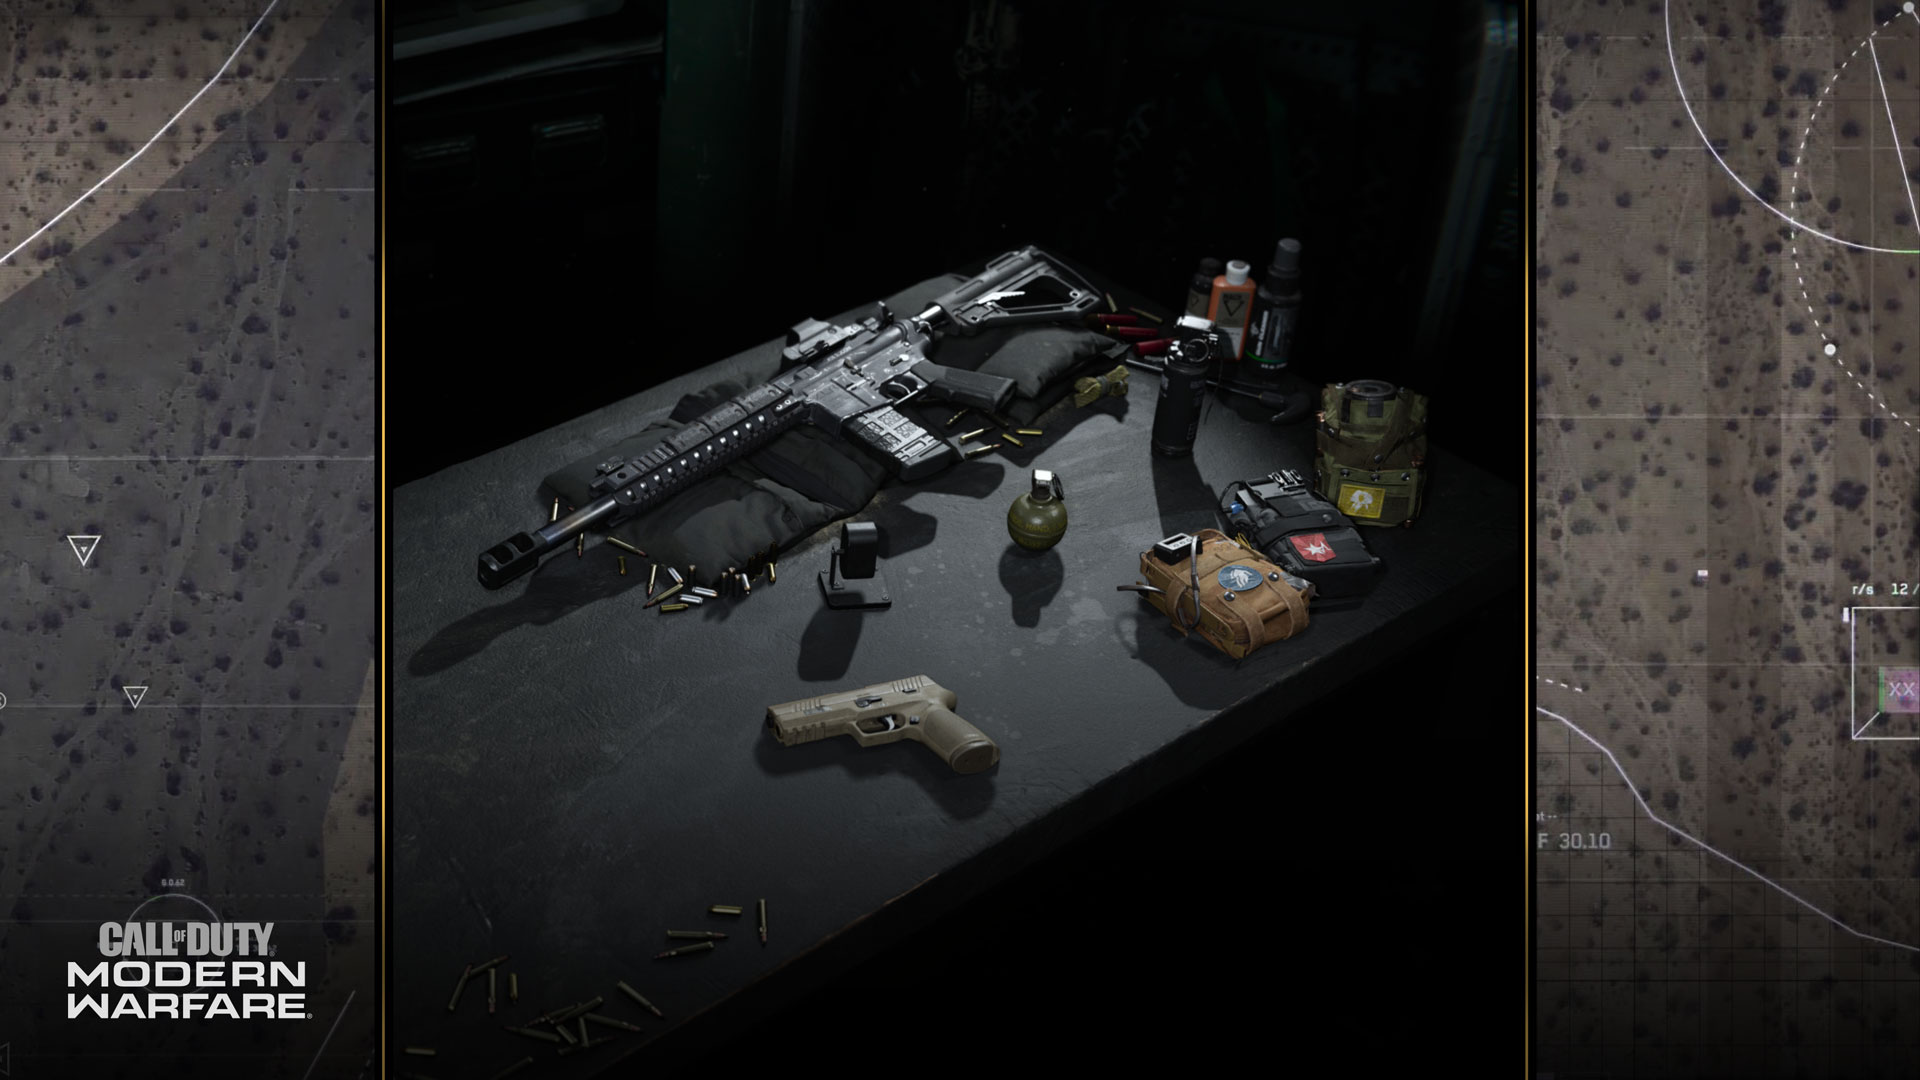
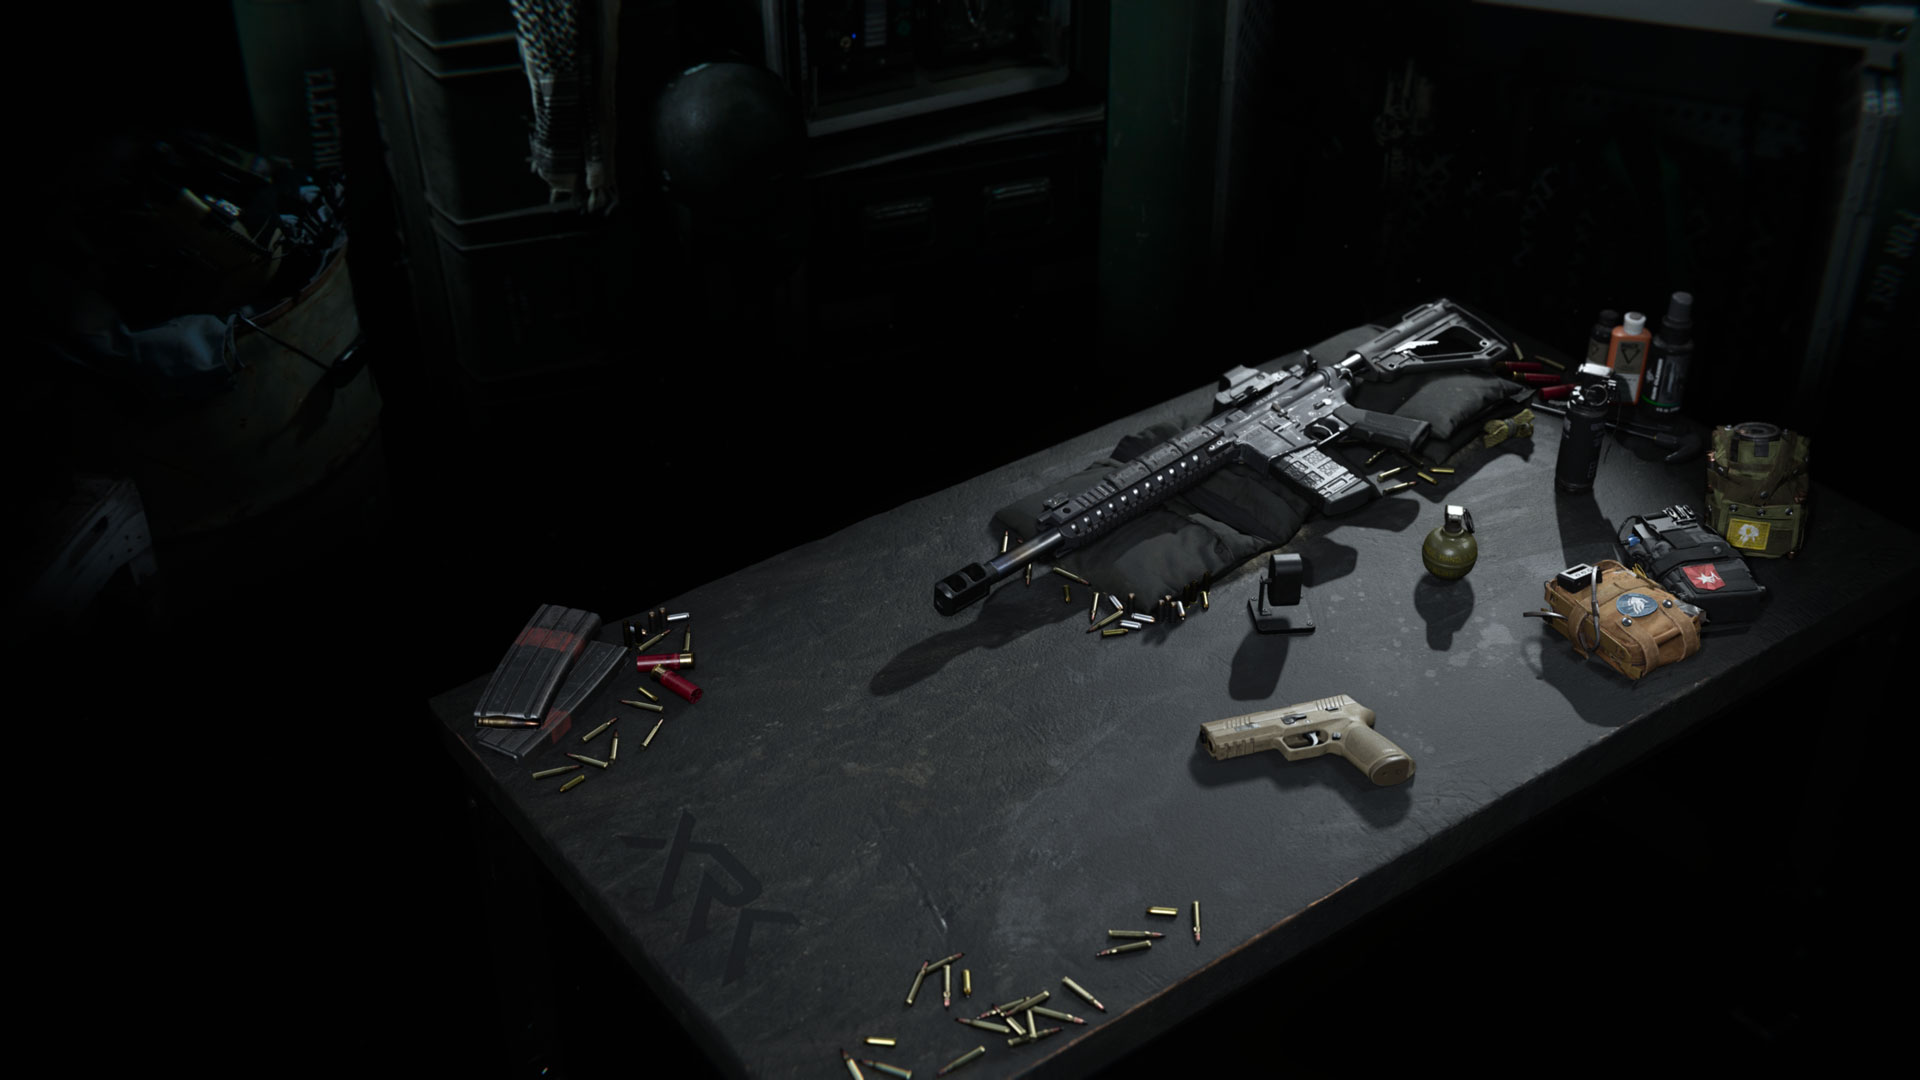
Clicking this will bring you to the gun bench, where you will see a photorealistic selection of your chosen hardware and your entire loadout. As you customize your selected loadout, the gun bench visual will update to match your selections.
Loadouts in Modern Warfare are designed to allow any player, with any playstyle, a wealth of gameplay options. To begin with, there are a number of custom loadouts, which you can tailor to the type of gunplay you’re hankering after. Perhaps you want a sniper’s loadout? Or a close-quarter combat specialist? Or something in-between?
The loadout system is here to provide quick, easy-to-understand and easy to navigate menus to get you topside and into the action almost immediately. Or after a lengthy tinkering with the Gunsmith mode: It’s all about your preference.
The Basics of a Loadout
Loadouts are comprised of the following items:
Primary Weapon – Your main source of dealing damage. A primary weapon could be…
· Assault Rifle – Consider this the “jack of all trades.” This category offers a range of choices from slow, heavy hitting battle rifles to fast firing assault rifles. Recommended for mid-range combat.
· Submachine Gun / SMGs – Here are weapons that usually fire faster than their assault rifle counterparts. Recommended for close-range combat.
· Shotguns – From personal defense to breaching specialists, these weapons pack a powerful punch at close range. Recommended for extremely close-range combat.
· Light Machine Gun / LMGs – Heavy weapons that mostly offer high damage per shot and large magazines. Recommended for medium-long range combat.
· Marksman Rifles – From a World War II relic to a lever action and even a battle rifle, weapons in this eclectic category are suited towards marksmen. Recommended for long-range combat.
· Sniper Rifles – Sharpshooters, this is your home. One shot, one kill weapons are in abundance within this category. Recommended for extremely long-range combat.
· Melee – The lone melee option is the Riot Shield, a ballistic-proof and explosive-resistant shield that deals increased melee damage.
Secondary Weapon – This usually serves as a back-up and typically has a different purpose. A secondary weapon could be…
· Handguns – Trusty sidearms that offer self-defense in a pinch, such as when a primary weapon runs dry or while climbing a ladder.
· Launchers – Weapons that fire explosive payloads. These launchers can either be free-fire or lock-on (to a piece of equipment, a Killstreak, or area).
· Melee – These are where one-hit kill melee weapons live. For now, the Combat Knife is the bread-and-butter of this category… And is a lot deadlier than a butter knife.
Want to see an example of a tailored loadout? Pay attention to the default loadouts when spawning into a Multiplayer or Special Ops game. They are the guideposts that Infinity Ward has included as potential inspiration for what your loadouts could be!
Perks – Represented by satchels with sewn-on patches on the gun bench, these are a wide range of benefits your Operator receives in-game. Perks are broken down into three categories, and only one perk can be chosen per category:
· Perk 1 (Blue): The first two perks you can choose in this menu are Double Time (doubles the duration of tactical sprint and increases crouch movement speed) and Quick Fix (kills, objective captures, and holds all increase health regeneration rate).
· Perk 2 (Red): The first two perks here are Restock (recharges equipment over 30 seconds) and Hardline (Killstreaks costs 1 less kill).
· Perk 3 (Yellow): The first two perks for the Yellow slot are Tune Up (reduces the charge time of Field Upgrades) and Amped (faster weapon swap and launcher reload speed).
A Special Note on Specialist Streaks
We interrupt your loadout guide to provide this tip: Specialist streaks are back!
Within the perk section of the loadout screen, you can press a button and activate Specialist mode for that specific loadout. This makes you ineligible to earn Killstreaks… But in exchange, it gives your Operator an additional perk of your selection at 2, 4, and 6 kills without dying.
The Specialist route is recommended for those who’d rather make their Operator more powerful by direct means rather than through Killstreaks.
Now back to your regularly scheduled loadout post....
Lethal Equipment – These items are designed to maximize harm to your enemies. In this menu, you’re treated to a tutorial so you can quickly learn the basics of taking down foes with Frag Grenades or other explosives. Note that some lethal equipment, like the Proximity Mine, may be specially designed to take out vehicles as well as infantry.
Tactical Equipment – A compliment to lethal equipment, these items are often used to confuse or stagger the enemy or offer a unique benefit on the battlefield. Tactical equipment ranges from the Flash Grenade, which blinds and deafens targets, to the Stim, a military stimulant that offers an instant heal and refreshes tactical sprint.
We’ll go in-depth into every part of your loadout in future articles, but for now, let’s cover the Gunsmith portion of Loadouts:
Gunsmith
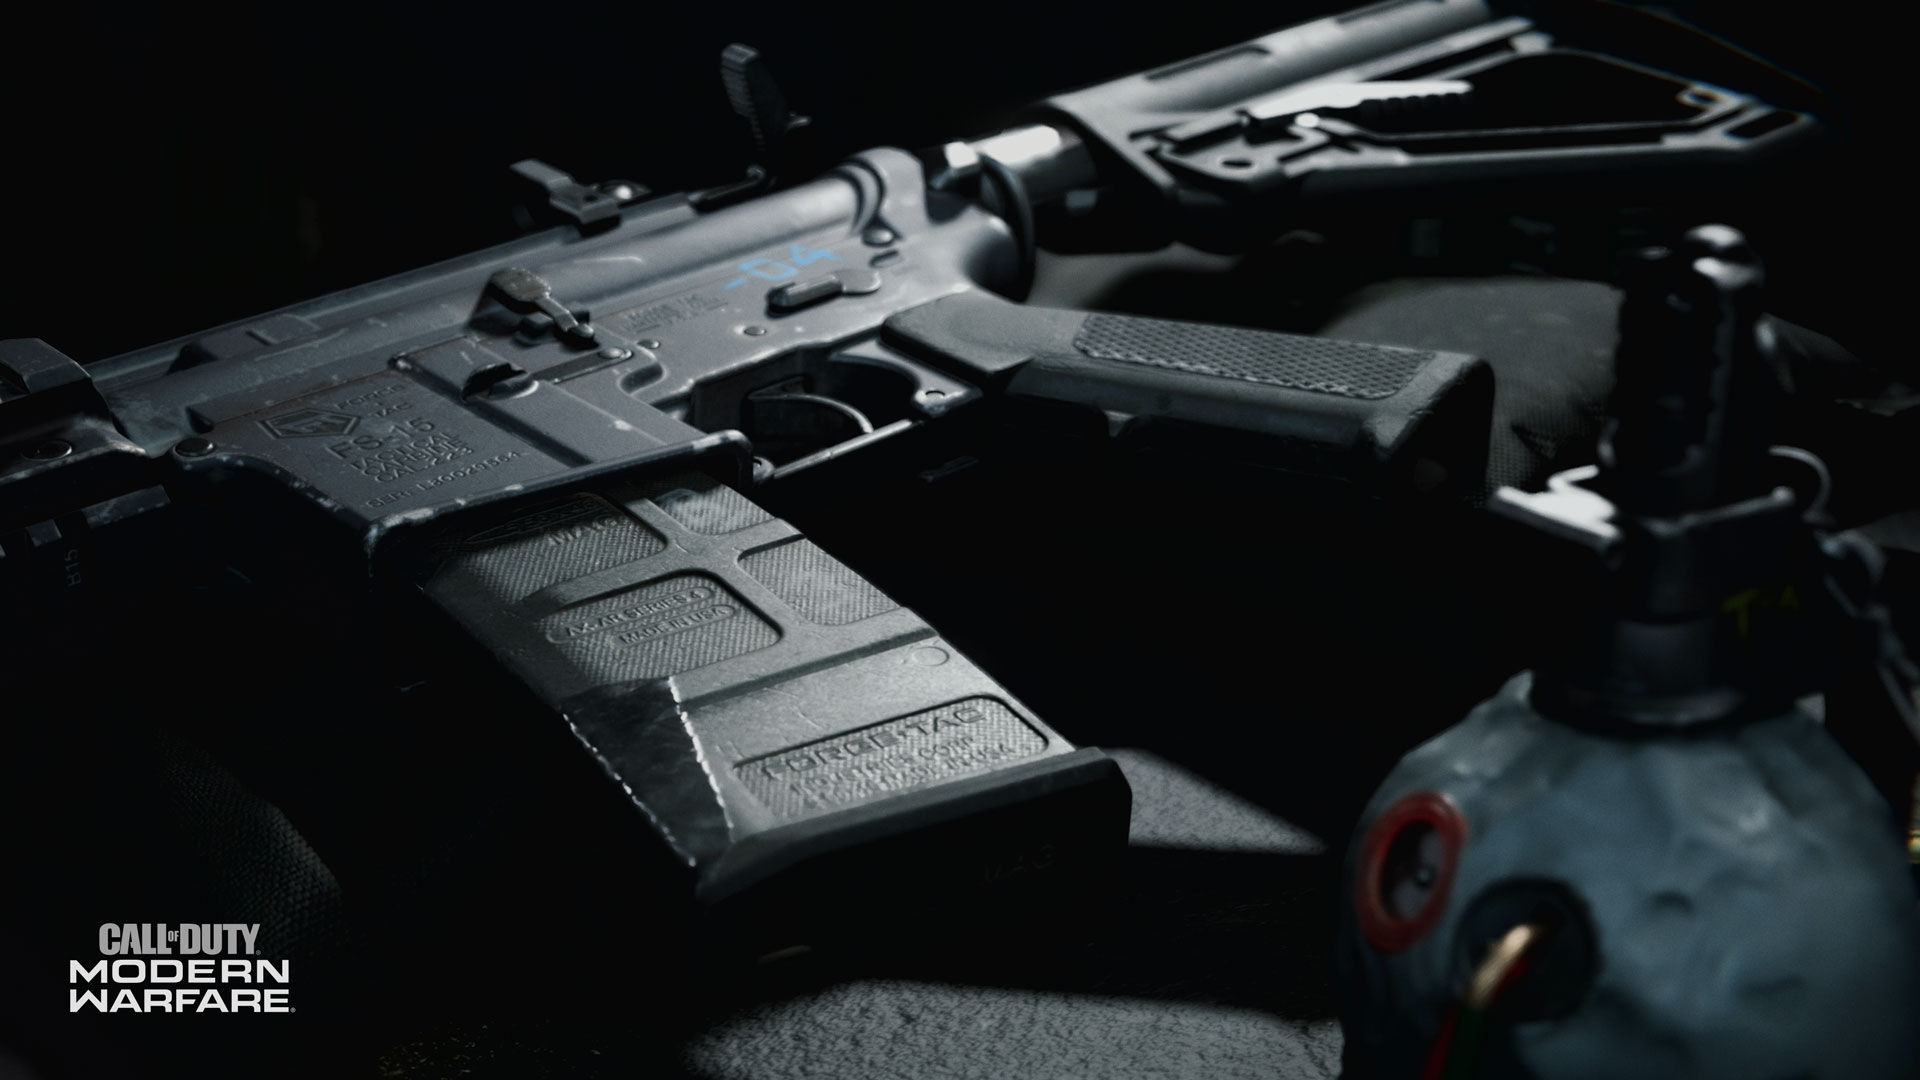
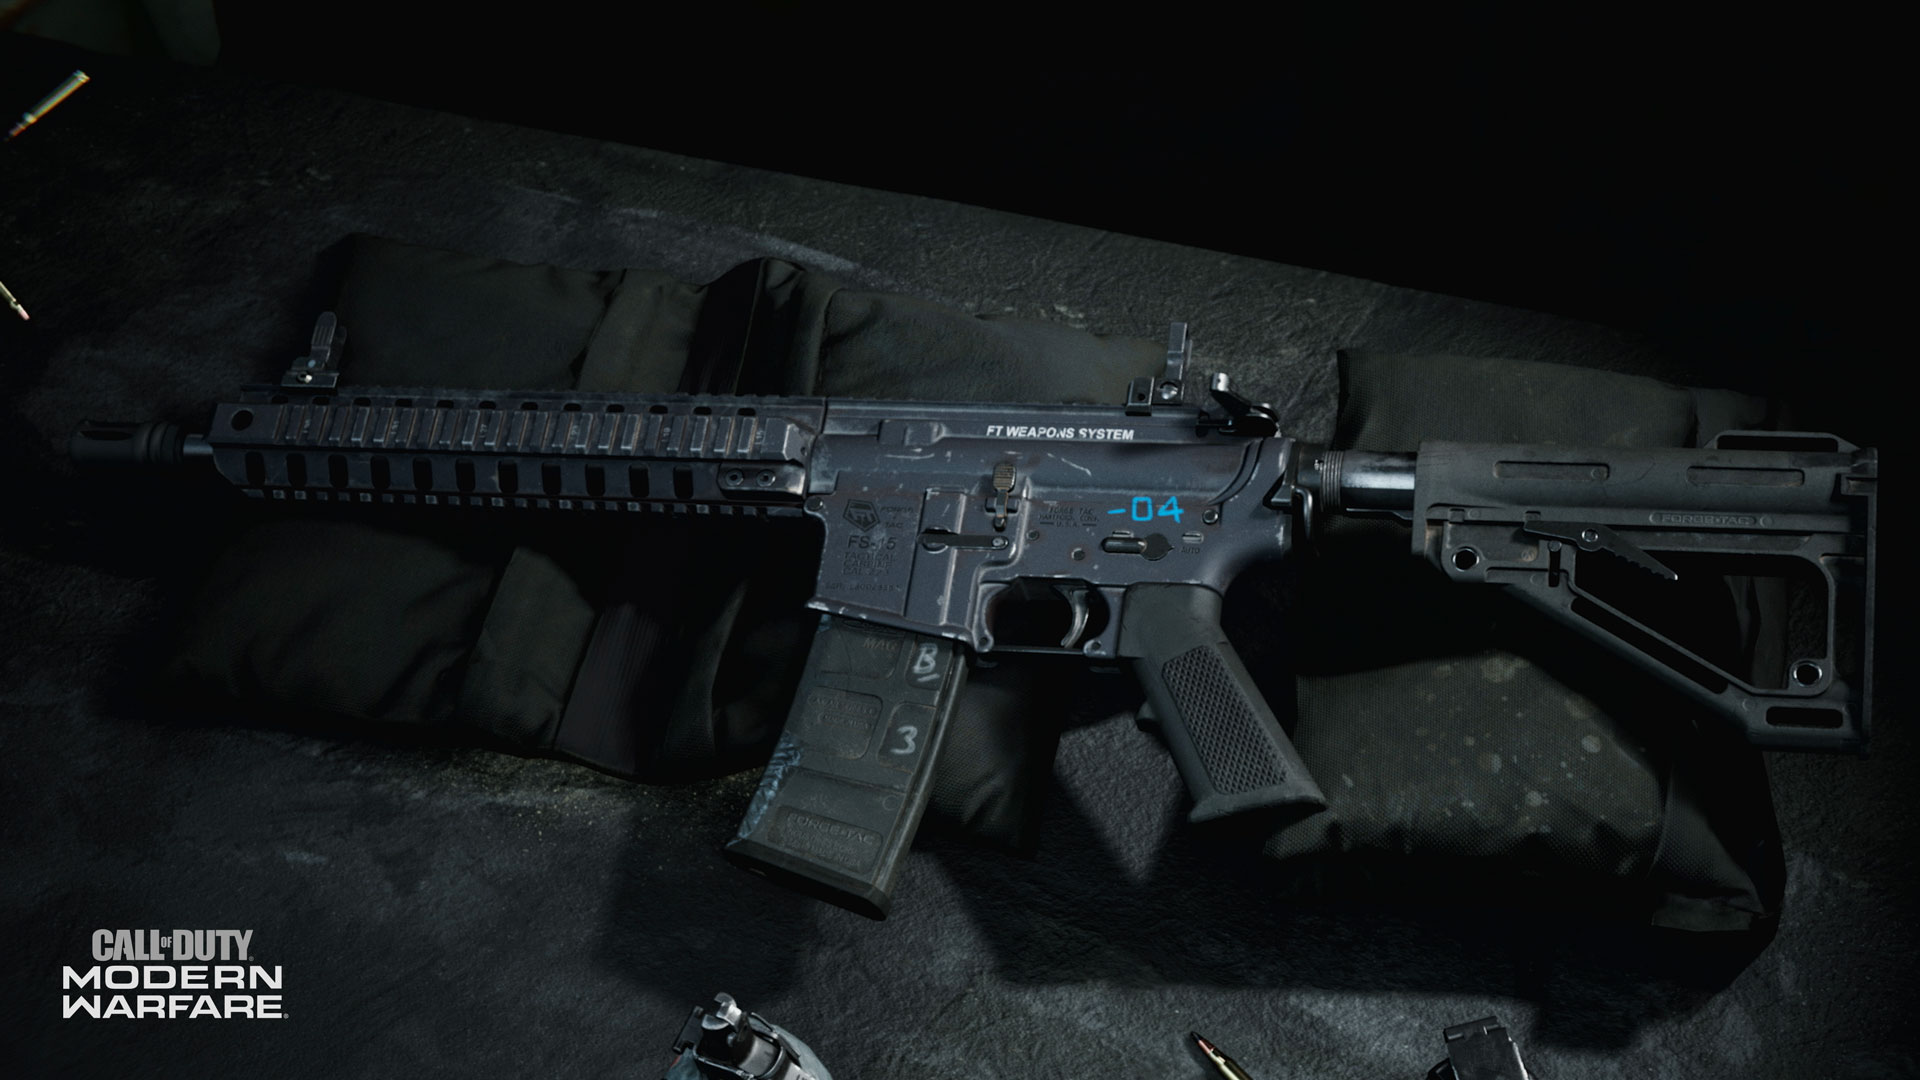
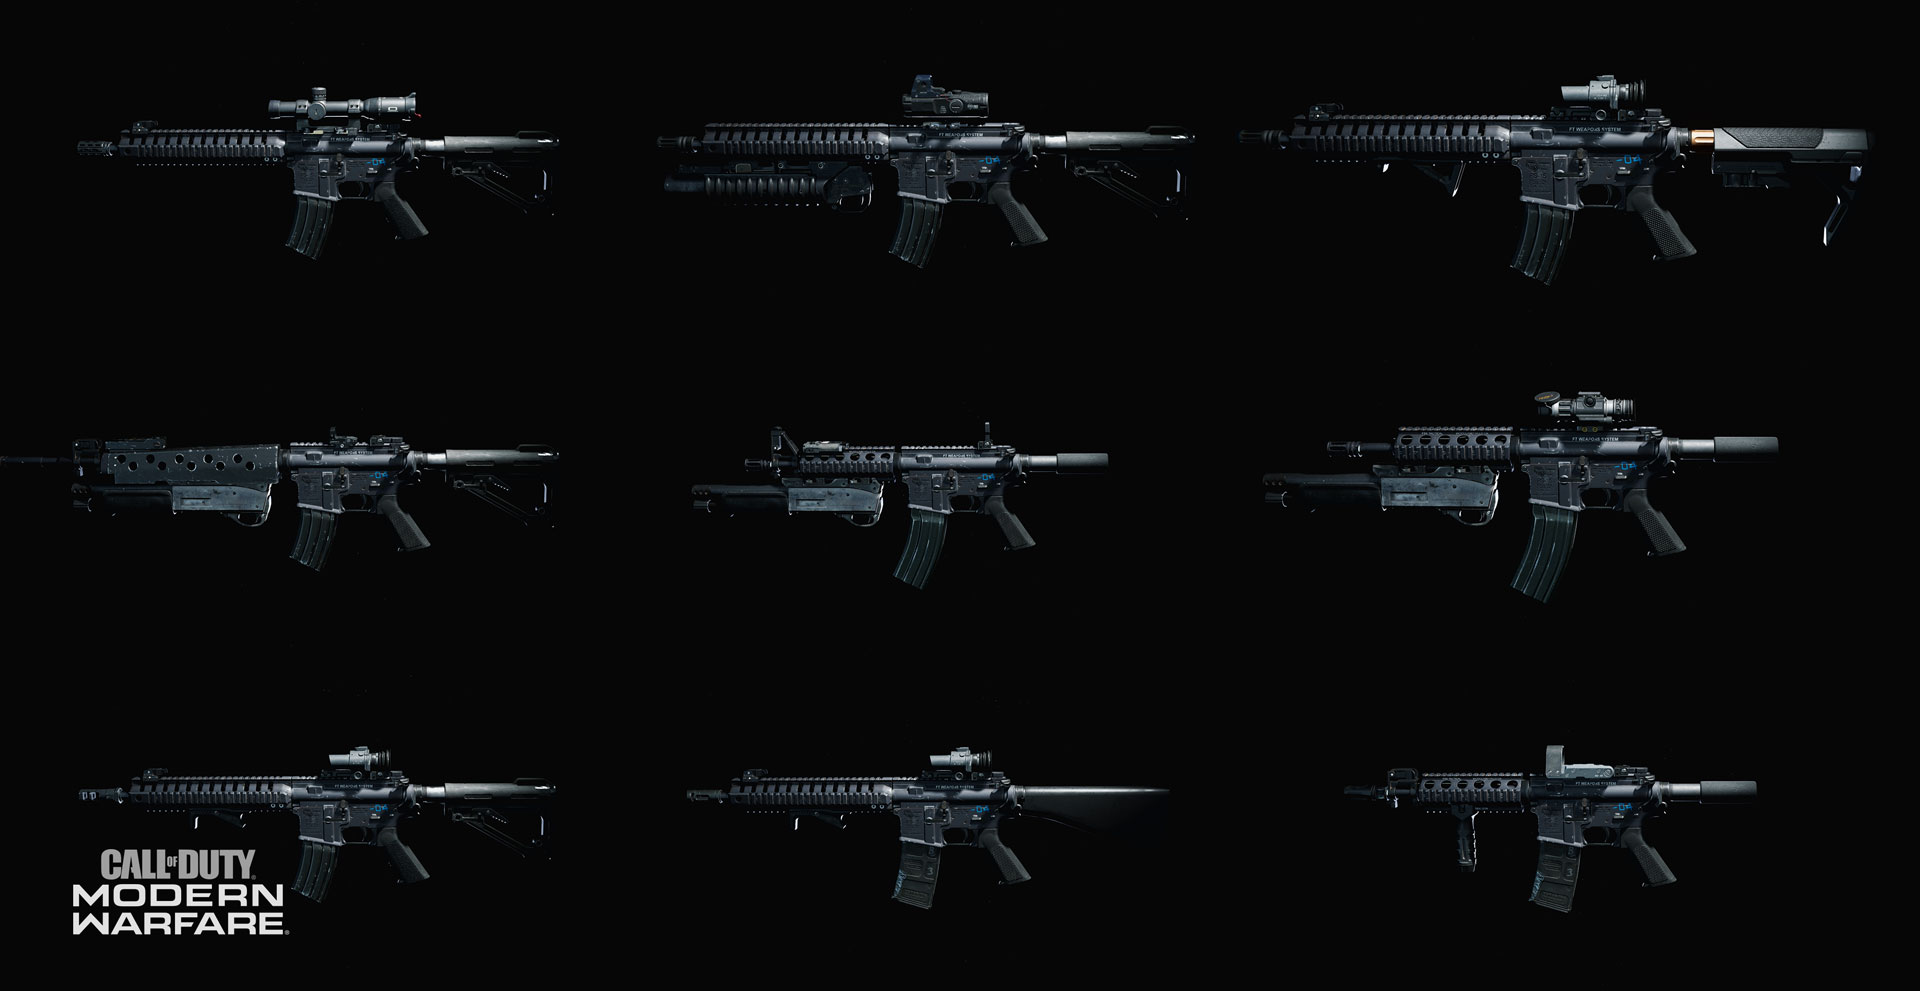
After selecting any primary or secondary weapon (except for launchers, which have no attachments) for a loadout, you can access the Gunsmith menu. Here, you are presented with a wealth of options to craft your assault rifle from its base version to a fully outfitted and customized weapon.
Within the main Gunsmith screen (attachments), you will see:
Equipped: This indicates how many of the five augmentations you’ve added. You can elect to attach less than five attachments, or none at all. It’s up to you.
Attachments: Using an assault rifle as an example, there are eight different areas on the weapon you can augment: The muzzle, lasers, optic, stock, rear grip, magazine, underbarrel, and barrel. In addition, you can add a perk, which doesn’t affect the look of the weapon, but offers a single additional effect, usually bestowed upon the Operator.
As you play with a given weapon, it will level up and gain more attachment options to choose from in Gunsmith. It’s also good to know the attachments available differ by weapon.
Weapon Stats: A bar chart displays six stats that are essential to evaluate when choosing your weapon. These stats are accuracy, damage, range, fire rate, mobility, and control. Look for a future blog post to dive more deeply into these statistics, and what they mean to weapon performance.
Preview: You can rotate, zoom and pan around the weapon you’re customizing in Gunsmith to make sure you’re happy with the overall look.
Customize: One tab over from the main Gunsmith menu is the Customization options. Here, you can choose to outfit your weapon with any camo, custom reticle, charm, and stickers that you’ve unlocked.
Weapons Detail: Example Augmentations
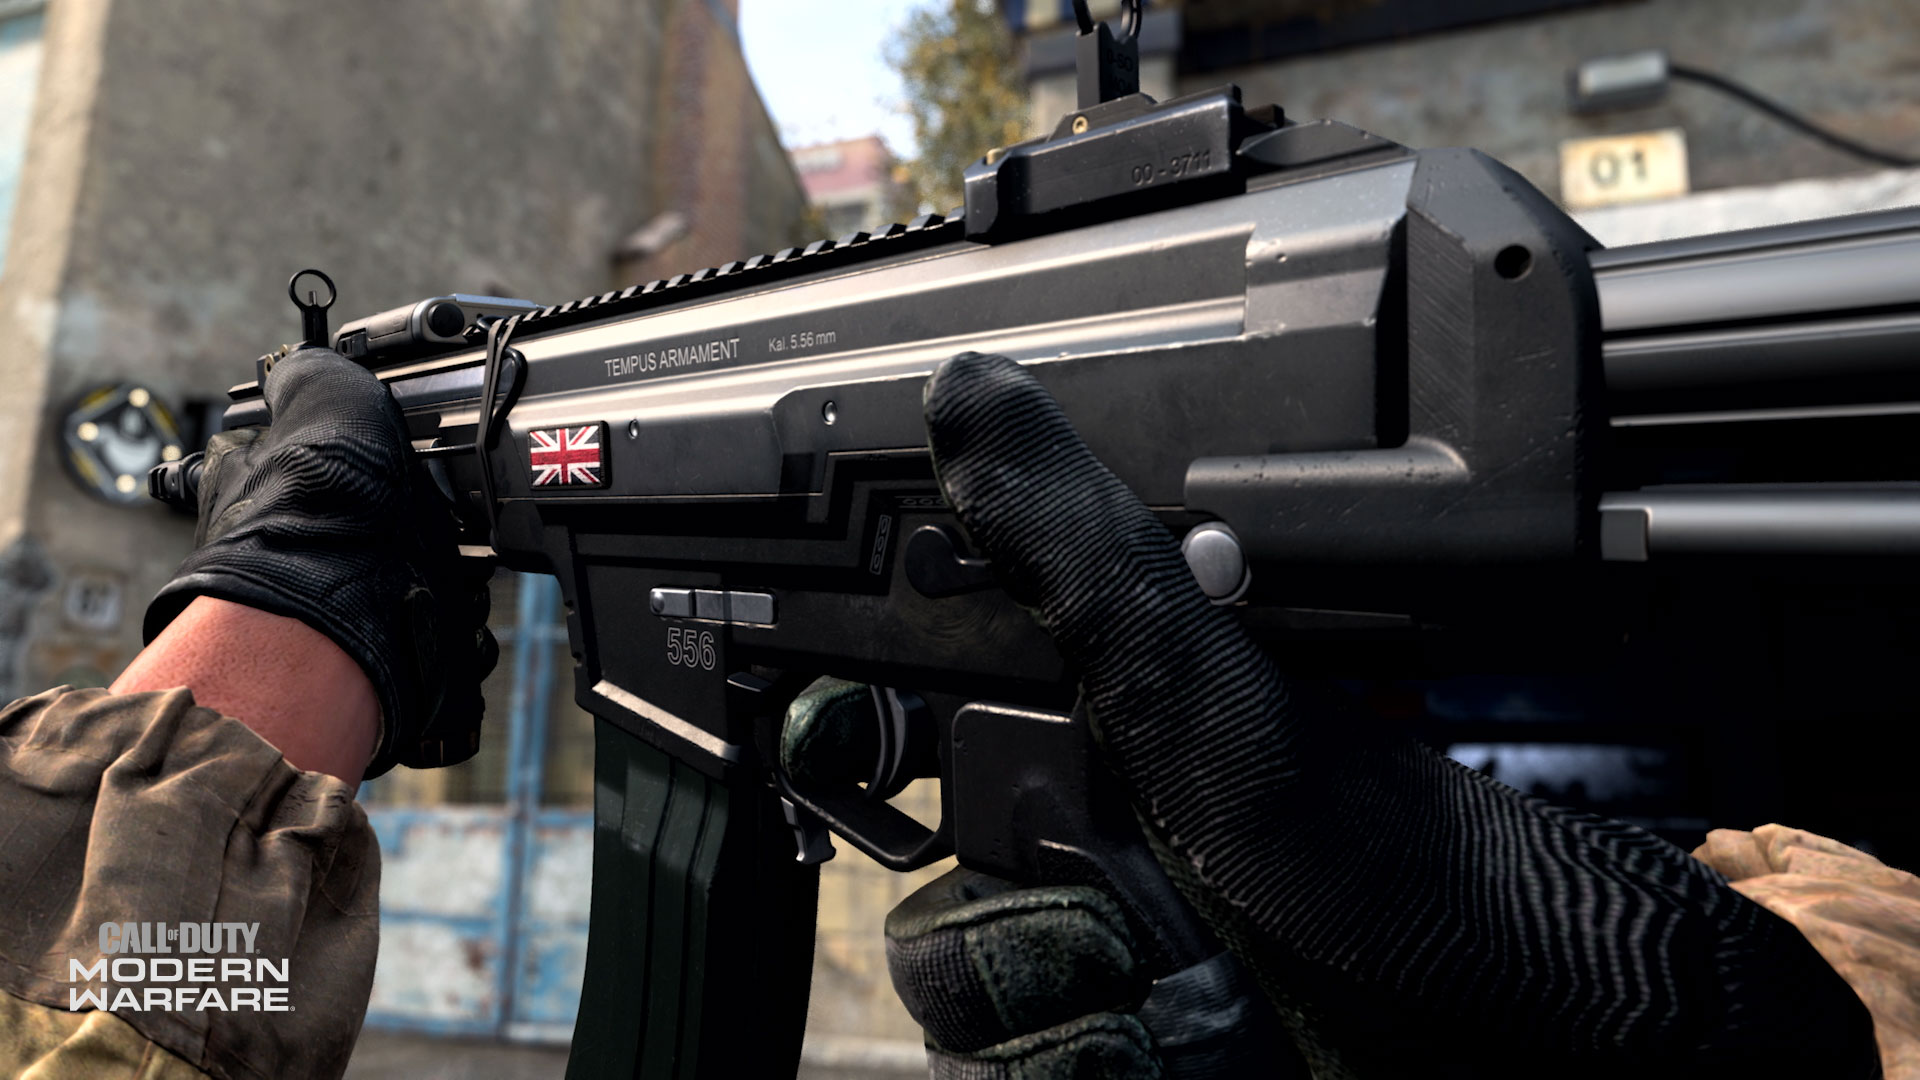
Take weapon augmentation one step further and inspect individual attachments. Click on the name of an attachment zooms in to that area of the weapon. From there, you can run through the available attachments you can equip to that location.
In our assault rifle example, we clicked on the Optics menu, and had the choice of various different optics to attach to the weapon. Hover over each individual attachment to read a brief description, the pro and con of using it, and how your weapon’s stats will change if you equip the attachment.
We picked the Merc Scout optic and attached it to an assault rifle. This gave us a precision reticle with a 3x magnification for use in all light conditions, as well as improved aiming sight picture (pro) at the expense of slower ADS speed (con).
A quick look at the weapon’s new stats indicated an increase in accuracy and range, to the detriment of control. Optics is only one area, but it’s the way all the attachments combine that determine the overall weapon capabilities. Gunsmith provides a deep and entertaining learning curve that once mastered can make a difference in how you approach matches and maybe even help you win gunfights. If you want to upgrade your weapon in the way you see fit that really gets into the details, you can really go to town in Gunsmith. Just remember, there are seven areas of the weapon to inspect and utilize!
A special mention must also be made of weapon perks. Instead of a fifth attachment, you can elect to equip a perk instead. In the example of the assault rifle, you can select the FMJ perk for the weapon (which increases bullet penetration and damage against equipment and Killstreaks), or the Presence of Mind Perk for the Operator (allowing them to hold their breath indefinitely which adds to your focus when attempting ranged takedowns).
Weapon Mods and Blueprints
Finished kitting out your weapon in Gunsmith and want to save it for later? Save it as a Weapon Mod, then have at it experimenting with different customization options for that specific weapon.
Follow the on-screen command to make a new Weapon Mod out of your custom-crafted weapon, name your creation, and hit save.
You can view and edit Weapon Mods at the bottom of the Weapons menu, where you can also see blueprints you may have received during your Modern Warfare experience.
After creating your first custom loadout, you’re ready to play your next Special Ops or Multiplayer mission. If you want to edit your custom loadout while in a game, there is no need to back out; pausing the game will take you to a more streamlined Loadouts editing screen, allowing you to adjust your loadout to better fit the task at hand.
Have fun testing out all the options available in Gunsmith to craft the perfect loadout for your Multiplayer and Special Ops needs. See you online.
For more information and the latest intel on Call of Duty®: Modern Warfare®, check out: www.callofduty.com, www.youtube.com/callofduty and follow @InfinityWard and @CallofDuty on Twitter and Instagram and Facebook.
For more information on Activision games, follow @Activision on Twitter, Facebook, and Instagram.