Modern Warfare® Tactical Map Intel: Suldal Harbor

Hear the seagulls squawking in Suldal Harbor, a new 6v6 Multiplayer map now live in Season Five.

Modern Warfare® Tactical Map Intel: Suldal Harbor

Hear the seagulls squawking in Suldal Harbor, a new 6v6 Multiplayer map now live in Season Five.

Welcome to Suldal Harbor, Operators. Part of the Season Five content launch, this 6v6 medium sized Multiplayer map sees Allegiance and Coalition forces battling it out on the dock and in and around warehouses and shipping supplies. Based on Harbor from the original Call of Duty, this map translates perfectly to the fast-paced tactical action of Modern Warfare.

Read on for a full intel briefing on Suldal Harbor, including tips and strategies for dominating the opposition.

Lay of the Land

It’s Day 289 in the ongoing struggle between ex-Armistice alliance members. The fight moves to the Black Sea with a deployment to Suldal Harbor, Urzikstan. The Coalition enters from the north while the Allegiance enters from the south.

Harbor is a medium sized map that often feels much smaller due to its tight design. The north and west are mazes of shipping crates and the map’s center is crammed with narrow alleyways and buildings with small interiors. The wide street between Warehouse and Market in the south provides the most open space, but even so there are several nooks and alleys from which an attack can come at any time.  

Expect a lot of action between middle map’s Apartments and the Fisherman’s Catch building. They’re close together with a first and second story where firefights constantly erupt between them, especially over the middle alley by Forklift where doors and windows directly face each other. 

Map Overview

Look over the following maps to get an idea of how Suldal Harbor is laid out and how you might exploit its twisting design to surprise and ambush enemy players. We’ve also included objective information for popular game modes. Swipe or click left or right to cycle through them.

Basic Strategies

Success in Harbor means striking the right balance between speed and caution. If you’re running around corners in a full sprint, you’ll lose a lot of fights. On the other hand, sticking around one place for too long invites trouble. 

Keep moving but be tactical. Stick close to crates and nooks in the walls to cover your sides and back when moving forward. Raise your weapon as you turn corners or center your crosshairs so you’re ready to hip-fire at a moment’s notice. You’ve got to be ready for a fight at any time.

It’s not all close-quarters combat, though. Snipers and other long-range players can do plenty of damage covering the streets and alleyways. There are some long sightlines to find around the perimeter of the map looking in. If you’re playing the long game, consider bringing a trusted secondary with you to fight off enemies at close range.

There are plenty of climbable objects scattered throughout Harbor that when used tactically can give you a great view over the maze-like ground floor. And when you’re under attack, use the plentiful cover to move out of view and then turn the attack around.

Look on the Bright Side with the Silver Lining Blueprint

Now this is a fun one. While every playstyle has a place on Harbor, why not jump right into the fray with a killer SMG.

Found in the ‘Silver Surgeon’ Store bundle, the Silver Lining is a suppressed SMG designed for sustained combat, perfect for keeping a low profile and fighting multiple enemies at once without needing to stop and reload. 

The Silver Lining is outfitted with a Tactical Suppressor and 60 Round Mags. To offset their weight, the 5mW Laser, No Stock, and Stippled Grip Tape provide bonuses to handling speed, making for a snappy SMG capable of sustained fire. Use this Legendary blueprint to dominate the middle buildings and around the shipping containers in the north and west.

If you need to fire downrange, mount your weapon for improved accuracy or move up from cover to cover until you can close in and overwhelm the enemy up close. Consider running Scavenger — even with 60 Round Mags, this gun chews through ammo.

Killstreak Field Guide

The skies are clear so put up your aerial killstreaks. The buildings in Harbor are so tightly confined that while the enemy can run to them for cover, they won’t last long when you meet them inside. Aim carefully when deploying the Cluster Strike, Cruise Missile, or Precision Airstrike to ensure that you hit the ground and not the tops of buildings or shipping crates.

The Sentry Gun can be used to good effect in the alleyways and outer streets. Use it to protect objectives and key throughways while you cover its back. Or, if you’d rather take the fight to them, consider the Wheelson and rack up kills as you chase enemies through the map.

Consider taking the Care Package for a low-cost chance at higher killstreaks. It’s fairly safe to call one if you step back in the north or south, provided you wait for a break in the action. At just four kills you can still play aggressively and with some luck earn a couple per match.

Objective Play

Take a look at the maps above for an overview of where the objective is located in different game modes. In Domination, you’ve got a nearly straight line, from A by the north spawn to B right in the center alley and C in the south spawn. Remember that two flags are easier to protect than three. Lock down one side and then fight for B. At two flags, defend and protect.

Hardpoint squeezes you into some tight areas. Consider Spotter to get a heads up on enemy equipment and field upgrades, and High Alert to notify you of approaching hostiles. Use Stim to get your health back up after fighting in the Hardpoint and use the Trophy System to keep out enemy grenades.

In non-respawn modes, it becomes even more essential to move tactically and use cover. In Search & Destroy, the bomb sites are placed in a line across middle map, forcing the action into the center. The Courtyard B site is more open and perhaps easier to defend, so surprise them with a plant at A and overwhelm them in and around Forklift.

Whatever the mode, keep your eye on the score and stick to the objective.

10 Tips

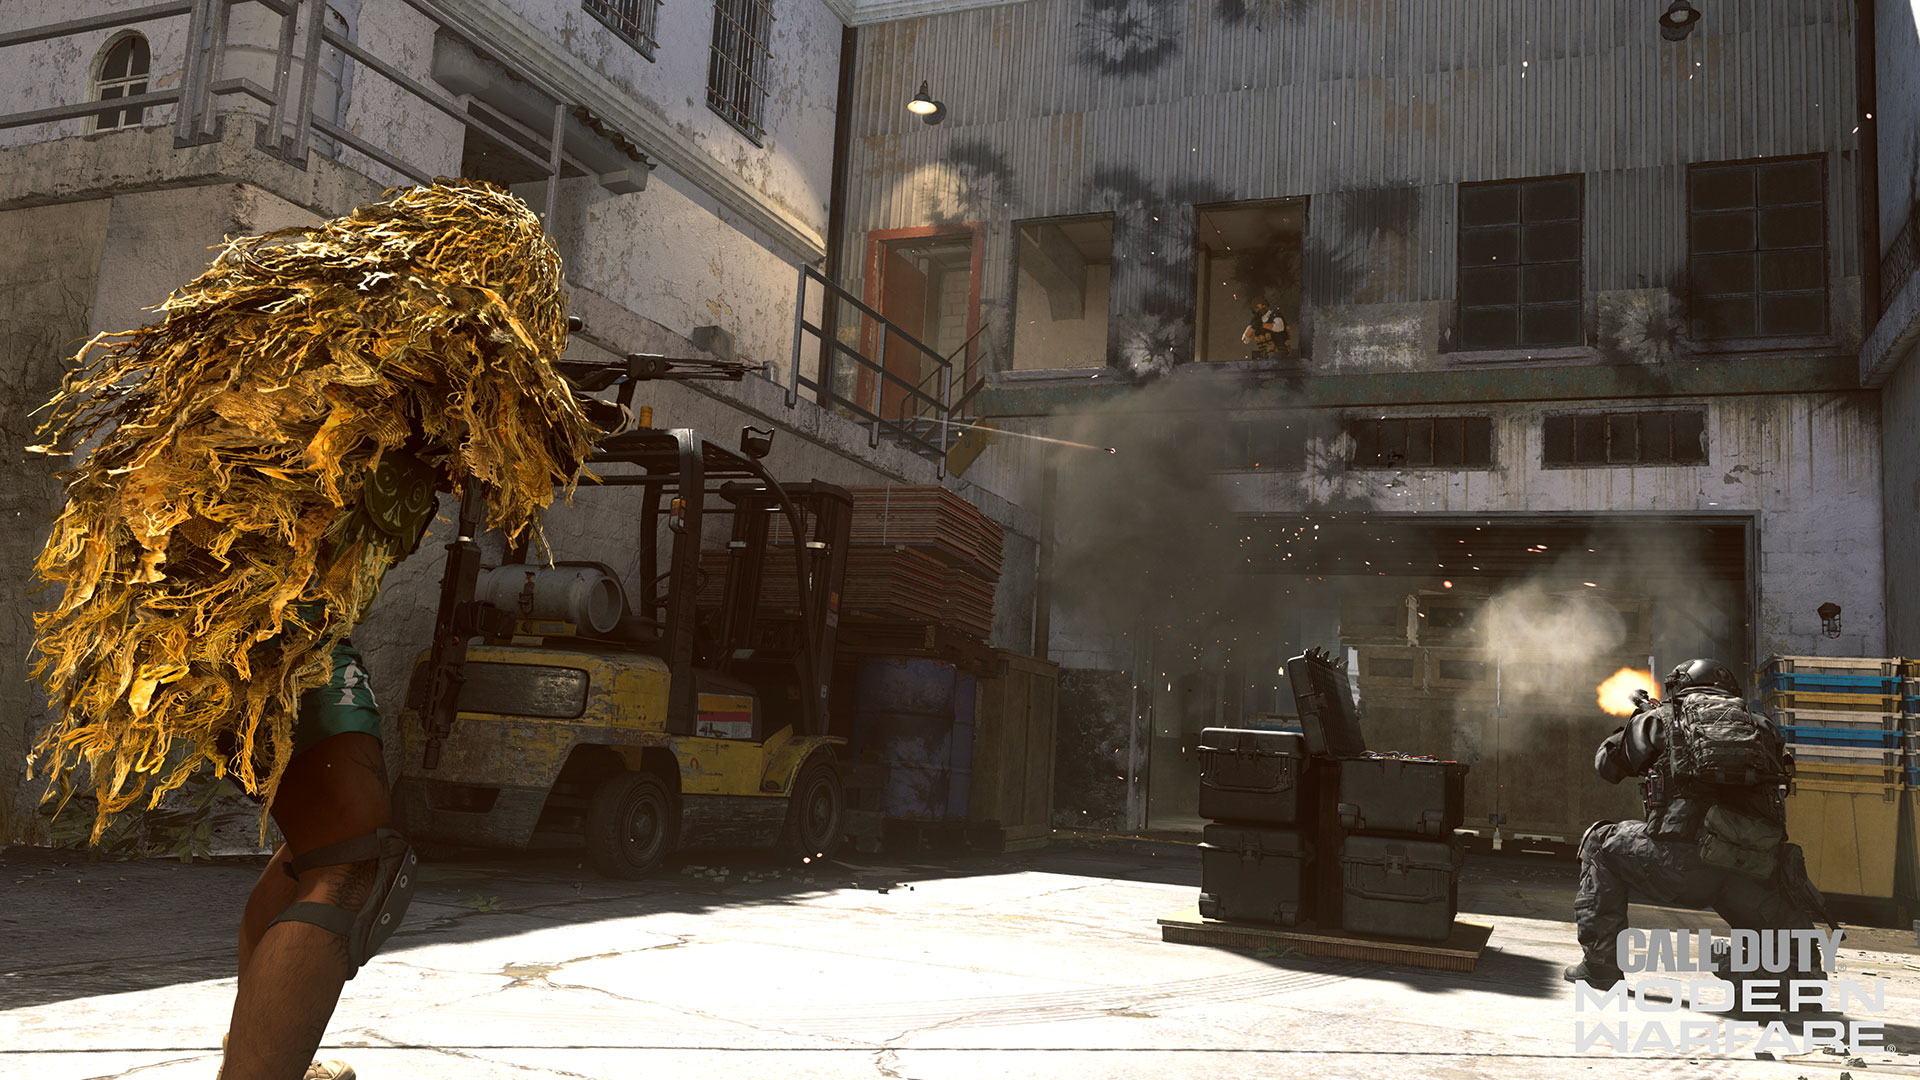
10. Smoke ‘Em. A Smoke Grenade can cause a lot of confusion here. Throw one down and take the objective or use it to block out a sight line as you change position. Try using one by the center Forklift when there’s a lot of fighting going on. 

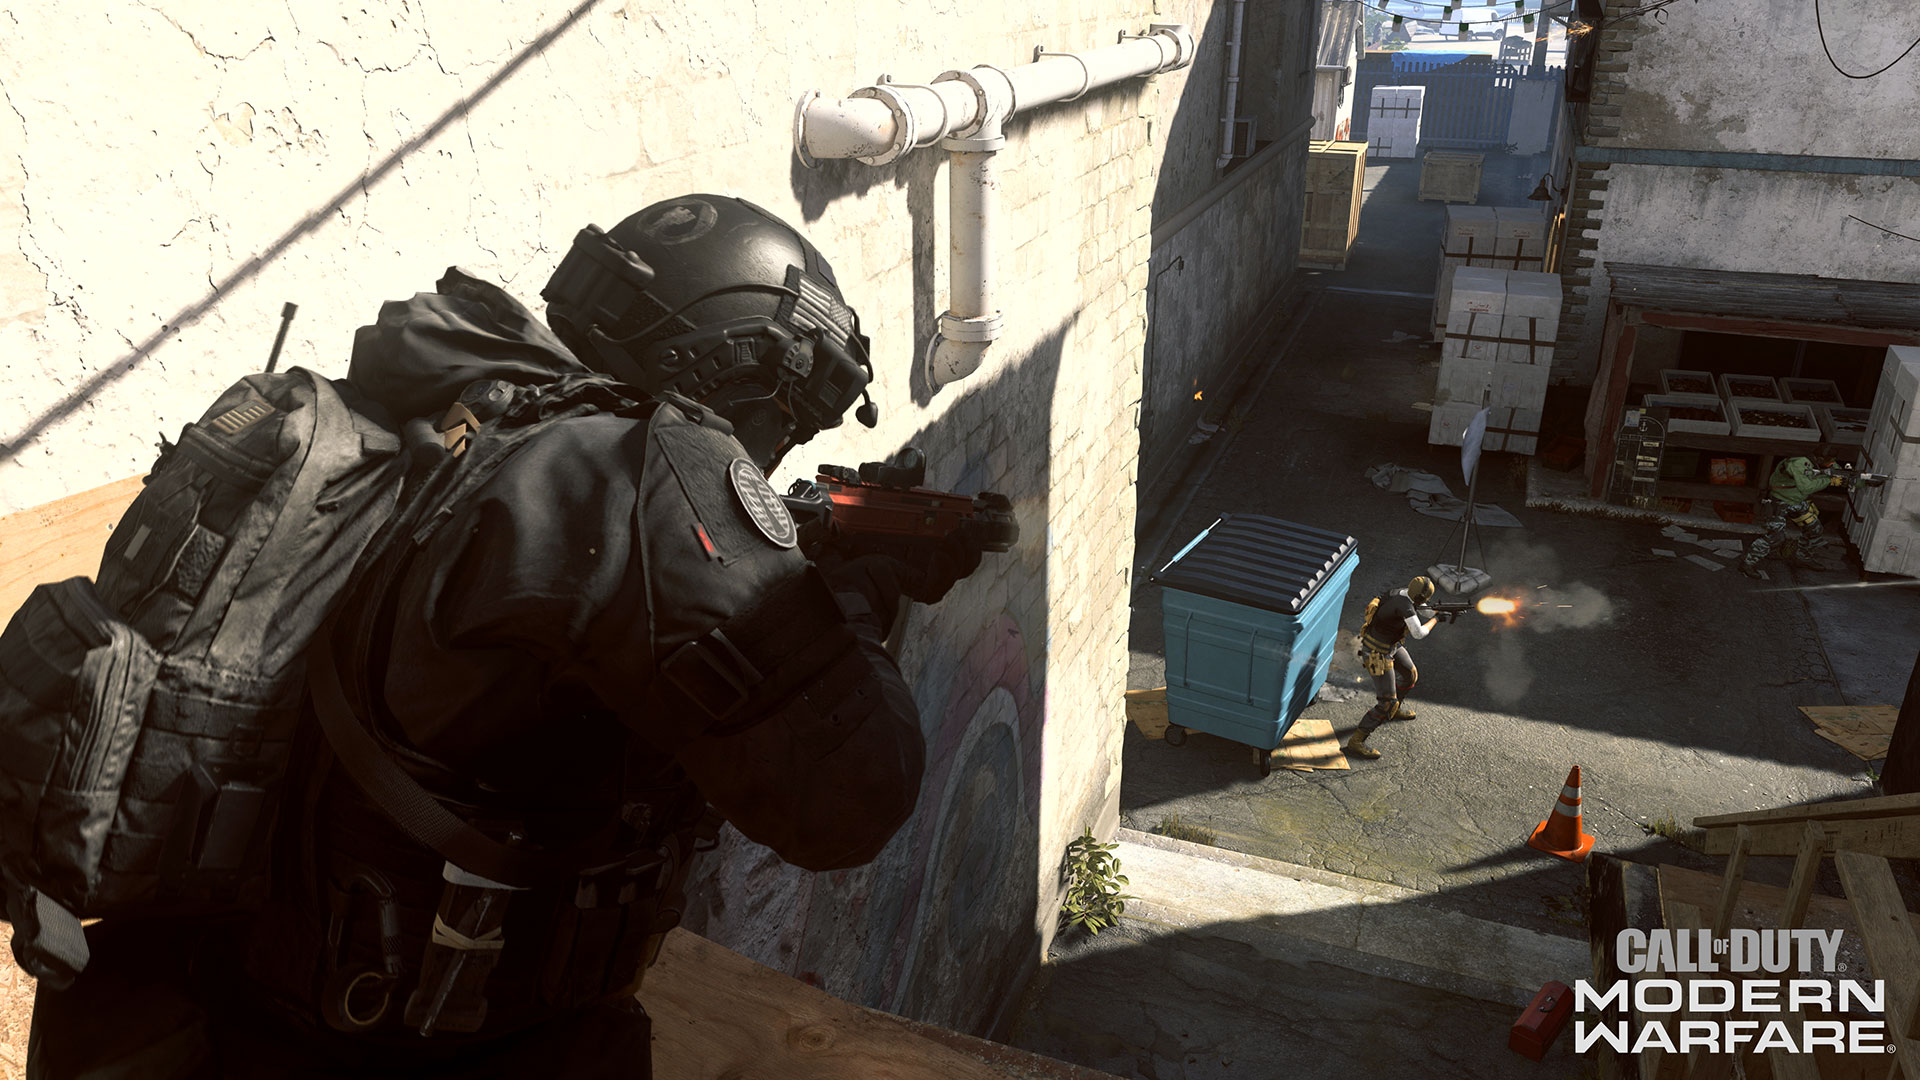
9. When They Go Left, You Go Right. While it’s typically good practice to stick with your teammates, it can be a death sentence in the confines of Harbor, granting the enemy an easy multi-kill. Instead, stick to the general area your teammates are in, but try taking a different path and attack from multiple angles.

8. Climb Everything. Harbor is full of climbable objects to get up on crates and other vantage points. Climb up the crates in Containers up north and around the western Courtyard. While they’re running in a maze below, you’ve got a bird’s eye view.

7. Hall Monitor, Coming Through. If you’ve become a fan of the Kali Sticks and Dual Kodachis, stick to the middle buildings and beat up enemy players sprinting through the confined interiors. If you still need to unlock those melee weapons, equip the knife and get to work on their respective challenges.

6. More Perks, Please. Specialist works wonders here for an Operator on the roll. Buff up by stacking perks like E.O.D. and Quick Fix, Amped and Spotter, or whatever combination of perks you prefer to grant a growing advantage as you steamroll the enemy team

5. Guns Up. It’s worth repeating. Harbor’s narrow lanes offer multiple cover points and a second story vantage around the middle buildings. You don’t want to be caught by surprise, so be prepared and raise your weapon when turning corners.

4. Let it Burn. The Molotov Cocktail also benefits from Harbor’s narrow lanes. Use it to momentarily cut off the enemy from a valuable passage or toss it through a second story window to force enemies out from their overwatch position. 

3. Break in the ISO. Get to Tier 15 in the Season Five Battle Pass system to unlock the free ISO SMG. This fast-firing weapon is ideal for the close-quarters combat so often encountered in this map. 

2. Blast Them. Up the fun with a launcher like the RPG-7 to blast enemies in the alleyways. Fire behind their cover to catch them in the blast. Maybe put it away in the buildings, where you’re likely to get blasted, too.

1. Stay Afloat and Keep Up the Fight. Suldal Harbor might seem like a maze at first, but keep on playing and you’ll get a better feel for its design. Over time you’ll master the layout and use it to trap and ambush your enemies. 

See you online.


For more information and the latest intel on Call of Duty®: Modern Warfare®, check out: www.callofduty.comwww.youtube.com/callofduty and follow @InfinityWard and @CallofDuty on Twitter and Instagram and Facebook.

For more information on Activision games, follow @Activision on Twitter, Facebook, and Instagram.

The Software License and Service Agreement will be updated. Please follow this link [https://www.activision.com/legal/ap-eula] in order to see these changes.