Modern Warfare Tactical Map Intel: Khandor Hideout
The newest Multiplayer experience for Call of Duty: Modern Warfare features a three-lane, fast-paced map design. This is the intel you need to know in order to conquer it
Modern Warfare Tactical Map Intel: Khandor Hideout
The newest Multiplayer experience for Call of Duty: Modern Warfare features a three-lane, fast-paced map design. This is the intel you need to know in order to conquer it
March 27, 2020
by James Mattone
This week, the Modern Warfare community was introduced to a brand-new Multiplayer map: Khandor Hideout.
Set in the middle of a desert, this medium-sized map is built for frenetic and competitive action, no matter what kind of loadout you use.
Here’s what you need to know about this new experience:
Lay of the Land:
Al-Qatala forces have taken over a compound in Syrkistan, and it’s up to the Coalition and Allegiance to liberate it.
Before the war, this small neighborhood was a wonderful place to live despite the arid conditions. A few residences surrounded a couple of local business, such as an outdoor market, a garage that also fixed bicycles, and a power plant.
Unfortunately, when Al-Qatala rolled in, they drove out these peaceful neighbors and commandeered the area to make a hideout. At the core of this neighborhood is a Lab where they were in the process of making problematic materials to take further control of the region.
Surrounding this Lab, one can find plenty of evidence of Al-Qatala’s defilement, whether it’s an armored vehicle parked outside the Garage or their flags flying in and above homes and businesses.
Map Detail:
Khandor Hideout is a medium size, three-lane style map that contains long sightlines along with dense interiors, allowing for a variety of combat situations to take place.
Here are the 13 distinct zones that this map contains:
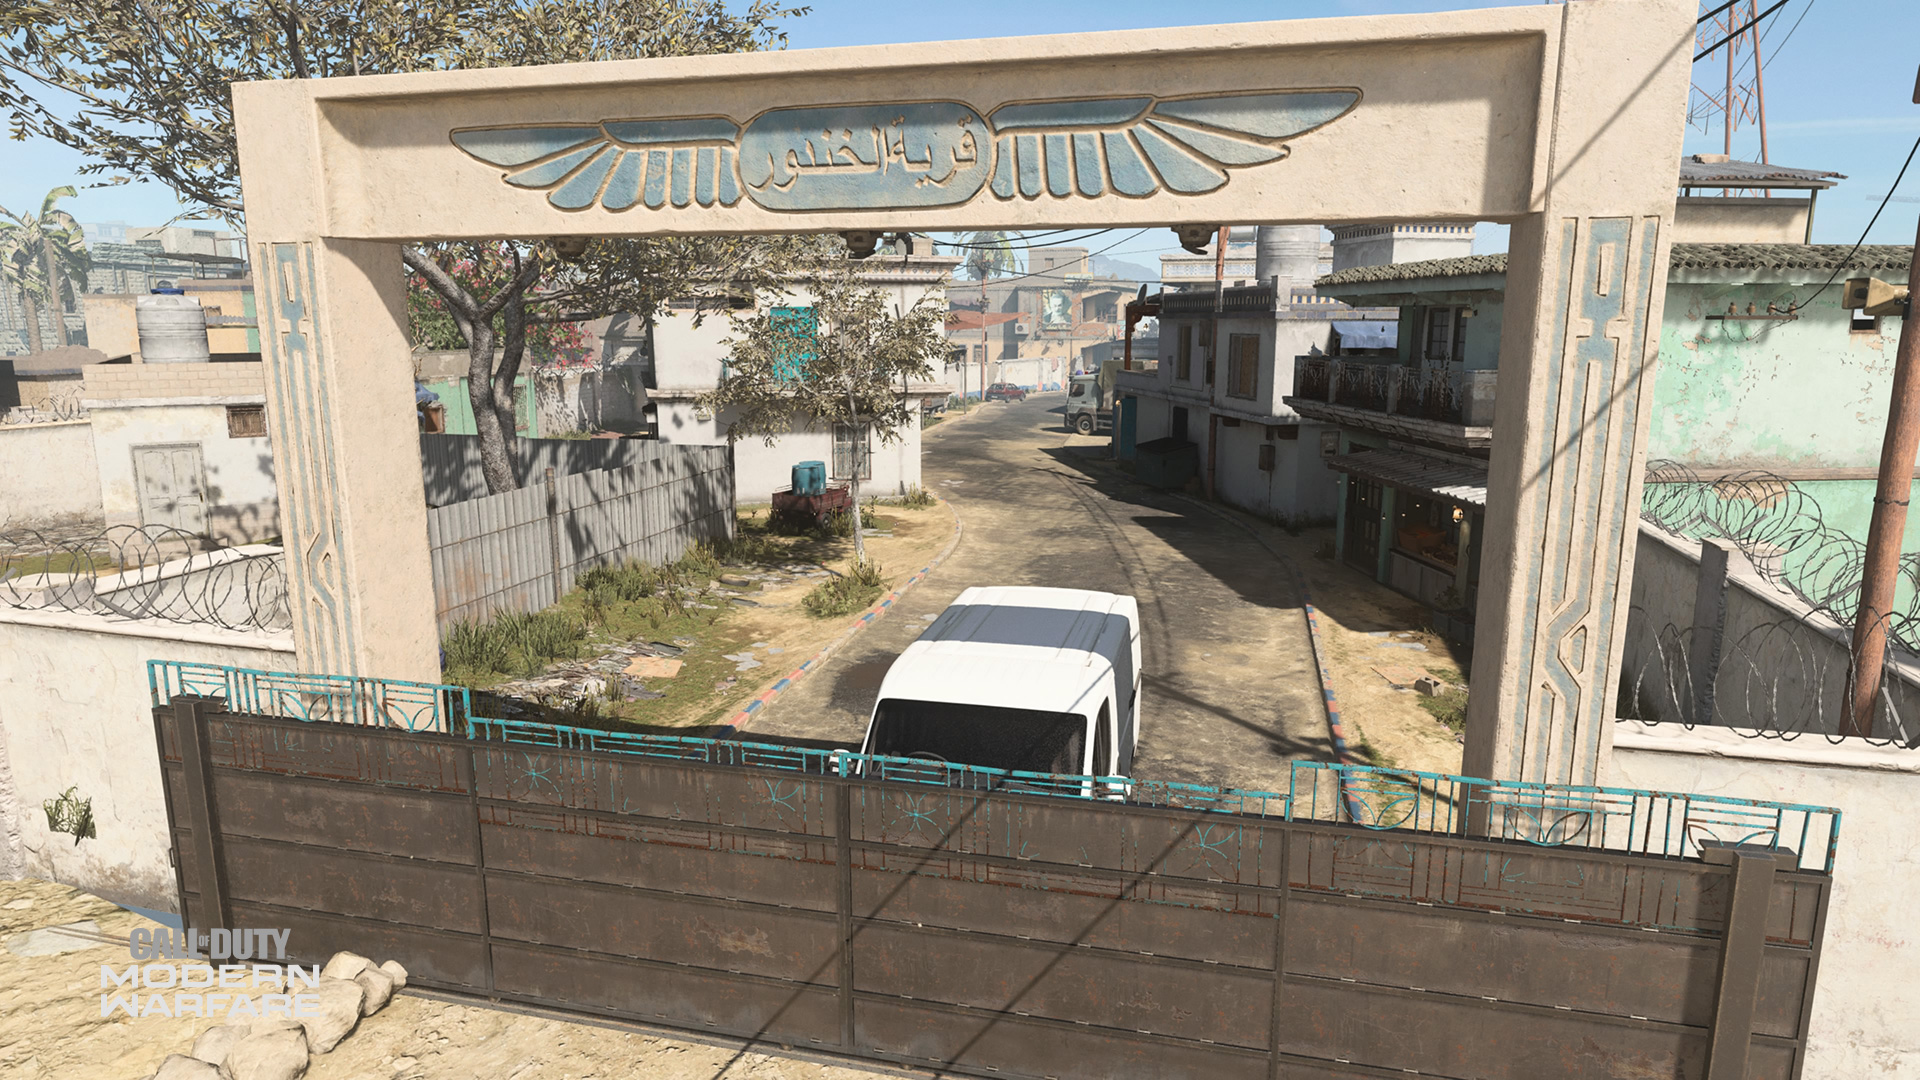
1. Arch - Coalition Spawn
2. Backlot
3. Residence
4. Garage
5. Delivery
6. Market
7. Armor
8. Lab
9. Field
10. Recycle
11. Lookout
12. Radio
13. Security - Allegiance Spawn
Map Overview
The following set of maps detail the entirety of Khandor Hideout, including the zones, the locations of important areas in different game modes, and a topographical image. Swipe or click left or right to see them all:
Khandor Hideout: Map Overview
Khandor Hideout: Map Zones
Khandor Hideout: Domination
Khandor Hideout: Hardpoint
Khandor Hideout: Search and Destroy
Khandor Hideout: Cyber Attack
Khandor Hideout: Topography
Map Zones Overview:
1. Arch - Coalition Spawn
In team-based game modes, Coalition members will begin their mission here on the western-most zone on the map.
Because there is little tactical importance to this area, Operators will want to get in and out of here quickly. If necessary, the white van parked here can be used for cover in case an enemy pushes up too far into this initial spawn point.
2. Backlot
Off the break, this is where Coalition members will filter into if they take the north lane out of the three. They will most likely file in through a small alley to the west.
Note the dumpster next to the small two-story home here; it offers a great sightline over to the zones Delivery and Lab, as well as, the central lane in general. Just be aware that there is a small opening that leads from the Garage next to this dumpster, which serves as a natural flank.
In Domination, Coalition Operators will want to hop on the A flag ASAP, as Allegiance members may want to rush up the north lane from their spawn to go for a sneaky opening break.
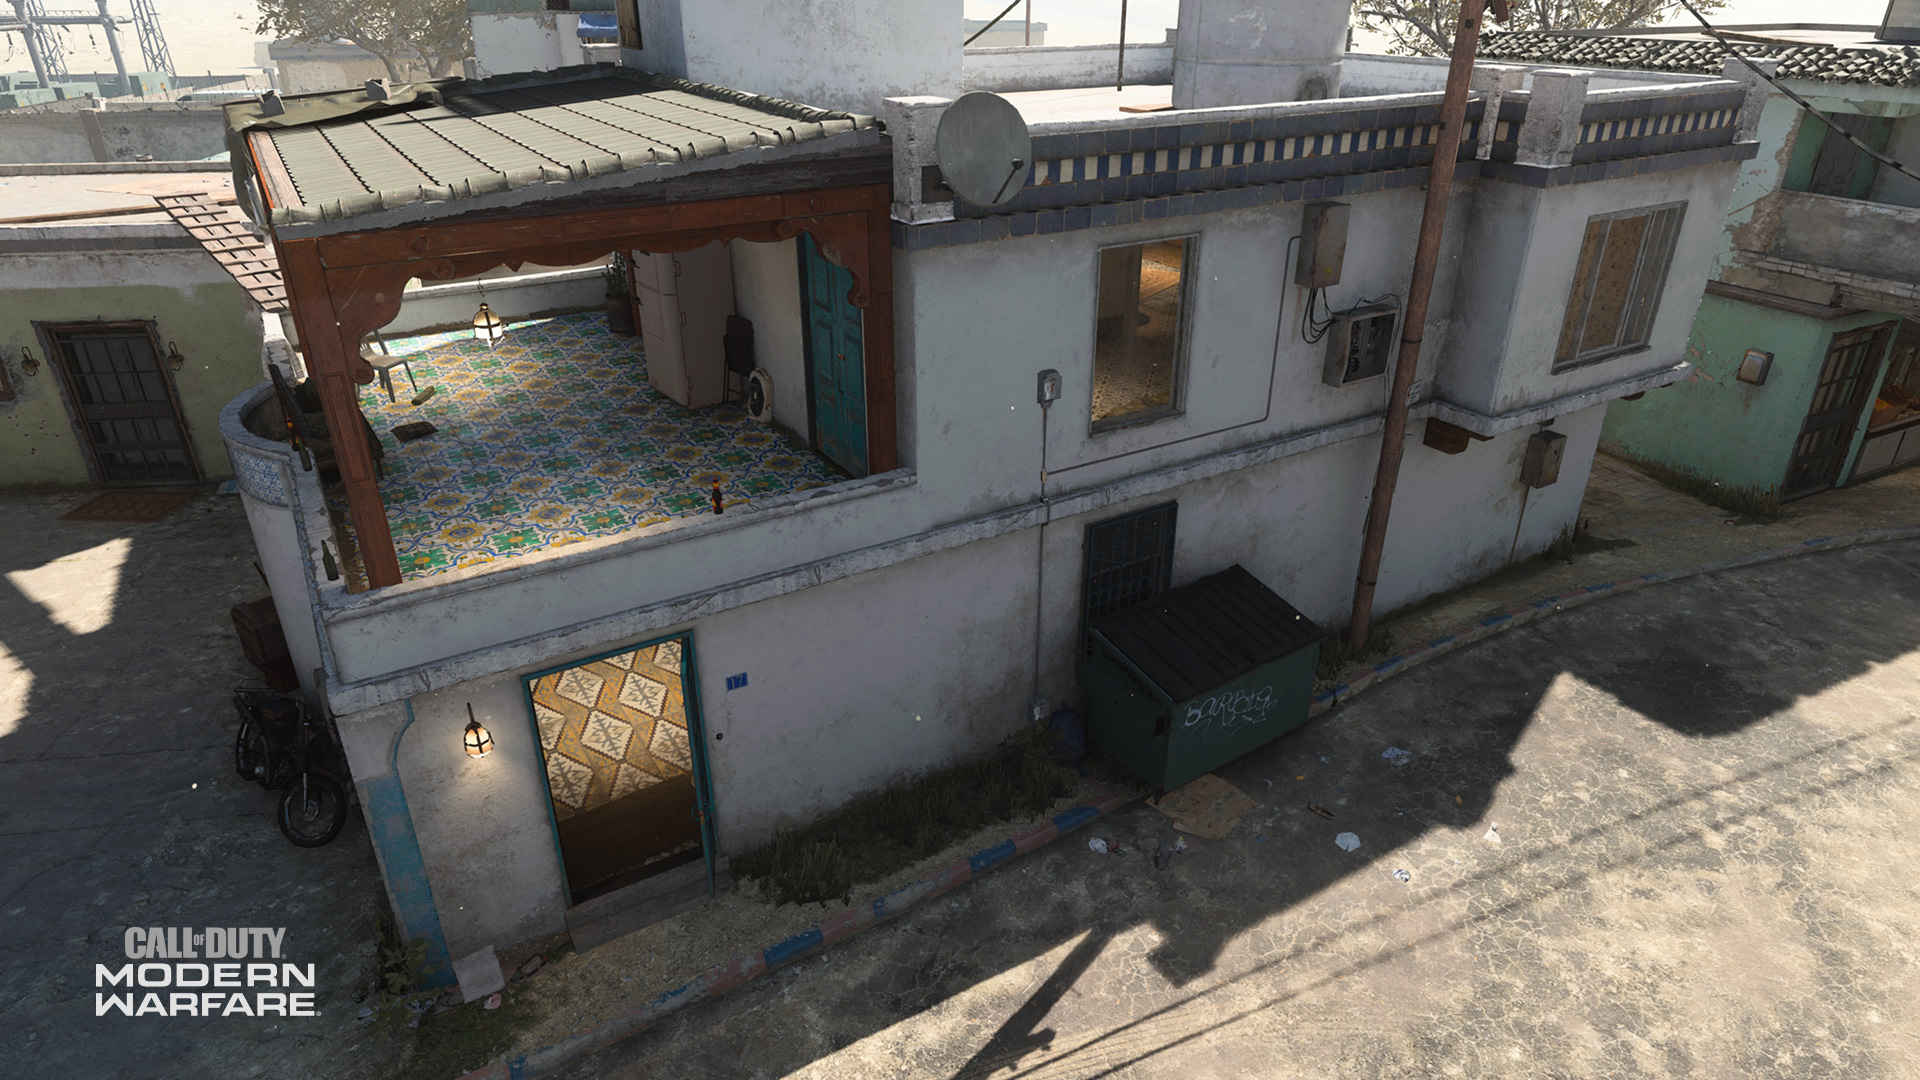
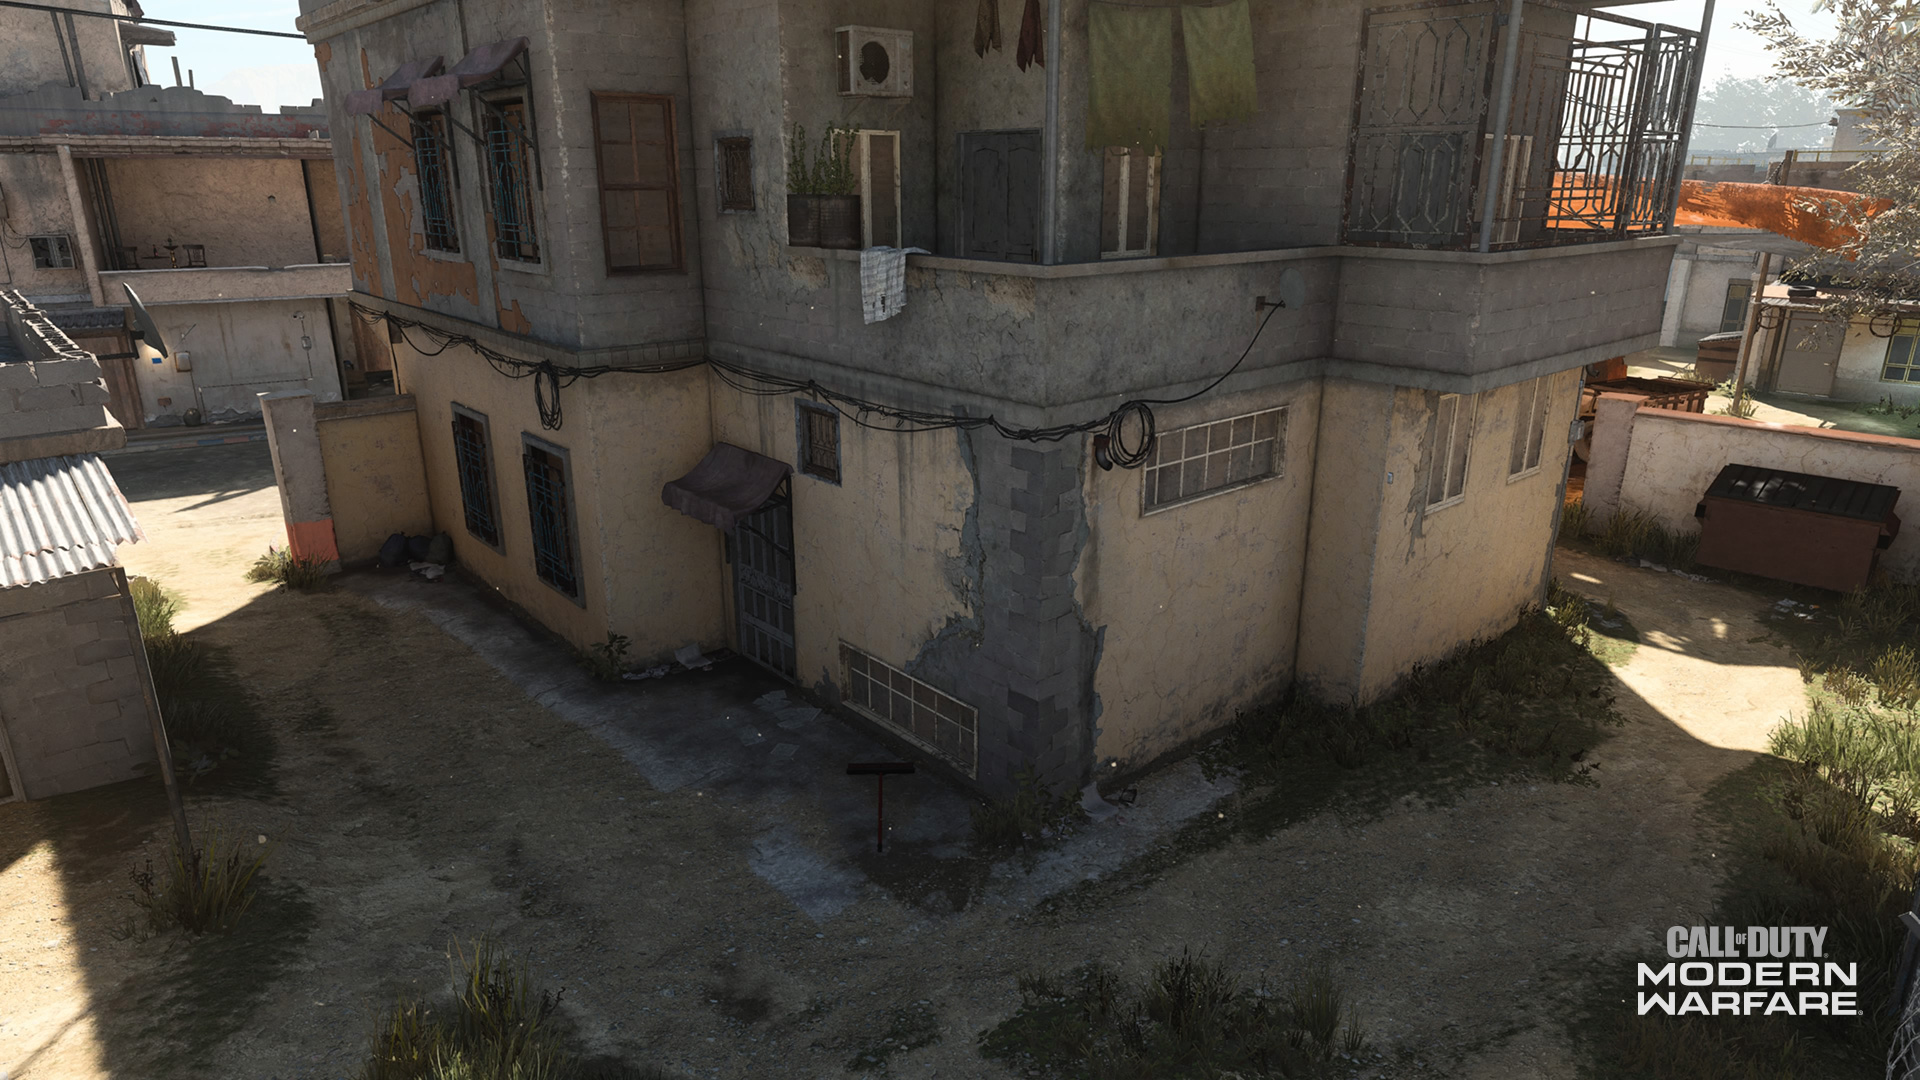
3. Residence
A fully accessible two-story home sits in between the central and south lanes on the west side of Hideout.
Here, snipers can take residence on the second floor, picking off anyone who dares to cross the central lane. Snipers can also get a great view over the south lane by taking a small walkway over to a rooftop, although there is little natural cover over here compared to the main Residence. The first floor is great for close-quarters action, as fighting will most likely take place within the living room and kitchen area.
In Cyber Attack, Coalition members will be tasked at defending the Data Center located here, and in Hardpoint/HQ, this is the location of the second hill/HQ. Note the multiple points of entry when defending this area, as there are a lot of rotation options when coming from the Lab.
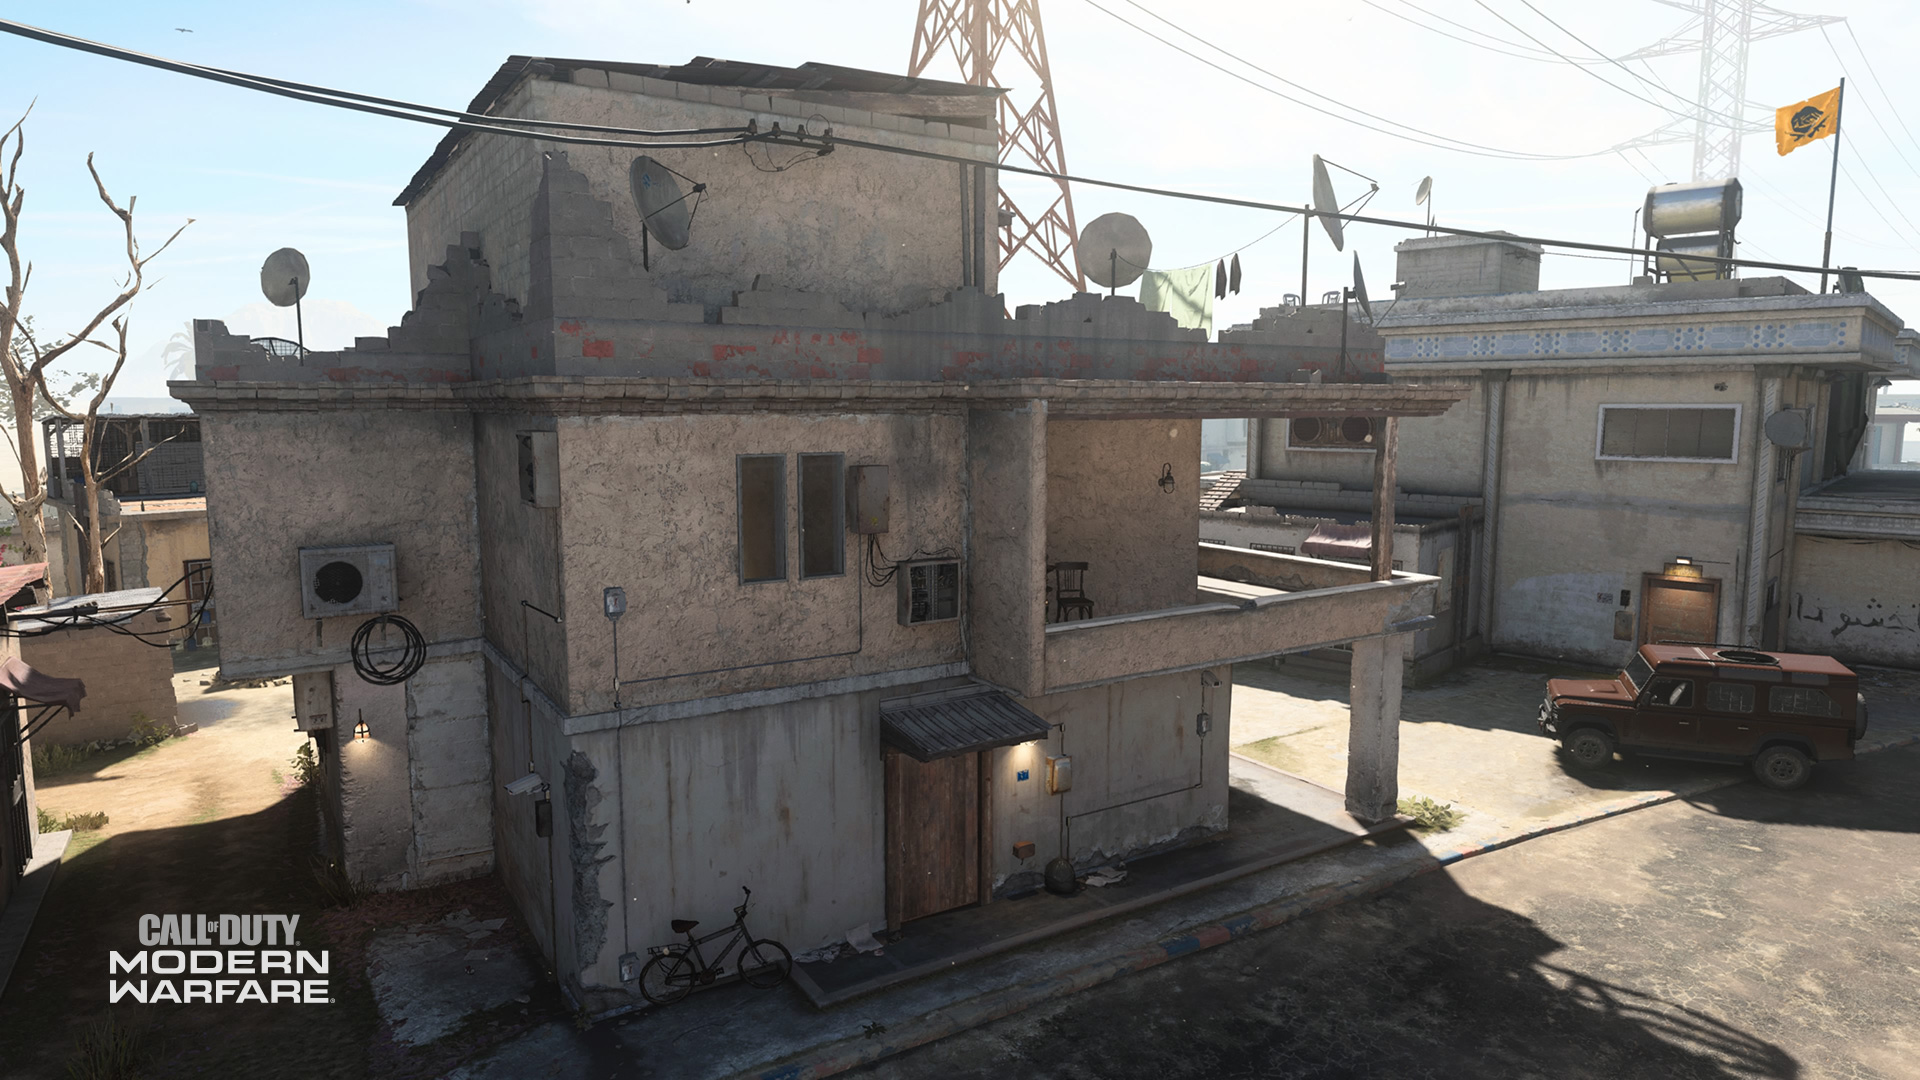
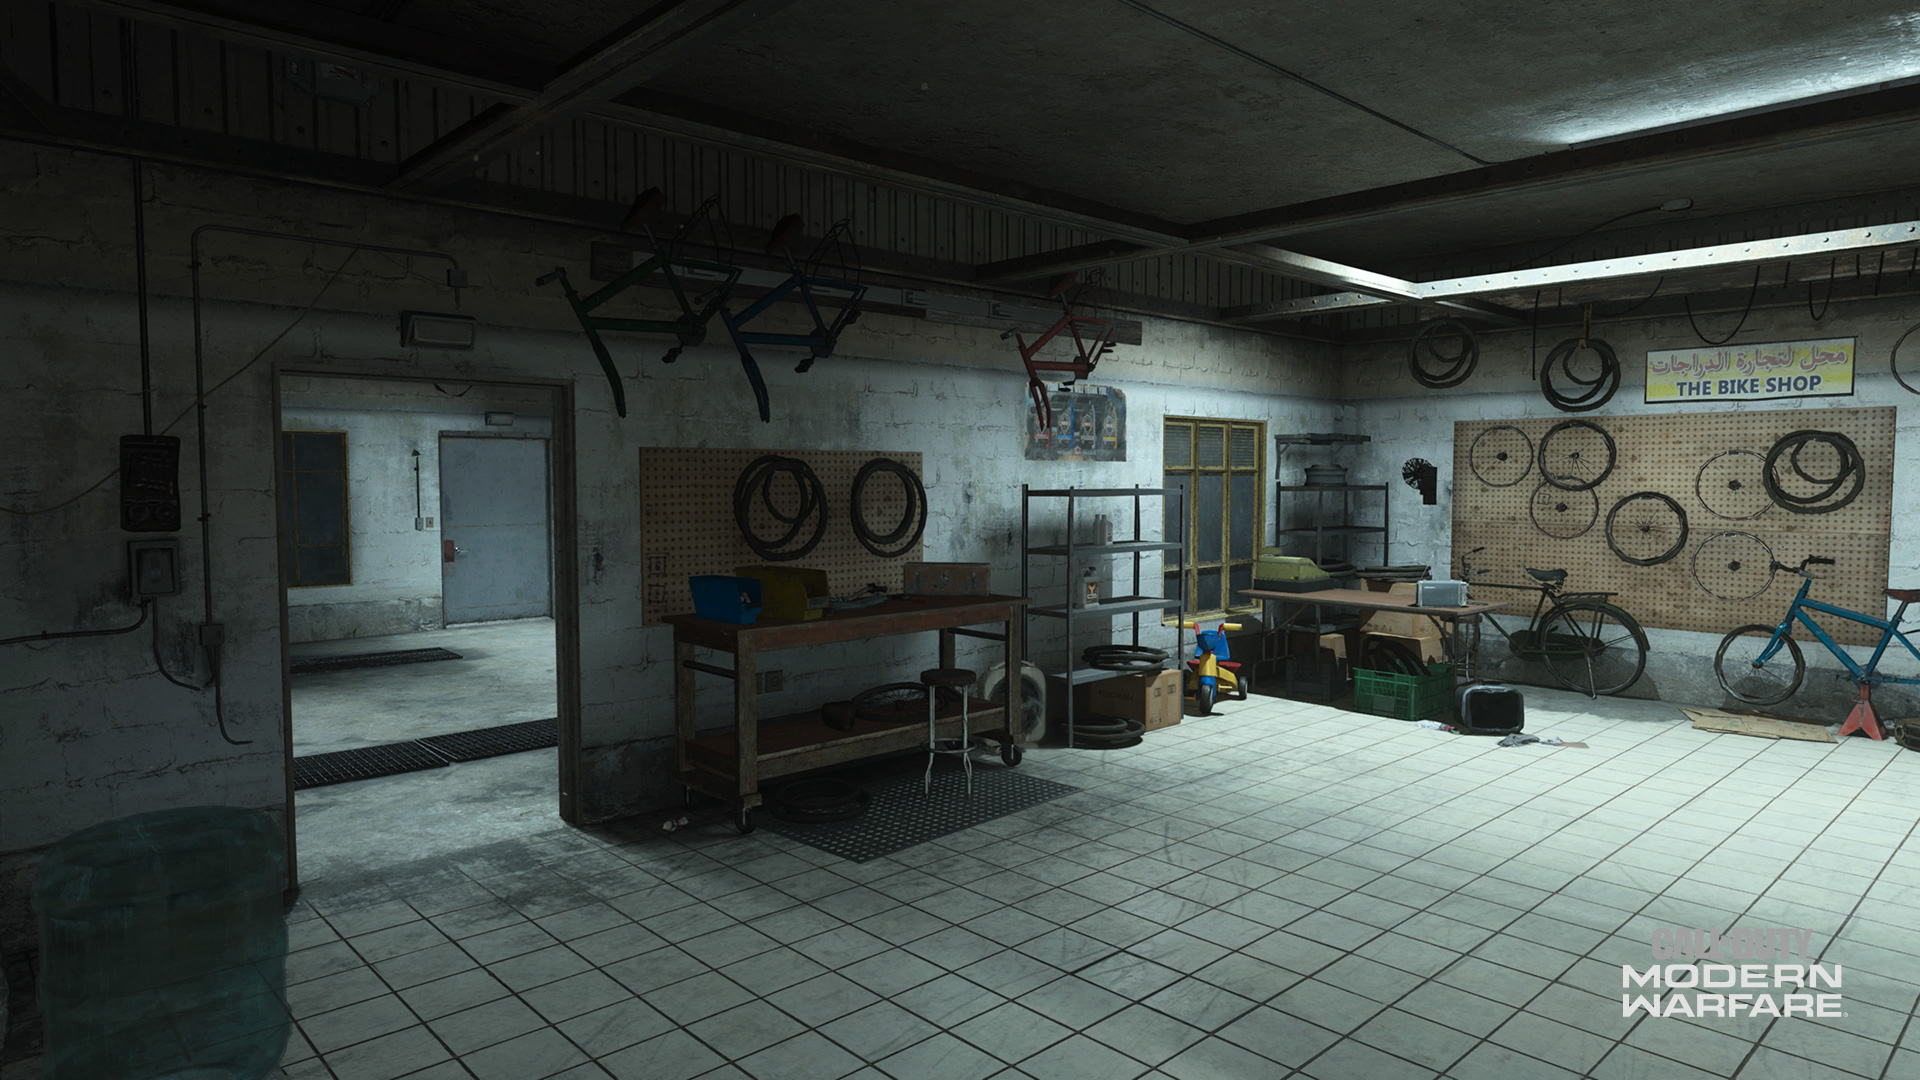
4. Garage
Sitting in between the Backlot and Armor areas just north of the Lab is the Garage, which features a parked truck on the outside and a full-fledged bike shop inside.
In here, weapons suited for close-quarters – SMGs and shotguns – are recommended, as it is a pretty compact space. However, be ready to face assault rifles or other longer-range weapons when trying to enter and exit the building, as there are clear sightlines out of the doorways on the east and west side of the Garage.
In Hardpoint, this is where the fourth hill is located. If the enemy team has held onto the third hill for dear life, try rotating here early and setting up defenses on the building’s east side, as your opponents may funnel in from that previous hill onto this one.
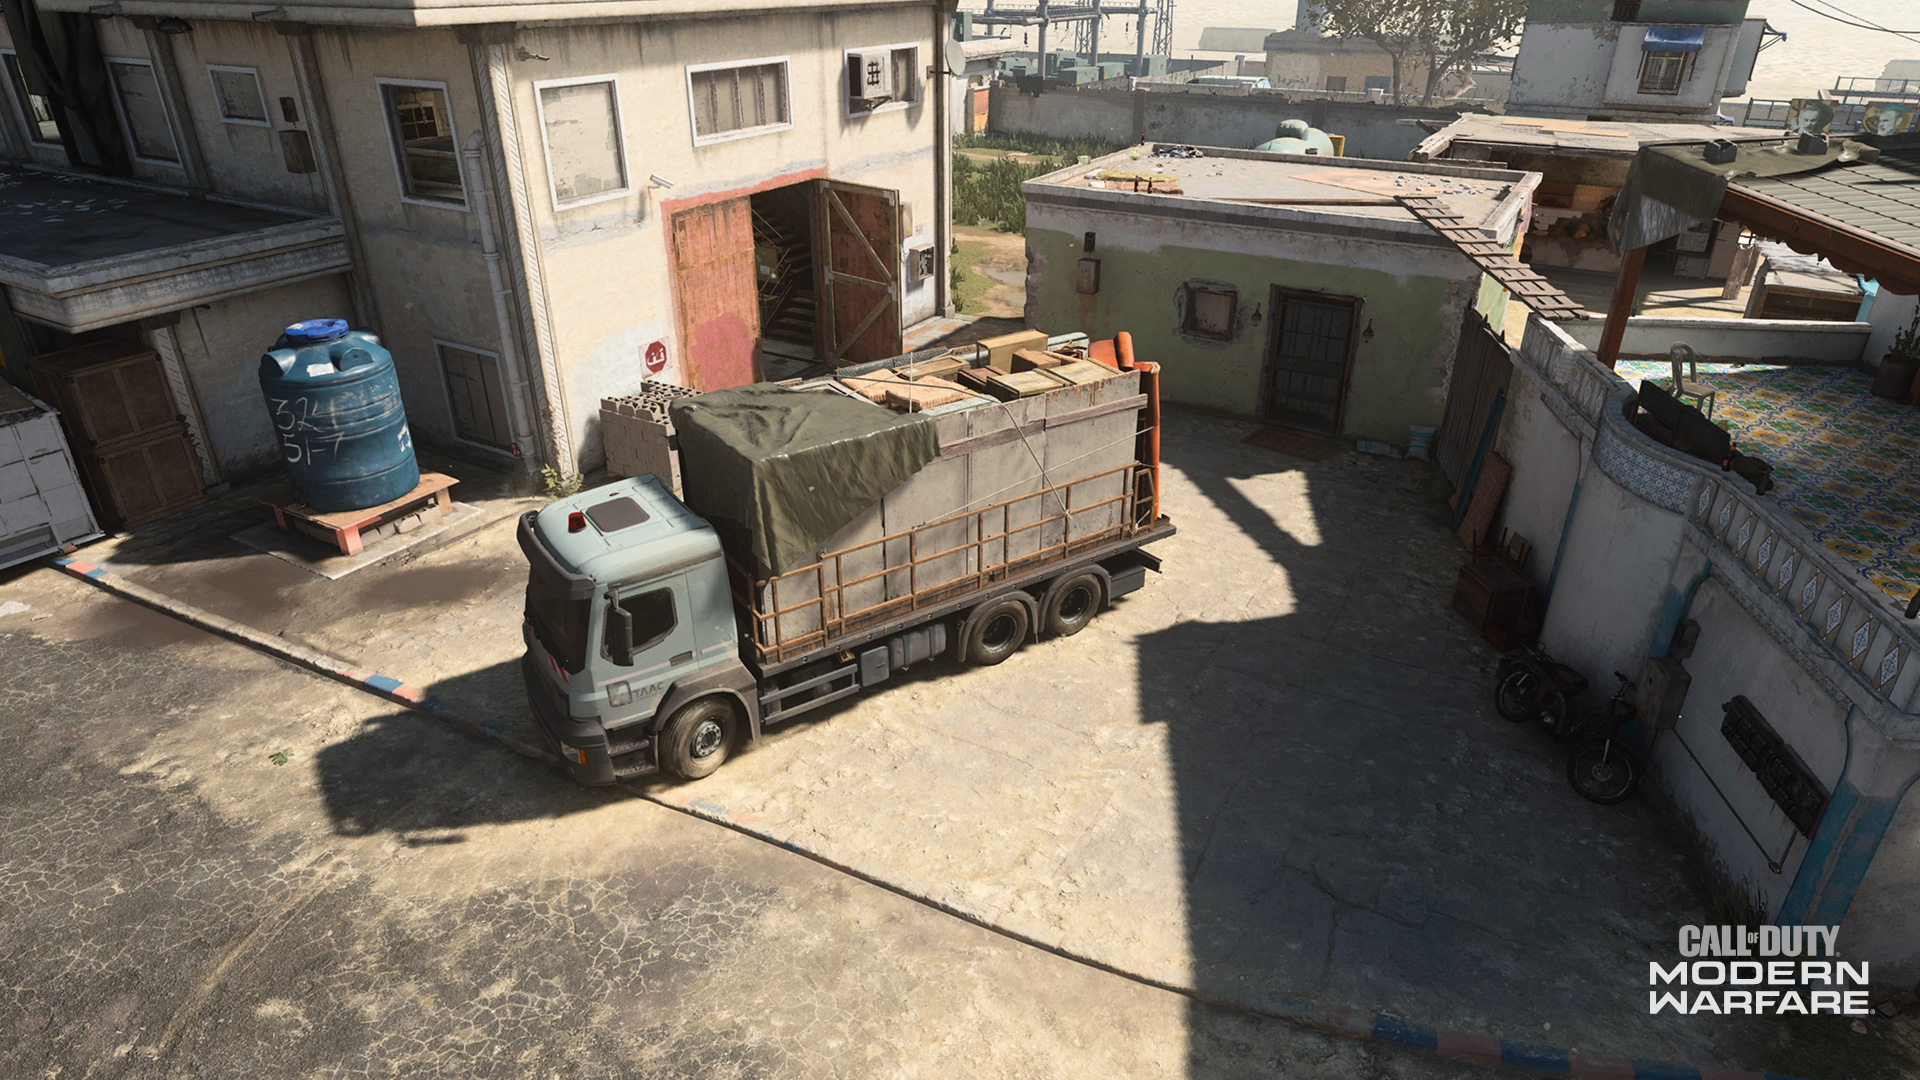
5. Delivery
A large Delivery truck sits just outside the central Lab, breaking up the otherwise open space between the Residence, the Field, and the Lab itself.
Note the large double doors that lead into the Lab and be cautious of running past them as you navigate around the truck. That truck will be your main source of cover while traveling through this area, so use it as much as possible to avoid the crossfire between the central and south lanes.
6. Market
Once a bustling place for the residents to shop for goods is now a deserted set of stalls with only a few chickens wandering around the dirt and brick paths.
Coalition members will come here if they decided to skip past the Residence in favor of a more direct route to Hideout’s south lane.
A ladder on one of the stalls allows for a sniper to get the high ground over the map’s southern lane. While on it, be sure to use your pistol in order to defend yourself against those who want to prevent your ascent.
The middle stall can be another great piece of cover, especially against those coming from the west or out of the Coalition spawn area. Use this protection as you decide whether to file out into the Field through a small alley tucked on the map’s south border or past the central stall.
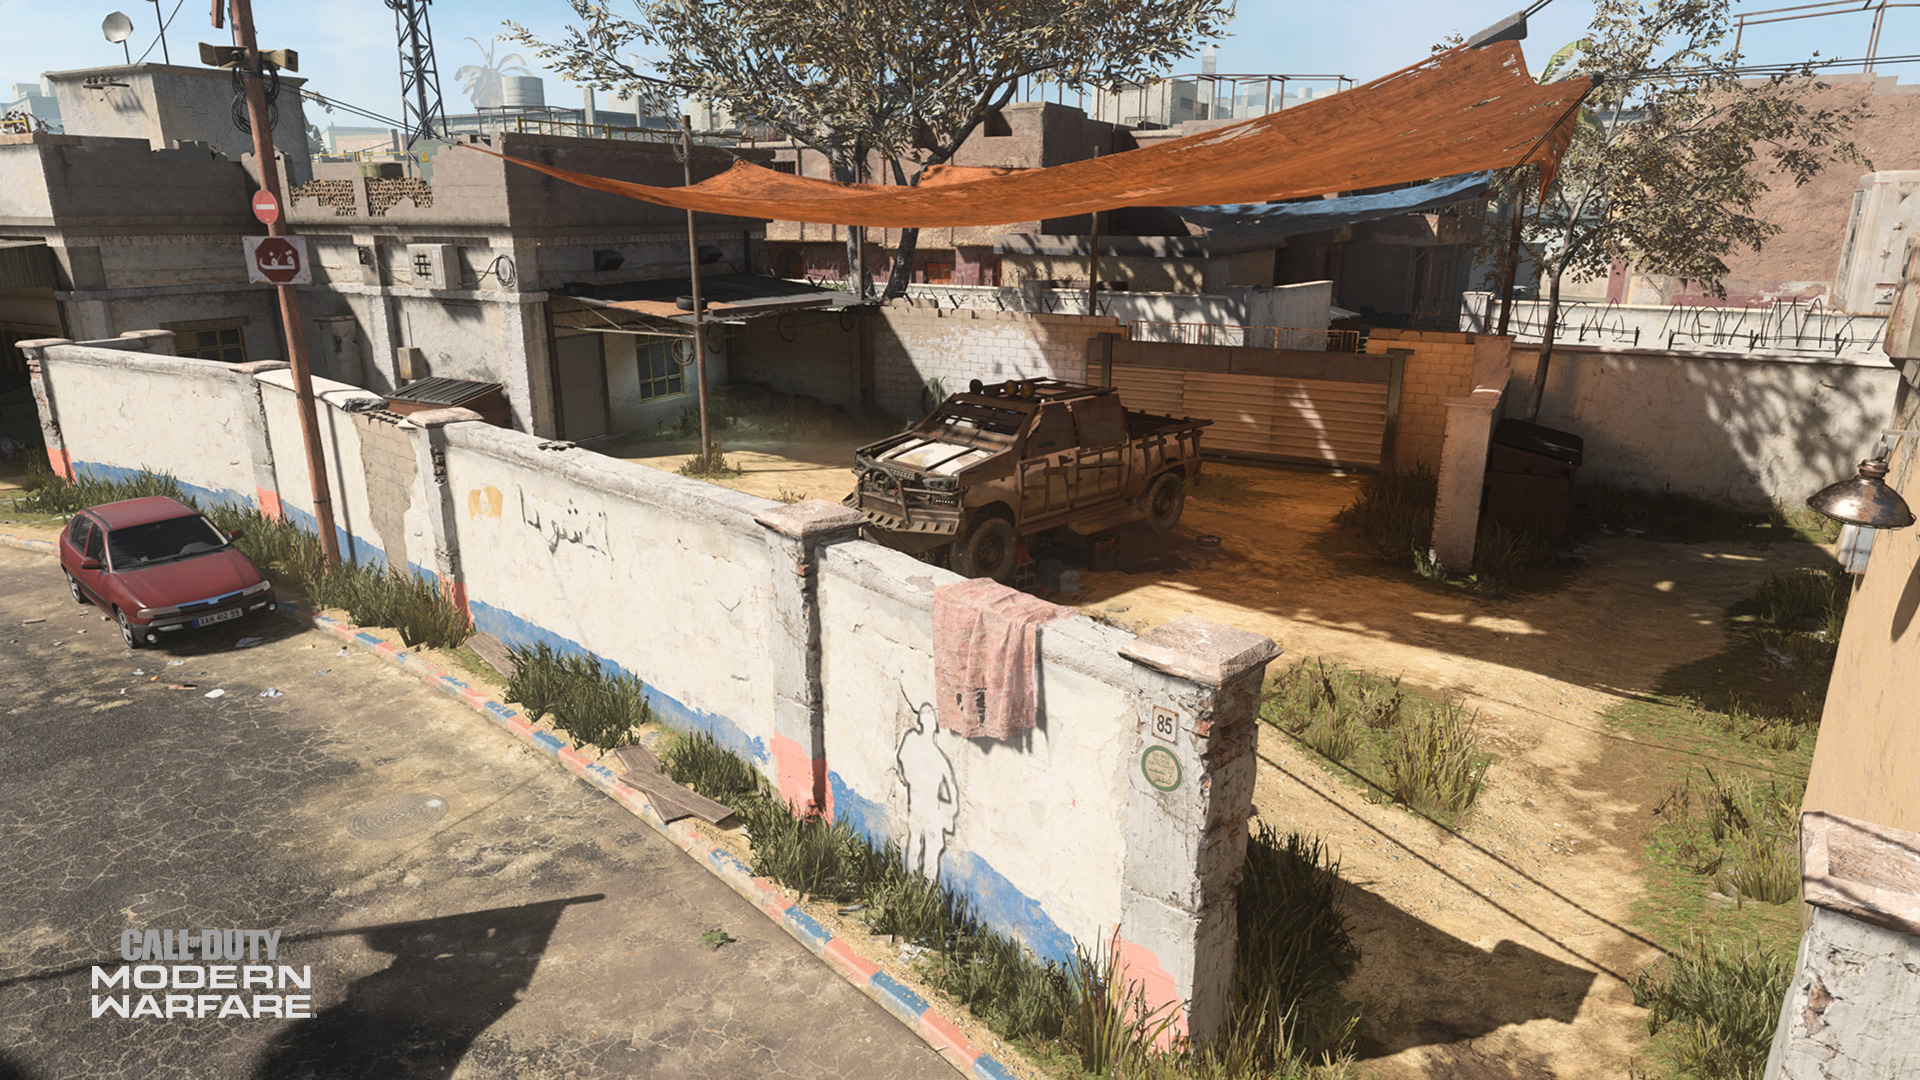
7. Armor
A massive armored truck – much like the ones Al-Qatala used on the Highway of Death – sits parked right outside the Garage under a canopy, which protects it from the harsh desert heat.
The truck itself offers its own protection: against bullets, this car can definitely take a few hits, so don’t be afraid to use it as cover.
Allegiance members will get the jump on a dumpster towards the area’s east side right from their spawn, which offers a great glimpse down the map’s north lane. This may be where they can counter Coalition Operators in Domination, who will most likely come from the west after capturing the A flag on the other side of the Garage.
Speaking of objective importance, this is the location of the A bomb site in Search & Destroy. Again, that dumpster offers an awesome defensive position when trying to lock down this site.
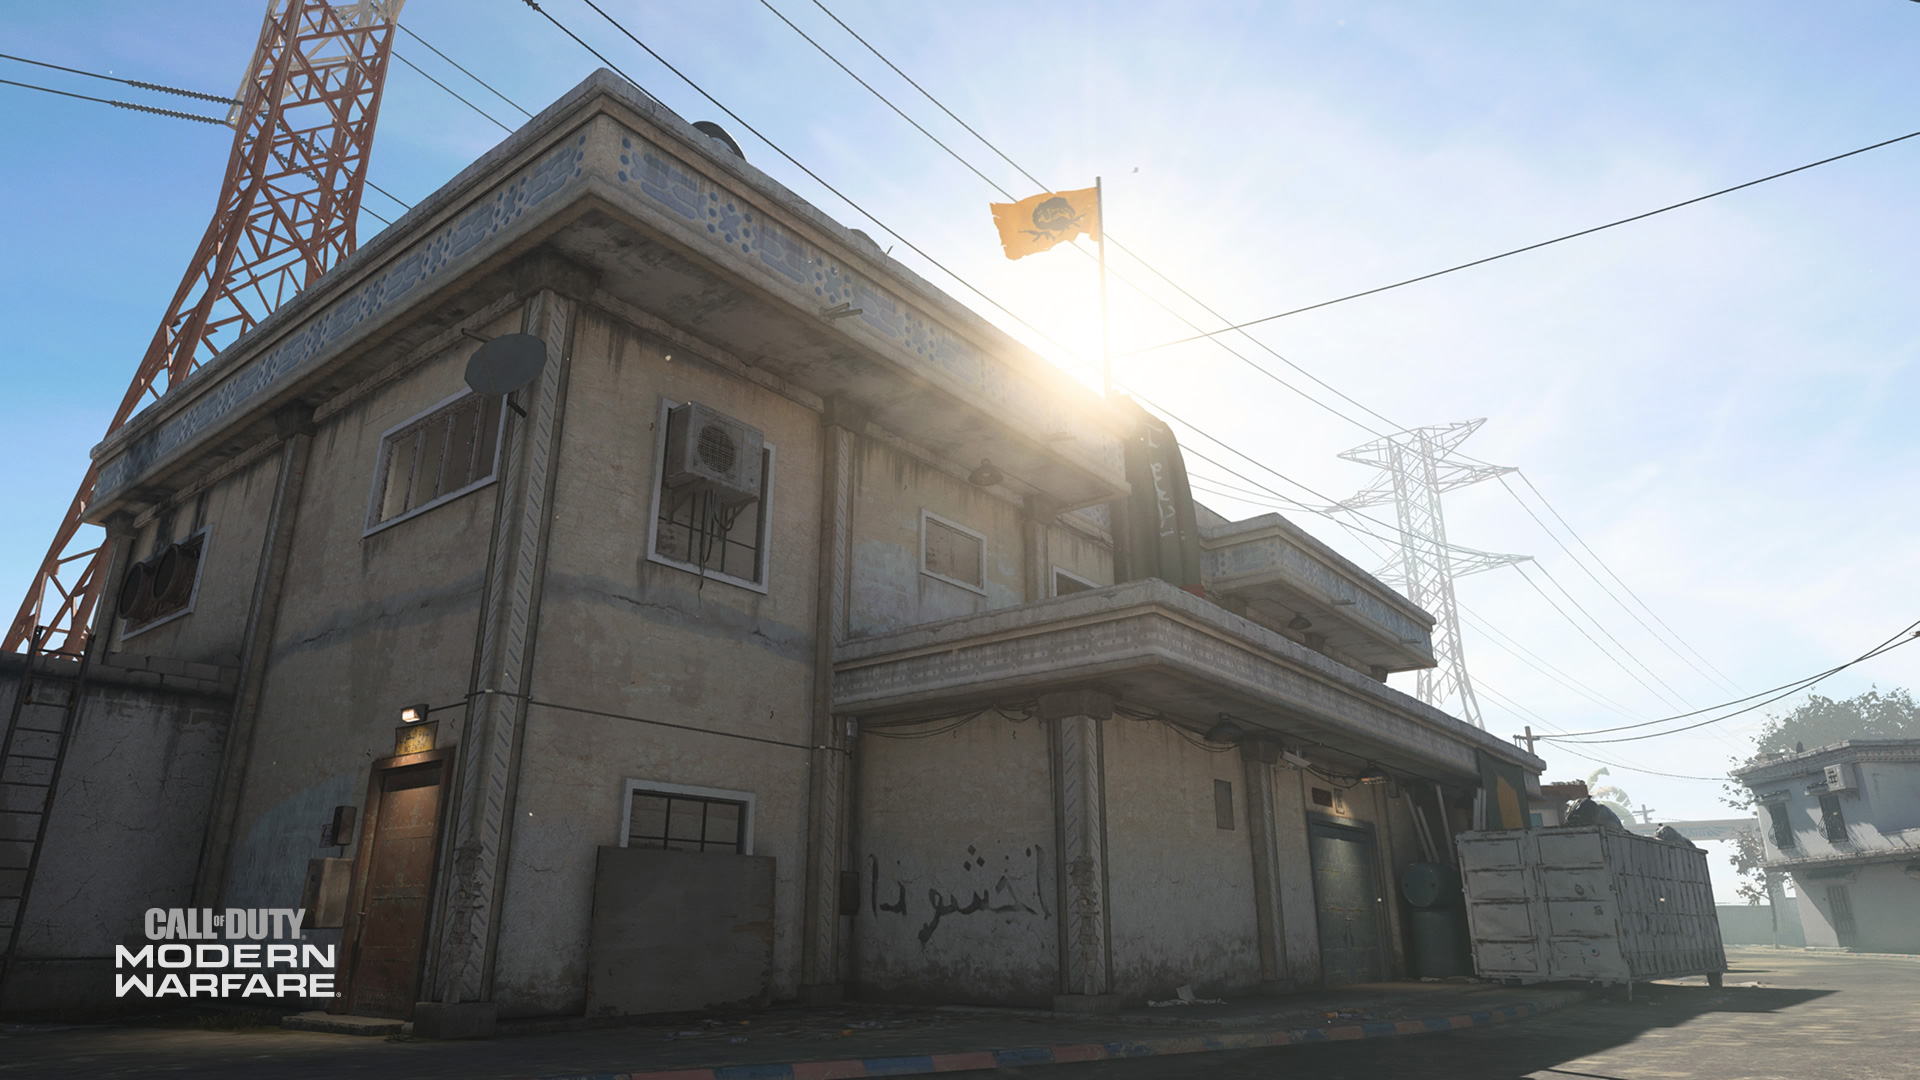
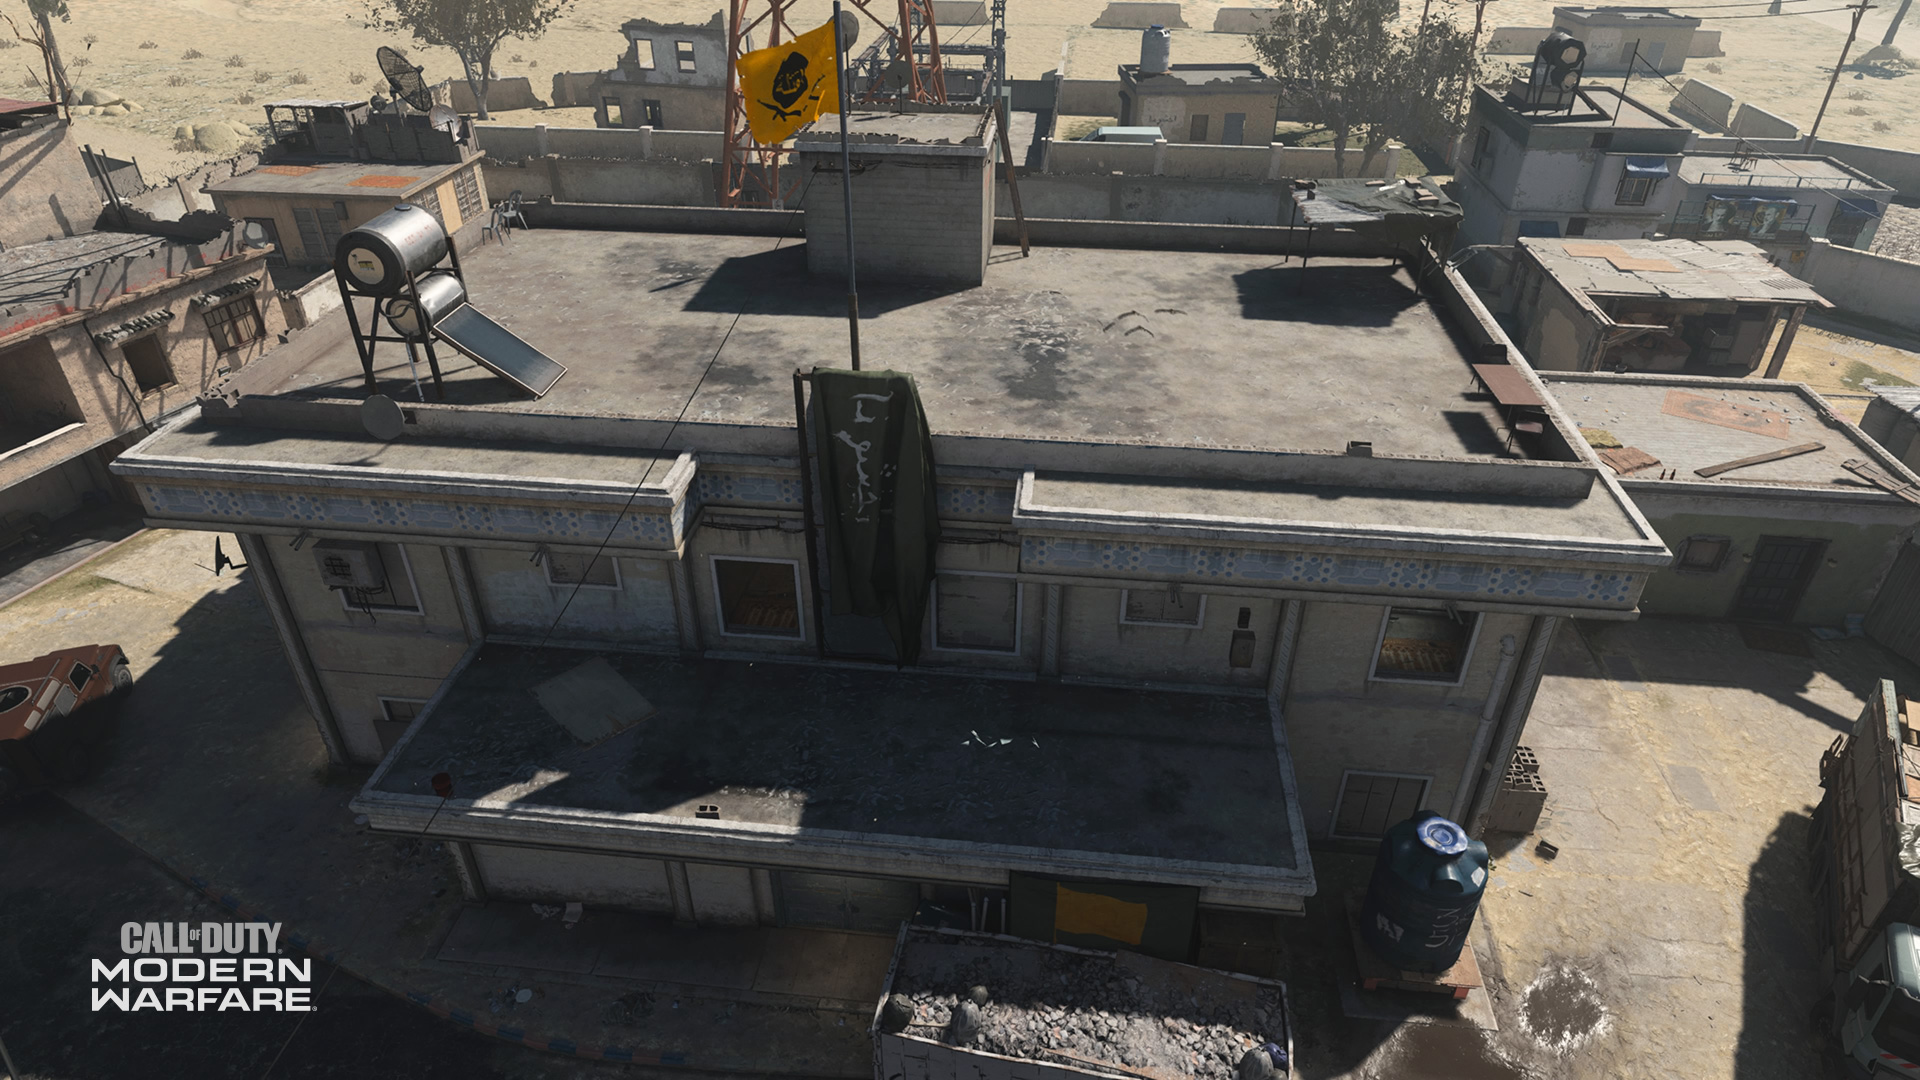
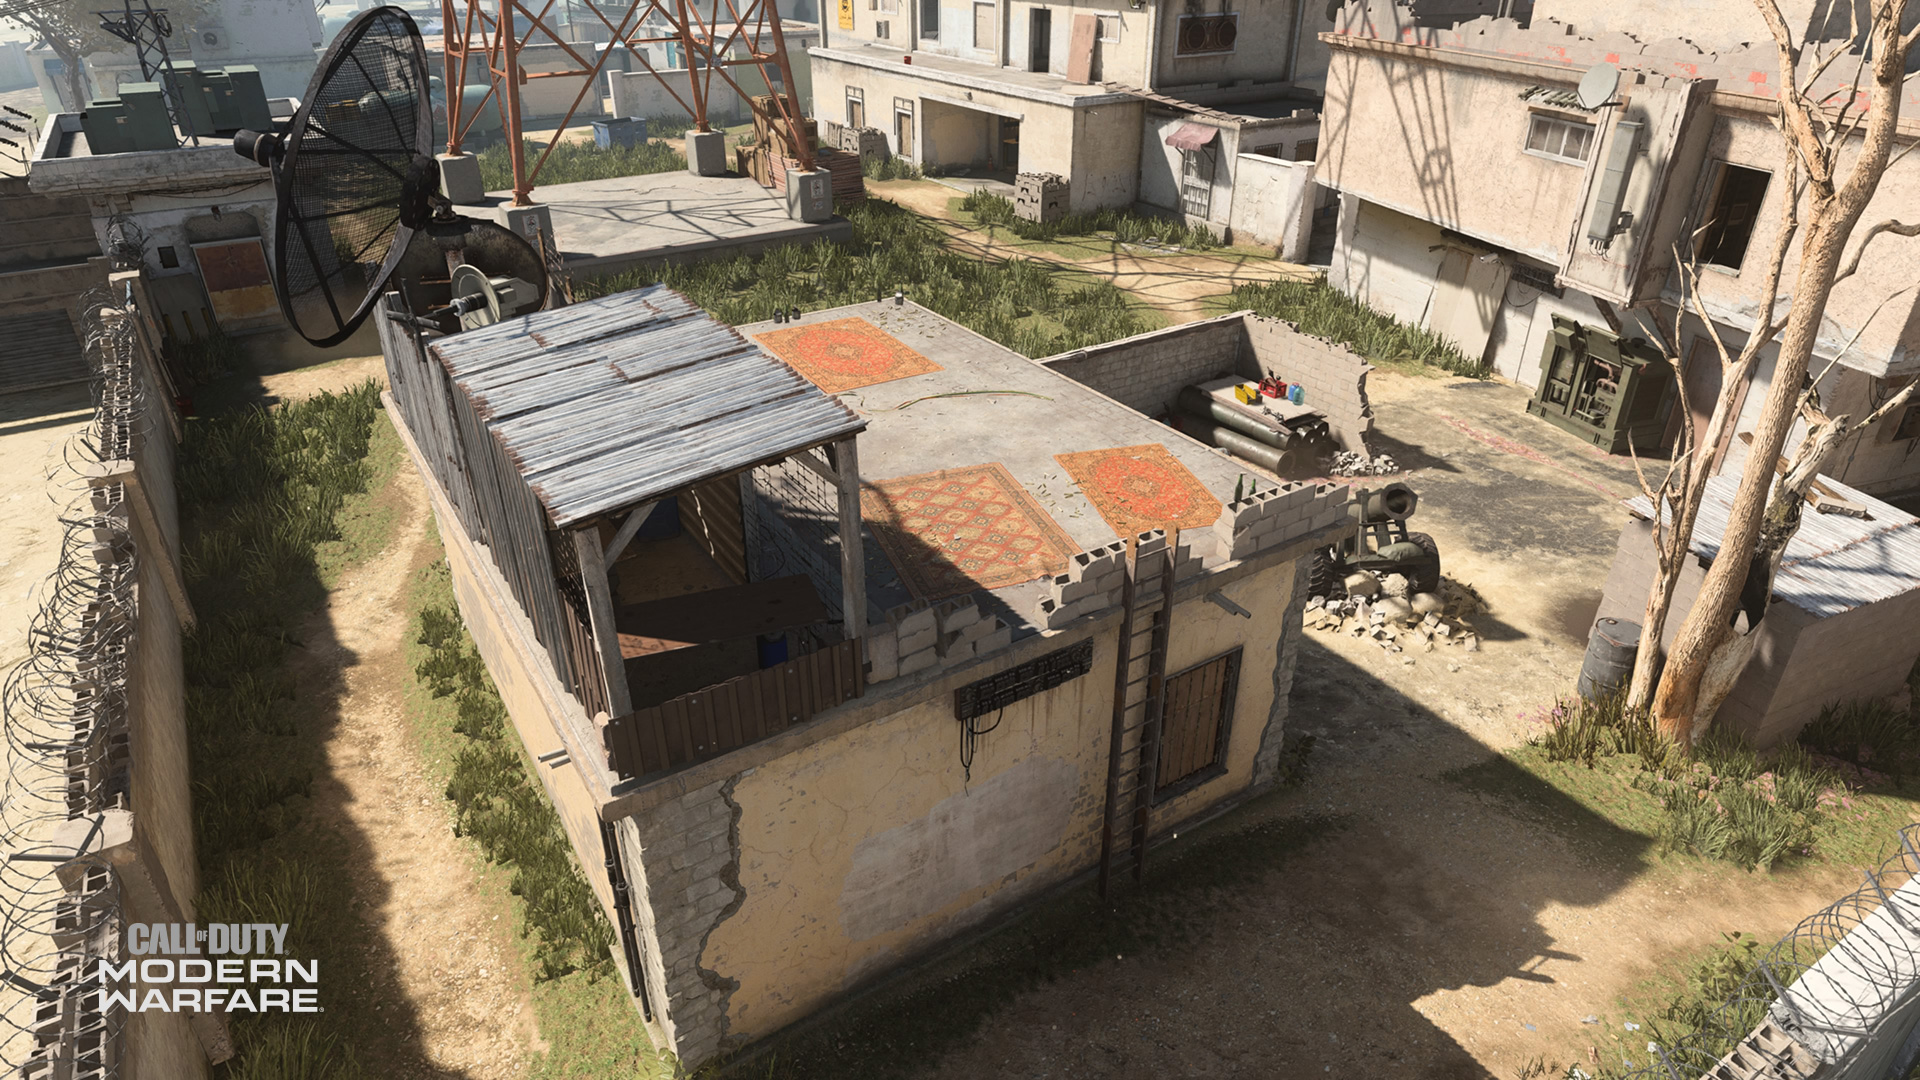
8. Lab
The hub of Khandor Hideout is a two-story, large Lab where Al-Qatala forces were creating more gas to further their agenda of world domination.
In the main gas area, which is where the large double doors in Delivery lead to, its open air can be where mid-range weapons, like assault rifles, can shine. Elsewhere in the complex, CQB loadouts will be advantageous, especially against the snipers who will look to take over this power position filled with windows that overlook all three lanes.
Those who do a bit of parkour can take an unconventional route through the front using a dumpster and the large concrete awning to access a second-floor window.
With that in mind, it’s imperative to cover every point of entry into the Lab during any objective mode, as an attacking team can – and should – use all options to retake this massive space.
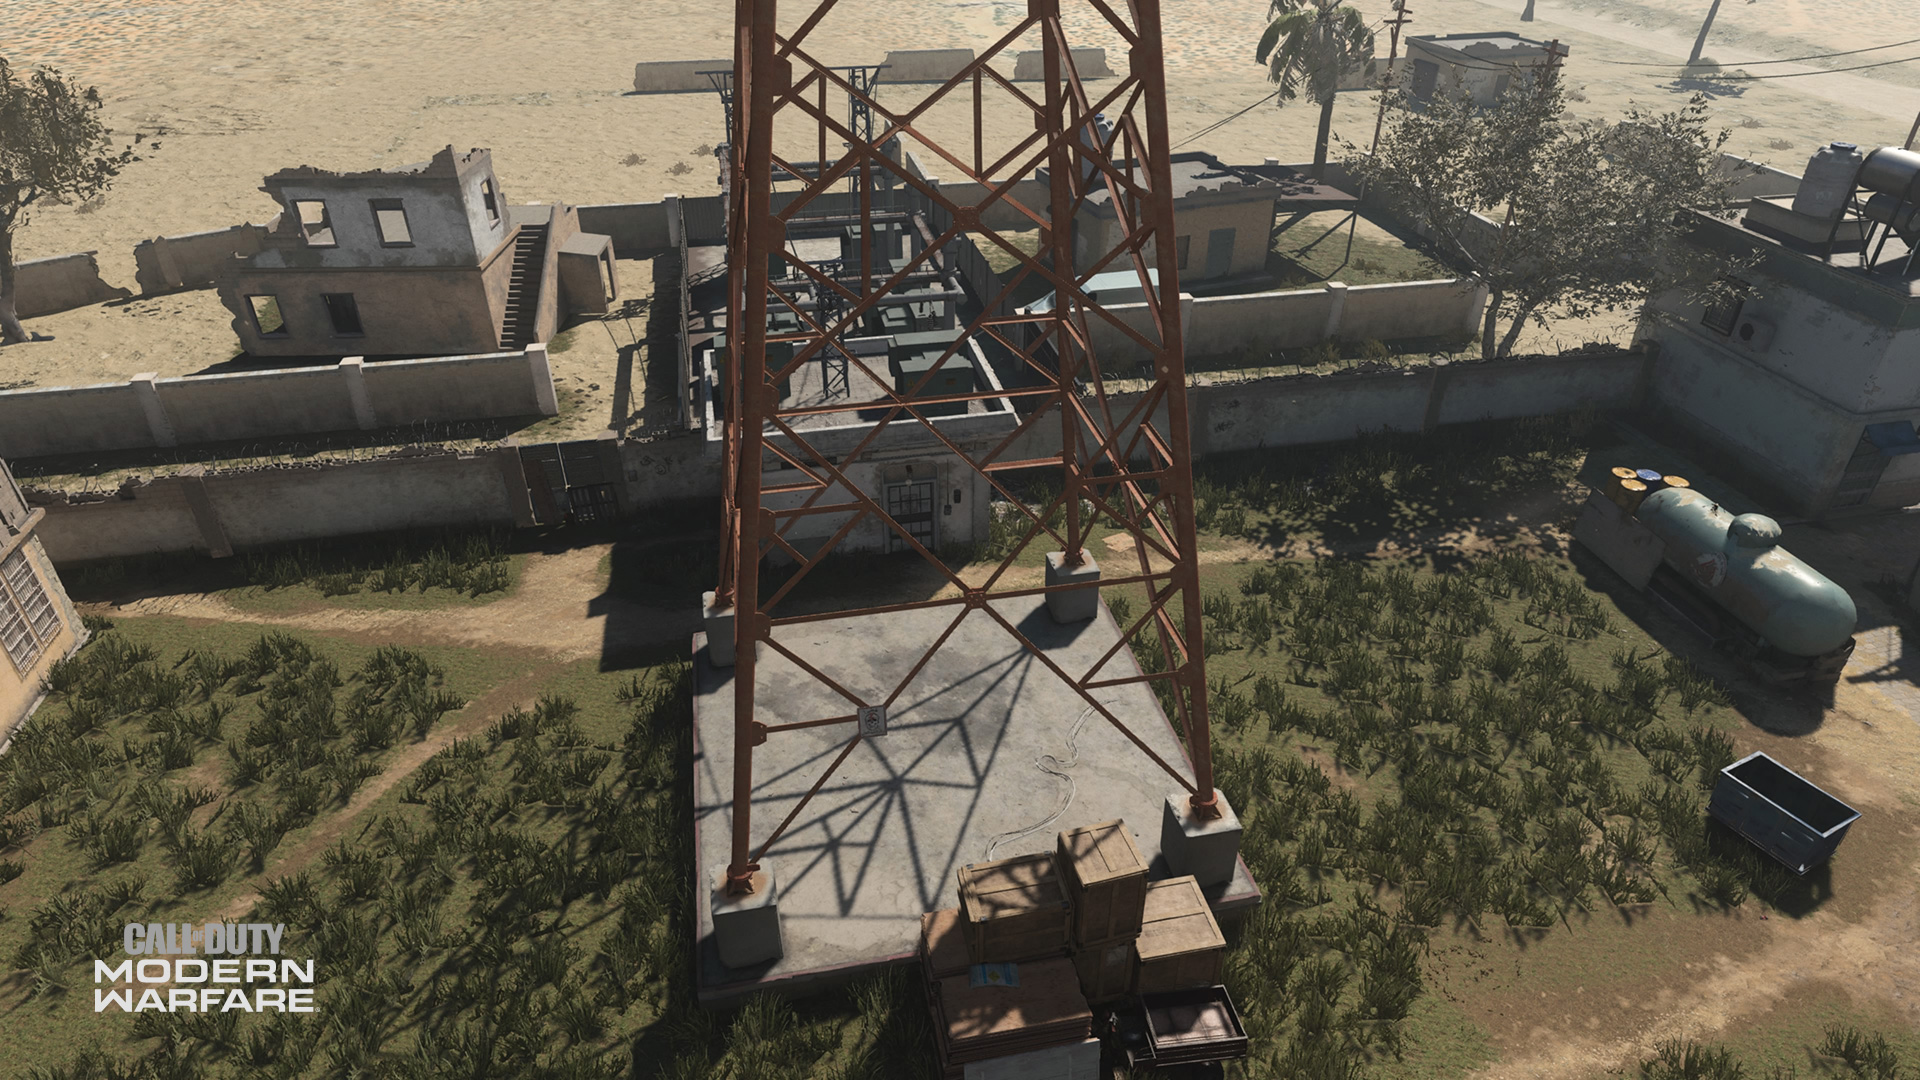
9. Field
A small power generator building and a massive tower highlight this open field, where many birds will fly up out of the tall grass upon entering it for the first time. Keep that small detail in mind when traveling through here, as anyone can see those birds and take immediate action.
Because of this area’s open nature, it’s best to find cover while travelling through here, lest you be a sitting duck against snipers on either side of it or from the Lab. That may be unavoidable in objective game modes like S&D, where the central tower acts as the B bomb site.
In those cases, it’s best to set up your own defenses – a Deployable Cover, for instance – in order to mitigate damages from being out in the open.
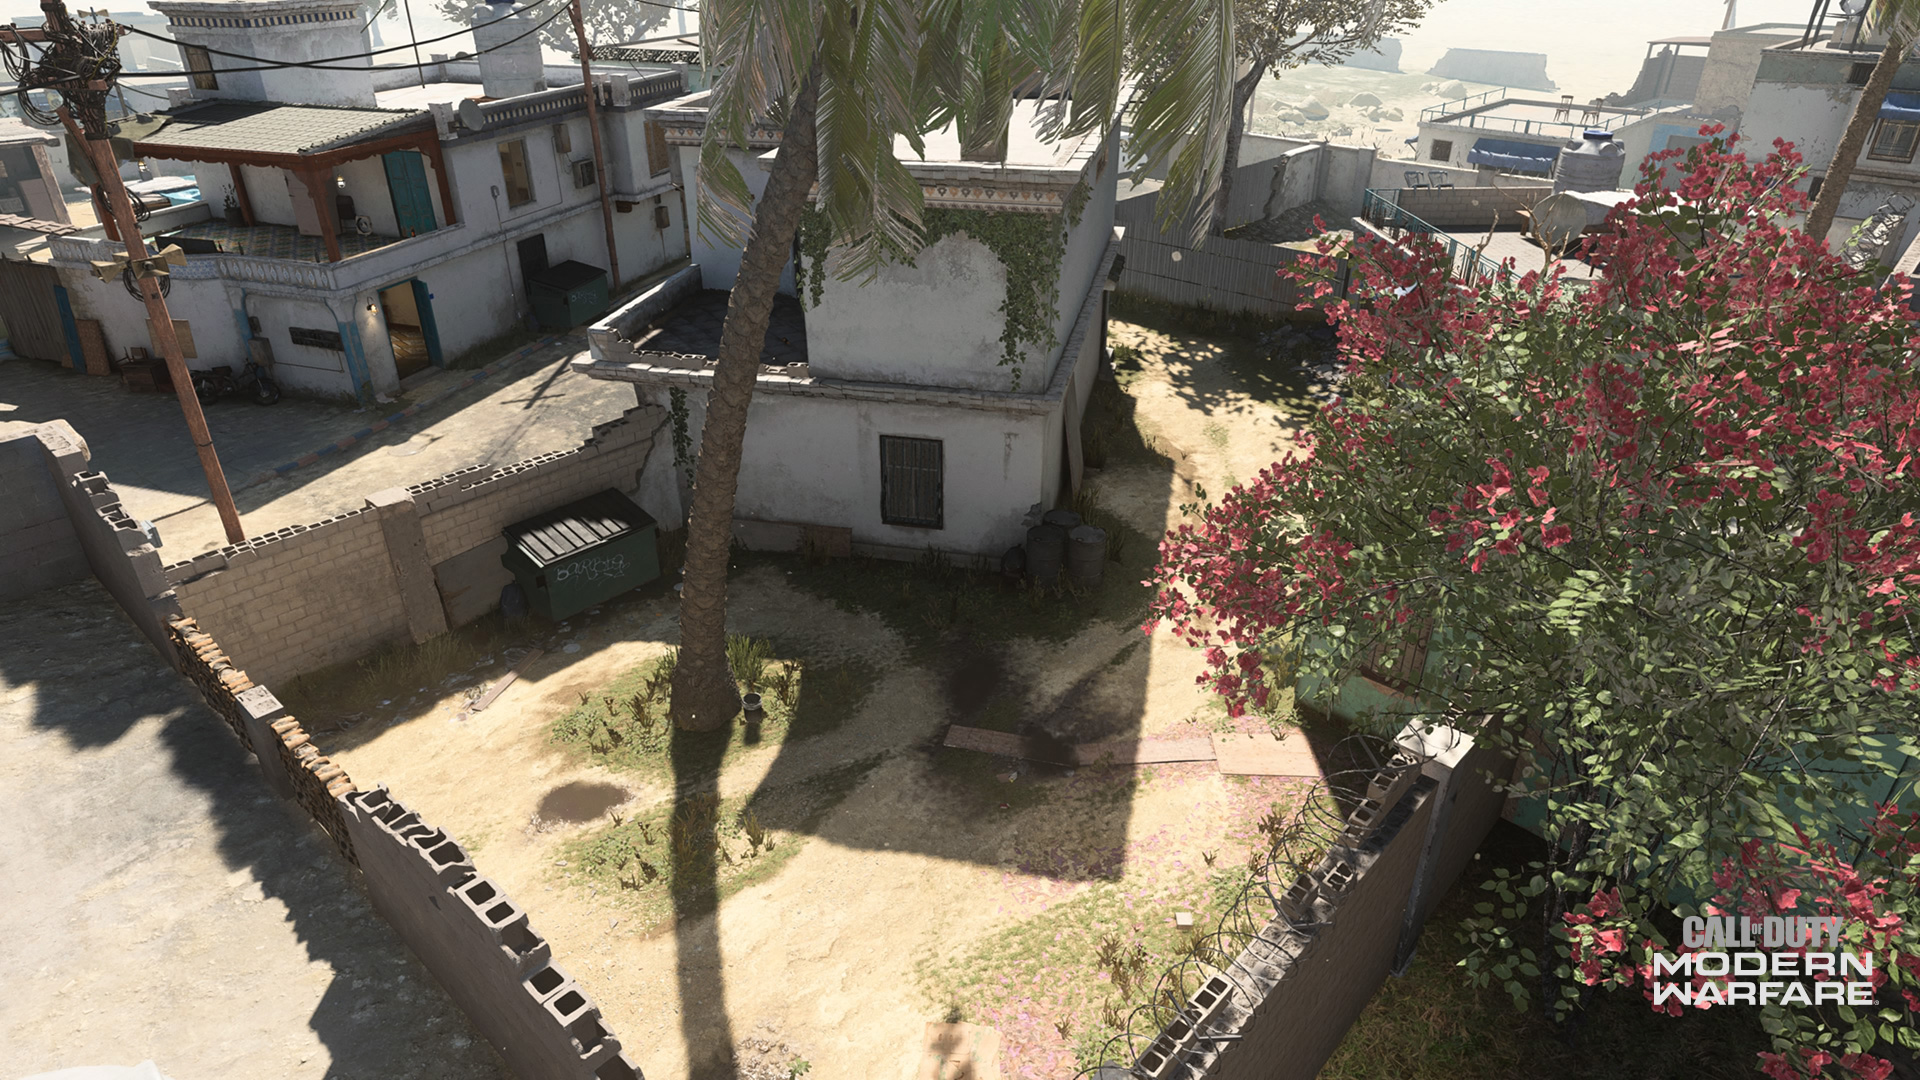
10. Recycle
This village was rather environmentally friendly; it offered residents the opportunity to recycle what they had in this inaccessible building. The dumpster for the Armor area is also found here.
This area is noteworthy as a transition area into the map’s north lane, which Allegiance members might take out of their Western spawn. Be mindful of the unexpected depth of this area, as there is a bit of open field to potentially fight through within this alley.
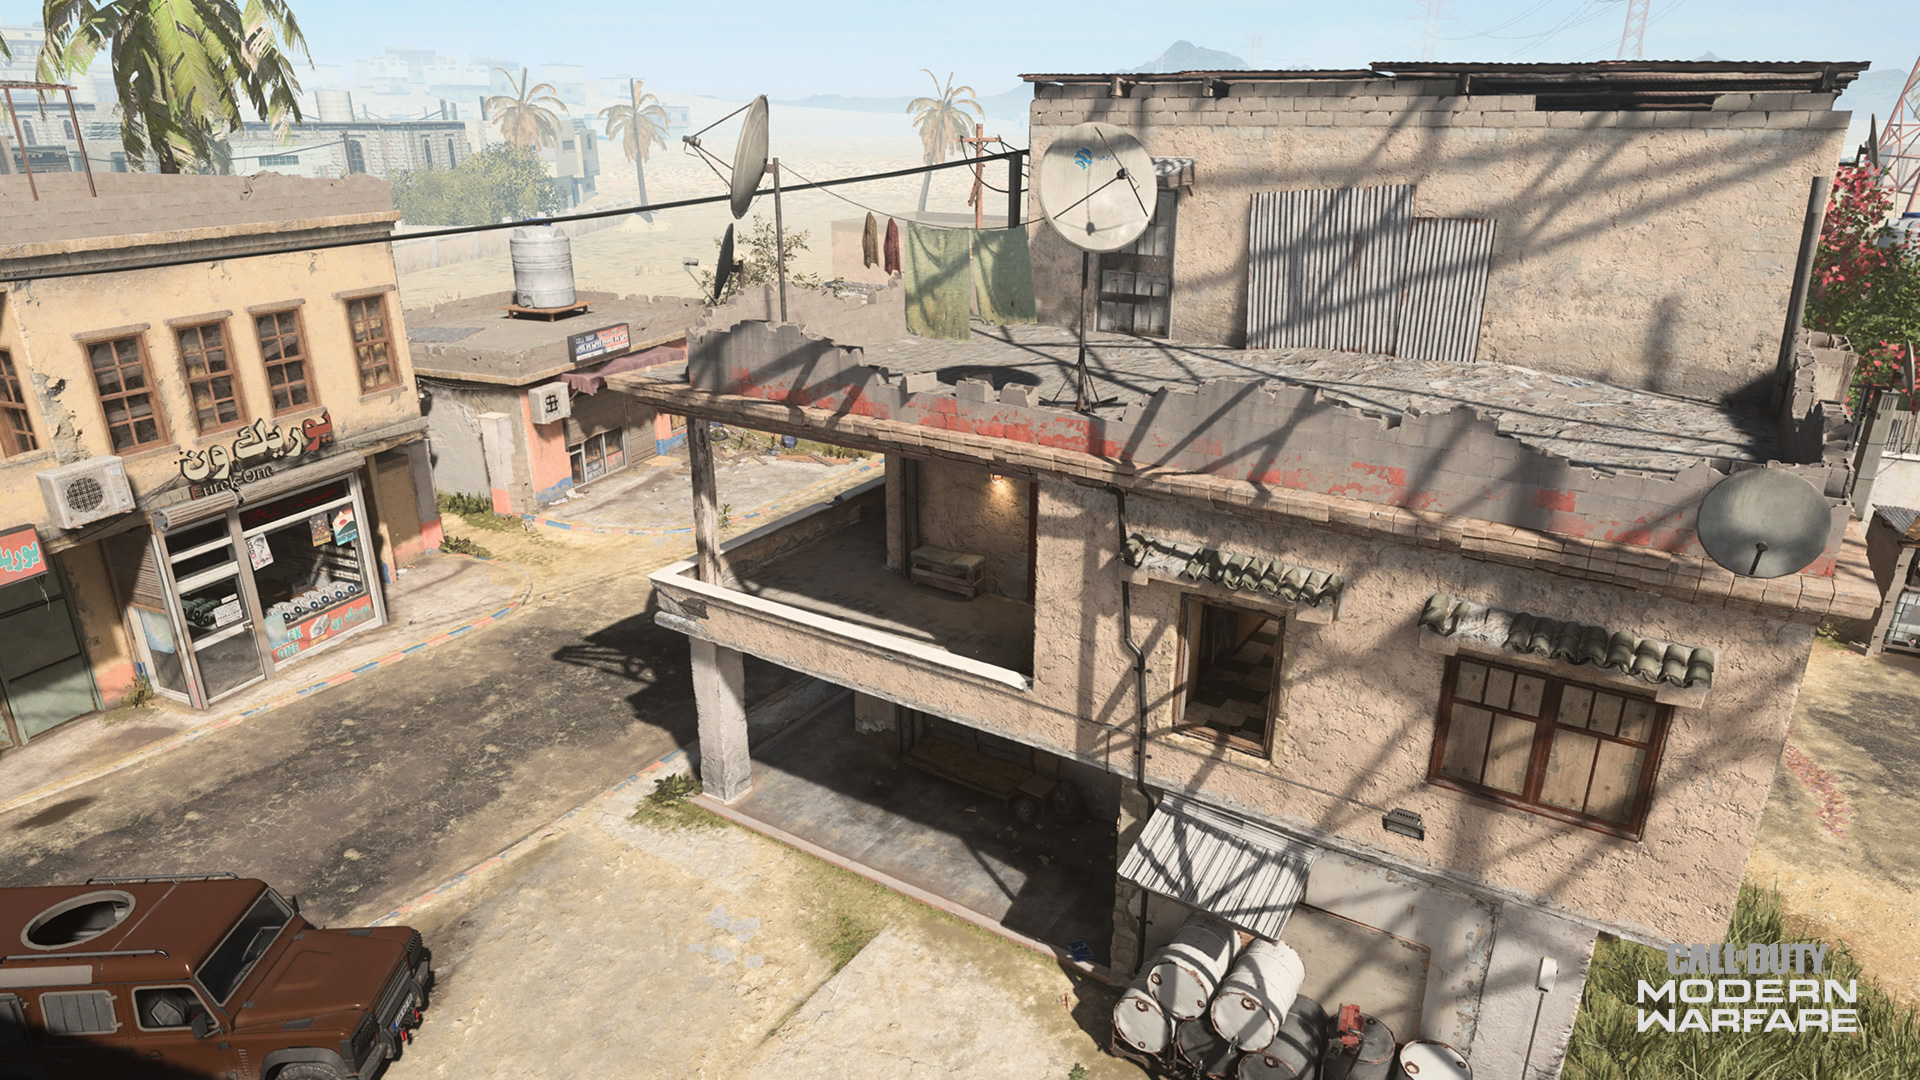
11. Lookout
Another residence now acts as a Lookout tower for Al-Qatala forces, who use it to call out intruders trying to invade their Lab.
The outdoor patio here is perfect for countering snipers either in the Lab or down the central lane. One could also get an angle in to the southern route, although it can be partially obstructed by the building itself.
Within this building is the 3rd Hardpoint hill or HQ for those game modes, as well as the Data Center that Allegiance members will defend first in Cyber Attack. Be prepared to use close-quarters weapons when fighting through here, as it can get a bit cramped with all the small rooms leading up to the actual Lookout portion of the building.
12. Radio
In order to communicate back to their superiors, Al-Qatala forces used this building as their broadcast center for their Radio signals.
For combat purposes, one can find a ladder on the backside of this inaccessible building, which can lead to an awesome sniping position over the map’s southern route. An alternative sniping perch, and one that may be better for mounted LMGs, is a small wall right next to the main building.
Either way, note the lack of cover up here, and be sure to run towards the inside of the Lookout building should the enemy drop a Killstreak to smoke out snipers.
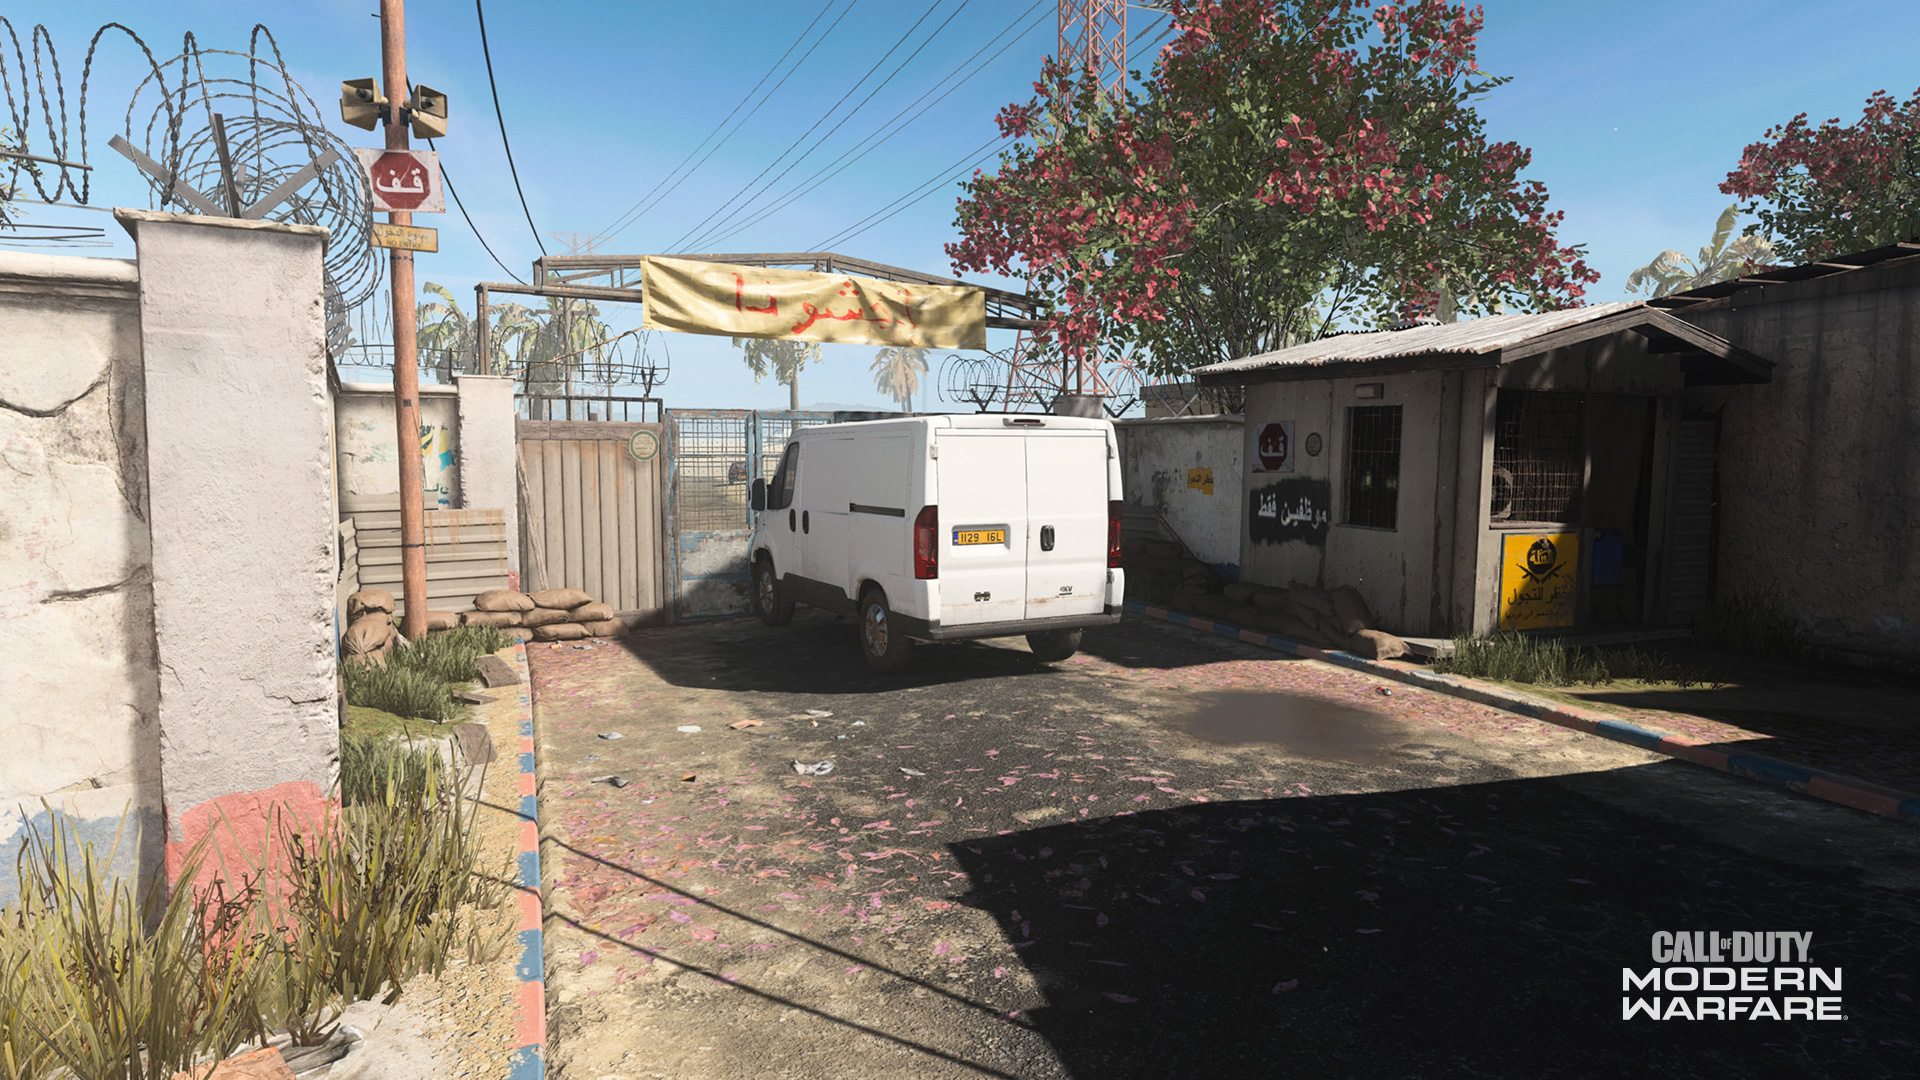
13. Security
The other entrance to this village is now a makeshift Al-Qatala Security checkpoint and is where the Allegiance will spawn in at the beginning of team game modes.
Like the Arch, this area is fairly insignificant when it comes to tactics. It’s best to run into either of the three lanes out of here, keeping in mind that snipers may be watching you from across the central route if you wait here for too long.
General Tips:
· A Traditional Three-Lane Design. This map is designed with three distinct routes in mind. Note that action can take place within these routes, as well as between them through flanking.
· Back to the Lab Again. Expect plenty of action to take place in this central building, especially during objective game modes. Here, close-quarters weapons will help you capture this important position, while longer-range ones such as sniper rifles will help you defend it.
· The South is for Snipers. With little cover in between the Radio and Market areas, Hideout’s southern route is a great place for sniper duels… Just don’t get caught in the crossfire if you can’t counter them.
· CQBs Shines Up North. Because most of the northern lane contains interior space and cramped alleys, those using close-range weapons may find more success fighting in this lane compared to Operators using sniper rifles.
· Hardpoint: Field to Lab is Key. During Hardpoint matches, locking down the 5th hill (Field) from the north side of this area is highly recommended, as it sits just outside the Lab where the 1st hill is located. Pulling off this effective rotation can truly turn the tide of a Hardpoint match, where squads that plan their rotations will be rewarded.
For more information and the latest intel on Call of Duty®: Modern Warfare®, check out: www.callofduty.com, www.youtube.com/callofduty and follow @InfinityWard and @CallofDuty on Twitter and Instagram and Facebook.