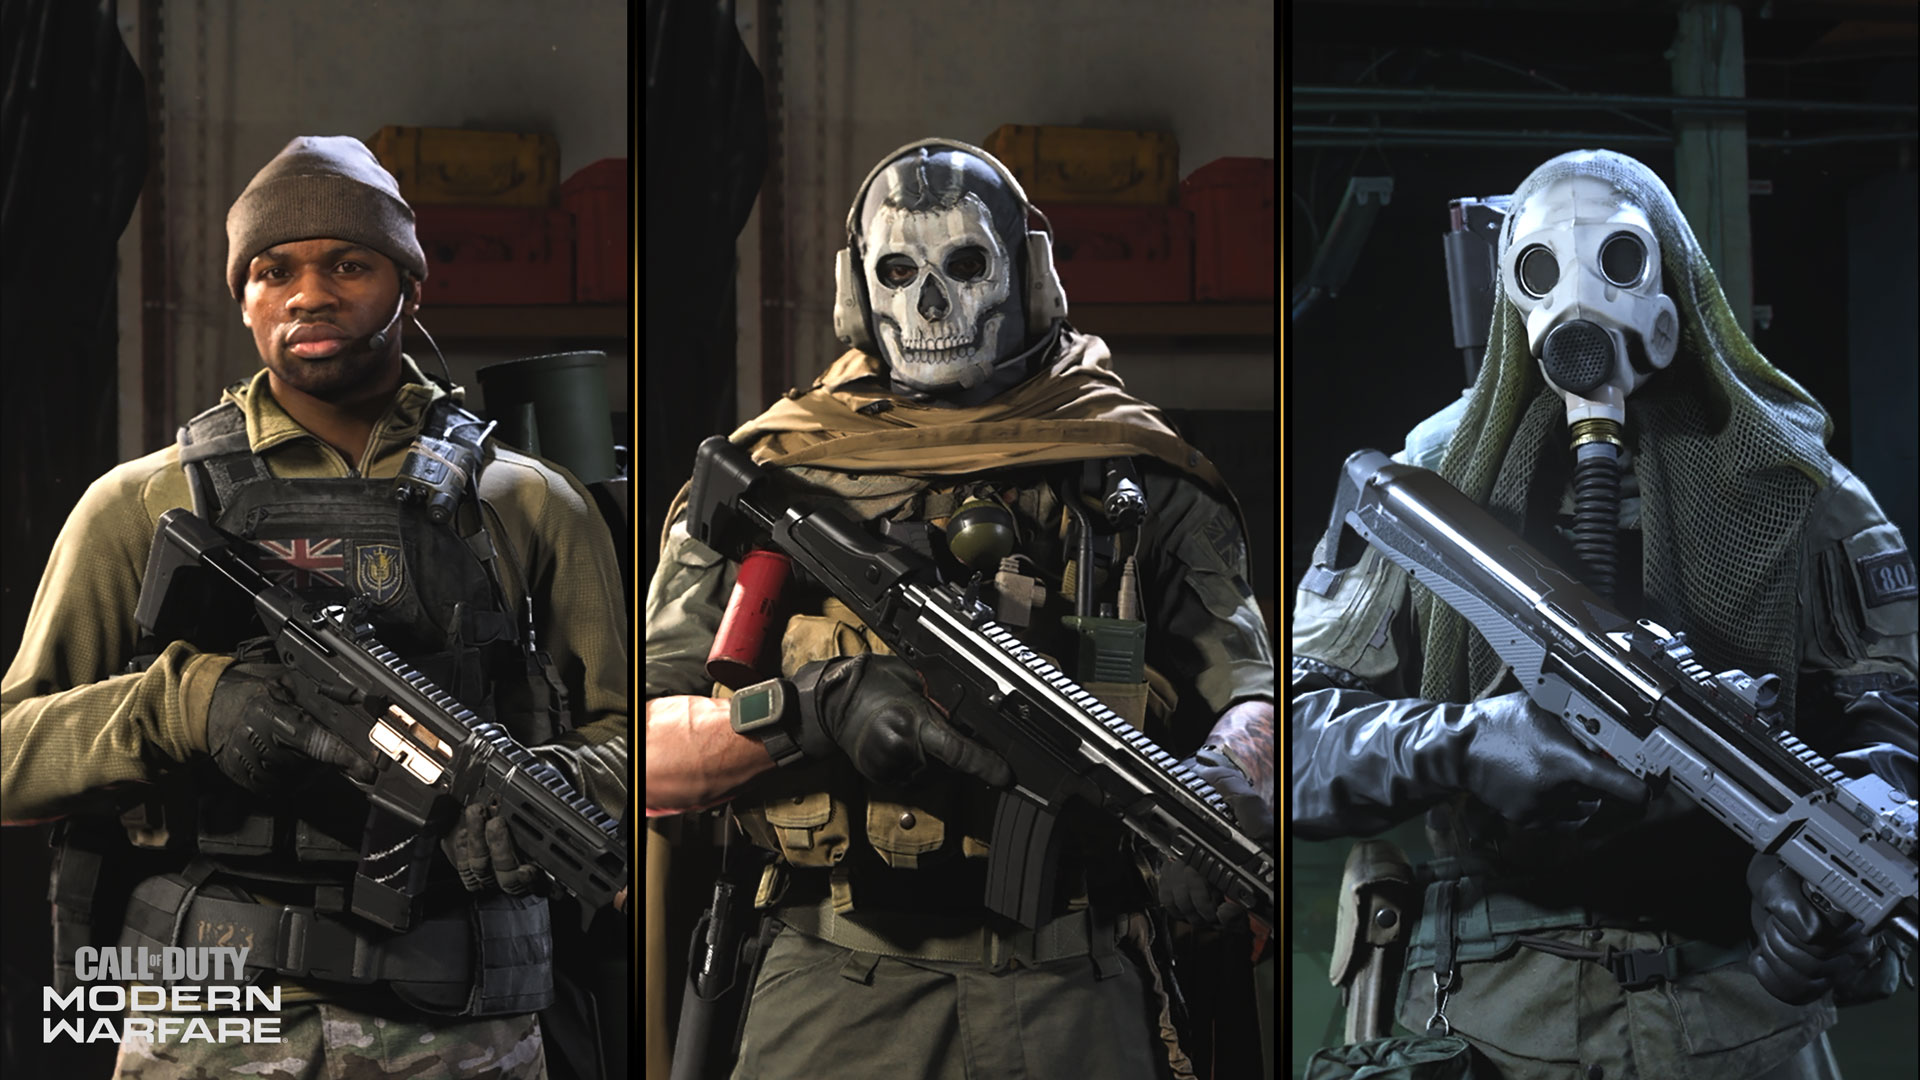
Ready for your squad to jump into one of the vehicles of Warzone and drive by or over the competition? Part two of the Season Two ‘Designed for Engagement’ series highlights three weapon blueprints that all play a role in a well-rounded vehicle-oriented squad.
Read on for more details on weapon blueprints that will keep your squad firing on all cylinders.
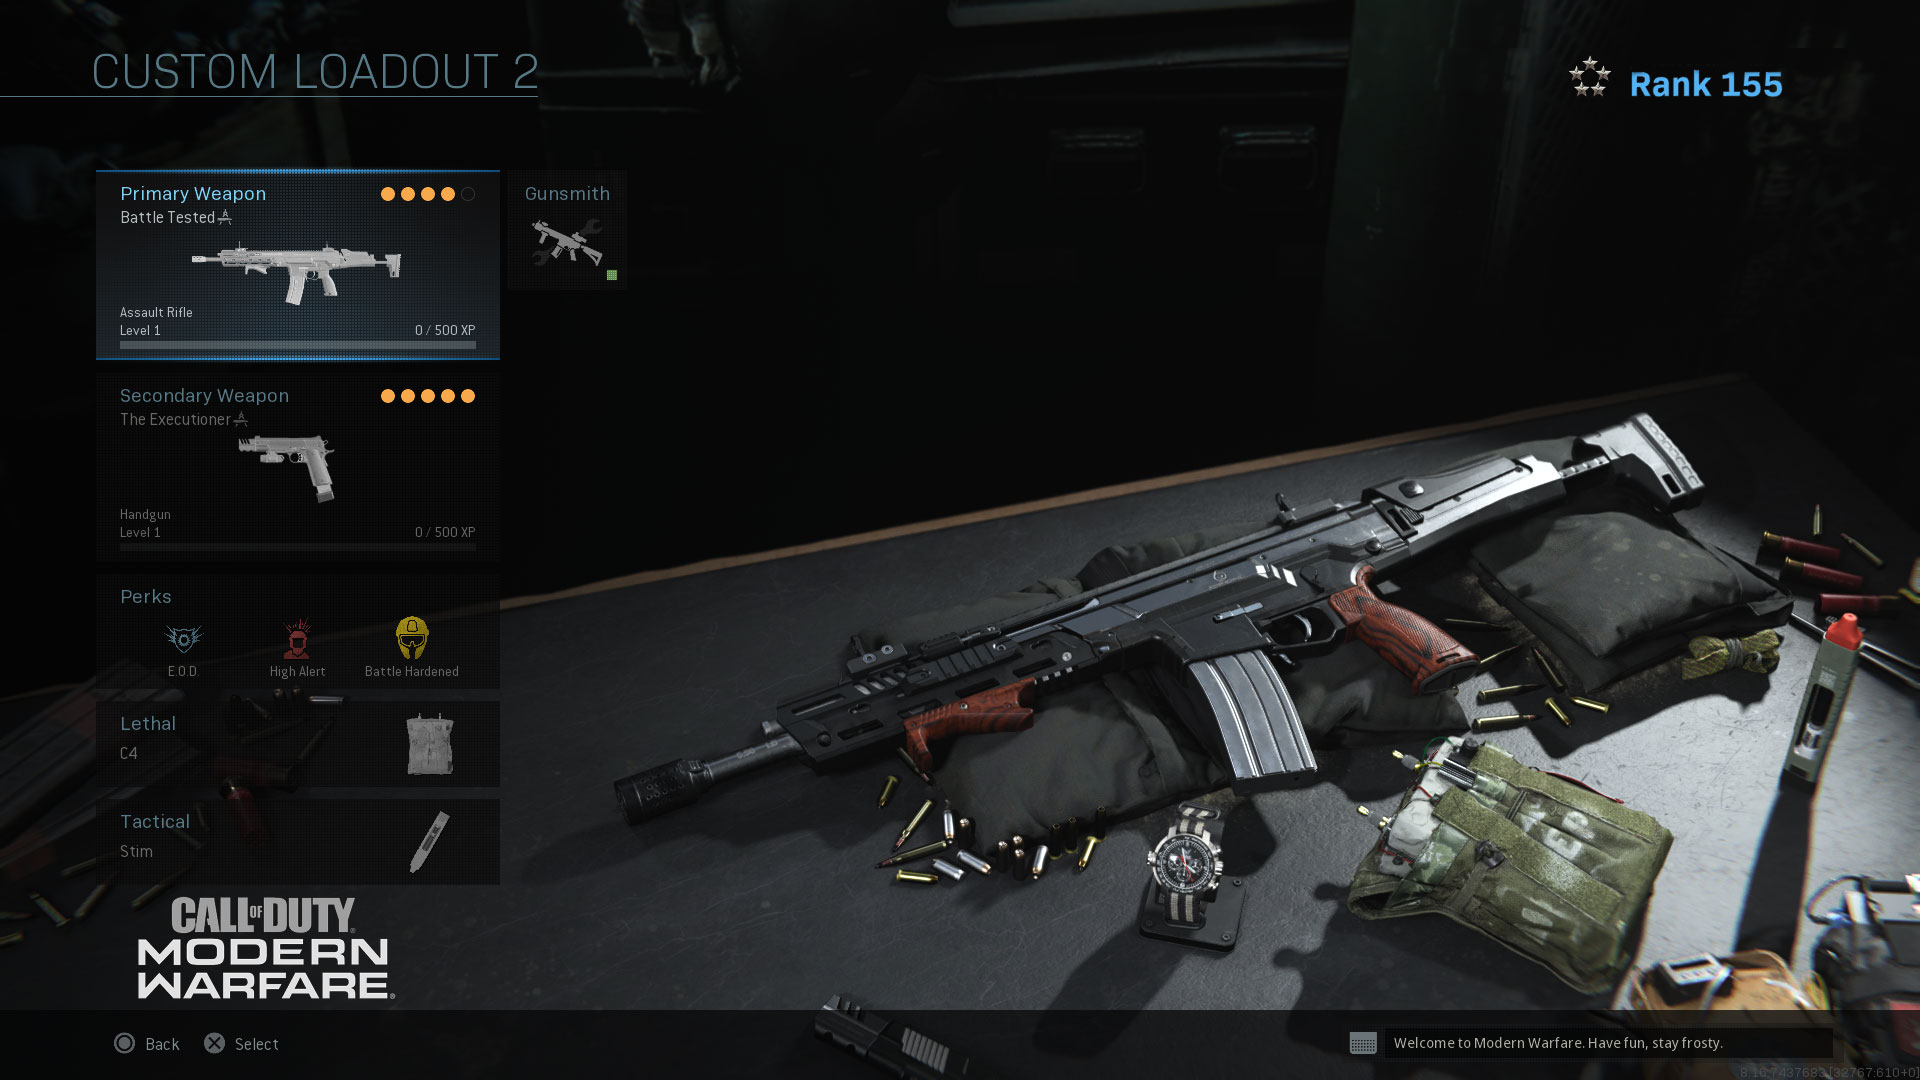
Ride into Battle with the Battle Tested
Primary Weapon: Battle Tested (Tier 45)
Secondary Weapon: Any Handgun with the Akimbo Perk (Unlocked via Weapon Challenges)
Perks: E.O.D., High Alert, Battle Hardened
Equipment: Stim, C4
Field Upgrade: Deployable Cover (*Field Upgrades are only useable in Plunder)
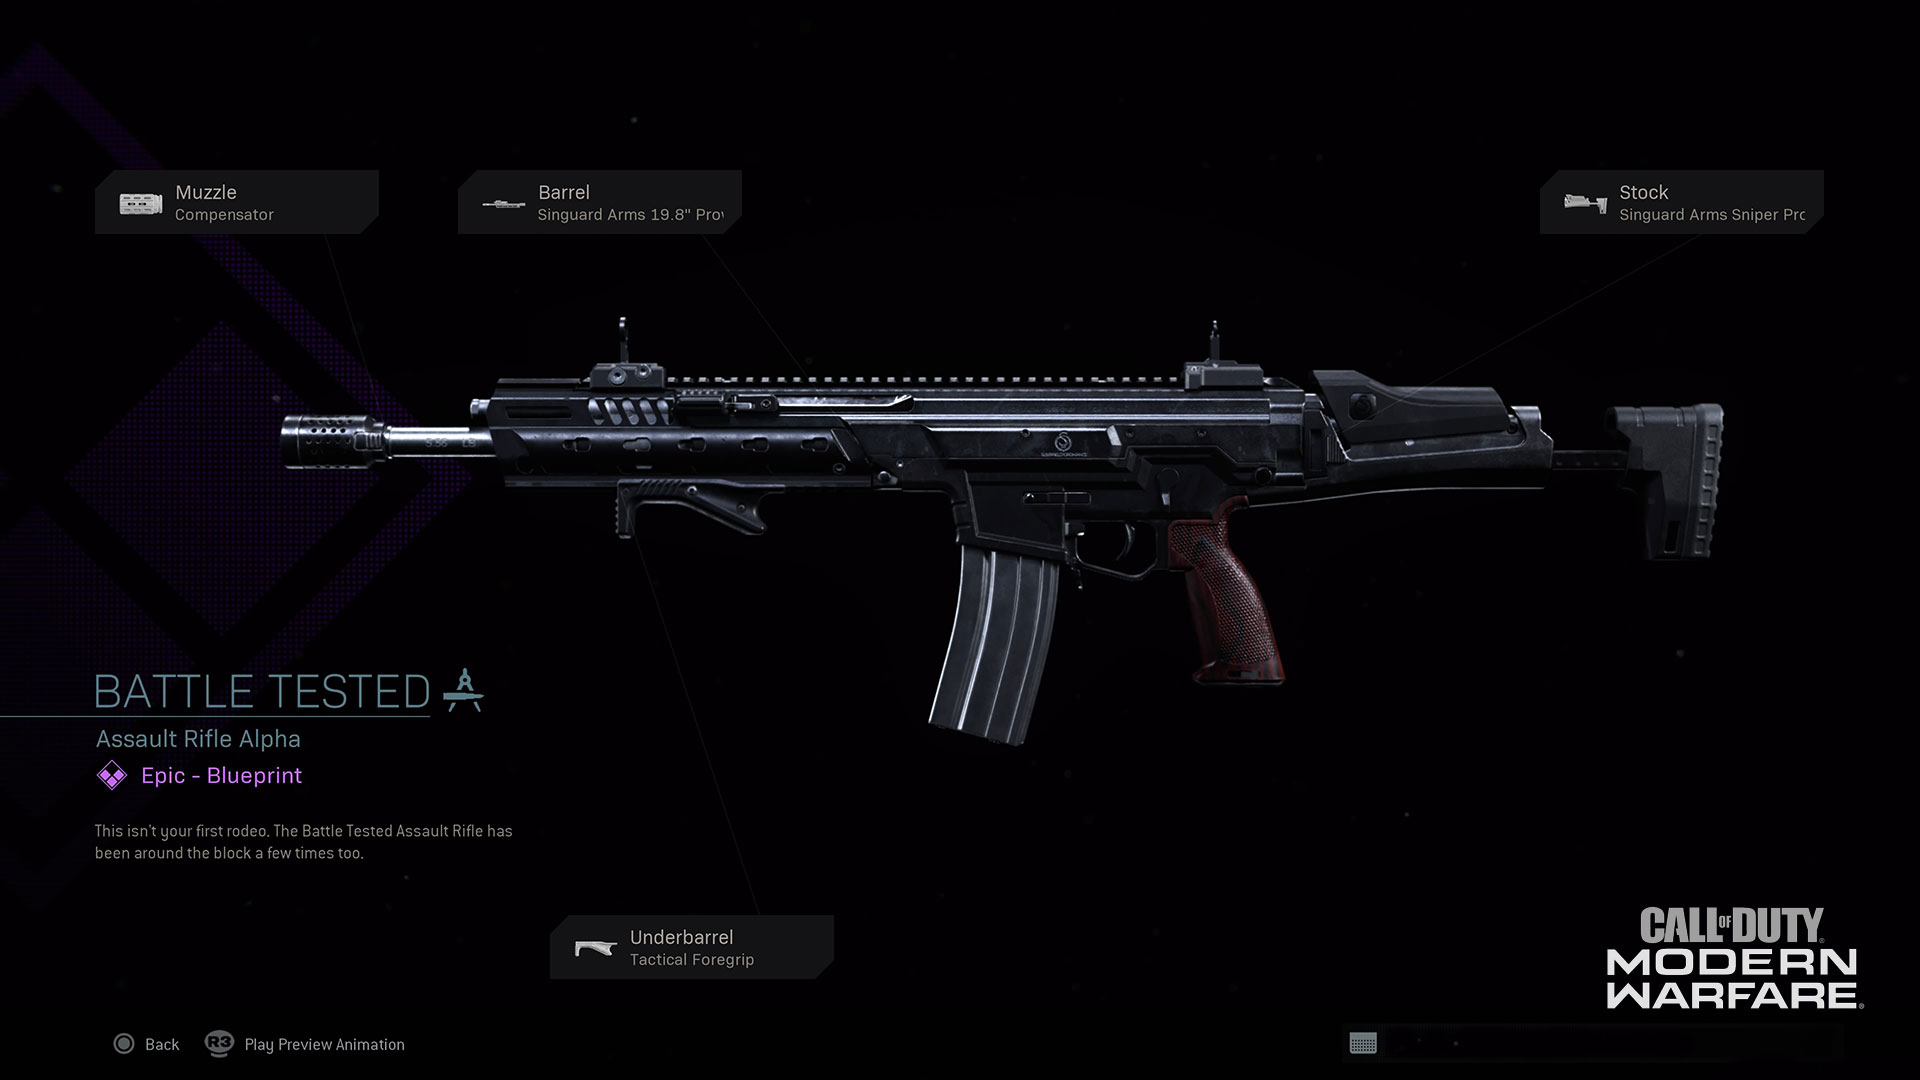
When riding on any of five vehicles, you typically pass by enemies on foot or riding in their own vehicle. As such, firing while riding is an essential skill for Warzone, and the Battle Tested excels in this area. It has great range and accuracy, and you’ll need both to hit a moving target, while you are also moving. As an assault rifle, it has reliable damage and fairly solid ADS time, to quickly zero in on the enemy. Plus, the Battle Tested has extremely high control and a steady fire rate which will help you stay on target.
Paired with the Battle Tested is a handgun equipped with the Akimbo perk. You can unlock the Akimbo perk on any handgun by going to Gunsmith, selecting the weapon perk, and identifying the unlock criteria. The fast fire rate and mobility of Akimbo is an ideal complement to the longer-ranged and less mobile Battle Tested. Take these two into battle alongside High Alert, so you are aware of enemies and equip E.O.D. and Battle Hardened to reduce the effects of lethal and tactical equipment. The Stim will help you heal up when you take a little heat, and you can throw C4 to disrupt any enemy vehicles on your tail.
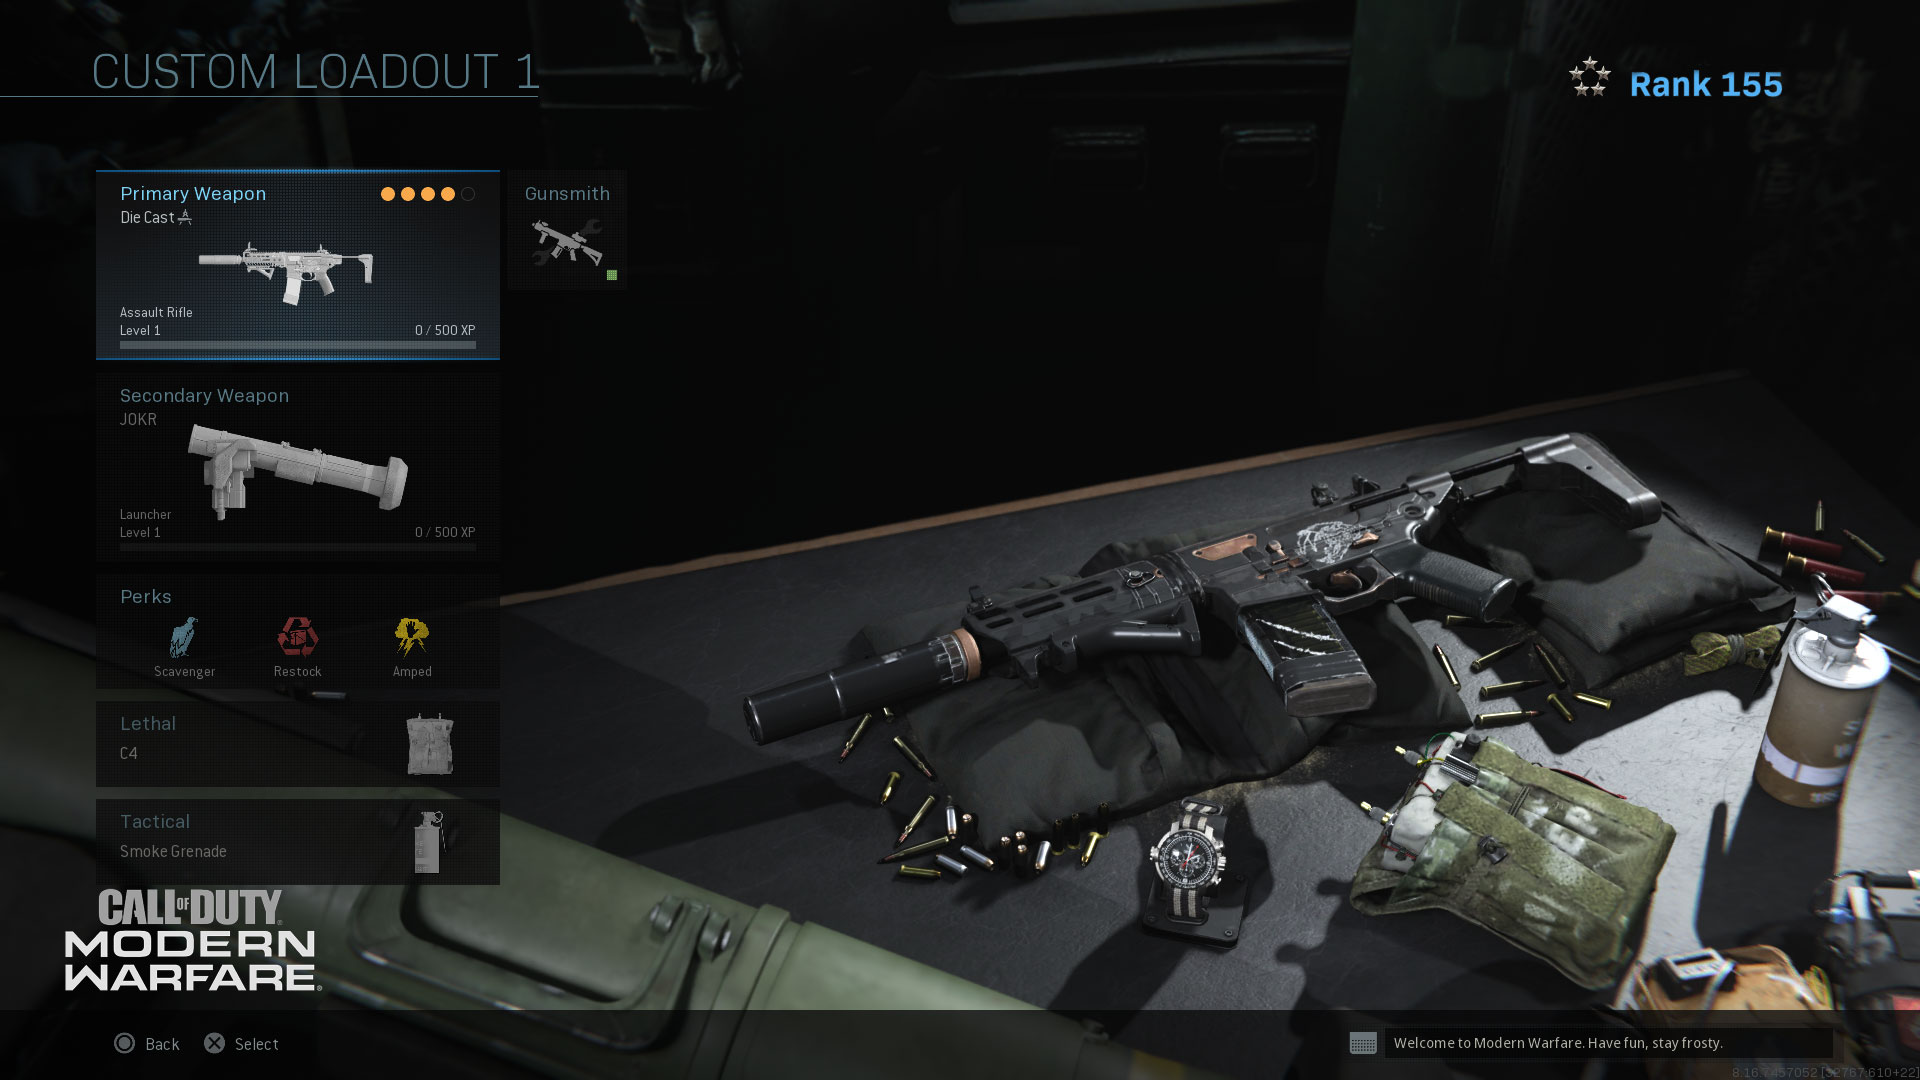
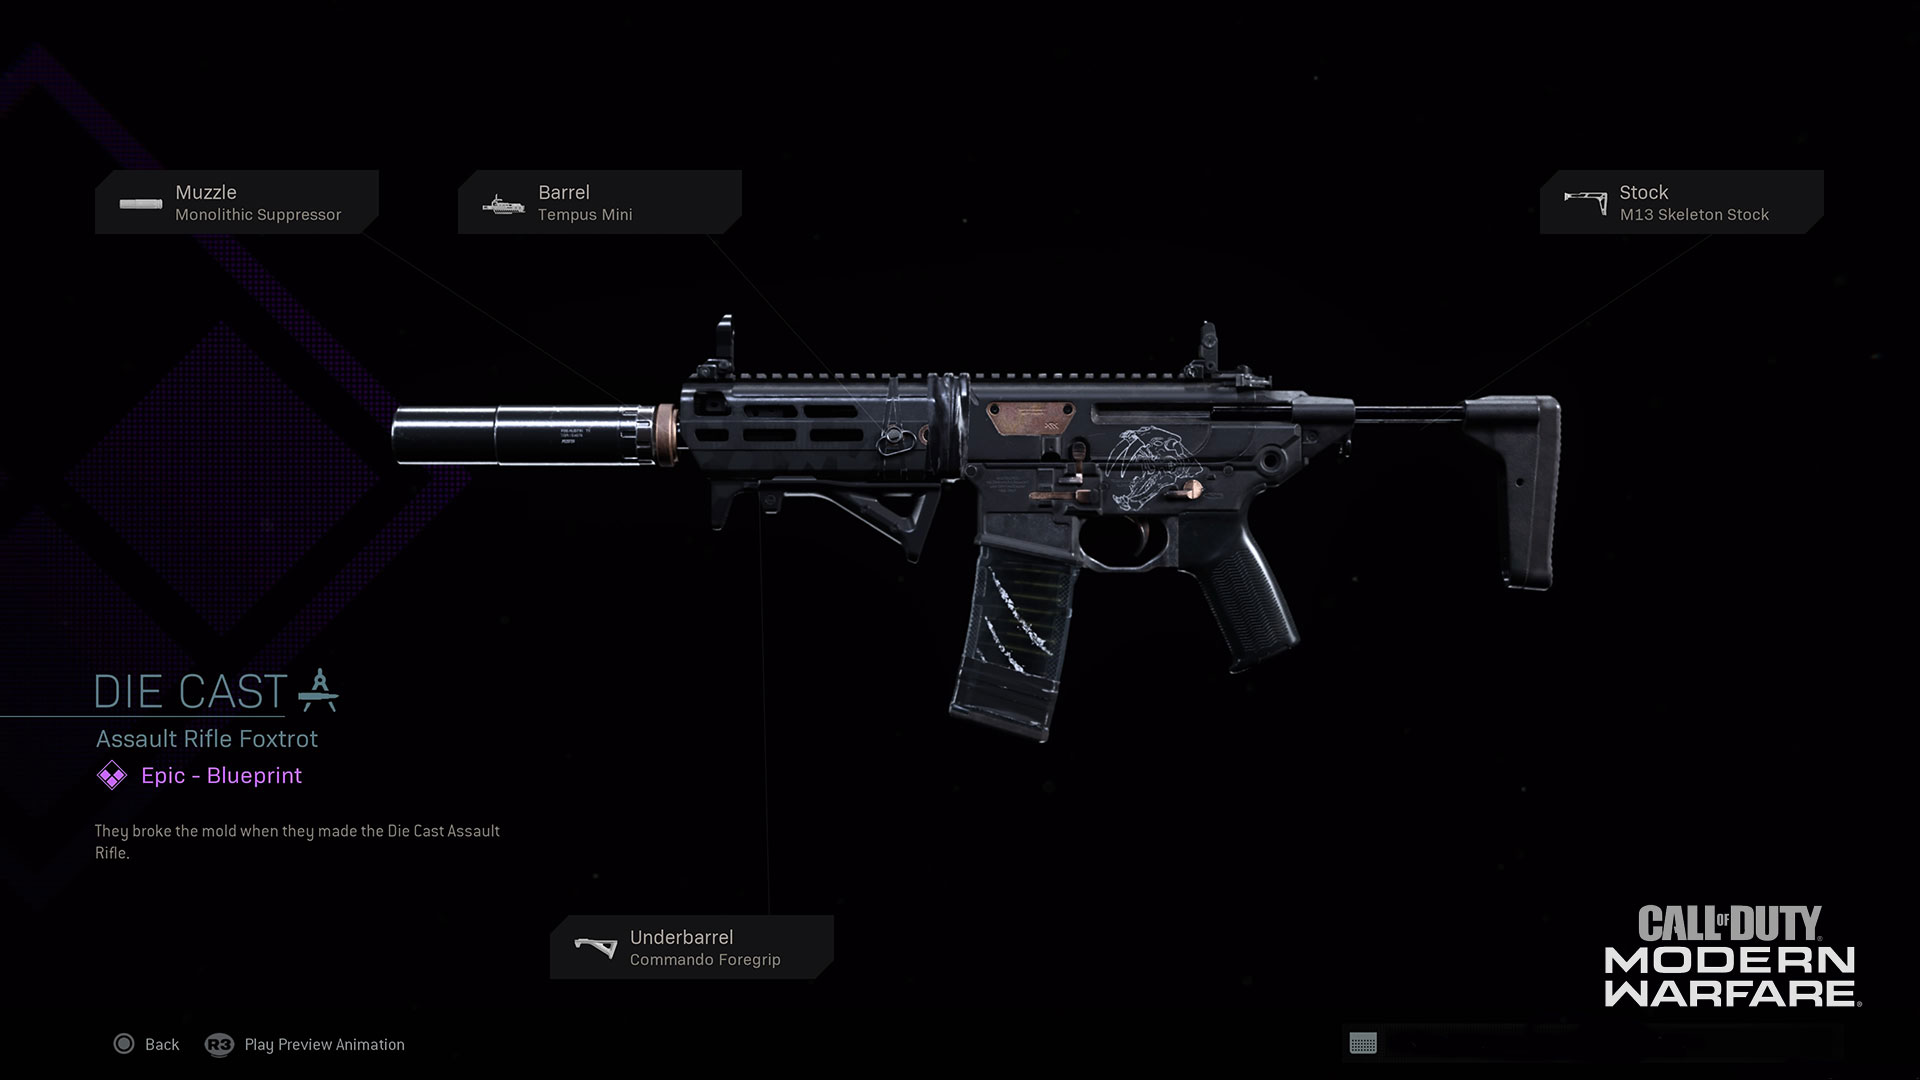
Be Agile and Accurate with the Die Cast
Primary Weapon: Die Cast (Tier 59)
Secondary Weapon: JOKR (Unlocked at Enlisted Ranks 35)
Perks: Scavenger, Restock, Amped
Equipment: Smoke, C4
Field Upgrade: Trophy System (*Field Upgrades are only useable in Plunder)
While the Battle Tested is ideal for passengers, the Die Cast is for drivers. Meant for agile players who need the power of an assault rifle and the mobility of an SMG, the Die Cast is great for those who need to be quick about their engagements like firing off a few shots during a brief seat swap. As a secondary, any launcher is a good fit for a team-oriented driver, but the JOKR is an ideal pick. The JOKR can lock-on and has the ability to destroy heavily armored vehicles which means it can take out even the bigger Warzone vehicles.
Round out your class and throw the Trophy System onto your vehicle before you take off to protect your entire squad from incoming projectiles. With two distinct weapons, Scavenger will ensure you always have ammo, Restock will refresh your equipment over time, and Amped will make your weapon swap faster and help you reload the JOKR quicker. Use a Smoke Grenade to cover you team if you have to make a quick getaway or leave behind your vehicle, and the C4 can be your “warning shot” before you bring out the JOKR.
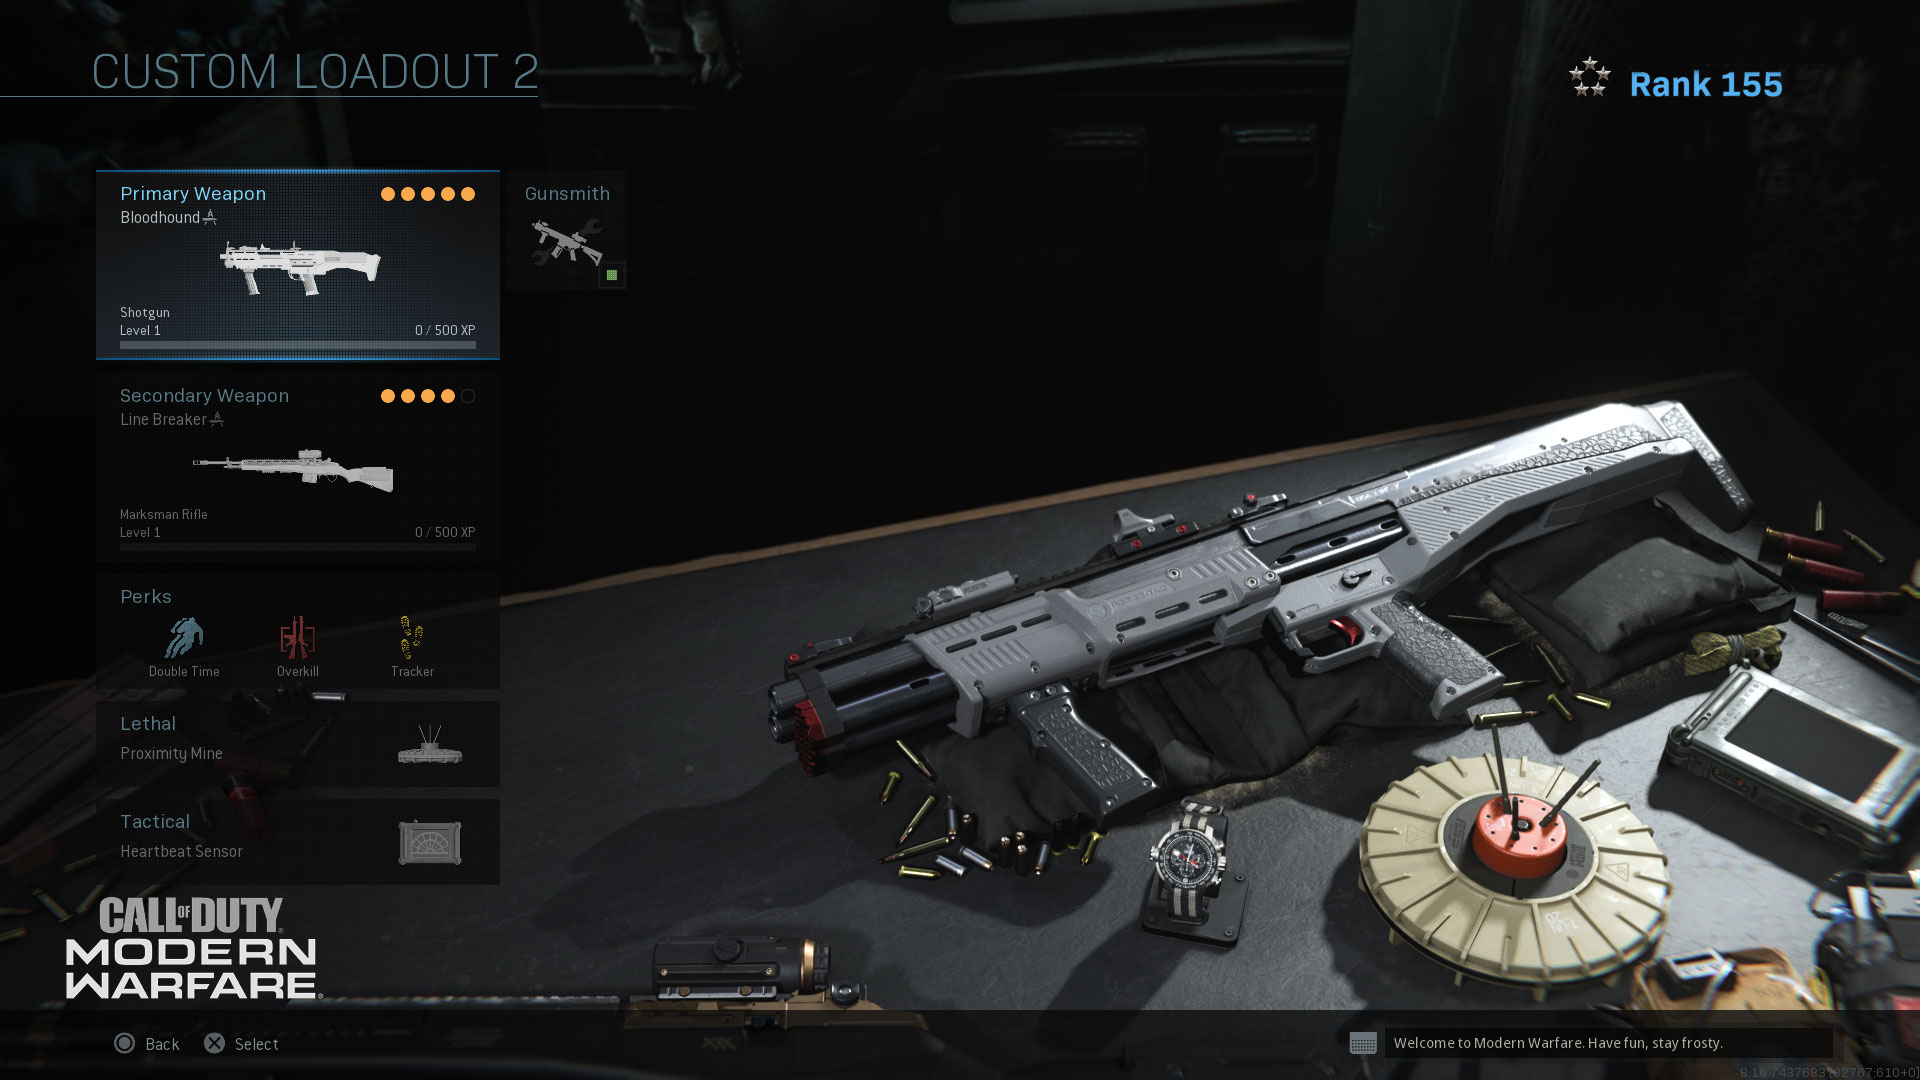
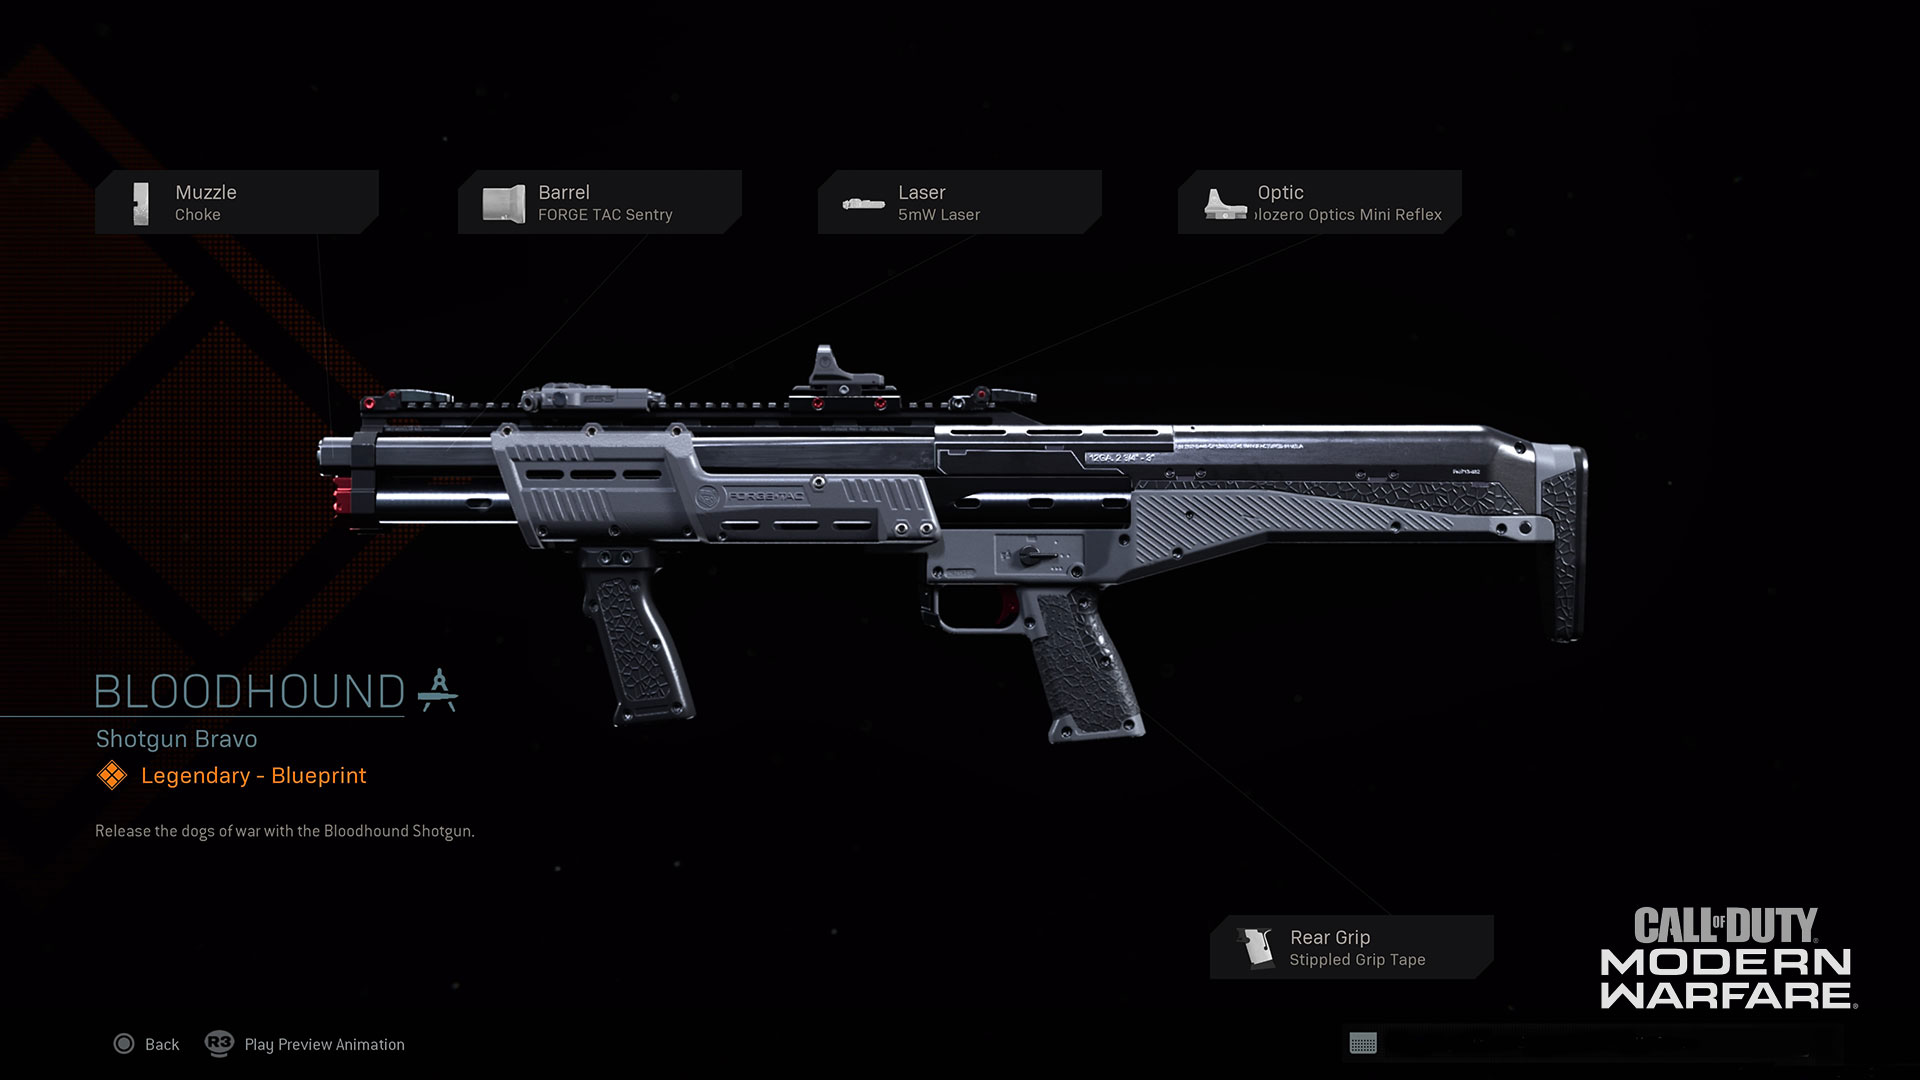
Track Your Prey with the Bloodhound
Primary Weapon: Bloodhound (Tier 42)
Secondary Weapon: Line Breaker (Tier 52)
Perks: Double Time, Overkill, Tracker
Equipment: Heartbeat Sensor, Proximity Mine
Field Upgrade: Recon Drone (*Field Upgrades are only useable in Plunder)
In any vehicle-based trio, you’ll need a player who frequently leaves the ride to complete Contracts, sweep interiors, and can go hunt down the enemy – enter the Bloodhound. What makes the Bloodhound so deadly is its ability to fire two rapid shots that deal devastating close quarters damage before rechambering. While not as controlled as the Ice Storm, the Bloodhound is a bit more agile which you’ll need for vehicle engagements. Equip Overkill to pair this with the Line Breaker, a marksman rifle, so you can be just as devasting at range as you are up close.
This weapon combo is paired with the Heartbeat Sensor and Recon Drone, so you can be the ultimately intel gatherer for you squad. Whenever you exit the vehicle, pull out the Heartbeat Sensor to give call outs for your teammates, then clean out any enemies with help from Tracker and the Bloodhound. Double Time will give you an extra boost to get back to the ride before your team has to peel out. If you need to pull out the Line Breaker to hit an enemy at a distance, the Proximity Mine can help watch your back.
Blueprint Specific Tips for Warzone
1. When fighting and driving with any loadout, always watch your vehicle health meter. If the meter gets low, your vehicle is about to explode. You should consider “jumping ship” or finding another means of transportation before your ride flames out.
2. When driving and using the Die Cast, you can switch to a passenger seat and let the vehicle “coast.” During this time swap to the JOKR and eliminate any vehicles on your tail. You may have to switch seats more than once to ensure you don’t lose control of the vehicle or ask a squadmate to hold the wheel.
3. The Battle Tested has extremely great accuracy and control, but you still need to lead your shots to catch moving opponents. Any scope can be equipped to the Battle Tested making it more versatile; the Canted Hybrid is our recommendation as it keeps the control of the weapon high while extending the accuracy and range.
4. If running a class with the Bloodhound, always check your Heartbeat Sensor. This equipment can be used repeatedly and give you tactical insight on enemy positions to help plan your attack. Use the Heartbeat Sensor to sniff out your prey, then go hunt.
5. If you have to exit the vehicle or bail out while firing with the Battle Tested, pop your Deployable Cover if you’re still engaged in a firefight. It will give you some protection, and you can mount your weapon for added stability.
Purchase the Season Two Battle Pass and progress through the tiers to get these three distinct weapon blueprints for your squad alongside other goods including Operator skins, XP and Weapon XP Tokens, and instant access to two Operators – Ghost and Thorne. Preview all the goods of the Battle Pass by visiting the Battle Pass tab in-game.
Want more intel on Warzone? Read the completely FREE Official Warzone Strategy Guide. The Guide features over 250 tips, an interactive atlas of Verdansk with over 300 points of interests, in-depth game mode profiles and strategies, loadout suggestions, and more.
Enjoy the wild ride of Warzone.
We’ll see you online.
For more information and the latest intel on Warzone, visit www.callofduty.com and follow @CallofDuty on Twitter, Instagram, and Facebook.
For more information on Activision games, follow @Activision on Twitter, Facebook, and Instagram.