Along with Shipment, Vacant returns to Modern Warfare straight out of Call of Duty 4: Modern Warfare as part of the second free content drop for Season One.
You may have already experienced Vacant if you’ve played on Port, the brand-new Ground War map that launched on Season One’s first day. Vacant made a cameo as the C flag location on that map, so those that play the objective in Ground War already have some strategies for laying waste to this warehouse.
Of course, Vacant plays differently in a standard Multiplayer setting than it does in Ground War. With that in mind, here’s our Tactical Map Intel for Vacant:
Lay of the Land:
Near the main Port of Verdansk, a once-abandoned warehouse has been confiscated by Al-Qatala forces.
Their contraband is strewn around the business park, either in containers or inside the warehouse itself.
In the Multiplayer version of the map, the exits out of the facility are barricaded off – most likely as defensive measures against those who wanted to eradicated the deadly chemicals stored here. Despite the main storage area being under quarantine, the office’s main atrium and green patches around the facility still show signs of life.
Map Detail:
Vacant is a medium sized, asymmetrical map that mixes interior and exterior combat.
Although the main office and warehouse buildings offer some protection from aerial Killstreaks, there are some skylights and other ceiling features that allow air to seep into the facility.
Here are all the map’s zones:
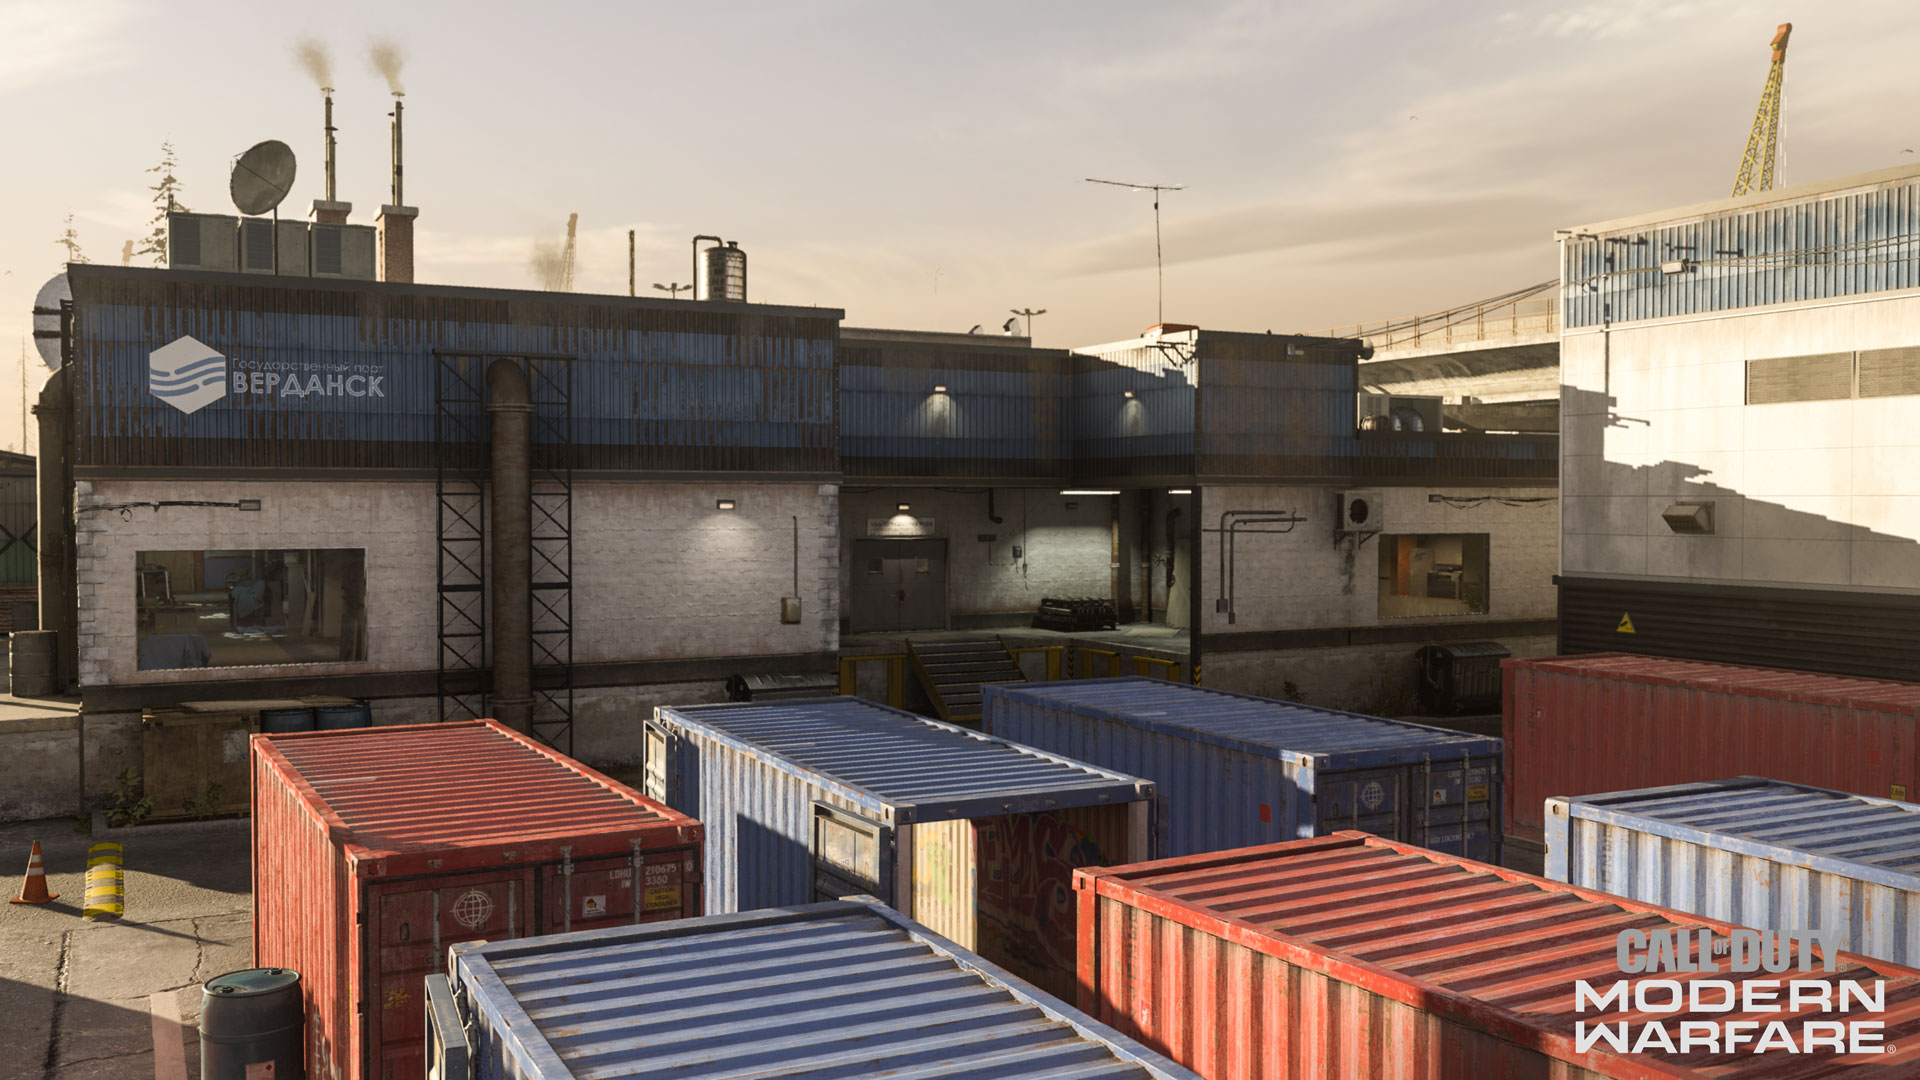
1. Shipping Containers
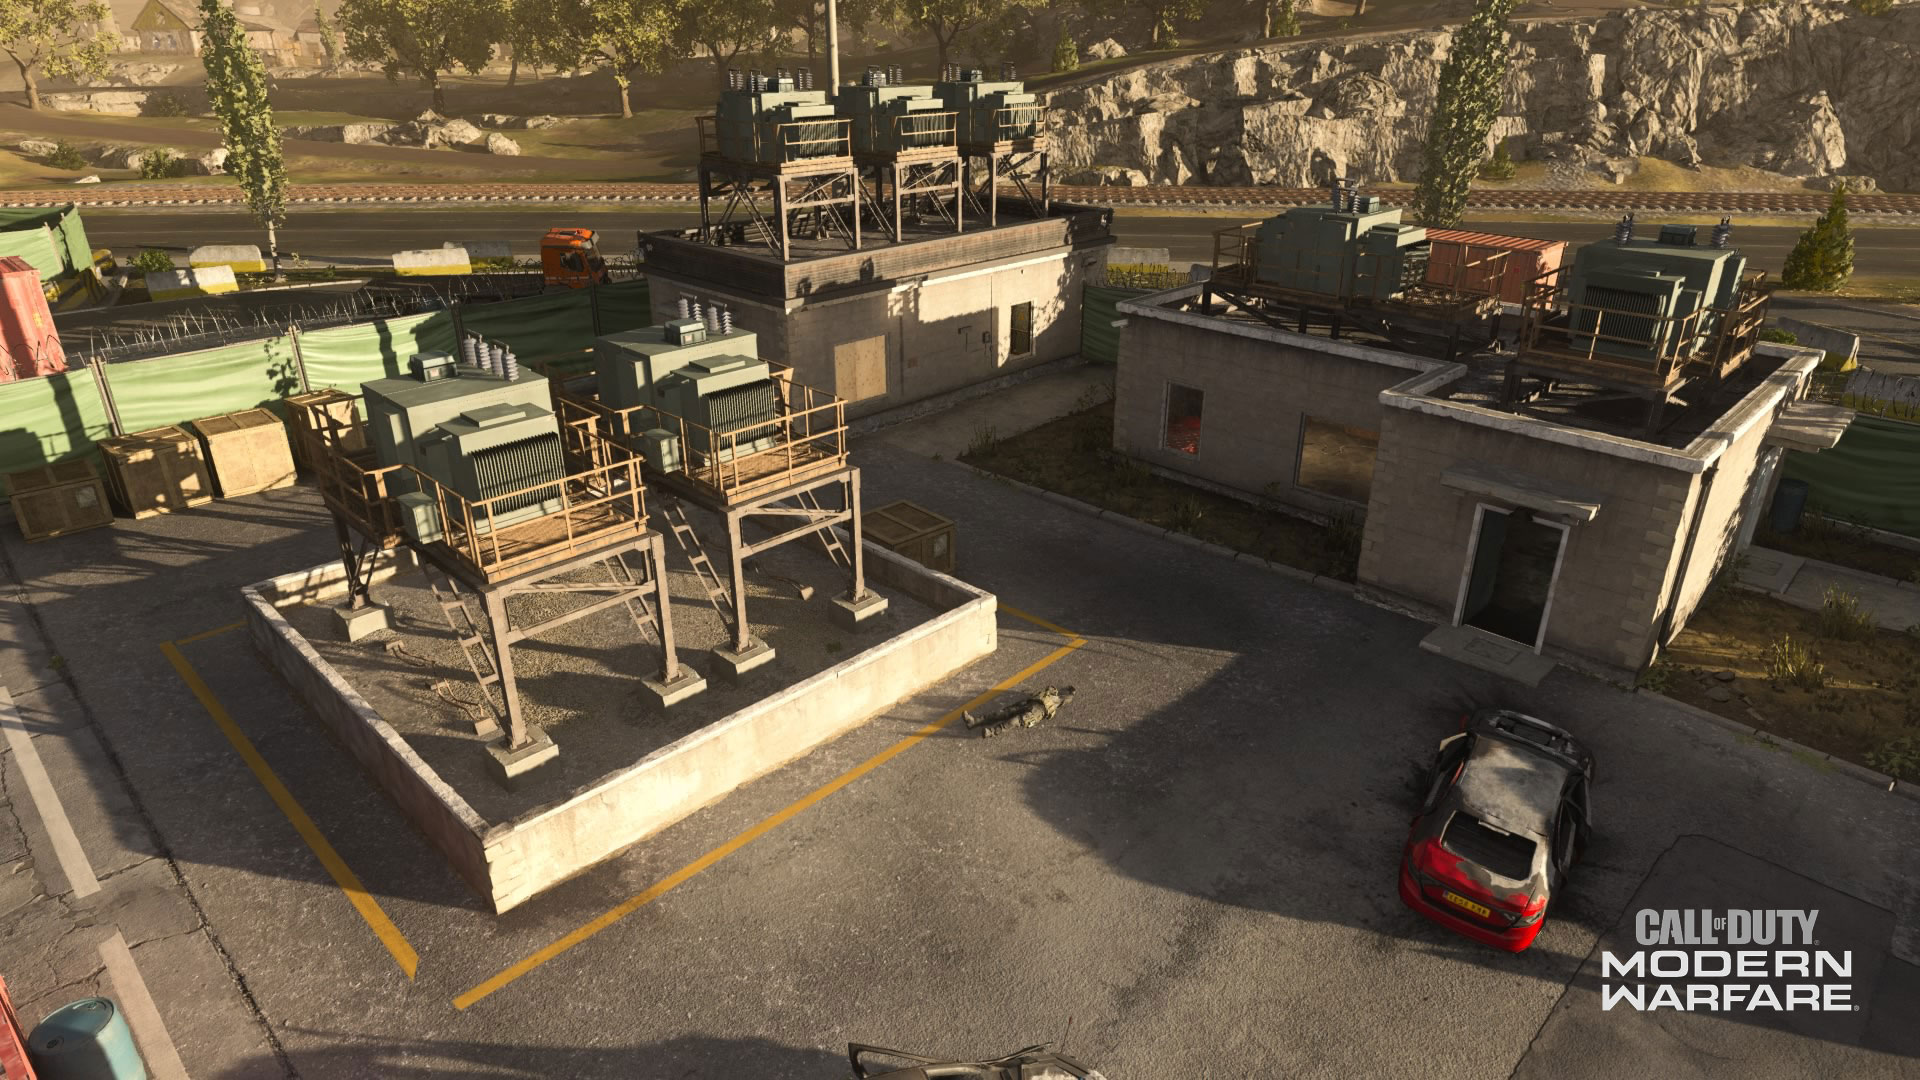
2. Electric Substation
3. Alley
4. Back Entrance
5. Parking Lot
6. Loading Dock
7. Maintenance
8. Offices
9. Locker Room
10. Hallway
11. Atrium
12. Bathroom
13. Storage
14. Quarantine
15. South Corridor
16. Shipping & Receiving
Map Overview:
The following set of maps detail the entirety of Vacant, including the zones, the locations of important areas in different game modes, and a topographical image. Swipe or click left or right to see them all:
Map Zones Overview:
1. Shipping Containers - Coalition Spawn
In team game modes, the Coalition will spawn here on the concrete that has plenty of weeds springing up from cracks in the asphalt.
Action here will take place among the Shipping Containers, which create opportunities for short-range engagements in this otherwise open space. While travelling through here, you may want to be careful of the two partially open containers, as it could be a popular spot for a player to reload with some protection.
If you want, you can mantle up on top of these six containers, giving you decent sightlines over to the Alley, Loading Dock, or even down some Hallways. However, there is little cover up here, leaving you exposed to countersnipers or Killstreaks.
The Shipping Containers also serve a purpose in multiple objective game modes: it’s the easiest flag for Coalition members to capture as the A flag, the faction’s starting Data Center in Cyber Attack, and the third HQ or Hardpoint in those respective game modes.
That hill or HQ sits in the middle blue container, which is open on both sides. Players who want to defend this area may want to look at sitting back within this area or taking up a position on either side of Vacant’s northern portion to cross-snipe attackers.
2. Electric Substation
Next to the Shipping Containers is Vacant’s main source of power. Along with the generators are two small buildings that can be used as cover from Aerial Killstreaks.
The building closer to the Loading Dock could also be used as a unique place to take longshots against enemies in the Storage warehouse, as a sniper can peek through the door or hop on a windowsill to take a shot around the building.
Alternatively, snipers can use cover around the actual substation to snipe past the Loading Dock and into Storage.
Outside of being a popular spot for snipers, this area may not be as well trafficked during normal games, but in Hardpoint or Headquarters, the L-shaped building serves as the 5th hill or HQ. Because of its size, expect plenty of close-quarter engagements when it is contested.
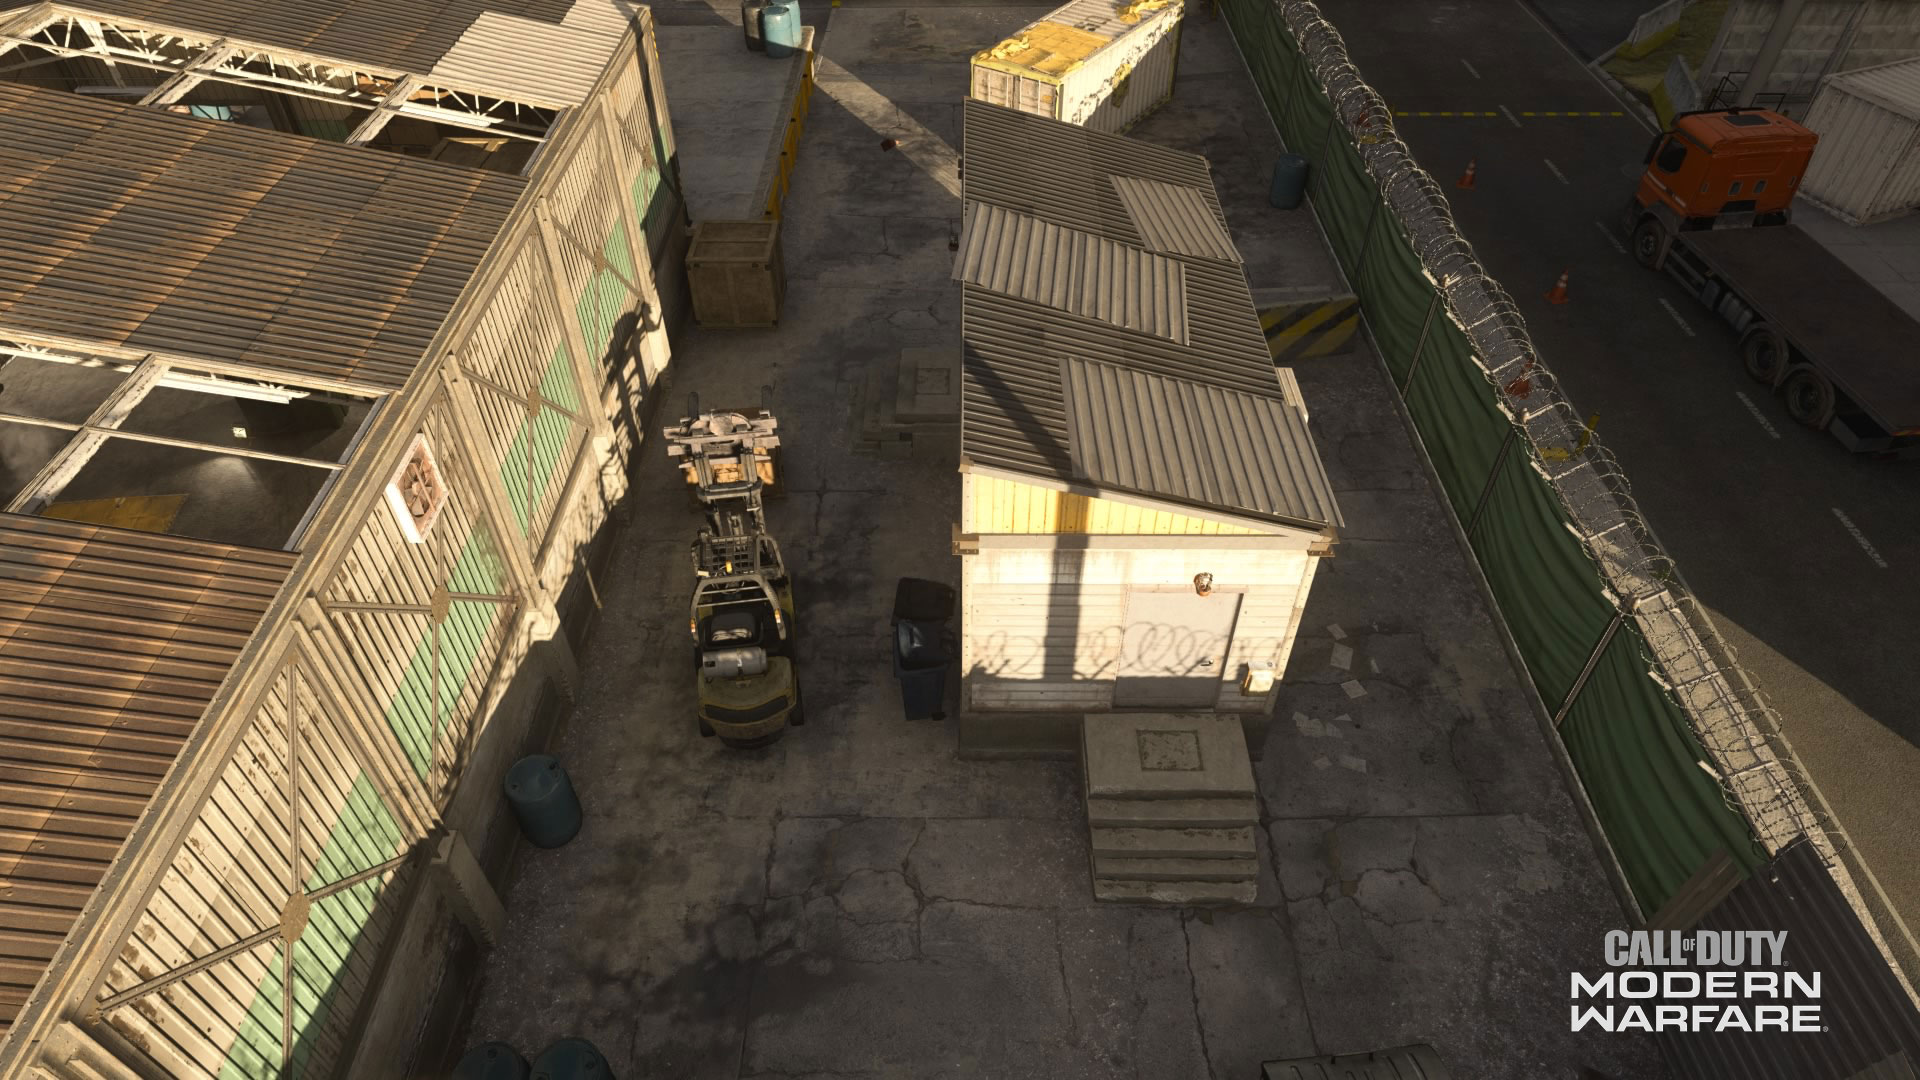
3. Alley
A narrow alleyway separates the main Coalition spawn from the Parking Lot, which serves as the primary western route across the map.
This is where you may want to defend against attackers to the Cargo Containers in objective mode, or where you can get into the building’s hallways. That can be done by mantling up onto a dumpster and into the windowsill, which could also serve as a mounting point for sniping down the hallway.
Other than those strategies, the Alley is mostly a transition area; a place to get through and onto more contested spots on the map.
4. Back Entrance
Veterans of the franchise know how tempting it is for Coalition members to sprint forward and through this area in the beginning of any match.
And for good reason; going through here is the quickest way to get to Vacant’s central areas including the Atrium, which usually leads to a first blood.
This transitional area is key to accessing Vacant’s interior, but past a game’s opening seconds, you may want to watch out for stragglers who may catch those busting down the double doors by surprise.
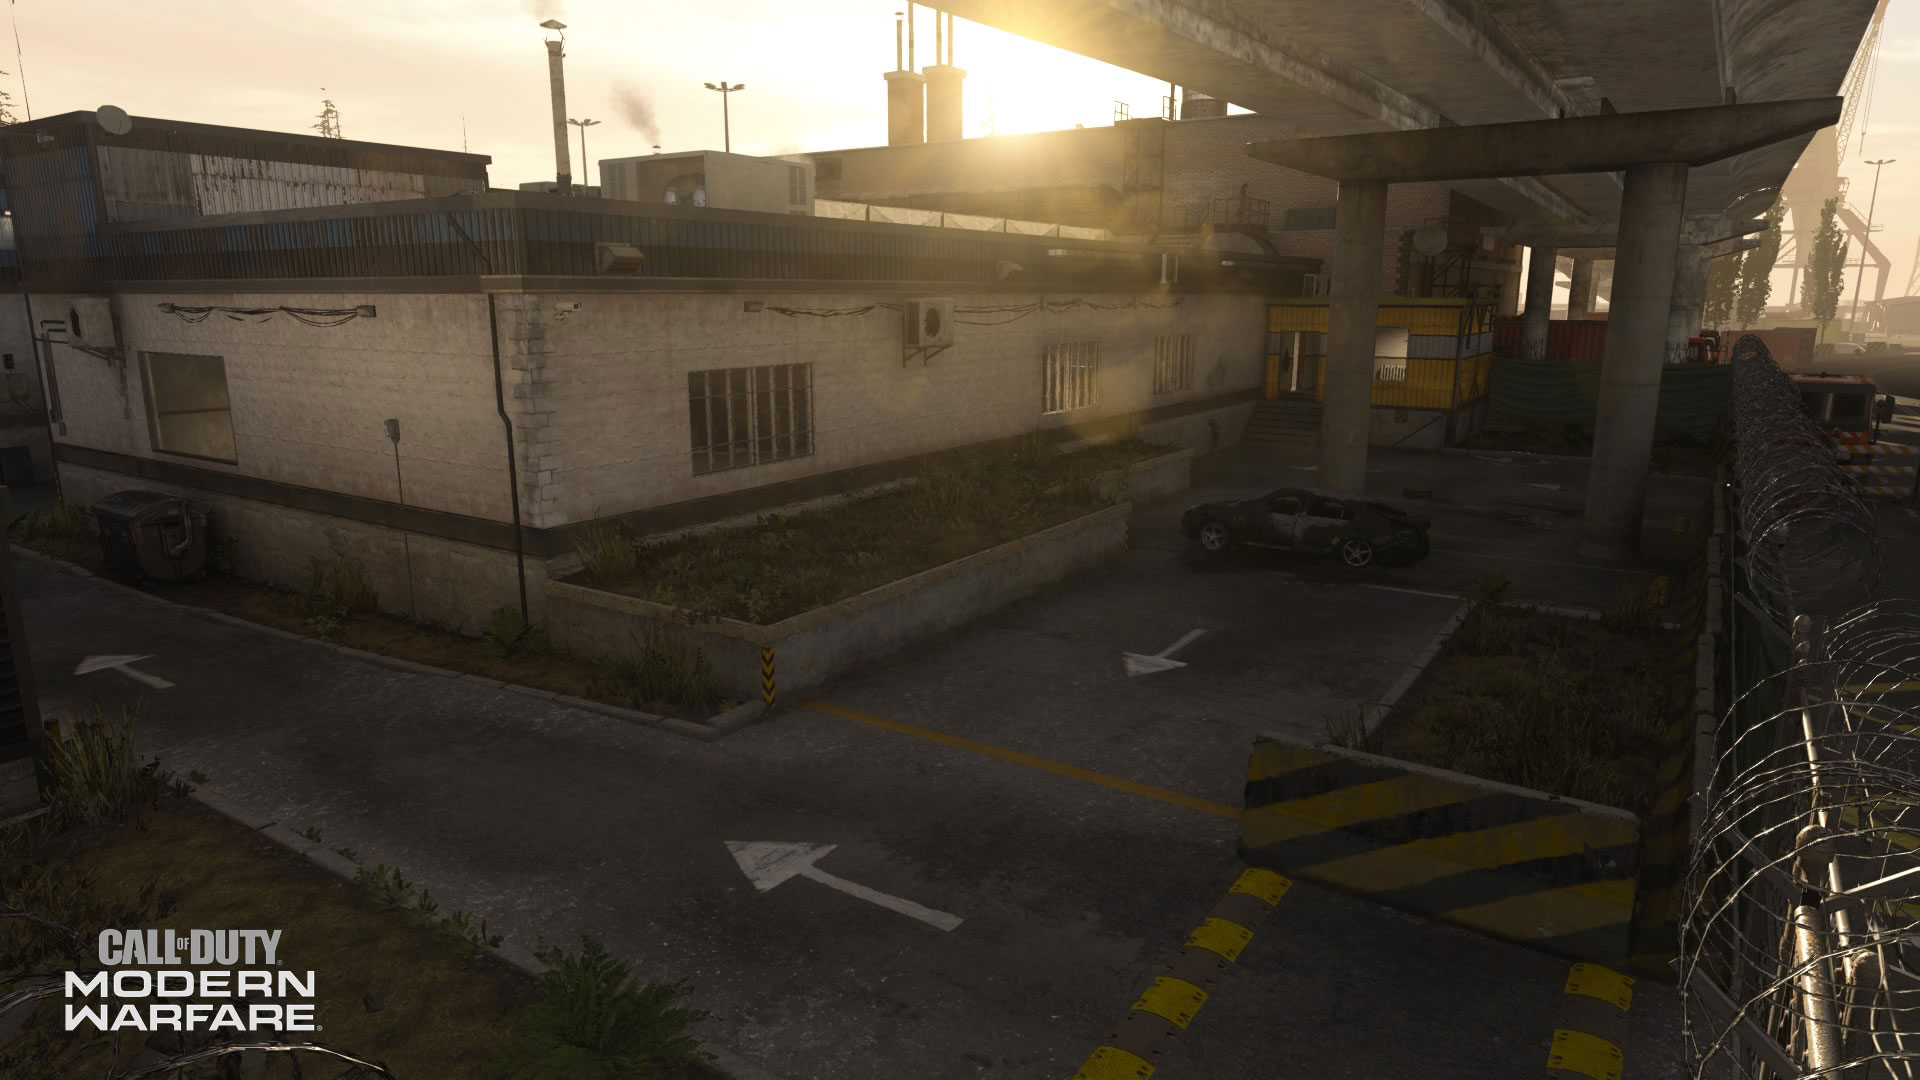
5. Parking Lot
A few overgrown patches of grass offer the only color within this cramped Parking Lot, which is a large portion of Vacant’s open western route.
While in the lot, the raised garden could be used to peer into the Offices, or as cover against those sniping from the Locker Room. Grenades can also be thrown into the windows, allowing you to stun or damage enemies inside. That may be especially helpful during Hardpoint or Headquarters where the Offices serve as an objective location.
The highway over this area, a major part of the Ground War map Port, serves as partial protection from aerial Killstreaks, so those using Cruise Missiles or other armaments may have to aim around it to hit those in the Parking Lot.
In Cyber Attack, the southeast corner of the lot holds the third EMP device location. Because it is underneath the overpass, those who earned Killstreaks in the first two rounds of a game may want to be careful with them when smoking enemies out of here.
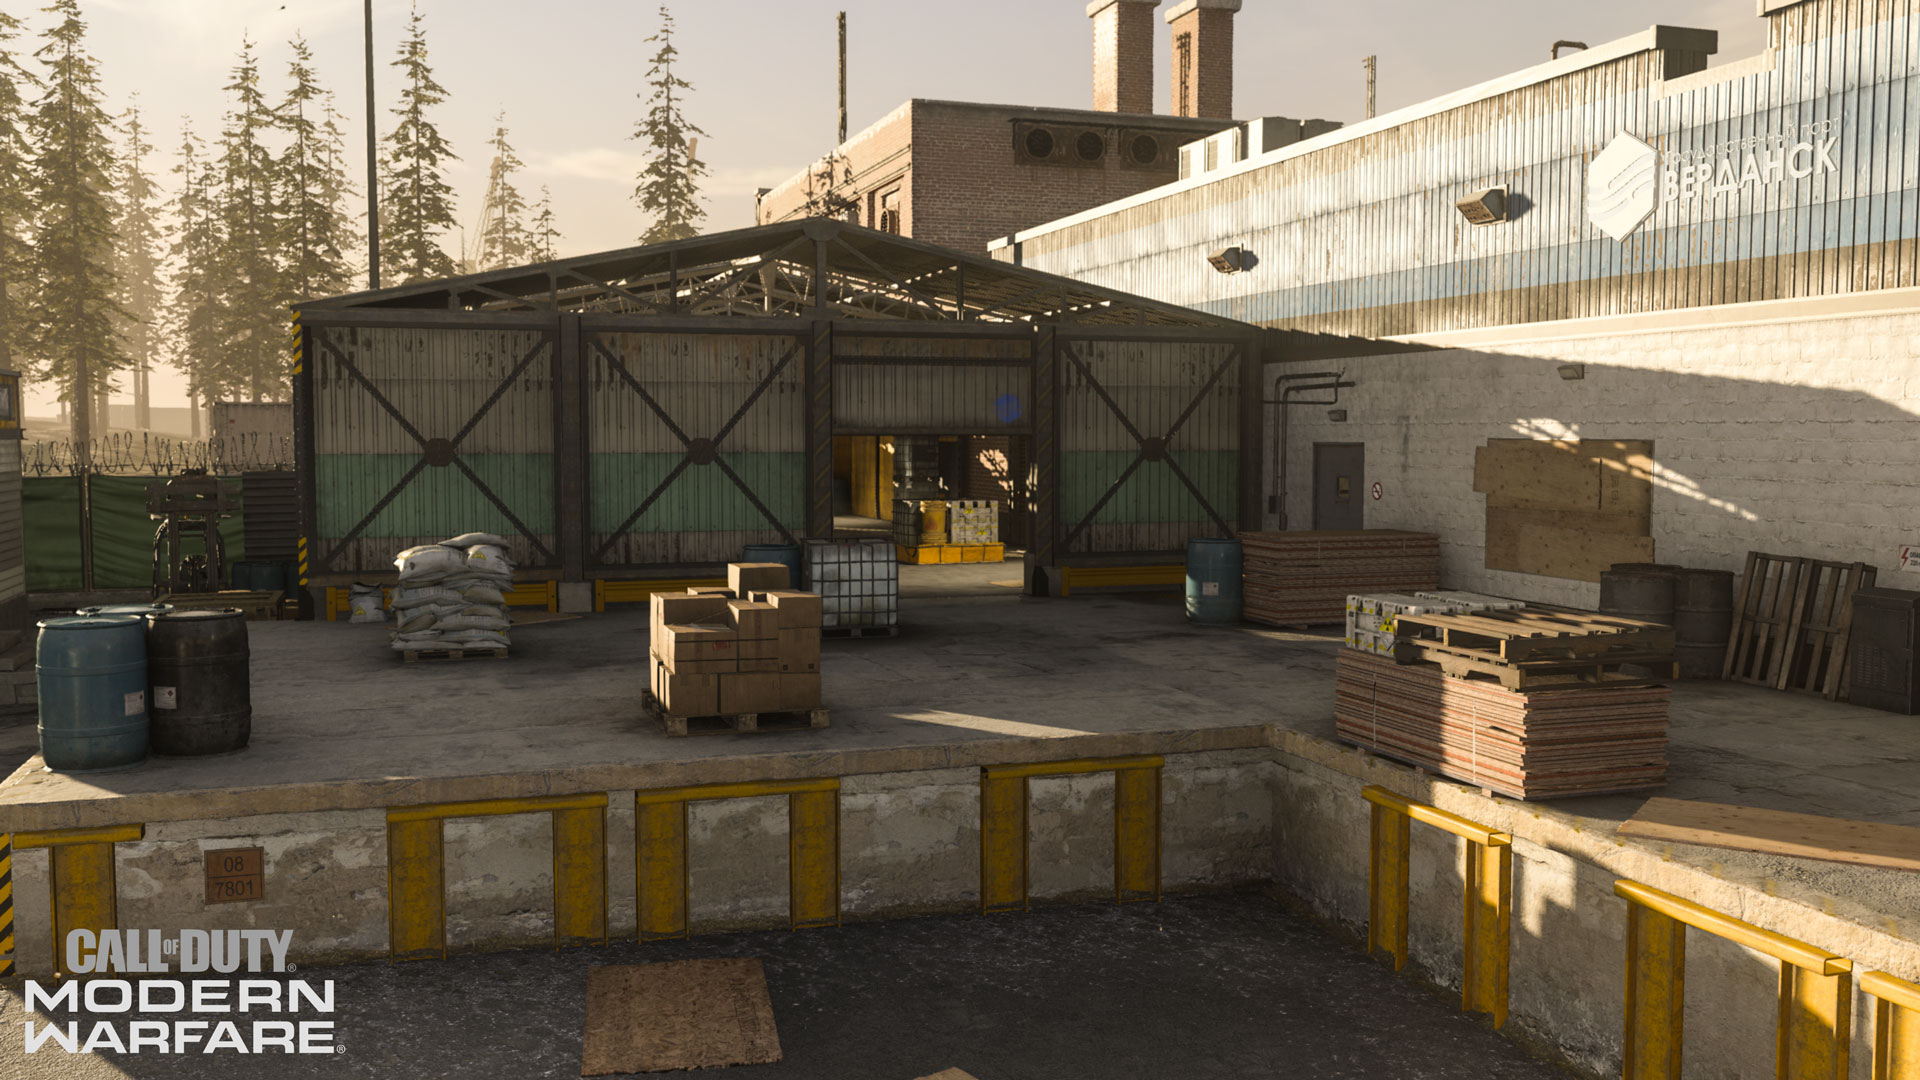
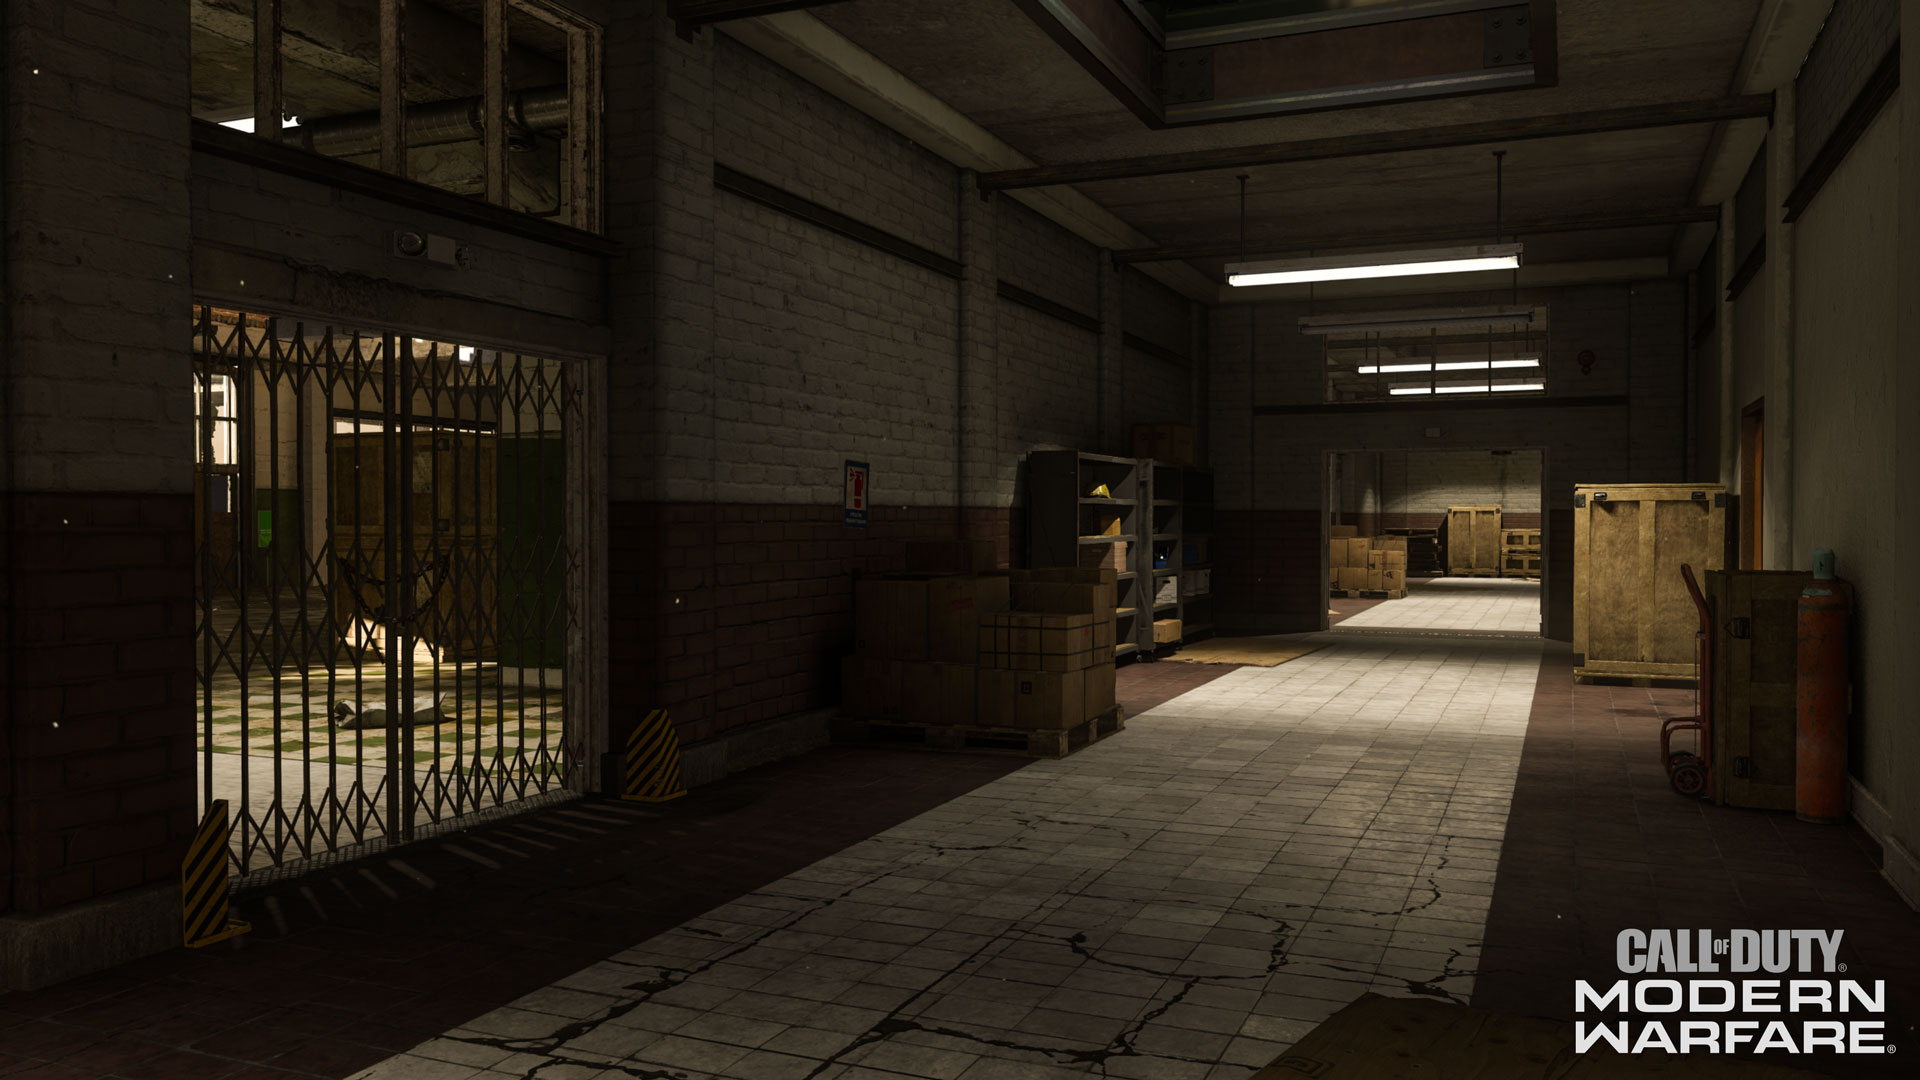
6. Loading Dock
Right outside the Main Storage is the Loading Dock. Here you’ll not only find an entrance into Storage, but also one to the Hallway system in the main warehouse.
Given that this takes up the western route of the map and leads into Storage, a hot spot on Vacant, the Loading Dock might be a high traffic zone.
While running through here, you may need to watch out for snipers inside the Storage or over to the Electric Substation. To avoid an untimely death to them, you may want to take cover behind the contraband container, the truck, or the various boxes and barrels.
7. Maintenance
If the Loading Dock traffic proves to be too much, why not duck out into the Maintenance area?
At first, this area does not seem to have any objective importance, as it is mostly tucked into a dead-end corner. However, its discreet location could be great for dealing with tough enemies inside Storage.
A well-placed C4 or other equipment piece could be lobbed up or into Storage by way of its open roof. We suggest using the lone blue barrel and stack of boxes as markers of where equipment can be lobbed through.
Especially during objective game modes, the Maintenance area could be an underrated tool for attackers who want to break a hill or defend a planted bomb.
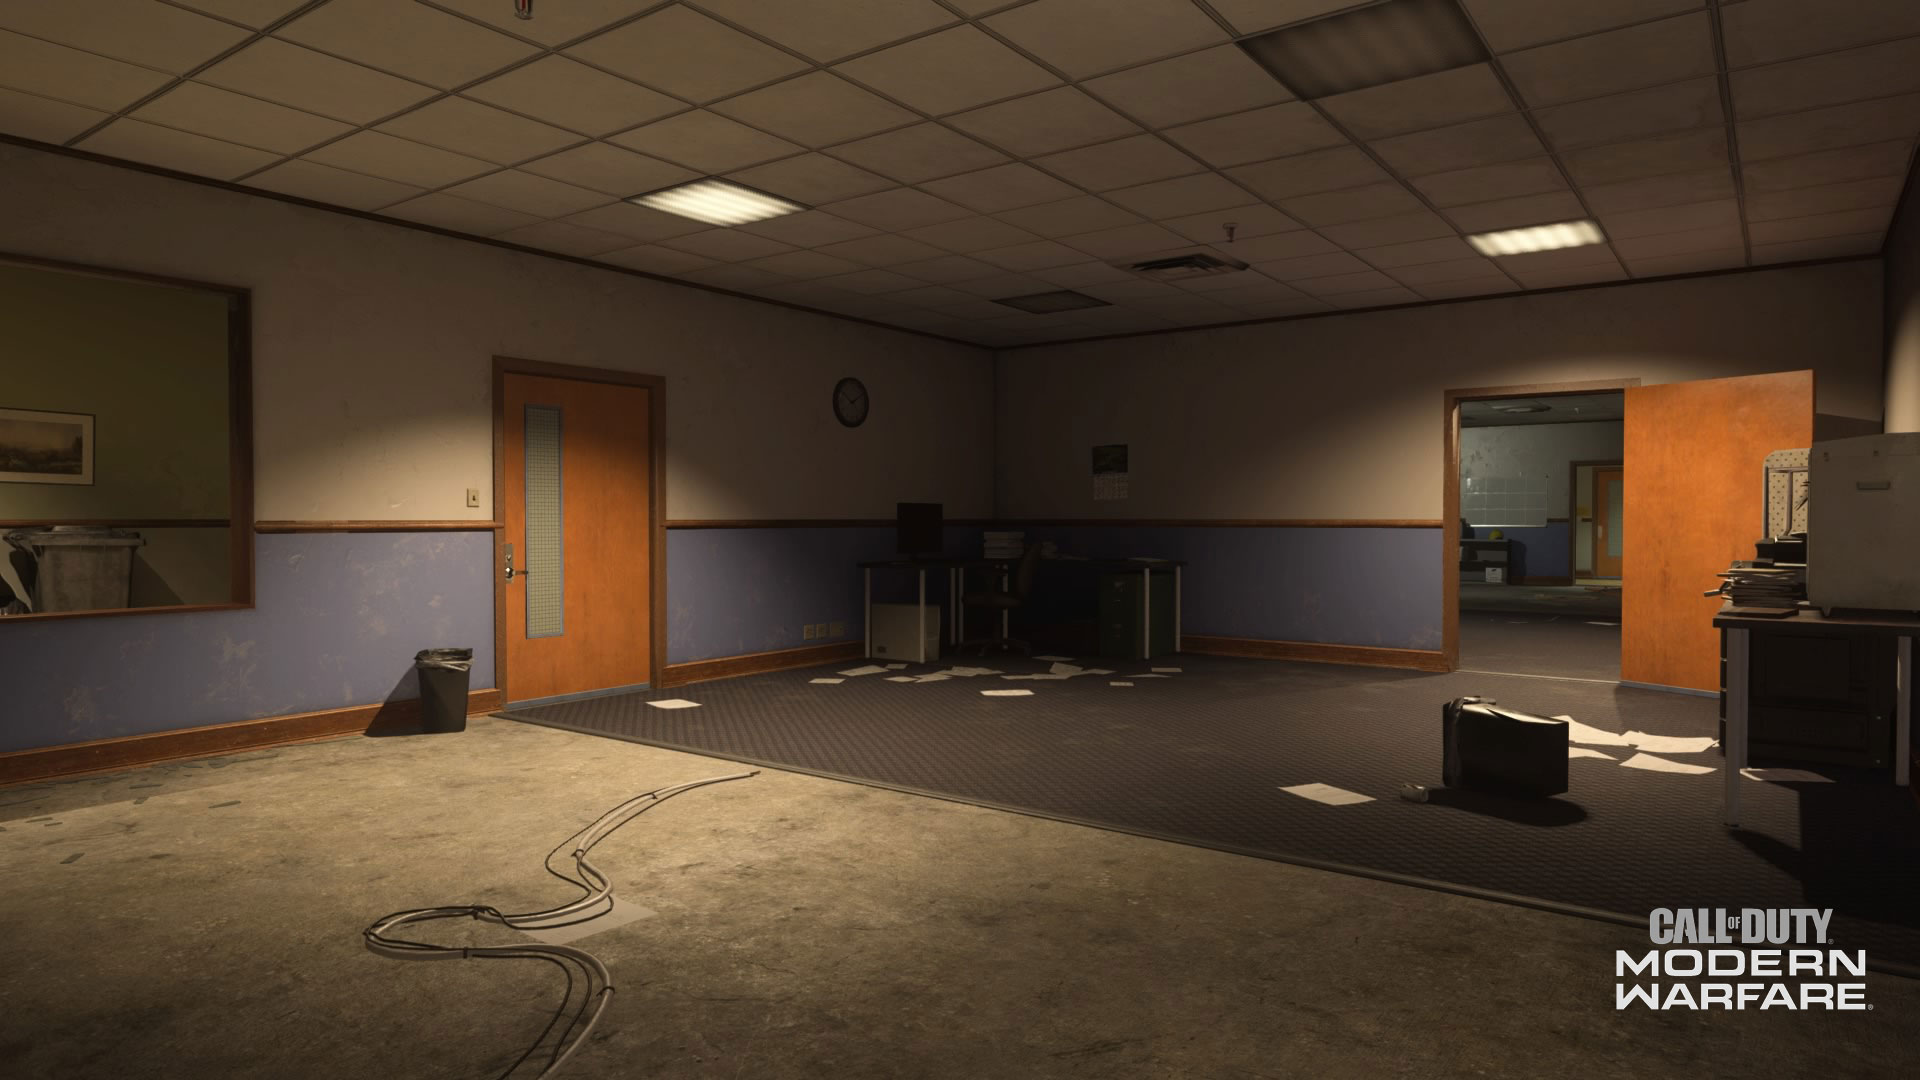
8. Offices
Overlooking the Parking Lot are the Offices, two ordinary-looking workspaces that have been ransacked by Al-Qatala forces.
This makes up the eastern interior part of Vacant, with doors into and between the offices able to be open or shut with a simple button press.
As mentioned before, you may need to watch out for grenades and fire coming into the Parking Lot. Also, multiple interior windows lead to several Hallways within the facility, with one towards the North looking partially out on the Cargo Containers.
All these tips should be kept in mind for any game mode including Hardpoint and Headquarters, as the Office serves as the second Hardpoint or HQ in the linear rotation.
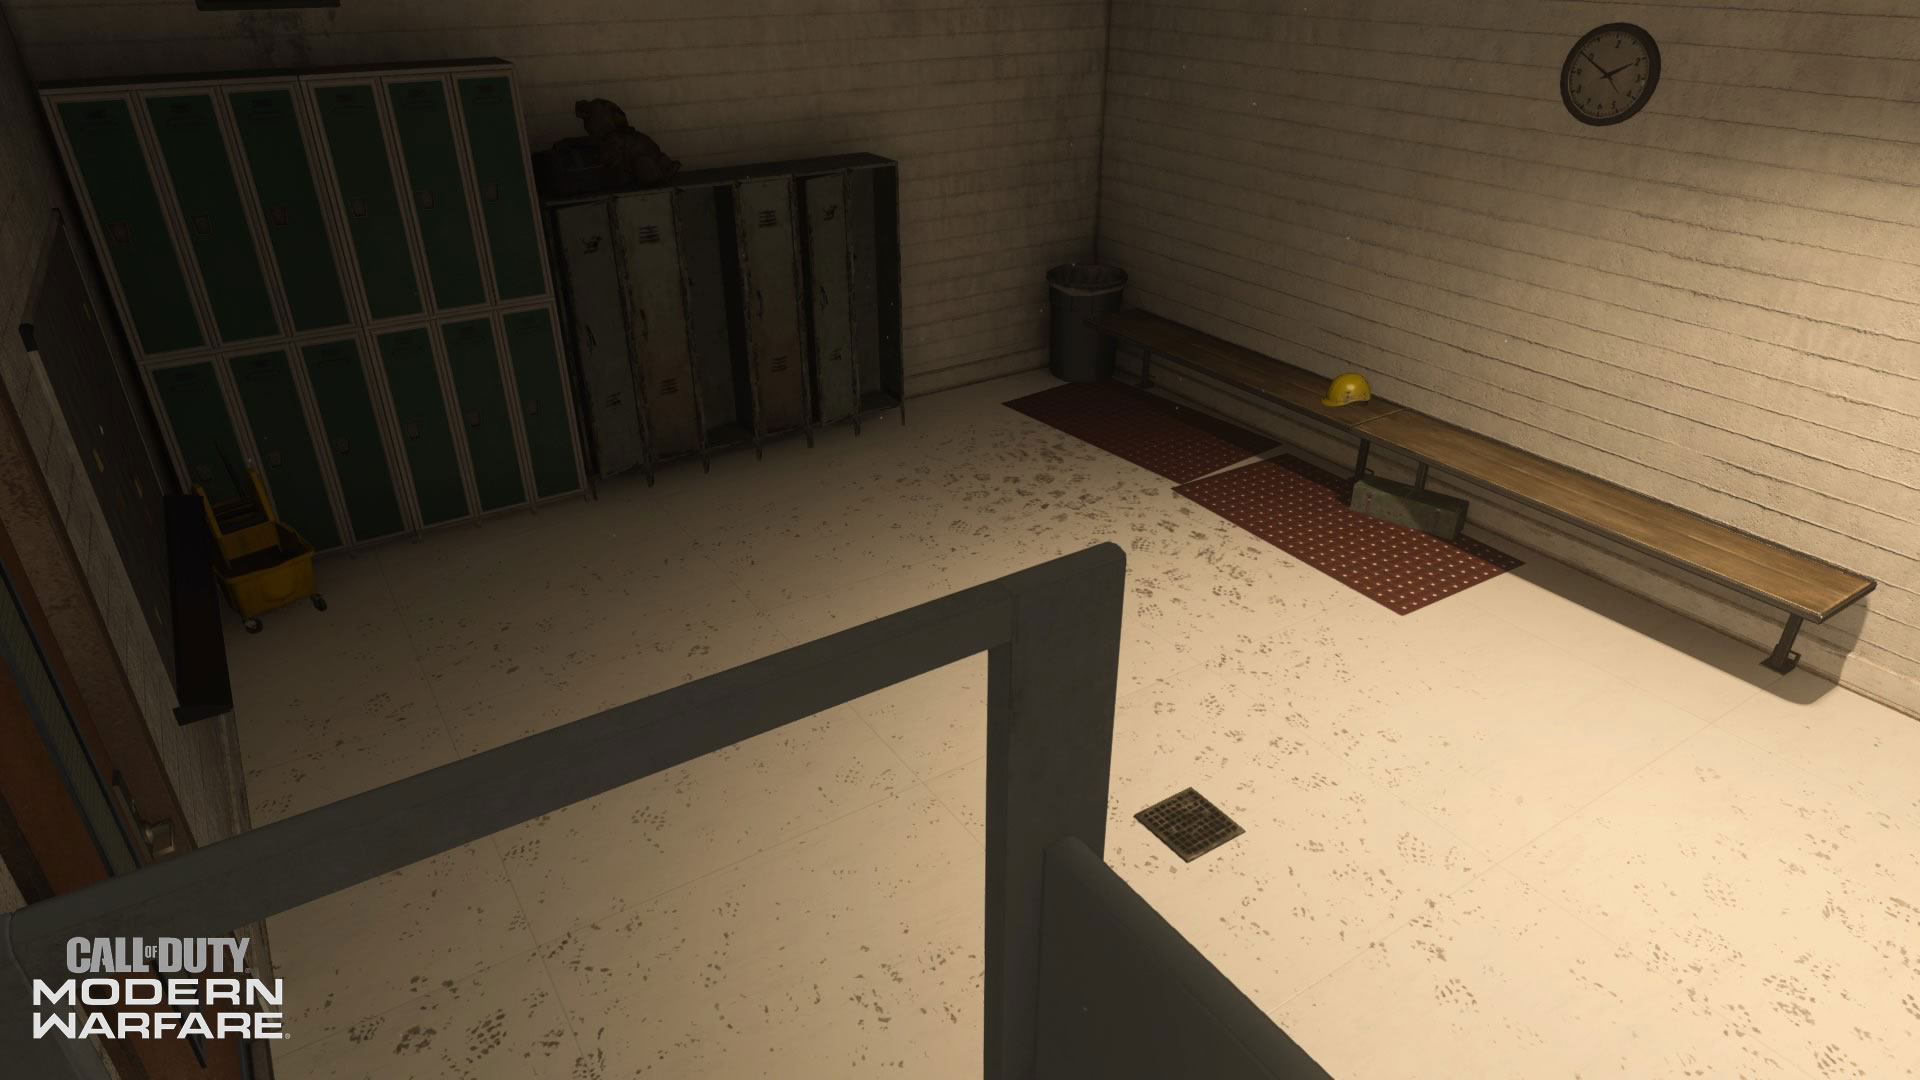
9. Locker Room
This transition area between the main facility and the Parking Lot can be a place where players can fight dirty.
Its design leads to close quarters engagements inside of it, while sightlines down the Parking Lot and Offices can be great for sniping enemies coming from the north.
When entering the Locker Room, it would be wise to check corners for enemy equipment placements or hostile forces. Furthermore, when exiting the Locker Room into the Hallway, be sure to look to your right just in case someone is mounted up on a stack of crates in the middle of the facility.
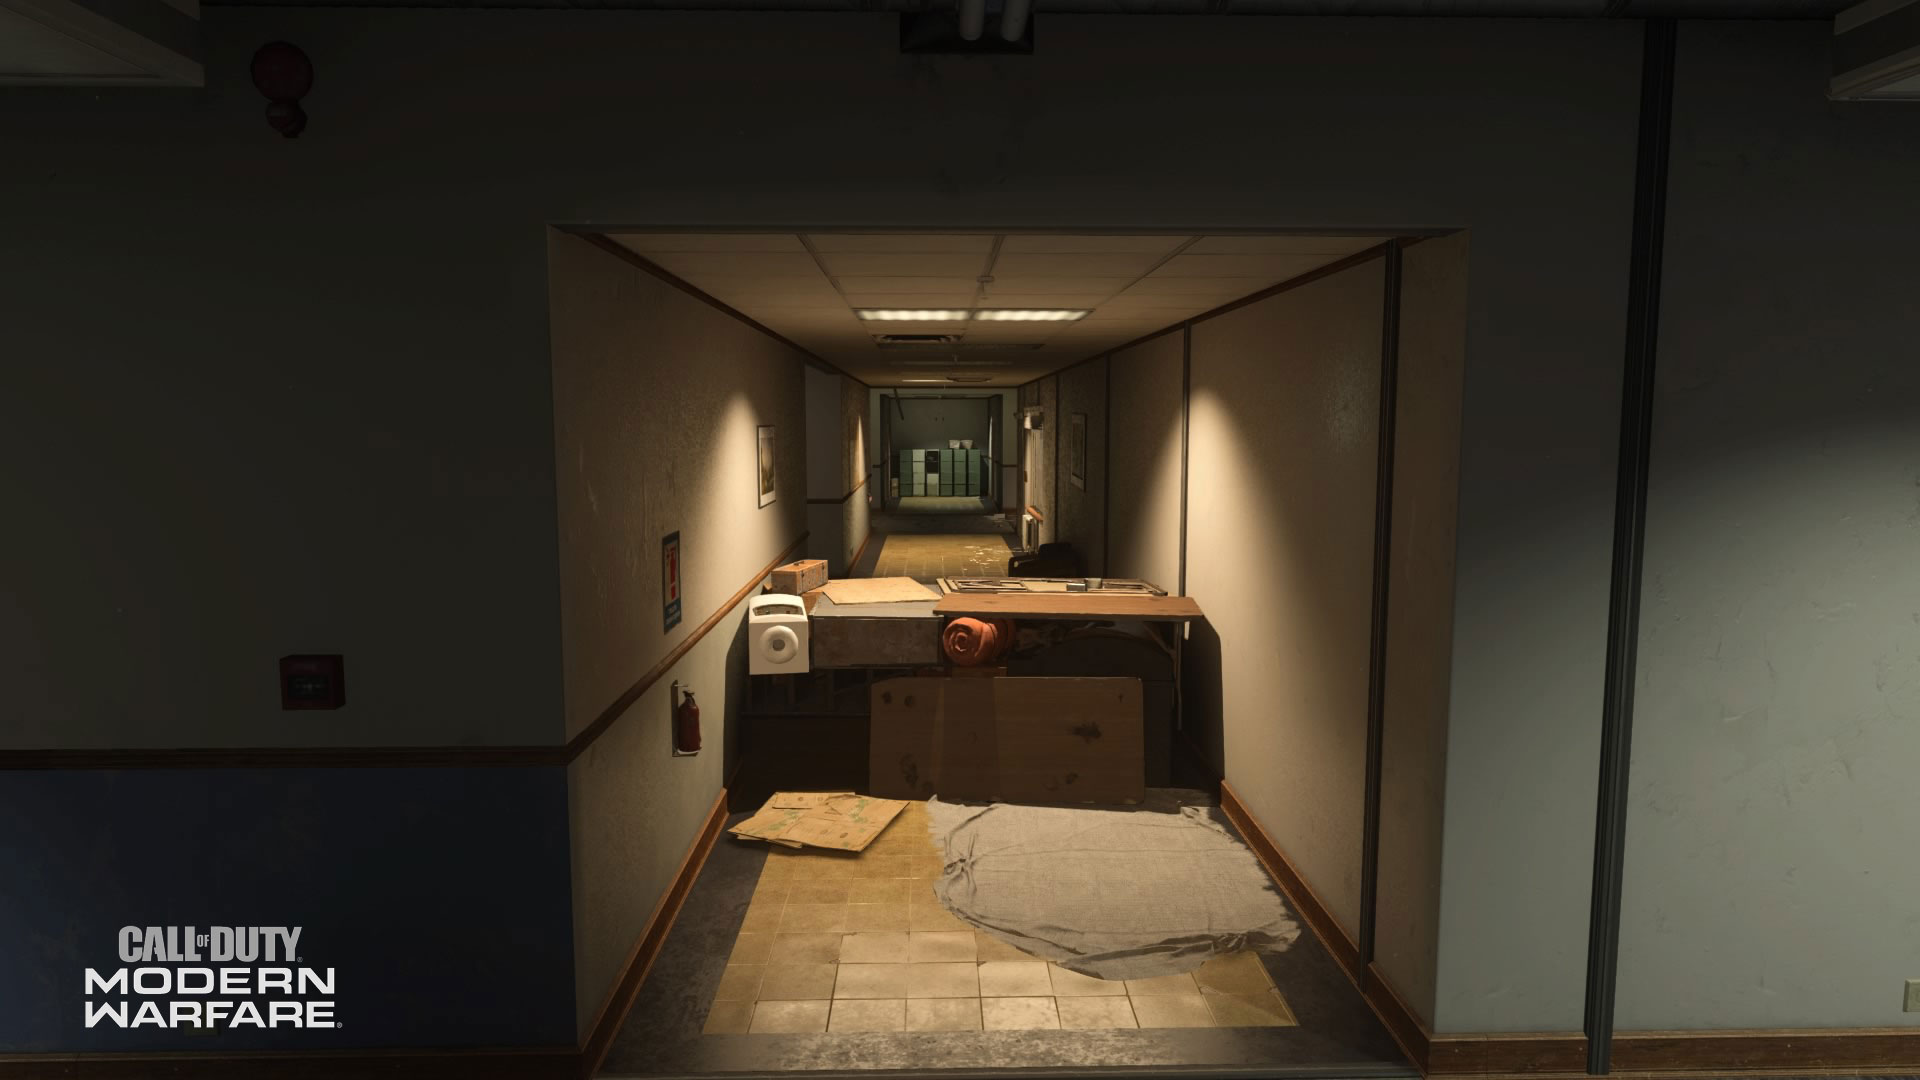
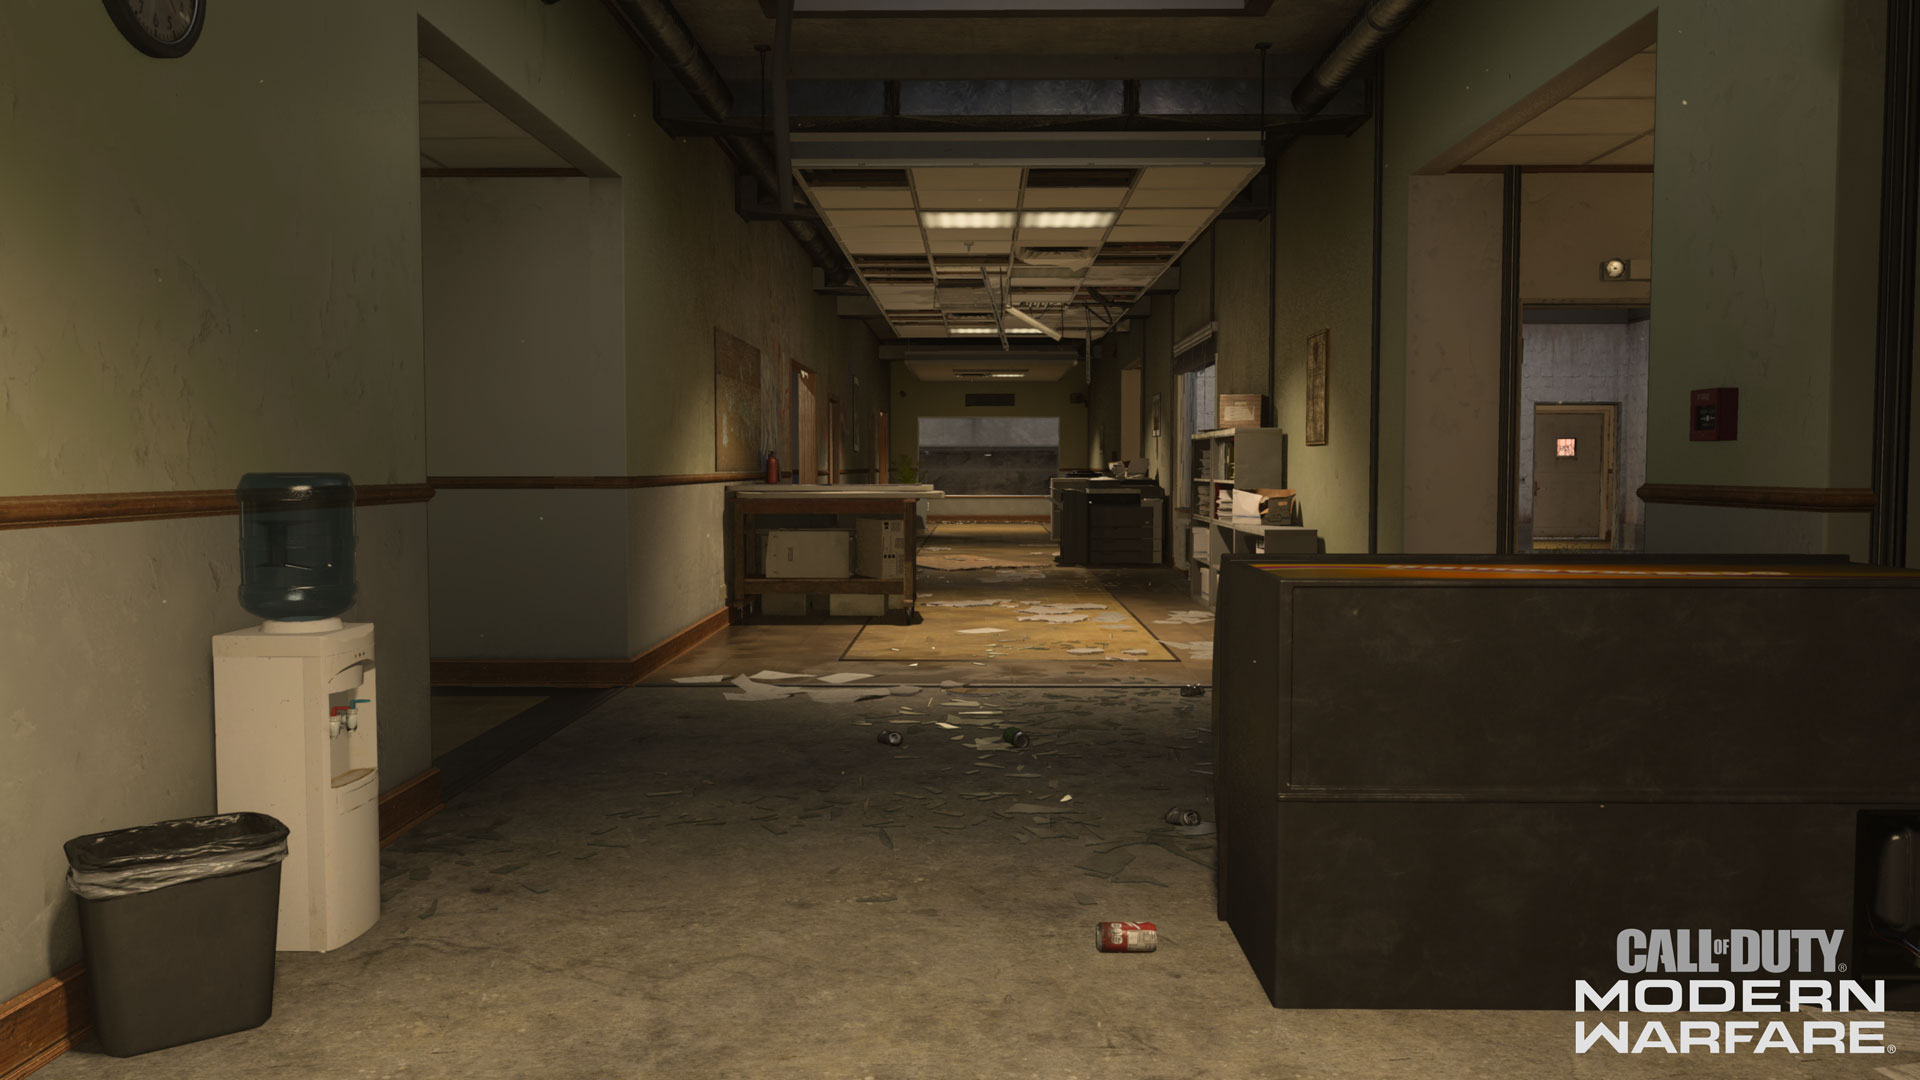
10. Hallway
Technically, any area that is not a room in Vacant is considered the Hallway.
These are routes through the facility that have plenty of purpose outside of getting you to and from main rooms. Namely, there are plenty of cover pieces around here to mount on or use as protection in long to mid-range gunfights.
Against snipers, especially those coming from the outside looking in, try using the remains of what was an office to your advantage.
As another good rule of thumb, be especially careful when approaching exits from the Hallway into named areas. If possible, try peeking through doors out of the Hallway to potentially catch rushing hostile forces off guard.
For those using Killstreaks and trying to hit enemies in the Hallway, take note of the various skylights around the facility and aim those armaments accordingly.
11. Atrium
Surprisingly, a lone tree stands healthy amid the desolate and chemical filled warehouse.
Because of its central location and purpose in multiple objective game modes, the Atrium can be one of the highest trafficked areas in any game of Vacant.
There are five main entry points into Atrium – two to the north and south, and one in the eastern hallway – which should all be noted when travelling through here. Also, given that it is an actual Atrium, it is exposed to the elements, leaving it open to aerial Killstreaks.
In general, it may not be wise to stick around here for too long, even in game modes where there is an objective here.
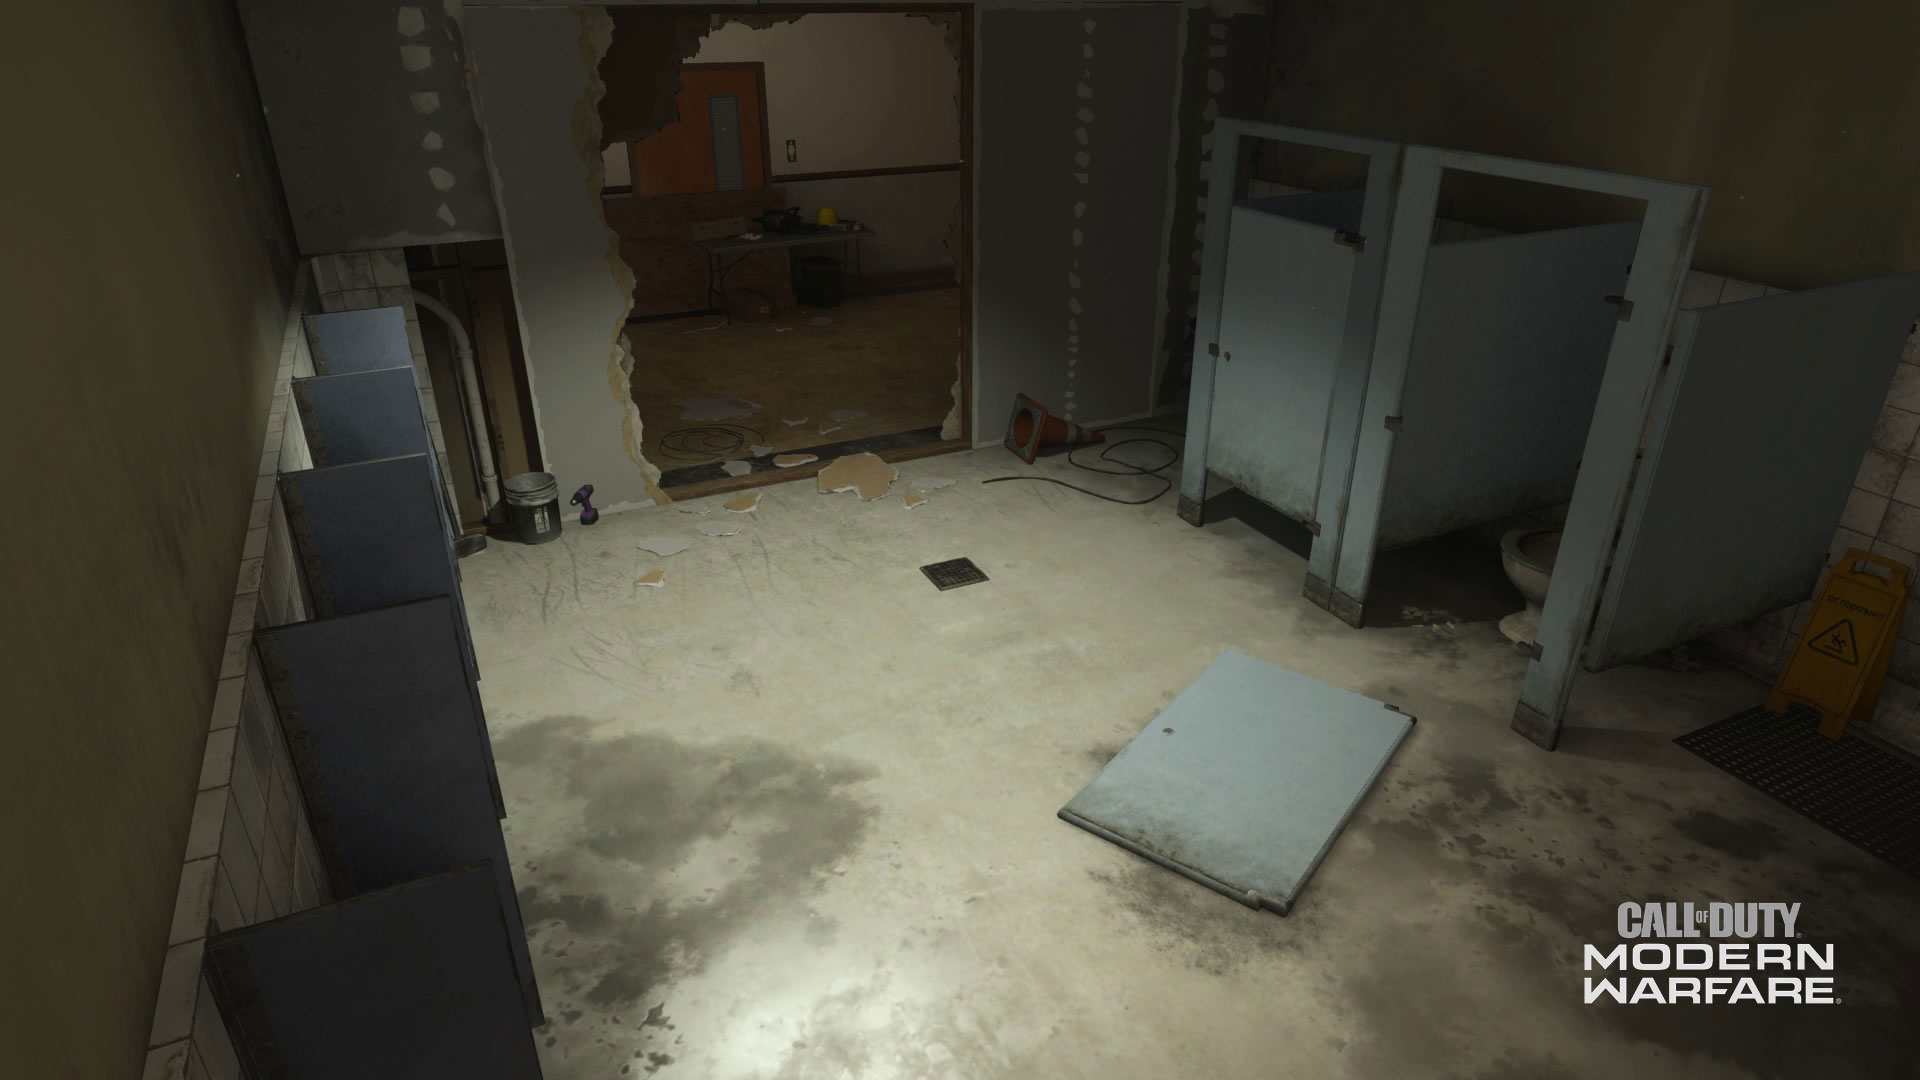
12. Bathroom
This Bathroom needs a cleanup, as it is mostly bombed out from a supposed explosive charge that has left a massive gaping hole in its eastern wall.
Within the Bathroom, close-quarters engagements can be common, as players will want to rush in and out through here to access the South Corridor or Storage. If the door to Storage is open, the Bathroom could be a good place to hit enemies inside at an angle.
Like other bathrooms in the game, it would be wise to double-check the stalls for anyone who may find themselves stuck there.
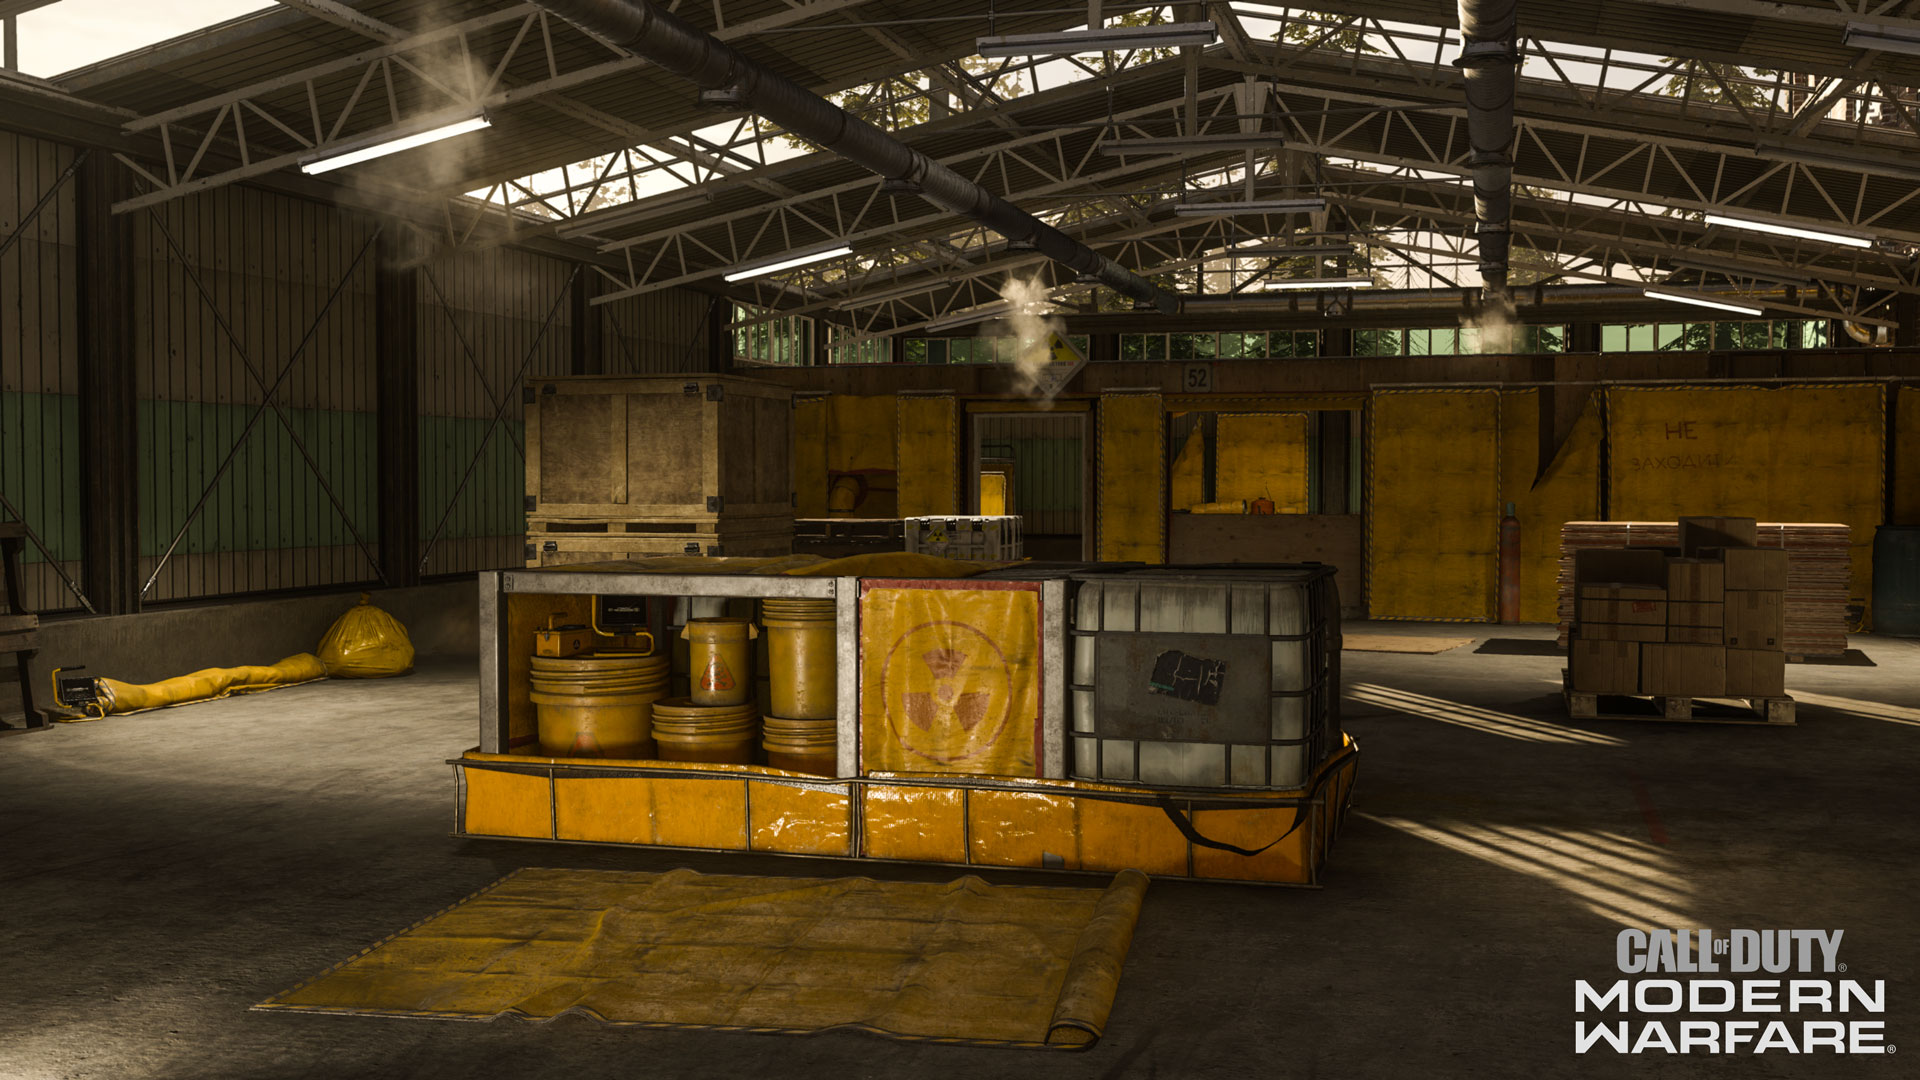
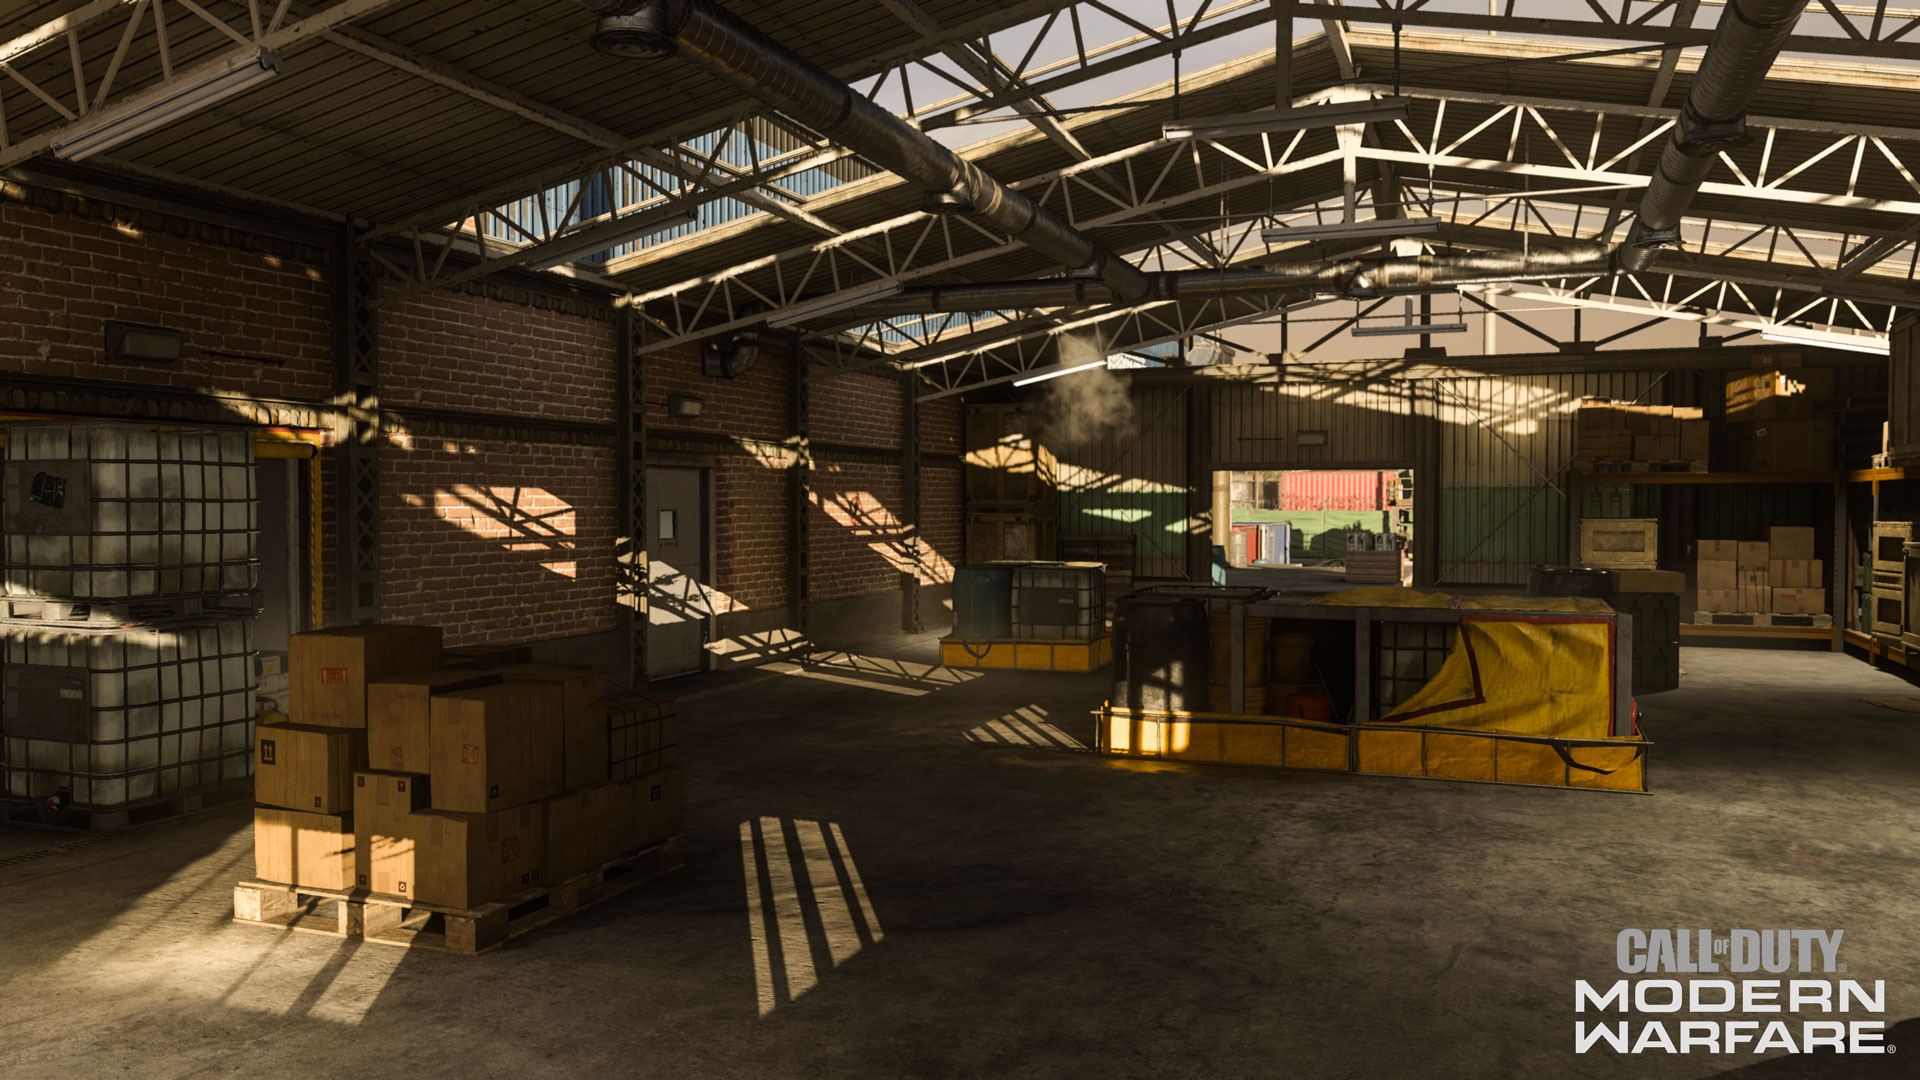
13. Storage
One of the most notable places in Vacant holds plenty of radioactive materials as part of its facelift for Modern Warfare.
As gas leaks in from the ceiling, fighting will take place in and around the boxes and barrels strewn about the large open-air room. Storage tends to be a highly contested area, whether it is in the crossfire for snipers from the north or south, an exit route for those in the Hallways, or in several objective game modes where this locale serves a purpose.
While in Storage, you may have to watch out for Killstreaks or equipment flying through the open holes in the ceiling.
These open slits can also be used to take out enemy Killstreaks with some cover, although you may have to aim around the covered parts to avoid an embarrassing death.
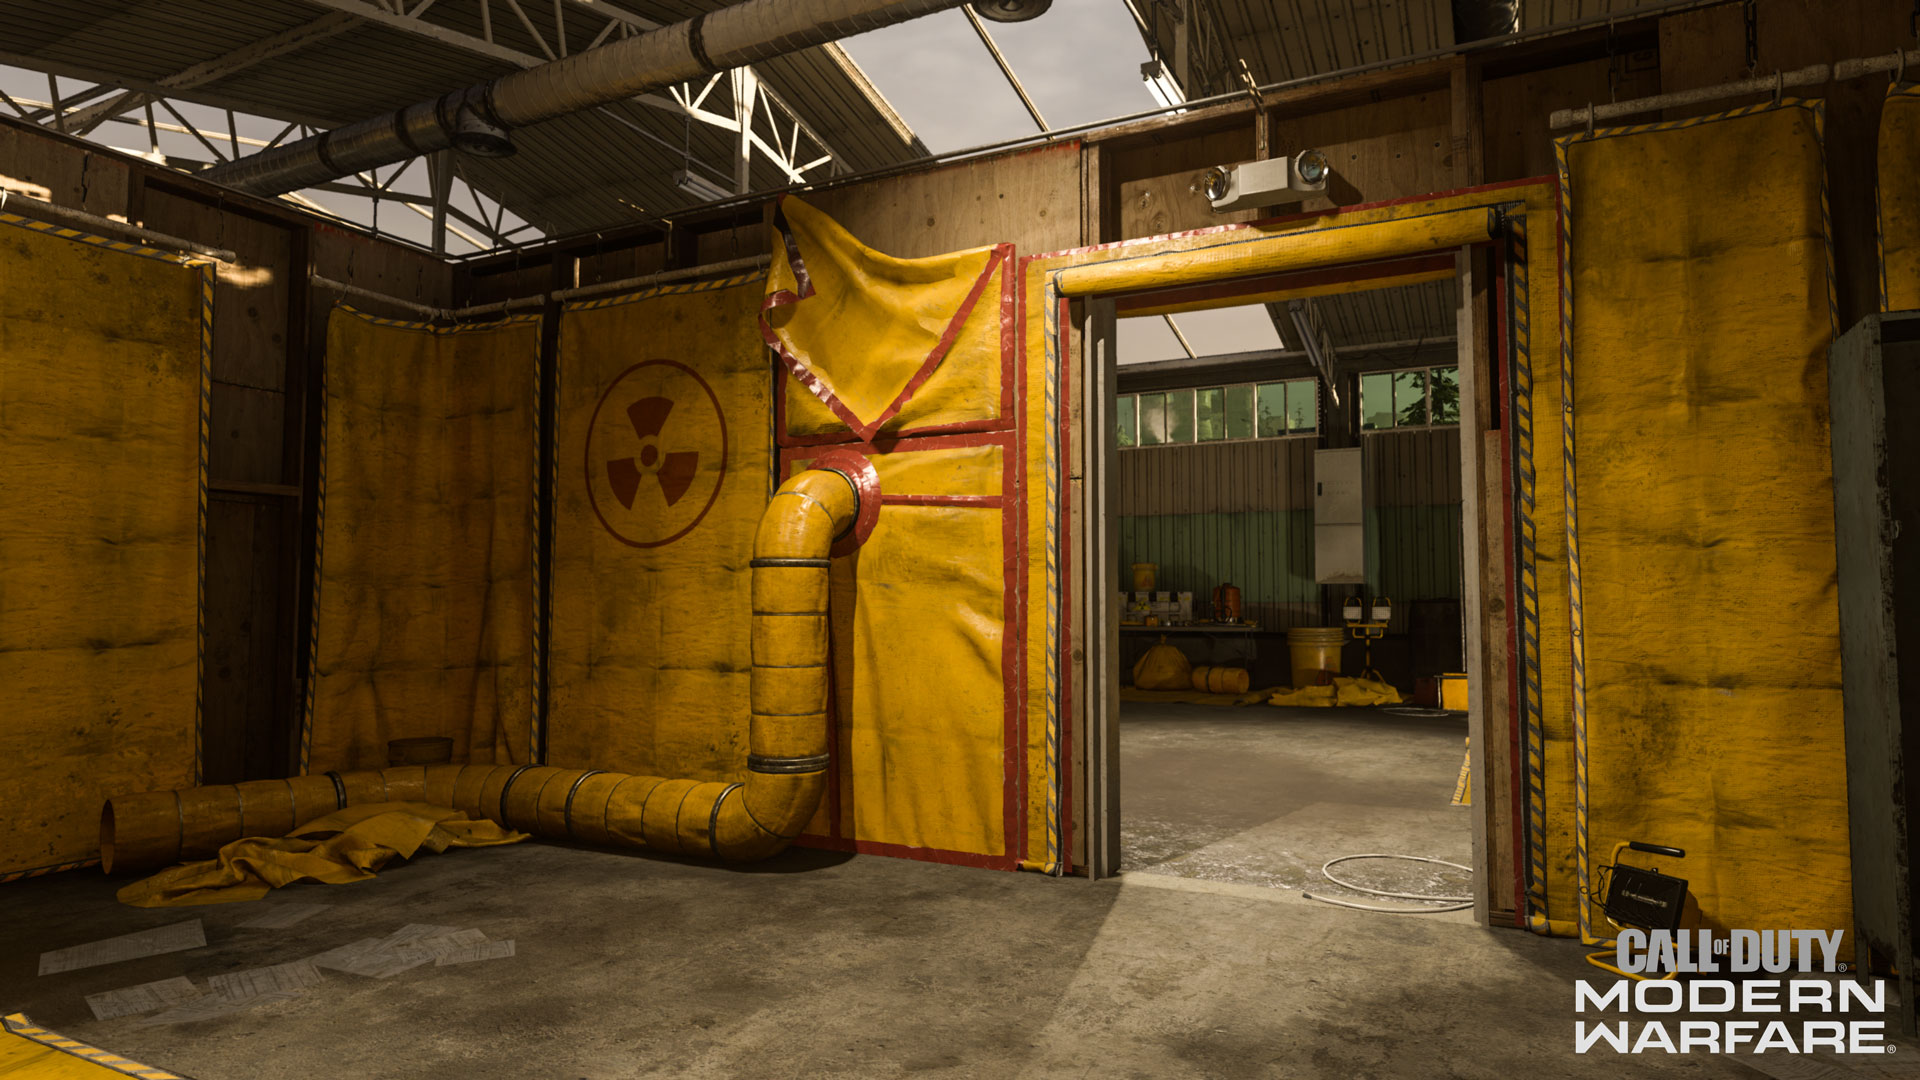
14. Quarantine
Because of the chemical material overflow in Storage, the back half of this warehouse serves as a headquarters for the clean-up crew that’s placed this area under quarantine.
This may be where Allegiance first feed into during a regular game given its proximity to Shipping & Receiving. Those who immediately jump into here may want to look through a whole in the plywood that looks out past Storage and the Loading Dock all the way over to the Electric Substation.
During objective game modes, Quarantine could be a popular location for defending teams, as it allows them to look over the hotly contested Storage with some cover. Whether you’re looking to defuse a bomb in Search & Destroy or break a hill, be mindful of enemies who could be scoping out the Storage room from Quarantine.
15. South Corridor
A long and wide hallway separates the intricate Hallway system and the Shipping & Receiving area.
Because of its length, mid-range duels can take place here, but its usual purpose is a transition space between other, more highly trafficked areas.
One feature of note in here is a metal partially see-through gate that sits in the western part of the corridor. It is possible to aim through here and attack those sitting in Shipping & Receiving, which may be a smart way to defend against those trying to capture the C flag in there during Domination.
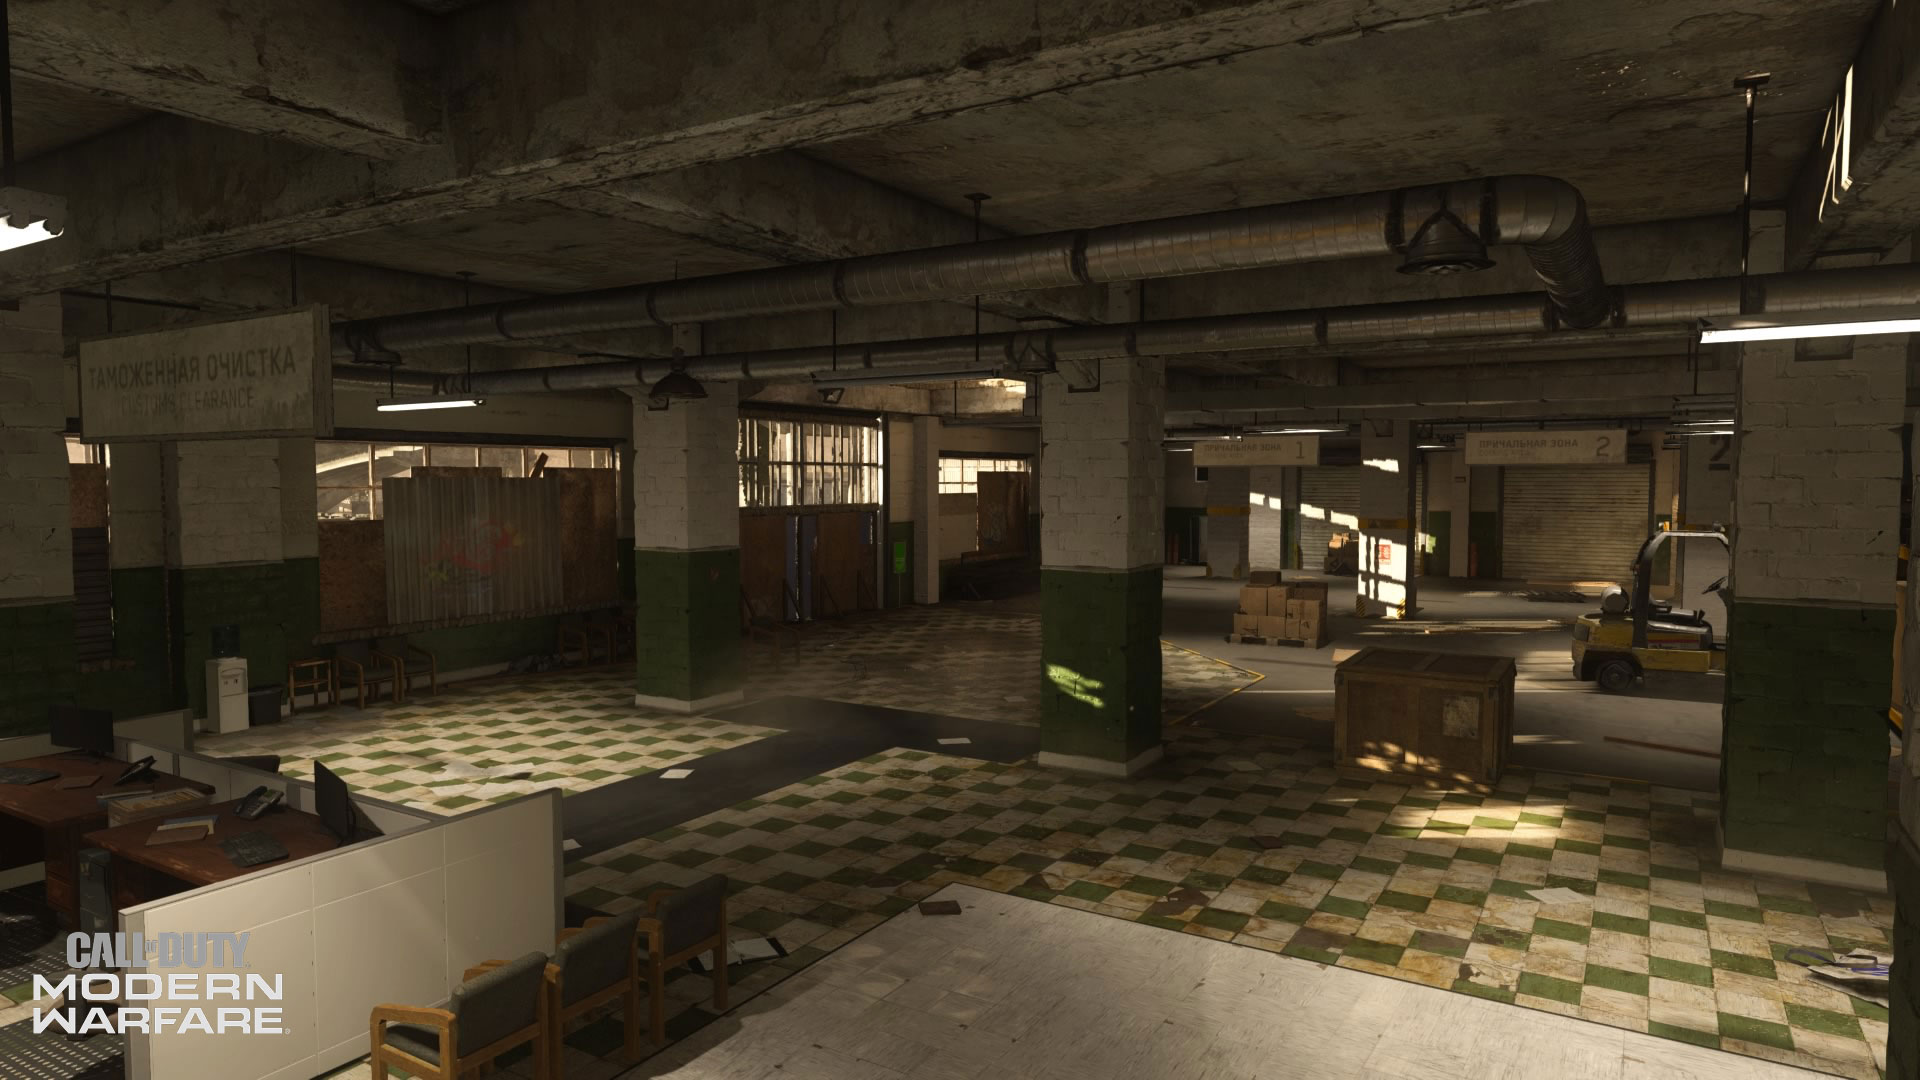
16. Shipping & Receiving - Allegiance Spawn, C Flag (Dom)
The southernmost portion of Vacant is almost entirely taken up by Shipping & Receiving, the front-facing docking area for materials that serves as the spawn location for the Allegiance.
An often-misunderstood perception is that spawning in here allows you to be protected from Killstreaks. If you are trying to attack cowering players in here, the massive skylight is where you want to aim missiles and other deadly weapons through.
In Domination, Shipping & Receiving serves as the C flag location, making it easy for Allegiance members to capture. Coalition folk who want to flip flags may want to flank around using the Quarantine area, or aim through the aforementioned metal fence in the South Corridor.
General Tips:
· North-South Sightlines. Long range shootouts could take place from inside the facility to the outside, as there are multiple unobstructed sightlines running north to south across the map. CQB players may want to be careful while travelling down long corridors or paths into or out of the building.
· Cracks in the Ceiling.Using aerial Killstreaks on Vacant can be tricky, especially when trying to hit enemies inside the office. Try to aim them through skylights or other cracks in the ceiling to smoke out hostile forces.
· Jumping through the Window. Doors aren’t the only way to hop in and out of Vacant’s interior portions. Use those large windows to move around the map in unique ways.
· Check those Corners. The entryways to Vacant’s main buildings can be under watch from forces on the inside. Try throwing a tactical grenade in before pushing forward, or use the Spotter perk to see enemy equipment placements and destroy them before they can cause damage.
· Respect (or Wreck) Your Elders. As many a veteran community member will point out, there are some that have spent years learning every nook and cranny of Vacant. Along with these tips, take their advice in mastering this map… And use their strategies to usher in a new era of the top Call of Dutyplayers in the world!
We’ll see you online. Stay frosty.
For more information and the latest intel on Call of Duty®: Modern Warfare®, check out: www.callofduty.com, www.youtube.com/callofdutyand follow @InfinityWard and @CallofDuty on Twitter and Instagram and Facebook.
For more information on Activision games, follow @Activision on Twitter,Facebook, and Instagram.