We take a deep dive into Hackney Yard, one of the original 6v6 maps in Modern Warfare, as we draw closer to the start of the Call of Duty League™.
Modern Warfare® Tactical Map Intel: Hackney Yard
We take a deep dive into Hackney Yard, one of the original 6v6 maps in Modern Warfare, as we draw closer to the start of the Call of Duty League™.
January 13, 2020
by James Mattone
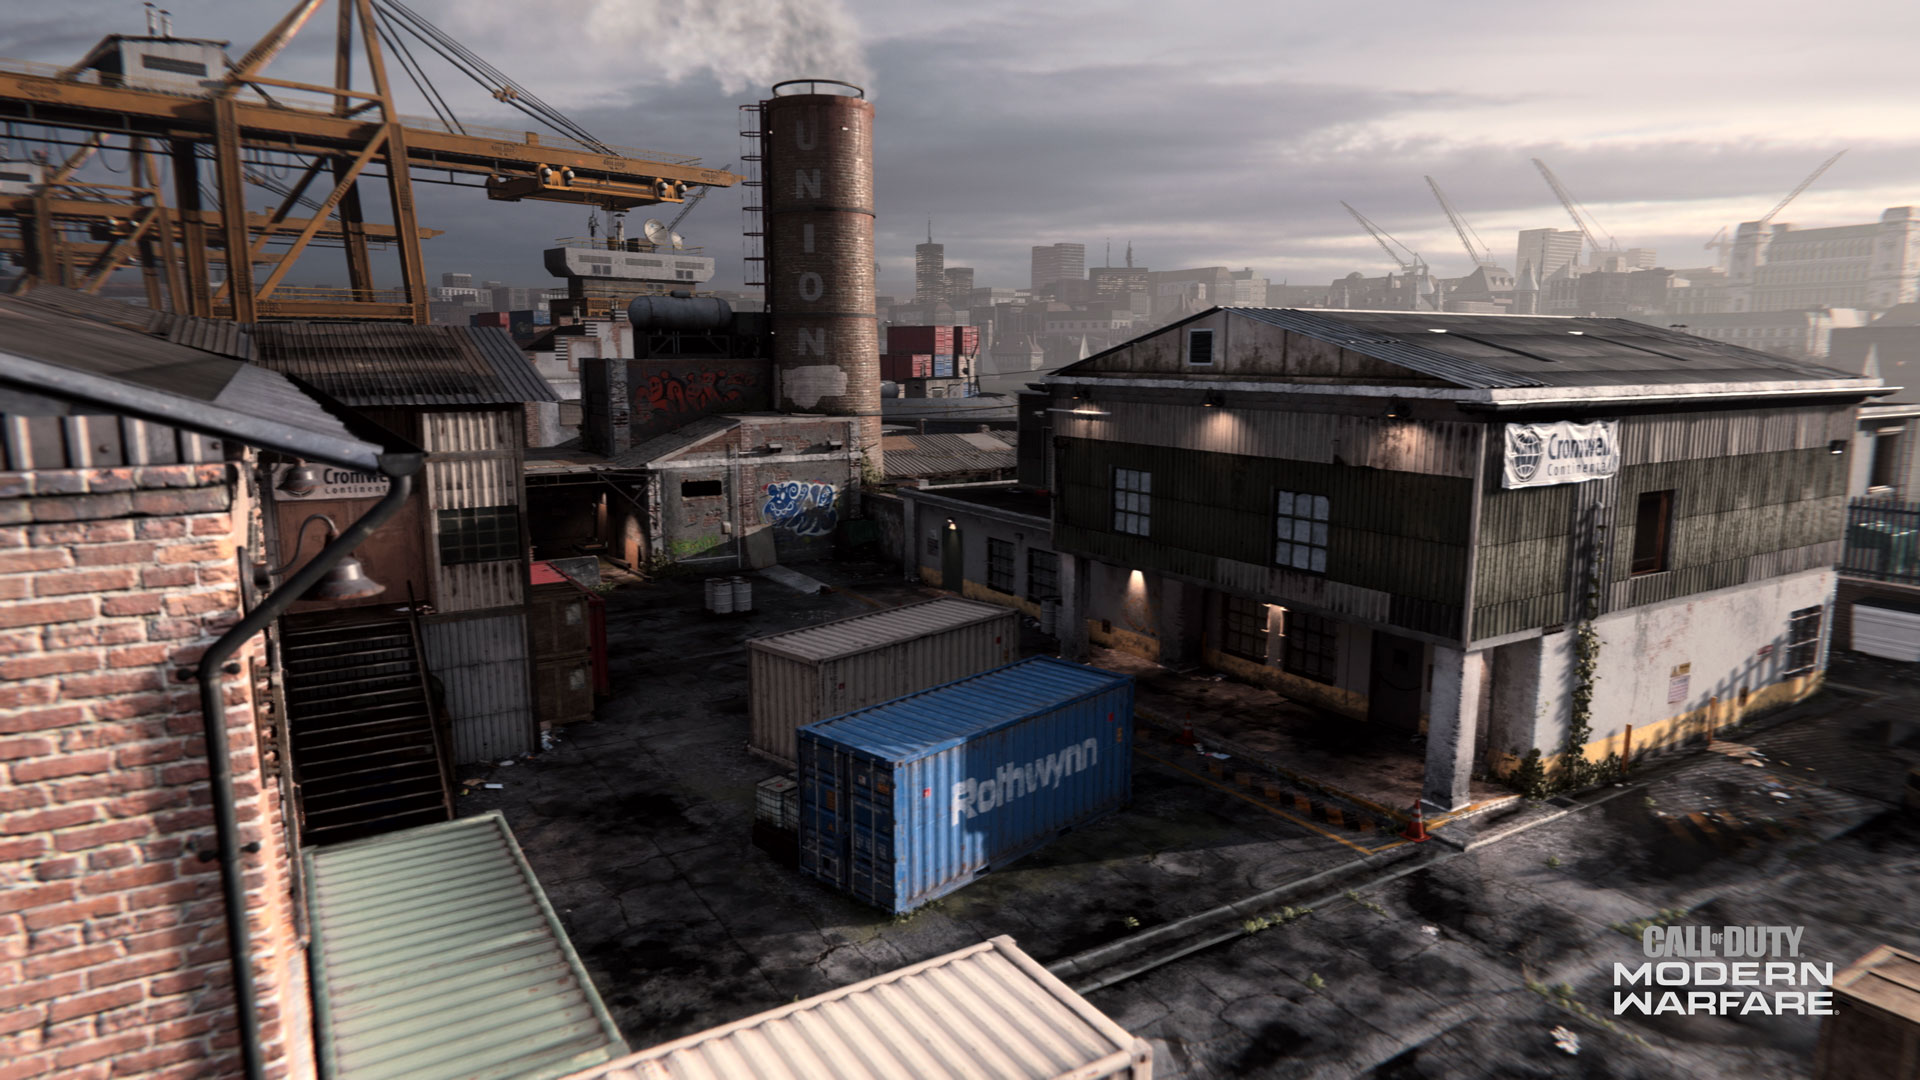
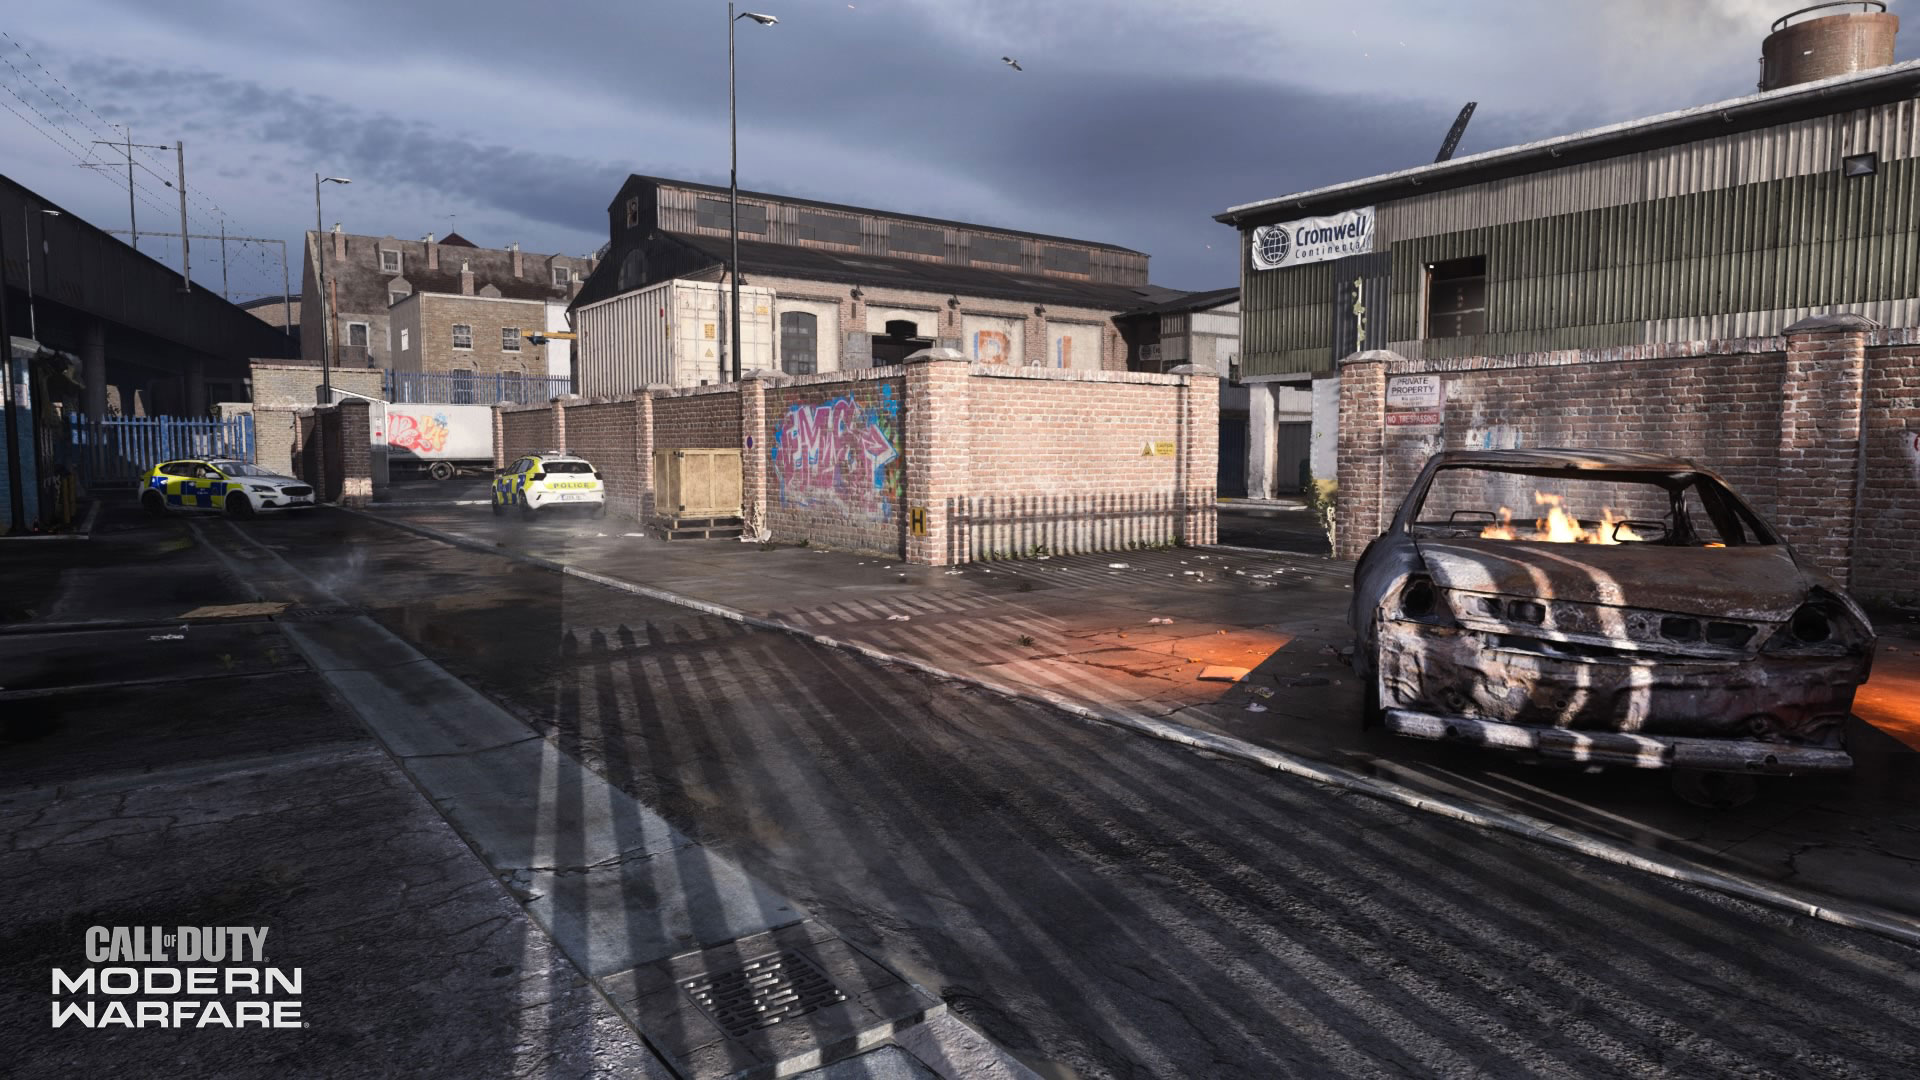
A gritty, rubbish-filled industrial park on the wrong side of town, Hackney Yard is a roughly-rectangular map that made its debut during the Modern Warfare Beta.
Not only is this map a staple within the Modern Warfare Multiplayer rotation today, but also one of several maps in the Call of Duty League map pool.
With the inaugural season of the Call of Duty League, we’re giving some Tactical Map Intel on some of the maps that you’ll see the best Call of Duty® players in the world compete on. Who knows? Maybe some of these tips will prepare you for the Call of Duty League’s official path to pro: Call of Duty Challengers™!
Here’s our breakdown of Hackney Yard, from its lore to location-based tips.
Lay of the Land:
According to The Making of Call of Duty: Modern Warfare, Hackney Yard is the locale where Al-Qatala forces planned their next attacks, as this neglected corner of London offered a place for them to store their contraband ahead of more aggressive missions.
During Day 0 – the supposed prelude to Al-Qatala’s attack on the entire world – Coalition members arrive via helicopter on the yard’s eastern side, ready to intercept the 8 a.m. cargo van delivery of Allegiance forces from the west.
The yard itself sits on the River Thames; you can see boats pass by during combat, although you may want to focus on the action inside the fences rather than on the outside.
Large cargo crates, skips (white plastic waste bins, for those non-U.K. folk), and other shipping containers act as makeshift cover and climbing access points throughout this small area, which includes an office, a warehouse, and, across a street that has since been locked down, a small tire shop underneath a major motorway.
Map Detail:
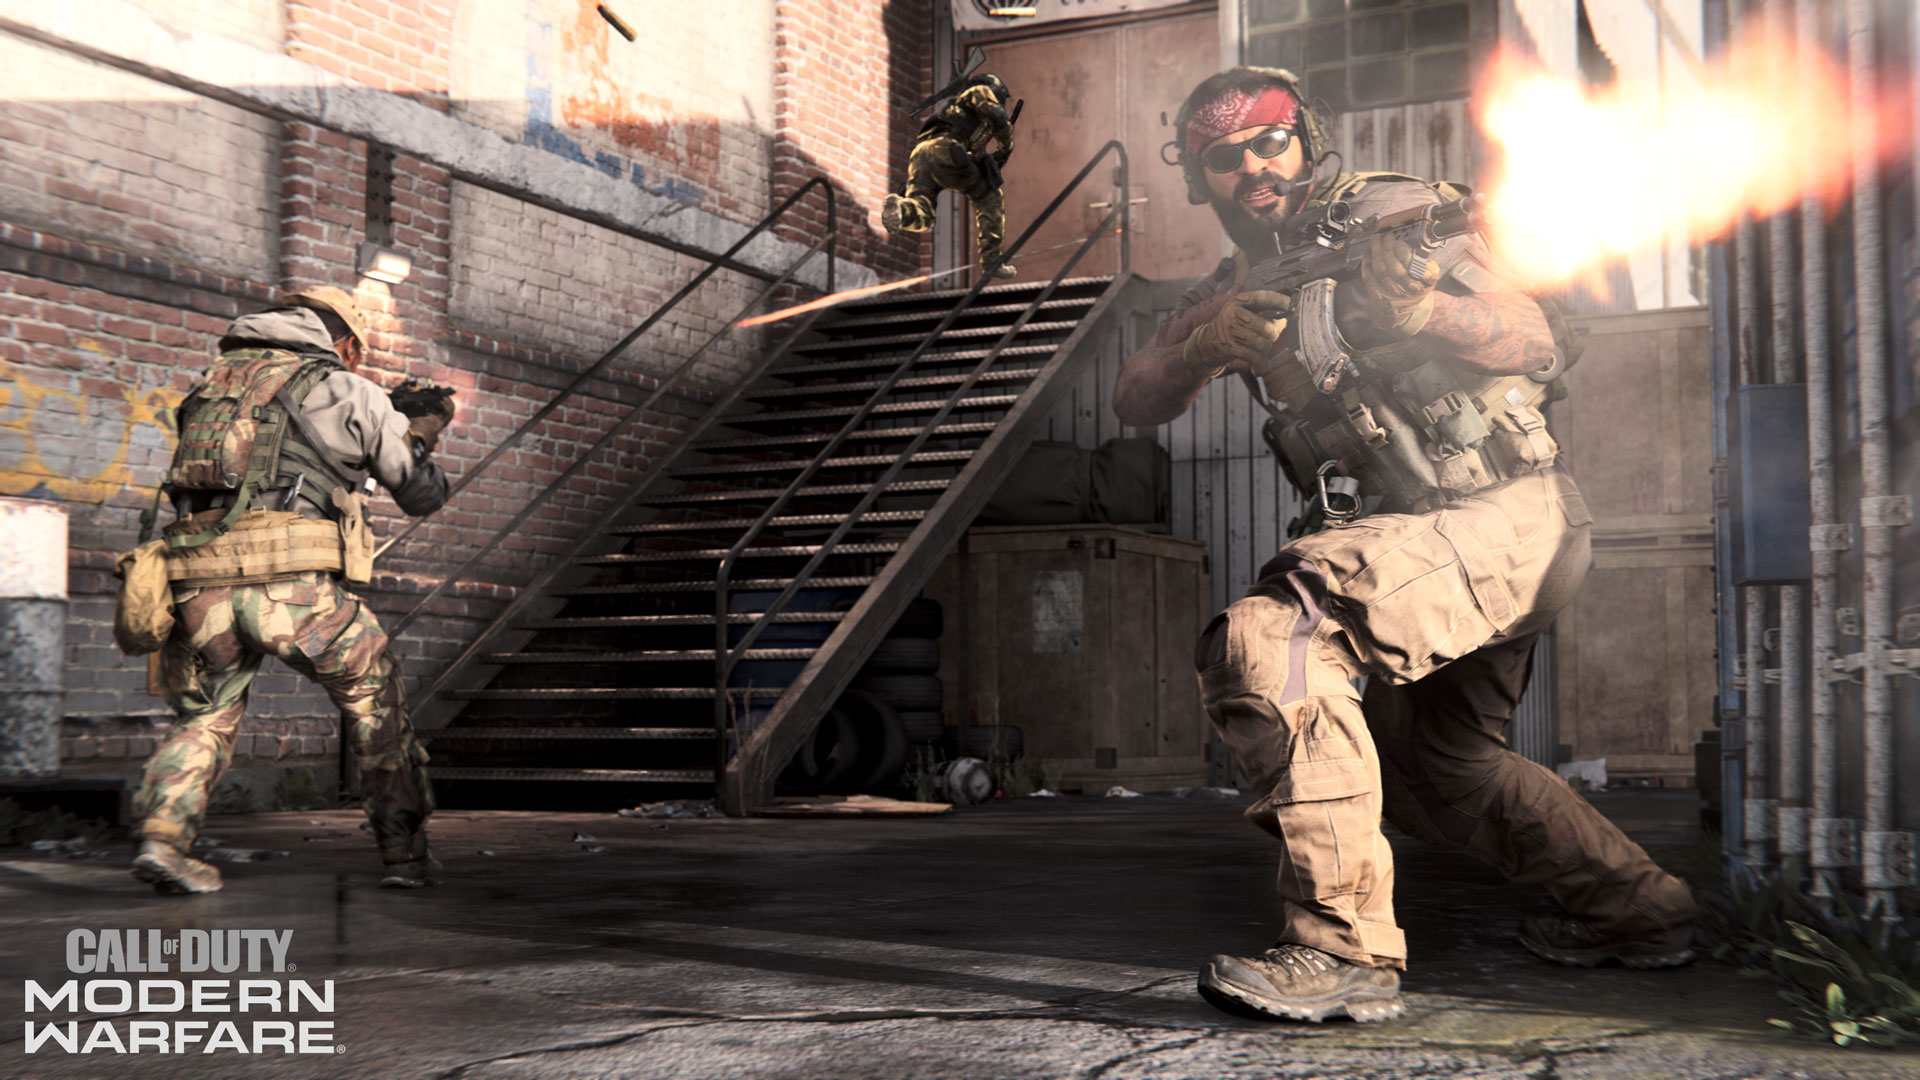
Outside of Season One maps and Gunfight locales, Hackney Yard is the smallest combat zone in Multiplayer, making for frenetic gameplay no matter the game mode.
Despite its size, there is plenty of depth to the yard, as its three-lane structure and multiple buildings create natural competitive flow and contested areas.
1. Caravan
2. Yellow Building
3. Dock Building
4. Dock Yard
5. Phonebooth
6. Smokestack
7. Office
8. Roof Top
9. Cargo Land
10. Warehouse
11. Fork Lift
12. Red Truck
13. Road
14. Parking
15. Tire Shop
16. Yellow Truck
17. Abandoned Building
Map Overview:
Hackney Yard: Map Overview
Hackney Yard: Map Zones
Hackney Yard: Cyber Attack
Hackney Yard: Domination
Hackney Yard: Headquarters
Hackney Yard: Search and Destroy
Hackney Yard: Topography
Map Zones Overview:
1. Caravan
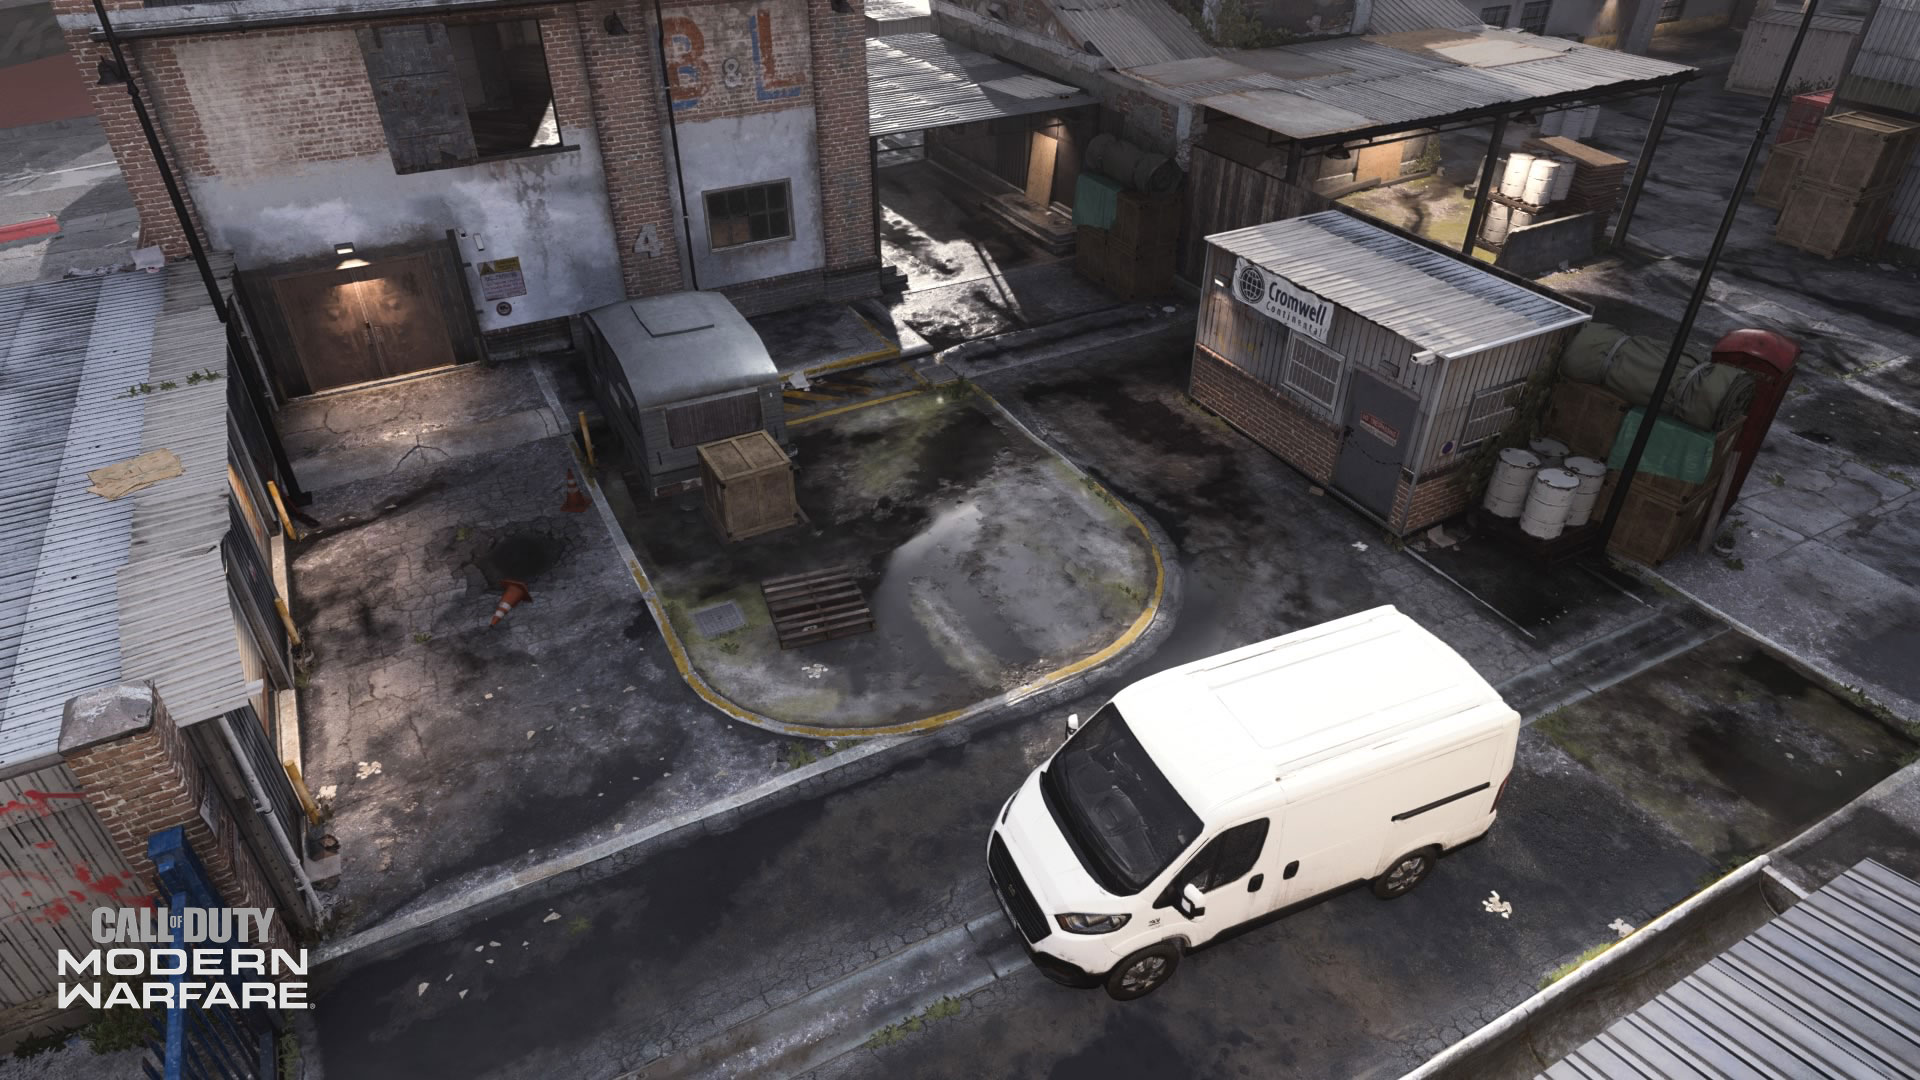
The spawn location for the Allegiance looks to be nothing more than a transition area at first, allowing for quick access to the Yellow Building, Warehouse and Dock Building.
However, deeper into a match, this area contains a parkour spot that can be helpful in accessing the Dock Building. From the white van, mantling up on the brown crate and the motor home beside it allows for a jump through the building’s second floor window.
This movement technique can be key to wiping out enemies who decide to take over this area, especially during objective game modes.
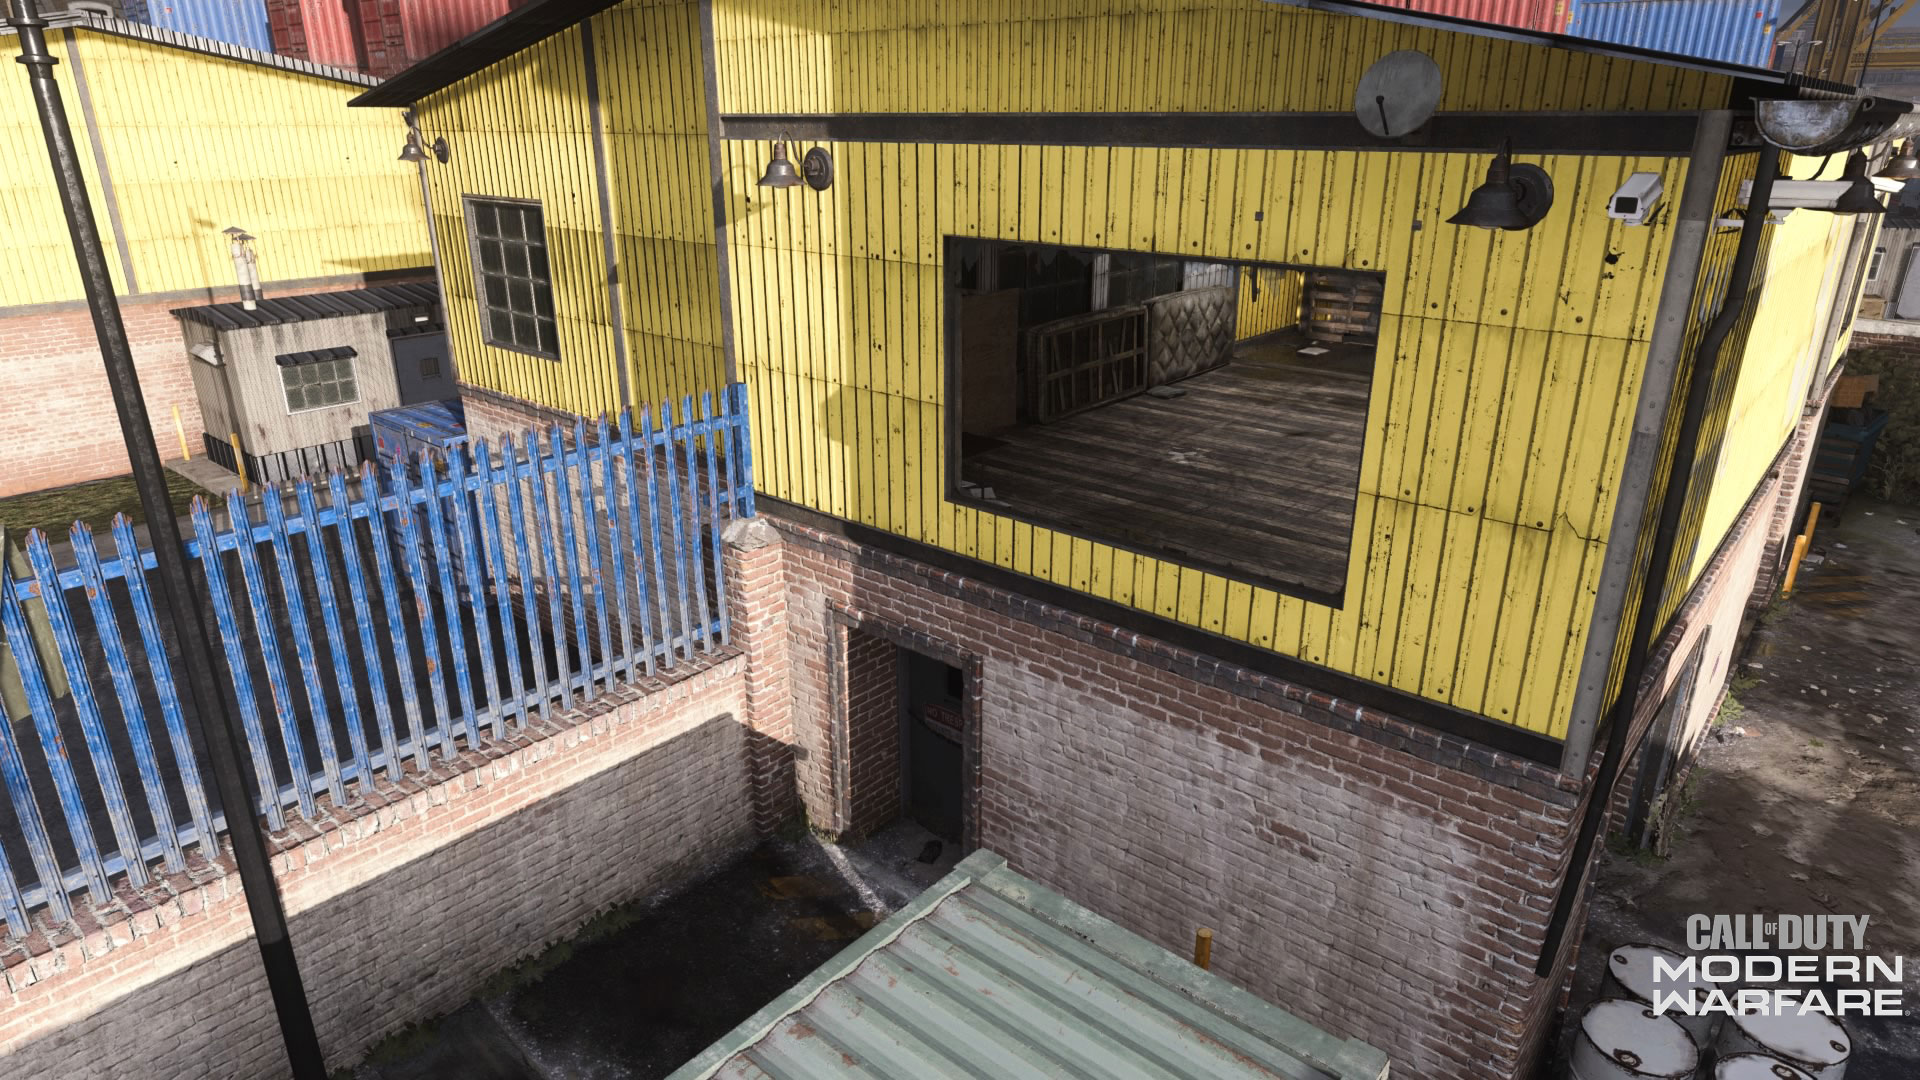
2. Yellow Building
While this area does not have direct objective importance, this small shipping and receiving building provides a sniping perch with views into the Warehouse and across the map to the Office and its Roof Top.
You could march up the staircase in the back to access this building, although this entryway could be filled with traps. An alternative way into here is by mantling onto the large shipping container that sits right outside the building’s massive open window.
Those who use a loadout with high movement speed can make also make a jump off this cargo container towards the Warehouse onto a small platform outside of it. This spot can allow for additional sightlines across to the Office and Roof Top, or a counterattack point against those holed up on the Warehouse’s second floor.
3. Dock Building
This two-story building located near the main Dock Yard has plenty of objective importance – it’s the C flag location in Domination, the initial Allegiance Data Center location in Cyber Attack, and the 5th Hardpoint hill or HQ location in those respective game modes.
Along with three double-door entrances on its first floor, the Dock Building also has entryways through two of its second-floor windows. One of them acts as a direct bridge over to the Smokestack and the intricate network of rooftops overlooking Cargo Land.
Within the opening moments of a match, this may be a popular spot for Allegiance members to congregate and spread out across the rooftops and over to the office. However, in the mid to late game, there may be some players who decide to run through here as a flanking route, or to capture objectives.
Weapons that excel in close-quarters and equipment pieces may be key to countering defensive players in here, especially those on the second floor. In other words, peeking through the double doors, or placing a well-timed frag or C4, could be more effective against multiple enemies compared to rushing in with guns blazing.
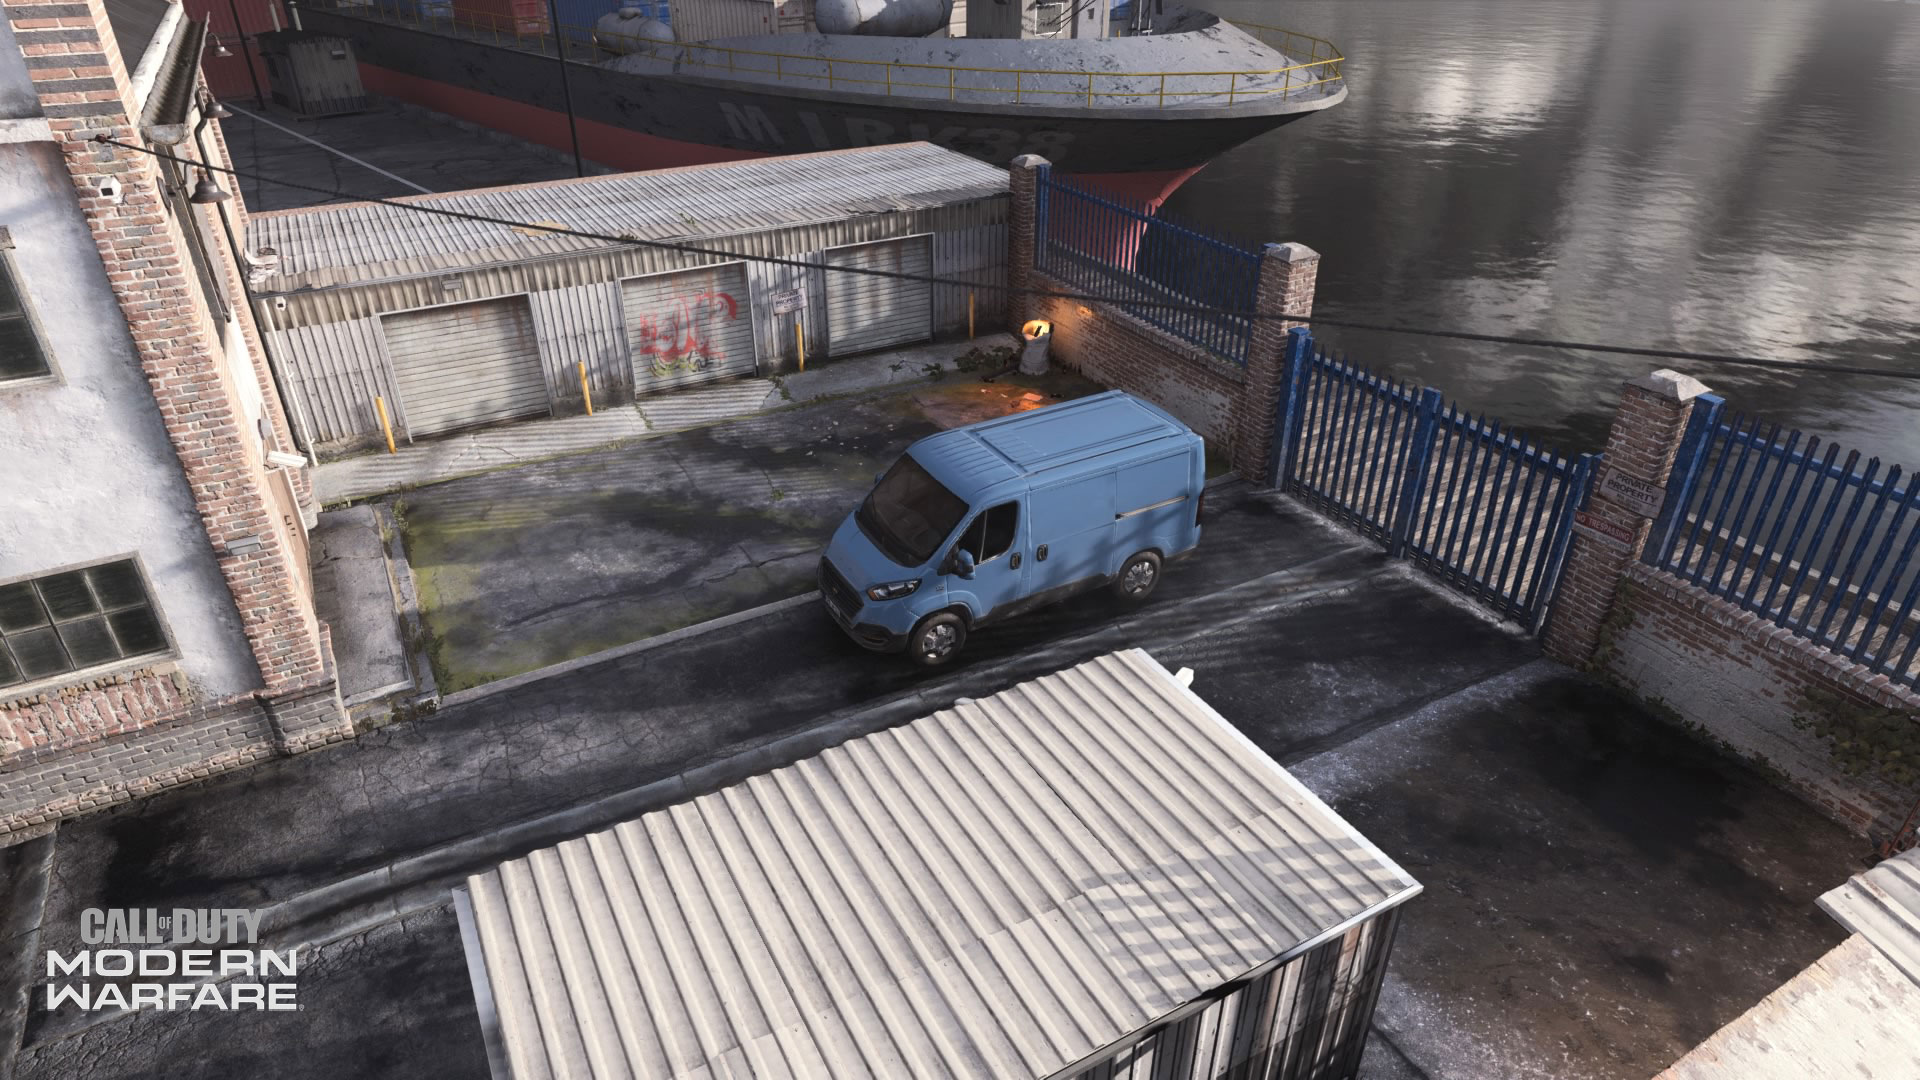
4. Dock Yard
Also called out as “Blue Van” by some community members, this can be an alternative spawn point for Allegiance members in certain objective game modes.
This area is a great place for attackers to use as leverage against those holed up inside the Dock Building; a corner of that building can be used to mantle a weapon on for coverage down towards the Caravan, while peeking through the double doors into the building can help you sniff out an enemy or two inside.
As for coverage against those coming from the Office area, the northwest corner of the map has a small barrel and the blue van to take cover behind. For those going for longshots, hitting an enemy who is using the brick wall as cover from the back of the Dock Yard can result in a longshot kill.
Rounding out this area is a small tin shack that creates a backwards L shape, which can act as a solid cover point for close-quarters-build (CQB) players against those coming from the Caravan or Office.
5. Phonebooth
A broken red booth acts as the main callout for this area that sits between the Caravan and Warehouse locations. With little cover to take around here, it may not be wise to run through here when the enemy team has locked down the Warehouse and is sniping out of the second floor.
Outside of it being a transition area, the Phonebooth has a few white barrels and crates that can be mantled upon to access the tin roofs.
For those looking to snipe across the map, especially in the beginning of a game, you may want to use the mantling points early to get a potential jump on enemy forces.
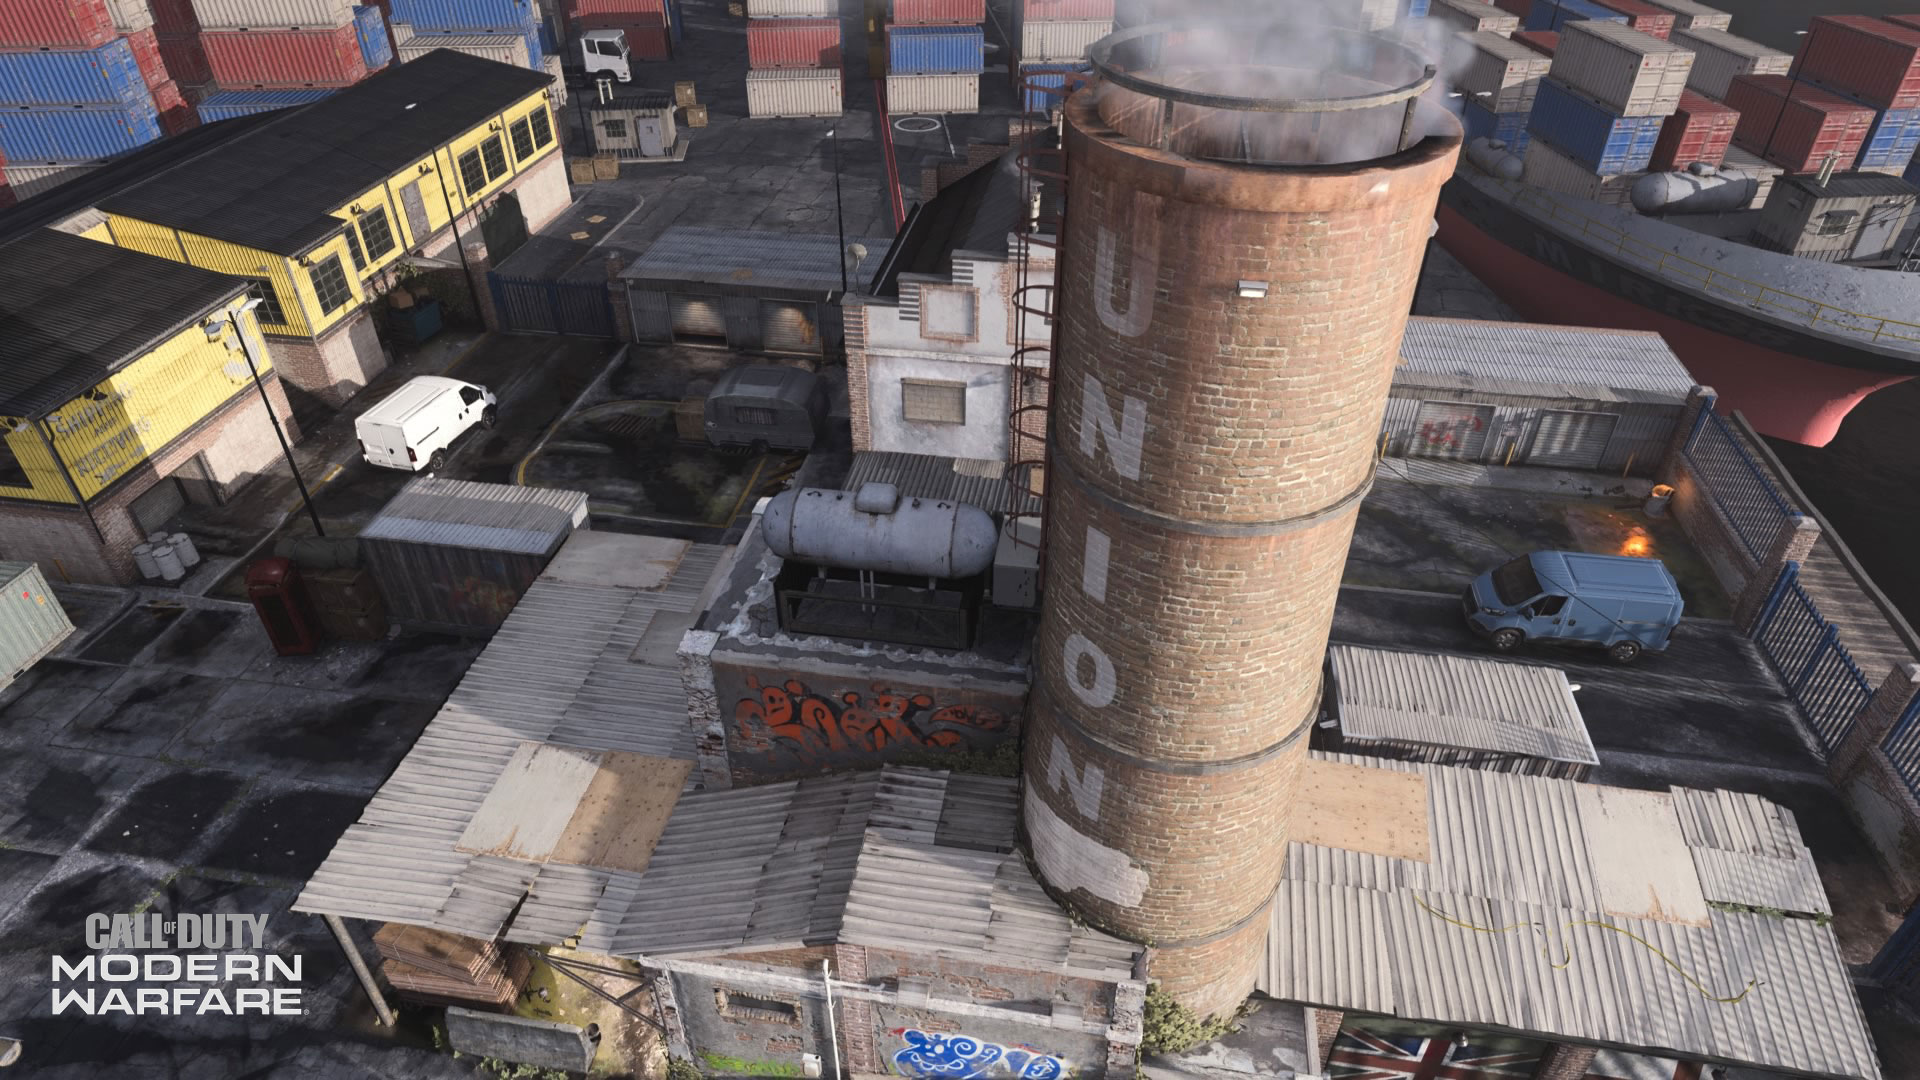
6. Smokestack
At first, the Smokestack appears to be the area underneath a tin roof, which acts as the third Hardpoint hill – or HQ spawn – in those game modes.
However, this area also includes the various tin roofs that give fantastic sightlines across Cargo Land all the way to Hackney Yard’s eastern border.
Accessing this network of roofs can be done through several of the mantling spots, or by hopping from Office’s Roof Top. Once you are here, there is little cover to take from the elements, but in exchange, you get unique access to most of the western part of the map and multiple cross-map sniping spots.
Especially for Allegiance members in the beginning of single-life game modes, getting onto the rooftops of the Smokestack area can be key to getting that extremely important first blood, or a regular takedown on an unsuspecting foe.
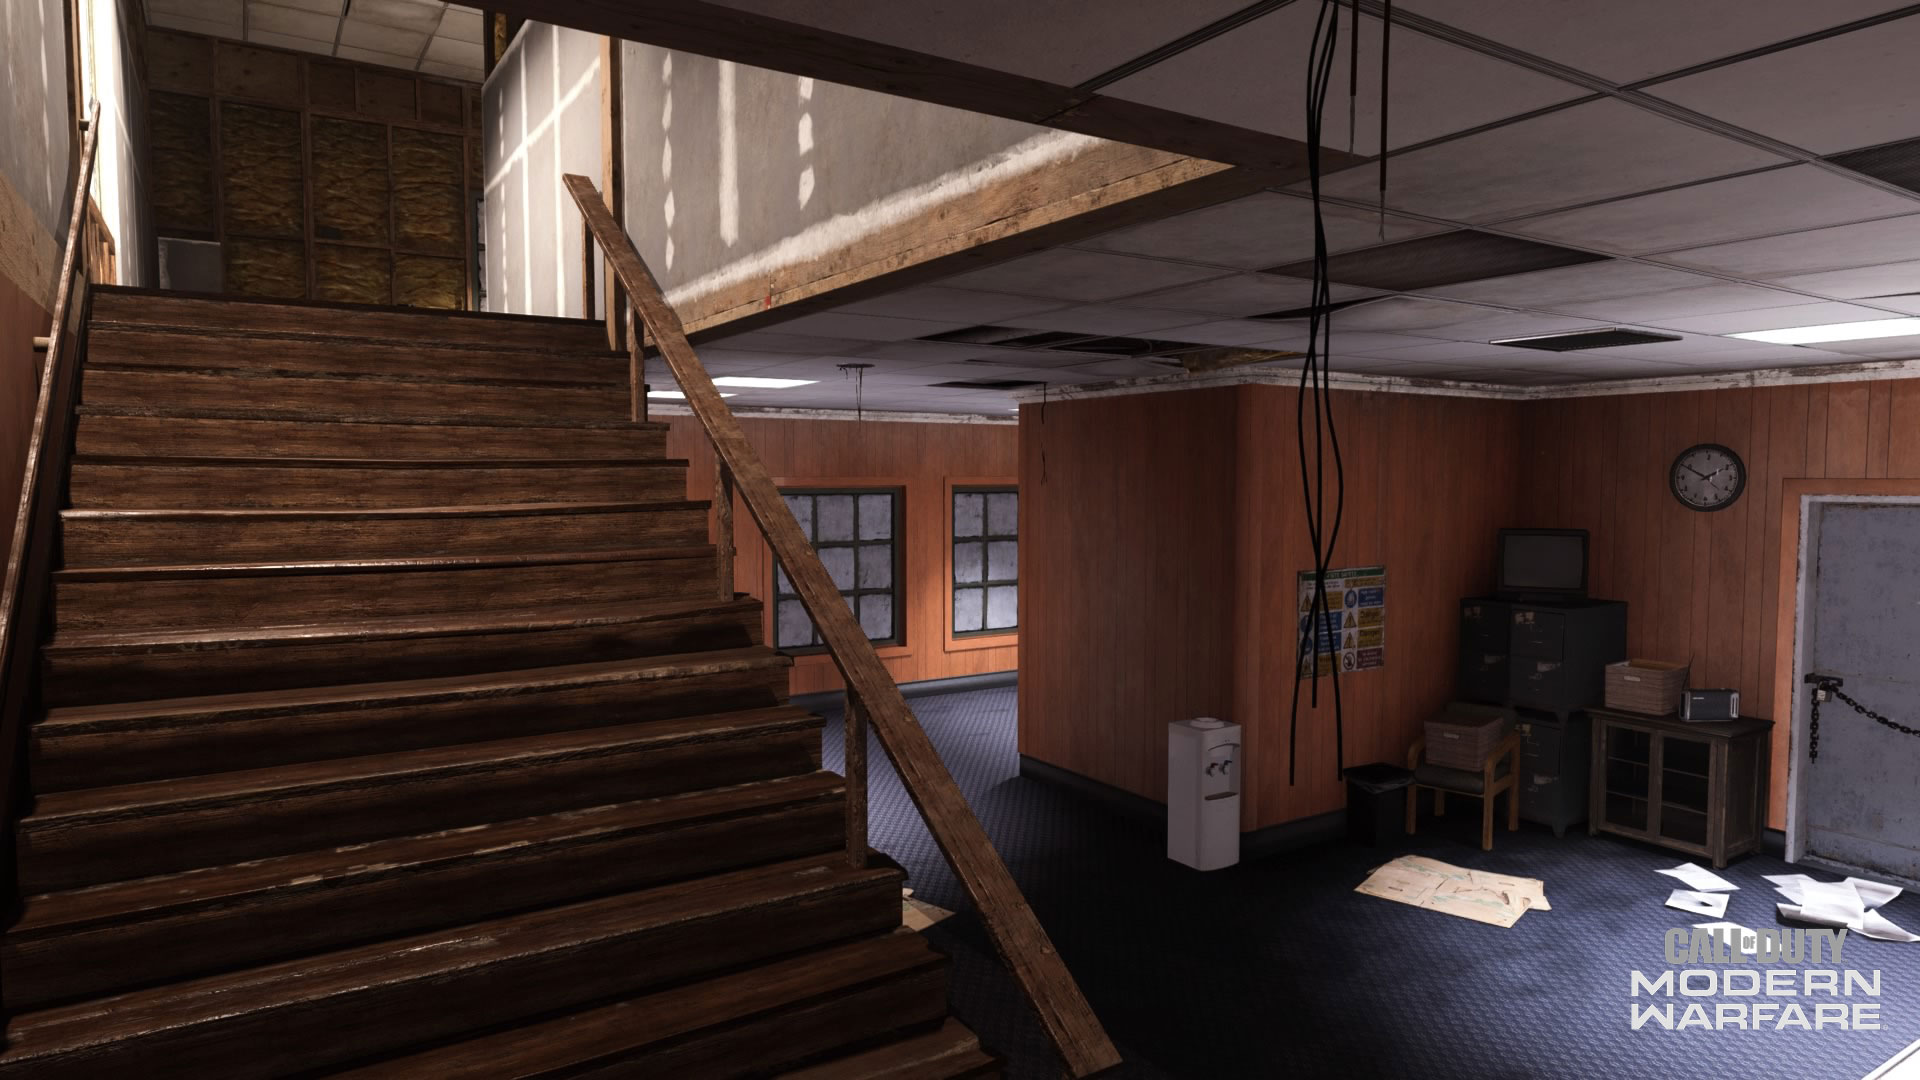
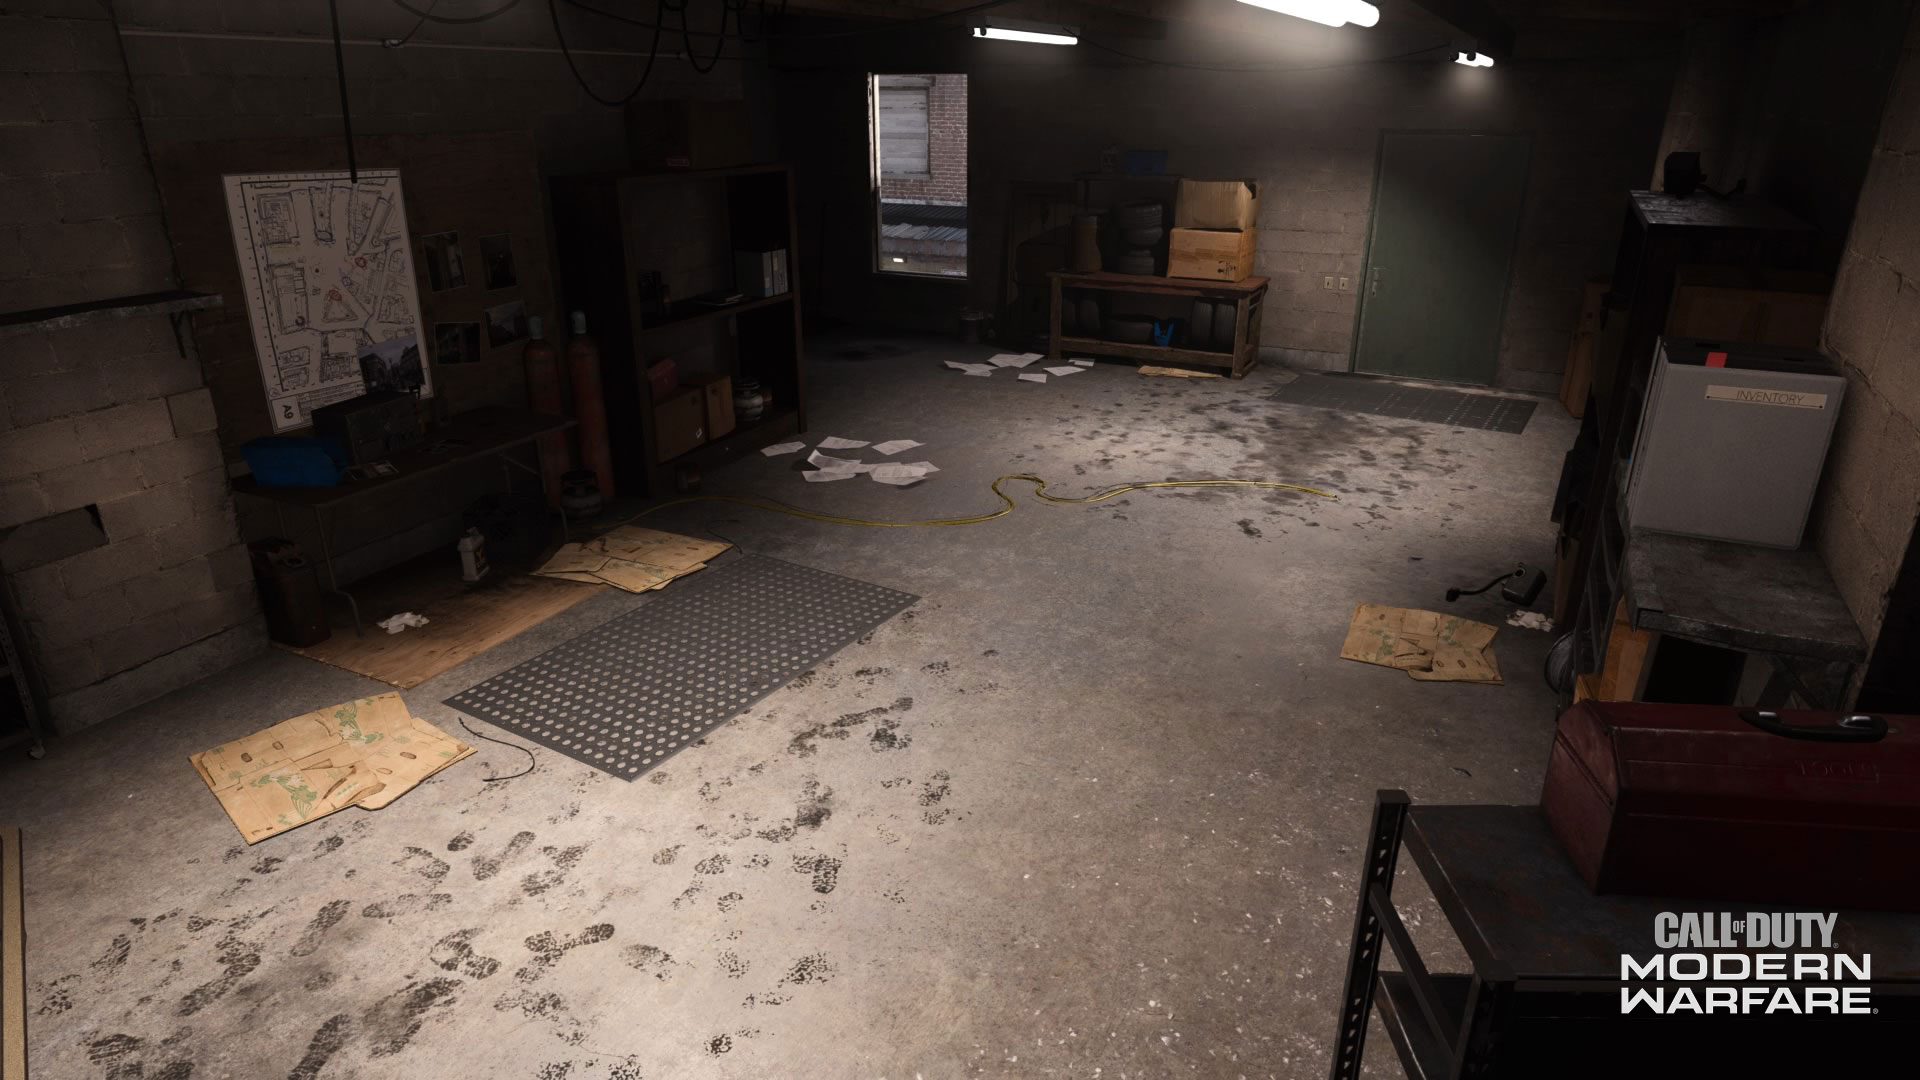
7. Office
This two-story building and its surrounding outdoor areas makes up most of Hackney Yard’s northern route, a popular spot that caters to all styles of play.
Its interior is a natural hot spot for close-quarters engagements, as the cluttered Office isn’t big enough for two warring factions. Whether it is the site of the third Cyber Attack bomb location, a Hardpoint hill or HQ, or a thoroughfare for two flankers crossing paths, expect both the first and second floor to have enemies with close quarters weapons.
Just be cautious of entering the Office in the mid to late game; the multiple entrances into this building can be laced with traps, especially during objective game modes.
A small window on the second floor can allow snipers to pick off enemies running around Hackney Yard’s eastern portion, although it comes with a fair share of notoriety. When aiming out of this window, it’s best to be careful of counter-snipers and the occasional equipment piece that may fly through.
The exterior portion of the office includes an abandoned police vehicle that acts as cover, especially during Search & Destroy where it sits right next to the B bomb site.
Multiple wooden crates allow for Roof Top or tin roof access, or up and over the brick wall that divides the main northern route. The other side of this brick wall has a dumpster that serves the same purpose as a wooden crate, allowing players to peek over the wall and aim towards the Dock Yard.
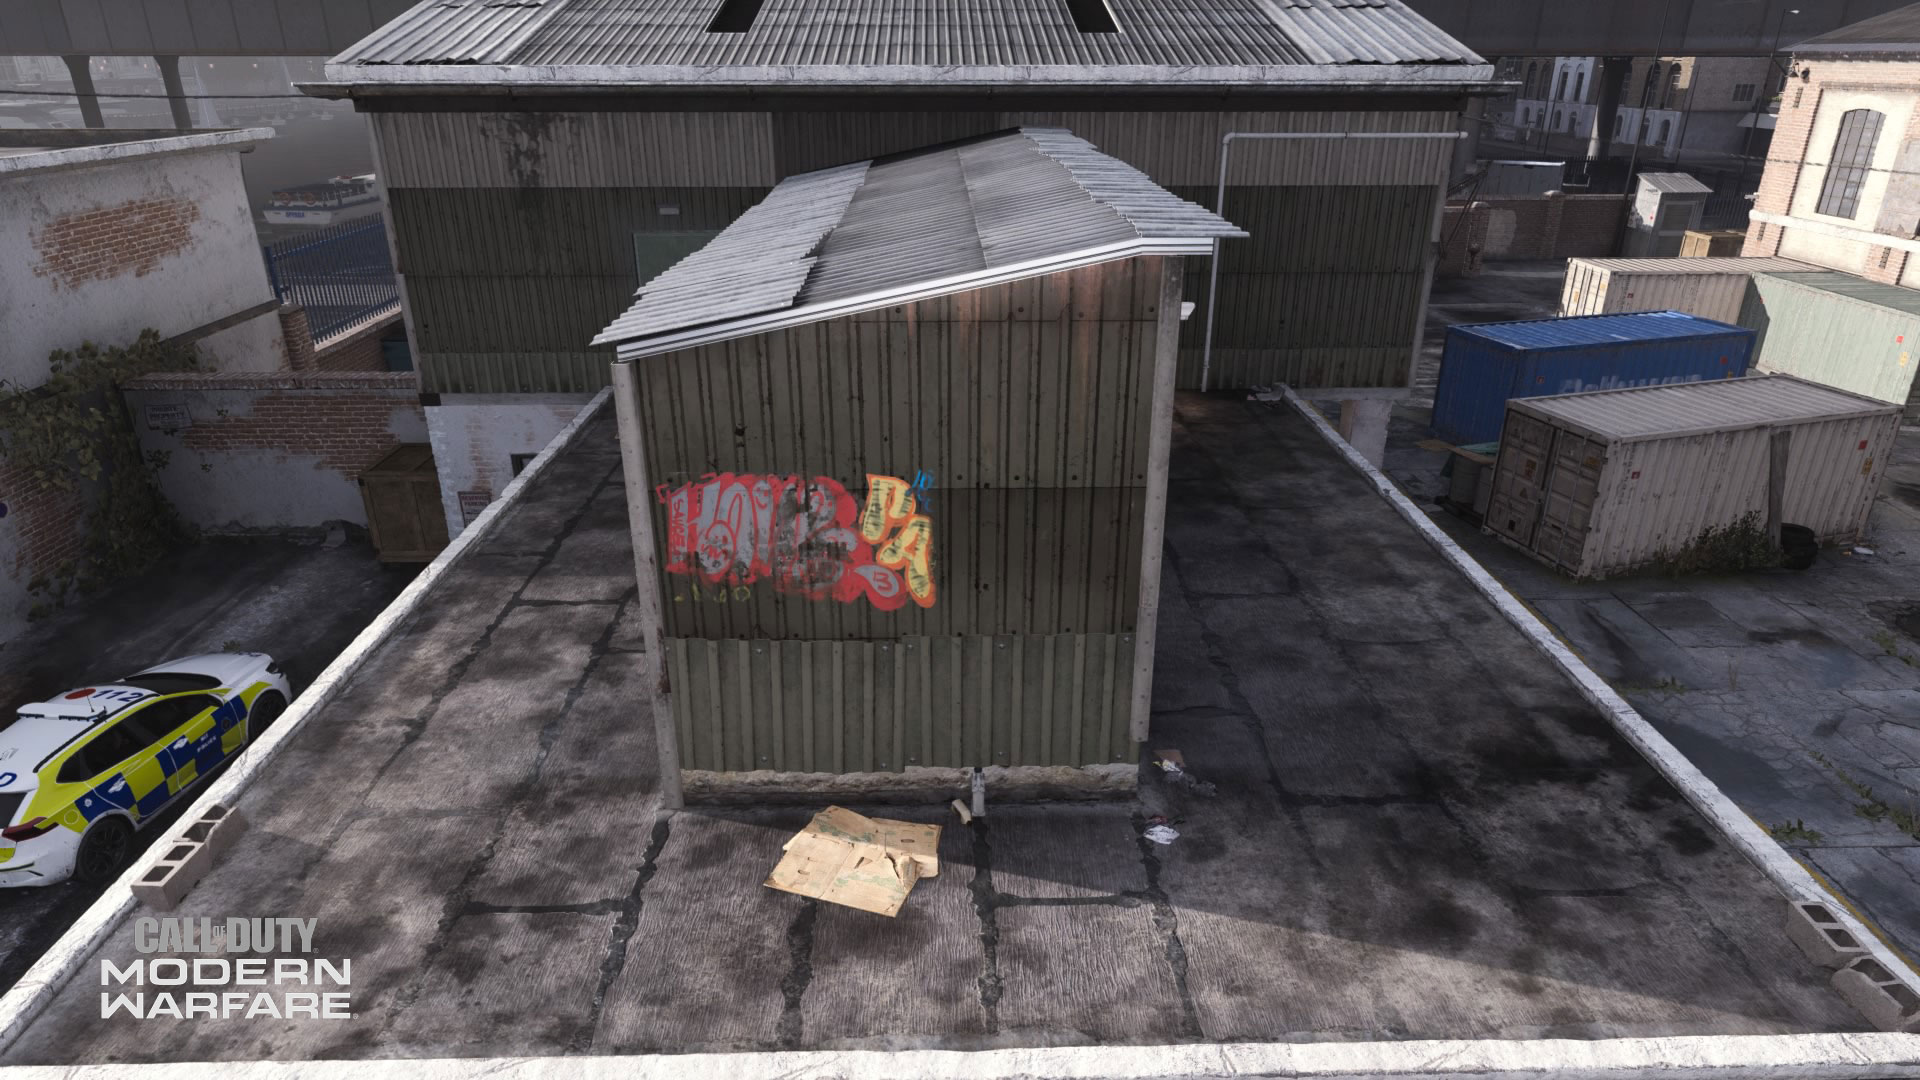
8. Roof Top
Directly accessible through the Office’s second floor, or by doing some parkour on wooden boxes or across roofs, the Roof Top serves as an overwatch point across Cargo Land.
With only a small green tin extension as the only point of cover, taking shots on this Roof Top comes with plenty of risk. However, the views towards the Warehouse, Yellow Building, and other popular spots are unrivaled, allowing sharpshooters to clean up the map’s central and southern routes.
This area can also be used to counter players inside the Office’s second floor; peeking through some doors can allow you to see down either the main hallway (the southernmost door) or into the square room (the northernmost door).
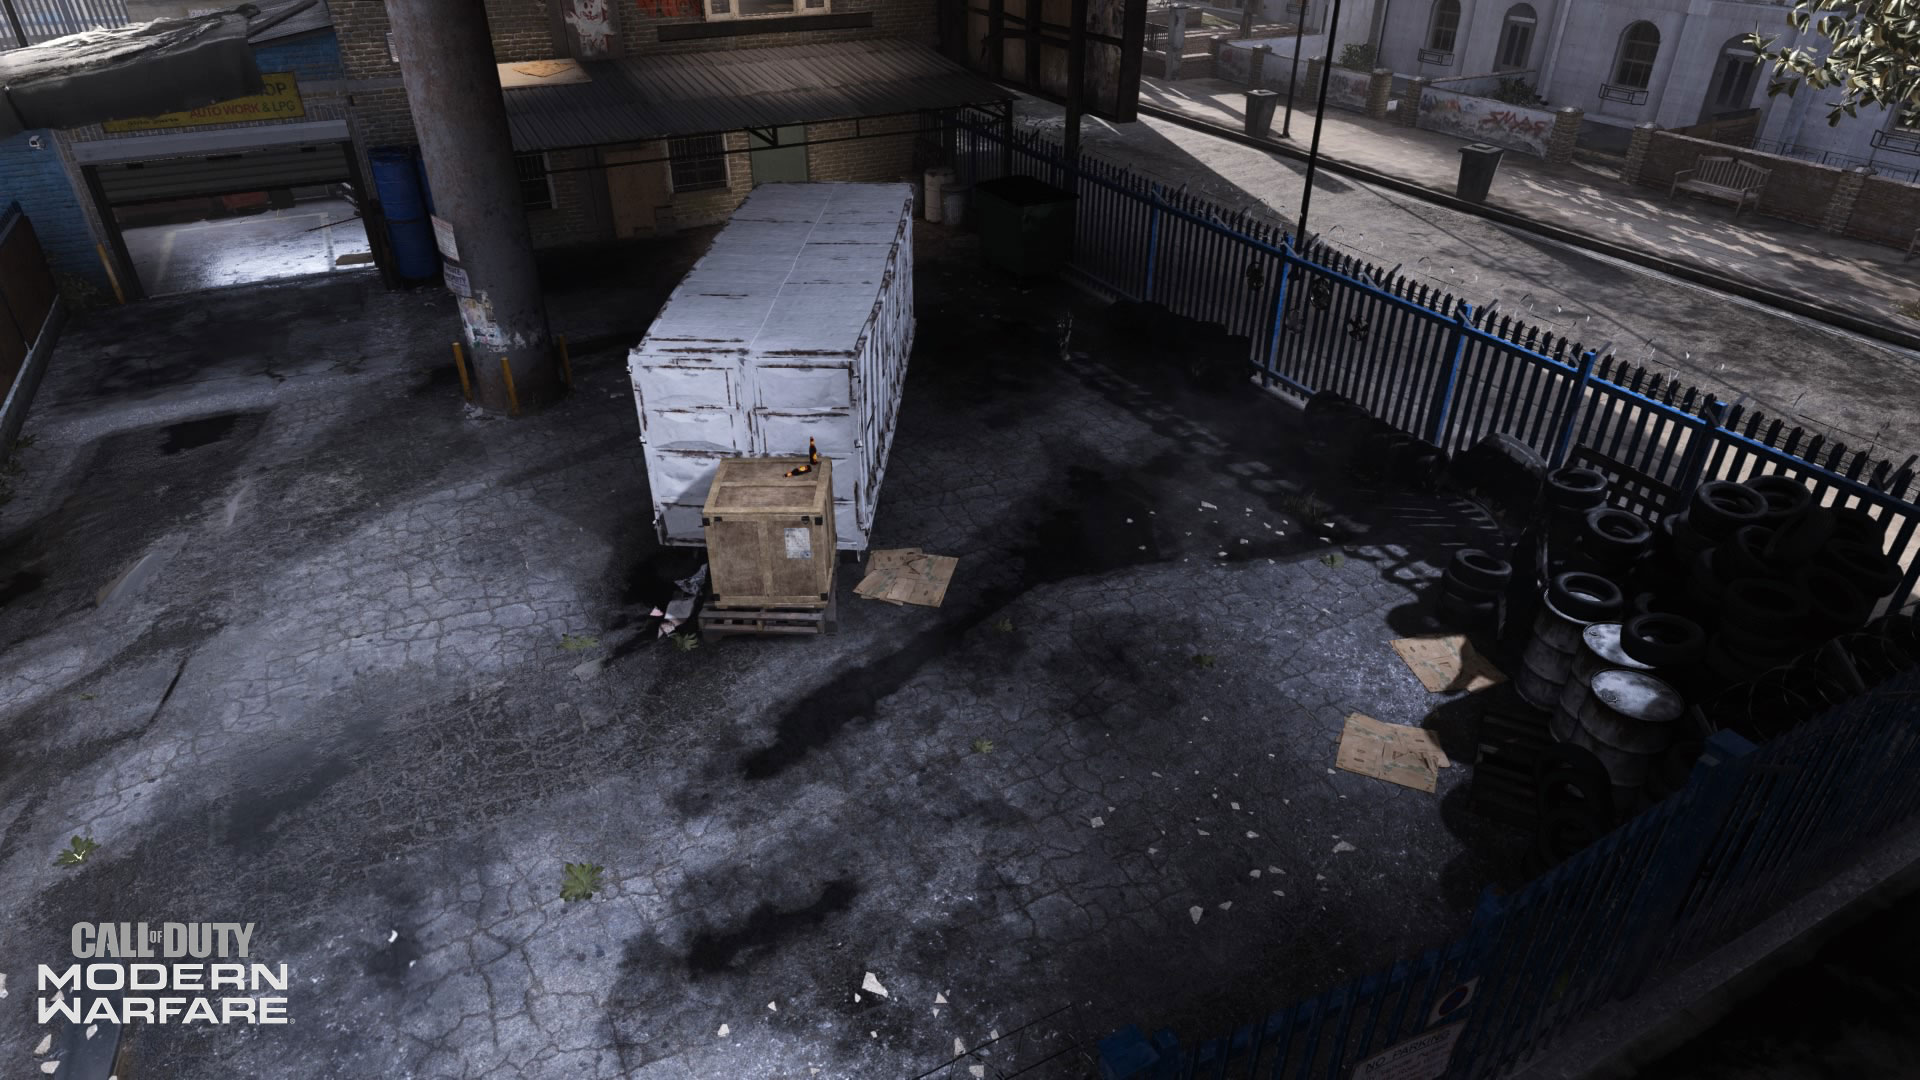
9. Cargo Land
A collection of closed cargo containers breaks up Hackney Yard’s otherwise wide-open central lane, allowing for close-quarters engagements to take place in between the various points of cover.
Those who don’t mind some danger can mantle on top of and jump across these cargo containers, which can be a unique way to get across the map. By doing this, you can hop into the Warehouse, or get an angle against snipers on the Roof Top or Smoke Stack.
In Cyber Attack, you can find the second EMP Device location in between the blue and white containers, which provide some protection against cross-map snipers who may mantle onto the tin roofs overlooking the area.
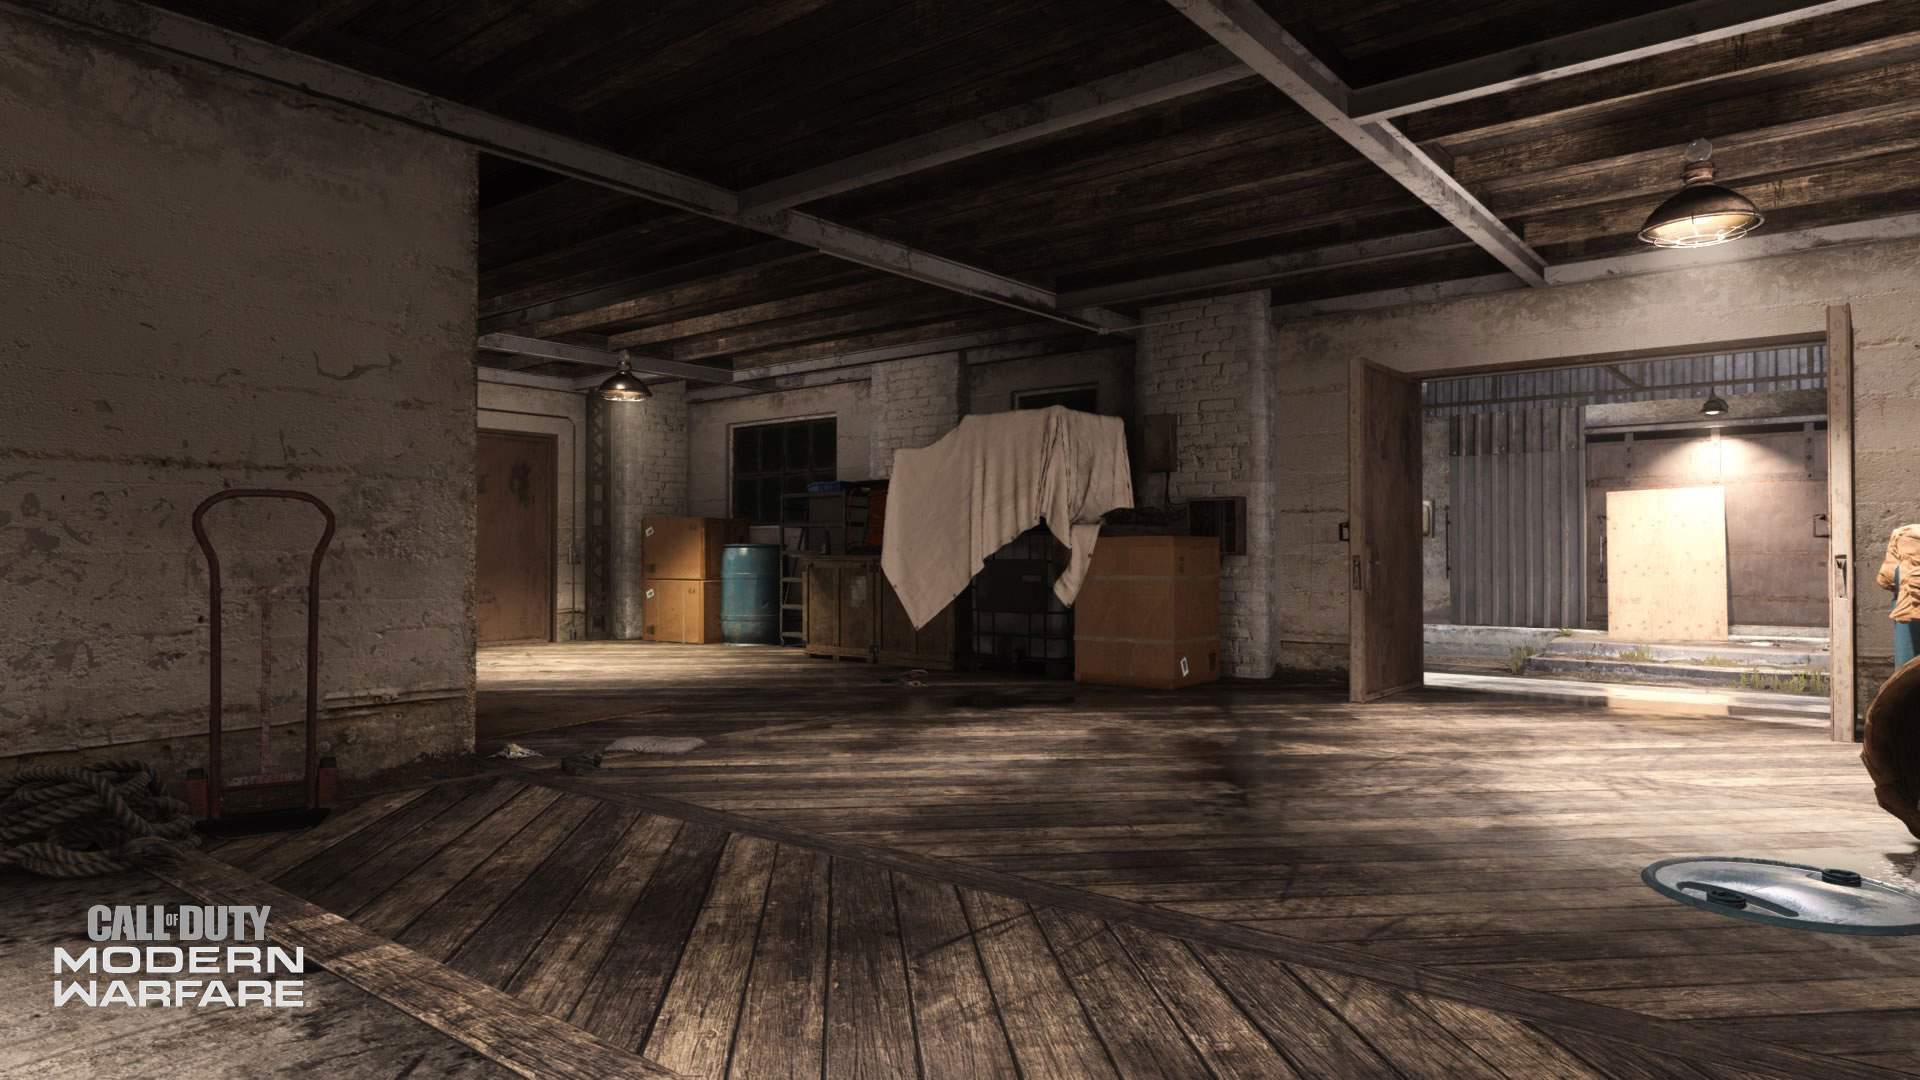
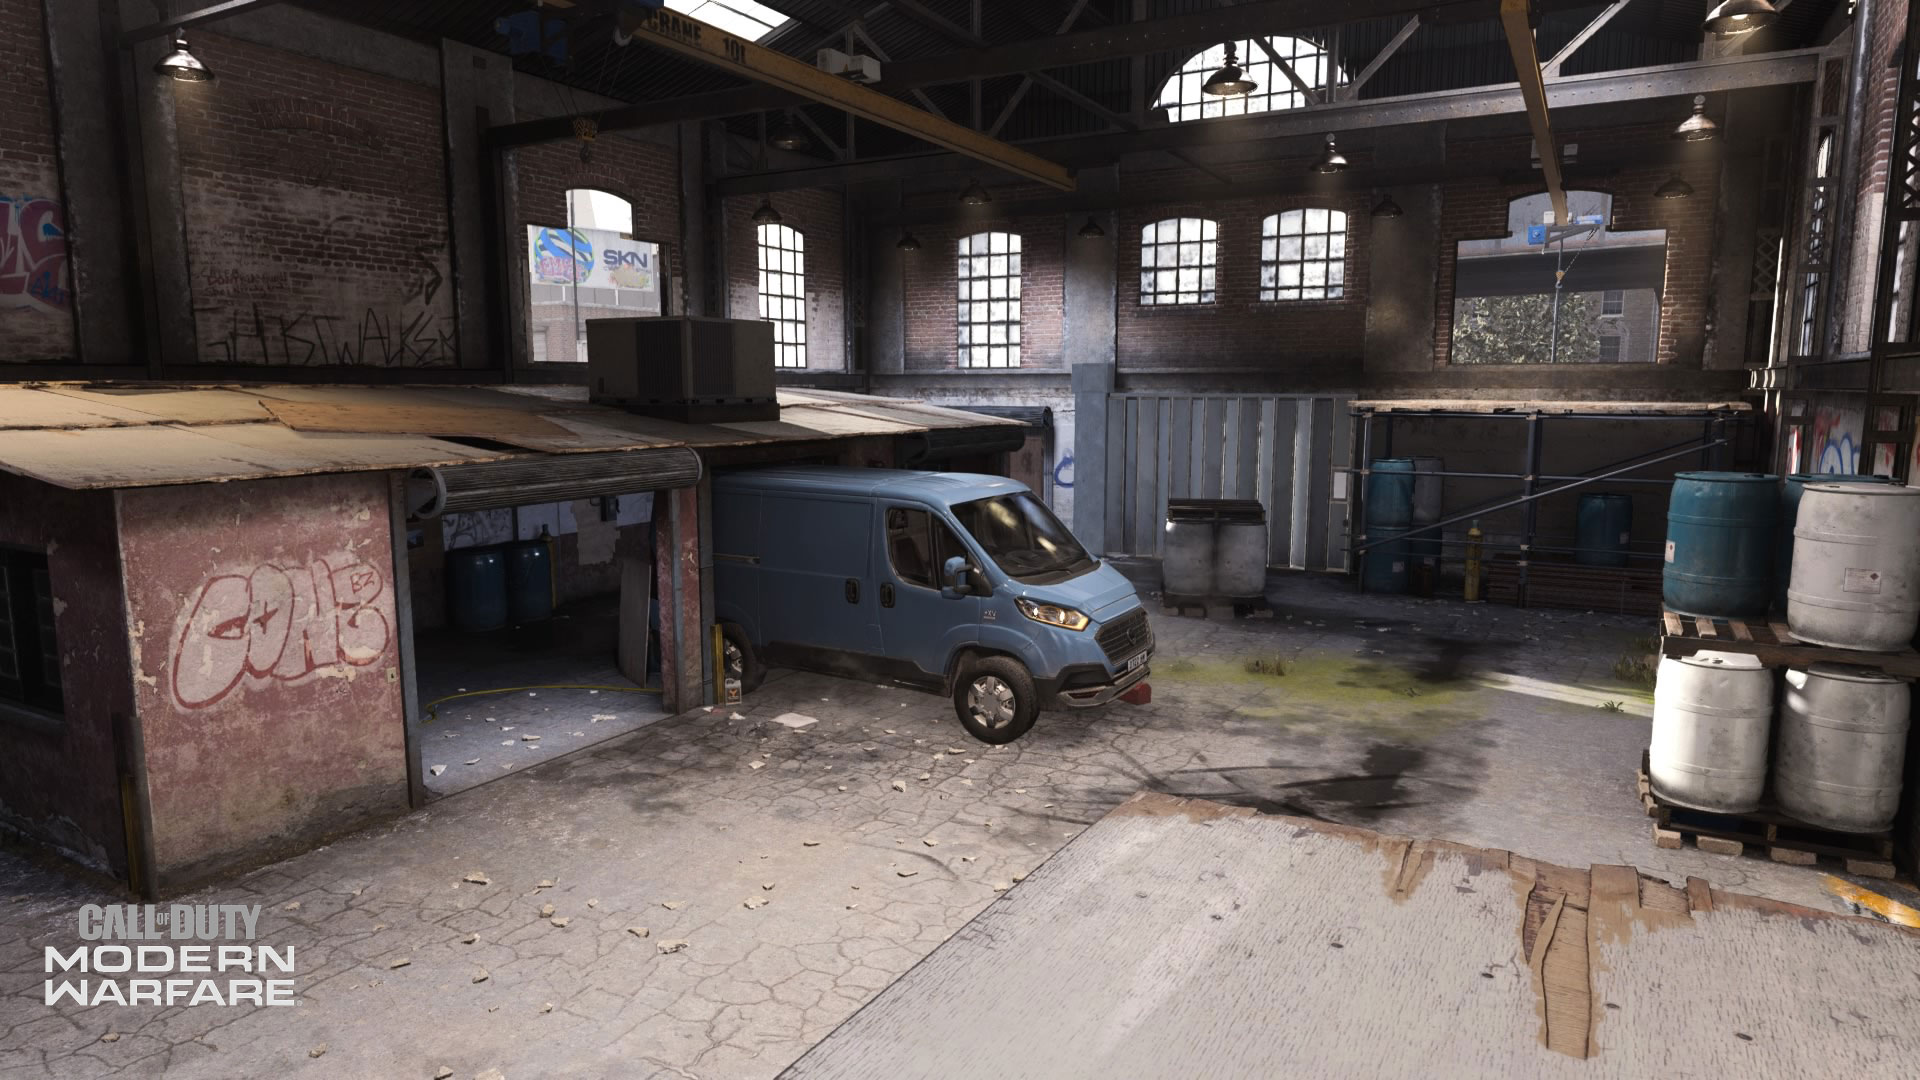
10. Warehouse
This massive building defines Hackney Yard’s southern route, as this sizable interior contains barrels, a parked blue van, pressurized containers, and a small room where even more intense combat can take place.
CQB players will be inclined to rush through here, using bits of cover to dart across the map. However, those with weapons fit for long-range combat can find solace on the western catwalk, or through a large window on the warehouse’s eastern side.
The Warehouse also contains plenty of verticality; hopping onto the containers can lead to a way onto the western catwalk through the window, while the top of the interior red shack can be accessible from the outside containers.
In Domination, the B flag sits here in between the blue van and some barrels. This creates a metaphorical black hole for combat, as plenty of equipment and cross-building fire is sure to frequently fly.
Teams who want to avoid this flag entirely can do so by focusing on A and C, a strategy that is near-impossible on some maps. Doing this involves locking down Hackney Yard’s northern and central routes, and while it is difficult to do, it can lead to the enemy team being trapped inside the warehouse.
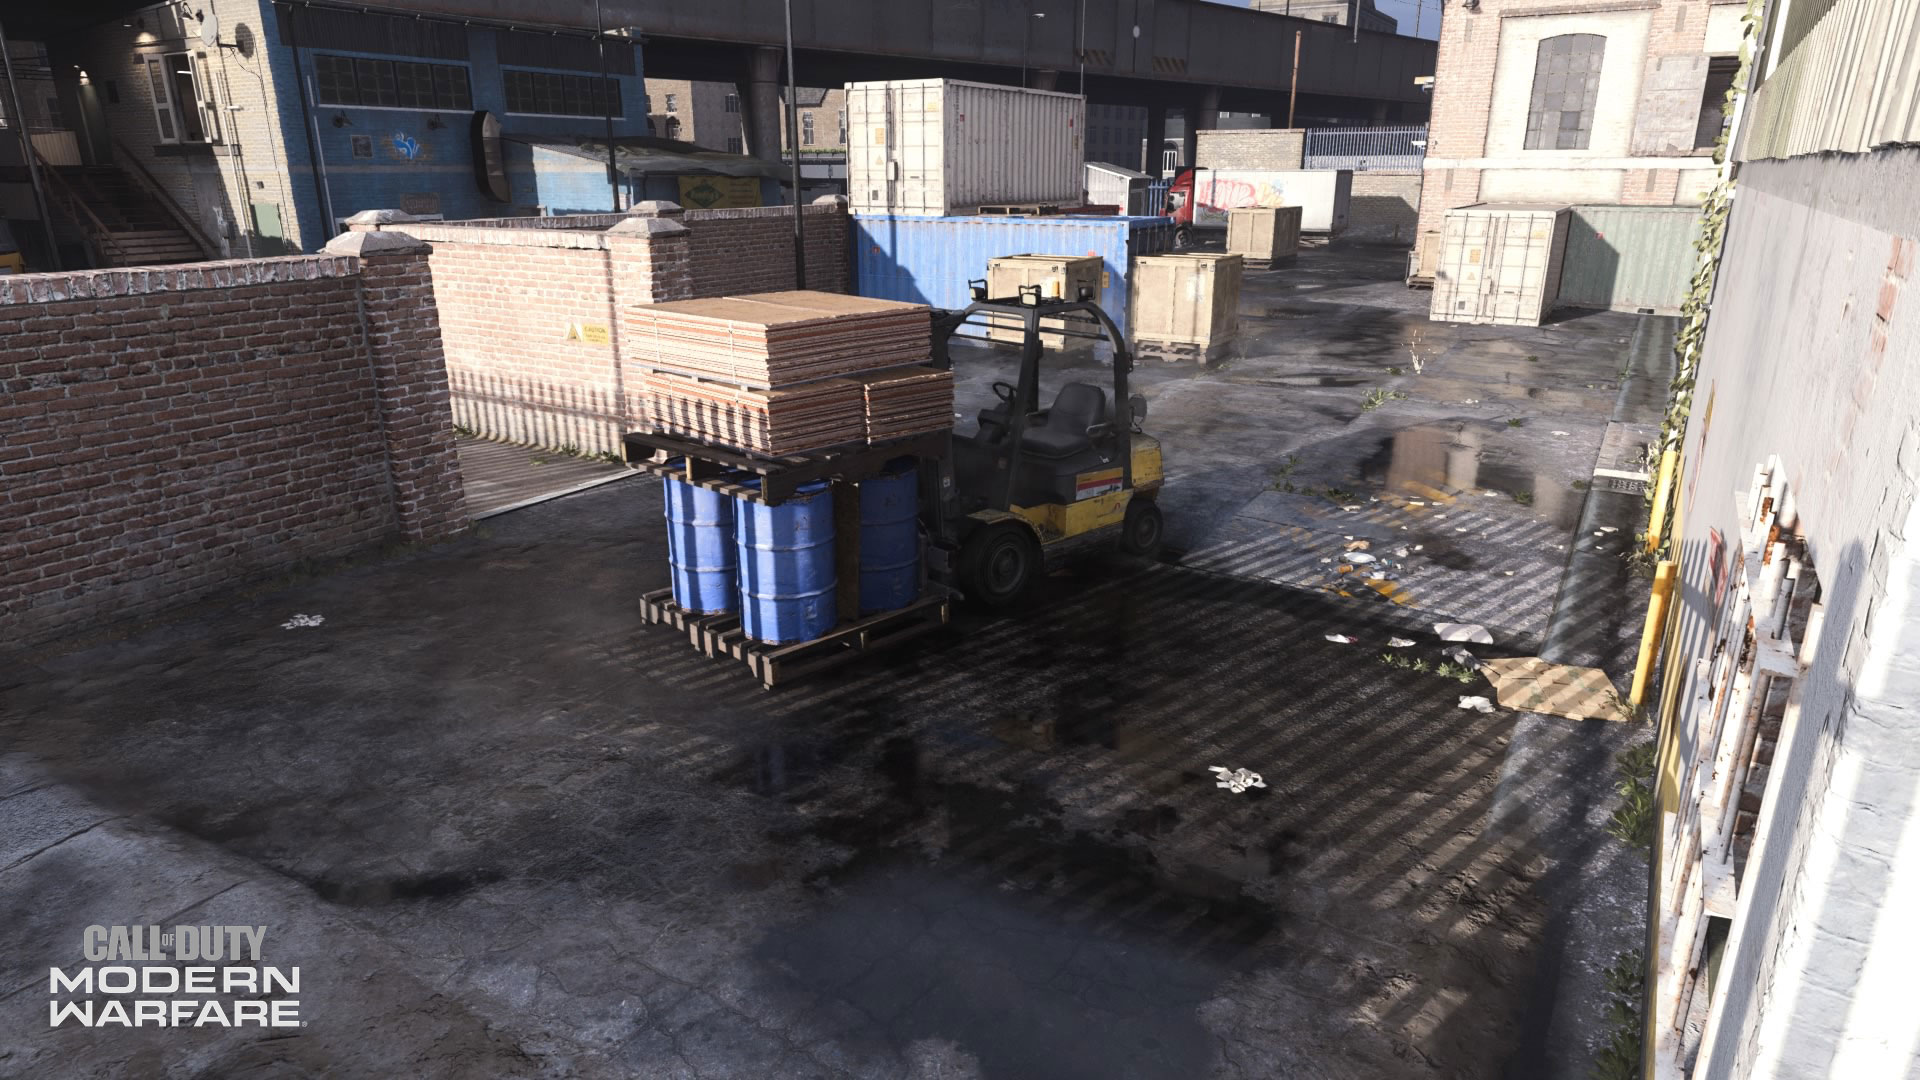
11. Fork Lift
Outside the Office to the east lies a forklift with several wooden planks and barrels stuck on its forks.
This is the main piece of cover in this tiny area, which can be necessary when challenging enemies who are inside the Warehouse, the Office, or who are near the Red Truck to the south. Specifically against Office snipers, the Fork Lift is where you may want to lob equipment pieces from, as it is right outside the Office’s main window.
Other than being a place to counter-snipe those potential hostile forces, the Fork Lift serves as a transition area into the map’s northern route.
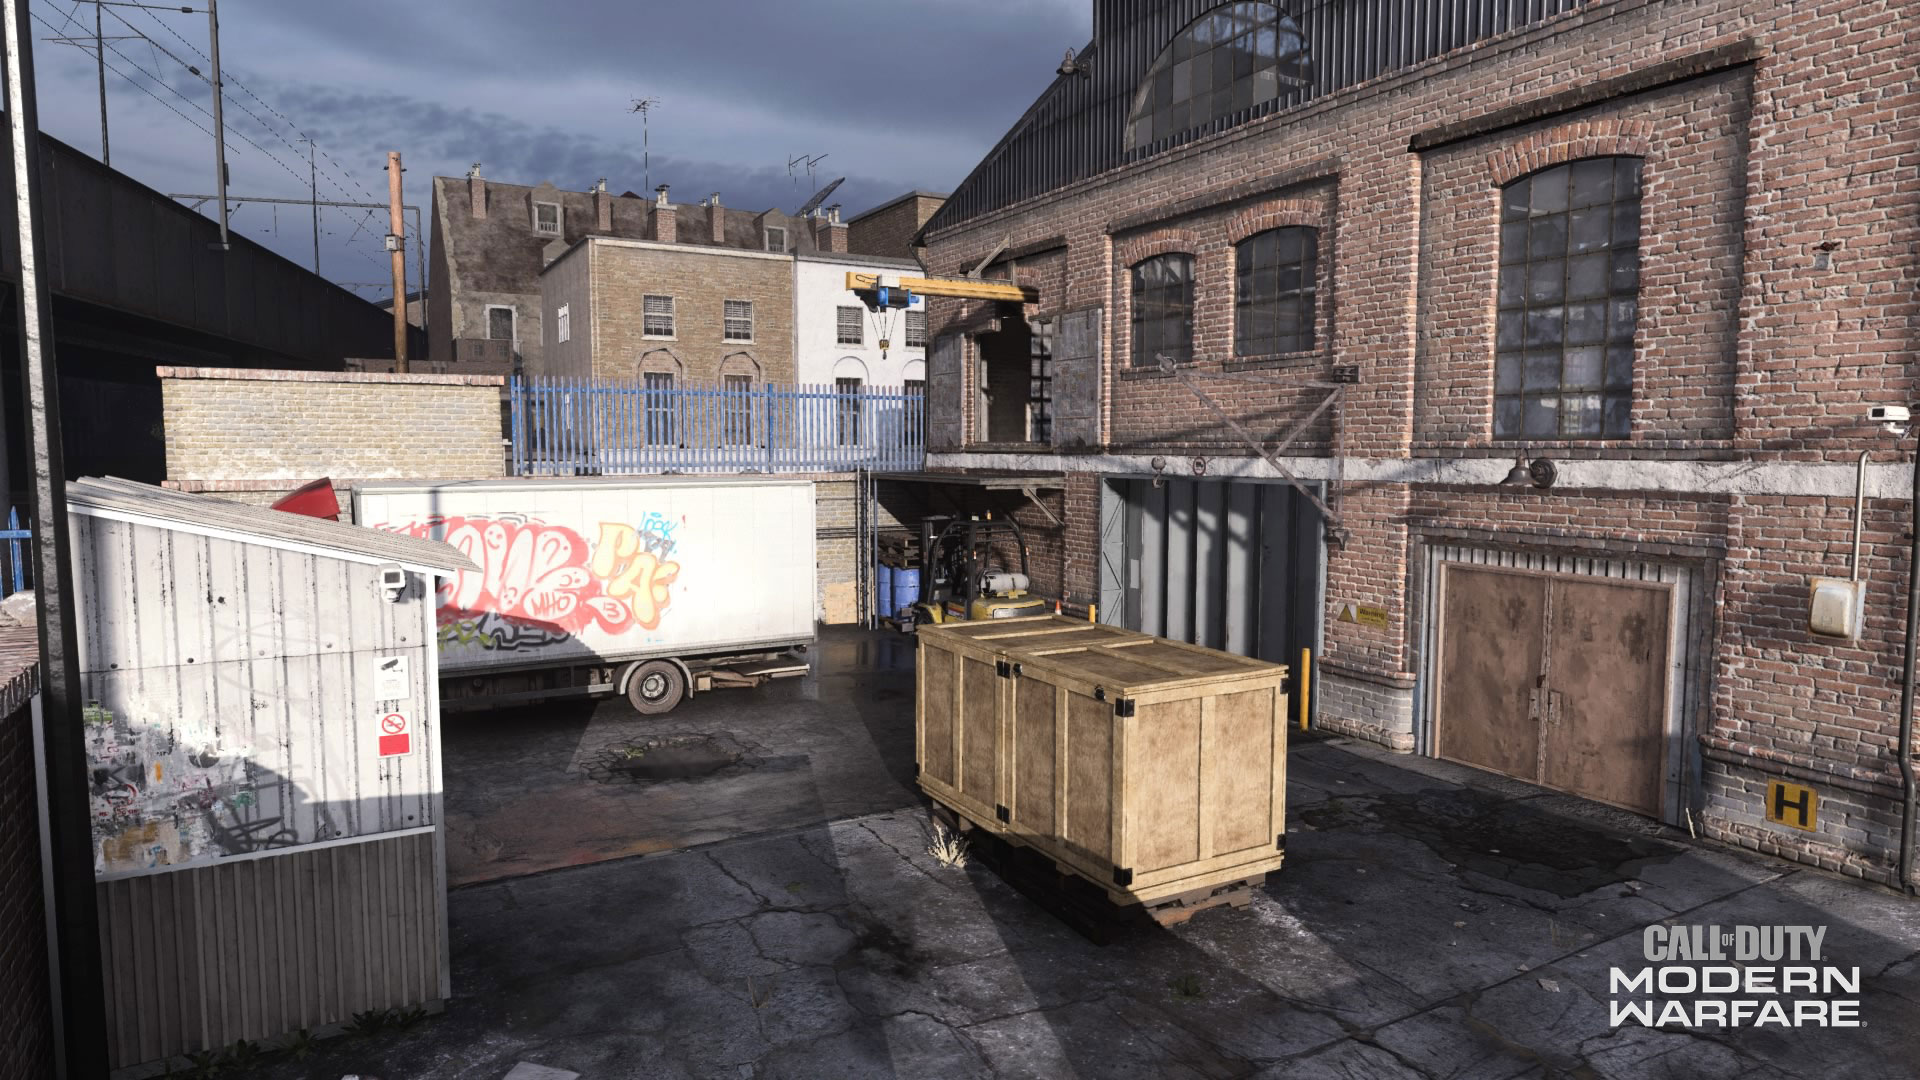
12. Red Truck
Outside the eastside of the warehouse lies a Red Truck with its trailer tagged up by a local graffiti artist. Multiple crates and a small tin hut are the other cover pieces that a player can take, which can be crucial to winning close-quarter fights within this area.
Those travelling through here will be temped to bust down the Warehouse double doors, even though there could be more success in using a small ladder to get a view into the facility.
Alternatively, one could hop onto the red truck and get some distance away from the Warehouse, which could offer some more protection against those inside.
13. Road
This long narrow strip appears to be an ordinary thoroughfare on the surface, acting as a transition area between Hackney Yard’s three main lanes.
However, the cars and crates against the brick walls can make for great sniping perches, as they offer a boost to those looking to snipe over Cargo Land or counter players inside the Office. Furthermore, those who are keen with a C4 can throw one over the blue fence that divides the Road from the Parking area, which can catch some enemy players running out of the Tire Shop.
When travelling on this Road, you should be mindful of players who can be all the way across the street, as there is little cover to take from a long-range shot down here.
14. Parking
Underneath a major motorway lies a small Parking area which is currently inhabited by a large white container.
This is where Coalition members will travel through to get to the Warehouse quickly, especially during Domination where the C flag is only a few steps away inside the Tire Shop.
Along with being a transition area, Parking is where snipers can hop onto the white container and take shots down range to the west or take another jump to the tin roof of the Tire Shop. The white container can also serve as cover during a close-quarters engagement against enemies coming from the Road or Tire Shop.
15. Tire Shop
This cramped two-story building has plenty of tactical importance beyond its surface, which looks to be nothing more than a place for intense CQB fights.
Along with its tarp-covered tin roof and its staircase being two great spots for cross-map snipers, the Tire Shop is where multiple objectives can be located.
Its garage is the C flag location in Domination; with it being the tiniest room out of the three in the shop, expect some traps or regular combat that could devolve into fisticuffs.
The second floor of the Tire Shop is where you’ll find the Coalition’s initial Data Center location in Cyber Attack, or the second Hardpoint hill or HQ location in those game modes.
This is where the white container in the Parking area could come into play, as the green door and interior staircase might be locked down by defensive players. Alternatively, lobbing some explosives into here could smoke out enemy forces who are keen on locking down the objective up here.
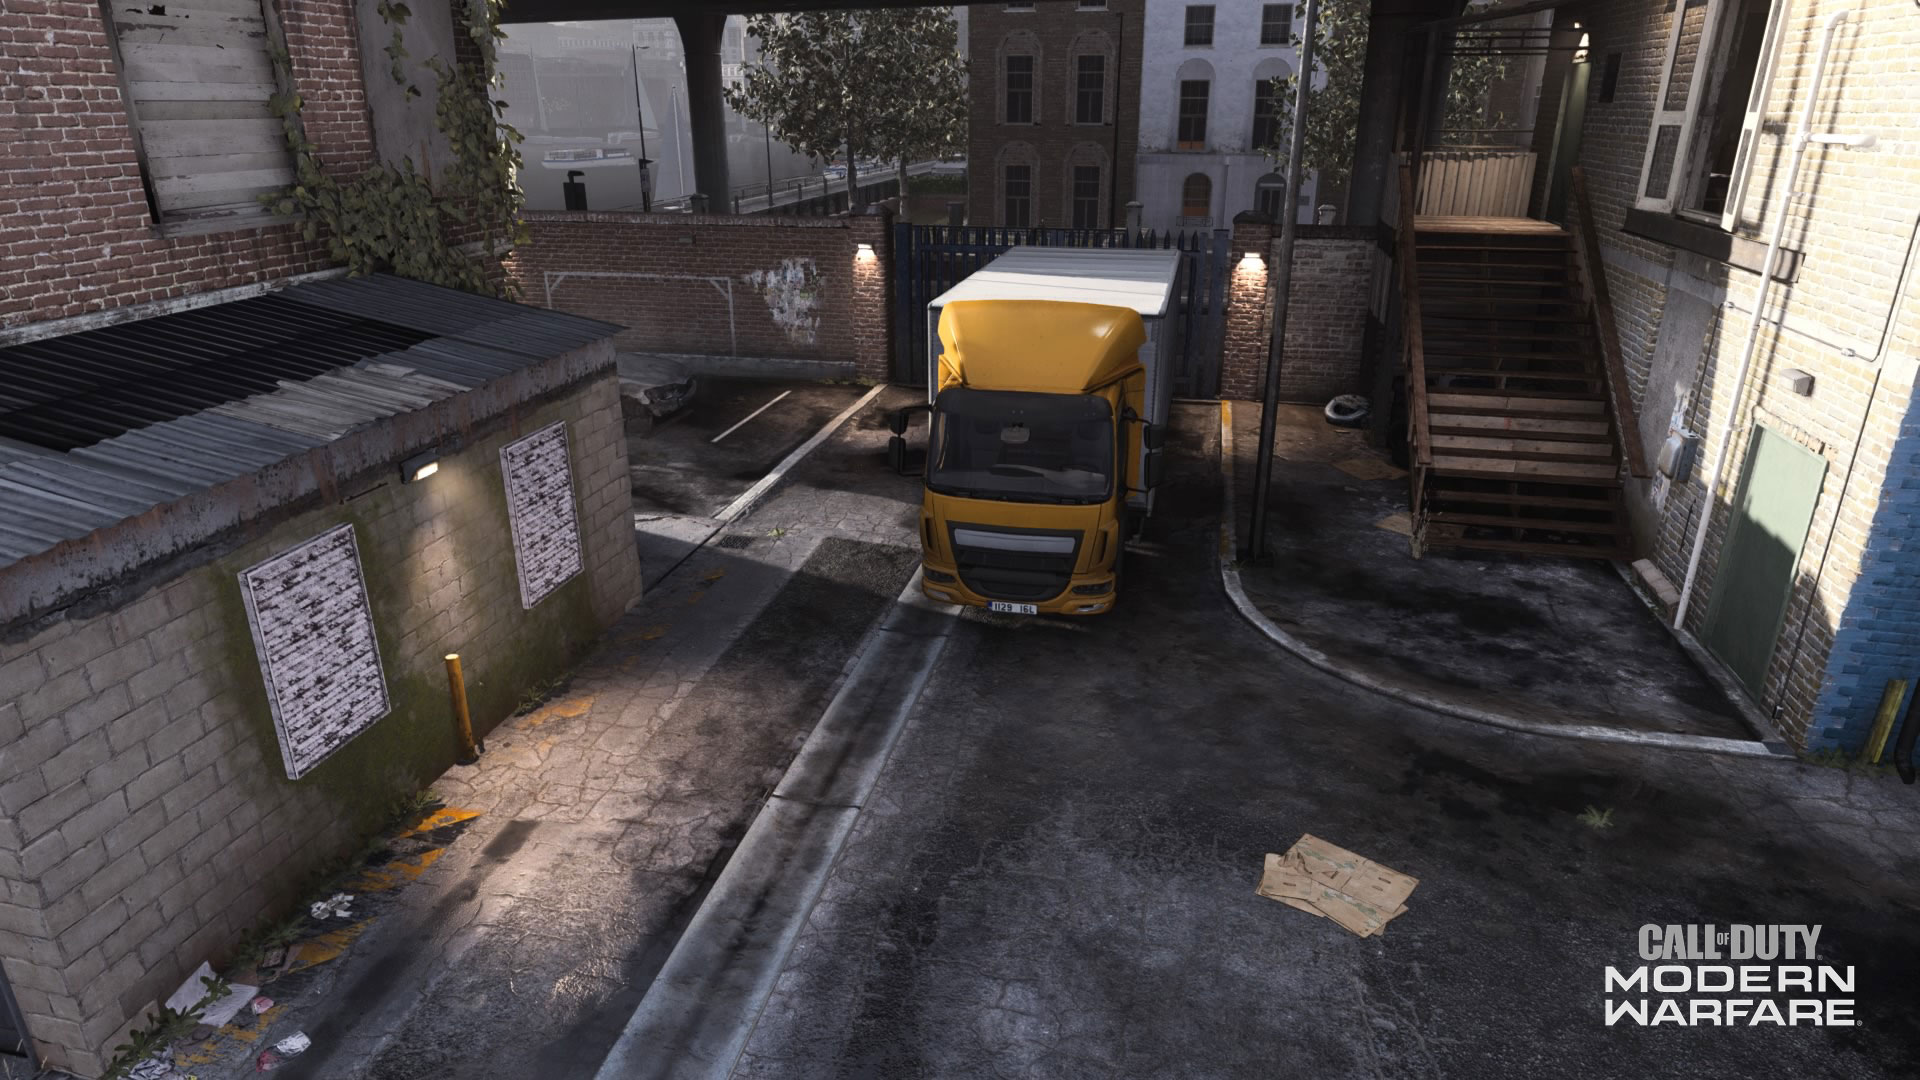
16. Yellow Truck
During infils, Coalition members will be dropped off here or just outside this area via helicopter.
After the initial infiltration sequence, the Yellow Truck area can be used to hit players across the map. The view from the top of the truck – accessible from the Tire Shop staircase – can allow player to see over part of the Office and the tin roofs to the west.
While it isn’t as popular of a sniping spot as the Tire Shop, it can still be used as a great change-of-pace option for sharpshooters.
17. Abandoned Building
As if the Tire Shop and Yellow Truck weren’t already great sniping spots, the Abandoned Building offers yet another place for sharpshooters to take refuge.
The view from inside the building overlooks Hackney Yard’s northern route, while the tin overhang, accessible from the Yellow Truck, offers a more balanced watchpoint over the middle and southern paths.
With it being tucked into Hackney Yard’s northeast corner, combat may not be as popular here. However, if – and when- an enemy claims squatter’s rights over this Abandoned Building, be sure to watch out for traps on the lone staircase or in the tunnel.
General Tips:
· A Traditional Three-Lane Design… This map can be broken up into three lanes: the north (defined by the Office), the center (Cargo Land), and South (Warehouse). Whether you’re playing an objective game mode or Team Deathmatch, it may be wise to focus on locking down one lane and working outwards from there.
· … in a Small and Compact Package. Hackney Yard’s size makes for plenty of frenetic moments, especially as lanes intersect and look across from each other. Be prepared to get up close and personal with your enemies, even when trying to snipe across the map.
· Verticality is Underrated. Whether its hopping onto a tin roof or using a cargo container to get a unique angle on an enemy, don’t underestimate the power of mantling and finding new routes across the map. If you’re worried about getting picked off constantly while testing out some hardcore parkour, try experimenting on where you can jump around in a private match.
· Watch and Learn. With Hackney Yard being featured as a Domination, Search & Destroy, and Hardpoint map in the Call of Duty League, there are plenty of opportunities to see the best players in the world compete on it. Be sure to check out the Call of Duty League when it starts, as you could just find a few new great strategies to conquer your next public match on Hackney Yard.
For more information and the latest intel on Call of Duty®: Modern Warfare®, check out: www.callofduty.com, www.youtube.com/callofdutyand follow @InfinityWard and @CallofDuty on Twitter and Instagram and Facebook.
For more information on Activision games, follow @Activision on Twitter,Facebook, and Instagram.