Modern Warfare® Tactical Map Intel: Atlas Superstore
Get the advantage over your enemies with this breakdown of Season Two’s Atlas Superstore Multiplayer map, including objective information and a detailed map walkthrough.
Modern Warfare® Tactical Map Intel: Atlas Superstore
Get the advantage over your enemies with this breakdown of Season Two’s Atlas Superstore Multiplayer map, including objective information and a detailed map walkthrough.
February 27, 2020
by Daniel Noel
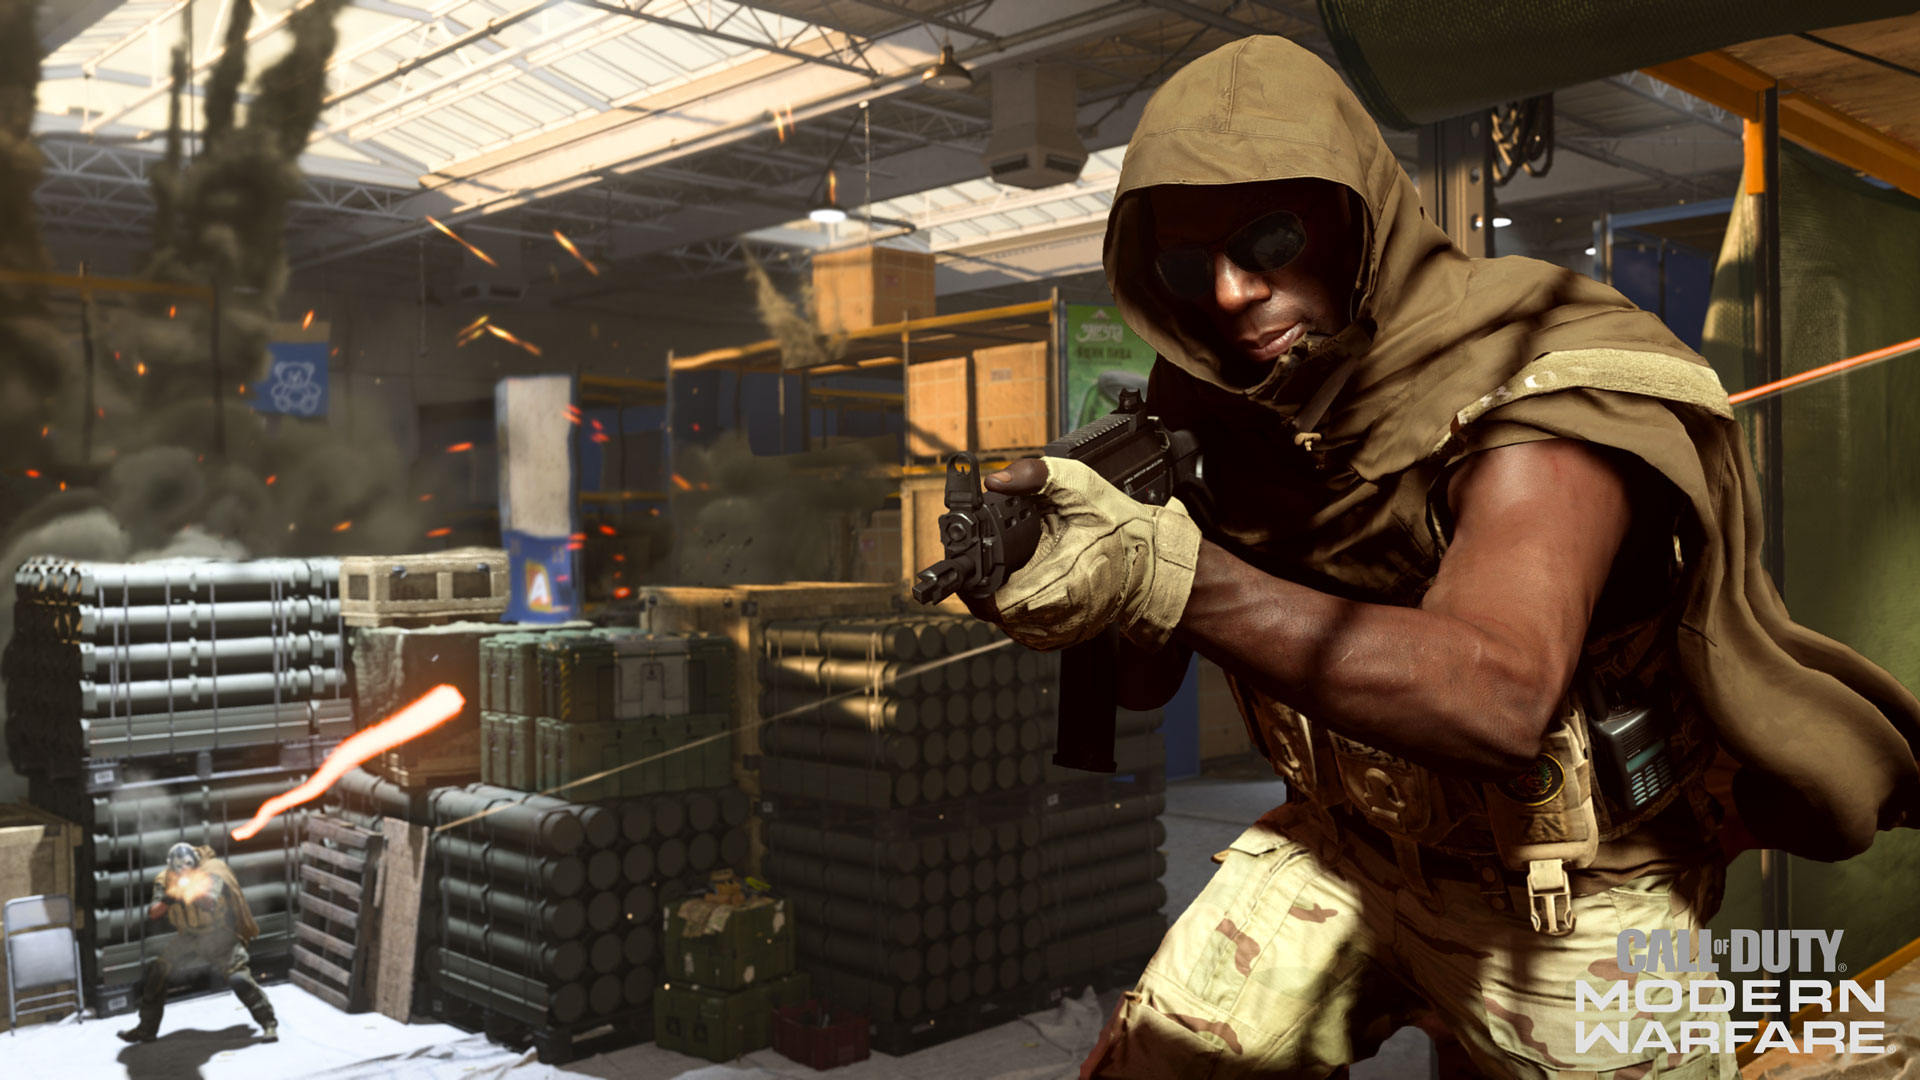
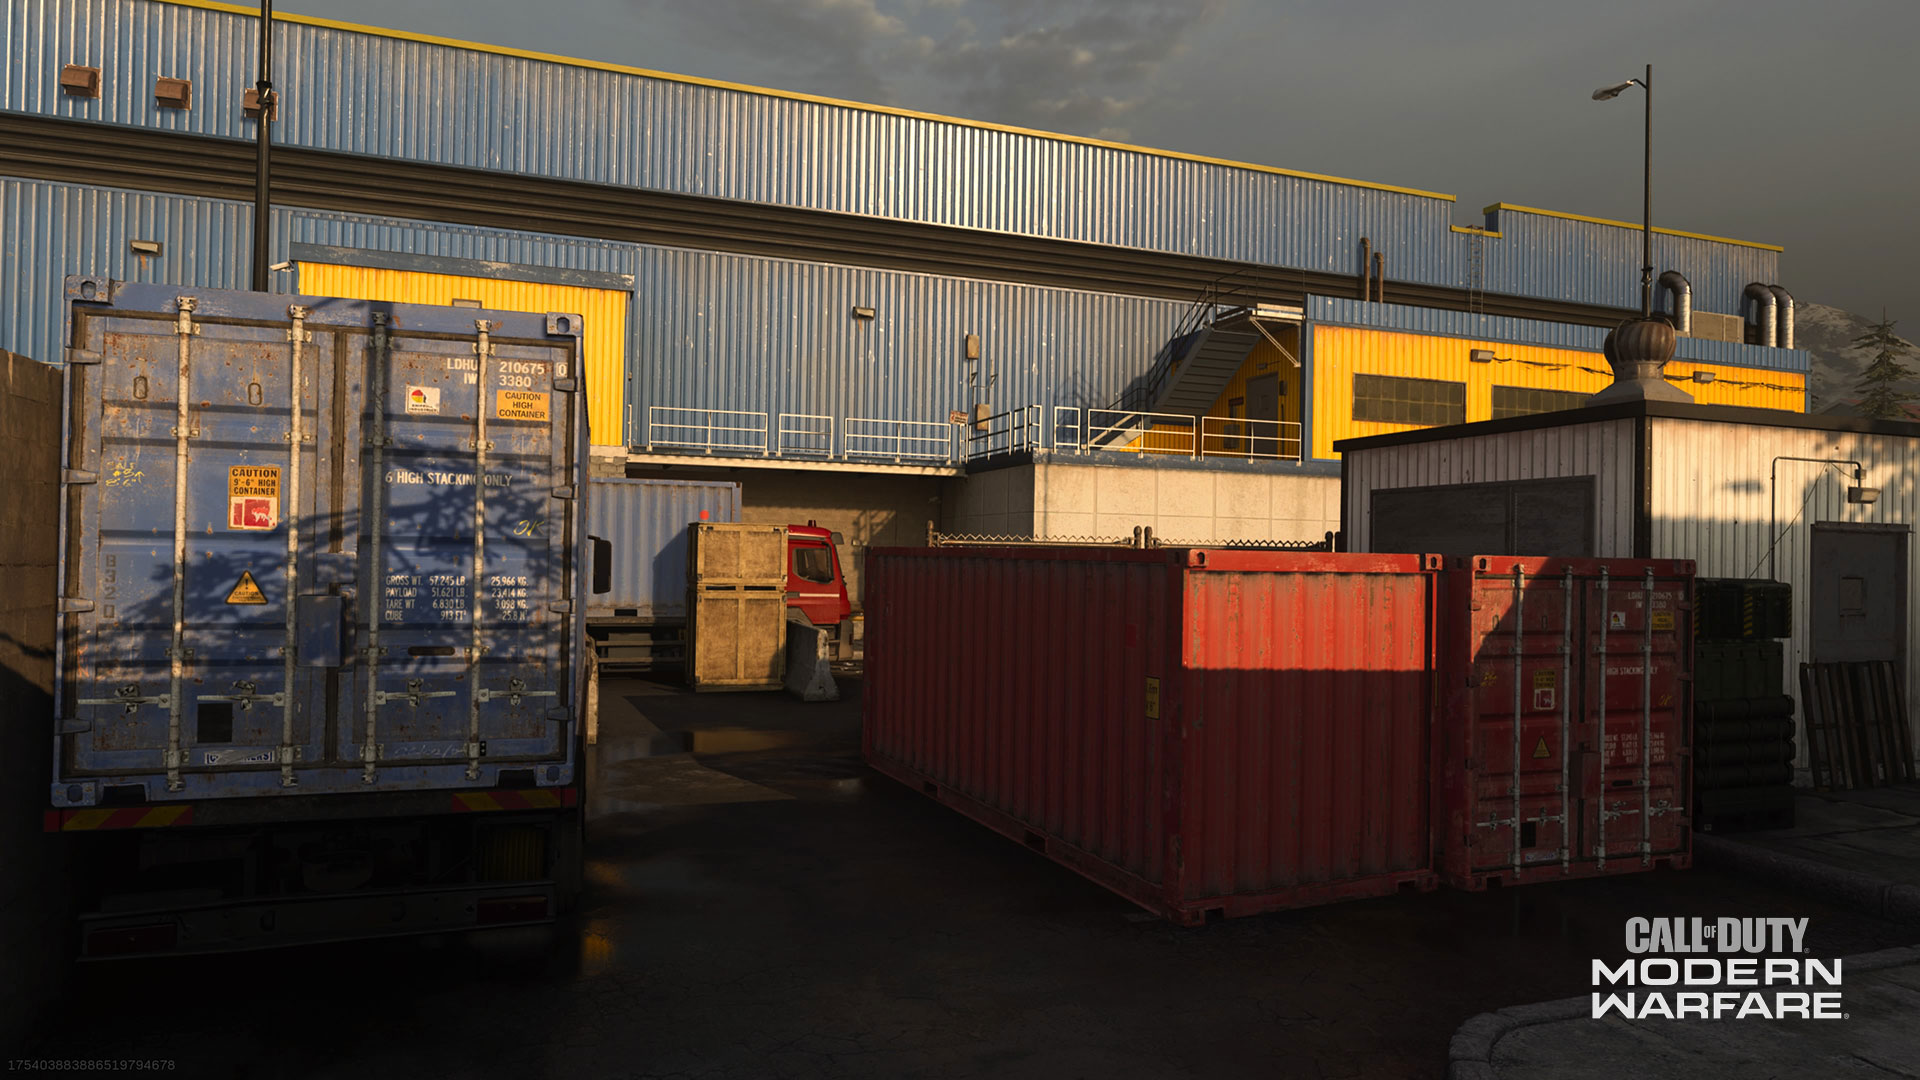
Once a major shopping center for the citizens of Verdansk, the Atlas Superstore has since become a battle zone and weapons storage facility for Zakhaev Arms. The Allegiance and Coalition engage in another head to head battle in this massive facility on Day 79 of the ongoing fight, with Allegiance forces entering in from the western Backlot and the Coalition stepping in from the eastern Loading Docks.
Map Overview
What appears to the novice as an endless maze of corridors and supplies soon becomes a playhouse for the experienced Operator. Atlas Superstore includes a bevy of shortcuts and mantling opportunities to outsmart and out position your opponents.
Most zones include some form of verticality, whether it’s hopping onto a crate for a slight height advantage or up into the shelving to engage from a more powerful overwatch position. The key to success lies in mastering the layout and anticipating the enemy’s movement, using every bit of the environment to your advantage.
Map Zones:
Here are the 22 zones in Atlas Superstore:
1. Backlot
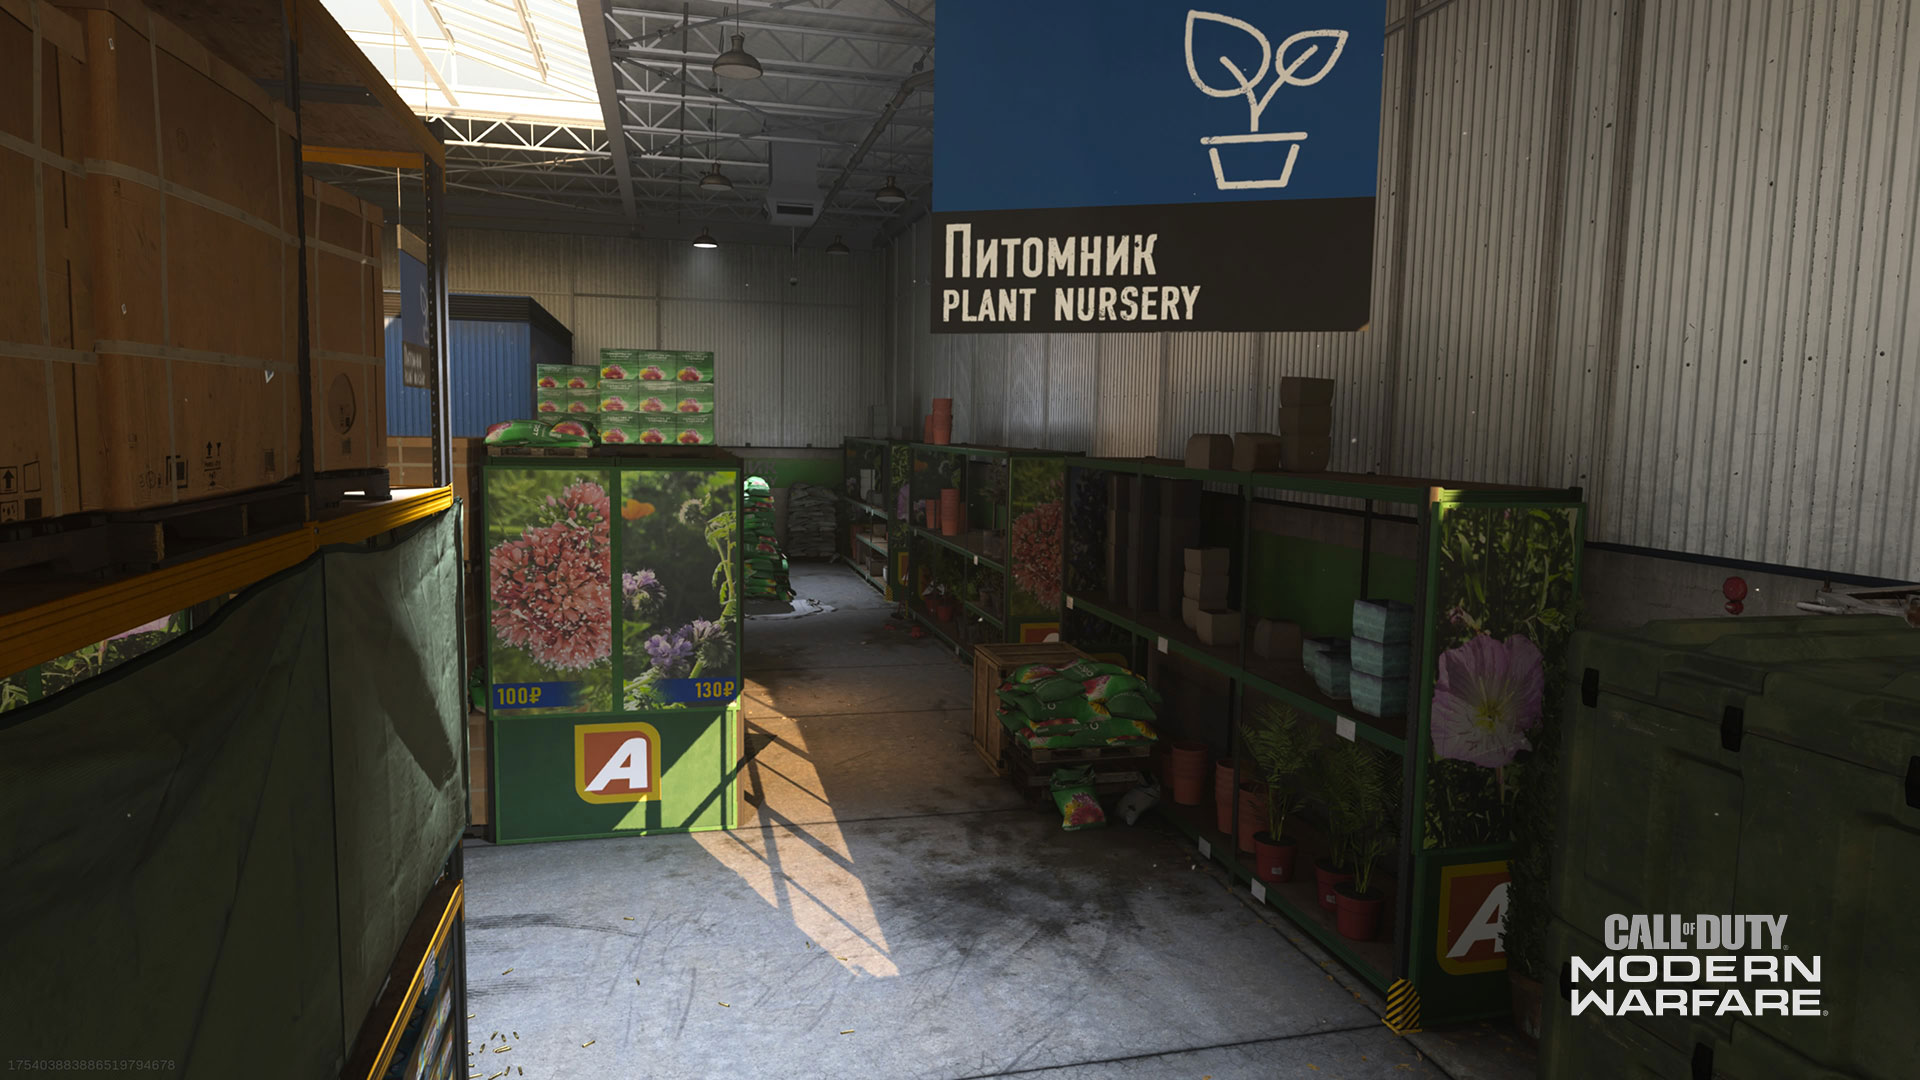
2. Nursery
3. Chemicals
4. Overwatch
5. Freezers Mid
6. Mid Stockpile
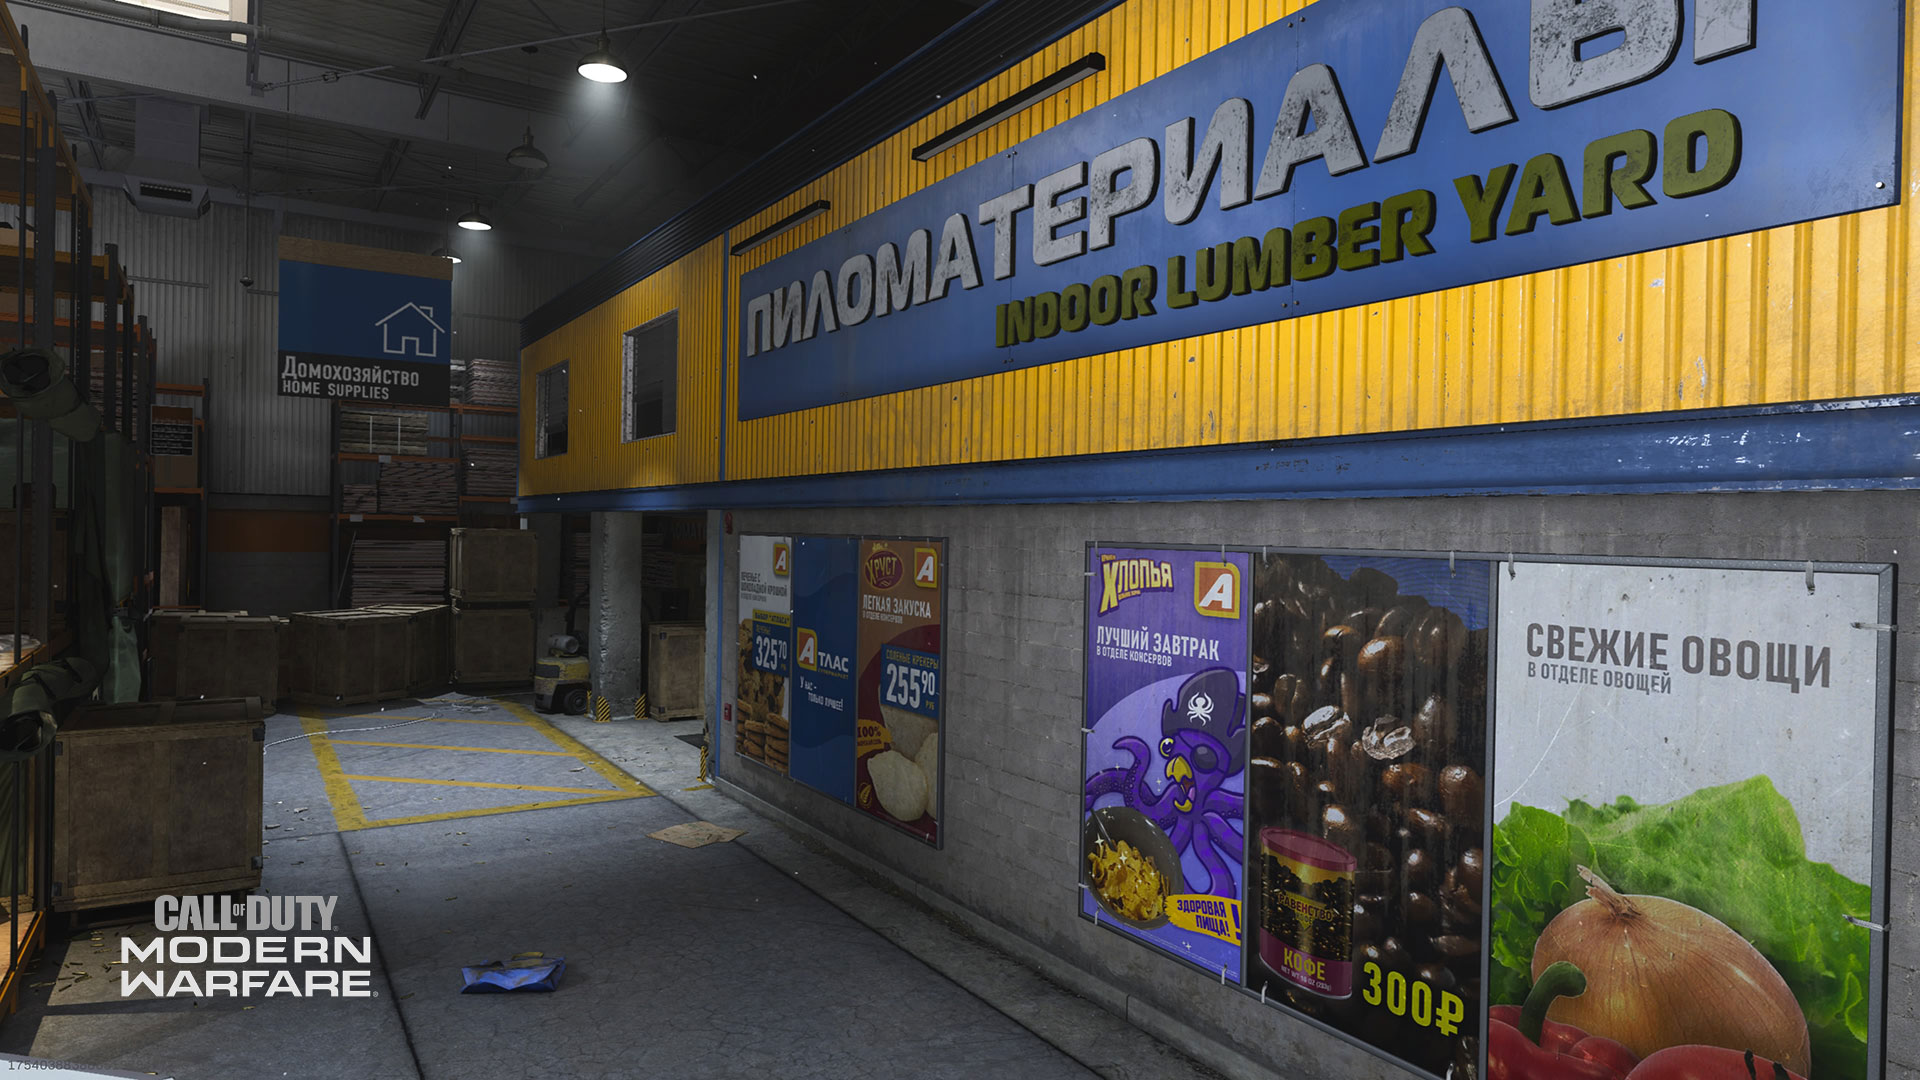
7. Lumber
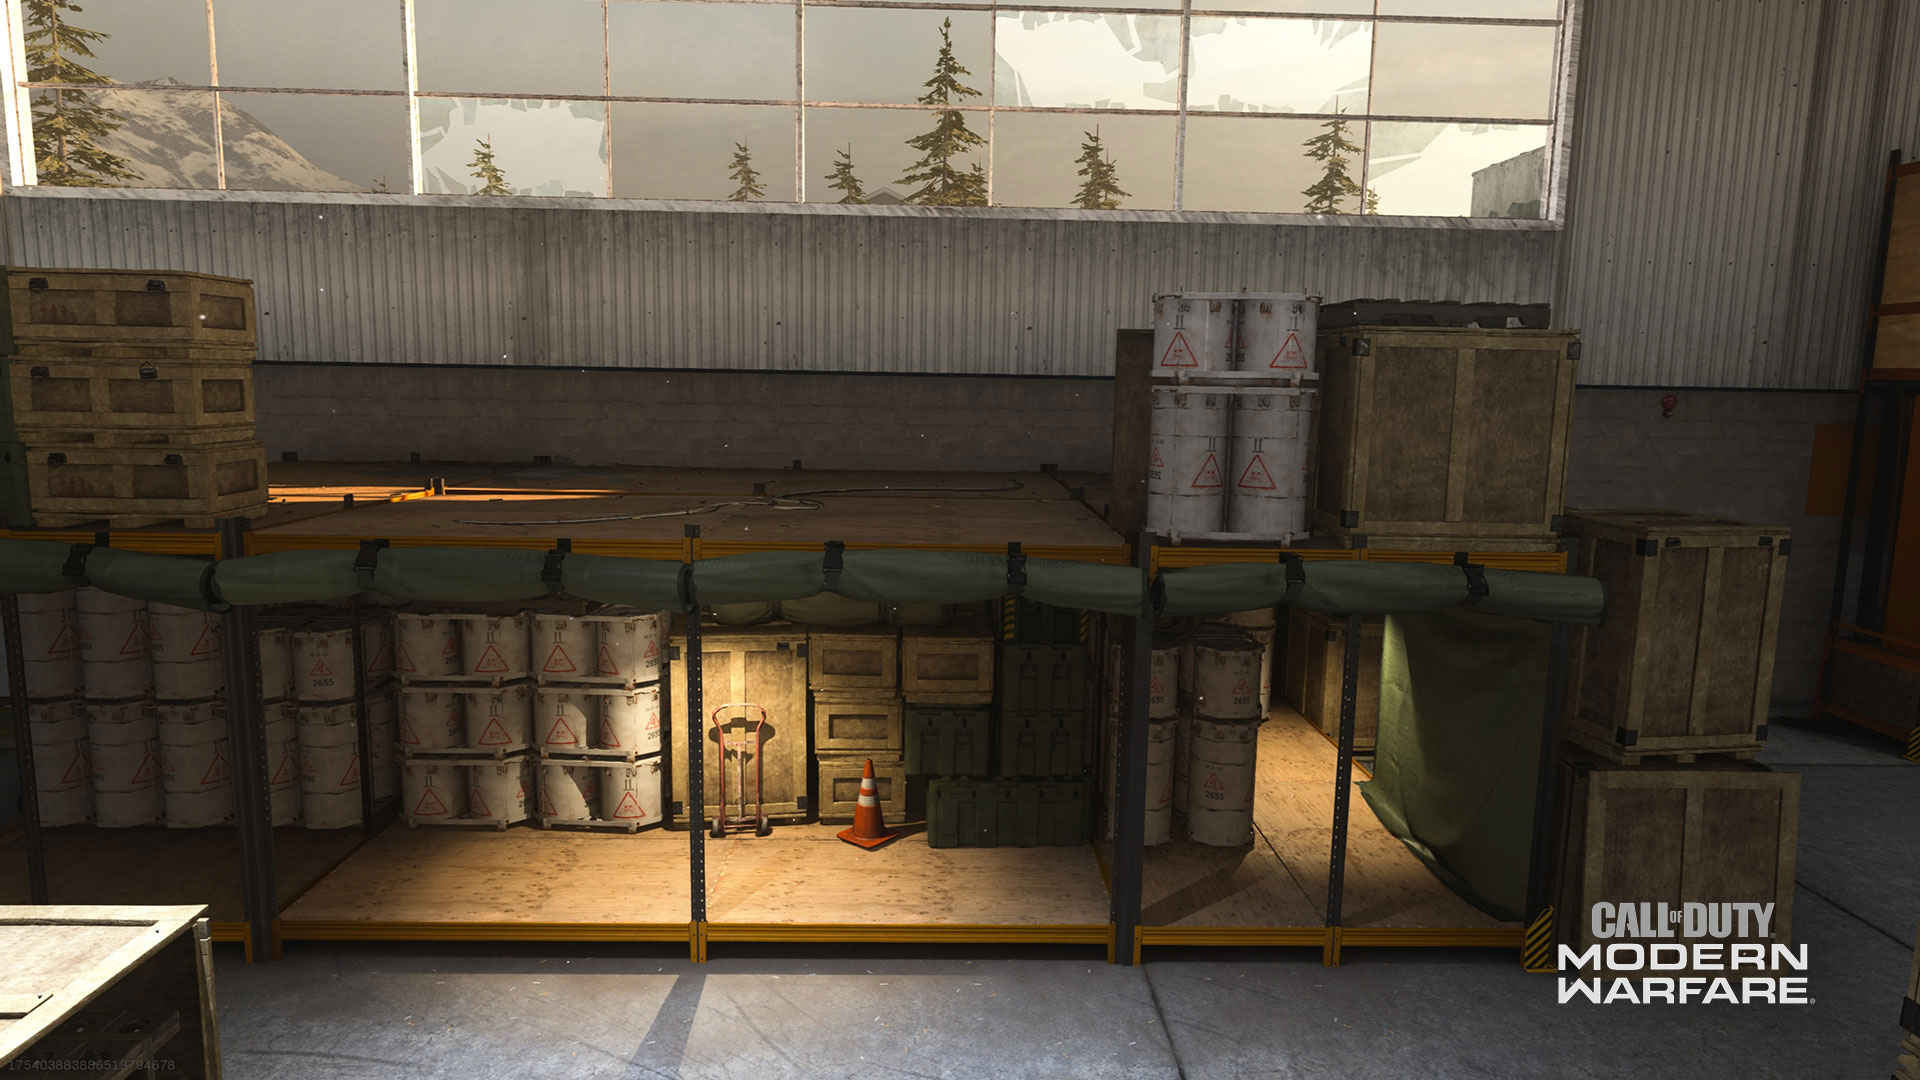
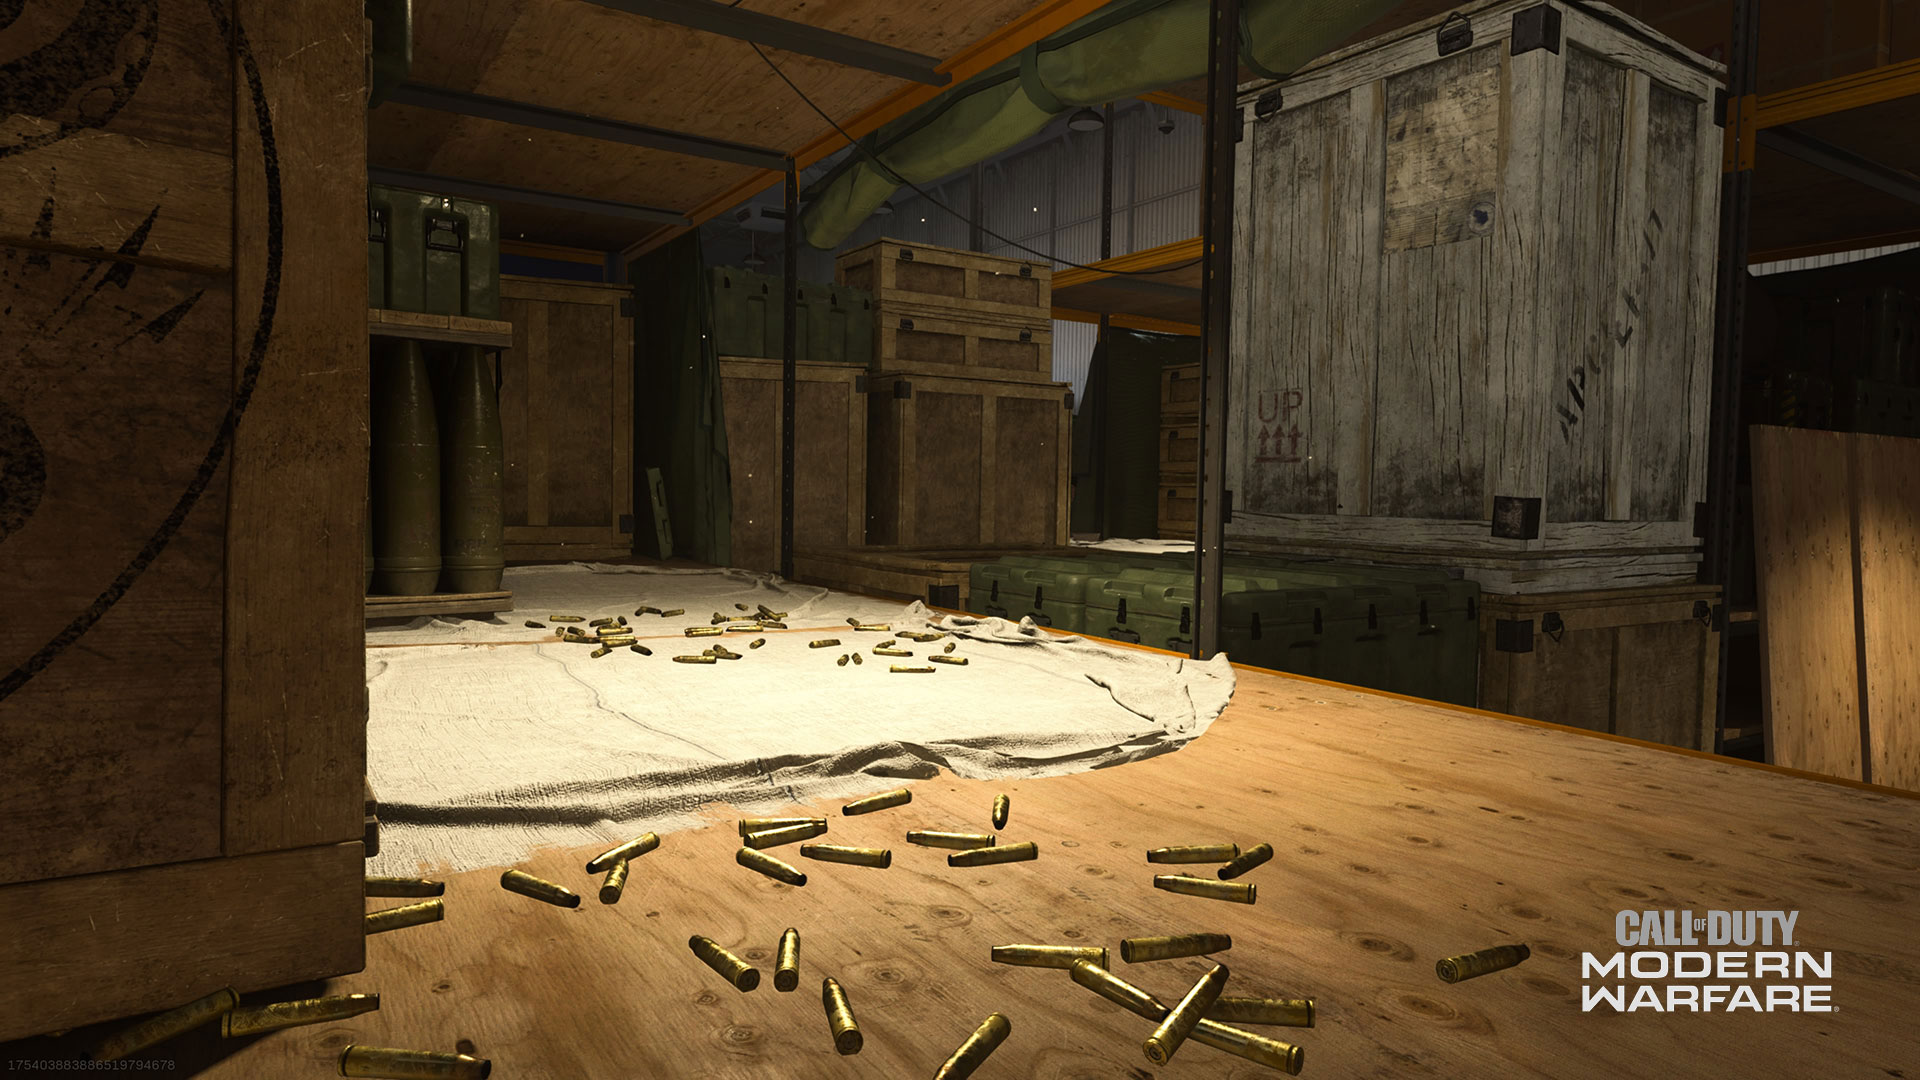
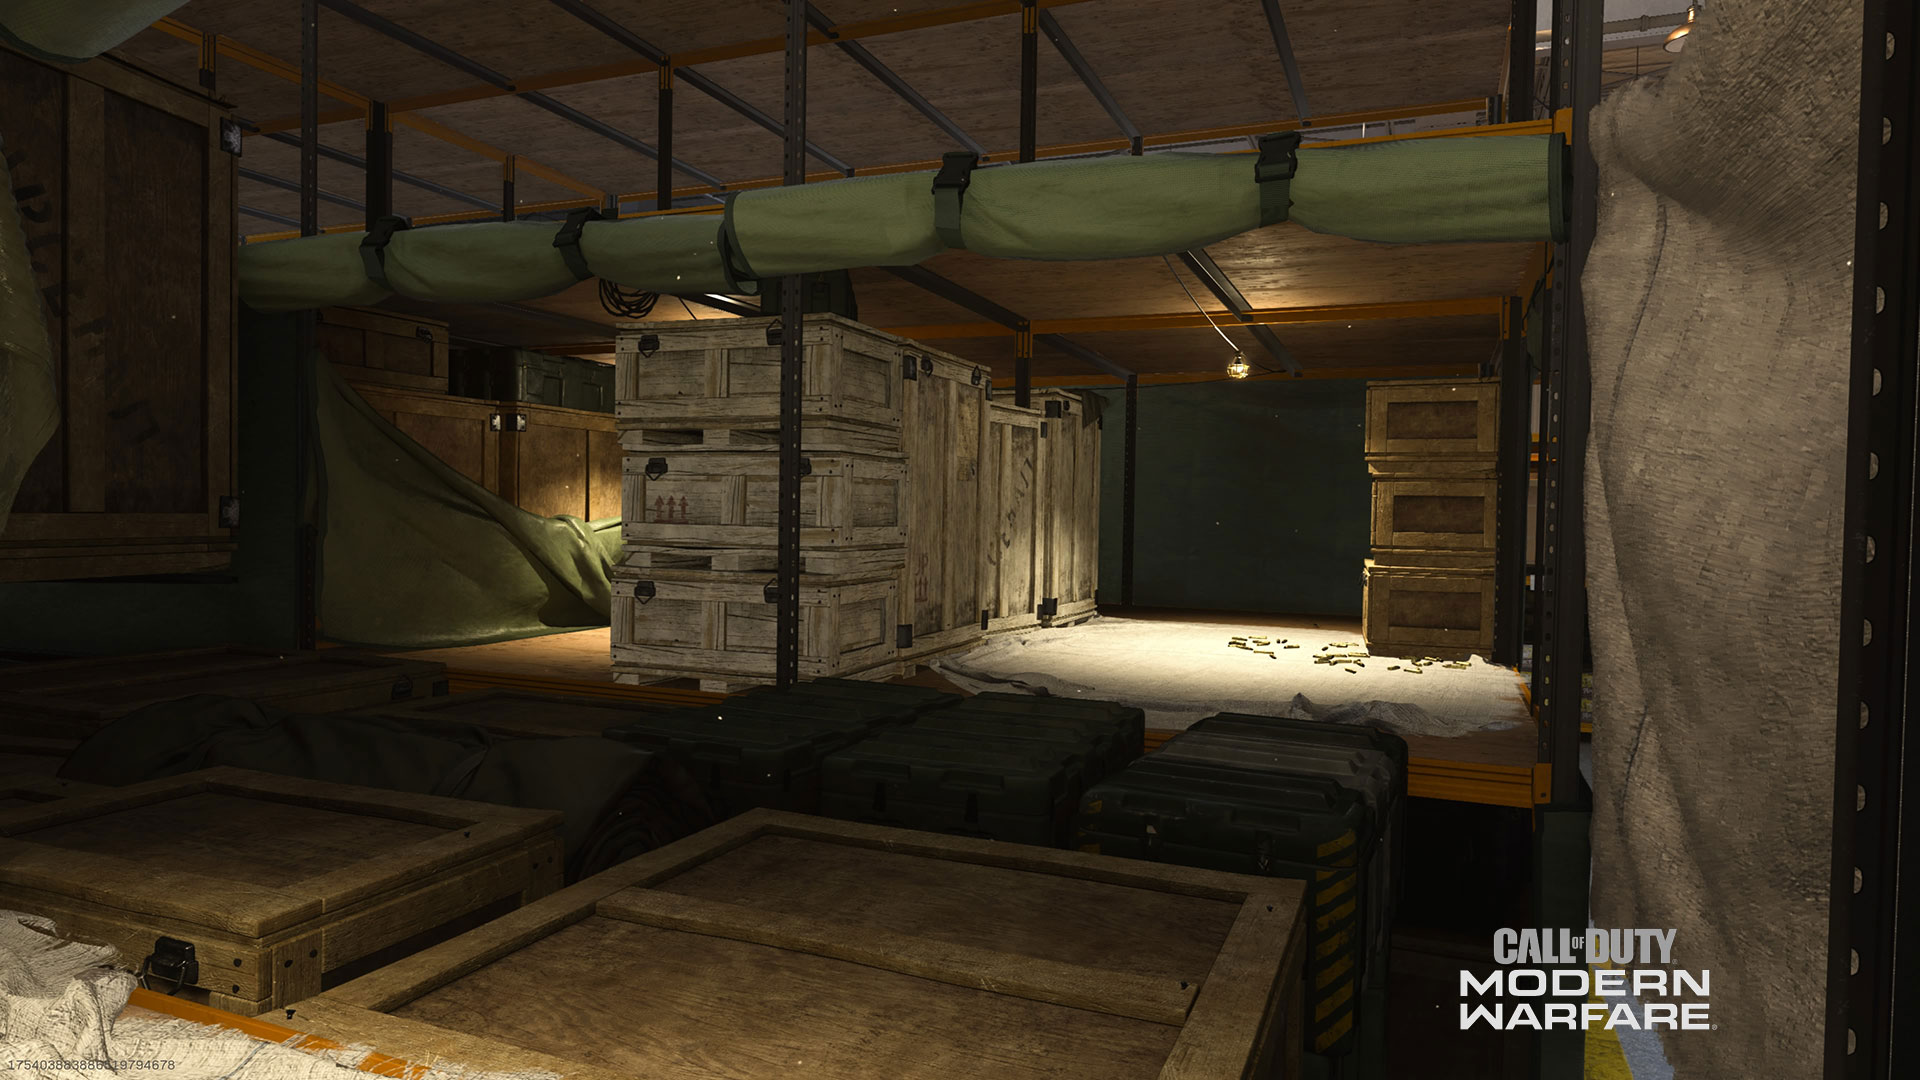
8. Weapons Stash
9. Storage
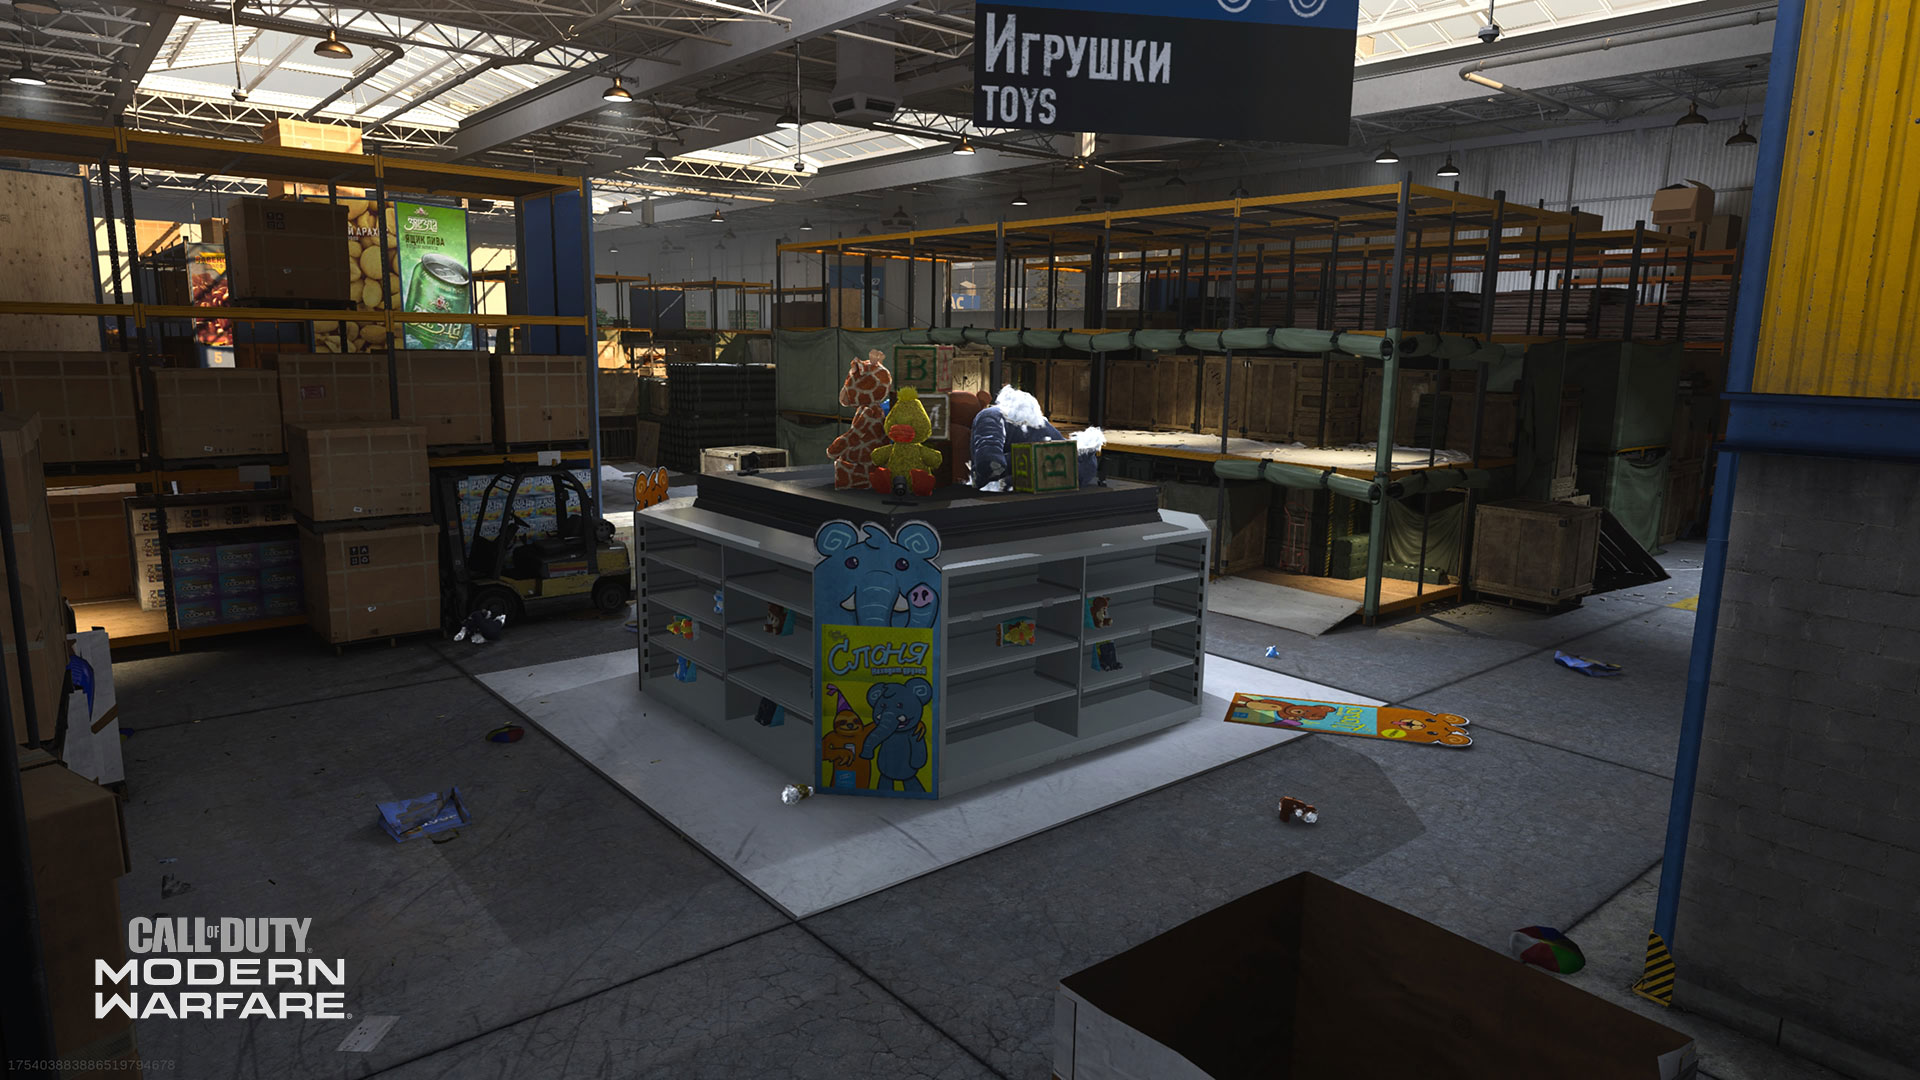
10. Toys
11. Loading Docks
12. Shipping
13. Alley
14. Burgertown
15. Mid Aisle
16. Checkout
17. Electronics
18. Pharmacy
19. Carpenters Office
20. Breakroom
21. Kitchen
22. Freezers
23. Security
Atlas Superstore: Map Overview
Atlas Superstore: Map Zones
Atlas Superstore: Domination
Atlas Superstore: Hardpoint
Atlas Superstore: Headquarters
Atlas Superstore: Search & Destroy
Atlas Superstore: Cyber Attack
Map Zones Breakdown:
Backlot
The Allegiance spawn sees the greatest amount of action in Domination, where the A flag sits behind the trash heap. Set in an enclosed area, E.O.D., Battle Hardened and the Trophy System become invaluable when defending A, while Shrapnel is effective on the attack. Use the trucks for cover and alternately keep an eye on them as possible points of engagement.
At the match start, decide ahead of time whether you want to make a break for the Nursery or the Kitchen, depending on your ultimate destination. The fastest starting team often gains the early advantage in objective modes, which can help carry you through to victory.
Nursery
From Backlot, Nursery offers an easy transition up into Overwatch, offering an ideal vantage point over the action below. On ground level, both Hardpoint and Headquarters have an objective point in Nursery, with potential engagements coming from the west, south, and east. SMGs and shotguns work well in this area, as there are many tight corners bringing the possibility of sudden and close firefights.
Chemicals
Expect a lot of action from the upper level here, with open sightlines into Nursery, Lumber and Mid Stockpile. It’s a risk and reward position, as the power you gain from this advantage in turn makes this zone a hotly contested and often targeted area. The east wall on the lower level can additionally offer cover and add an element of surprise when heading toward Lumber.
Overwatch
Find Overwatch by walking up the entry ramp from Nursery or jumping up from Mid Stockpile or Freezers Mid onto the open shelves. Like Chemicals, Overwatch is a risk and reward position, though to an even greater extent with the number of angles it’s possible to cover. With that extra coverage comes the added threat of attack, so do your work and then get ready to move when the enemy starts closing in. Even if you’re momentarily safe from close up attacks, change up your position often to avoid becoming a predictable target.
Freezers Mid
Snipers and other long-range attackers can knock off enemy players clear across to Toys from this zone. Use it to punish those attempting to rush through the middle, though be aware that you’re vulnerable to close quarters attack from Freezers and Nursery in particular. Utilize those passages to your own benefit when rooting out an enemy sniper positioned in Freezers Mid.
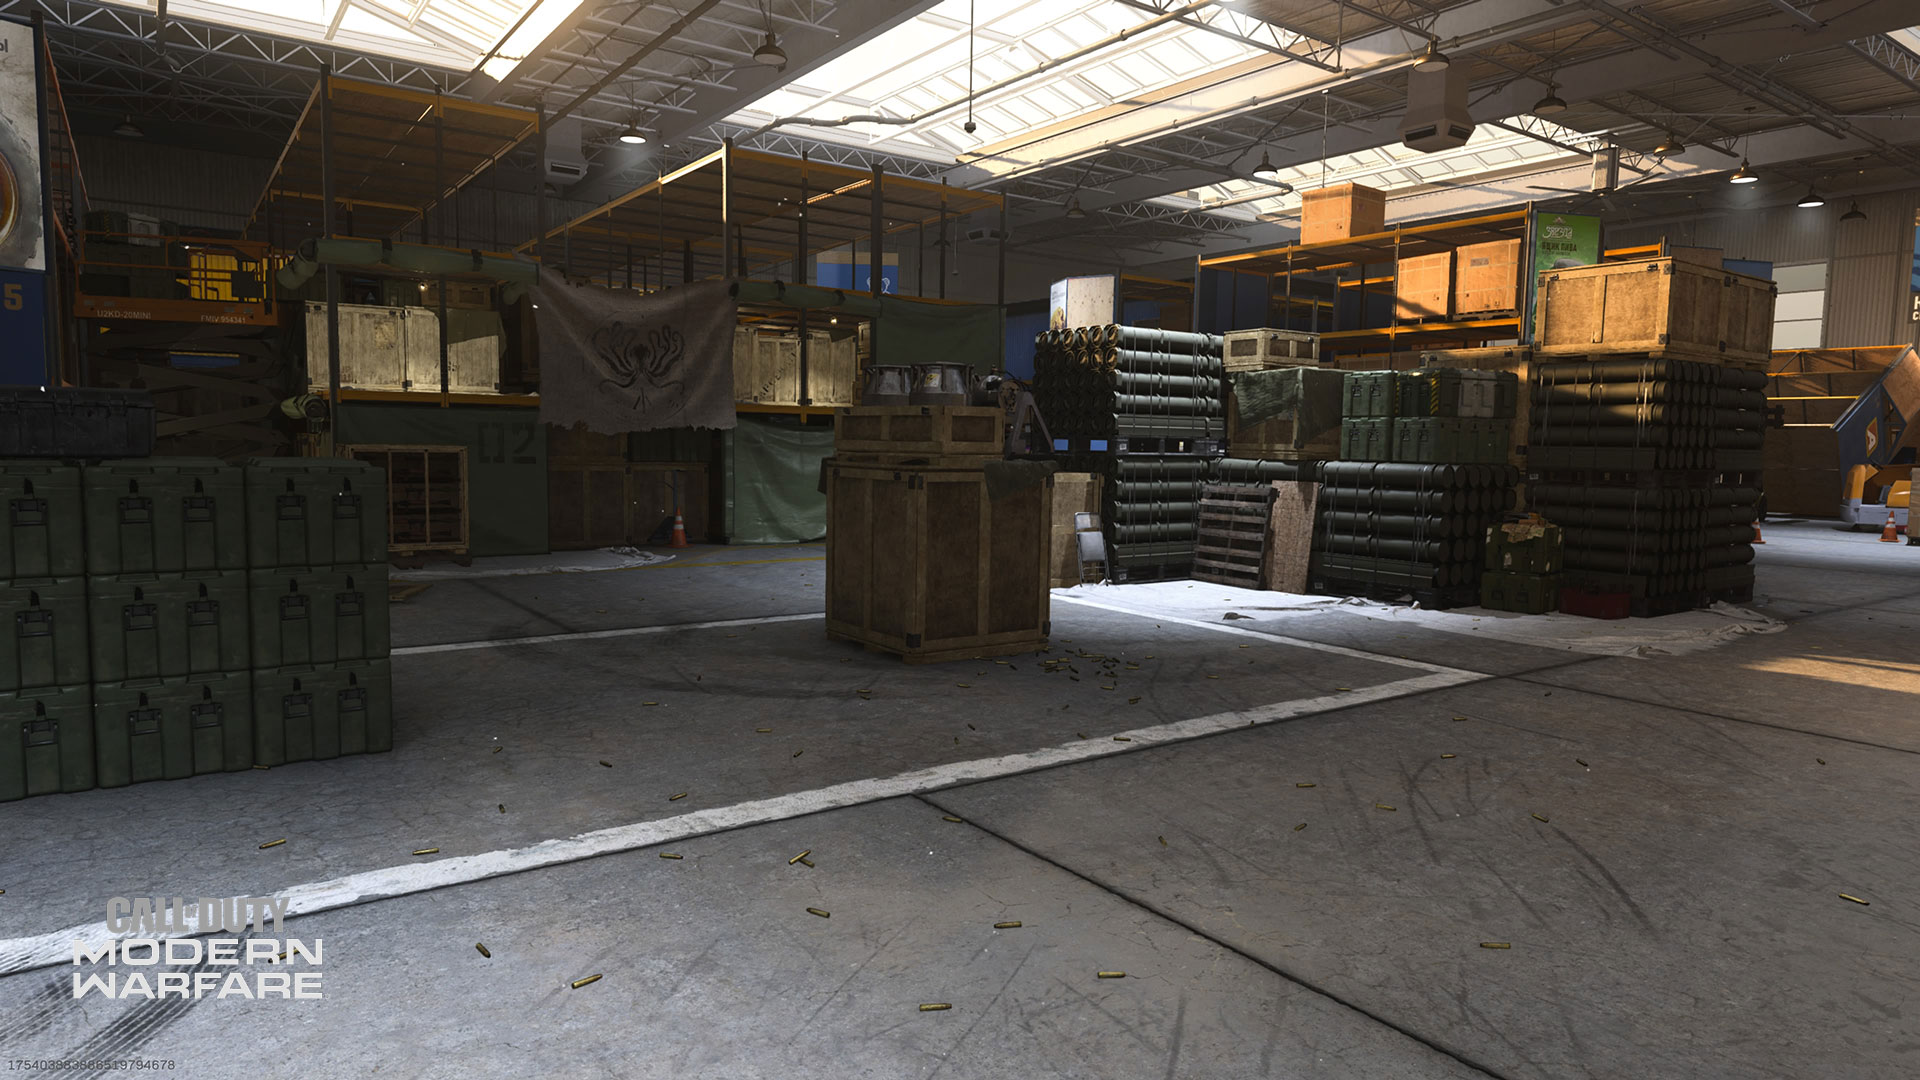
Mid Stockpile
Mid Stockpile is a fairly open and hotly contested zone in several objective modes, with key locations in Hardpoint, Headquarters and Search and Destroy. The vantage points from Chemicals, Overwatch and Weapons Stash can put you in a tight bind if you’re not careful to check your surroundings or approach with teammates in hand. Lead in with a UAV or other surveillance tools for improved intel when approaching this area.
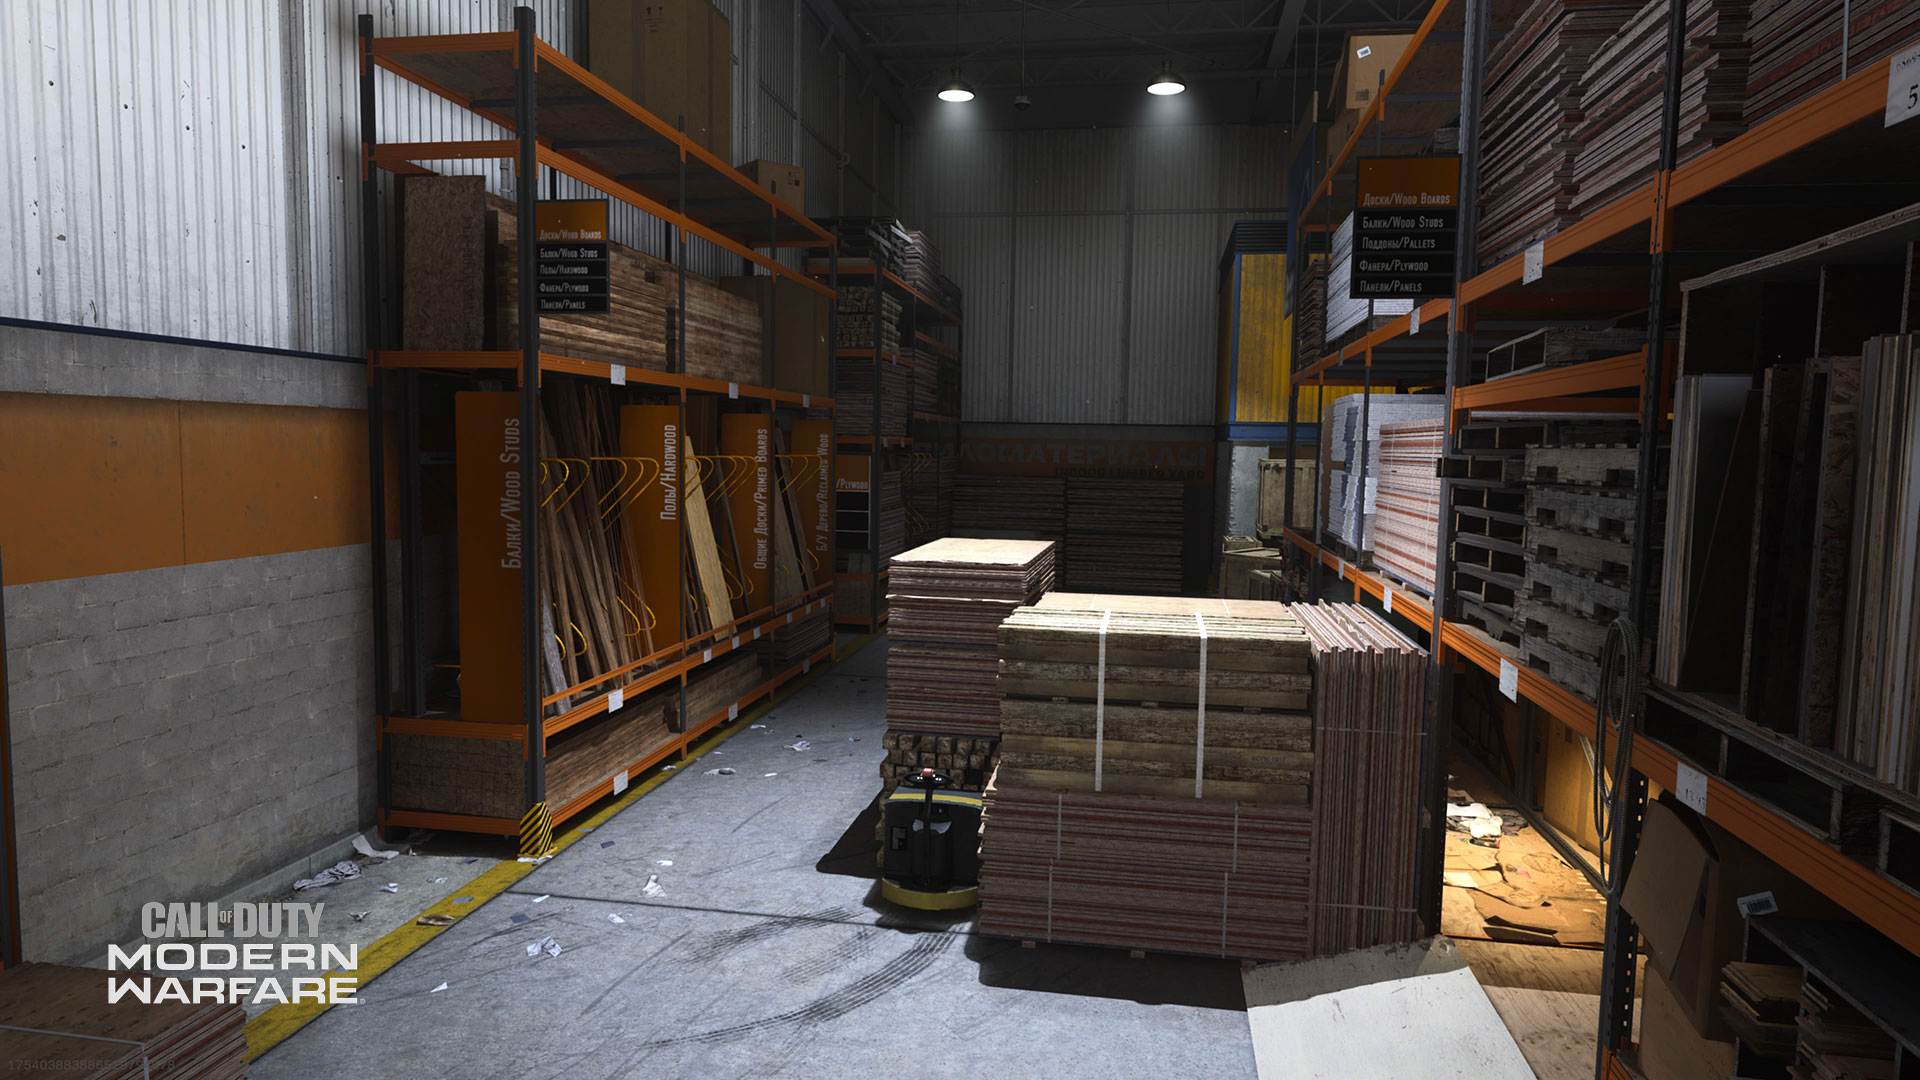
Lumber
Like Nursery, Lumber can lull you into a false sense of security with its seemingly open layout, though there are enough nooks and crannies for enemy players to launch a sudden attack at any moment. Be especially mindful of the breaks between the northern shelves, which can be easily forgotten when sprinting through on your way to another location. SMGs and assault rifles perform well here. For a quick route into Weapons Stash, hop the wooden crates and race up the ramp into the shelving.
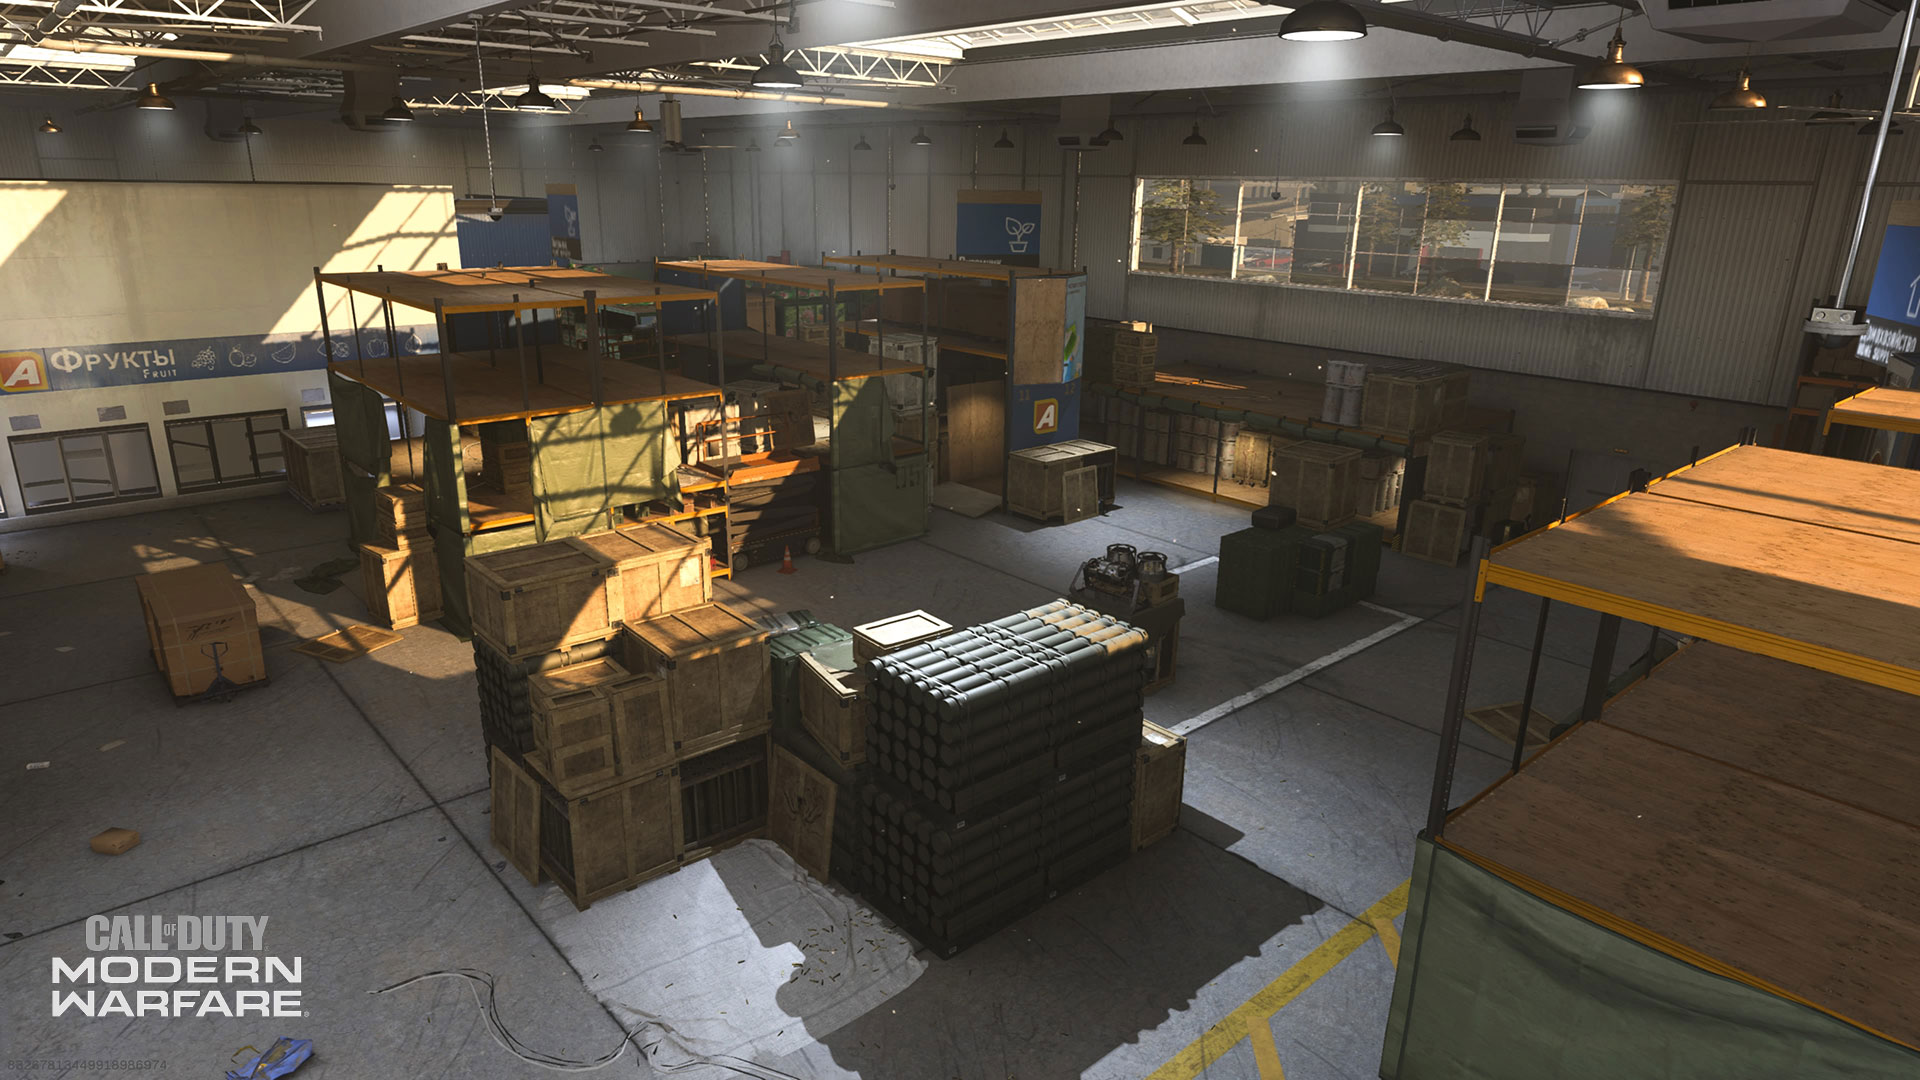
Weapons Stash
Similar to Overwatch, you’ll be climbing up into the shelving to take advantage of the major power positions that Weapons Stash offers, at the risk of heighted vulnerability. The high ground here overlooks several other zones and is best occupied with another teammate for added defense against attackers. Alternately, when clearing it out, time your strike to when the enemy is distracted, thereby increasing your chances of taking them by surprise.
Storage
Shotguns reign supreme in Storage, promising a quick death for enemy players traversing between Lumber and Loading Docks, a common occurrence in Headquarters and Domination. Consider Overkill coupled with an assault rifle when guarding this zone, providing added flexibility to branch out without putting yourself at a needless disadvantage when encountering enemies at a distance.
Toys
Expect plentiful long-range skirmishes between here and Freezers Mid, as well as close up action in Headquarters, Hardpoint and Cyber Attack. Even though Toys is a major thoroughfare for action on the east side of the store, it’s hardly exclusive to long sight lines. A swift moving close-quarters loadout can make quick work of opponents stationed here. And if you need to reposition to the bottom of the map, utilize the Toys Shortcut route for quick access into Burgertown.
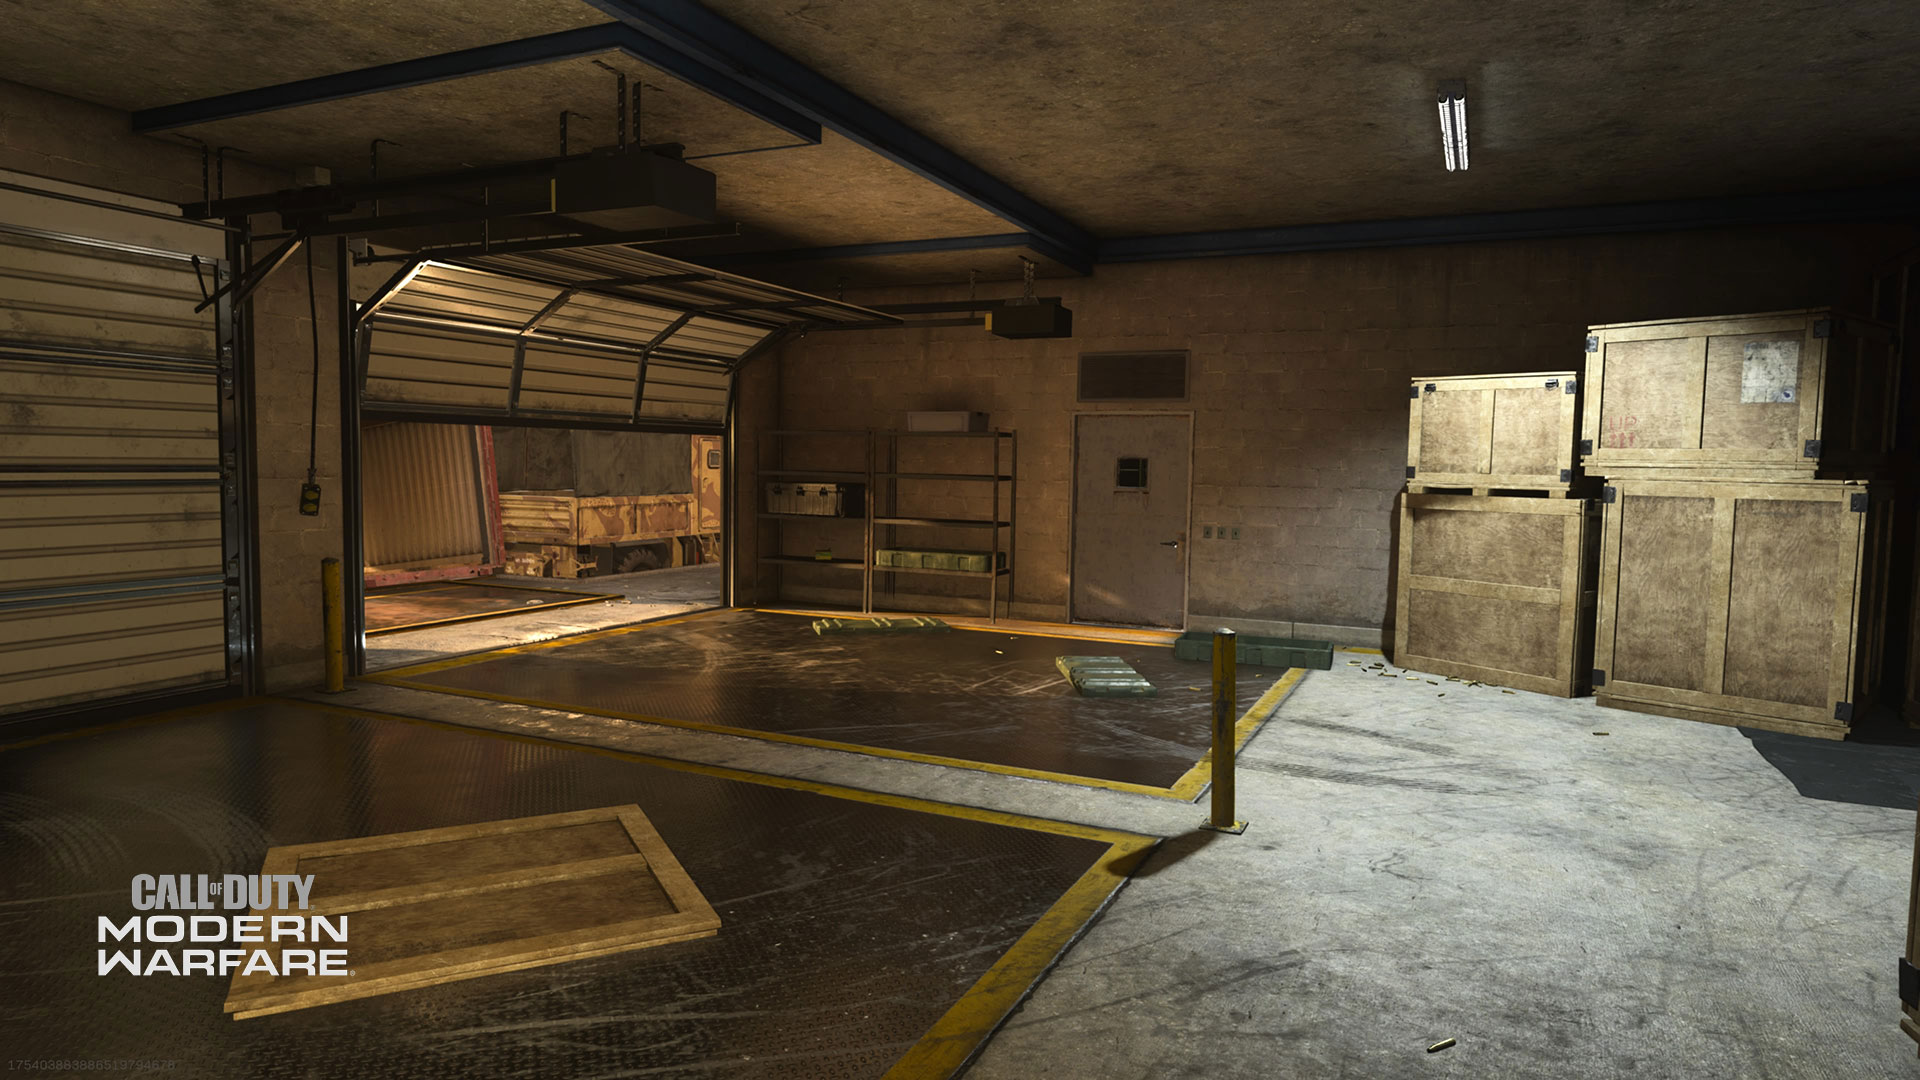
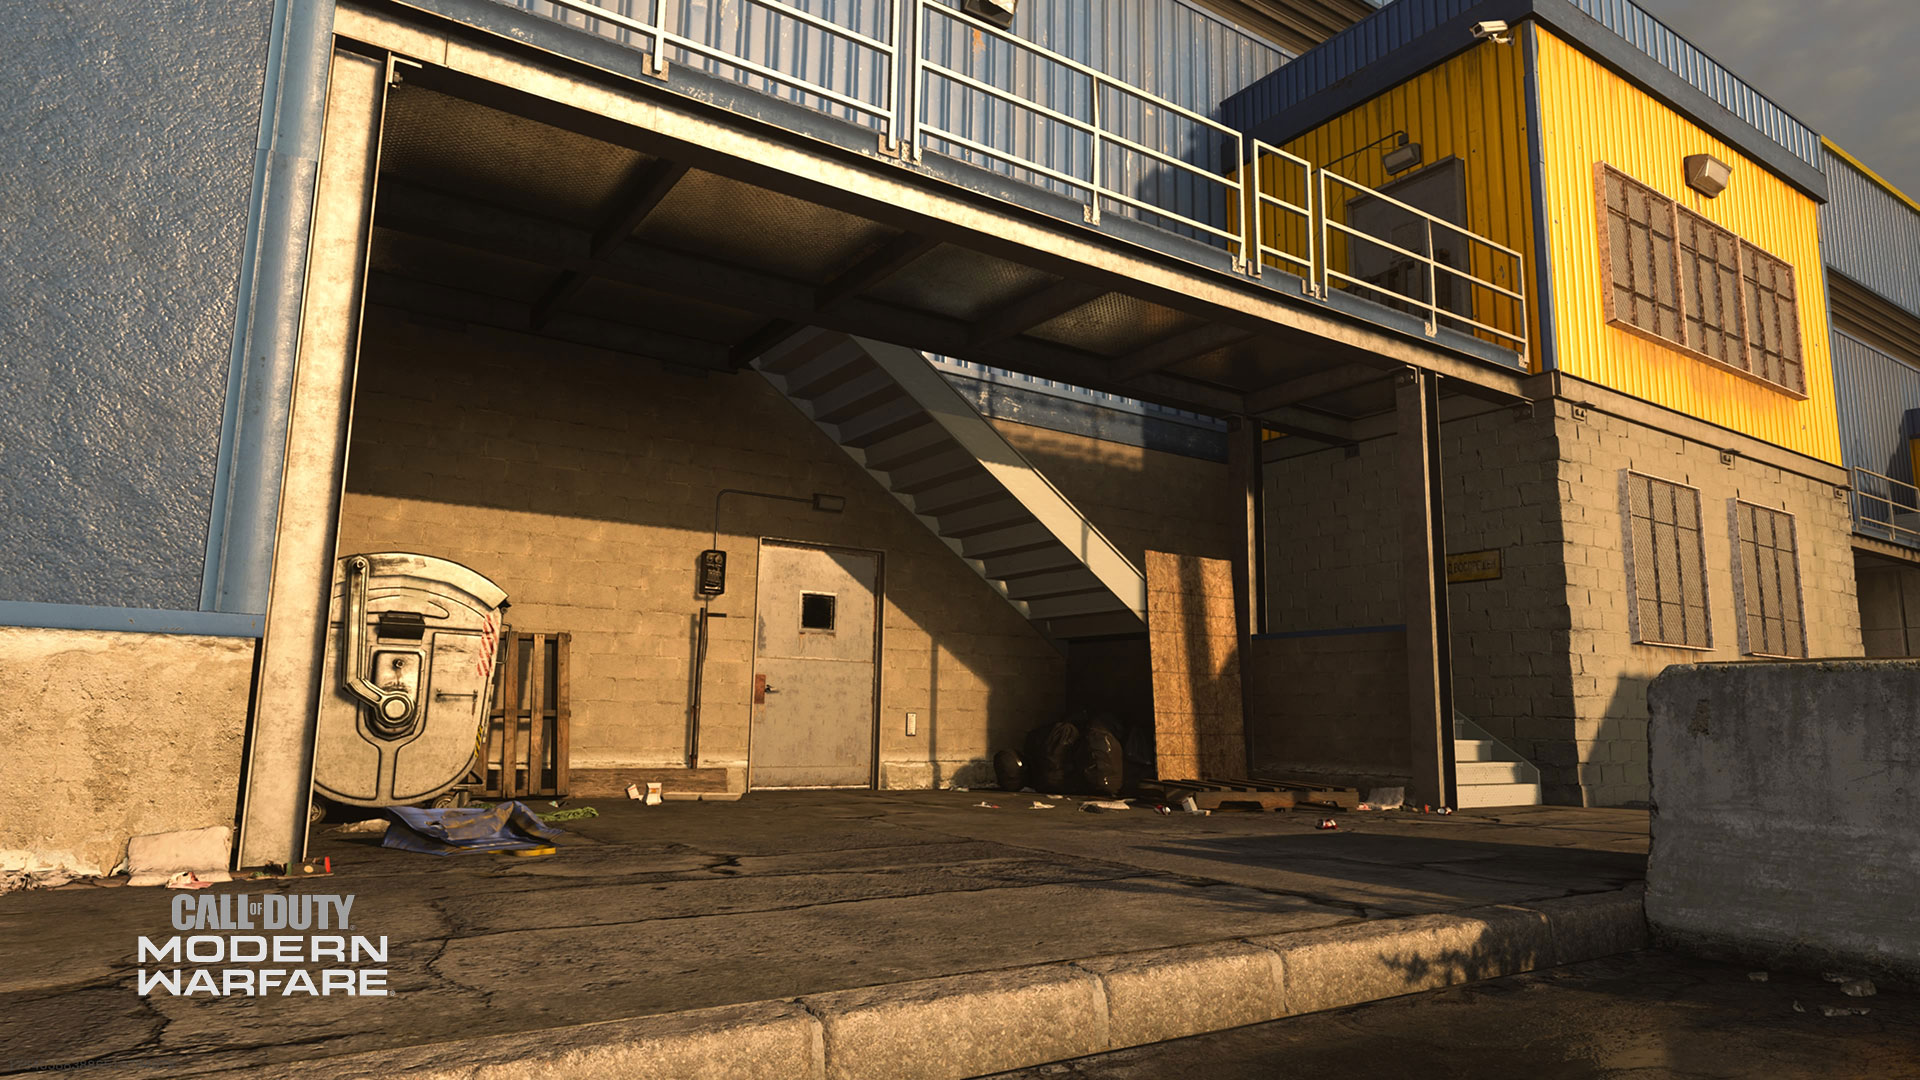
Loading Docks
The Coalition’s starting point, Loading Docks is situated in the map’s biggest outdoors location, meaning aerial killstreaks become more effective when the fight is focused here. It’s also the point of Domination’s C flag, making this zone especially dangerous in that game mode. With few mantling opportunities, gunfights take place on an even level, rewarding a fast draw and steady aim, which you’ll need to attack enemies coming from inside the store and from Alley and Shipping.
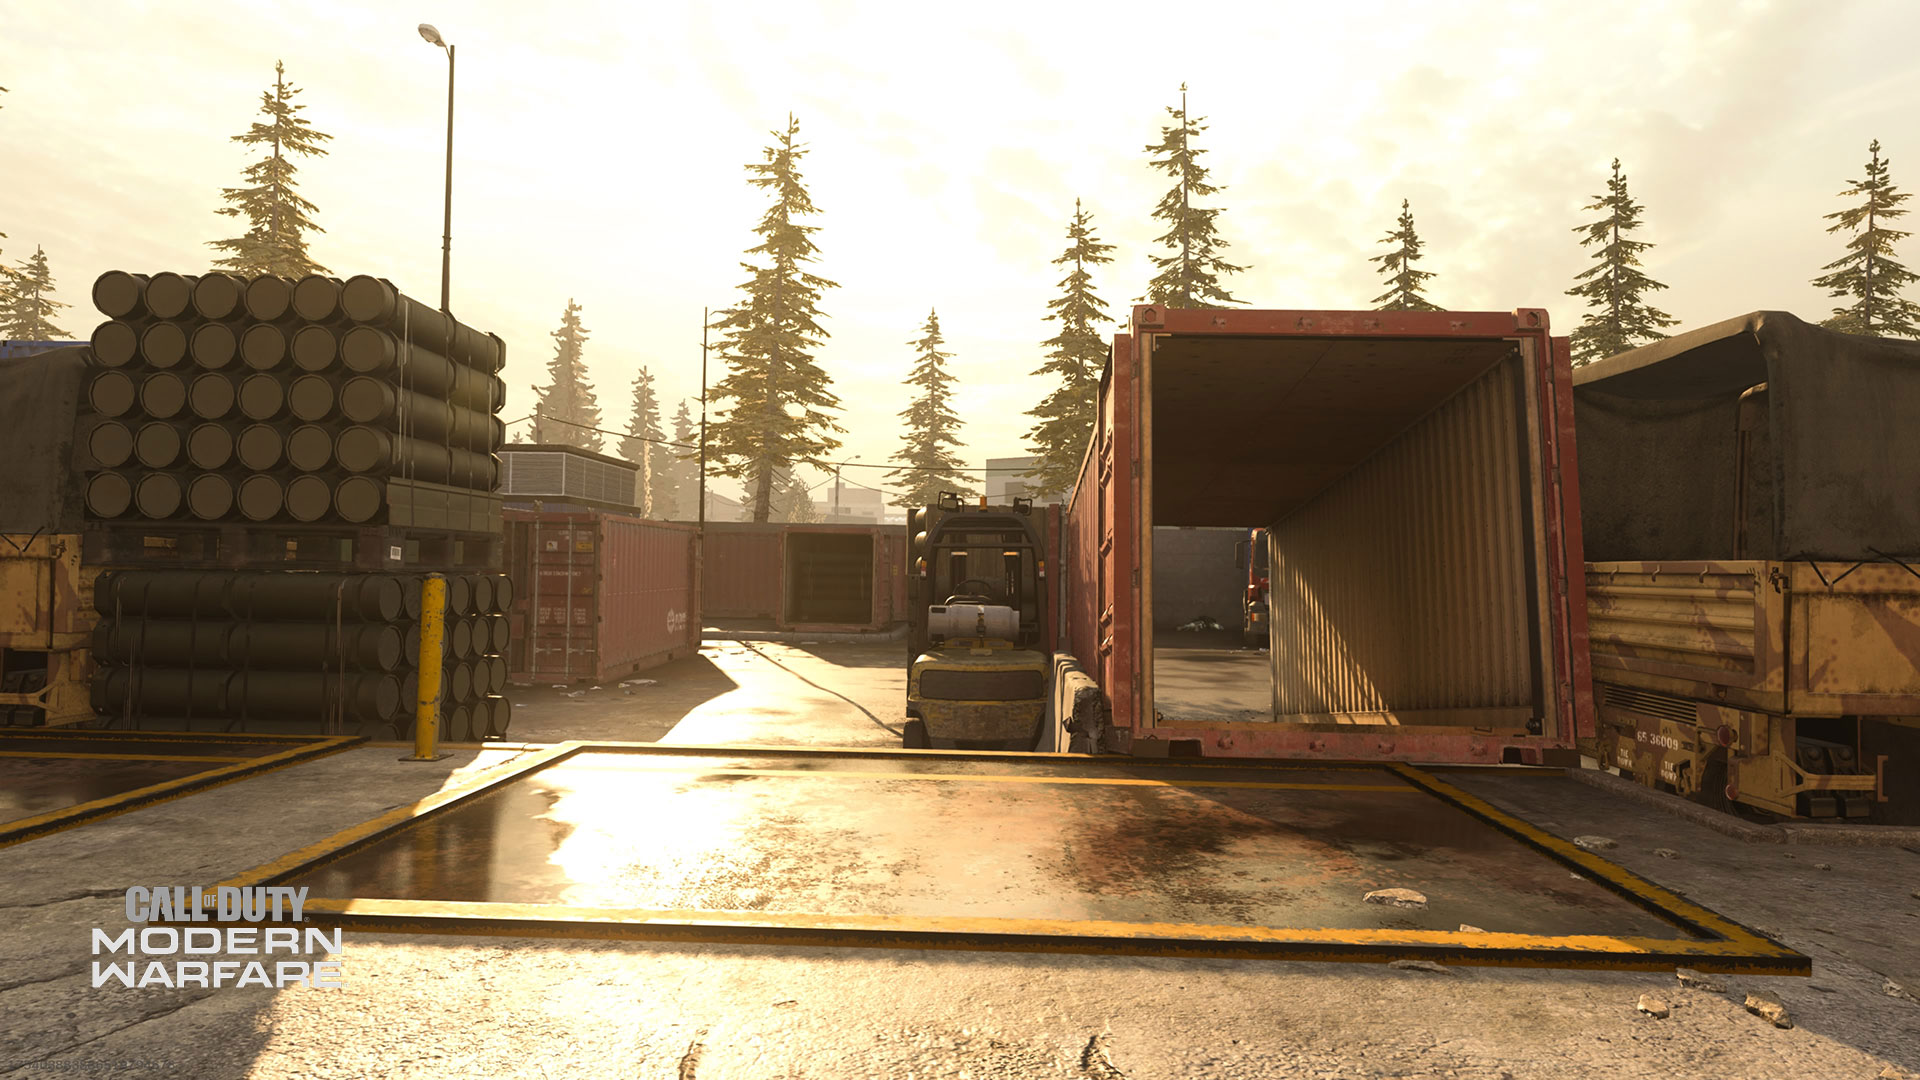
Shipping
If you can rush through Alley without being spotted, Shipping makes for a strong attacking point toward the C flag in Loading Docks in Domination matches, as the enemy’s attention is often focused on attacks coming from the indoor zones. Keep moving through Shipping after netting some quick kills, or you risk exposure to Lethal and Tactical grenades getting a hit on you in the confined space.
Alley
Alley offers a great power position overlooking Loading Docks and ground floor Alley. Race up the stairs abutting Burgertown and use that height advantage to help clear enemy threats below. When the outside is clear, or if you need an escape, head through the door into the Security office for a nice view over Burgertown. Just be ready to move if you gain the enemy’s attention.
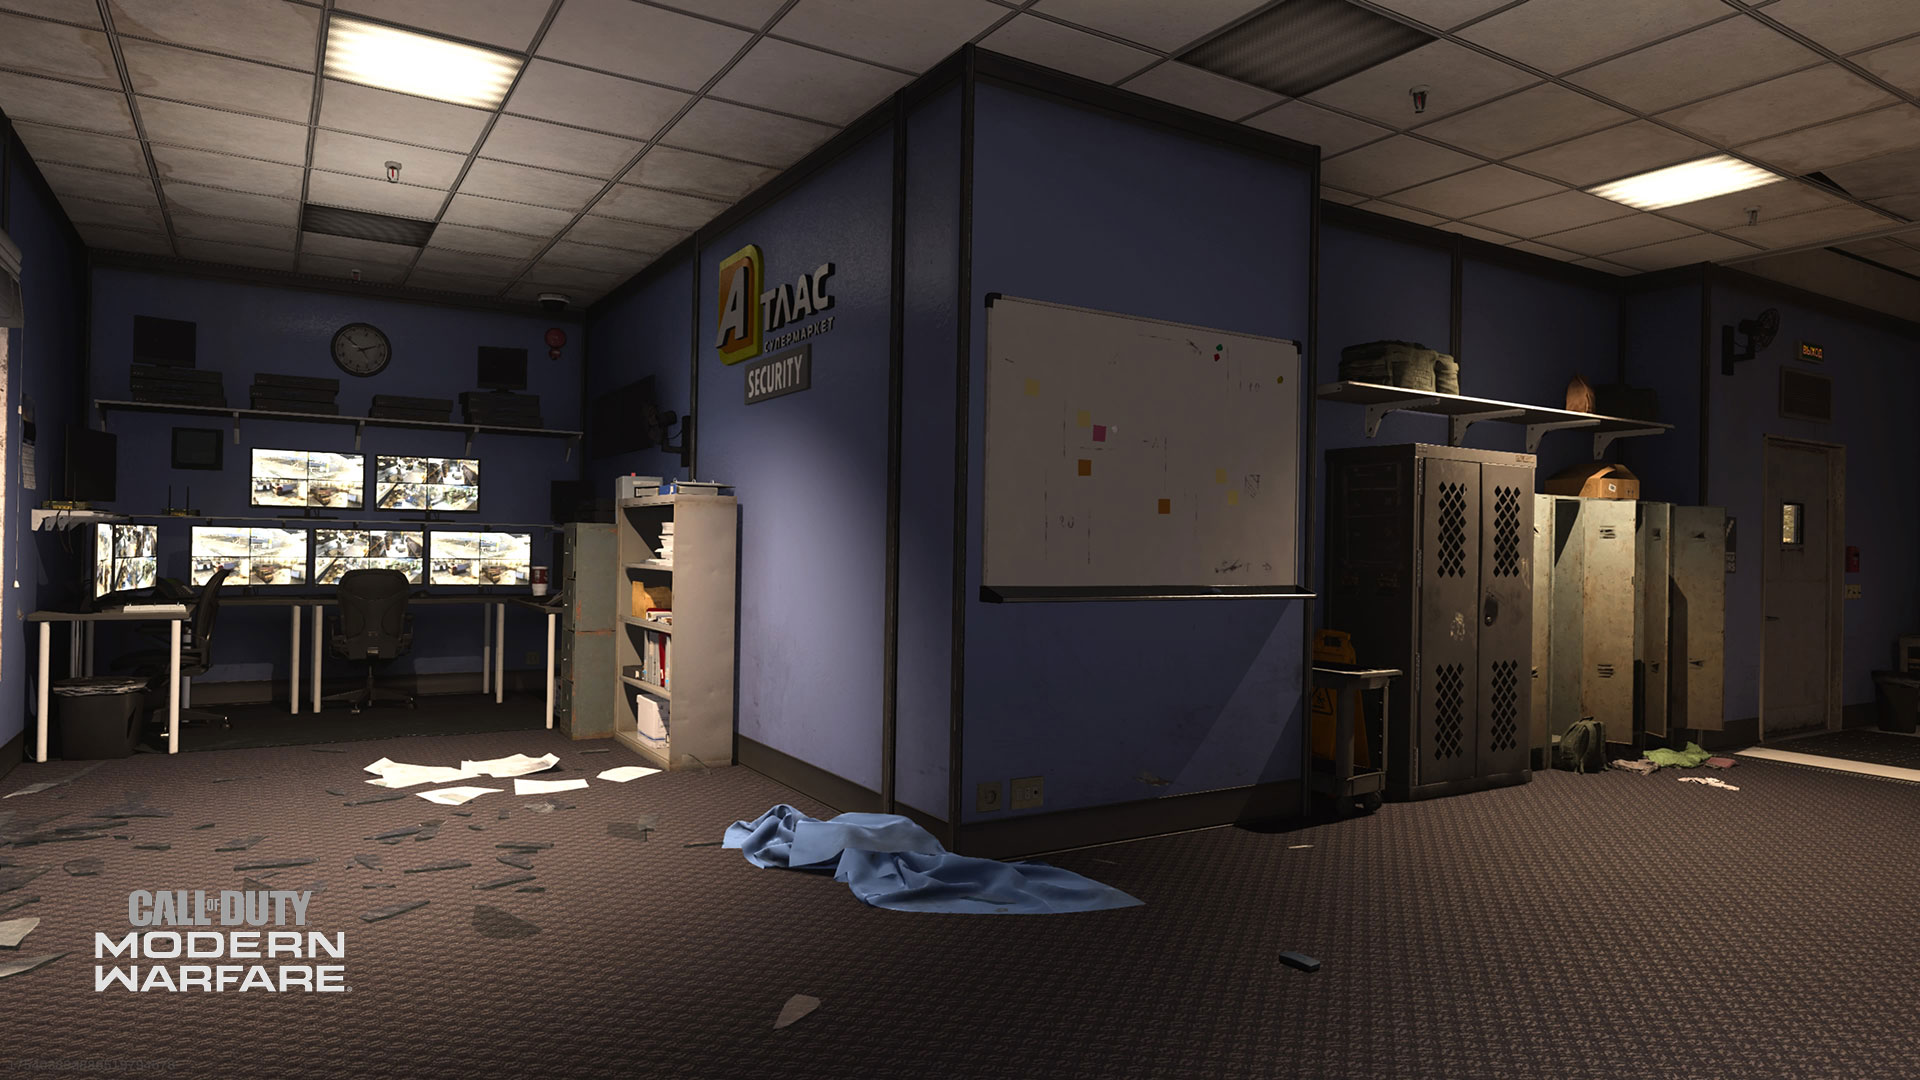
Security
Accessed from Alley and positioned above Burgertown, Security offers a sight line straight across the map into Carpenters Office, so expect a lot of sniping and counter-sniping between the two zones. If you’re more concerned with clearing out Burgertown and Checkout below, angle yourself away from view of the Carpenters Office window — just watch those thin walls, as eager opponents can still land penetrating hits.
Burgertown
Set aside your cravings and focus on the task at hand. Burgertown is another major thoroughfare leading to objectives in Cyber Attack, Domination, Headquarters, Hardpoint, and Search and Destroy, usually stationed in the nearby Checkout zone. The toppled shelving unit here offers some much-needed cover for a surprise route, while the boxes and condiments station supply reliable cover.
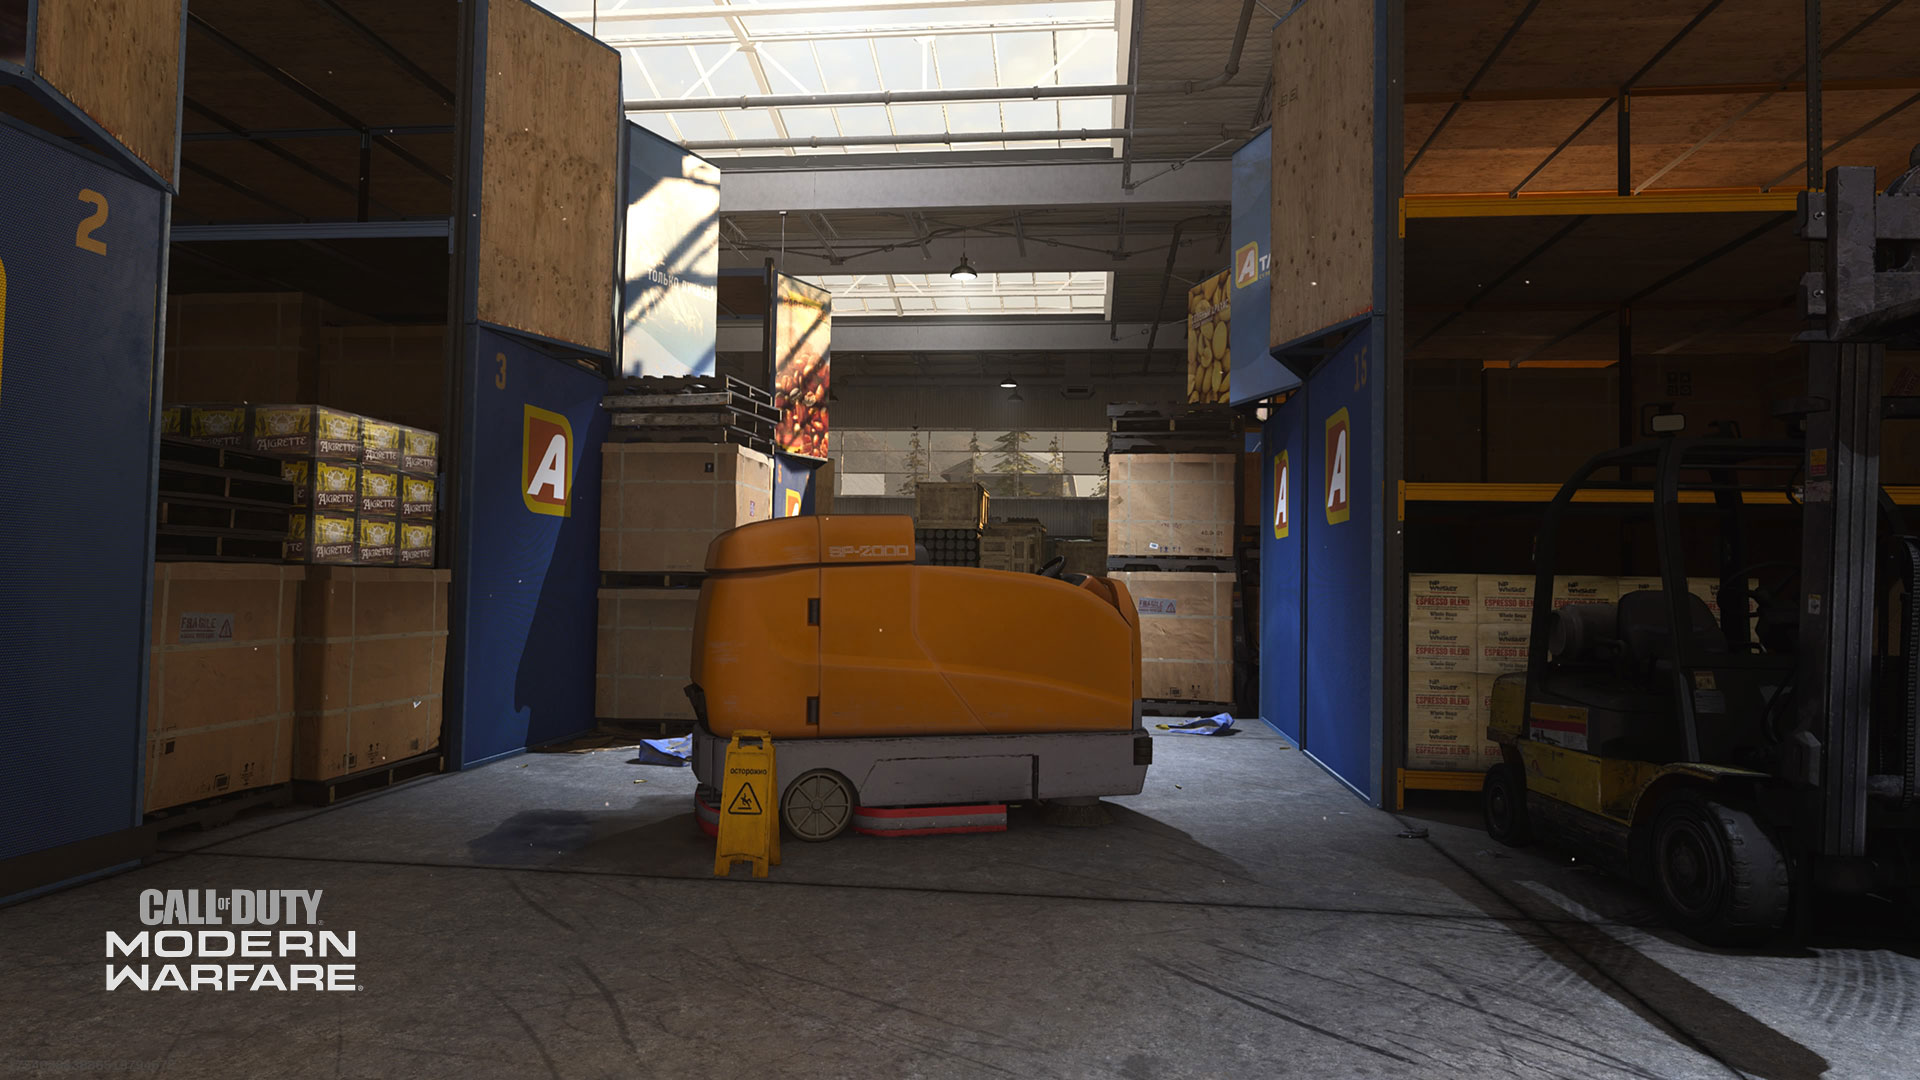
Mid Aisle
The most important item here is the orange sweeper, which can block you — and enemies — from view when heading up or down the middle map. Expect a lot of action centered here around the B flag in Domination, and toward potential objective points in Hardpoint and Headquarters, and don’t hesitate to lead with your grenades, even if you’re not sure whether or not somebody might be on the other side. Better safe than sorry.
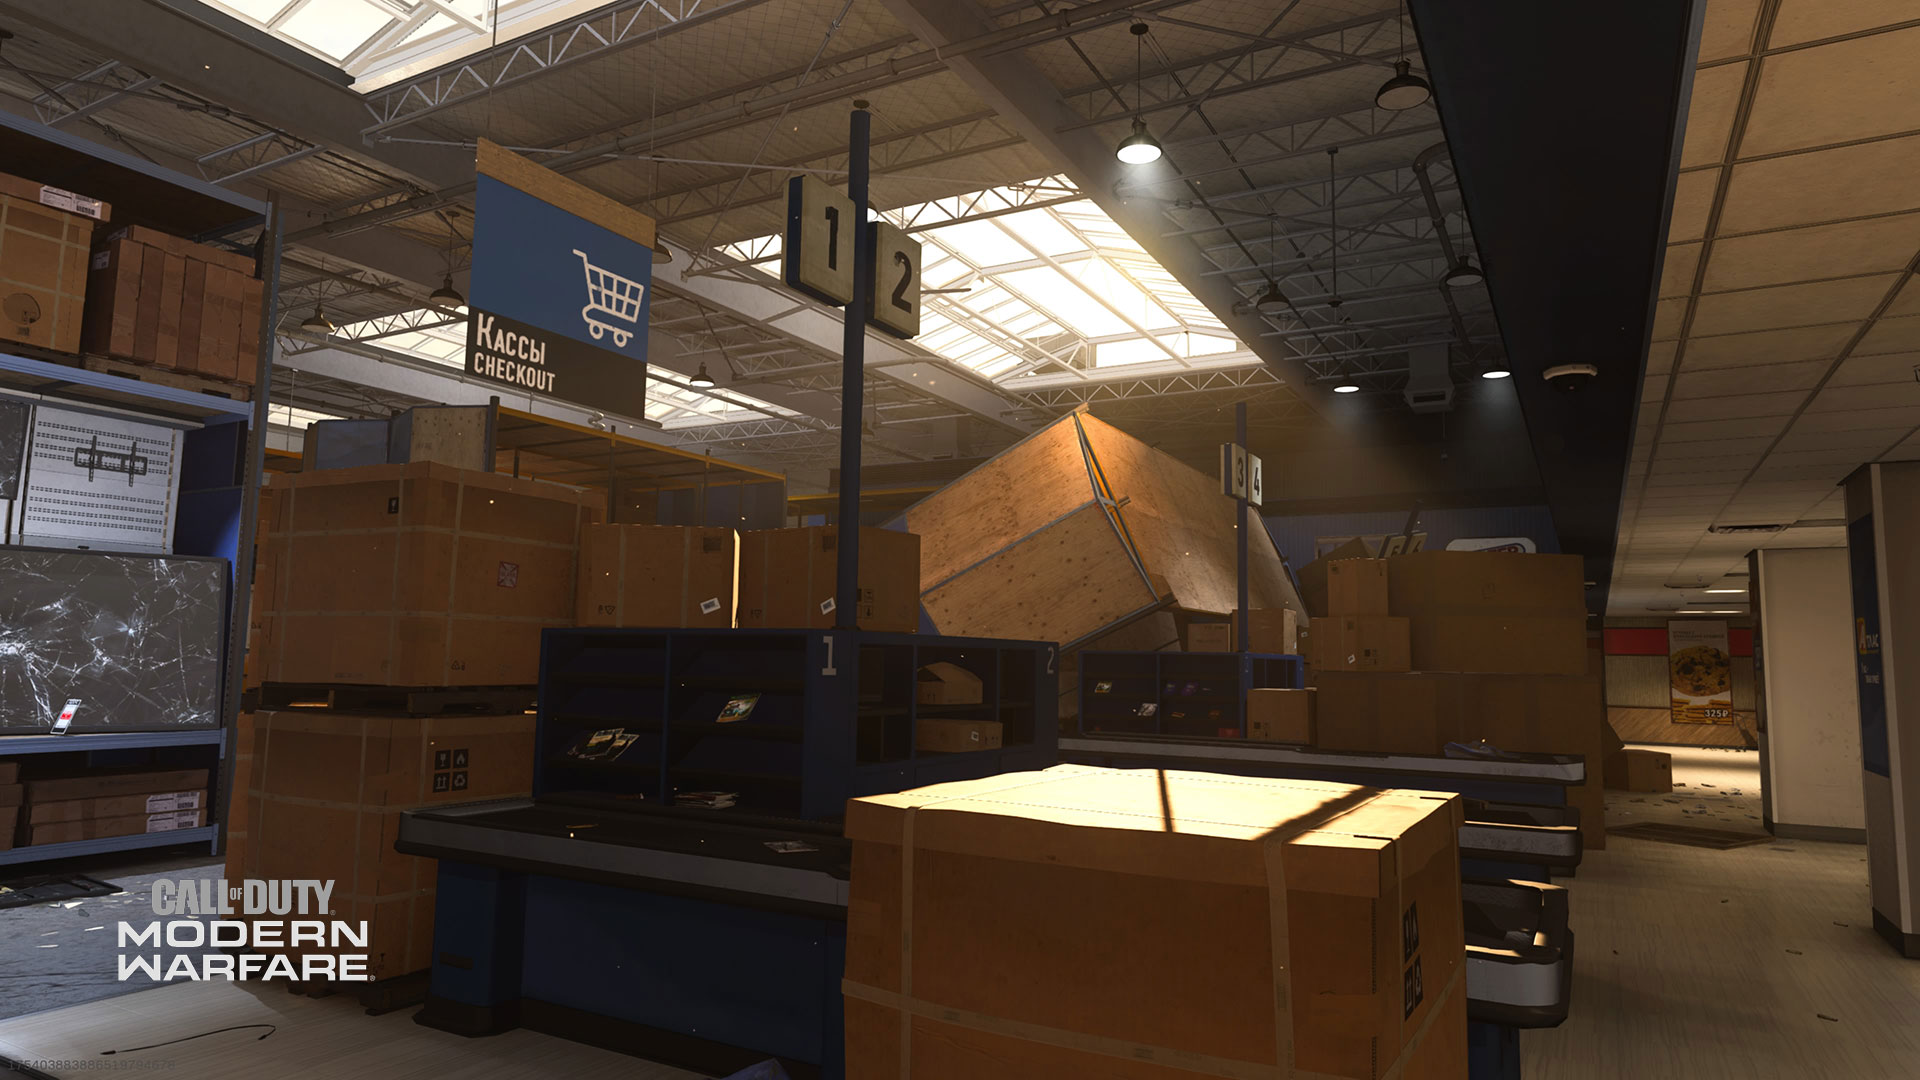
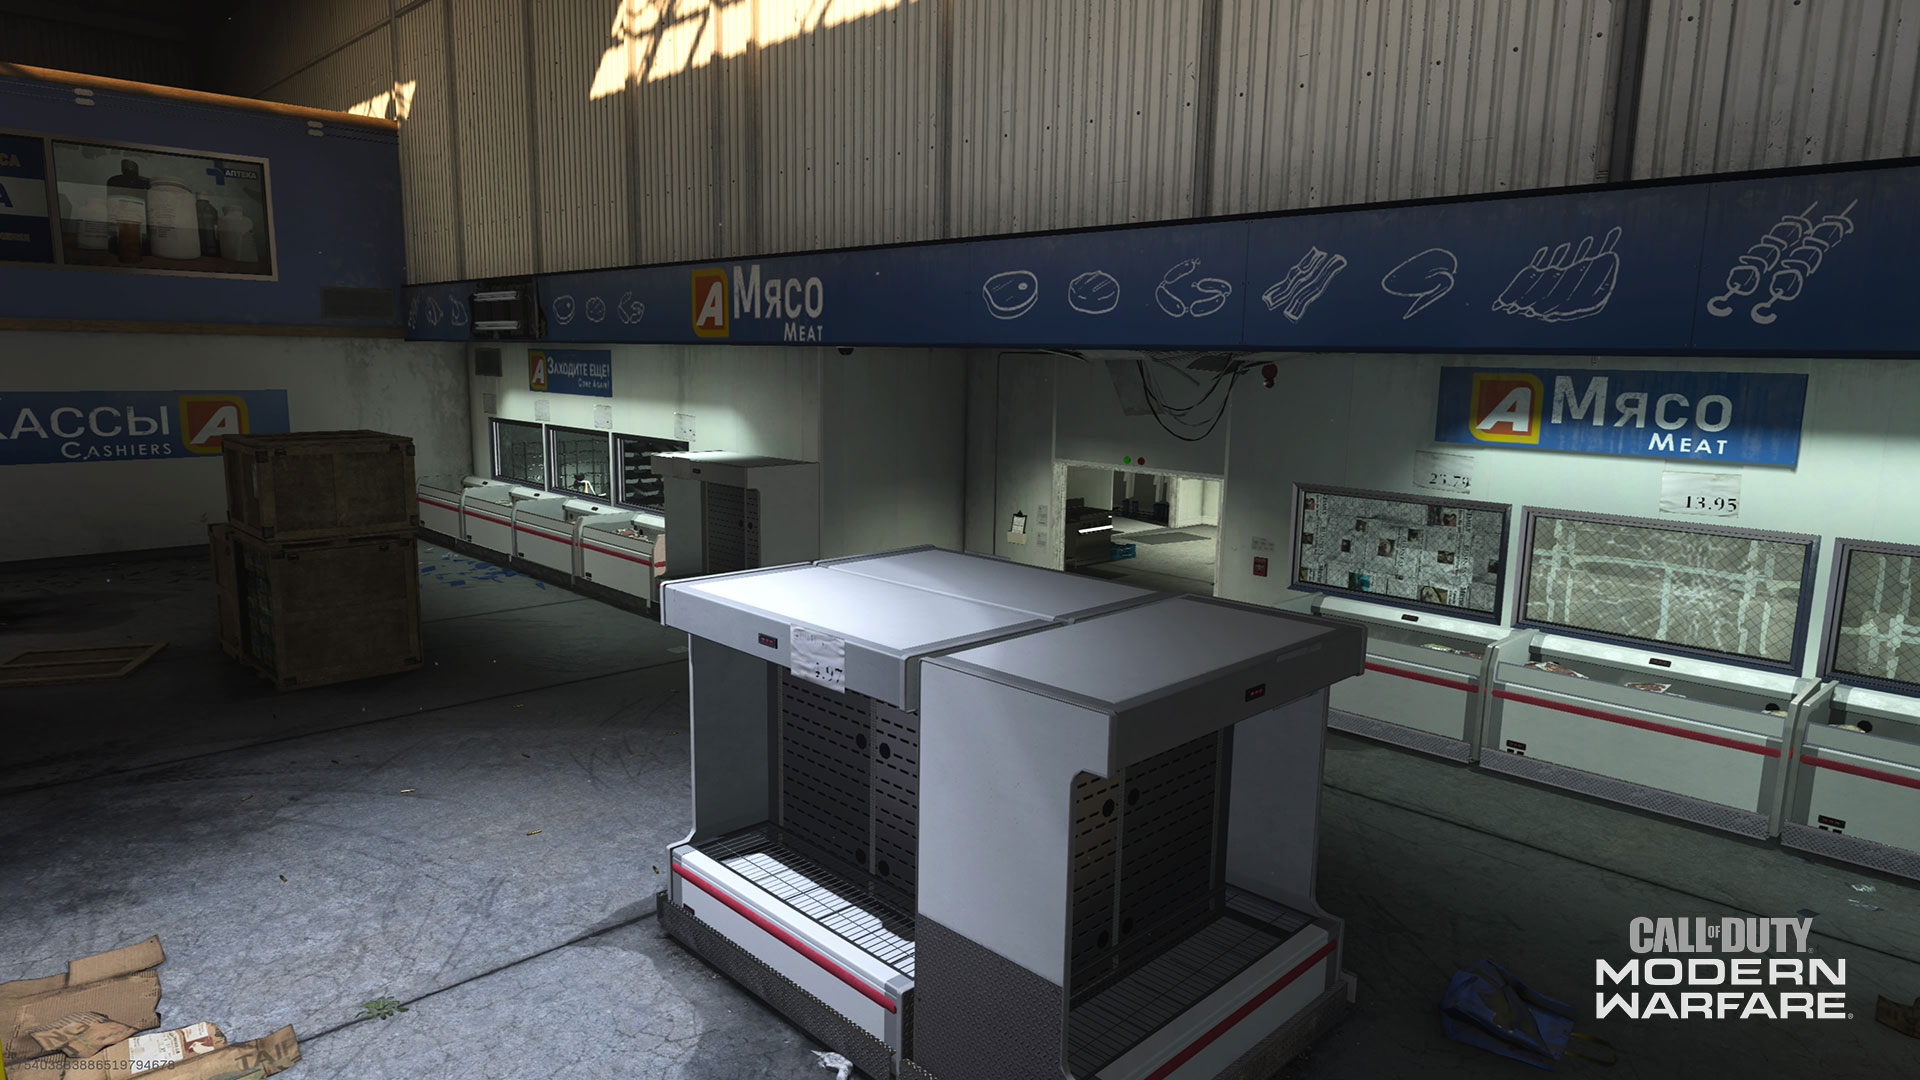
Checkout
In a fairly open space, Checkout leaves defenders vulnerable to attack. The checkout stand may offer the best point of cover, though watch out for snipers attacking from the Carpenters Office window to the west. Generally, though, this is an area you either want to move quickly through or out of as soon as the objective is completed, opting for less exposed ground.
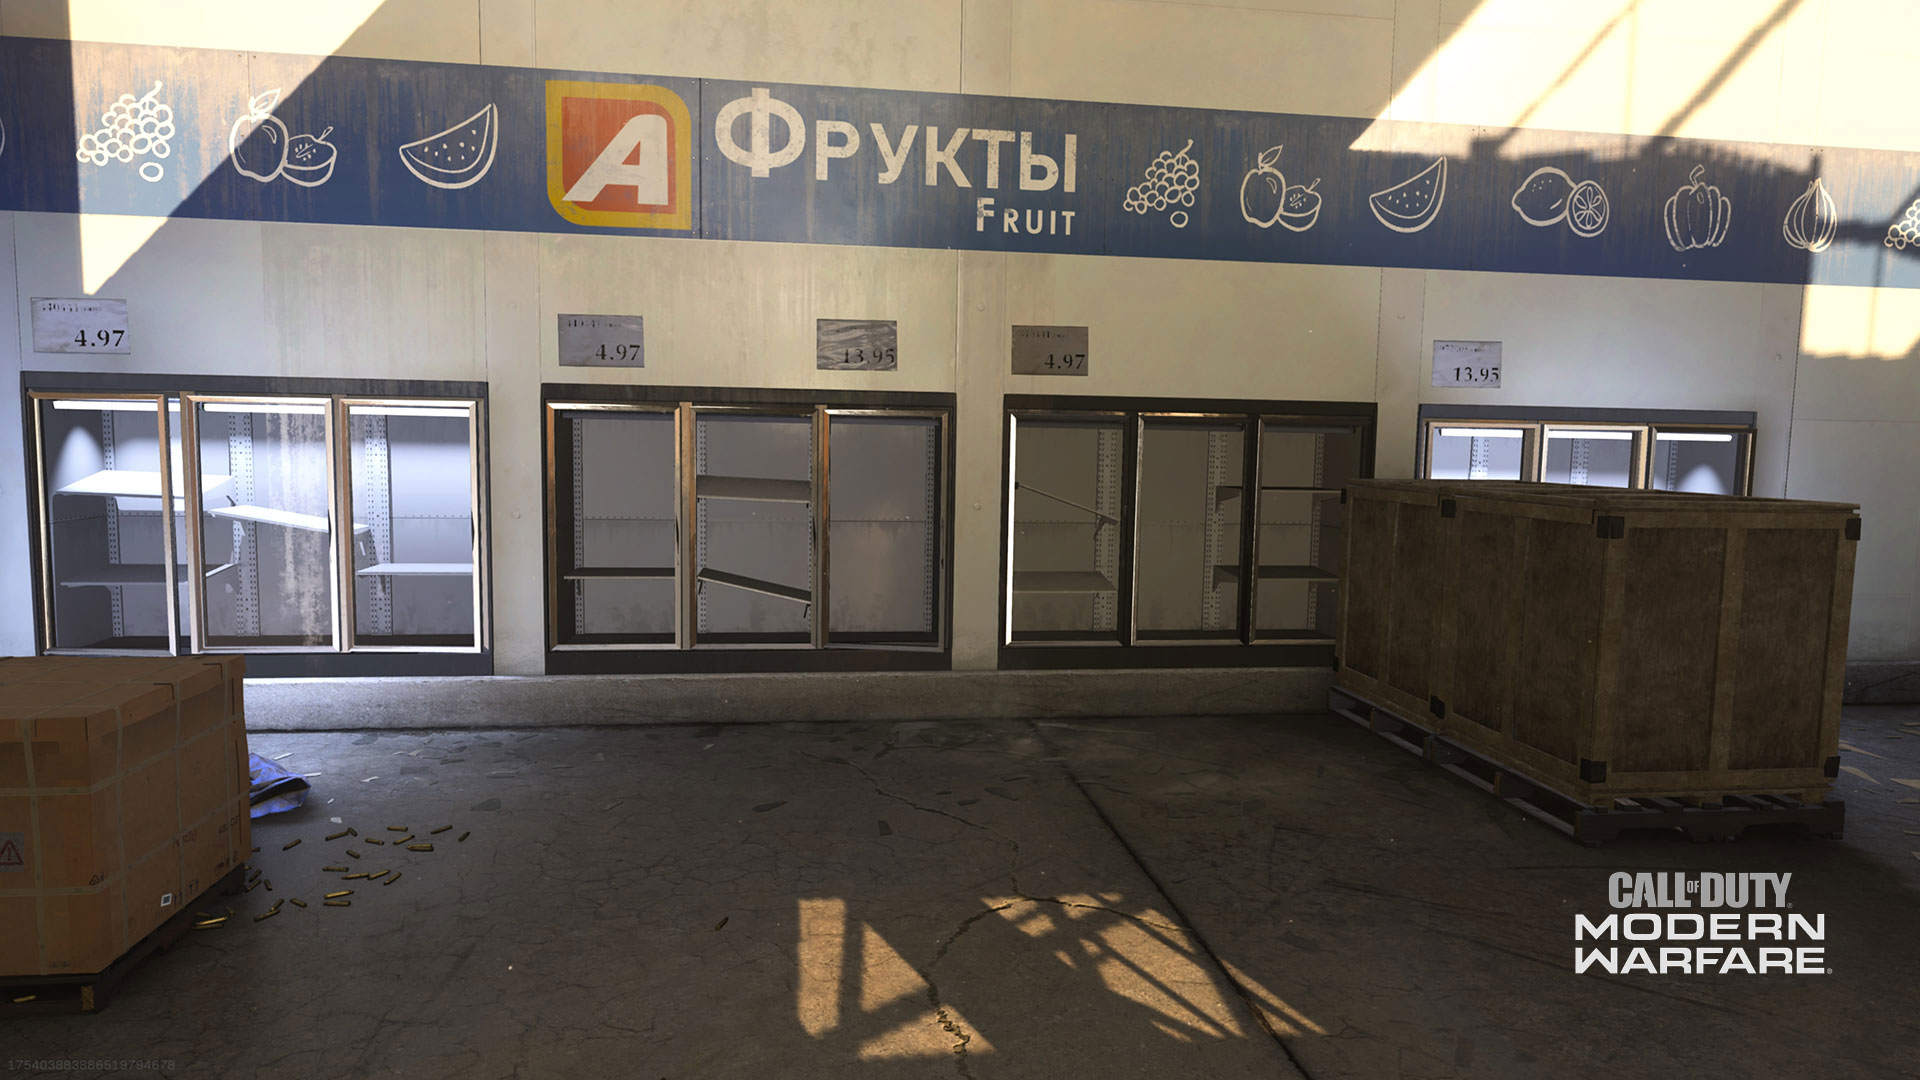
Electronics & Pharmacy
While technically two zones, Electronics and Pharmacy make up a seamless area and are both open spaces with just a smattering of cover points, so know what you’re getting yourself into before heading out into the open. Note the pharmacy checkout and in particular the window above for potential points of attack. Assault rifles and marksman rifles do well here, with the former adding flexibility in shorter engagements and the latter helping you zero in on targets far across the open floor.
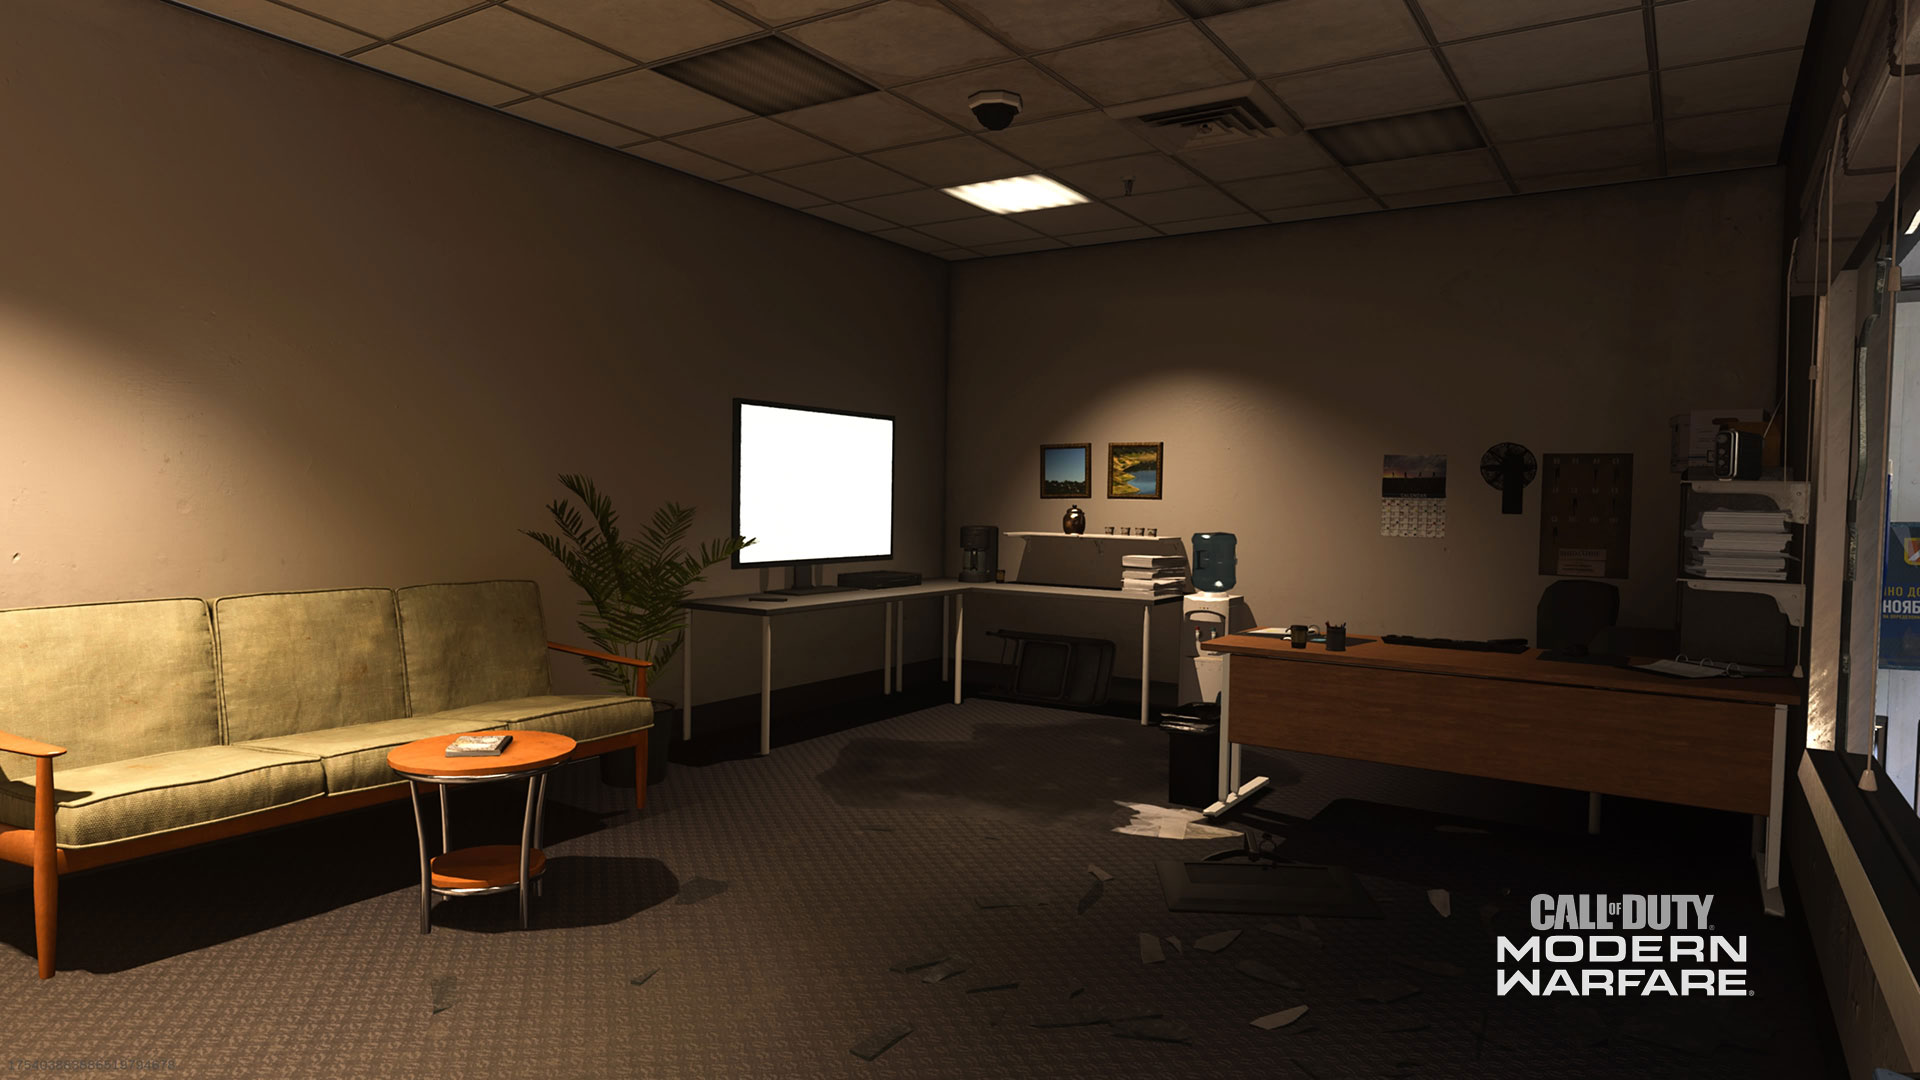
Carpenters Office
Accessed by going up the stairs found in the Breakroom, the Carpenters Office is a favorite power position for long-range attackers, providing a clear view over Pharmacy, Electronics, and parts of Checkout, and Freezers. Never make the mistake of running below without checking here first, unless you know this overwatch position is clear. Alternately, set up shop here when enemy players are running carelessly below.
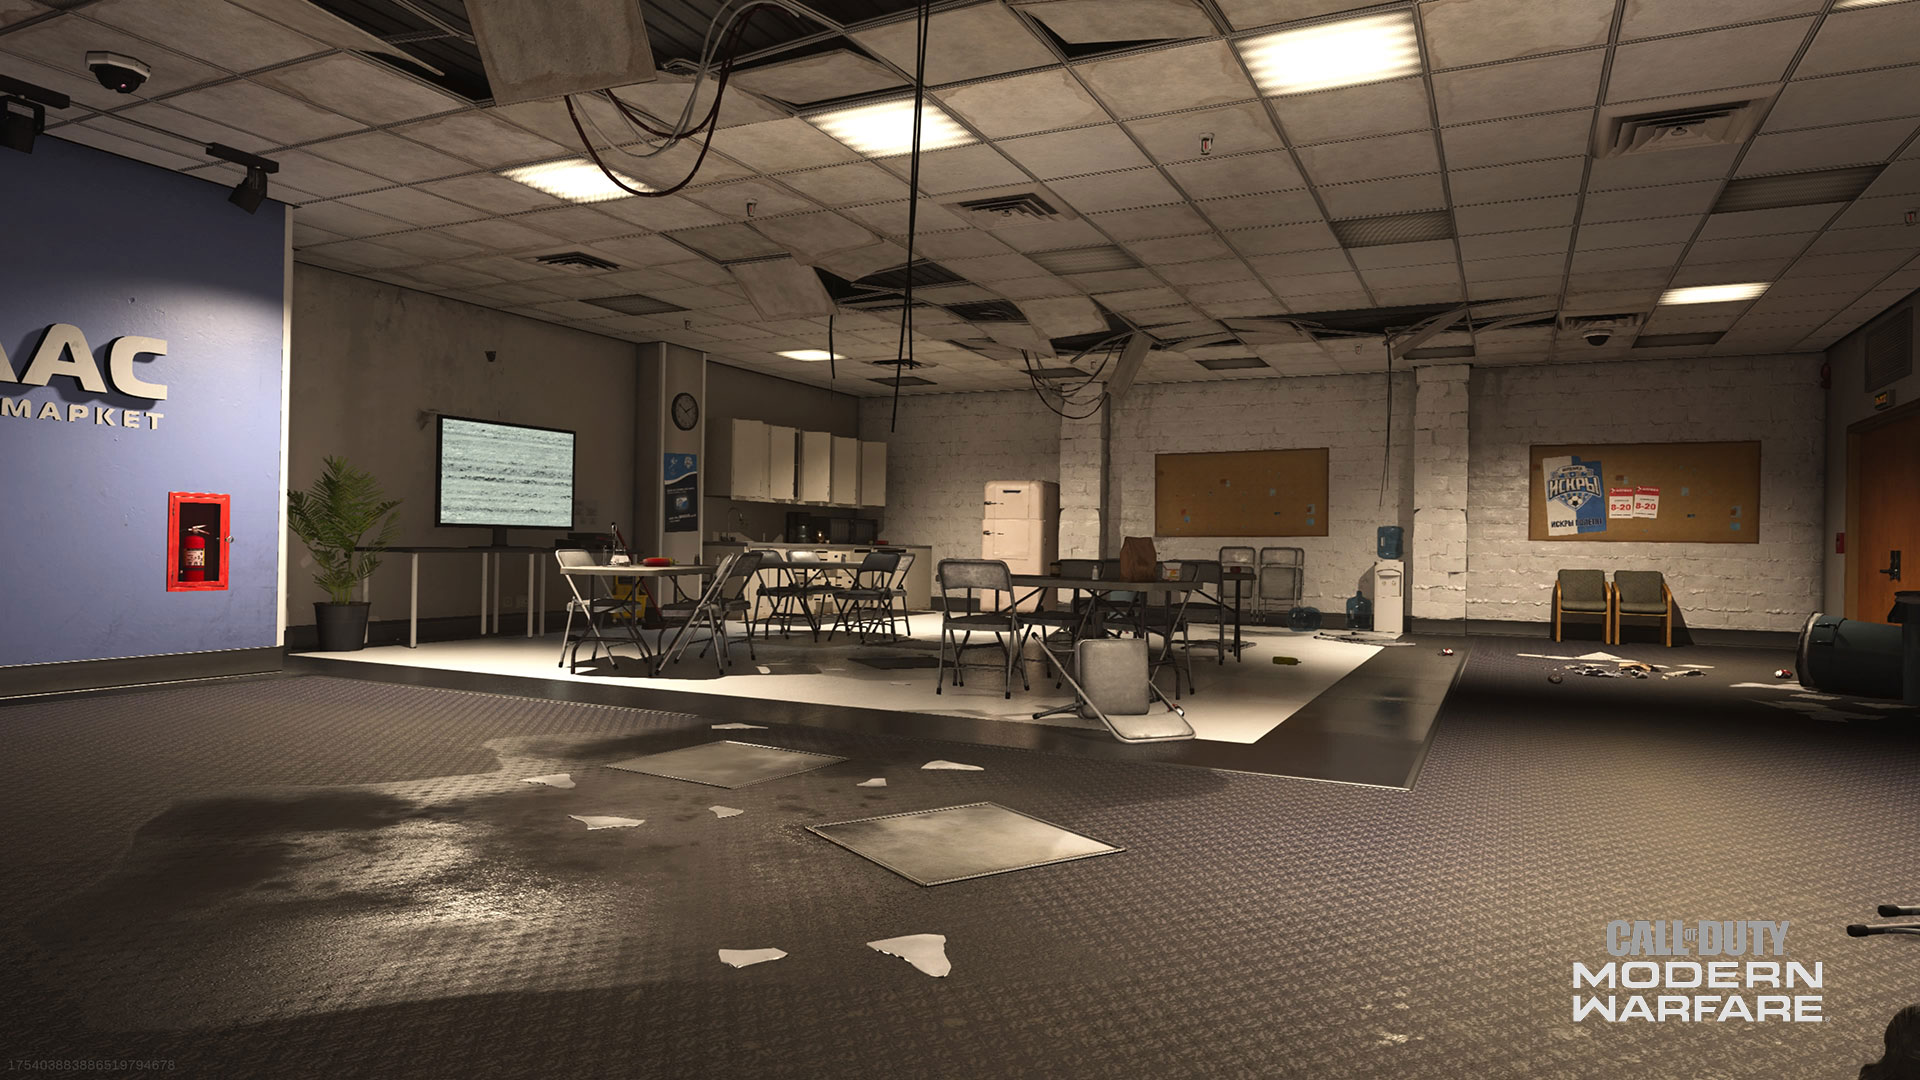
Breakroom
Breakroom acts mainly as a transition point between Kitchen and Pharmacy, but can see some action when multiple players are vying over the staircase leading up to the Carpenters Office power position above. Catch enemy players off guard who are rushing through Breakroom to the Backlot A flag in Domination, or from Backlot to the objective in Freezers during Headquarters and Hardpoint.
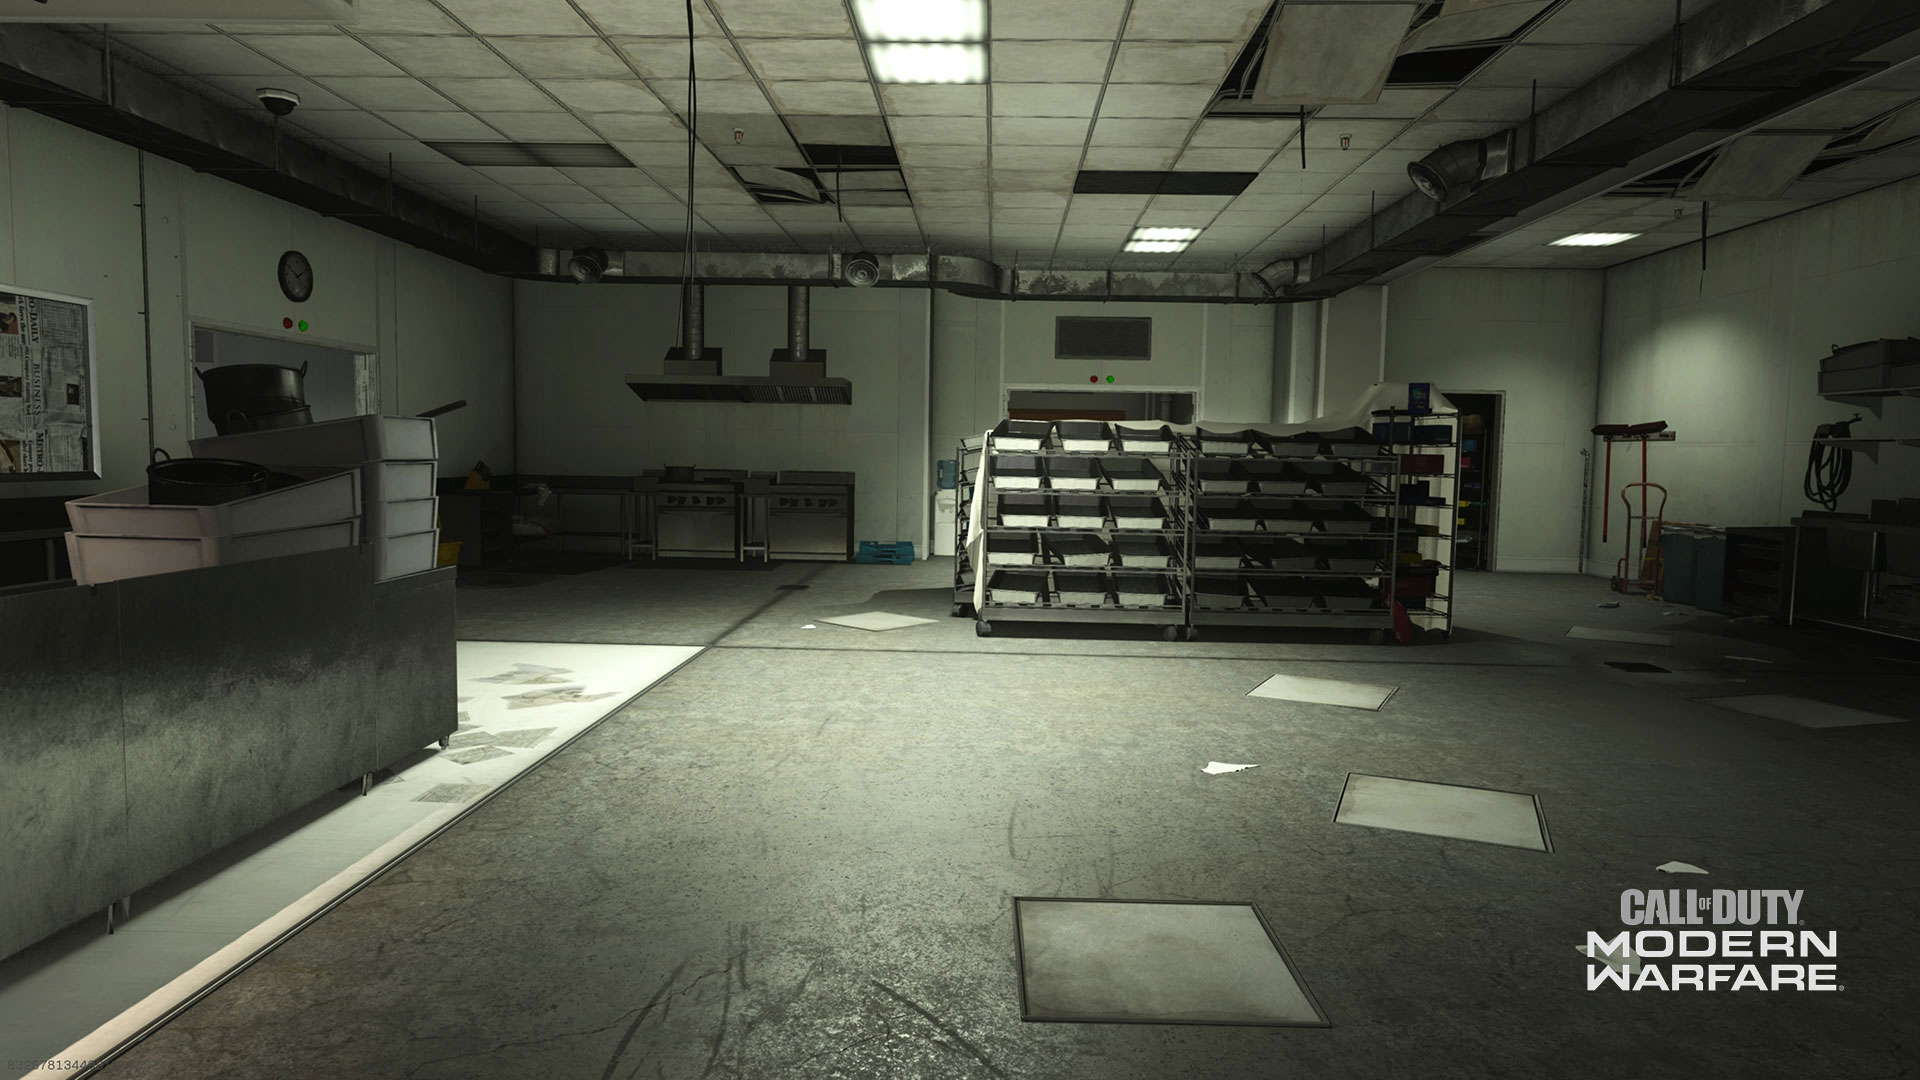
Kitchen
Similar to Breakroom, Kitchen is primarily a transition point, though with more entry points and more reliable cover. This zone offers quick access to various paths moving into the store, so take note of your options and choose the route that works best for your current goal. For a fast break toward the middle map, hit Freezers from Kitchen and then race up the shortcut to Freezers Mid, creating a pincer attack with teammates in Nursery and Overwatch.
Freezers
The final zone within this massive superstore, Freezers hosts objective points in Headquarters and Hardpoint, and in addition offers open routes to the north and south, as well as Freezers Shortcut bringing you right toward the middle of the map. With entry and exit points on all four sides, Freezers is a great place to lose a tail. Run in, reroute, and turn the tables on pursuing players.
General Tips
Patience + Time = Mastery
Again, Atlas Superstore is a huge map, which at first may seem like an impossible tangle of routes and sight lines. Consider heading into a Private Match and setting up a game of Team Deathmatch with an unlimited time limit. Go in solo and learn the environment without the threat of enemy players popping up in every direction. Get a handle on it and then jump back into public Multiplayer. You’ll be surprised how your game improves after a stress-free tour of the map.
Spotter is Your Friend
There are a lot of tight corners here, but you need to move fast, especially in tight objective matches when the clock is ticking. Consider equipping Spotter to avoid being taken by surprise and to help plan routes with the fewest points of danger. Or, utilize Spotter’s hacking ability to give the enemy a taste of their own medicine.
Keep Your Killstreaks Grounded
Yes, the ceiling is partially open to the sky, so air-based killstreaks aren’t totally without merit here, but it may be best to skip the risk altogether and focus on ground-based killstreaks instead, at least when starting out. This ensures that you have access to kills in the greatest range possible.
Overkill and Double Time
With sudden transitions to close, mid, and long-range sight lines, Overkill can be a great help in providing added flexibility when moving from zone to zone. Pair that with Double Time and you’ve got a quick-moving, adaptable loadout for handling a variety of situations with minimal lost time.
The Hunter and the Hunted
Dead Silence makes for a powerful Field Upgrade on this map. Much of your success depends on making smart movement choices, and dampening the sound of your footsteps further improves your chances of catching an enemy off guard. Consider the Tracker perk as well, to help you better track your prey and more easily spot recent points of engagement.
Now head out for deployment and show the enemy who’s boss. Atlas Superstore is yours for the taking, available now and free for all players.
For more information and the latest intel on Call of Duty®: Modern Warfare®, check out: www.callofduty.com, www.youtube.com/callofdutyand follow @InfinityWard and @CallofDuty on Twitter and Instagram and Facebook.
For more information on Activision games, follow @Activision on Twitter,Facebook, and Instagram.