Under construction since late 2011, Hardhat is built for fast-paced and frenetic combat in any game mode. We break down this classic map for those visiting the site for the first time, or who need a refresher on this concrete jungle.
Modern Warfare® Tactical Map Intel: Hardhat
Under construction since late 2011, Hardhat is built for fast-paced and frenetic combat in any game mode. We break down this classic map for those visiting the site for the first time, or who need a refresher on this concrete jungle.
May 20, 2020
by James Mattone
“The only truth I found is that the world we live in is a giant tinderbox. All it takes...is someone to light the match." – Captain John Price, Call of Duty®: MW3
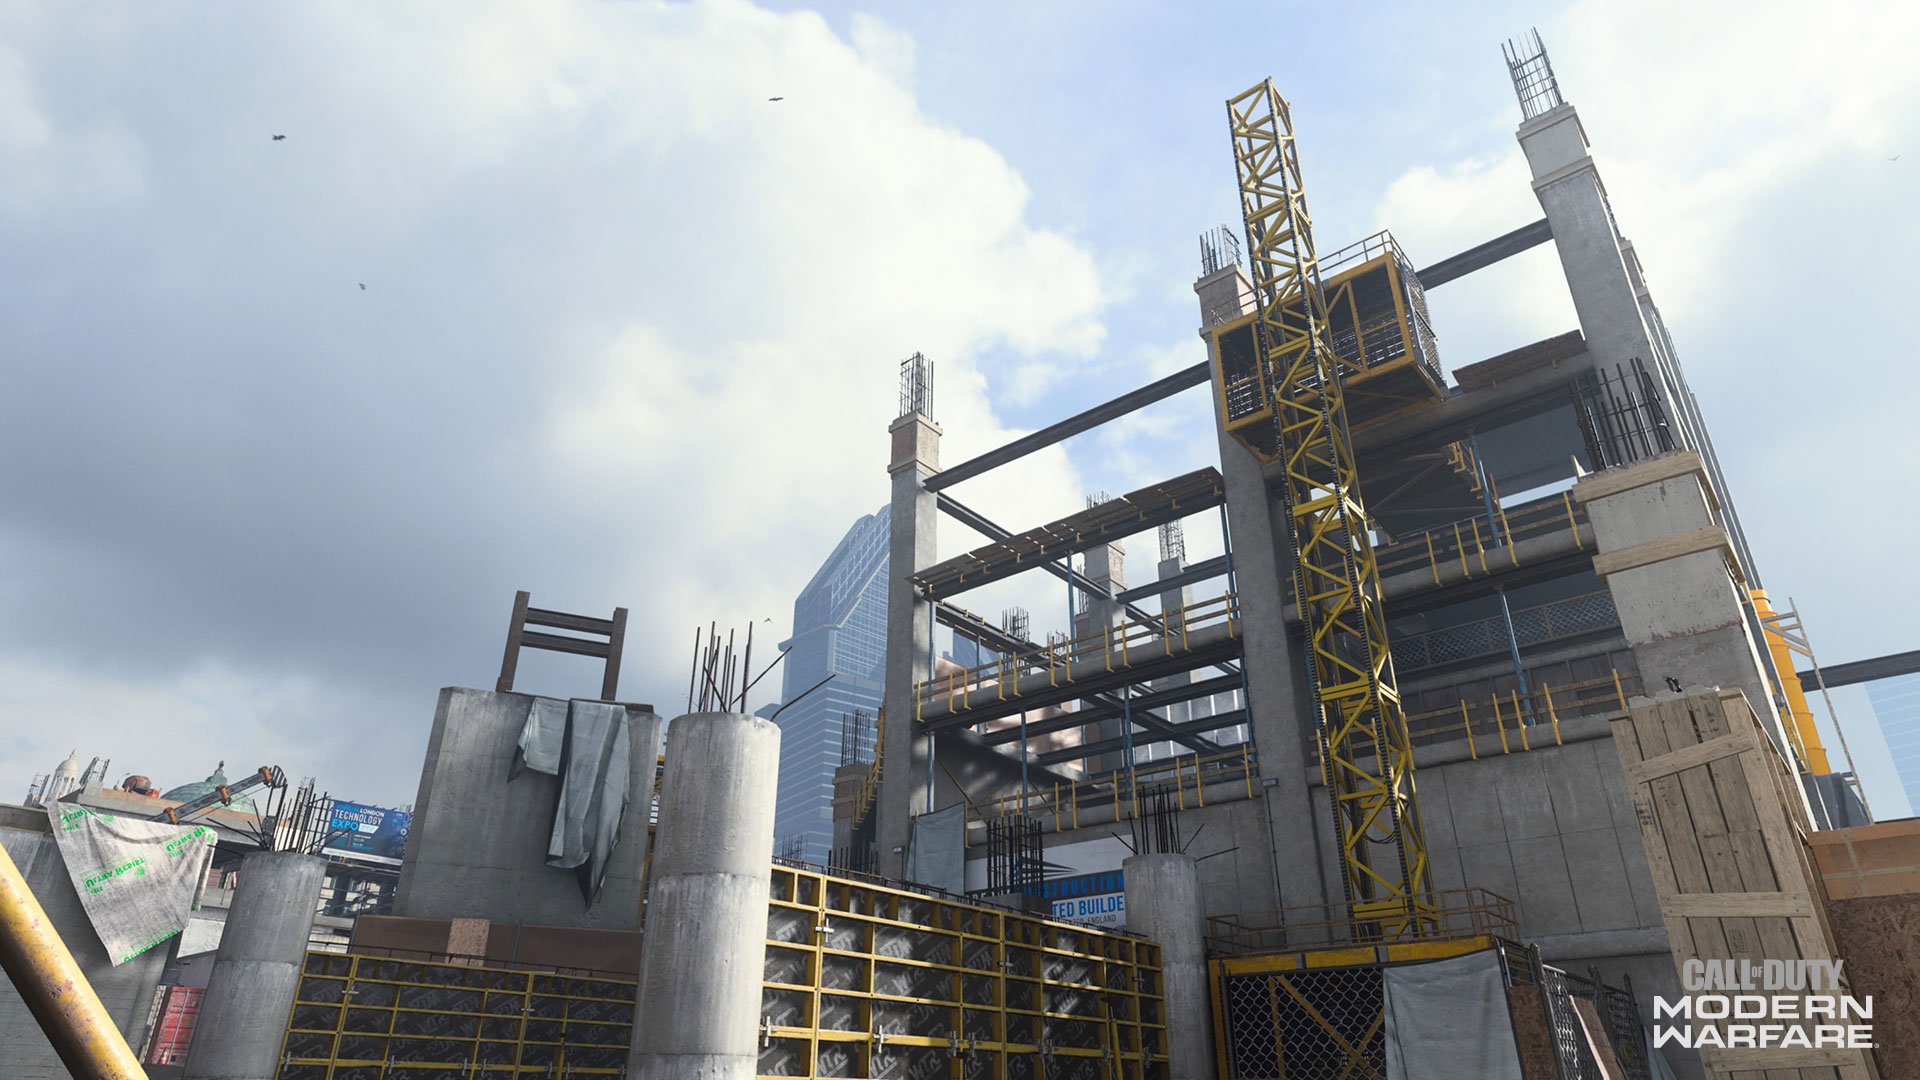
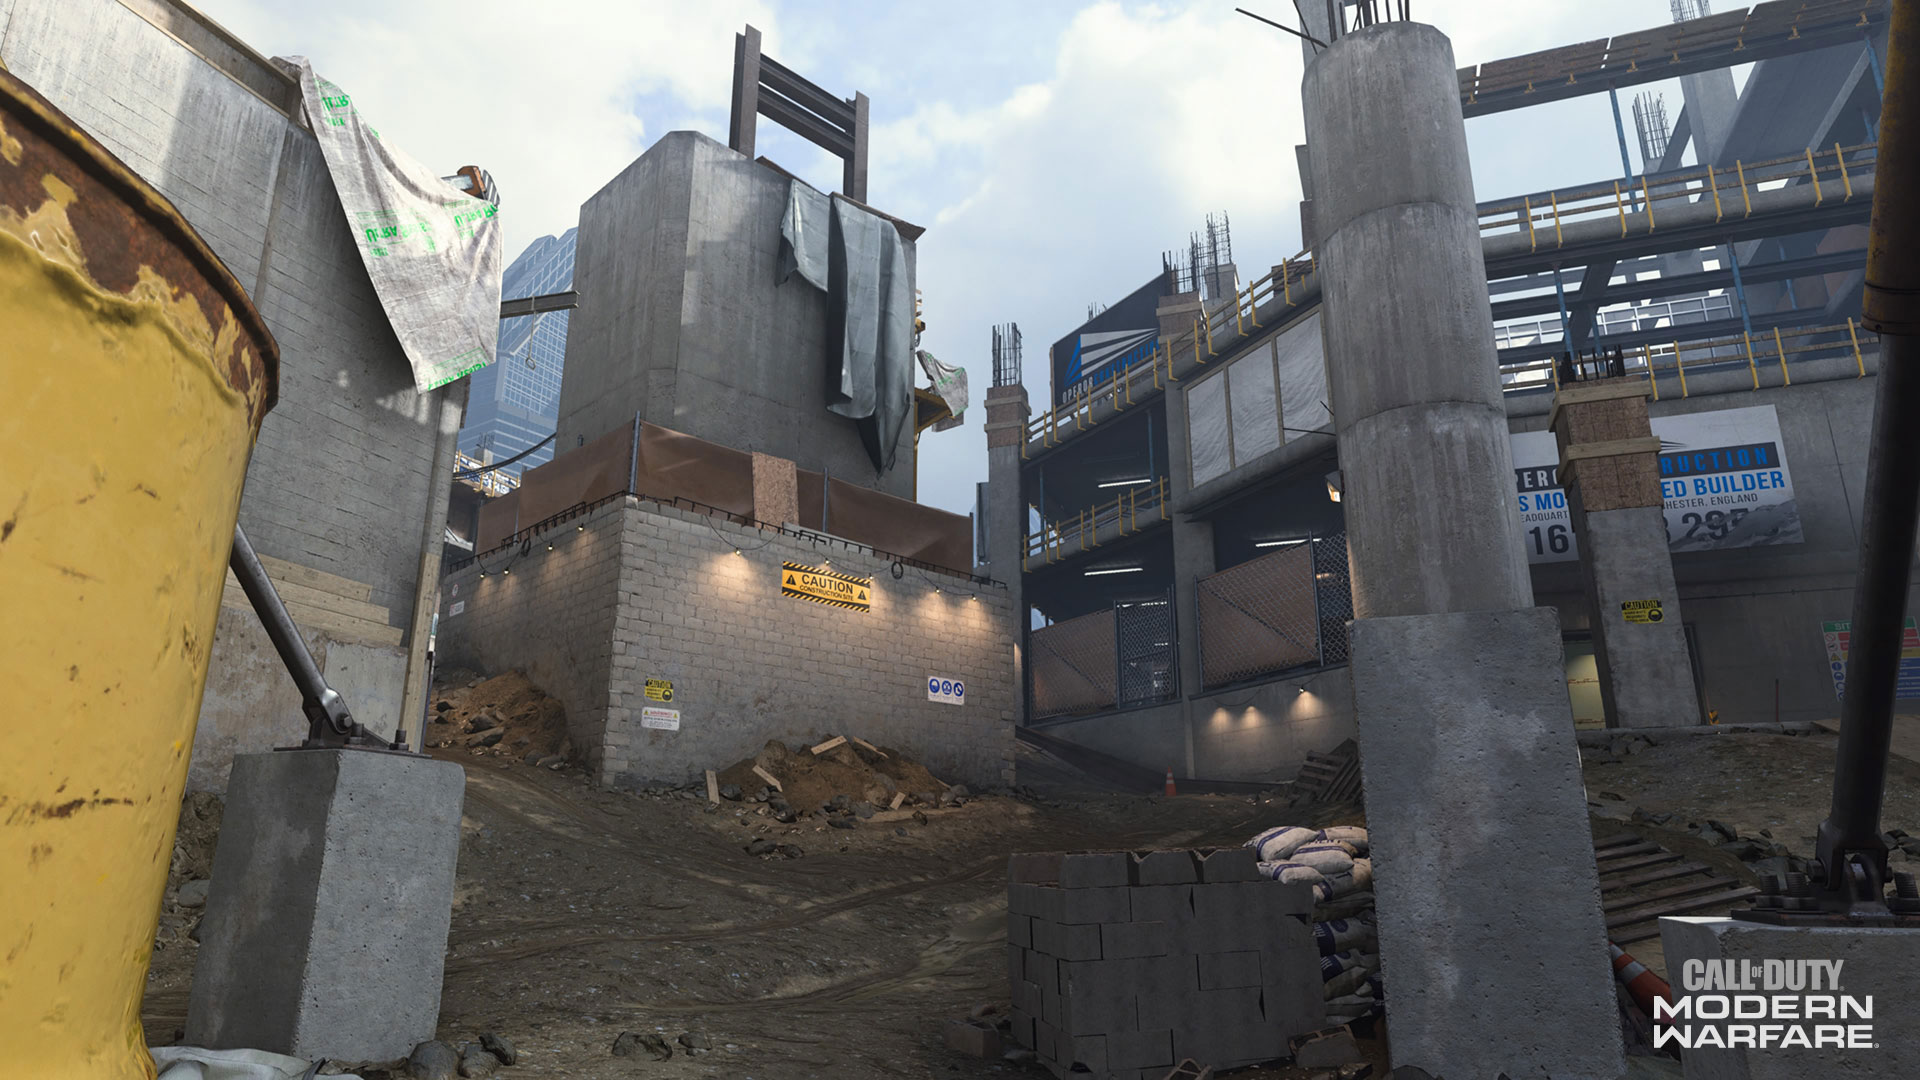
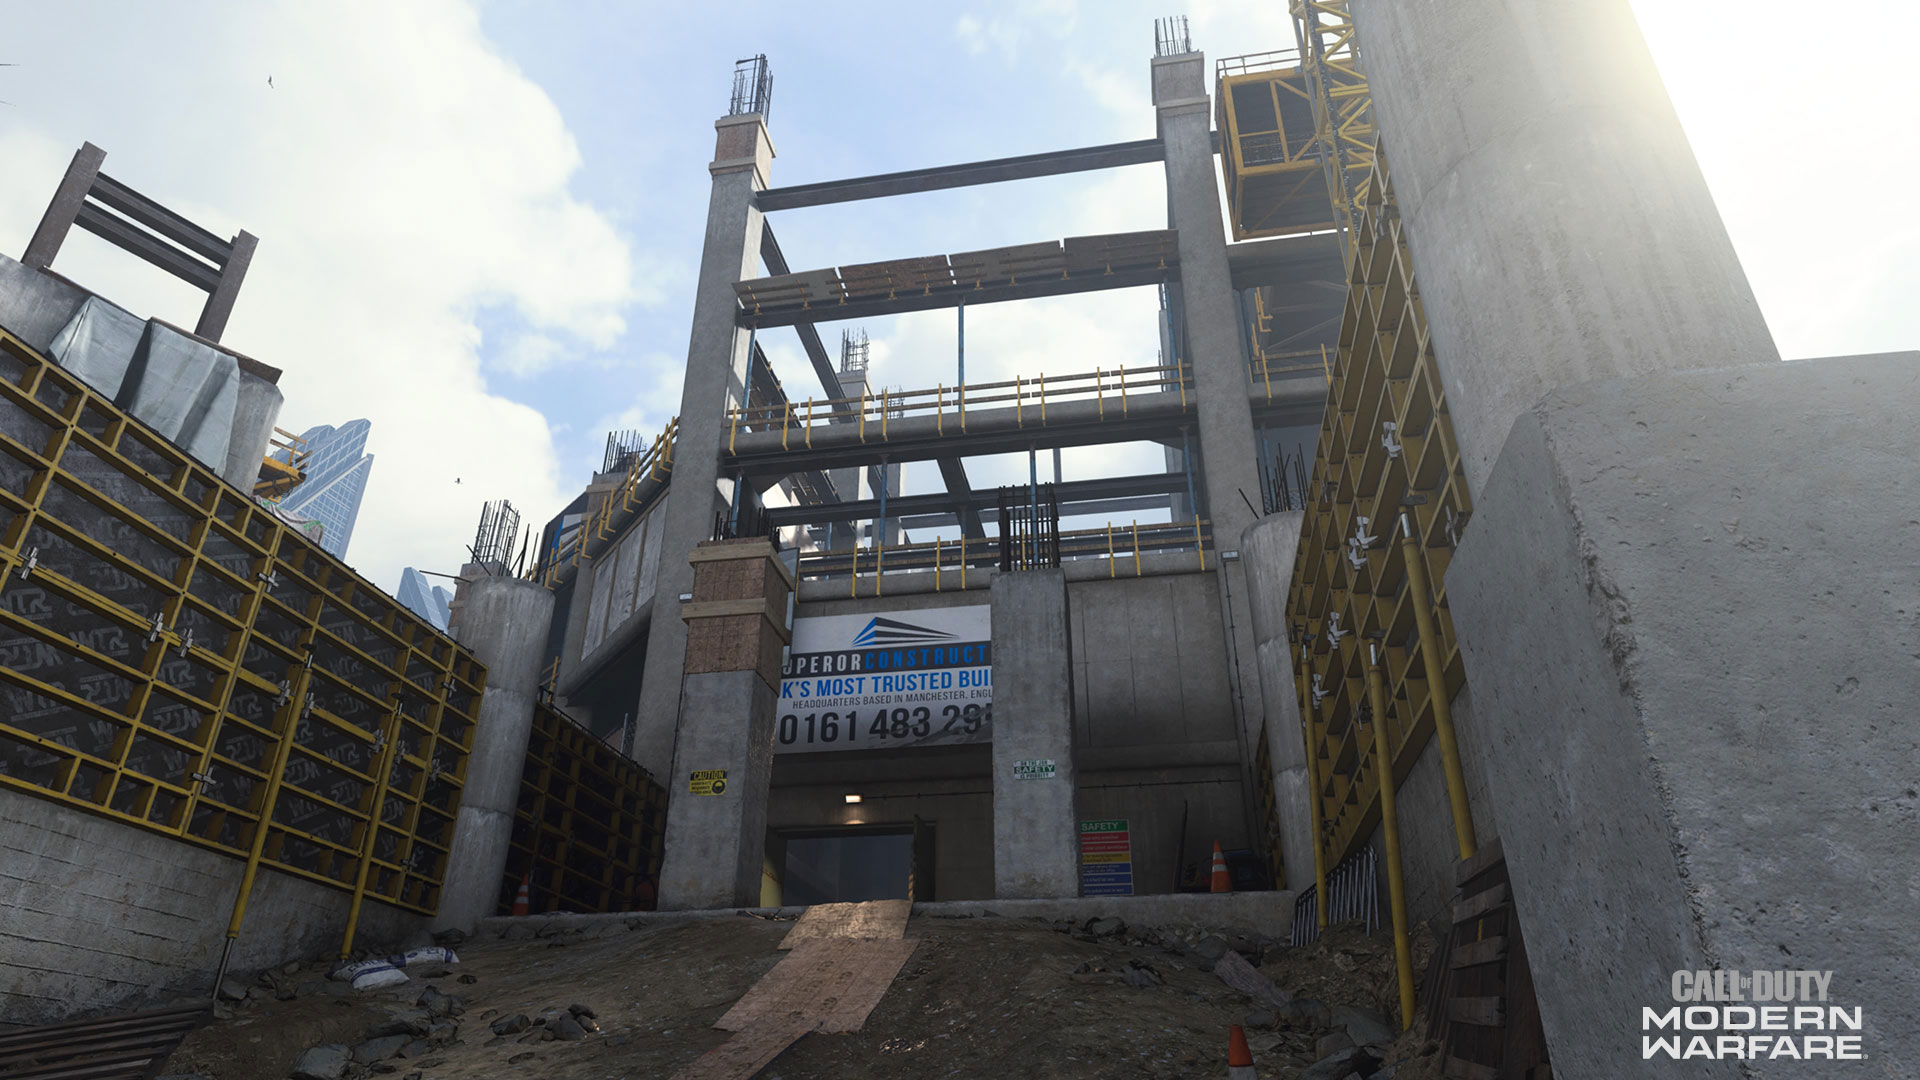
A familiar construction site towering over an urban landscape will signal home for veterans of the Call of Duty franchise. For those experiencing it for the first time, Hardhat – yes, from Call of Duty: MW3– will welcome you in for fast-paced skirmishes regardless of the game mode.
Whether it’s locking down the Bulldozer to hold an important objective flag, or smoking out Operators skulking within pipes, Hardhat looks like a CQB player’s paradise with tight corners and two main interior chokepoints. However, mid-range builds and sharpshooters alike can take over the map by finding key lines of sight to command lanes and force action elsewhere.
This is your Tactical Map Intel for Hardhat:
Lay of the Land:
Previously, Hardhat was set near the first main Campaign level of MW3: “Black Tuesday”, a mile or so from Downtown at a construction site.
In Call of Duty: Modern Warfare, Hardhat takes place at an Operor Construction site in London, England on Day 157 of the global conflict. At 10:30 a.m., both Allegiance and Coalition members arrive at opposite ends of the block to investigate the area after an anonymous tip brought them here.
Unfortunately, it seems as if it was a false alarm to distract our Operators from the true fight at hand… Or maybe those containers and piles of construction material hide an actual threat.
Most everything that a veteran remembers about Hardhat is here: the big yellow Bulldozer, the massive wall held up by support beams, a busy Central Building, and, of course, the big concrete Pipe that connects the north side of the map to the south.
Map Detail:
Hardhat is a medium-small sized map that is suited for 6v6 playlists. Action will be fast-paced and take place within unfinished buildings, underneath scaffolding, and even in concrete pipes, but there are also multiple lines of sight that snipers can use to counter run-and-gun players.
Here are the 13 distinct zones that this map contains:
1. Offices – Coalition Spawn
2. Elevator Structure
3. Support Beams
4. Dumpsters
5. Scaffolds Building
6. Center Building
7. Bulldozer
8. Pipes
9. Concrete Formwork Building
10. SUV
11. Stairs Building
12. Cherry Picker
13. Containers Area – Allegiance Spawn
Map Overview
The following set of maps detail the entirety of Hardhat, including the zones, the locations of important areas in different game modes, and a topographical image. Swipe or click left or right to see them all:
Hardhat: Map Overview
Hardhat: Map Zones
Hardhat: Domination
Hardhat: Search and Destroy
Hardhat: Hardpoint
Hardhat: Cyber Attack
Hardhat: Topography
Map Zones Overview:
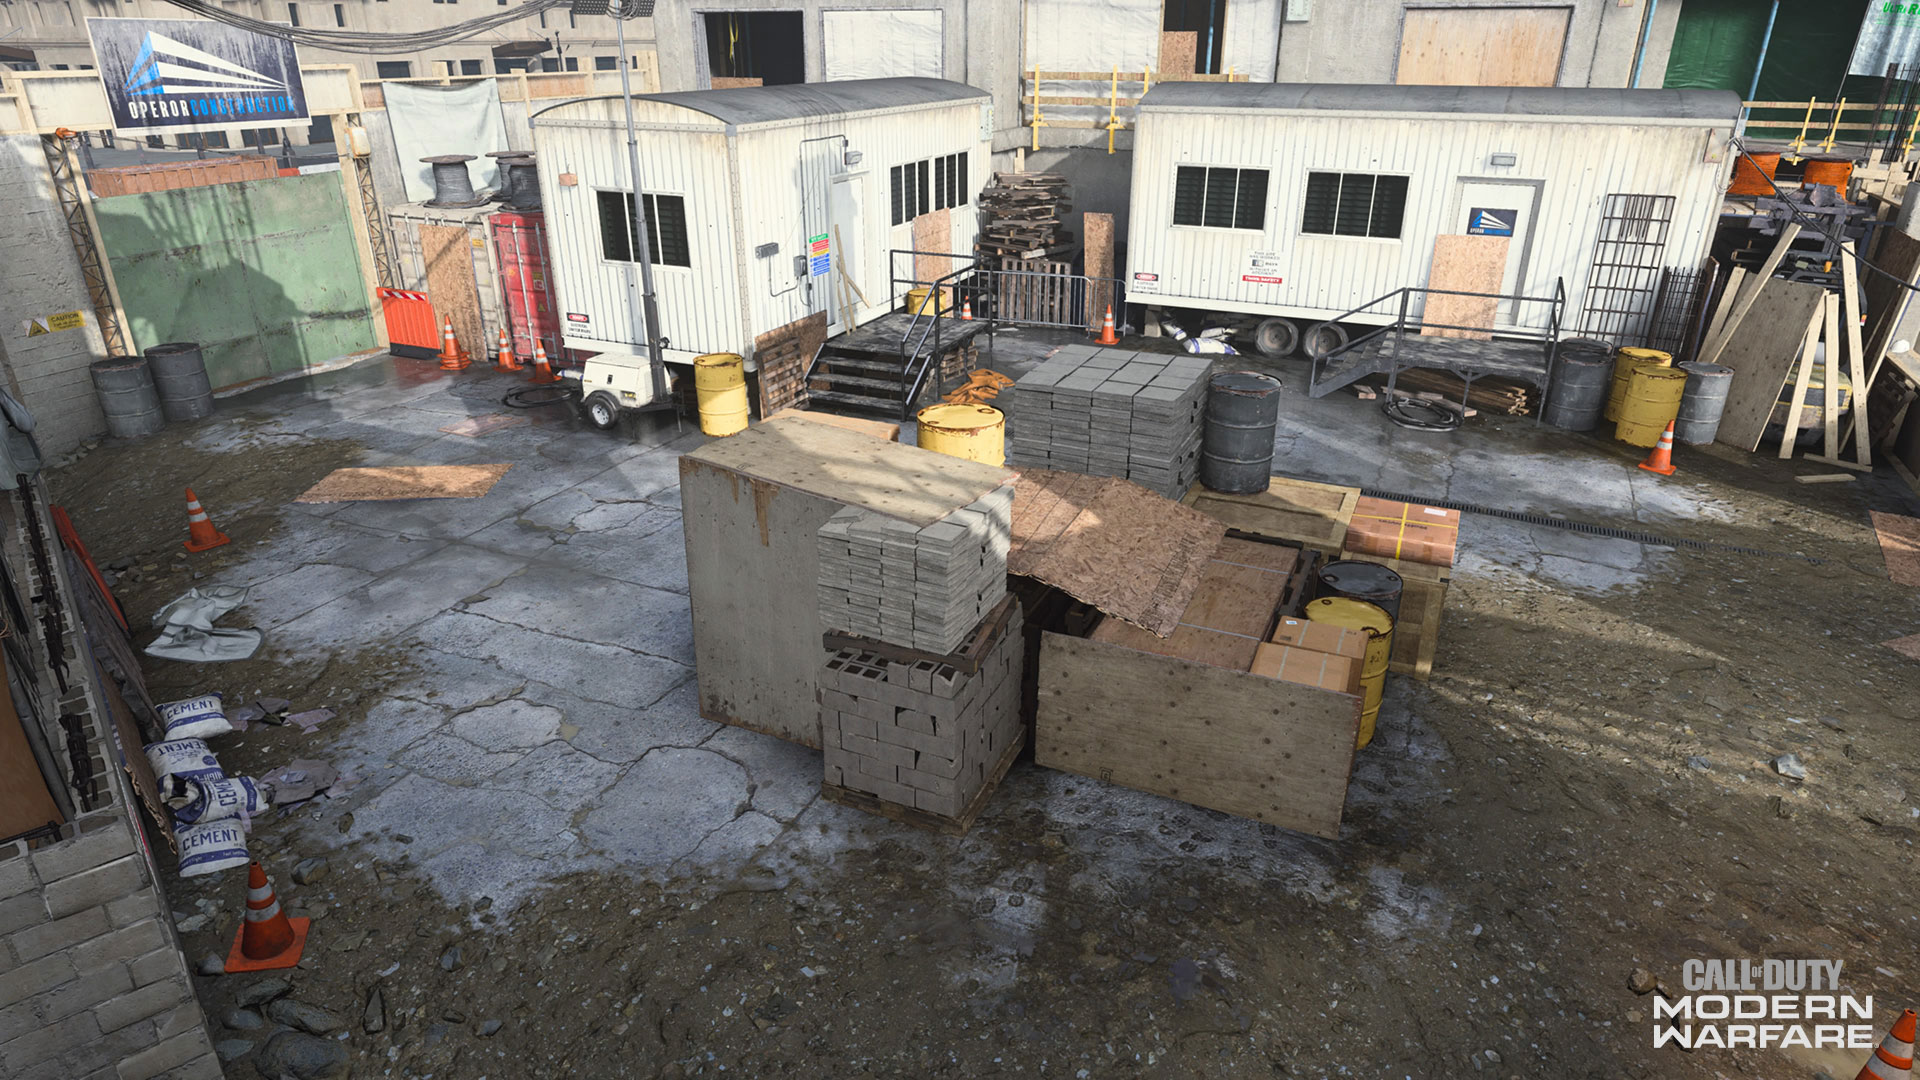
1. Offices – Coalition Spawn
The usual spawn area for Coalition members is comprised of two inaccessible office trailers and a stack of construction materials. At the beginning of the match, Coalition Operators will want to rush out of here towards the Pipes, or around the Elevator Structure and Support Beams to the Center Building.
Because of Hardhat’s size and design, spawn areas aren’t considered especially “safe”, meaning an enemy can just as easily flank you here as if it were just another zone.
With that in mind, use the center stack of materials to take cover from enemy bullets, or to help make unusual movement patterns to try and throw off their aim.
2. Elevator Structure
This massive block of concrete separates the offices from the Support Beams, creating two lanes down to the massive metal wall on the map’s east side.
Use either lane to move to-and-from these zones or trick an enemy into chasing you around this square structure. The slight inclines do offer a slight advantage to those coming from the Offices, but it’s not too dramatic to completely make those on the low ground sitting ducks.
Another cover piece of note is the stack of concrete blocks shown above; it’s a great place to mount a weapon and cover this zone, or the Support Beams area. Be warned, however, that a well-placed equipment piece can easily catch someone who gets too comfortable on these blocks.
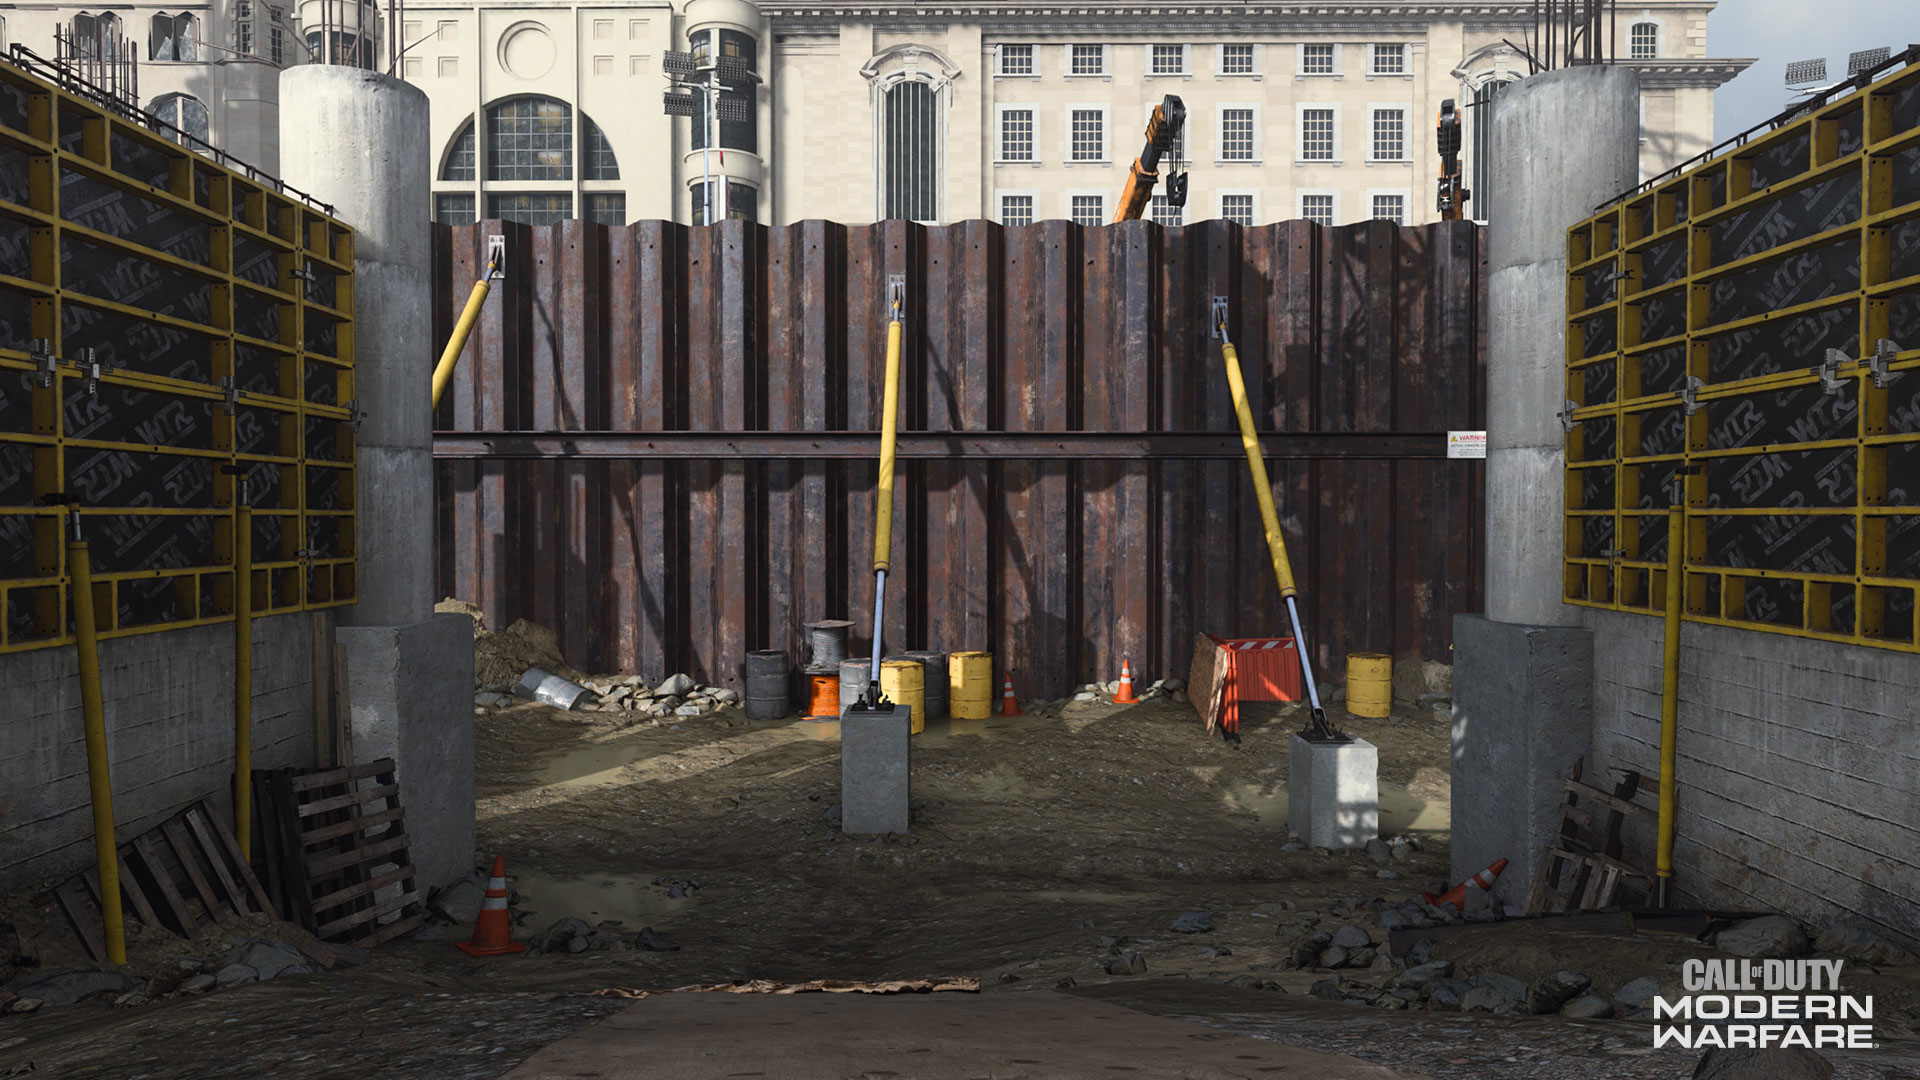
3. Support Beams
Several support beams hold up a massive metal wall that separates this construction site from the rest of London.
Here, one could use the concrete bases for temporary cover, but it may be too small to hide an Operator for too long. Ultimately, this area is a transition zone to the Center Building, Dumpsters, and Elevator Structure, with a wide open playspace for big team fights to take place.
Furthermore, because this is one of the few areas with little overhead covering, this is a popular spot to drop an aerial Killstreak, such as a Cruise Missile. Keep that in mind when travelling through here.
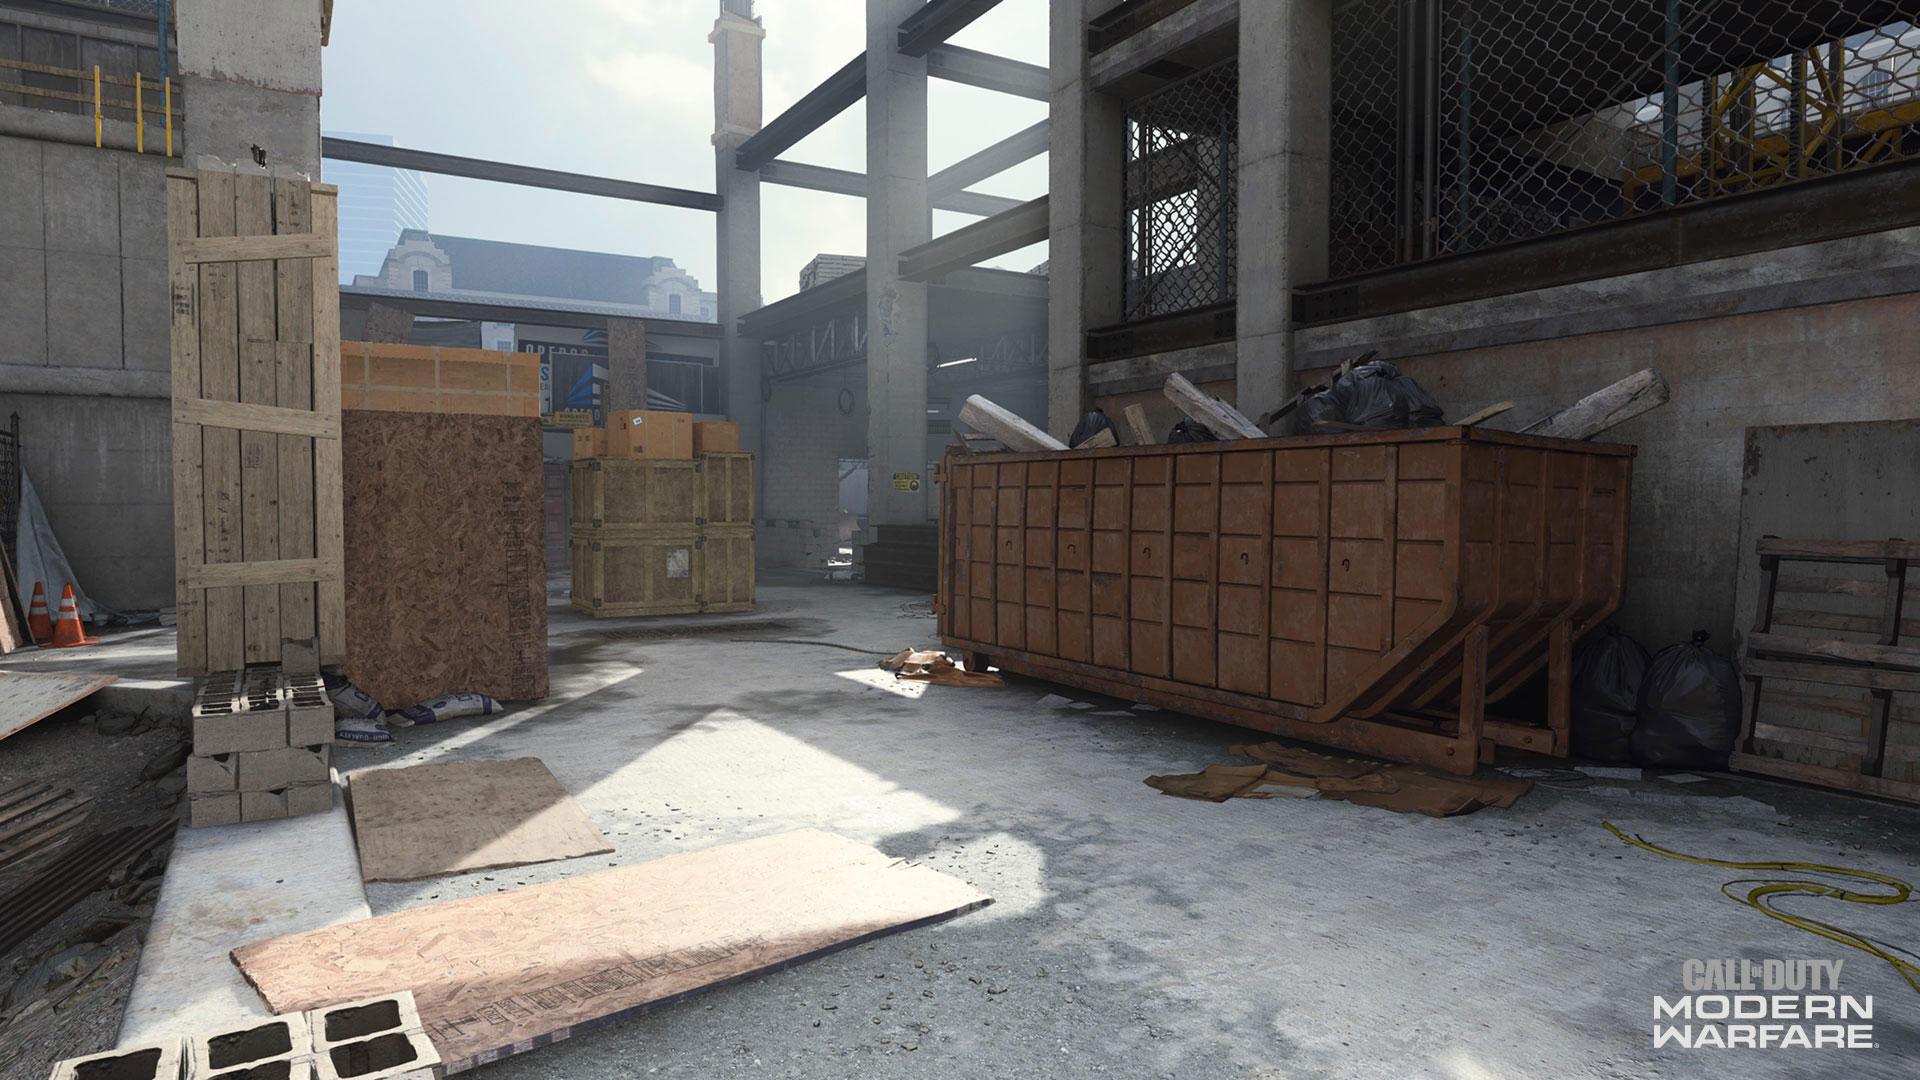
4. Dumpsters
A few dumpsters and crates mark this zone between the Scaffolds Building and the Support Beams. As you would expect, these objects make great cover pieces, or a place to quickly stop, reload, and recover health.
Just don’t get too sucked into the back corner of this zone, as it offers little advantageous views and may leave you cornered by enemy players. Also, because it’s out in the open like the Support Beams zone, be prepared for aerial Killstreaks to rain down from above.
Those who have an elite arm may want to chuck lethal and tactical grenades to the east through the support beams of the Scaffolds Building, as you may just hit someone at the Bulldozer area. Remember this the next time an enemy team is giving your squad a lot of trouble in that popular zone.
5. Scaffolds Building
An unfinished building marked by scaffolds makes up the southwest-most zone of Hardhat.
This is where Coalition members will probably run to in objective game modes. The Bulldozer area is a hot spot, as it offers great lines of sight over the map’s southern route. The stack of crates shown above is one great place for a mid or long-range weapon user to lock down this lane; hop up on those crates and use the concrete wall for cover as you aim down the Bulldozer zone into the Containers Area.
Within this area, due to its layout, CQB weapons can easily knock out those sharpshooters, using the walls and crates for cover as they slink through to other zones.
6. Center Building
A square-like building with little cover outside of overhead protection, the Center Building will most likely descend into absolute chaos within a minute of a typical game on Hardhat.
While trekking through here, make sure the doors are closed to avoid long-range fire, or keep them open if you are a sharpshooter looking to clear this room out. CQB weapons reign supreme in this confined space, but you may have to bring some extended mags to deal with all the enemies that can show up here.
If you’re looking to get a high ground advantage, the center generator is climbable up to a point, allowing you to get a unique vantage point to the outside, or at very least, help you throw off an enemy’s aim.
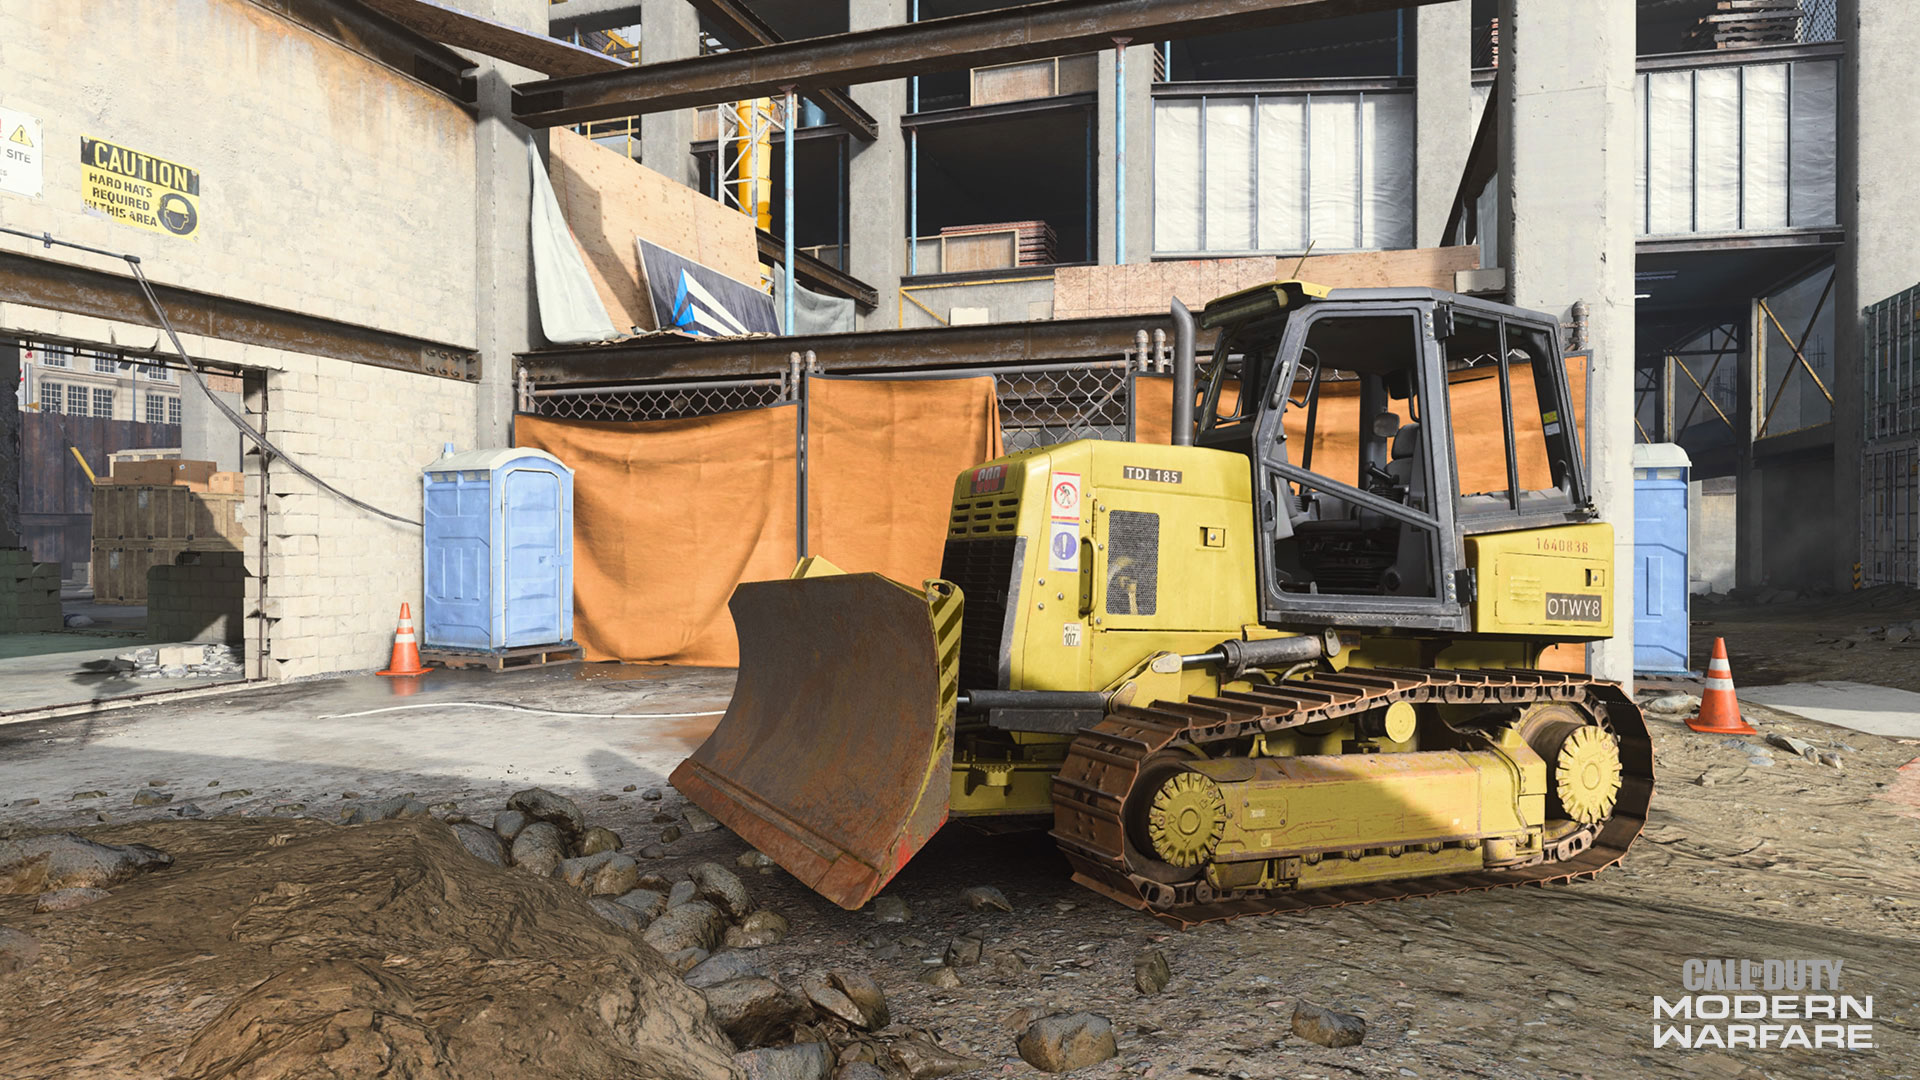
7. Bulldozer
The southernmost zone of the map contains a big yellow bulldozer.
Unassuming at first, this area can offer great sightlines into the space between the Pipes and Central Building, or over to the Containers Area. Use the open spaces in the Bulldozer – the window frames and gaps between parts – to get unique lines of sight past the dozer while also maintaining cover.
This is where the B Flag in Domination, and several other objective points across multiple modes, lives. Be aware that this area is in the middle of two zones with great vantage points, making capturing an objective without a Smoke Grenade or Trophy System difficult.
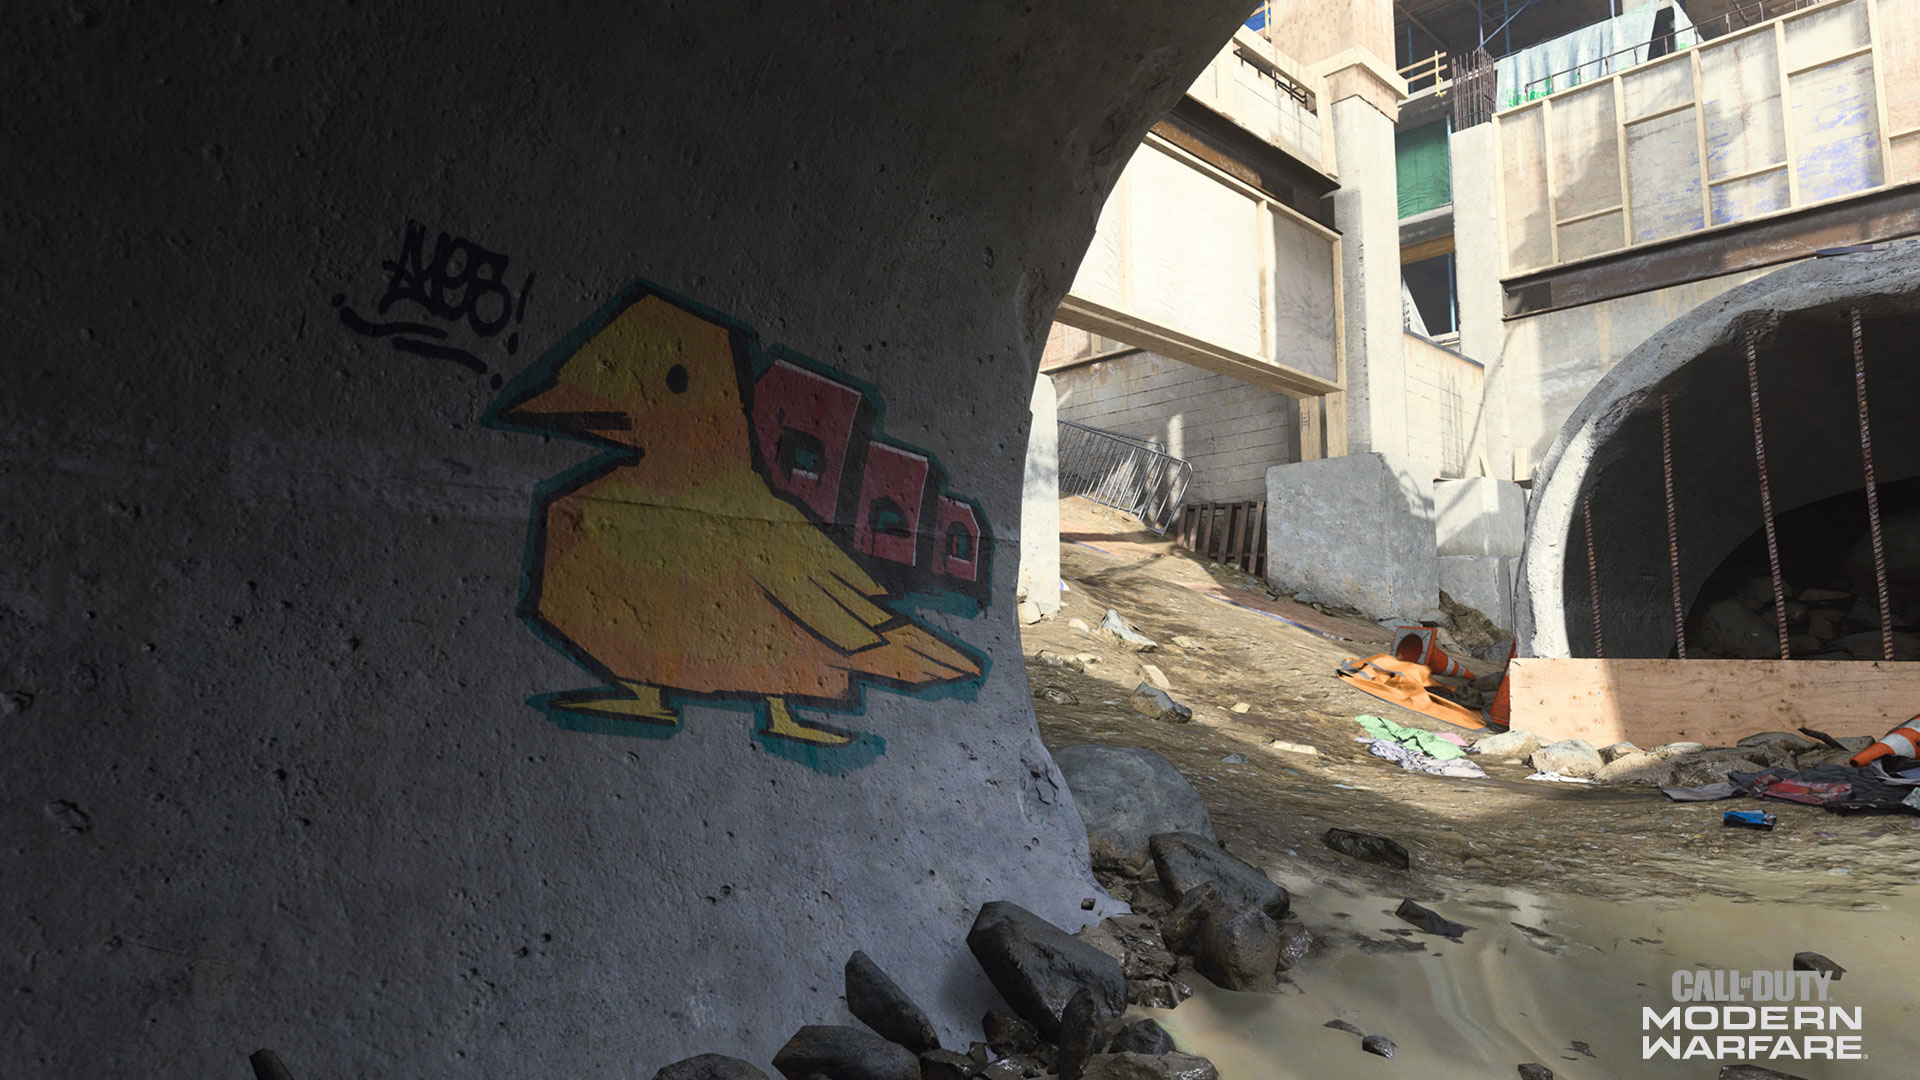
8. Pipes
A long concrete pipe connects the center area to the map’s north side.
Notorious for being a sniper’s dream sightline on either end, this fast track to the center or outer limits is most often dangerous territory. It’d be wise to lob a grenade through the pipe, or over it, using concrete pillars as backboards to nail enemies on the other side.
Pipes also contains a small outdoor area and alley between the Center Building and Bulldozer, a prime place for mid to long-range weapons to counter aggressive CQB players. When running through this area, check those corners often, and try to avoid this hotly contested zone if you aren’t ready for a fight.
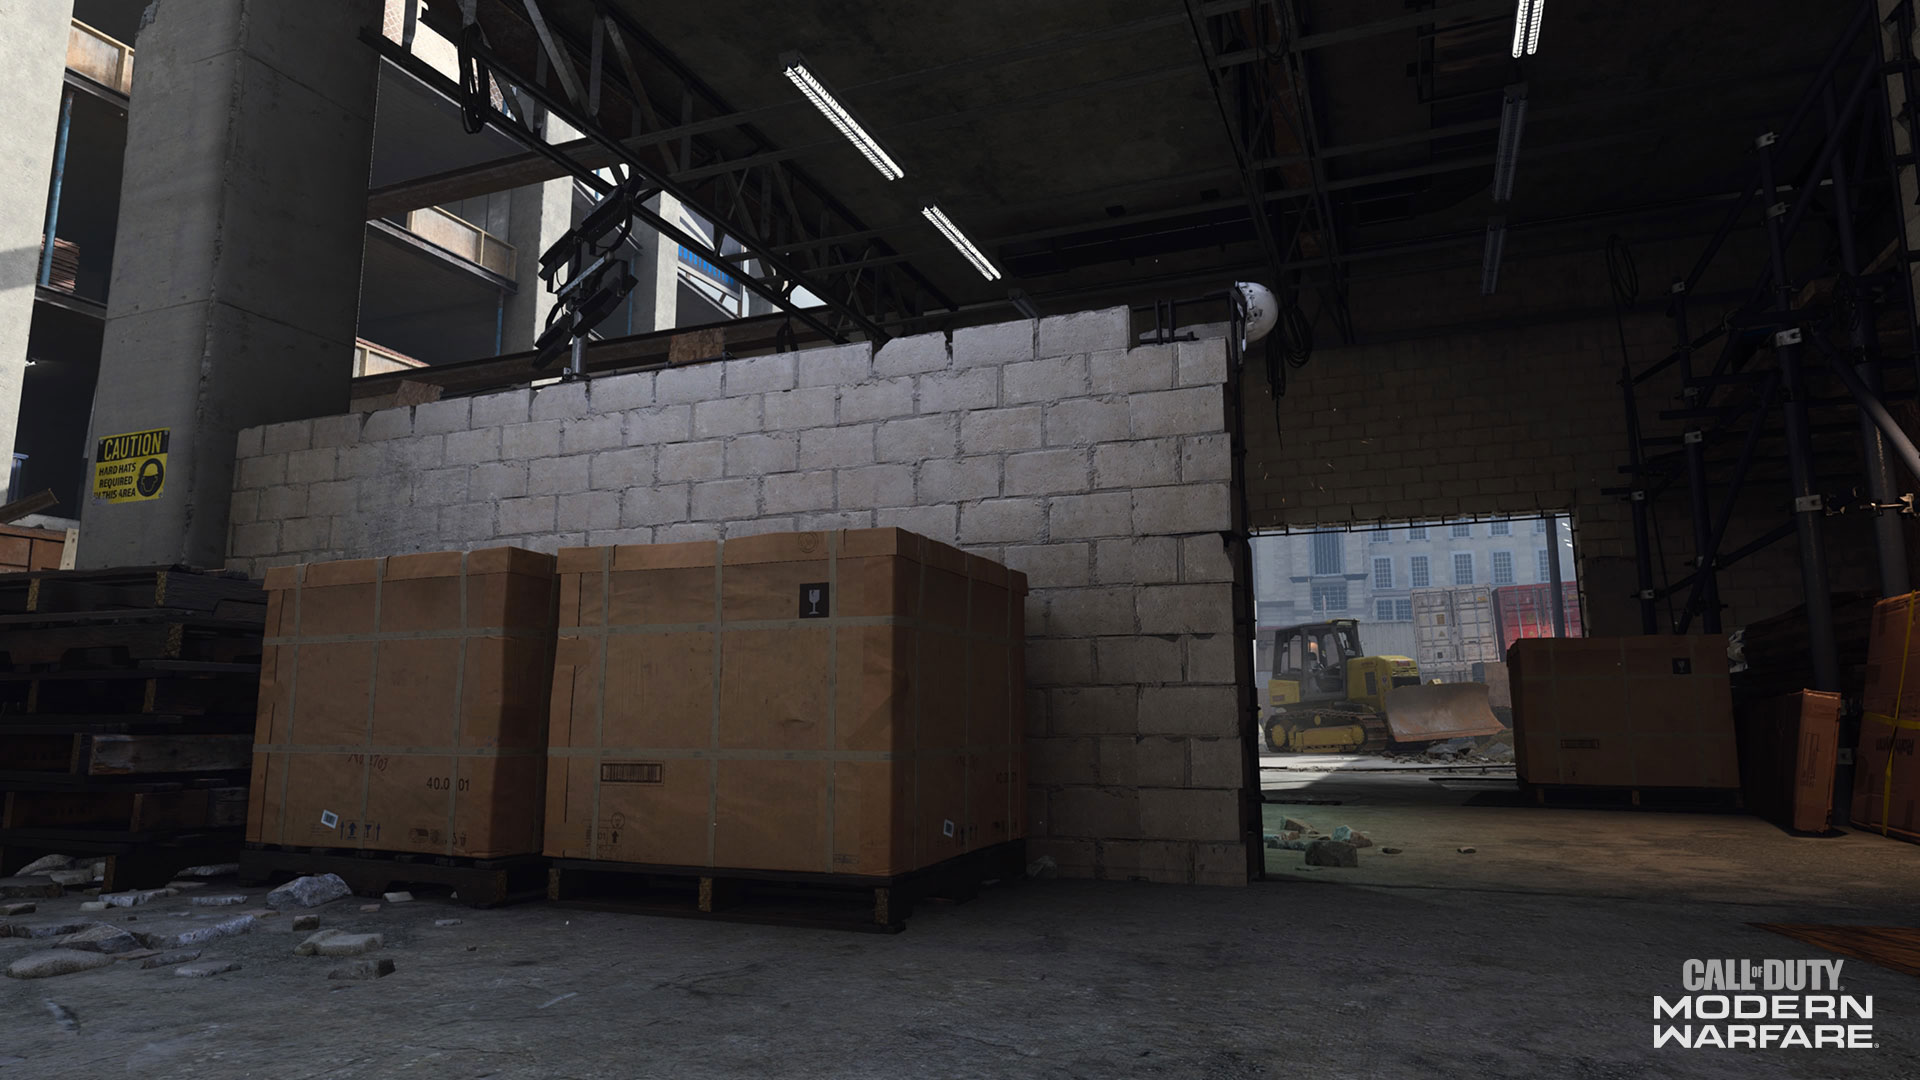
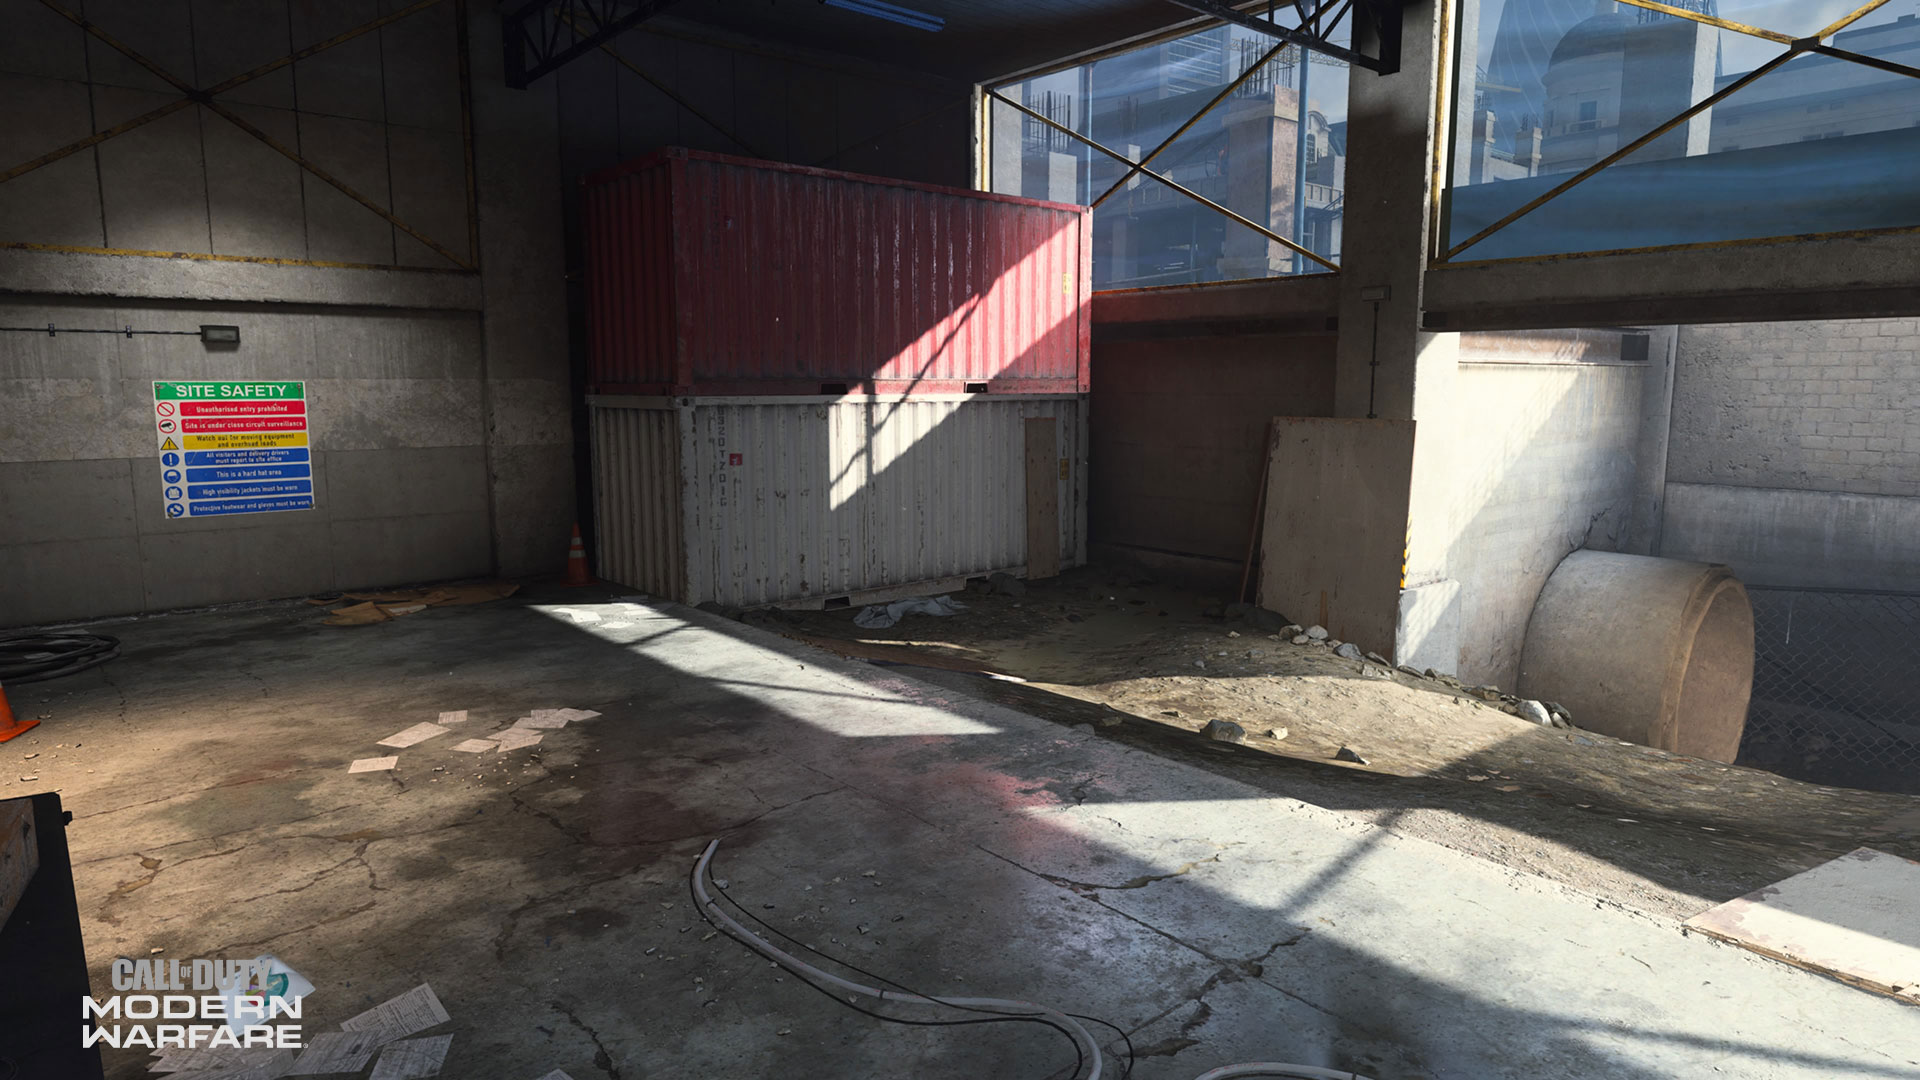
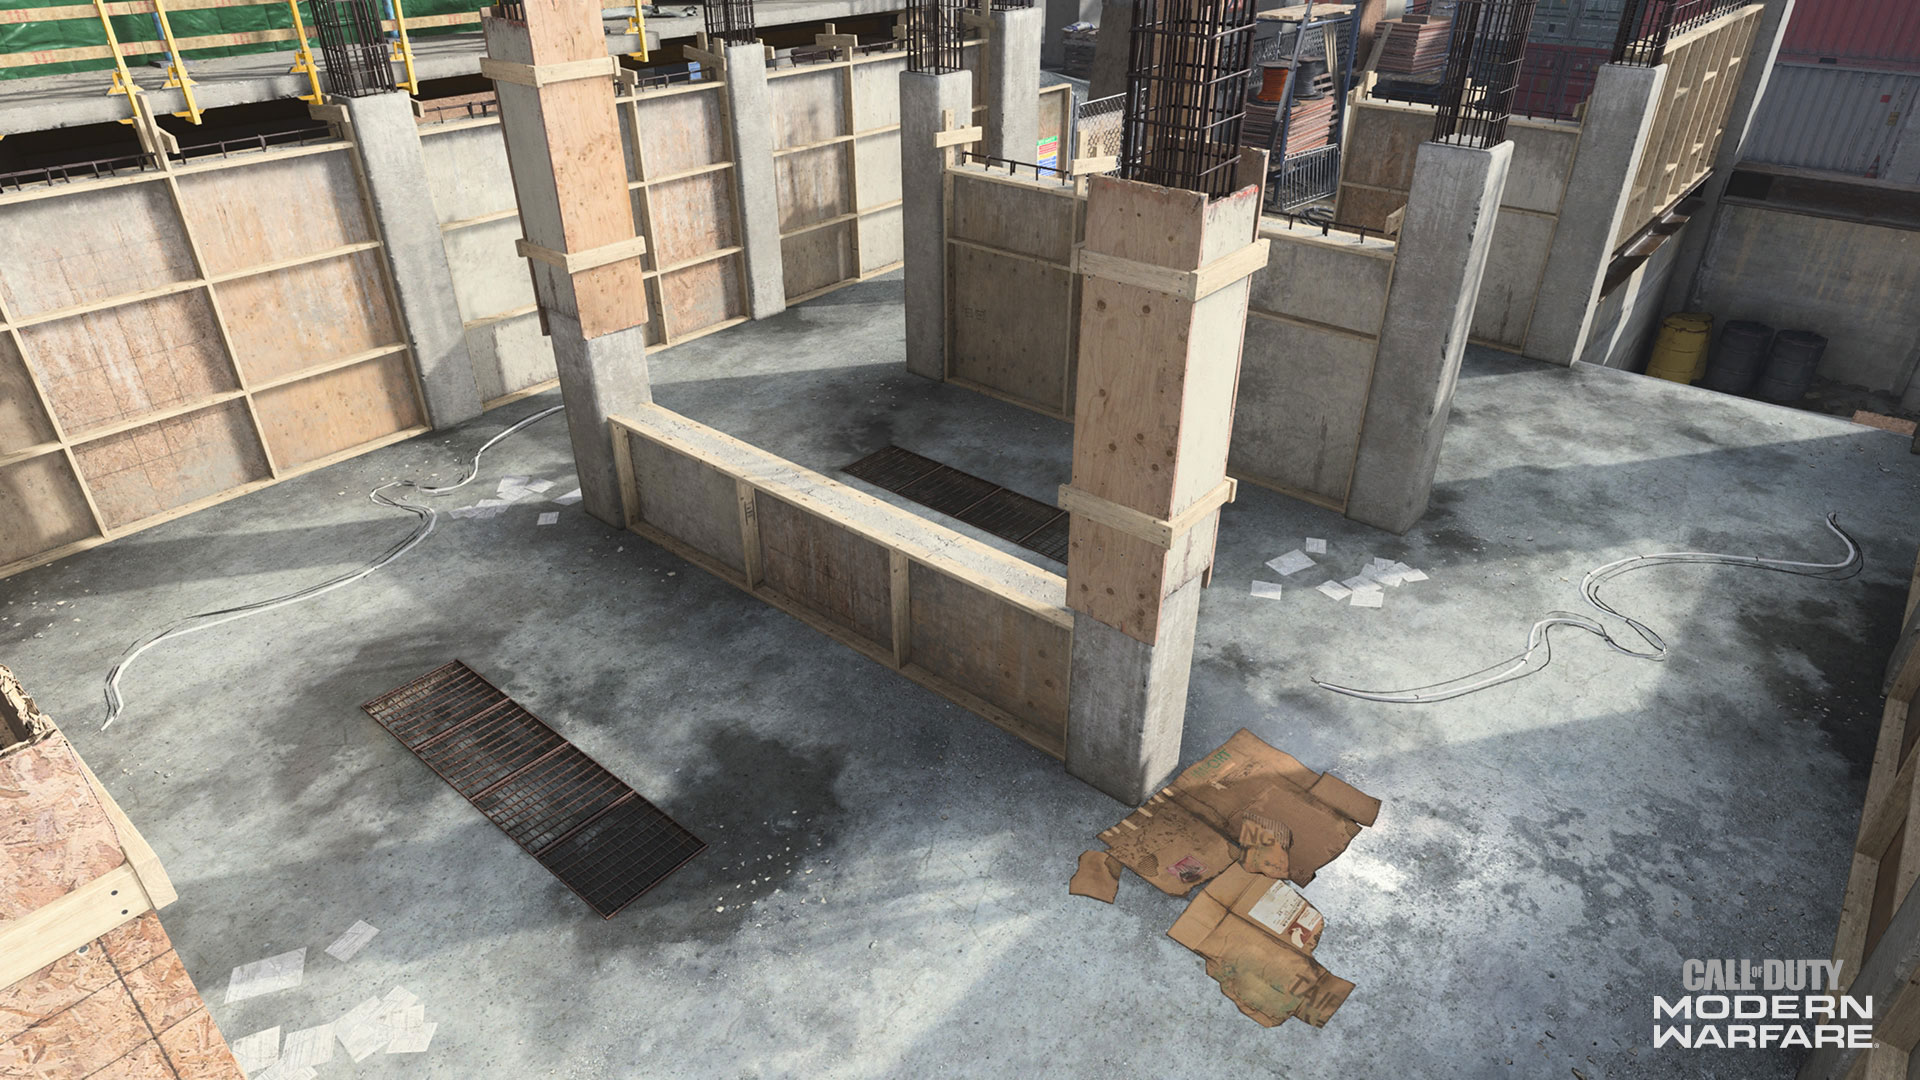
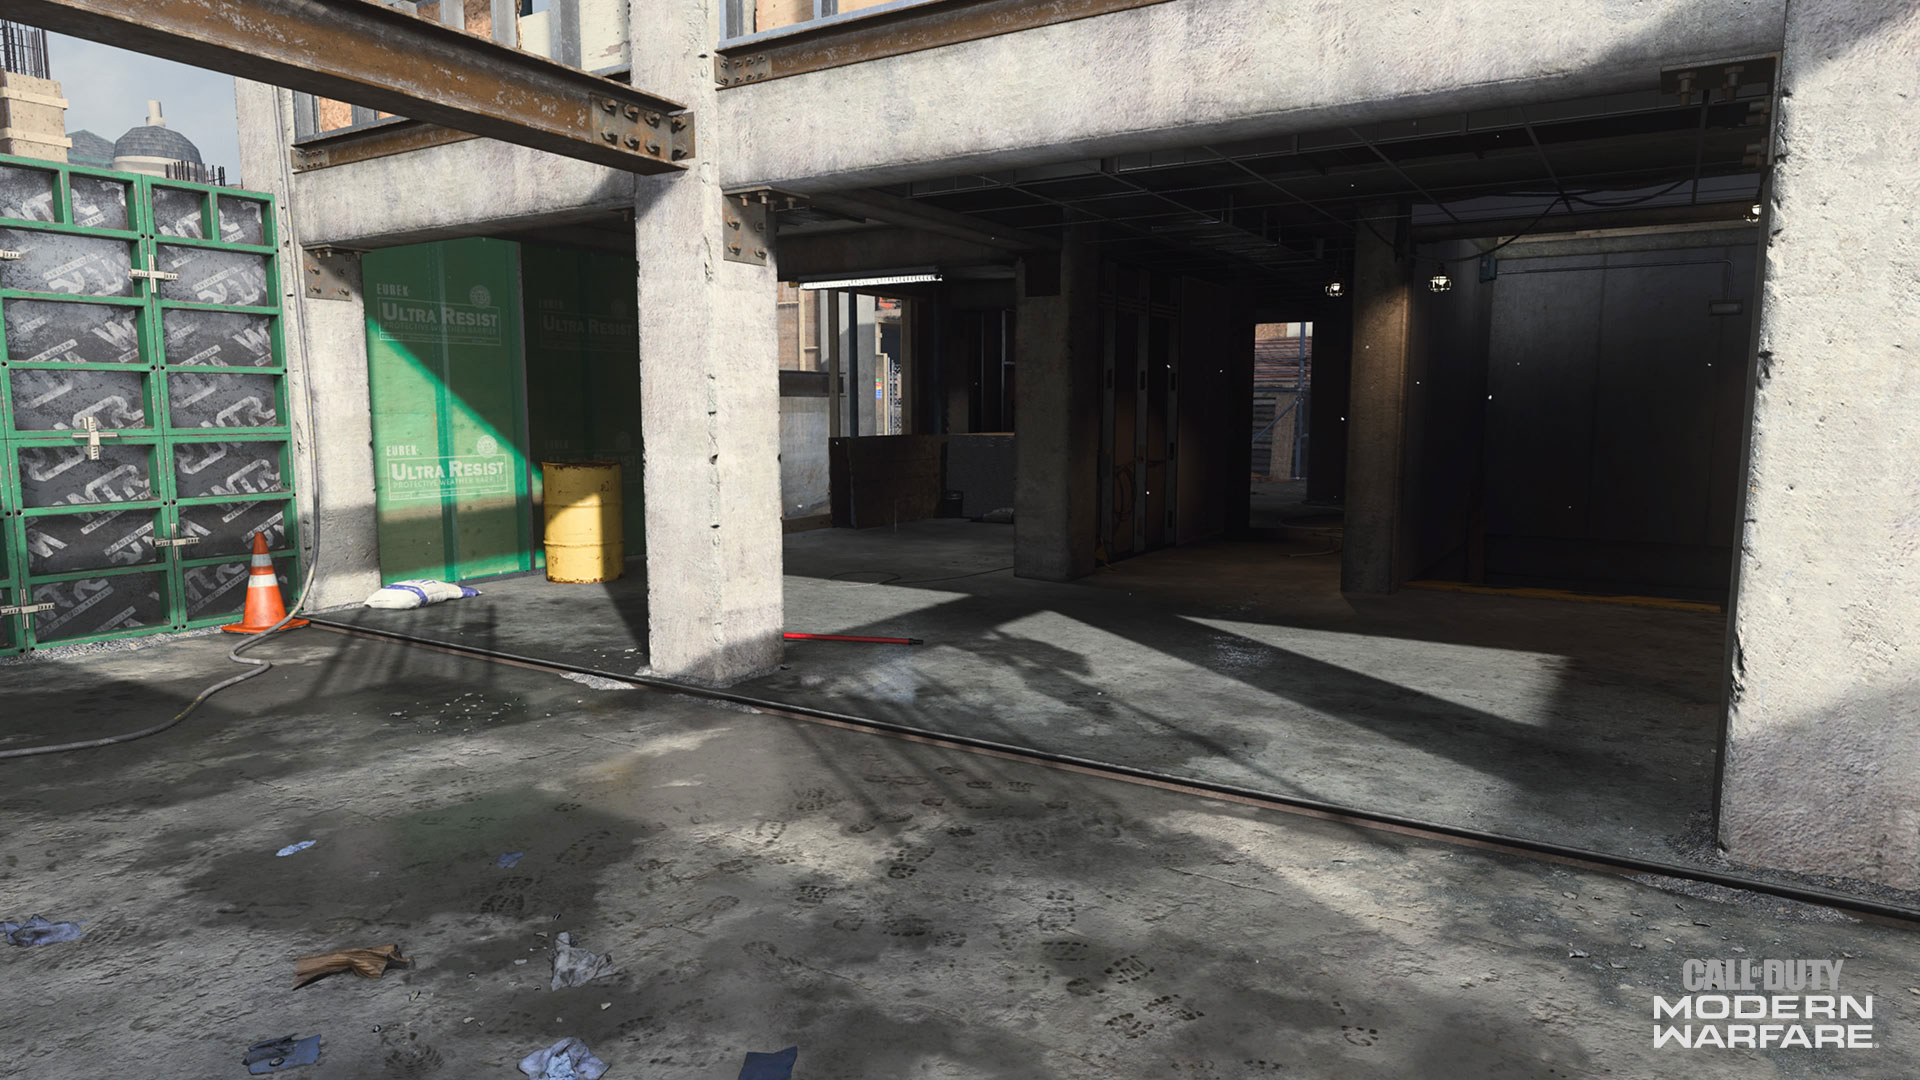
9. Concrete Formwork Building
A mostly open area with a hard-concrete floor, this zone overlooks one of the entrances to the main Pipe on the map.
Note the half wall in this area, which can be used for temporary cover or a barrier between you and an enemy on the other side. It may be best to run through here with a weapon suited for close-quarter engagements, or a mid-range weapon if you’re planning on staying to the outer limits of this zone.
Just remember that this area is high ground compared to the Stairs Building’s ground floor and the Pipes, so aiming down there could result in a few quality takedowns.
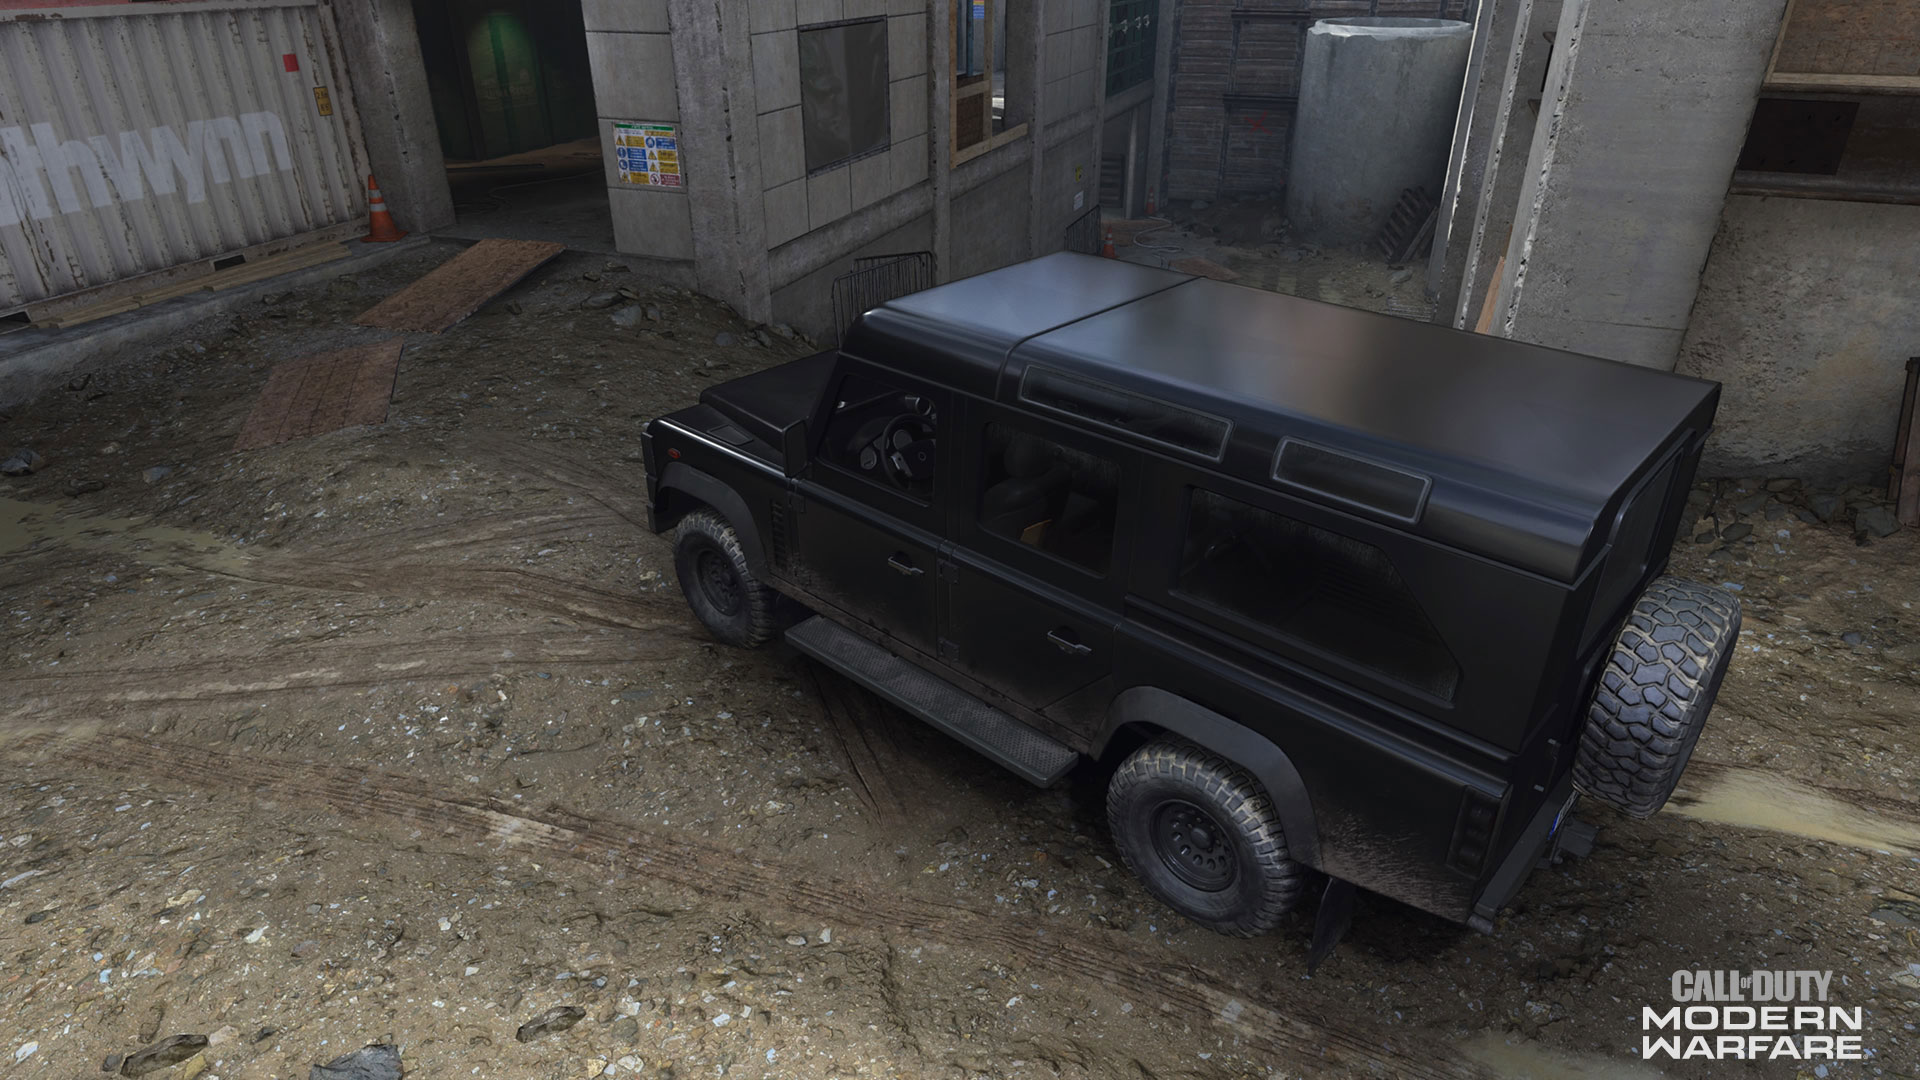
10. SUV
A swank SUV – probably owned by the site’s manager – is parked between the Stairs and Concrete Formwork Buildings.
Consider this a transition area into the Stairs Building, Concrete Formworks Building, and Pipes, with a big slope allowing for some high ground against those running around between Stairs and Pipes. You can still get some quality shots through this zone and fights can take place here, but it may not be as hectic as other zones in Hardhat.
Because it is an actual in-tact vehicle, ensure that the SUV is completely destroyed before travelling through here, lest an enemy blow it up from afar and get a multi-kill.
11. Stairs Building
Outside of the Center Building, this is probably the most constructed building on Hardhat, with a set of stairs allowing for multi-level fighting.
The ground floor is a great place to run through as a CQB player, allowing for a quick route between the Cherry Picker and Pipes. It’s also a popular flank route at the start of matches, as it’s the fastest path between both initial spawn areas.
Meanwhile, the second floor will be where snipers will want to aim from across the Pipes or Cherry Picker zones. Be sure to watch the staircase for any SMG or shotgun users wanting to get to higher ground.
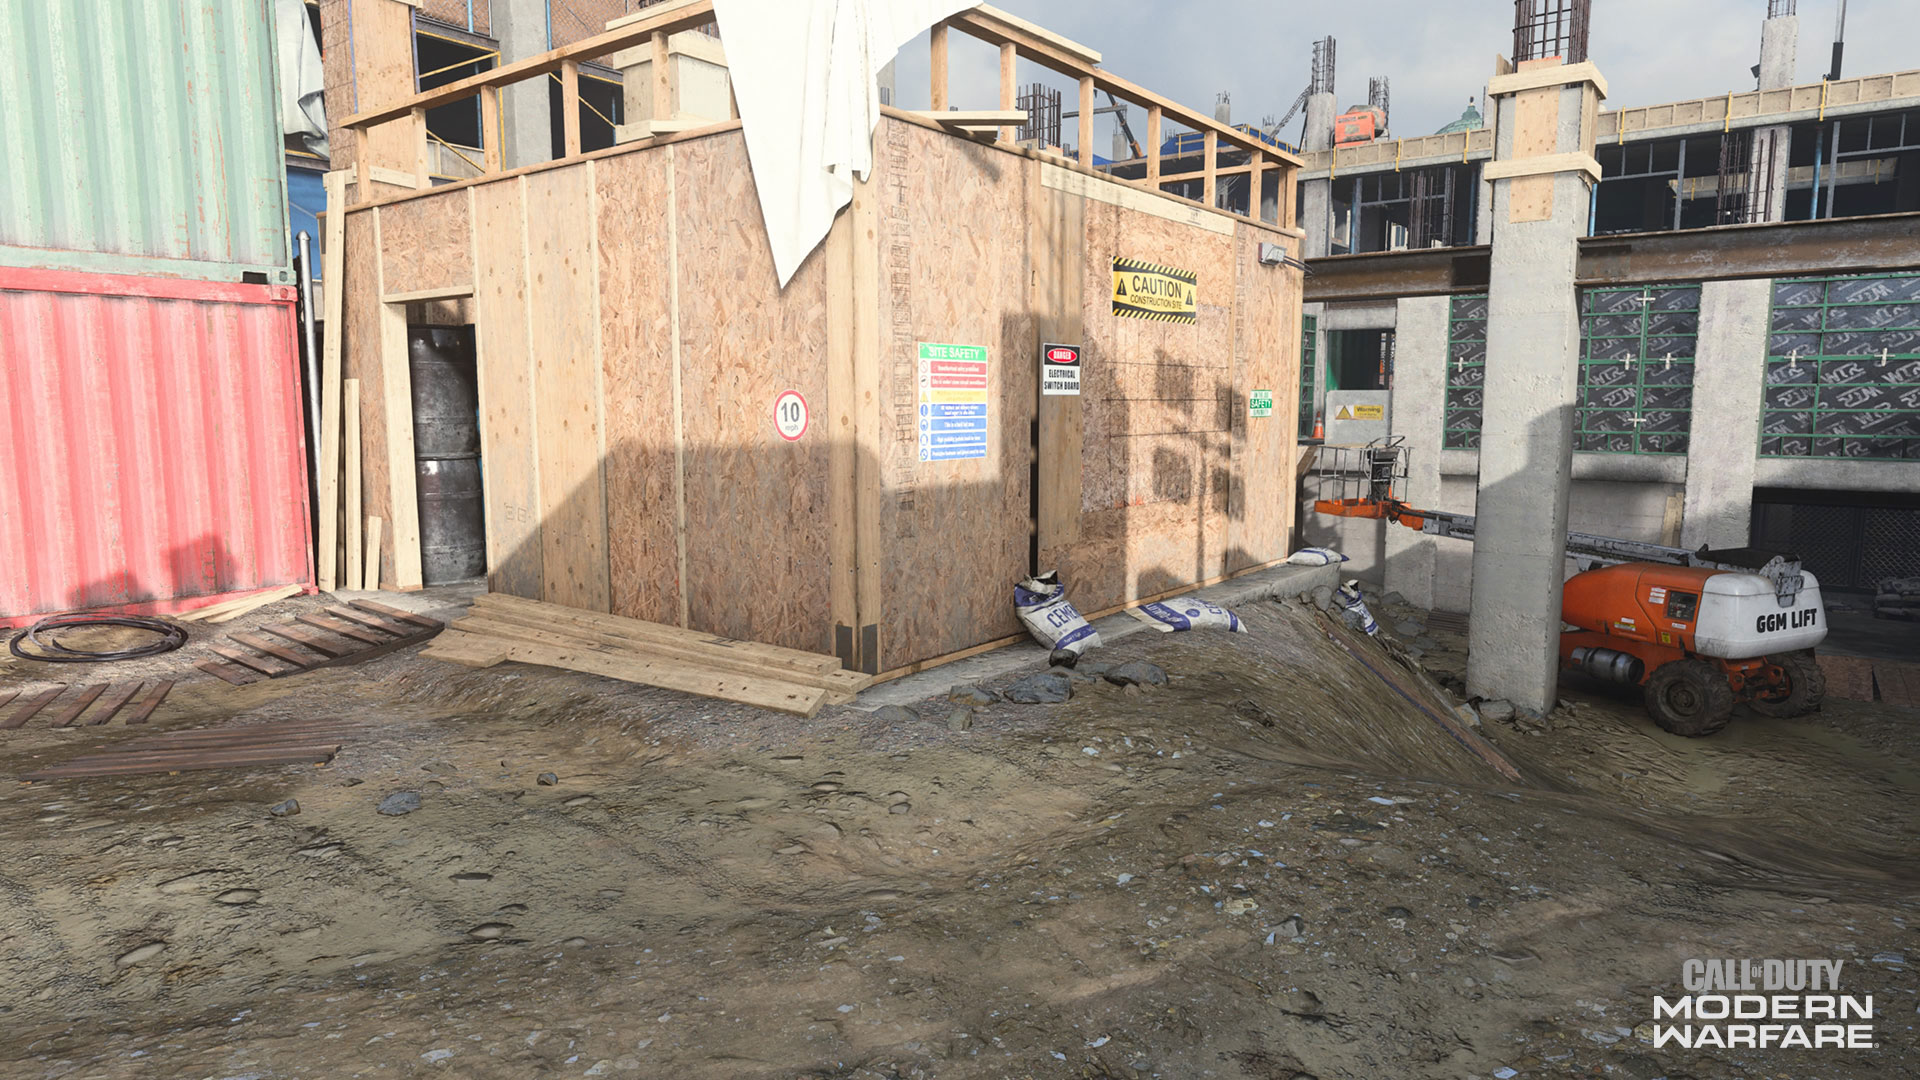
12. Cherry Picker
This area is given its namesake thanks to a Cherry Picker right near the Stairs Building, which offers great cover and a unique route to the building’s second floor.
However, the most tactical part of this area is the wooden building shown above, as it offers a phenomenal sightline over to the Stairs Building and great protection from Operators firing from the Containers Area. Yes, the dirt slope to the outside offers a faster route, but for a more tactical approach, the building is where you may want to run through.
Be advised: this building is made of wood, which is easily penetrable. Don’t get mad if an LMG user decides to spray a full belt of ammo through here to catch you reloading.
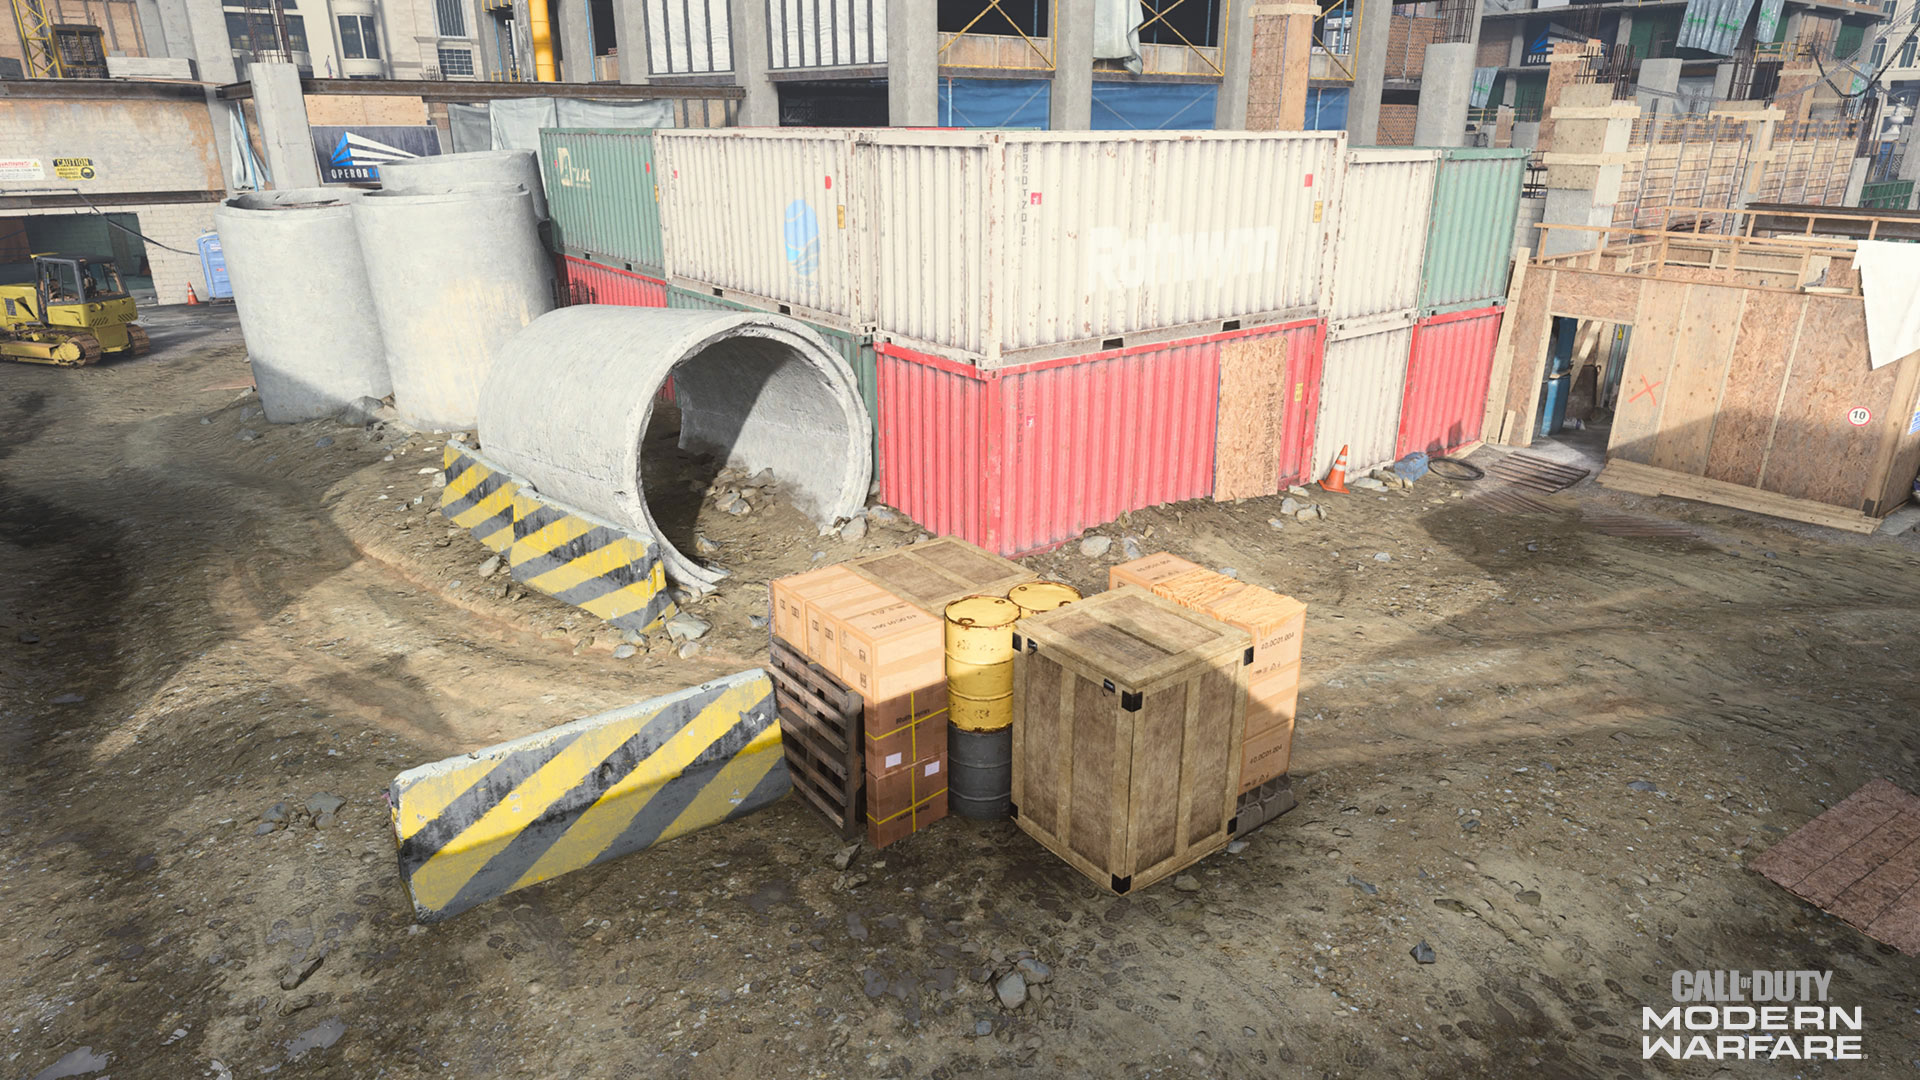
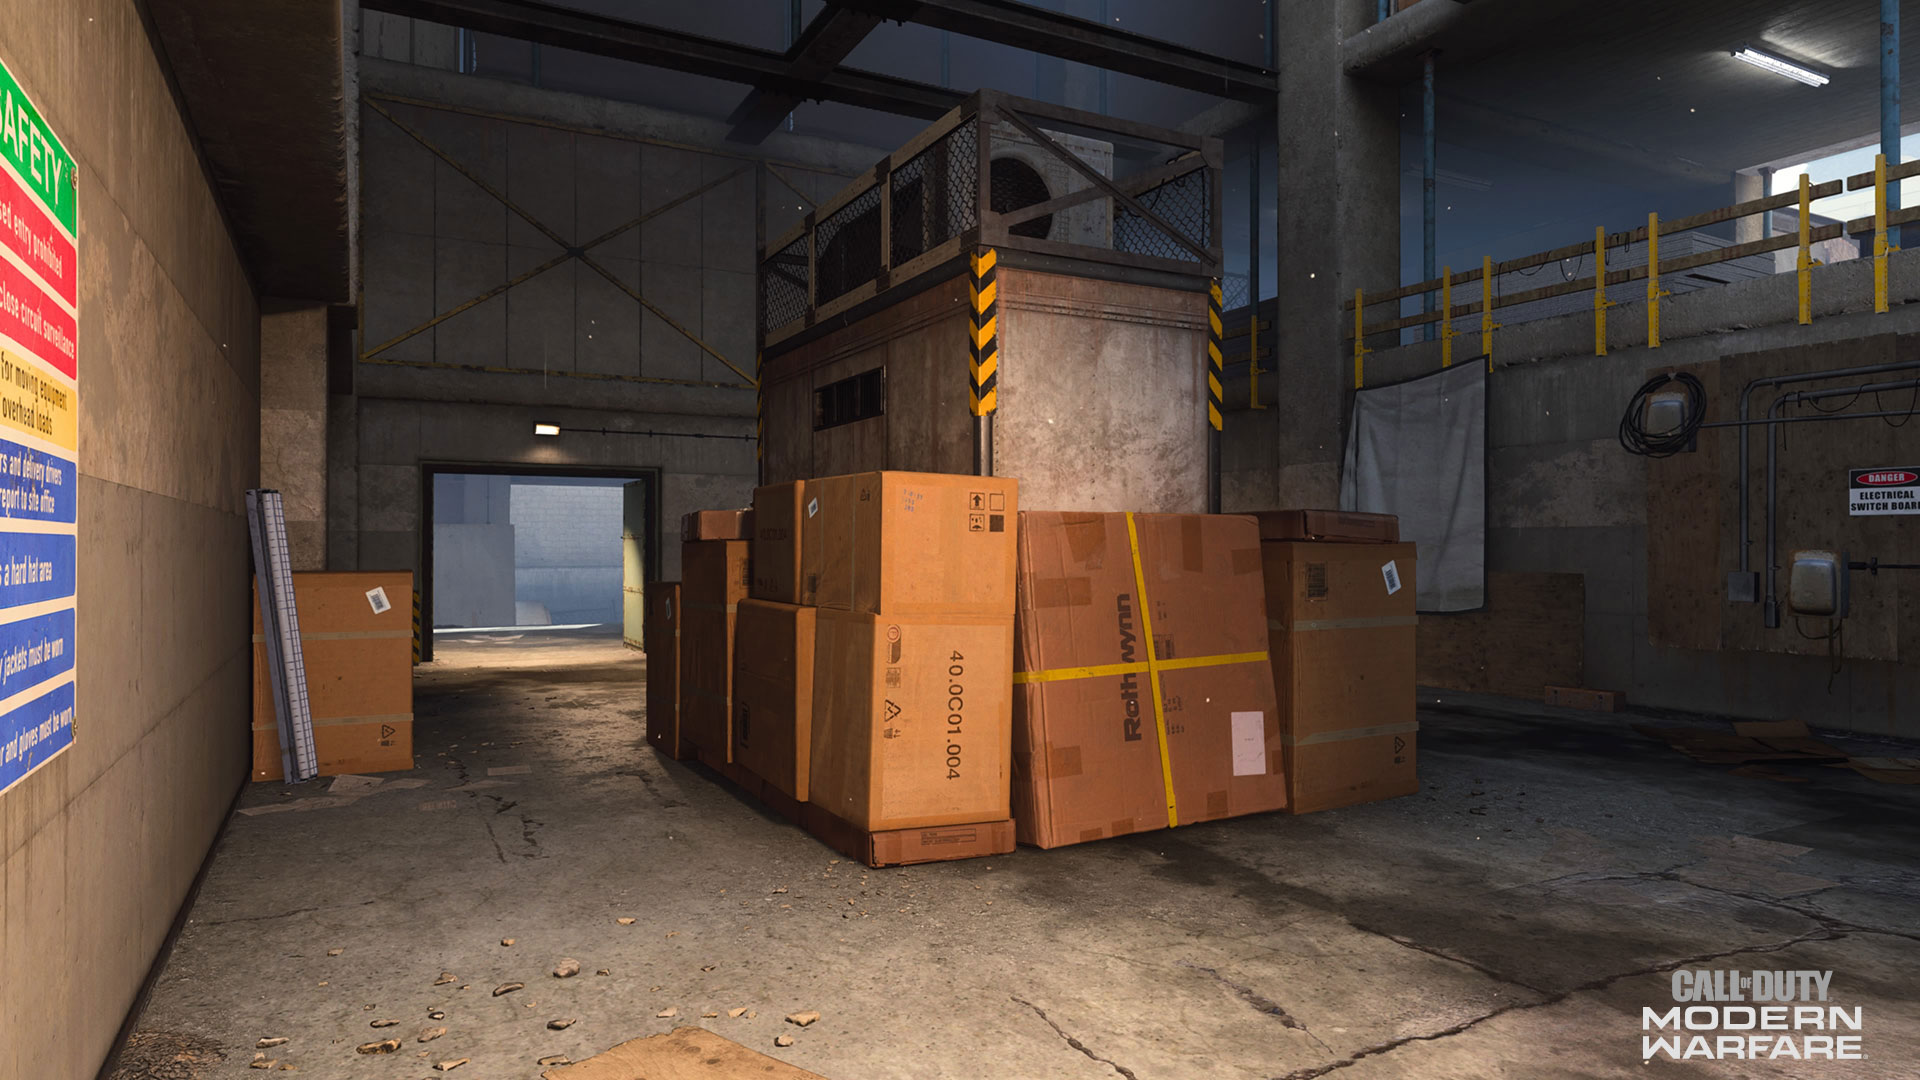
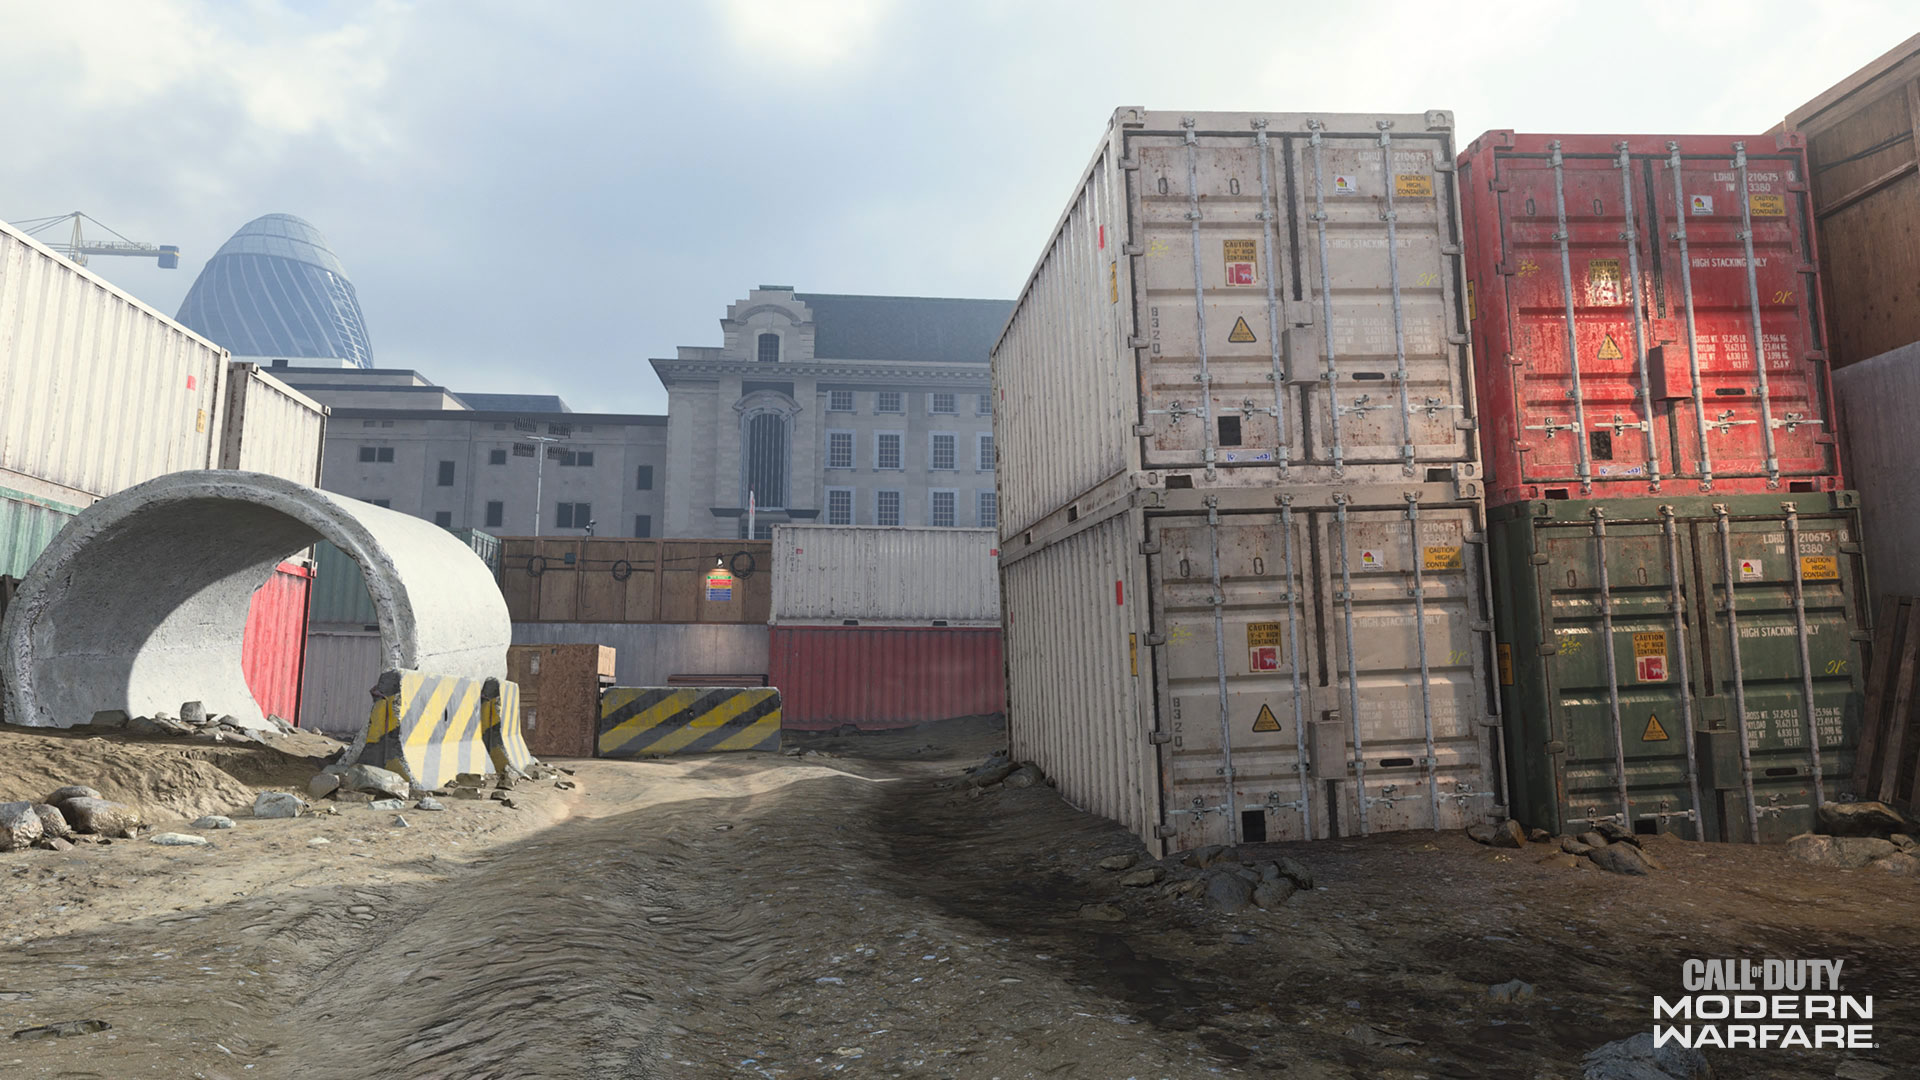
13. Containers Area – Allegiance Spawn
Another large concrete pipe and a crate stack make up the Allegiance’s initial spawn area outside of the large containers stacked to the side.
Just like the Coalition’s spawn, this will soon devolve into an unsafe area, one that may be more popular than the Office due to its placement on the map. With a great sightline down to the Bulldozer area, it may be a hot spot for those attempting to defend that objective.
Pro tip for those looking to take people out on top of those crates: there are a few grenade spots in the central route between the Pipes and Bulldozer. Aim high and keep experimenting, and you may be able to give those crate creepers some aerial justice with a well-placed Frag Grenade.
General Tips:
· “There's a simplicity to war. Attacking is the only secret.” Aggressive players may yield the greatest results in Hardhat due to its small size. Always watch your six and check those corners, but don’t be afraid to be offensive and fight frequently.
· Find the High Ground. Mid to long-range weapons shine on sightlines that are amplified by taking some high ground. Whether it’s a stack of crates or a barrel that just gets you over a concrete wall, finding these lines of sight can help you counter overly aggressive shotgun and SMG users.
· An Open Concept. The partially built buildings leave room for Frags and other grenades to fly in from above. Learn where you can arc your equipment pieces to counter enemy players who seem to have locked down a lane or sightline.
· Take a Trip to the Bank. Following the previous tip, try using concrete pillars or the massive back wall outside of the Central Building to bank equipment pieces. Who knows? You may just get an incredible final Killcam with a well-placed Throwing Knife bankshot!
· You Can Wallbang That. Around the map, you may see light plywood or even fences covered with privacy screens. If you feel like an enemy may be on the other side within a lane, or have friends who just died to them, it may be worth taking a blind shot to see if you hit a “wallbang” – or a kill that goes through a penetrable object.
For more information and the latest intel on Call of Duty®: Modern Warfare®, check out: www.callofduty.com, www.youtube.com/callofduty and follow @InfinityWard and @CallofDuty on Twitter and Instagram and Facebook.